I’ve done a couple of box frames now (see my previous posts for my felt flower frame and my origami butterflies frame) because I have been finding various ways to decorate the shelves and walls of my new home. This last frame that I bought is a large 25x25cm with a depth of 3cm. Since the origami crane is the most famous shape, why not fill a frame with just cranes? I’ve done jars of cranes before but they have to go on a shelf, whereas you can hang up a frame on the wall instead if you choose to.
I got a pack of A4 rainbow paper from Paperchase a long time ago, and I cut out 7cm squares from seven colours of paper. This paper stack has lasted me for quite a while now, they have been featured in a lot of previous projects like my carambola flower bouquet!

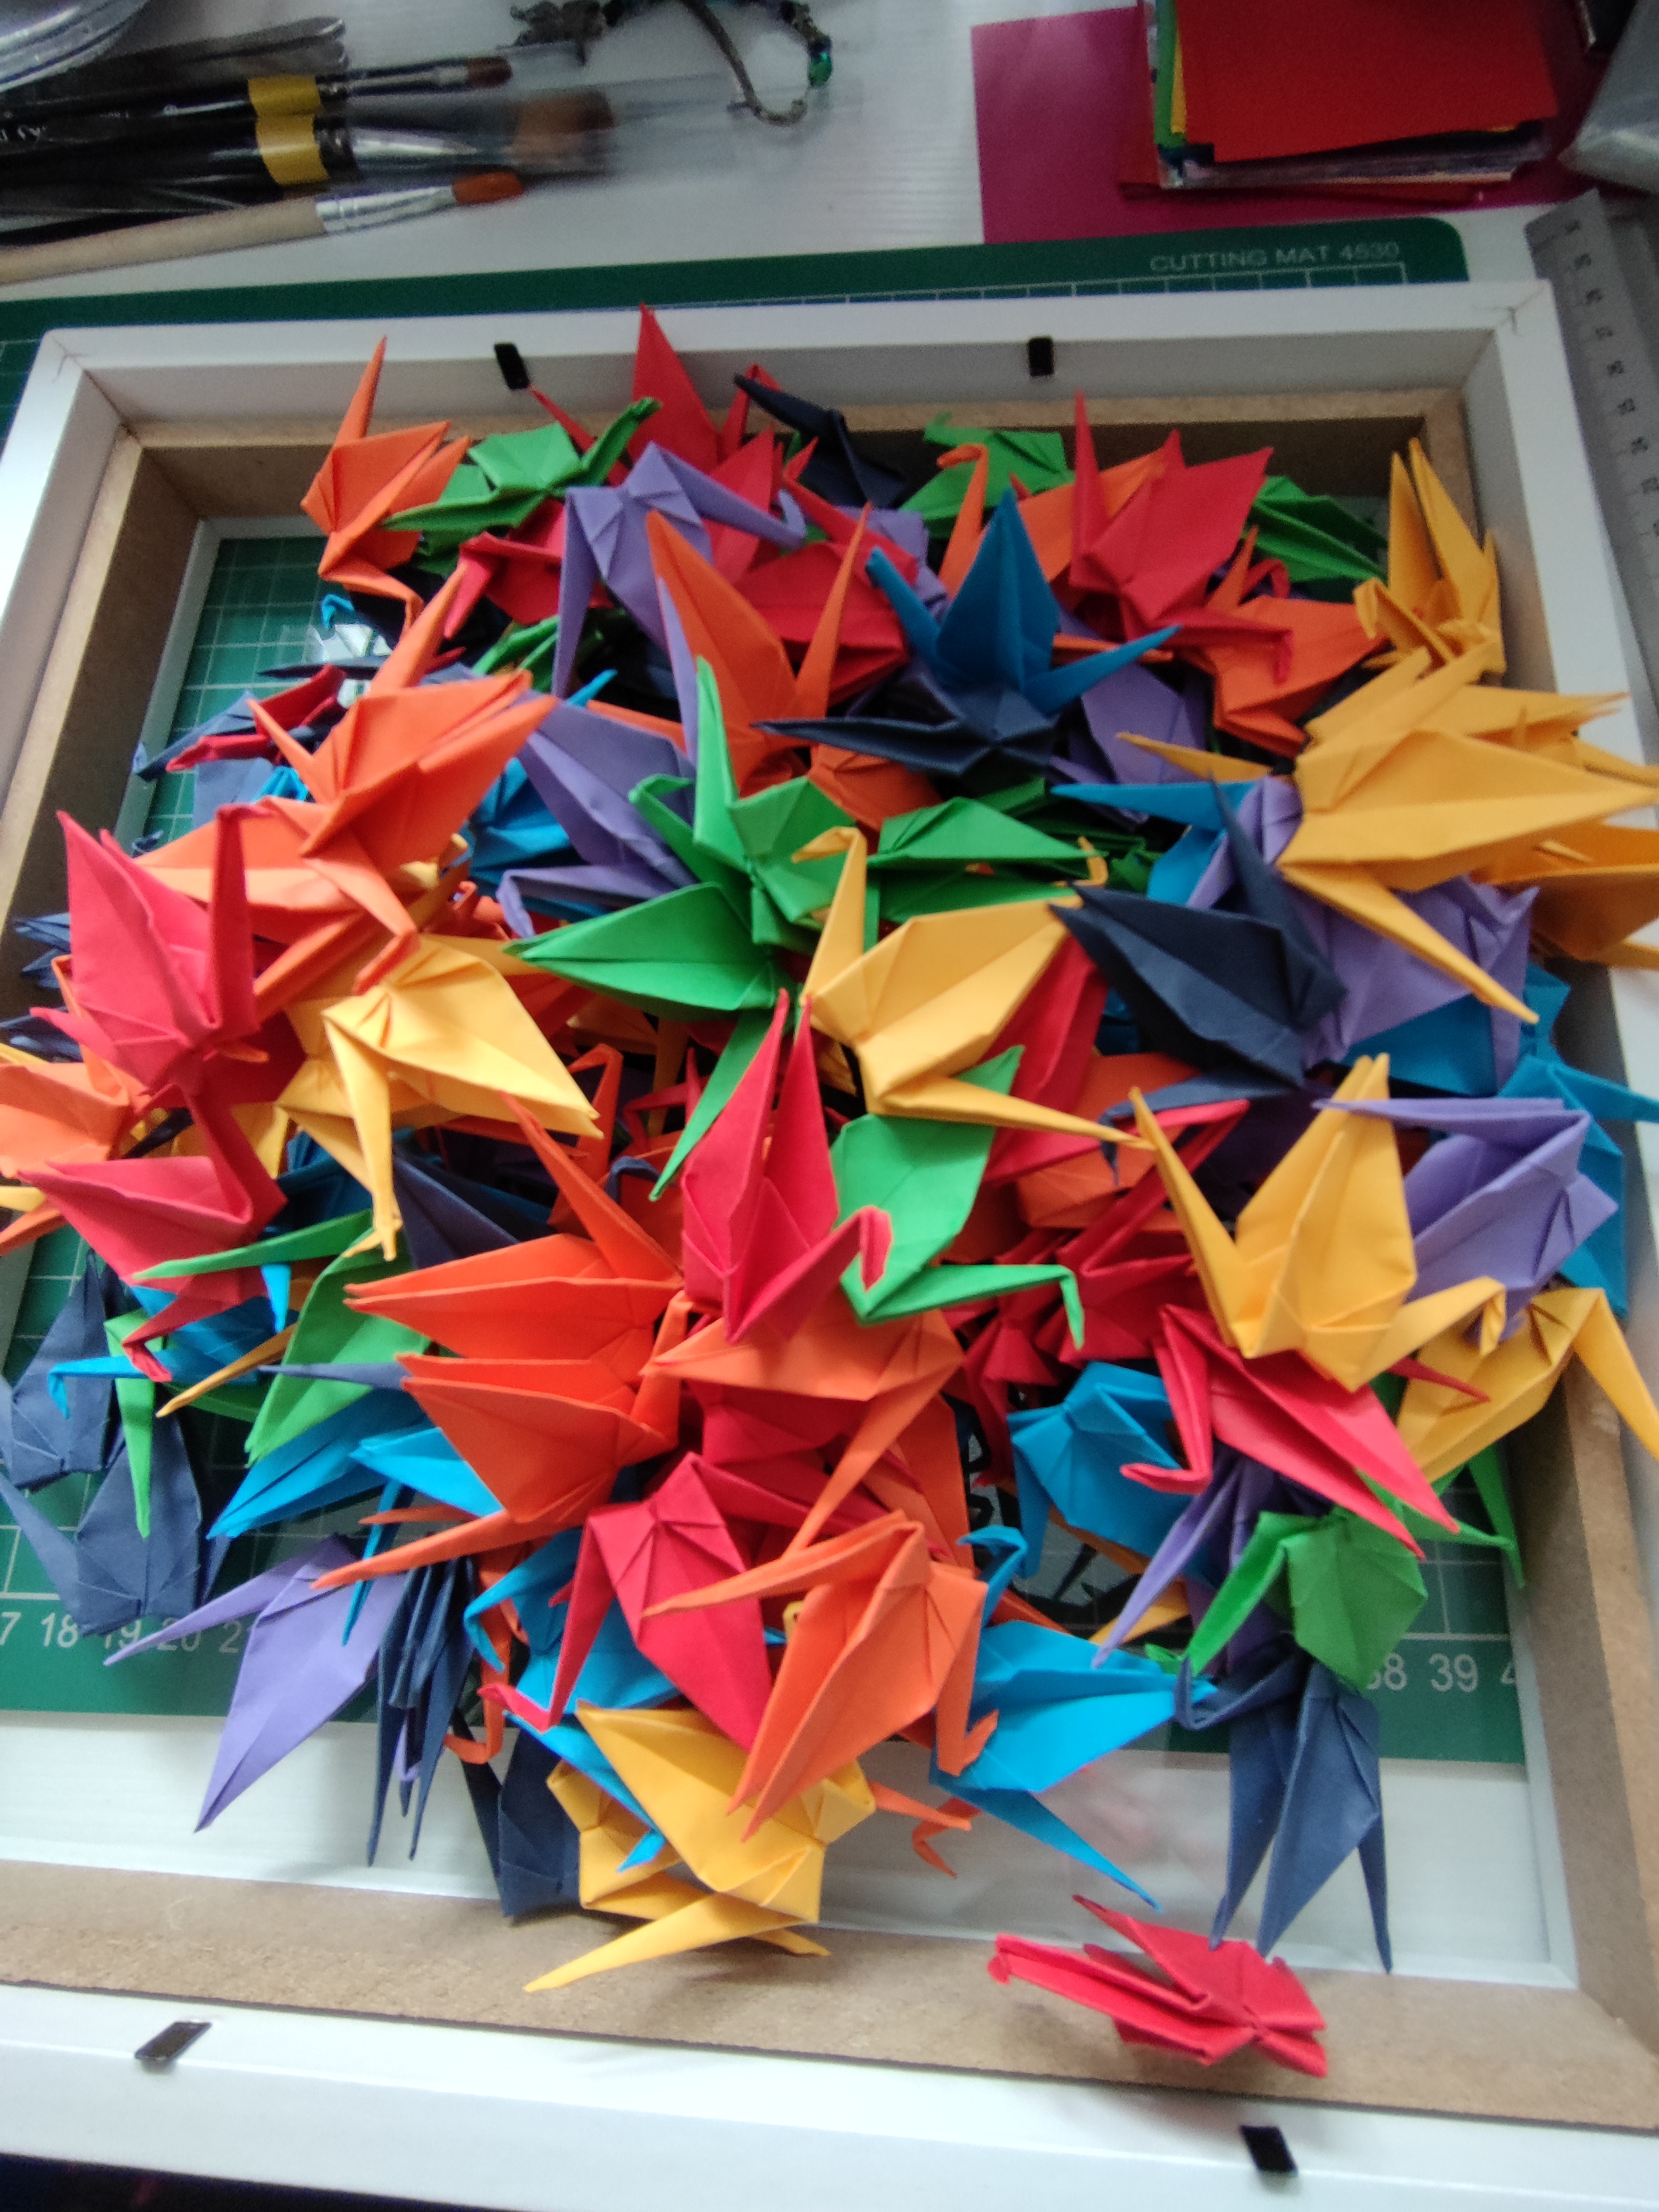
I get into a rhythm of cutting paper, and this is certainly more than I’ll ever need (336 in the above picture!) But it’s always handy to have some spares for another project. I also like cutting paper in order so that there’s always equal amounts of each colour represented.
Over a long period of time did I finish folding the cranes – this idea first came to my mind back in April! I tend to do this whilst I’ve doing other things like watching TV, because I find that I tend to lose motivation if I just solely focused on this. I had a spare vase lying around where I would throw the completed ones in.

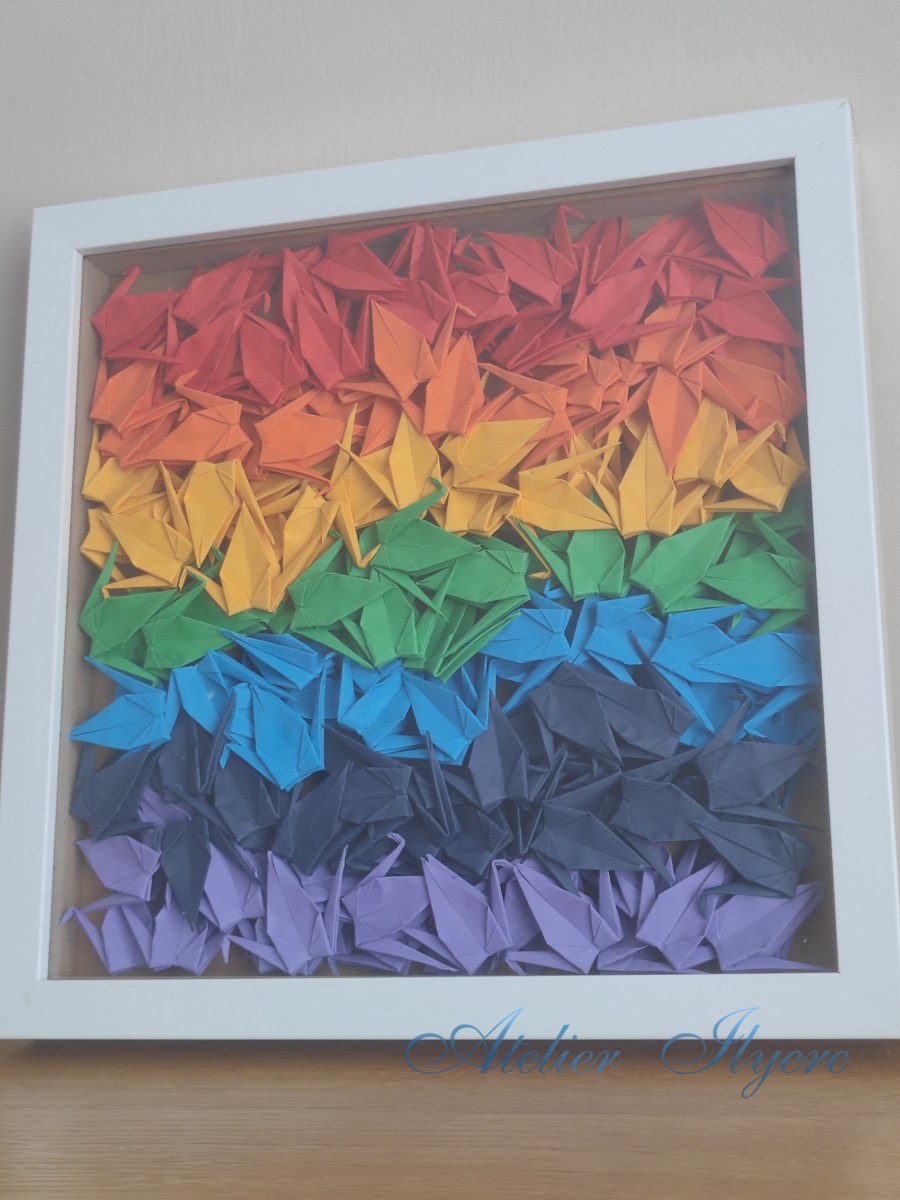
When I felt like I folded enough, I did a test run by throwing it all into the frame. I suppose you could just leave it as it is if you are a fan of organised chaos! But I always wanted to depict a proper rainbow, so I had to tidy it all up again. Sometimes it’s just fun to look at!
To begin with I cleaned the glass and then laid out a few cranes in a line to form the base. It’s not neat, but that’s fine because otherwise I would be obsessively tidying it to this day! When you pile on more cranes it will look more like a solid block of colour anyway.

After that it’s a matter of filling the gaps in a way that preserves the order. I kept the brown backing of the frame as it doesn’t bother me too much, but you can opt for white paper/mount board instead. It will always be visible in the back as the cranes can’t fill up the spaces perfectly, so this is a matter of preference. I certainly couldn’t fit any more cranes into it if I wanted to, the backing was almost bursting off when I sealed it!
This currently sits above my fireplace, but when I add more wall hooks in other rooms I will hang this up!

Materials needed:
-168 squares of 7cm paper in seven different colours
– shadow box frame
Tools needed:
– craft knife and cutting mat (if cutting paper to size)
