I want to begin with a preface – this blog post is a bit of a jumbled process rather than a how-to, as I began with a certain set of materials before rapidly expanding the scope and getting new materials over the course of a few months. I also want to keep the final product a secret until the big day, but I’m happy to share a few sneak peeks of the process.
I made purchases from a lot of stores which I’m happy to talk about. These are not affiliate links and I get nothing from this, I just wanted to share my specific finds.
I’ve always wanted to try making a proper handheld bouquet, so what better time to learn than for my own wedding? I have previously made small bouquets for house decorations but this is a different challenge for reasons I will list below:
– it must match a colour theme
– I will be holding it during my most important moments so it must be beautiful
– there is also a small outdoor component to the wedding so it must be sturdy
So whilst I feel like I have had lots of experience, I needed to be extra careful with my design choices and take my time making it!
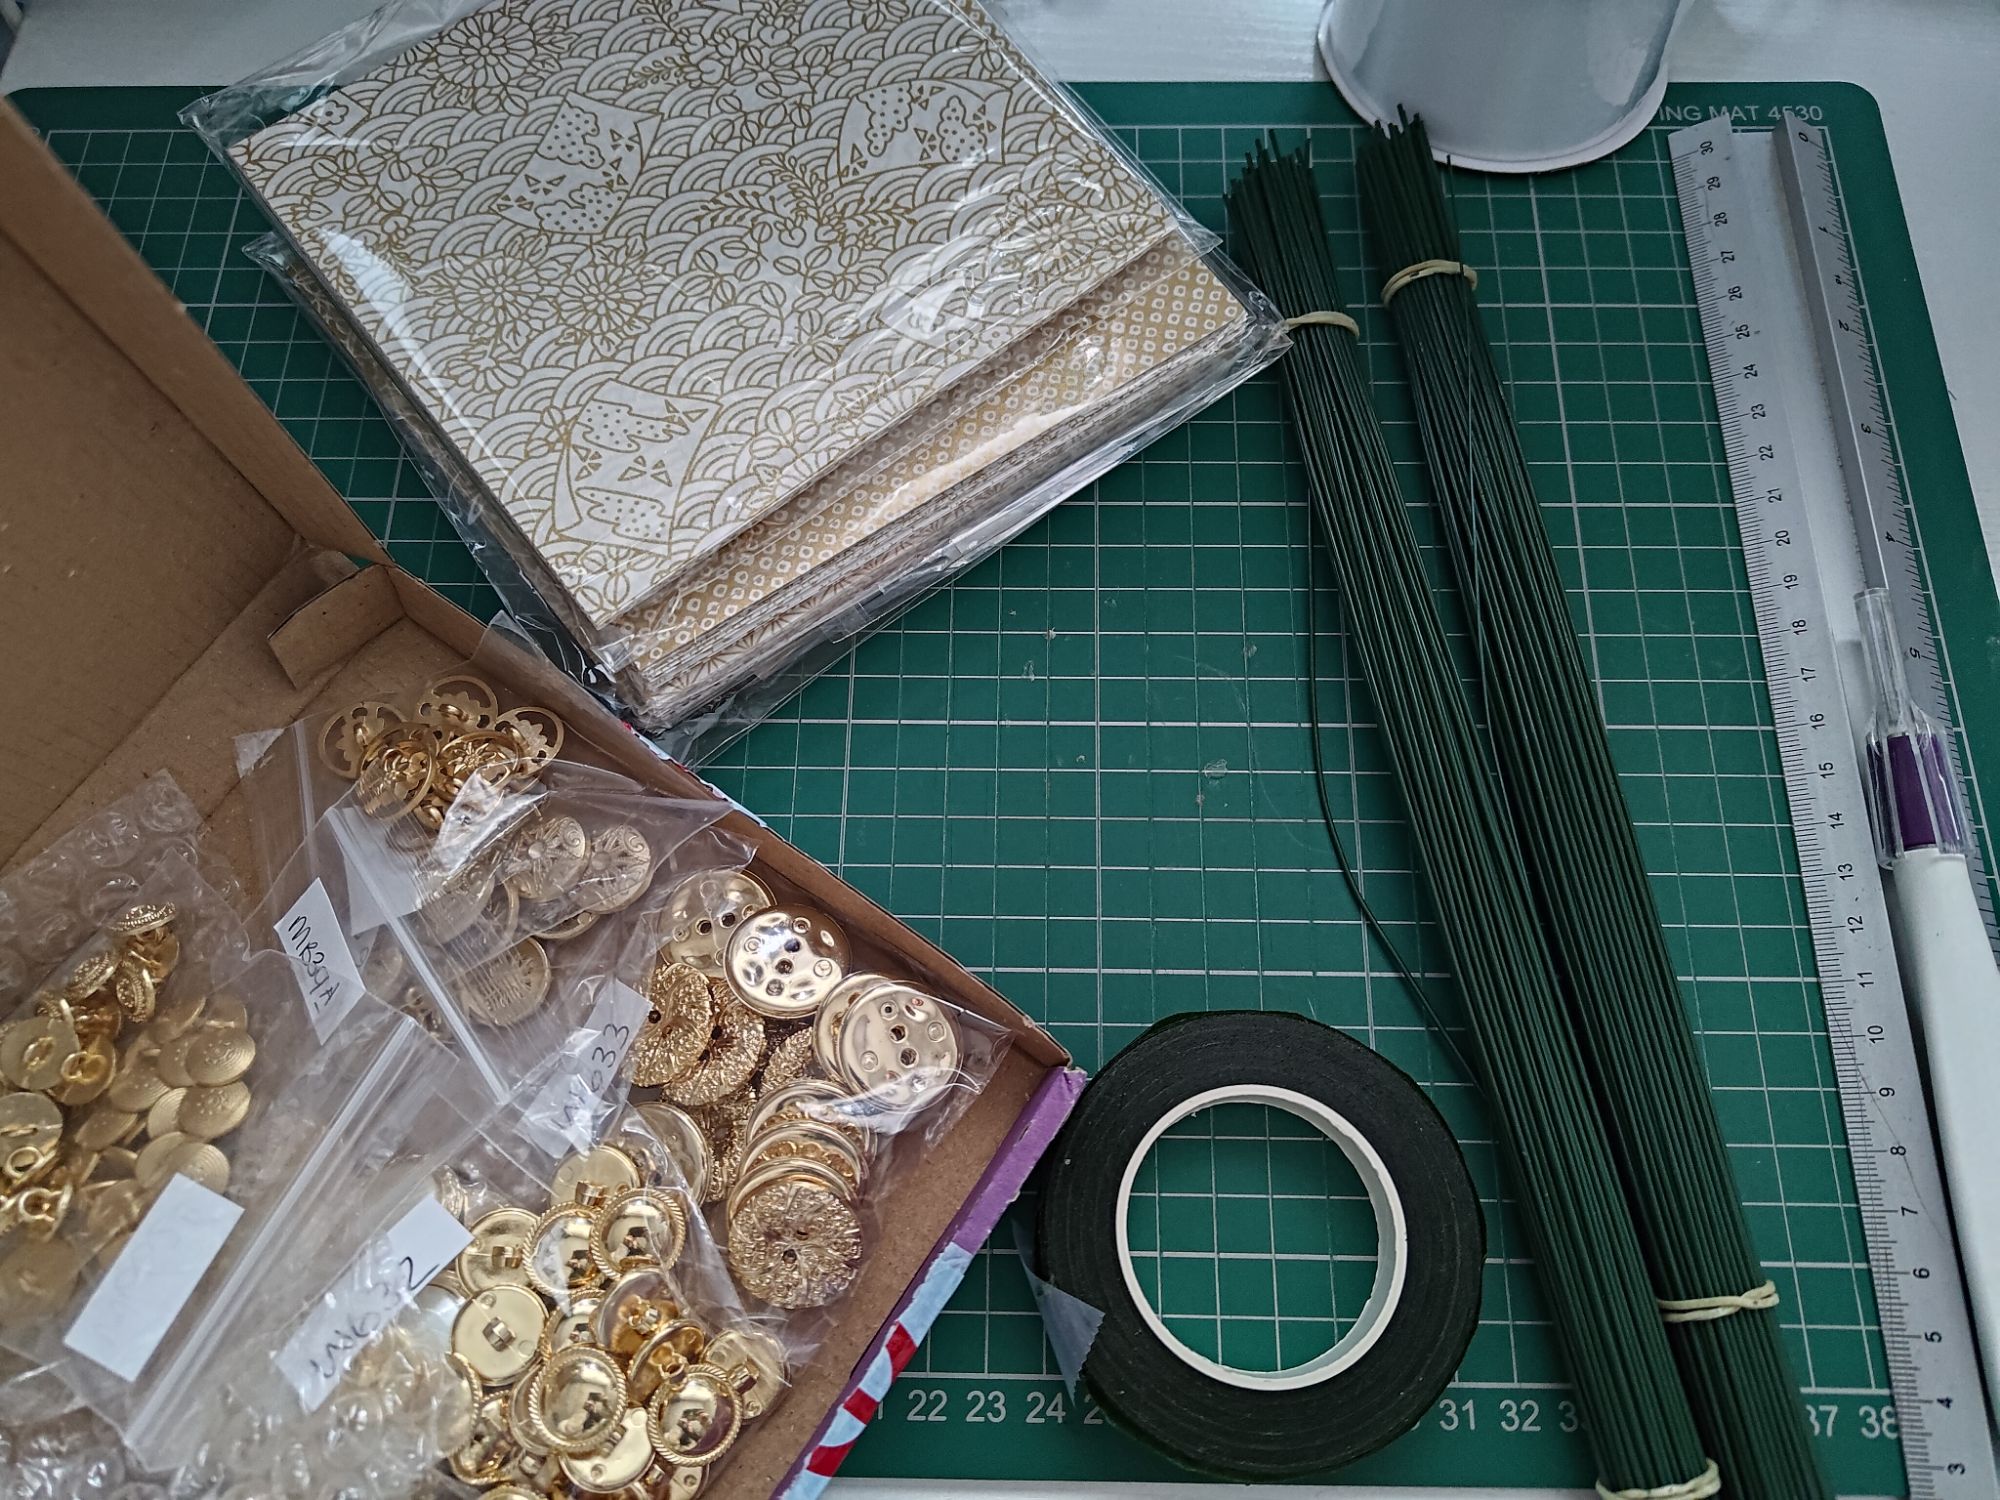
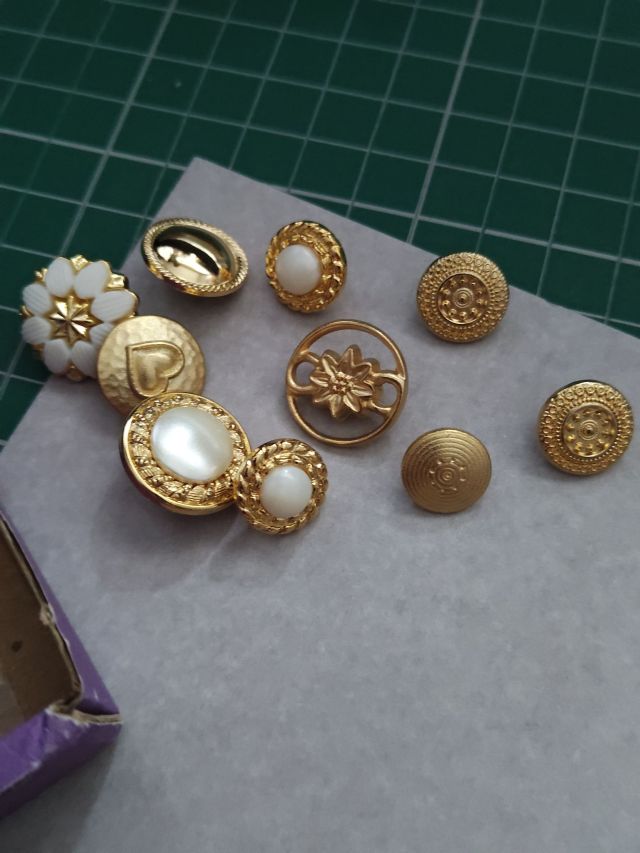
I previously bought loads of white and gold-themed washi from LavenderHomeLondon on Etsy who at this point I can confidently say is the number one store that is designing my wedding theme! Through various eBay stores I also sourced 18g florist wires, dark green florist tape, and an assortment of lovely gold and pearl-themed costume buttons from number-sixty. Equipment used is craft knife and cutting mat, and not pictured is a hot glue gun for later.
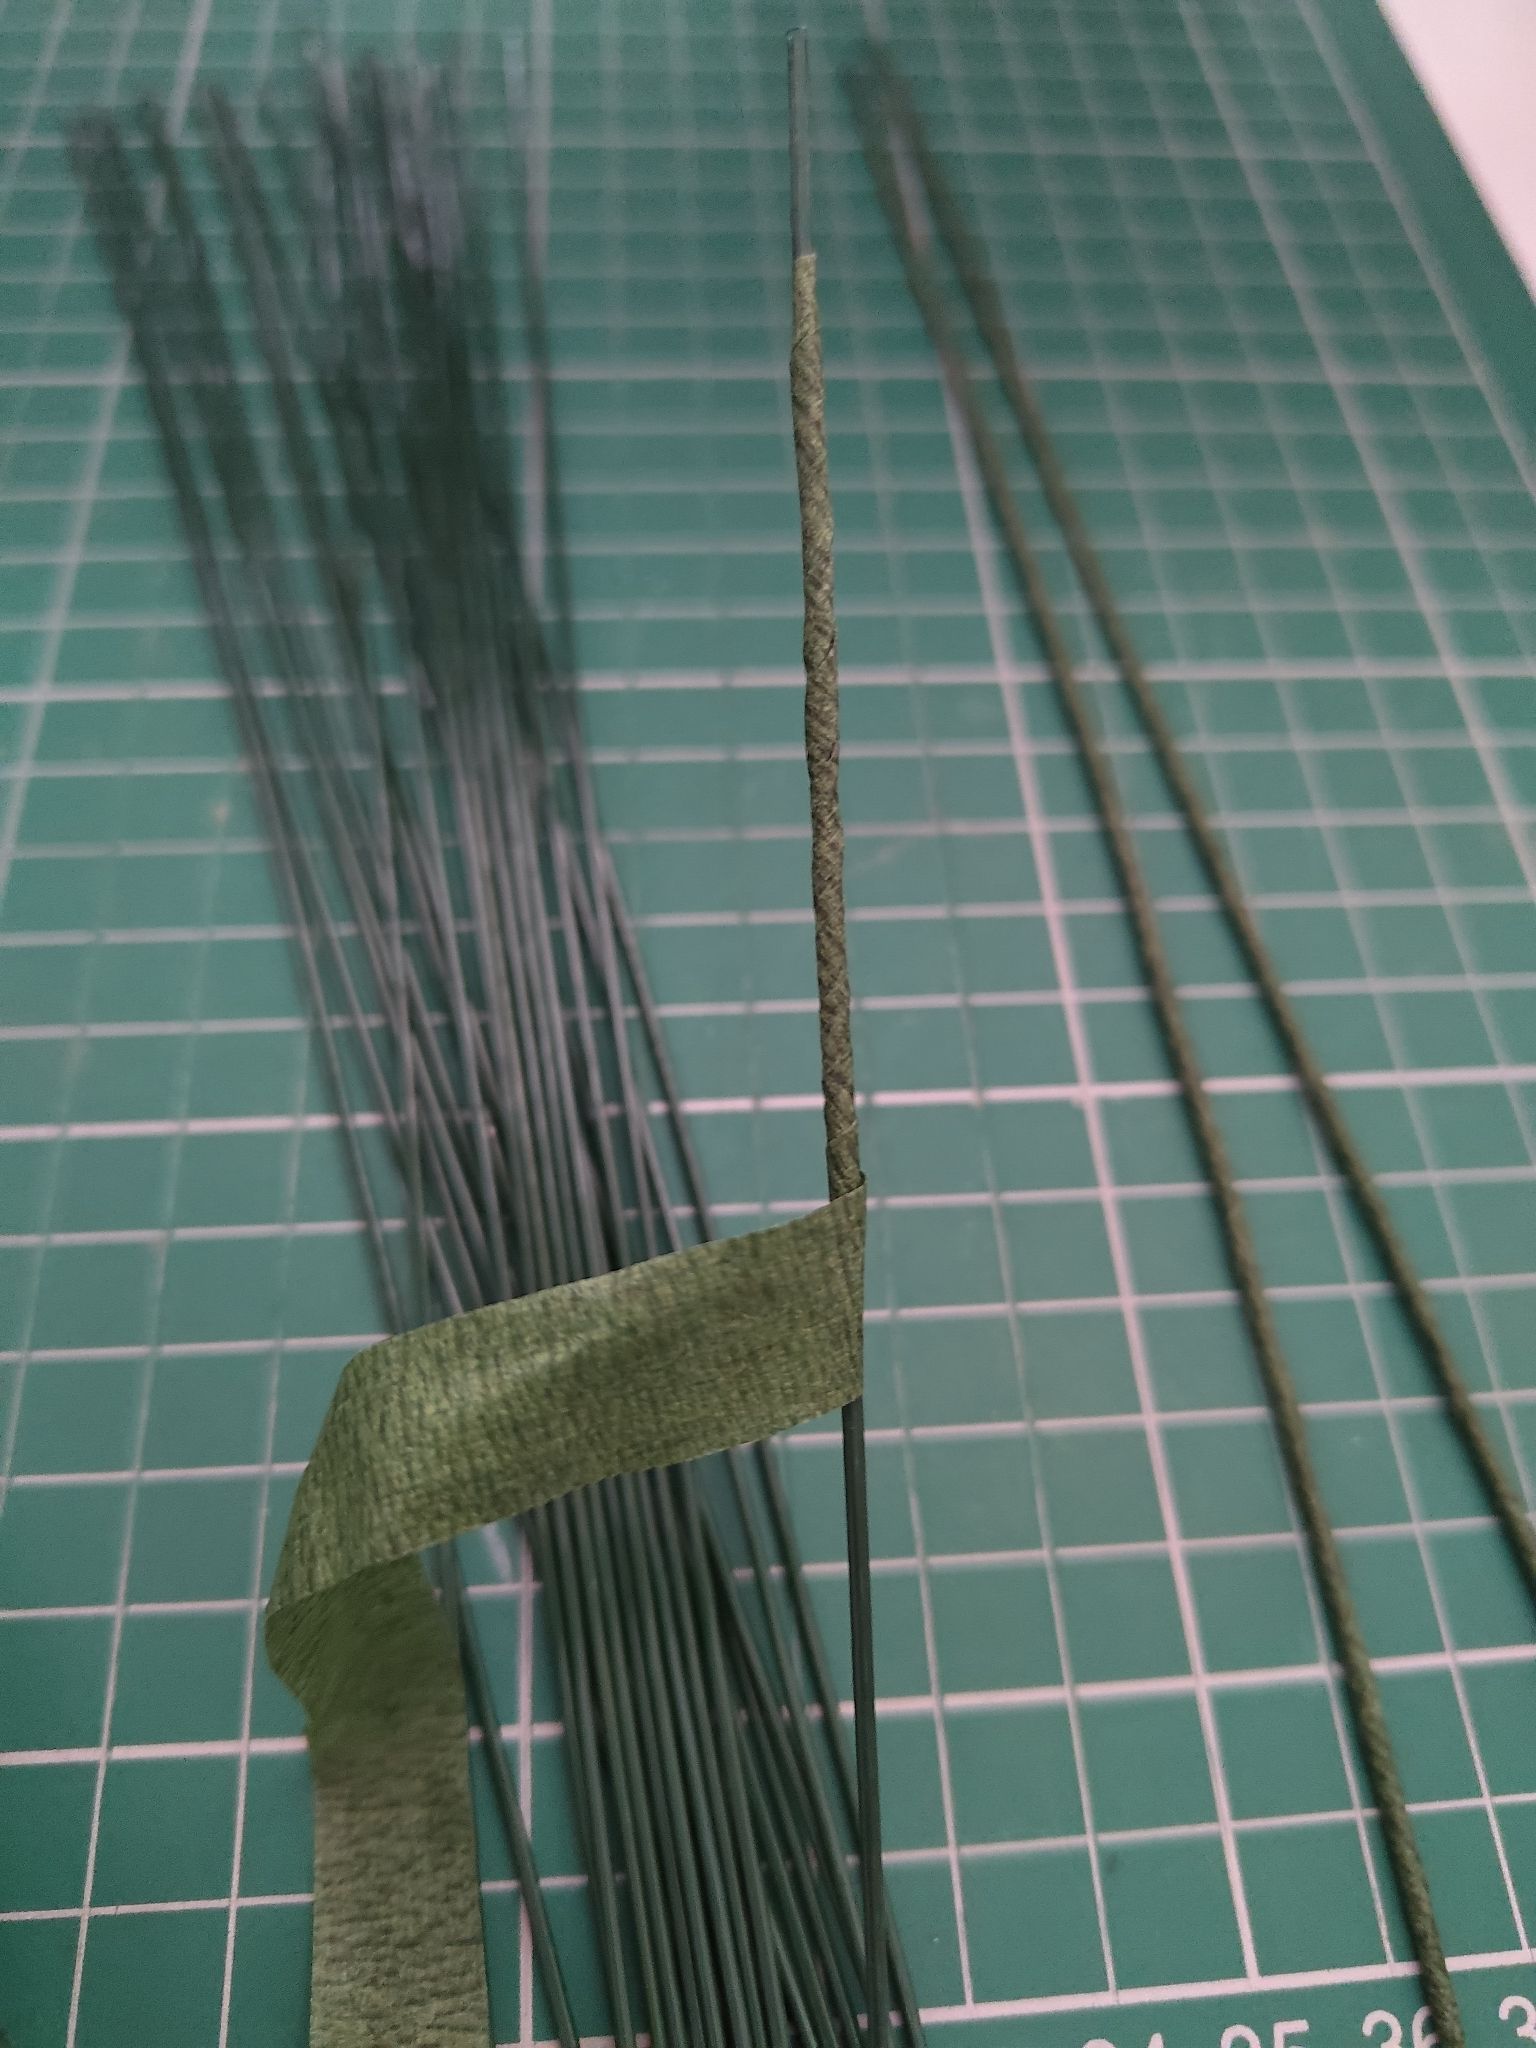
The first thing I did was to pre-wrap all the florist wires with florist tape. It saves me from having to wrap the wires after the flowers have been glued on, and the wrapping makes the wires look more natural. Only downside is the sticky feeling on your fingers when you have to make so many in one go! I chose not to cover the tip because this will be hidden later.
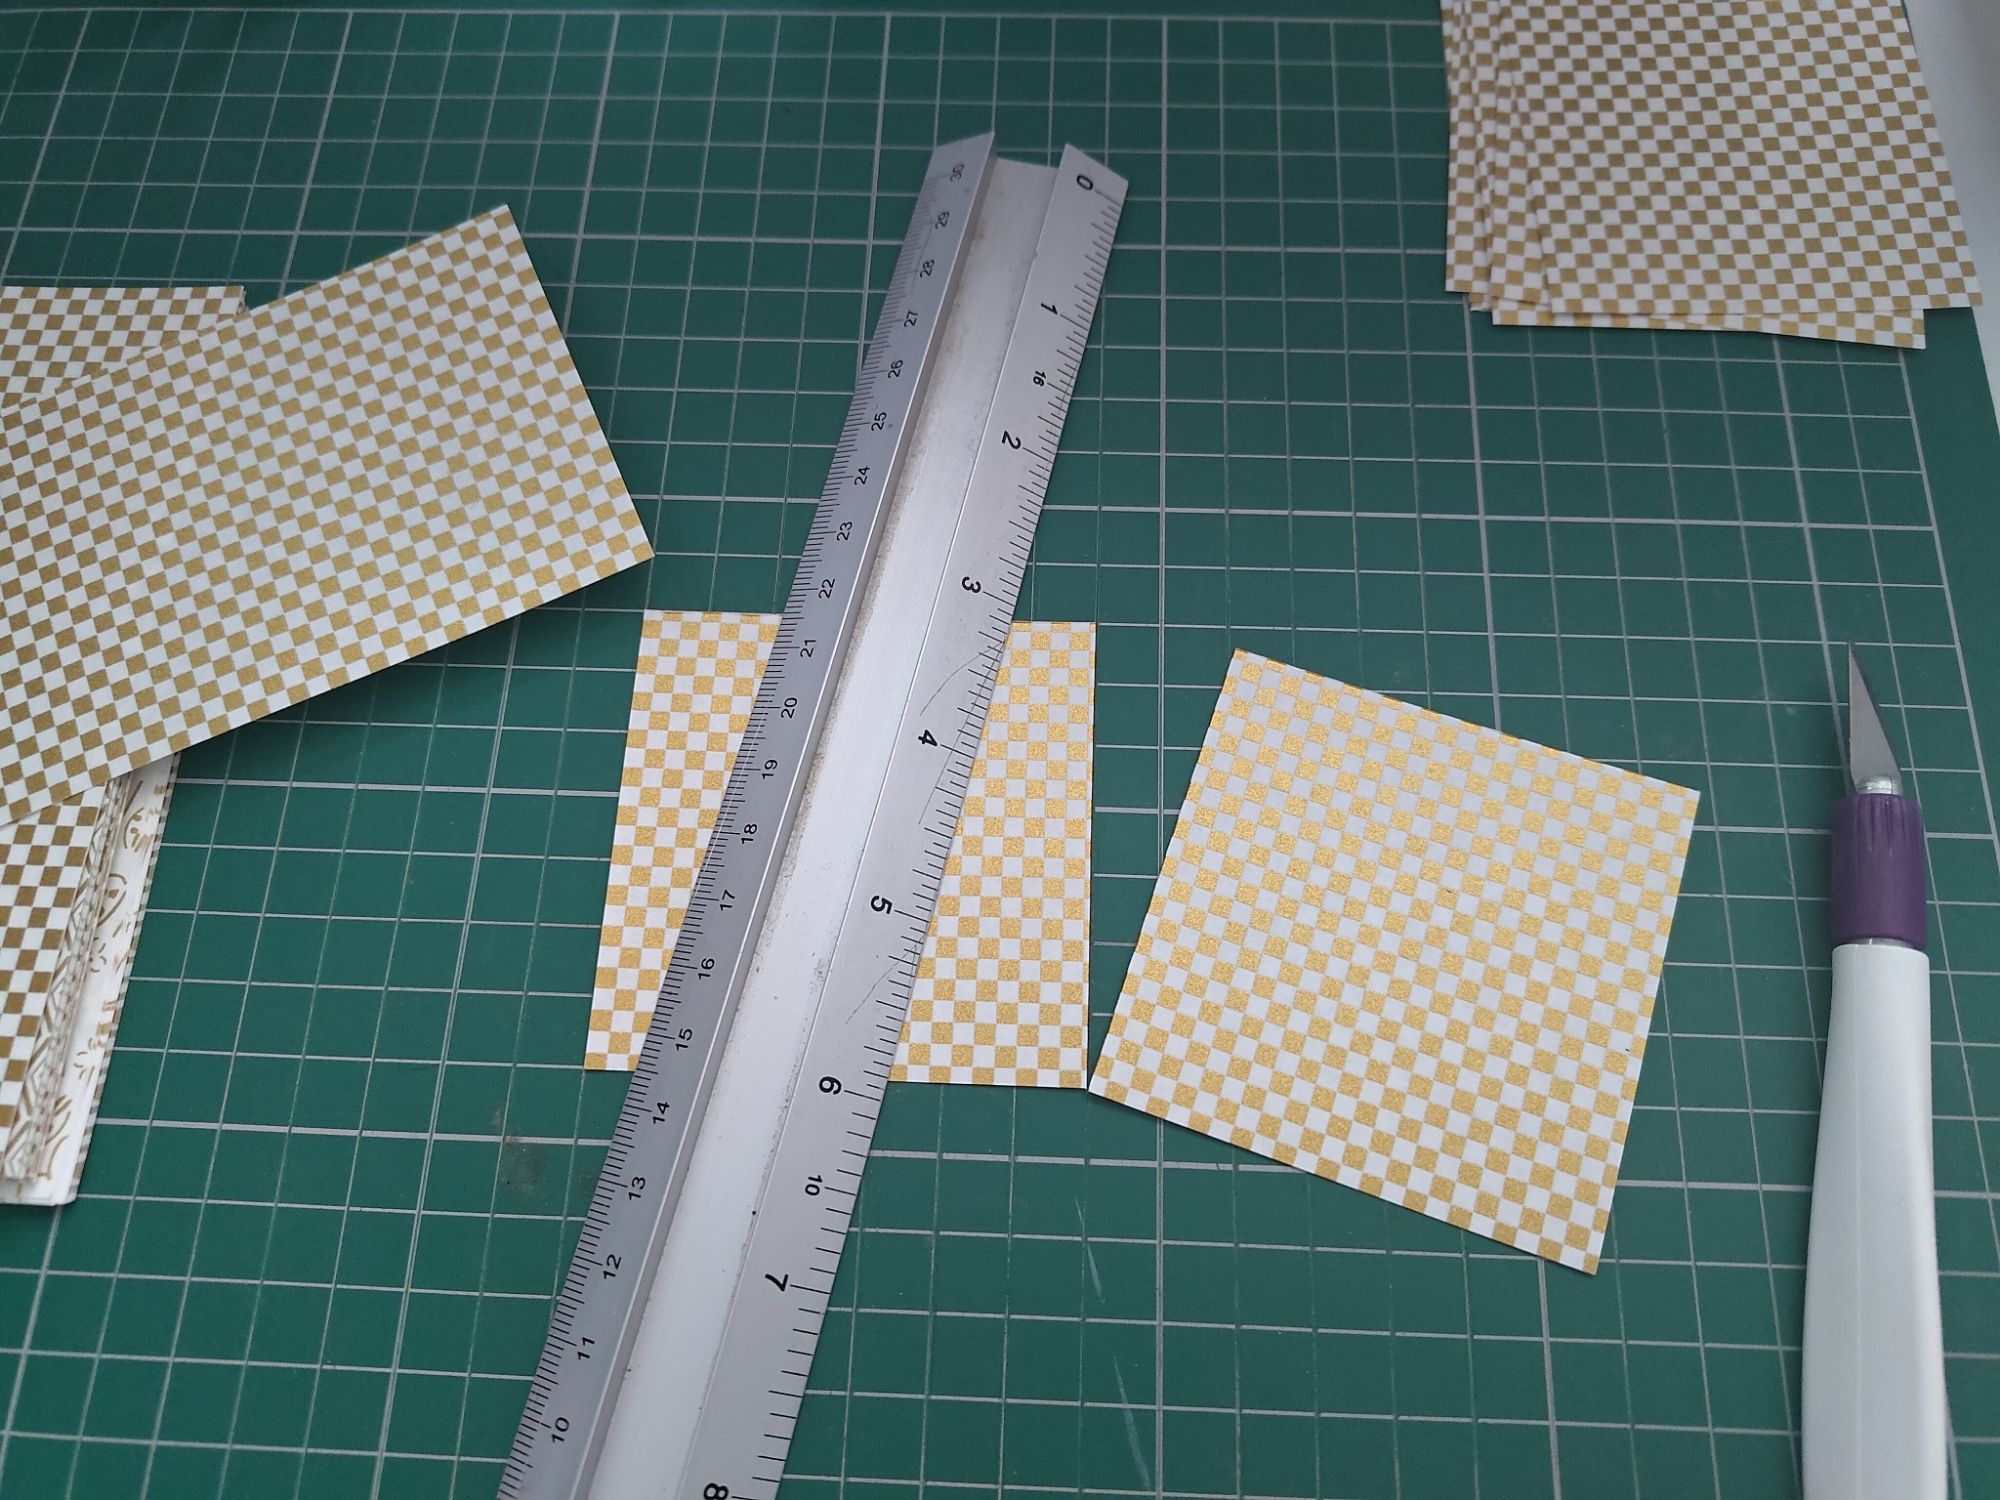
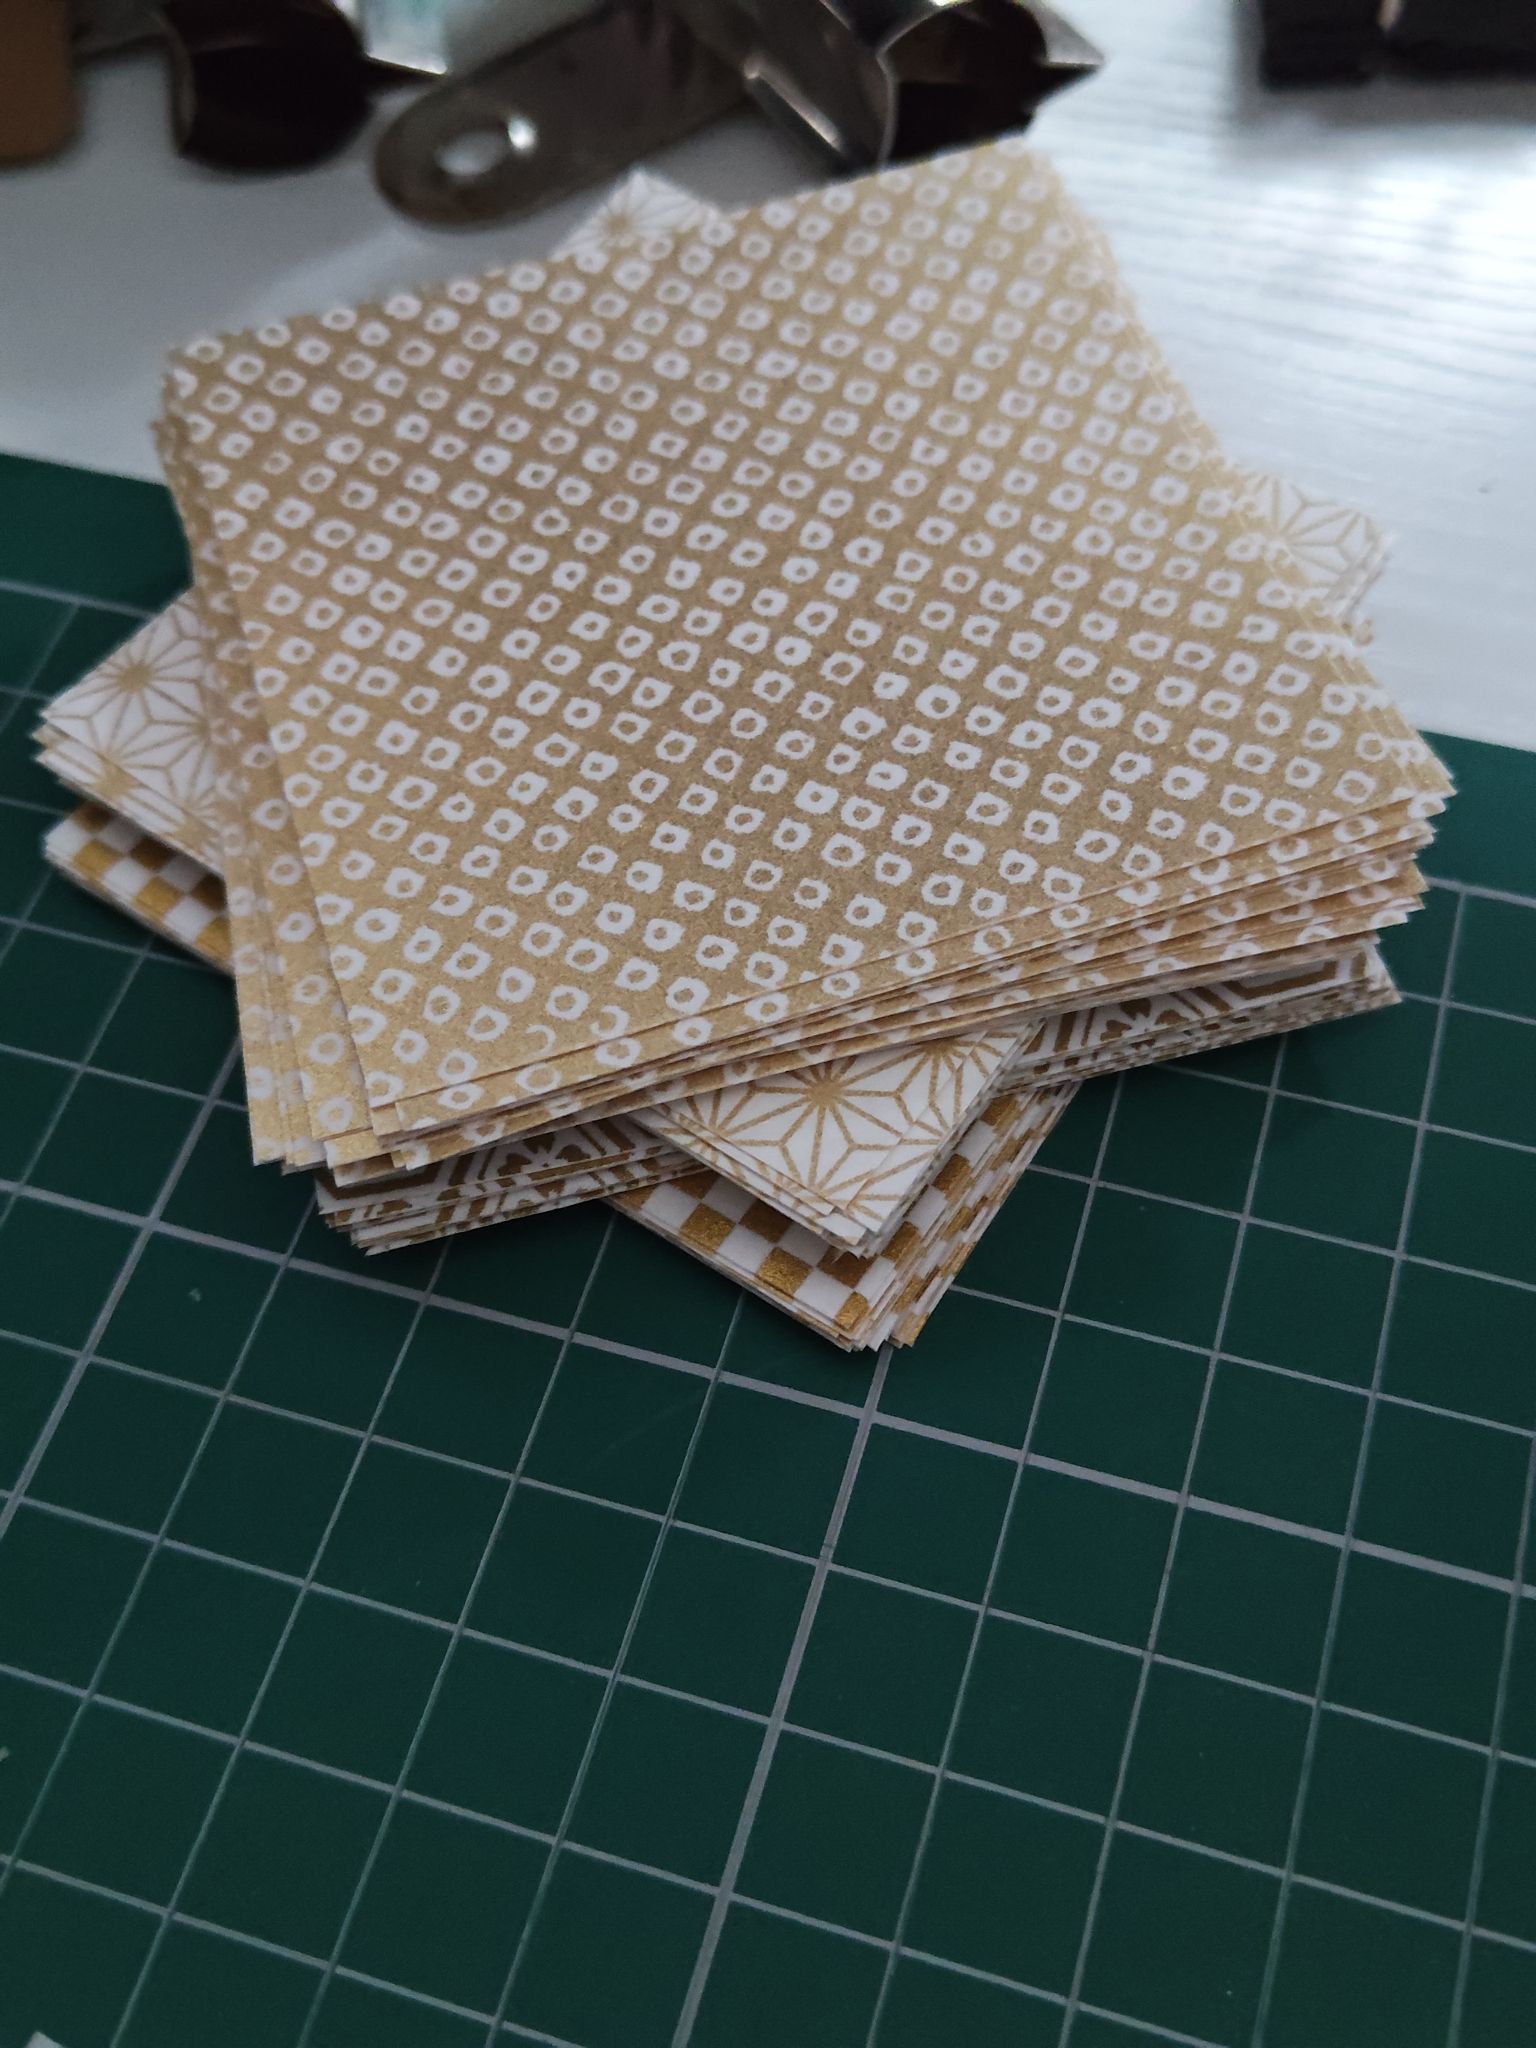
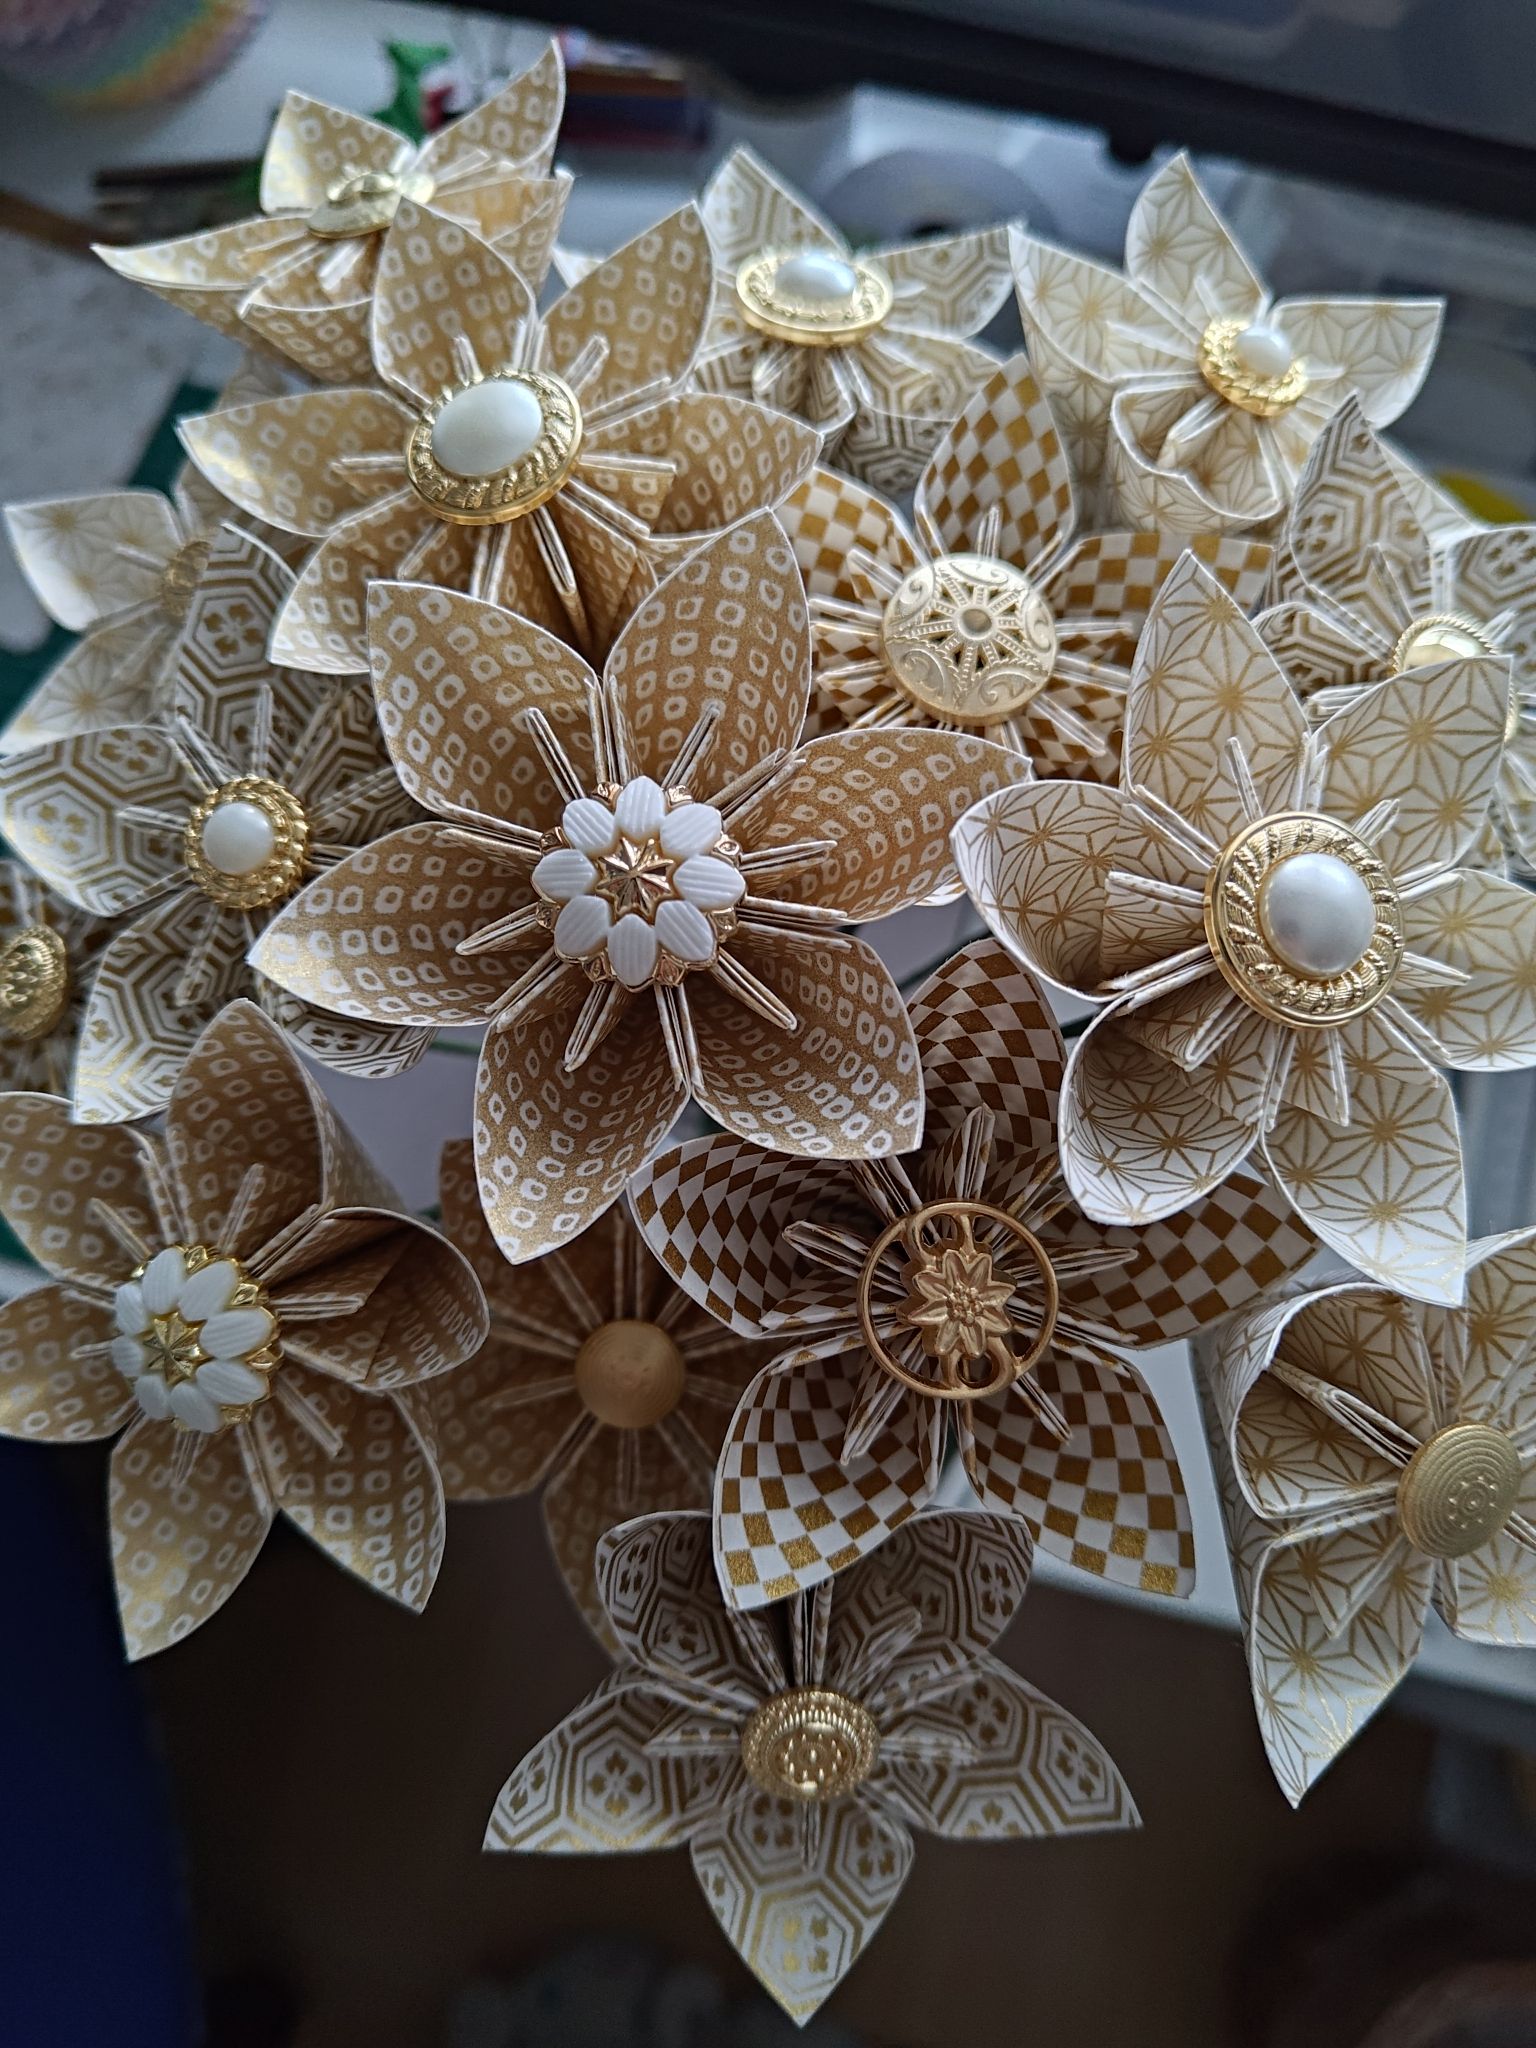
I just knew when I saw white and gold washi paper pack that it had to be part of my wedding. I bought extra packs just in case! Looking at the selection of patterns now, I saw that there were a mix of geometric patterns and other less regular patterns. With non-geometric patterns, cutting the paper into smaller sizes can affect the overall look of a modular flower.
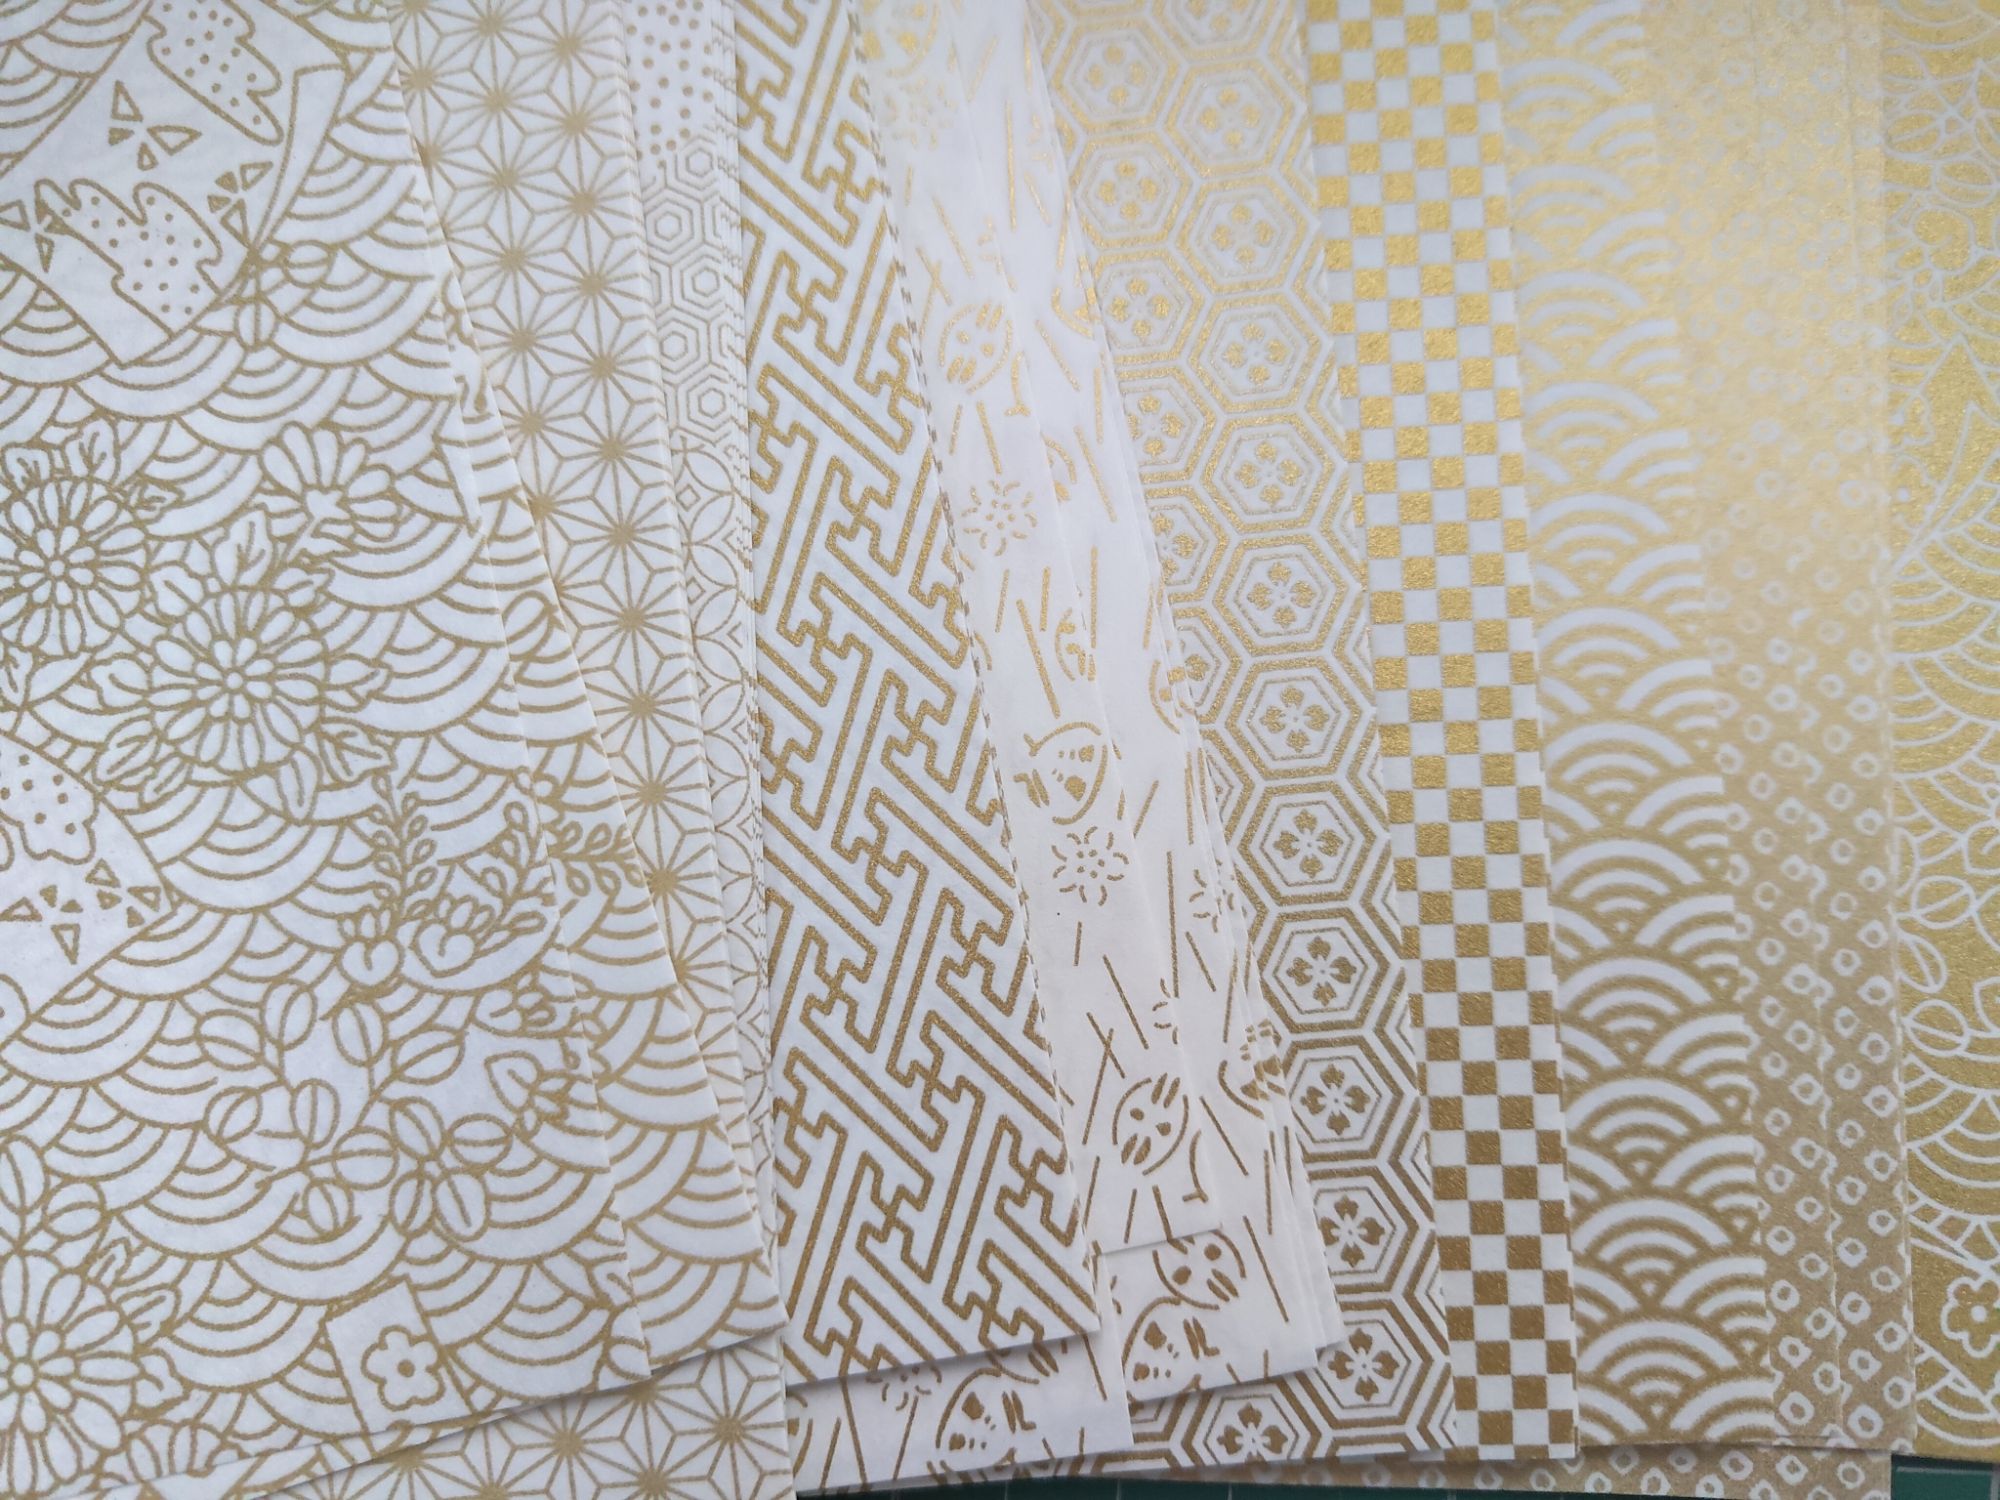
I chose all of the geometric patterns and cut them down to size in quarters. Fortunately the paper size is 14cm x 14cm, so it is really easy to line up on the cutting mat and cut into four 7cm squares. I cut up a few stacks of patterns initially to get a feel for how many flowers I could, but eventually I went back and cut out way more later…
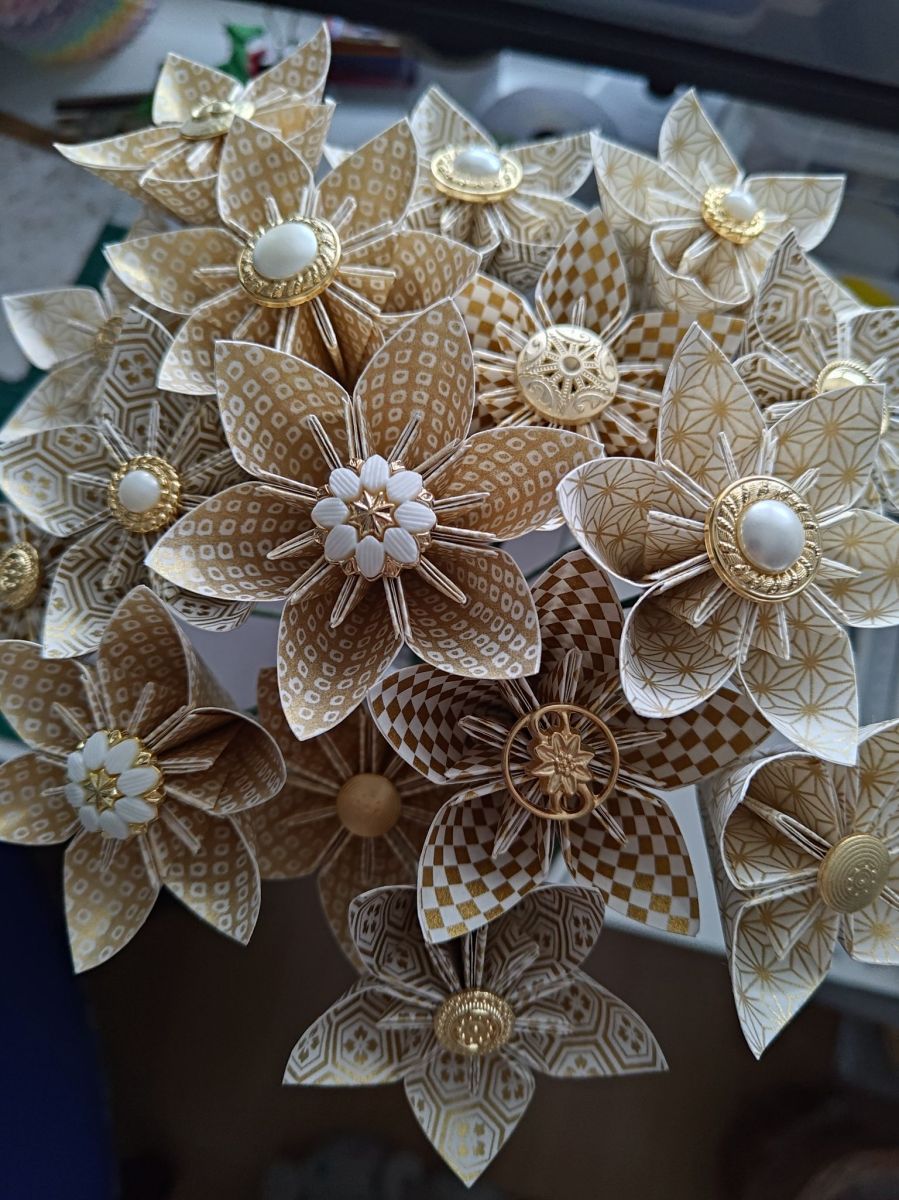
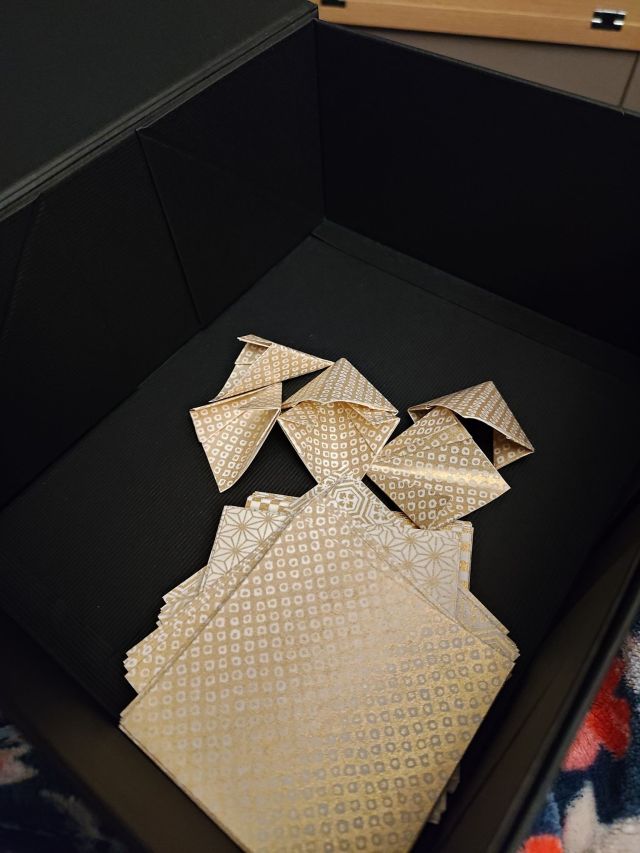
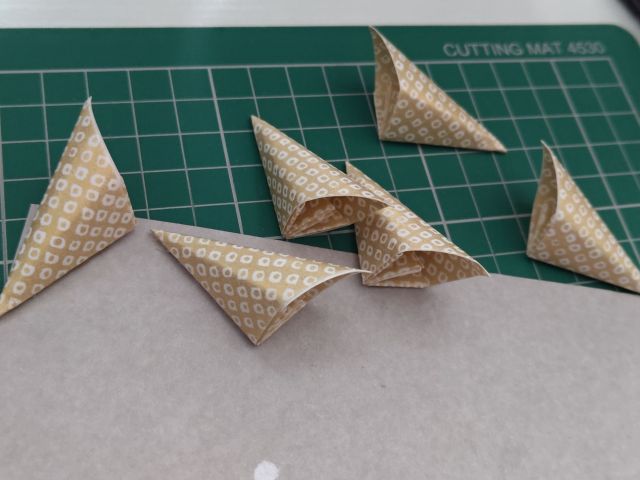
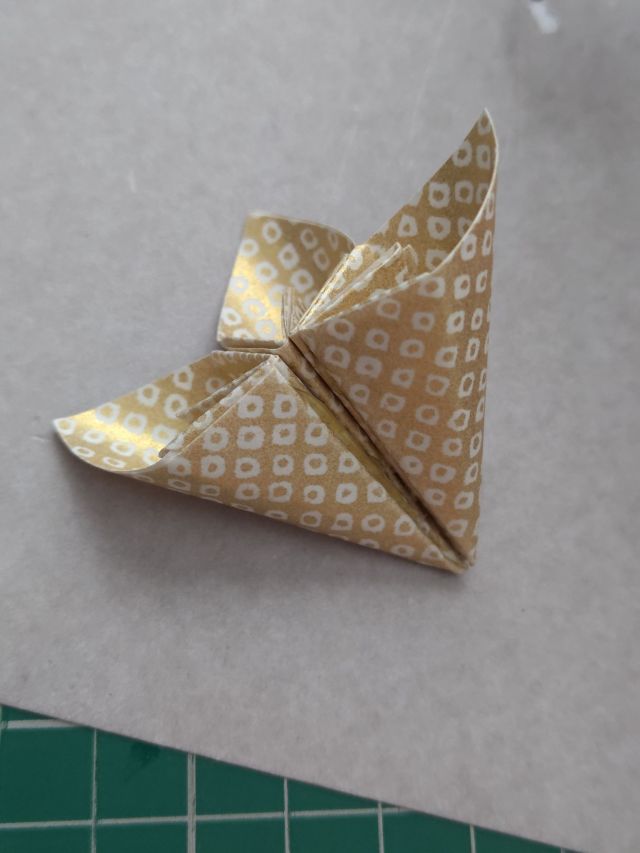
From this, I created kusudama flowers with an elegant touch. I took a small box with me throughout the house and folded the petals wherever I could – mostly in front of the TV whilst watching a program! I used the version of the petal that forms a neat single line in the centre, as seen in my festival-patterned bouquet. I was pleasantly surprised to find that hot glue worked quite well on the washi since I didn’t think PVA glue was going to be sturdy enough. Hot glue is your friend if you can work fast!
After gluing three petals together, I added the florist wire in the centre, sitting just under the boundary where the petals meet. It cannot sit above where it is visible because it will get in the way of the button. After all petals have been added, the centre can be filled with hot glue and a button can be added. All of my costume buttons came with differently sized shanks, so I would select an appropriate button to cover the centre hole.

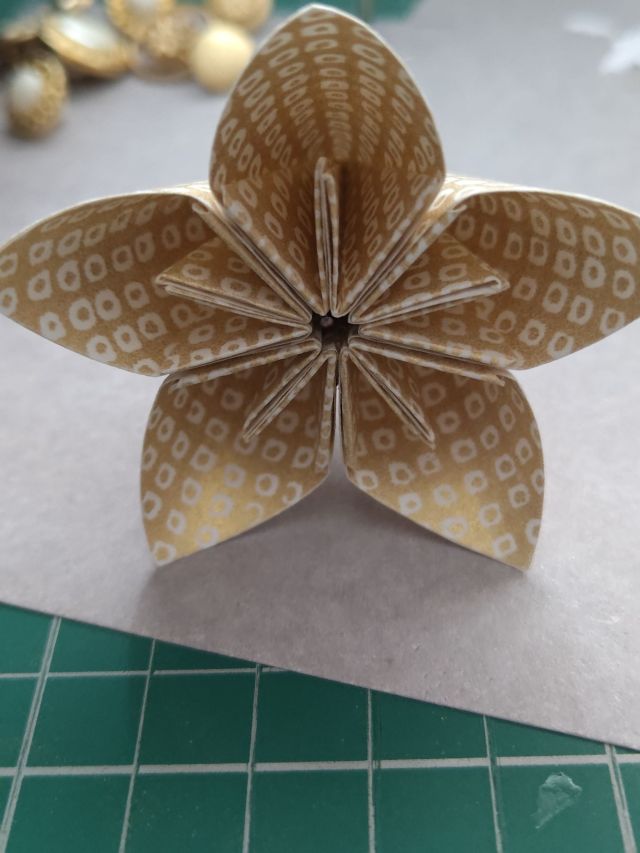
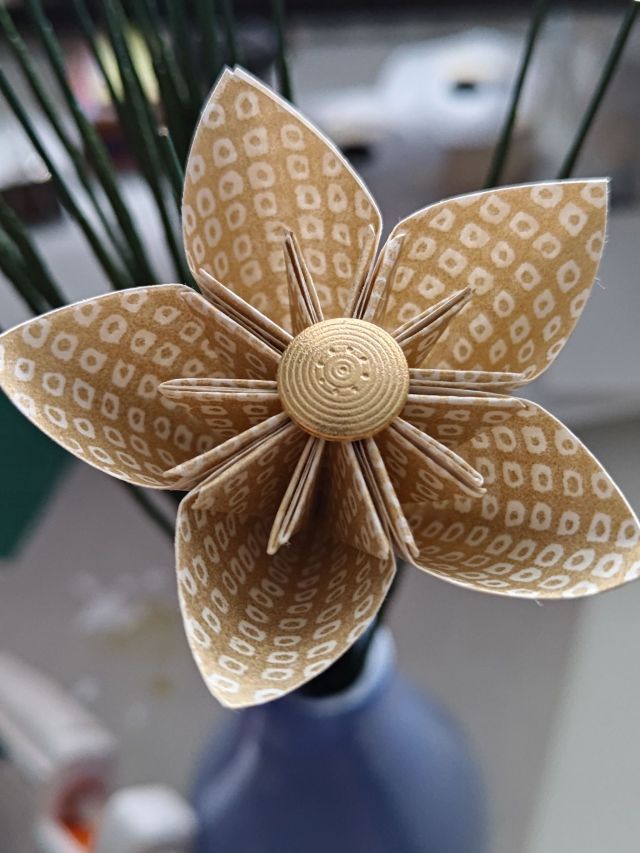
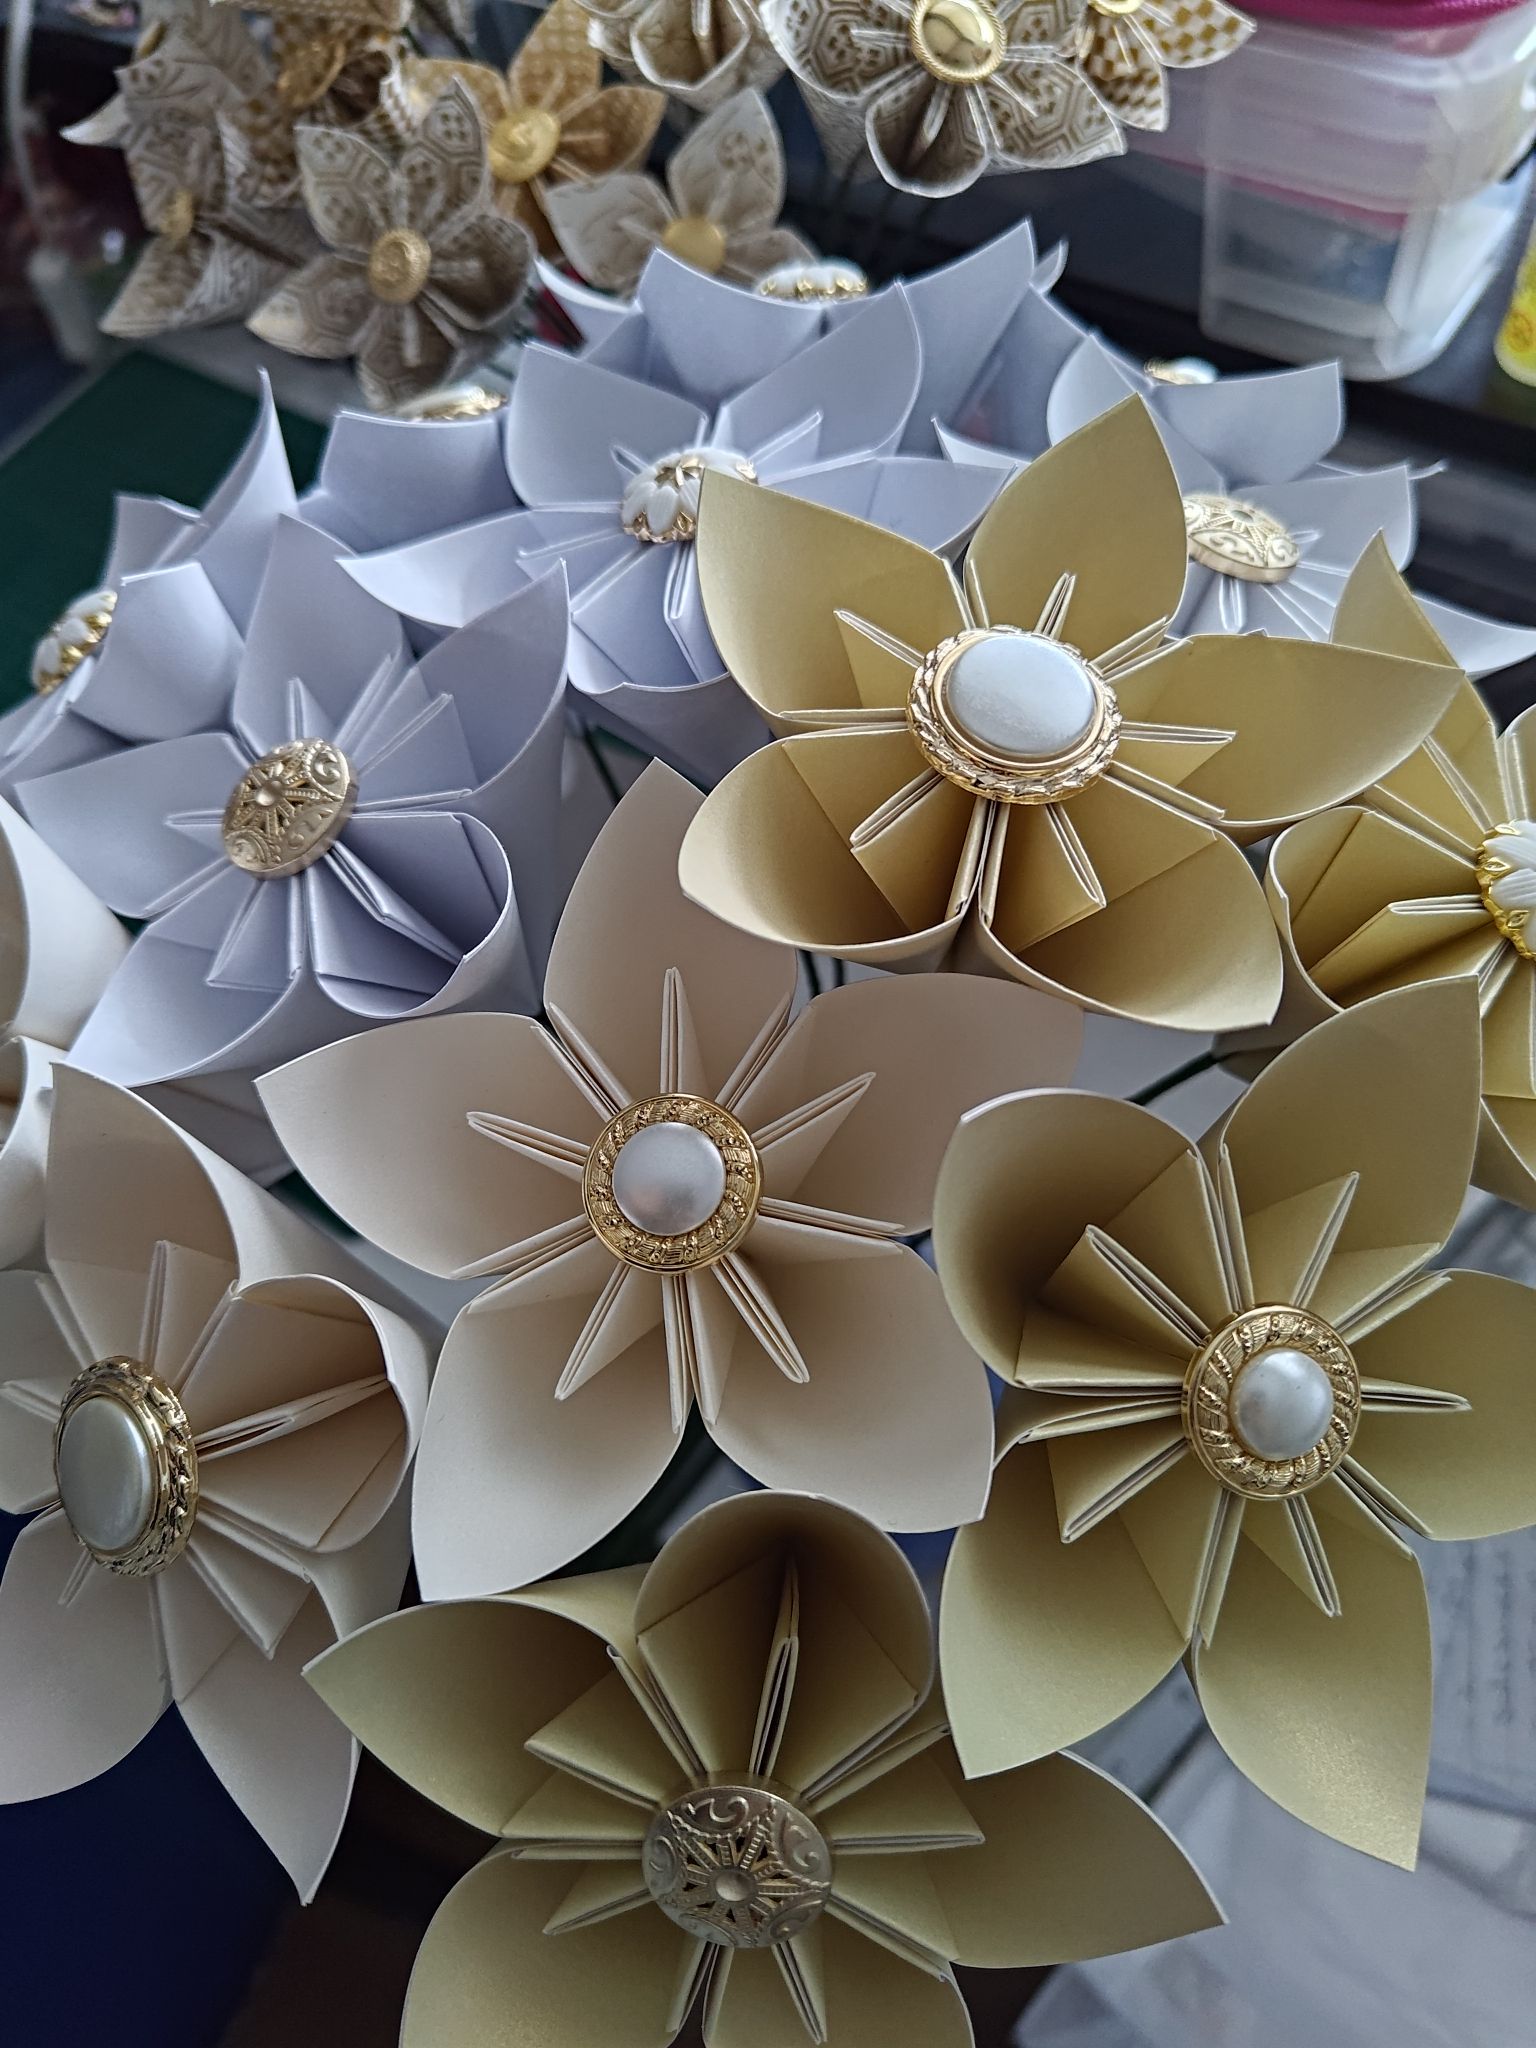
They look so elegant with the gold button in the centre! I made a variety of combinations of flower patterns with different buttons. I also added six-petal and four-petal flowers too. The six-petal flowers suited the larger buttons and the four-petal flowers for the non-geometric patterns.
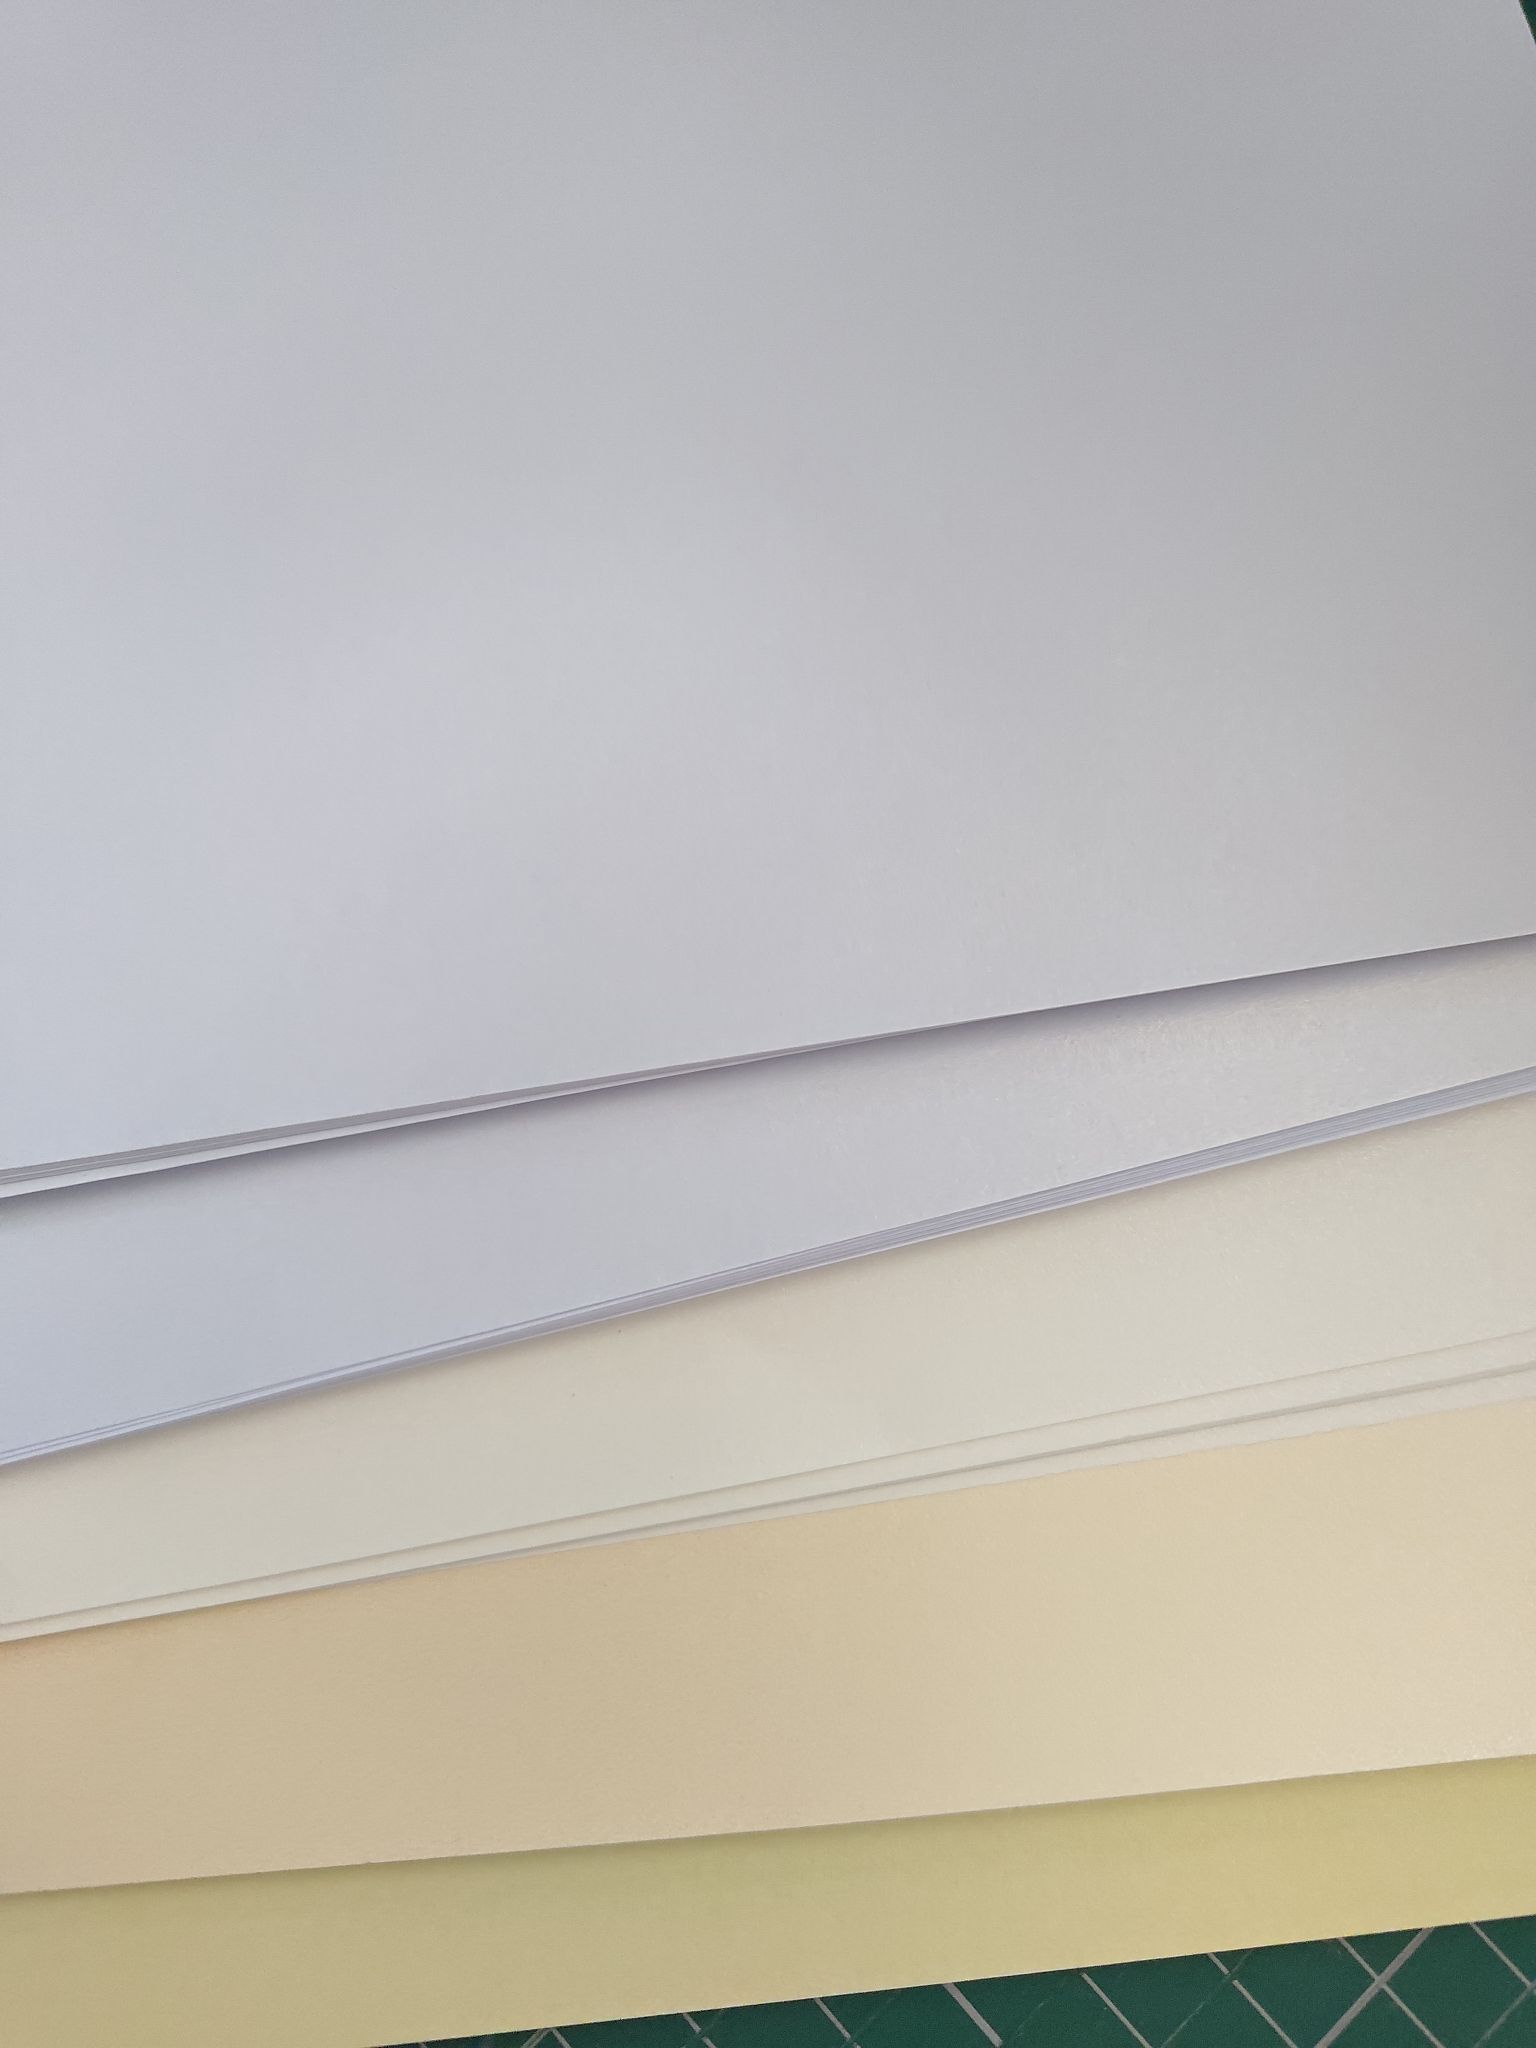
Despite having so many gorgeous flowers, I thought that I needed a central focal point in my bouquet. I did some searching for large pearlescent paper, and Yeestore on Etsy were happy to help. They even create a custom listing for me where I could choose exactly which colours I wanted! I bought a set of 20cm pearlescent origami paper in five shades and made more kusudama flowers out of these. I stuck to five-petal flowers for this and made them in the same way, prioritising adding the larger buttons.
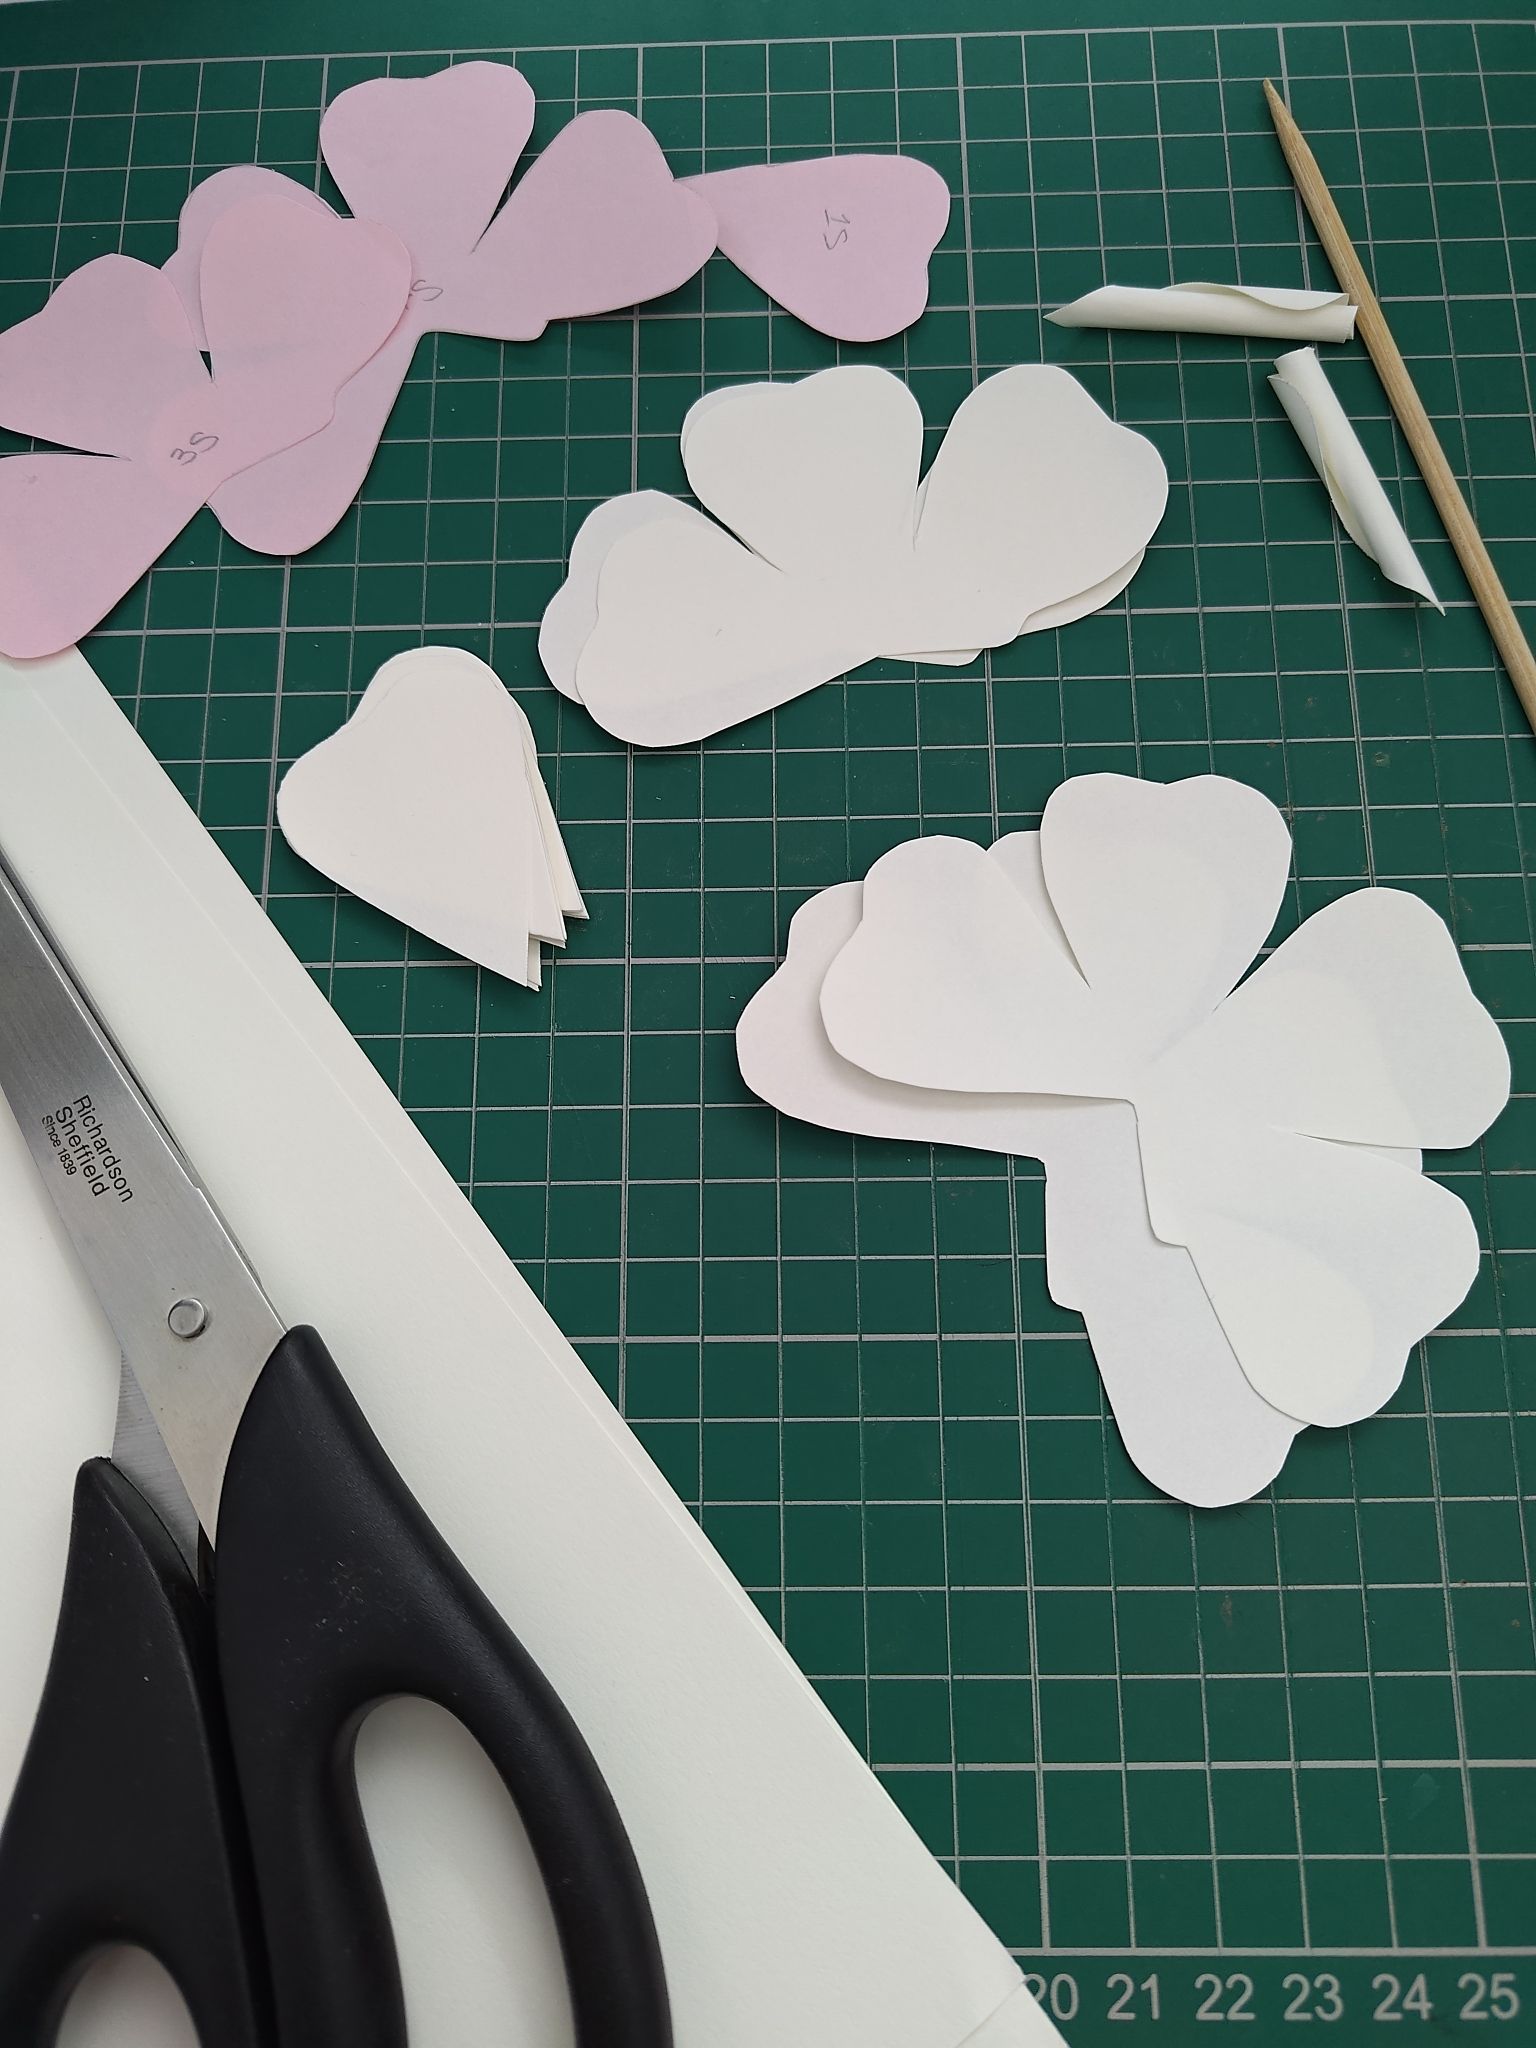
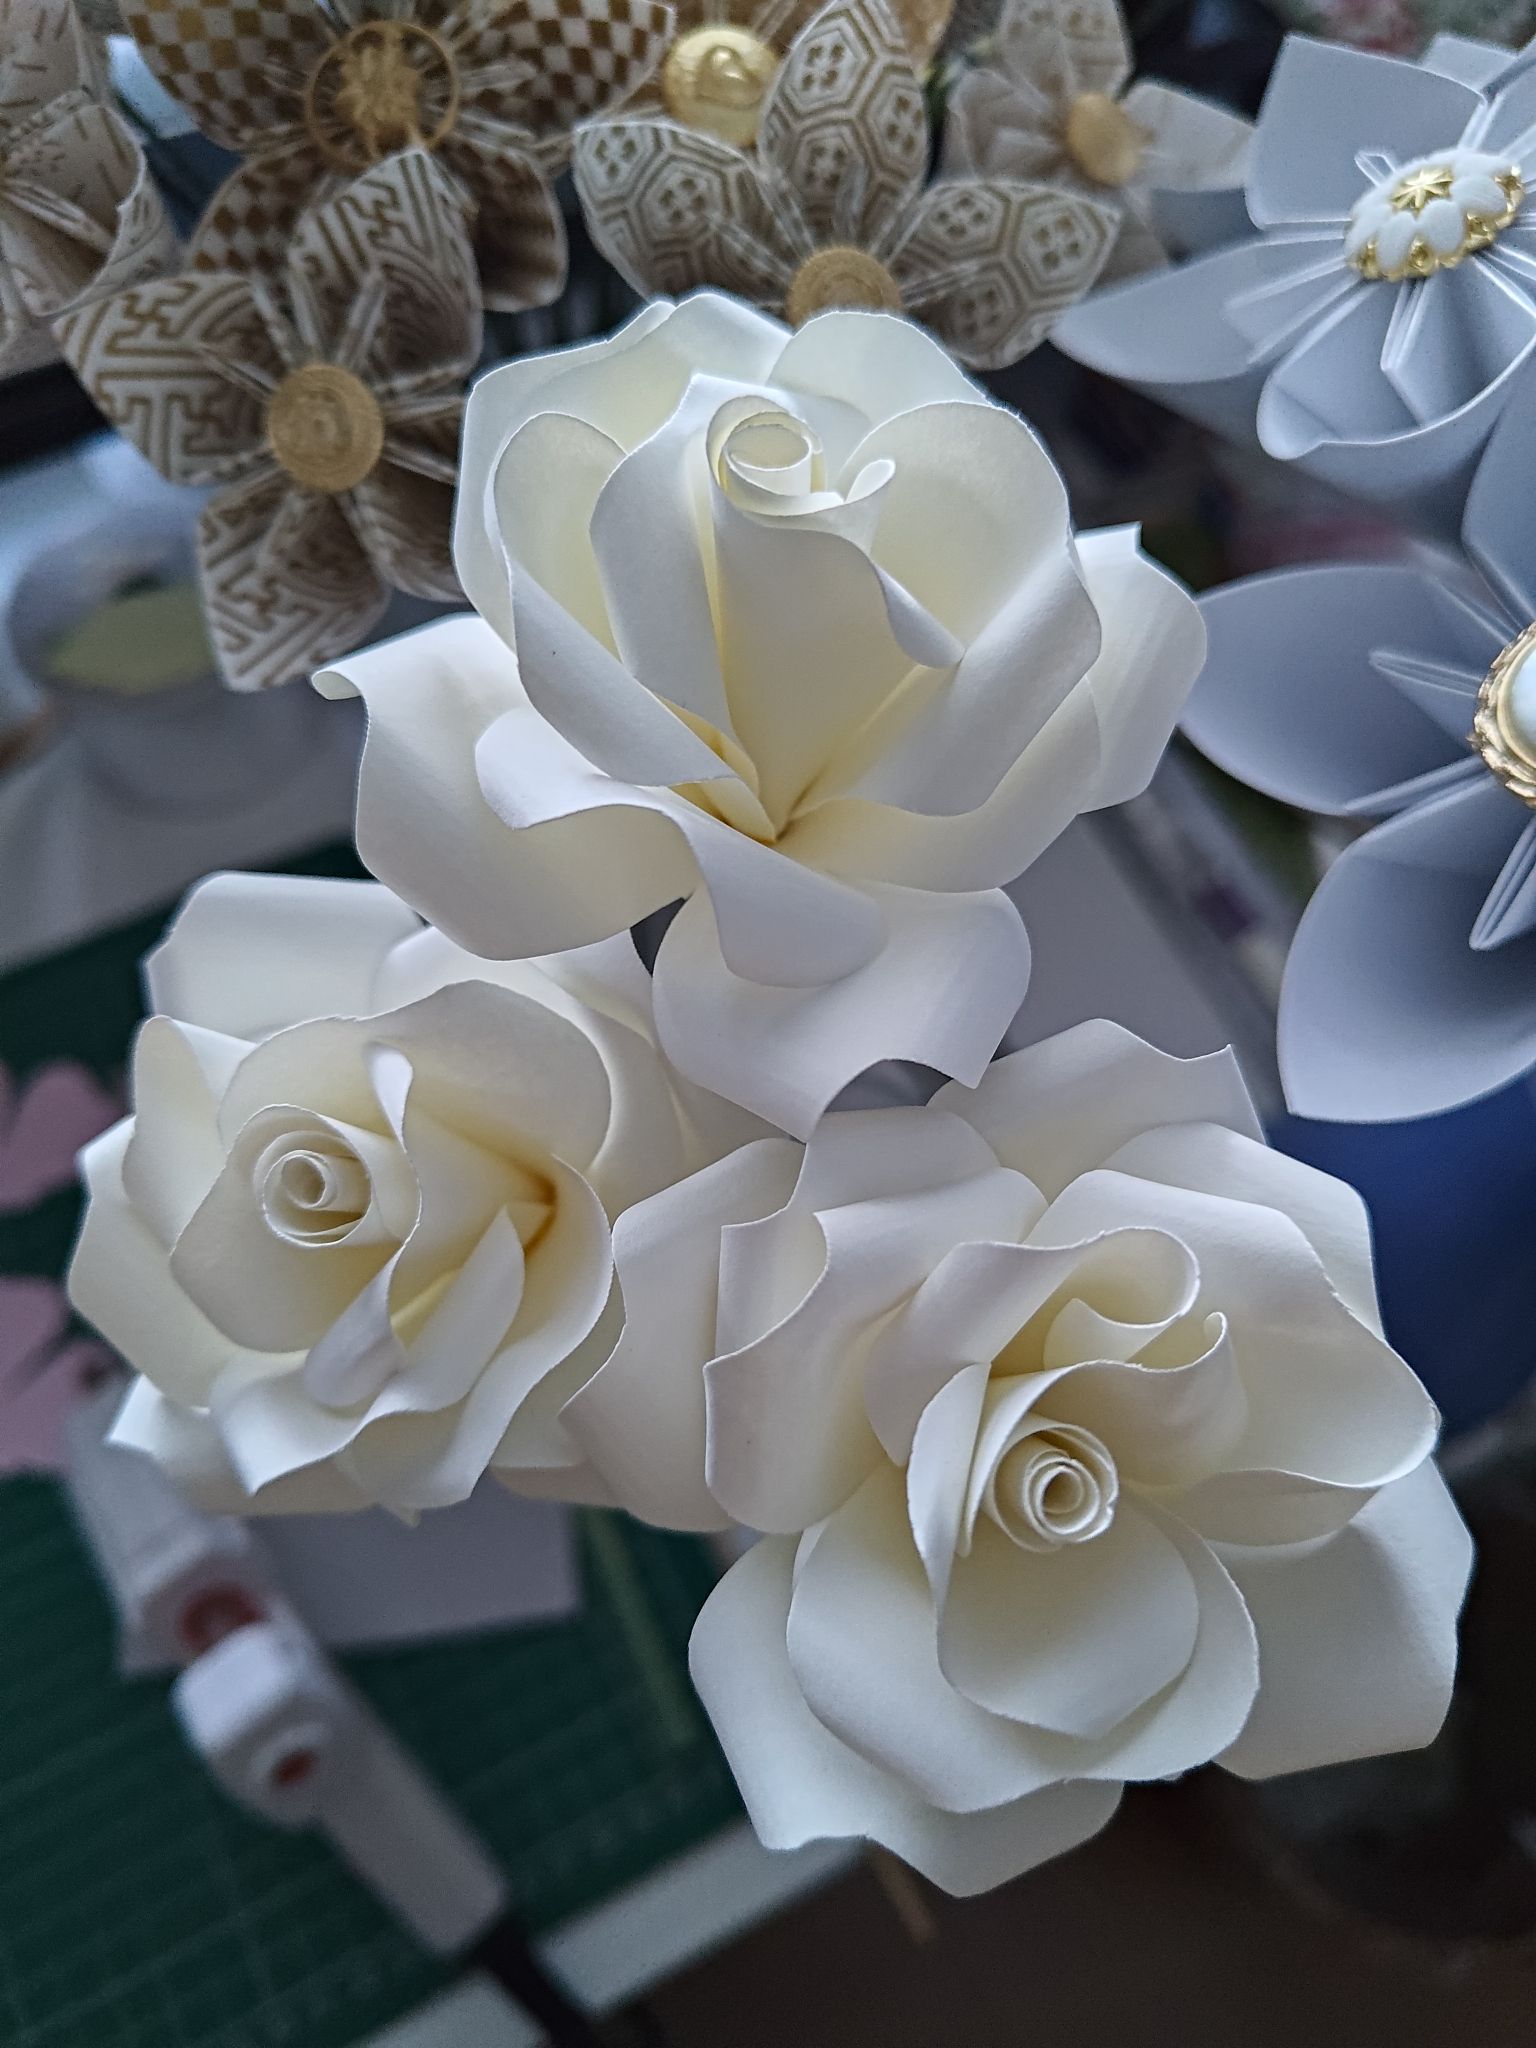
At this point I started to get second thoughts about having a bouquet made entirely from kusudama flowers, and then I purchased even more stuff (!!) – ivory textured A4 paper from Jampak Shop on eBay. I used this to create small papercraft roses as previously seen in my papercraft rose project – I cut out my previously made small rose templates from the A4 paper and curled them with a skewer, then I hot glued them onto florist wires.
I previously made my papercraft roses with coloured printer paper, but the texture and ivory colour just really works well somehow. I think it’ll be a great addition!
I used a spare vase to arrange the flowers the way I wanted them to, then I started building the bouquet up. For me, it helped to work in stages – first I would arrange the main flowers together and bind with florist tape, then slowly add the surrounding flowers, whilst bending the flowers by hand to form a dome shape for the bouquet. My florist tape bindings weren’t aligned but they will be not visible by the final step hopefully.
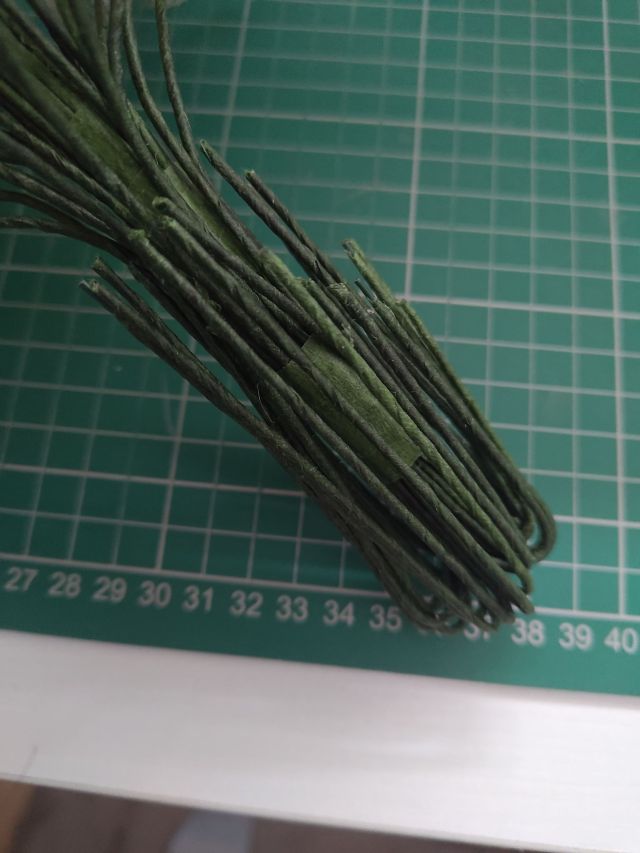
To add some width to the final stem handle, the wires are bent in the other direction using nose pliers and trimmed to similar lengths using cutting pliers if possible. I saw this step on Lia Griffith’s DIY Paper Rose Wedding Bouquet tutorial – it’s a free tutorial, give it a try yourself! Unfortunately I saw this too late when I was looking up ideas to begin with, if I had seen this first then I would have tried it myself!
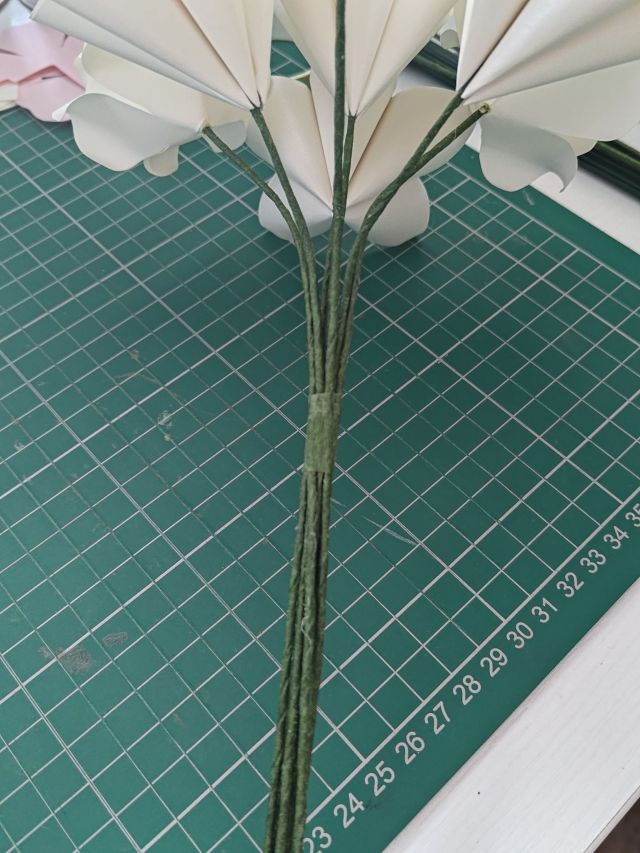
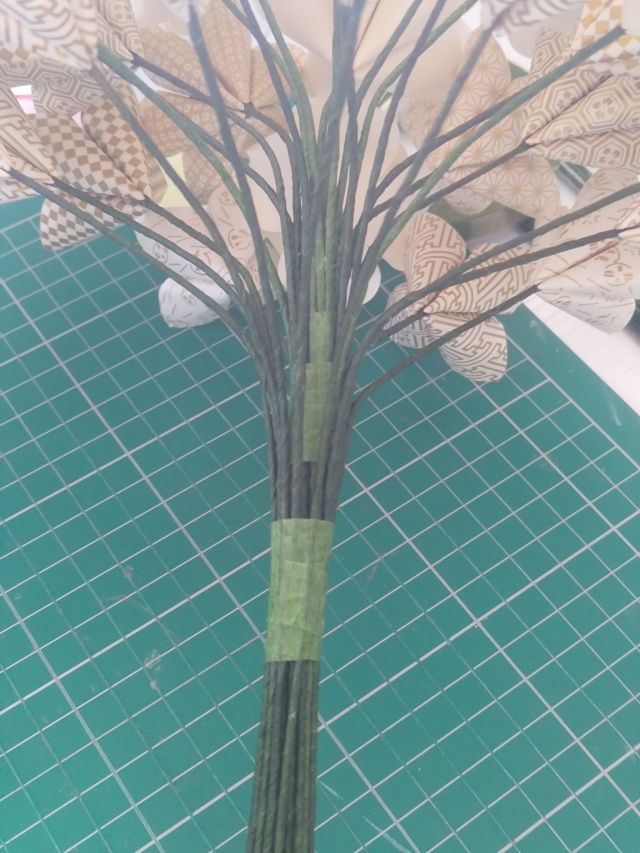
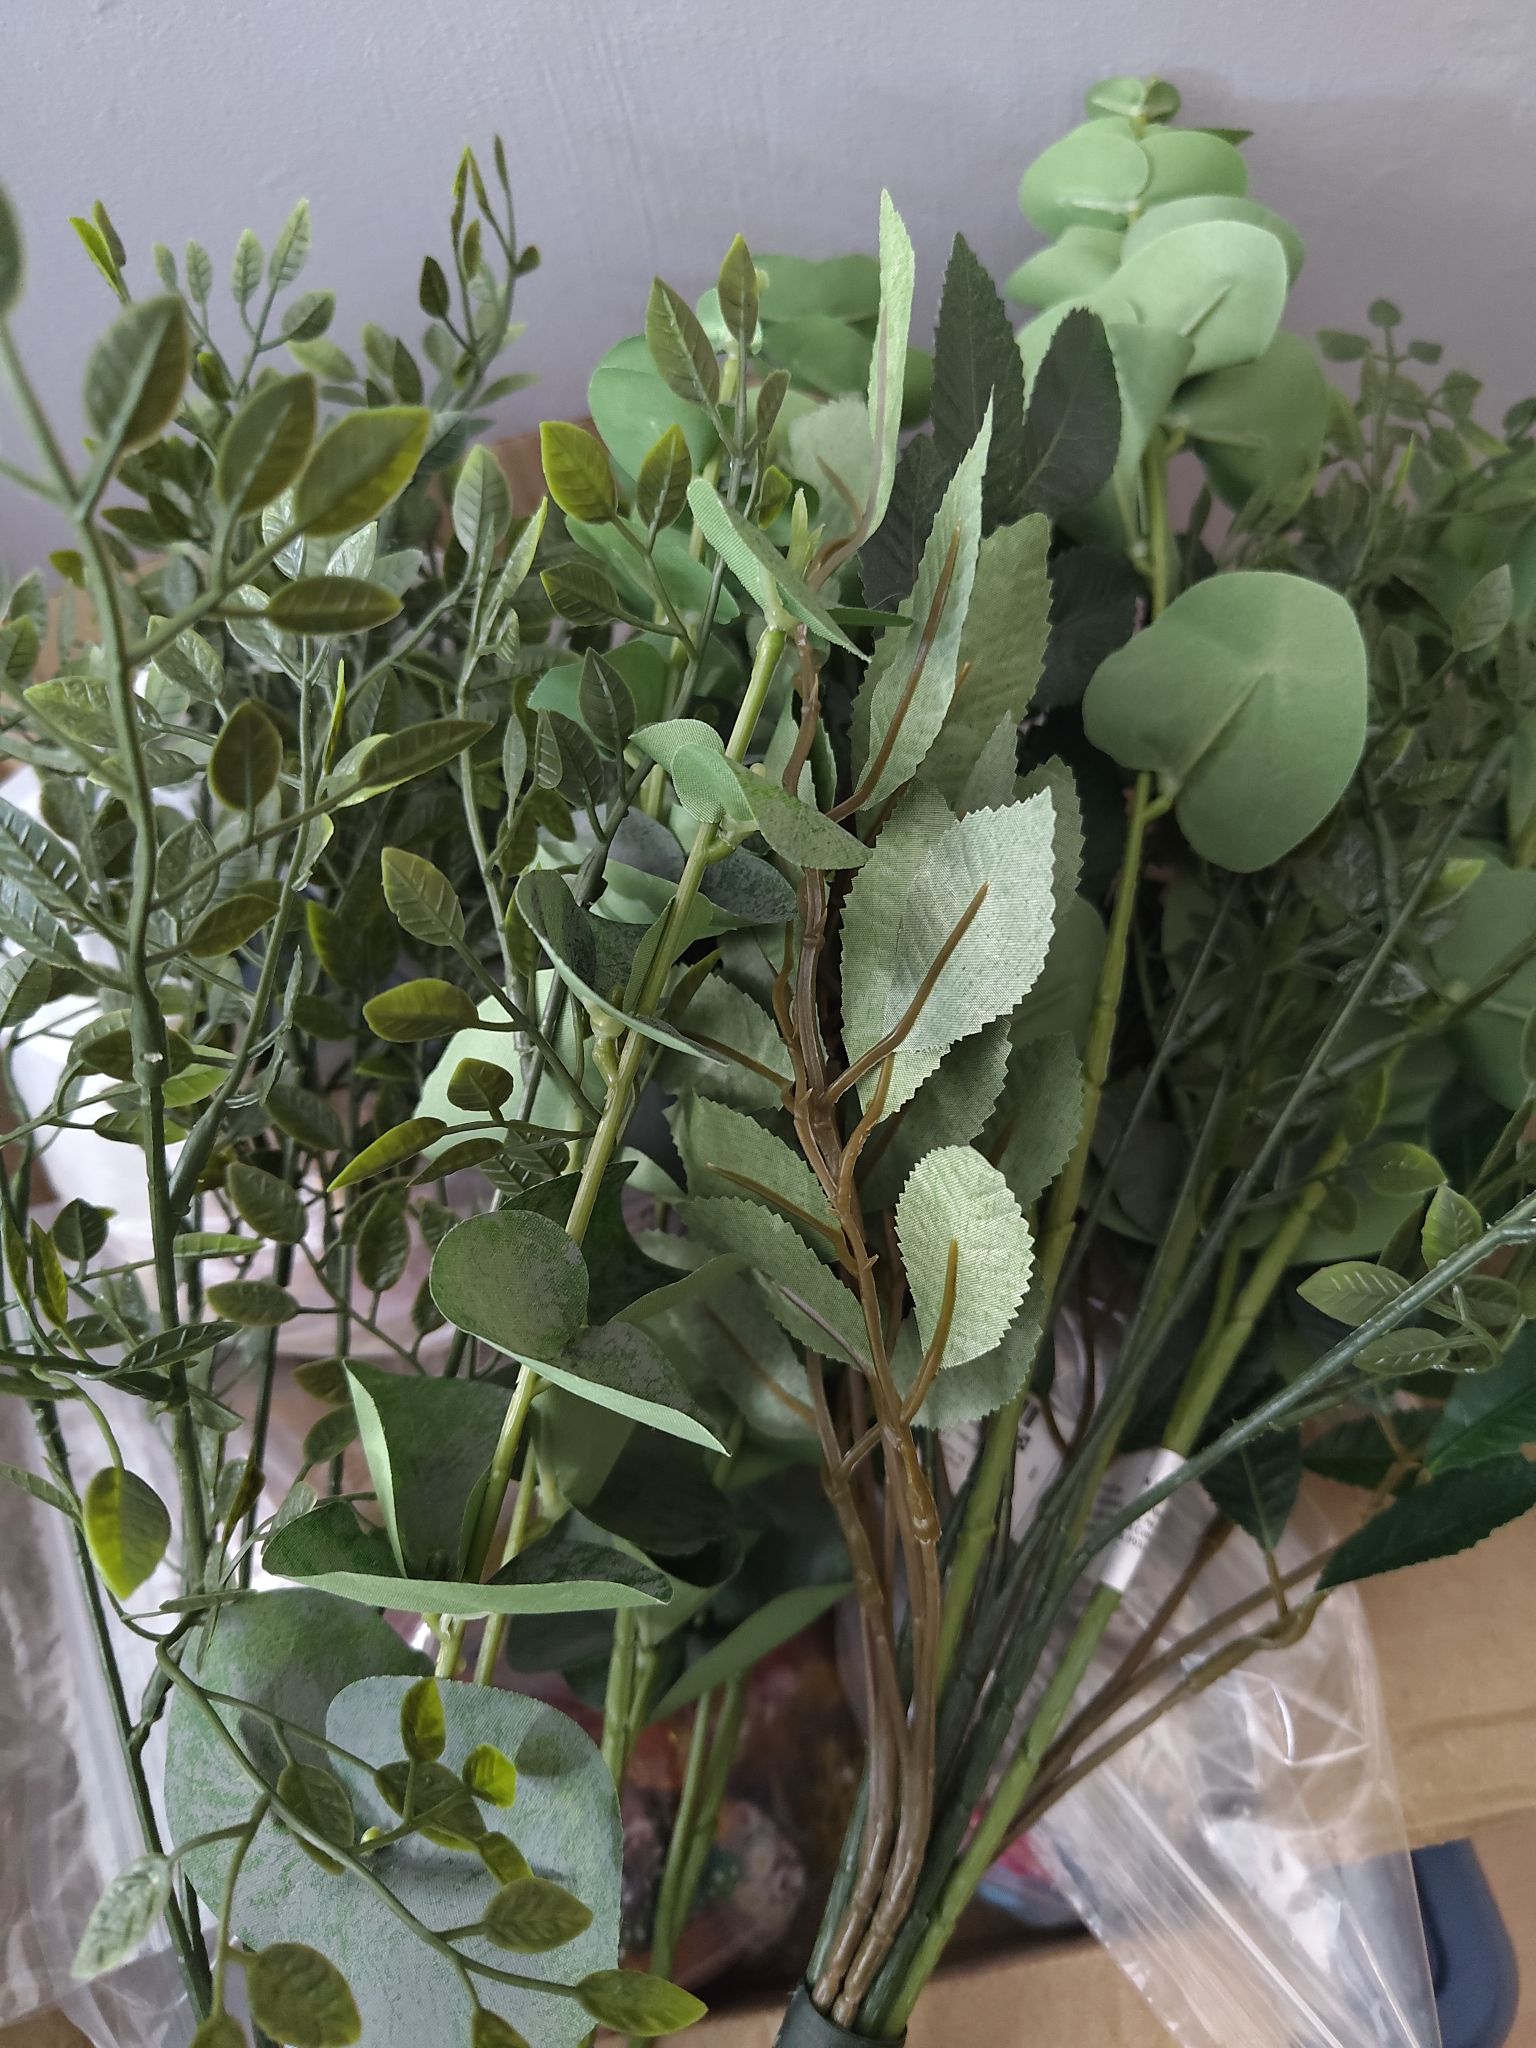
I got some feedback from my bridesmaids to add some greenery to the bouquet. The problem I find with making paper leaves is that they never seem to look real enough (or maybe I’m just not that good at this part!), so I opted for some plastic greenery instead. Well I happened to be at my local IKEA store and I grabbed some bundles of greenery from the florist section. It gets a bit tough to wrap everything with tape at this point!
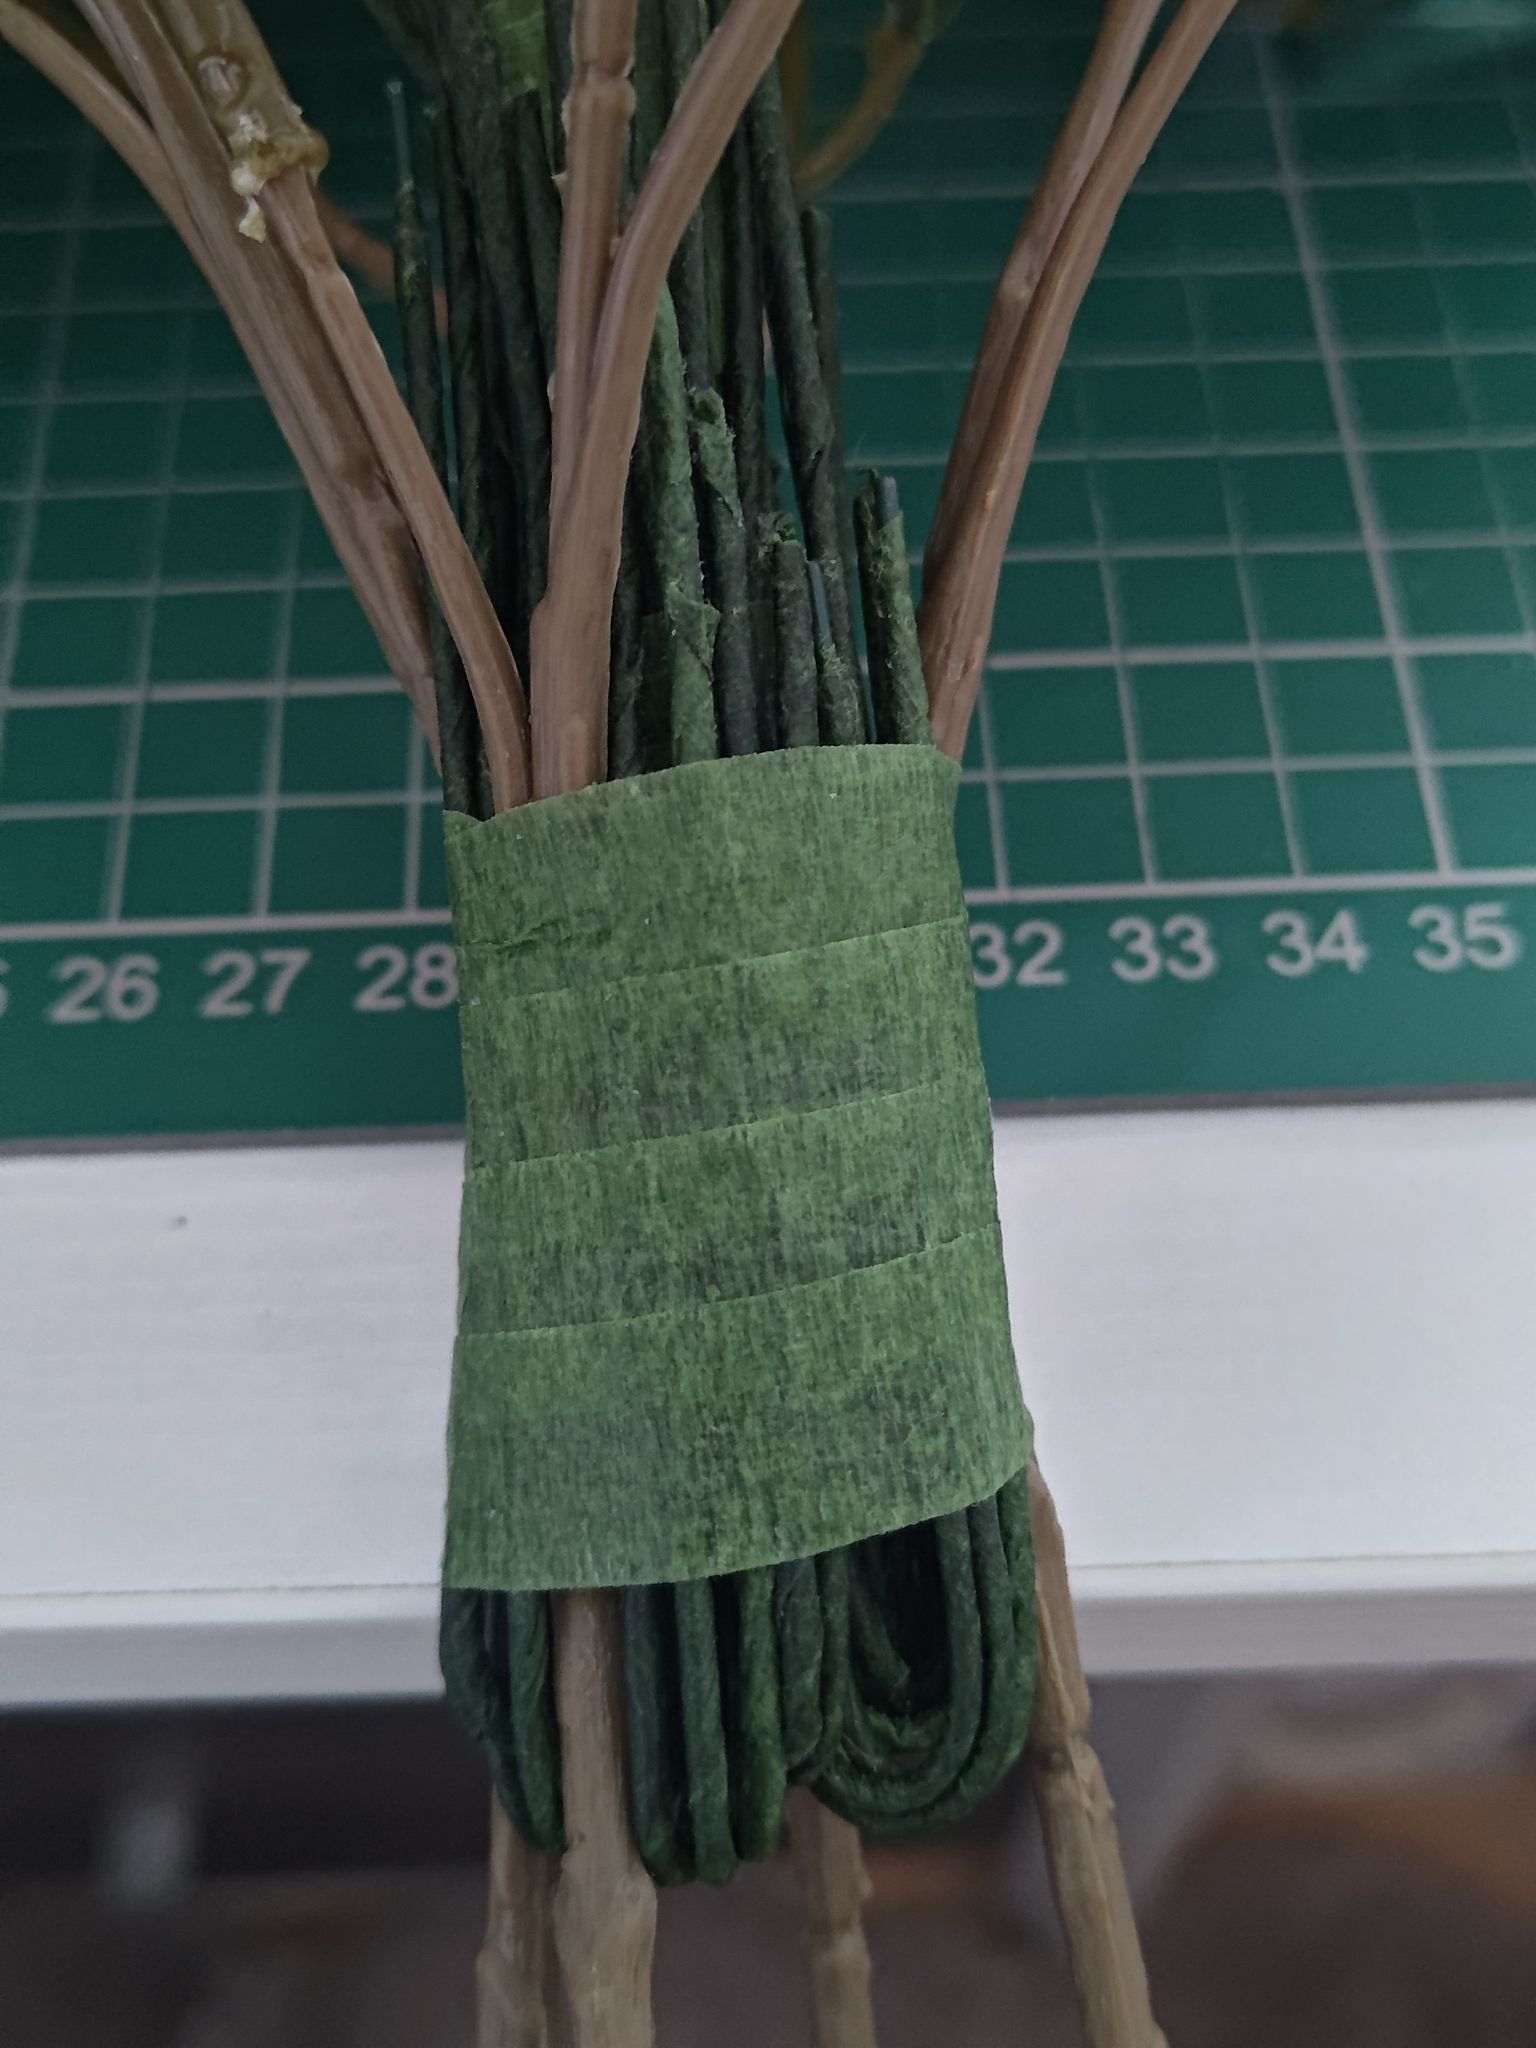
Alternatively you could use natural jute twine to tie up the bouquet. I ended up using both – the florist tape was really good at holding the wires in place, but the jute twine was good at binding the top of the bouquet together. You could also have a full jute handle! But for me, eventually it will get covered up so nobody has to know!

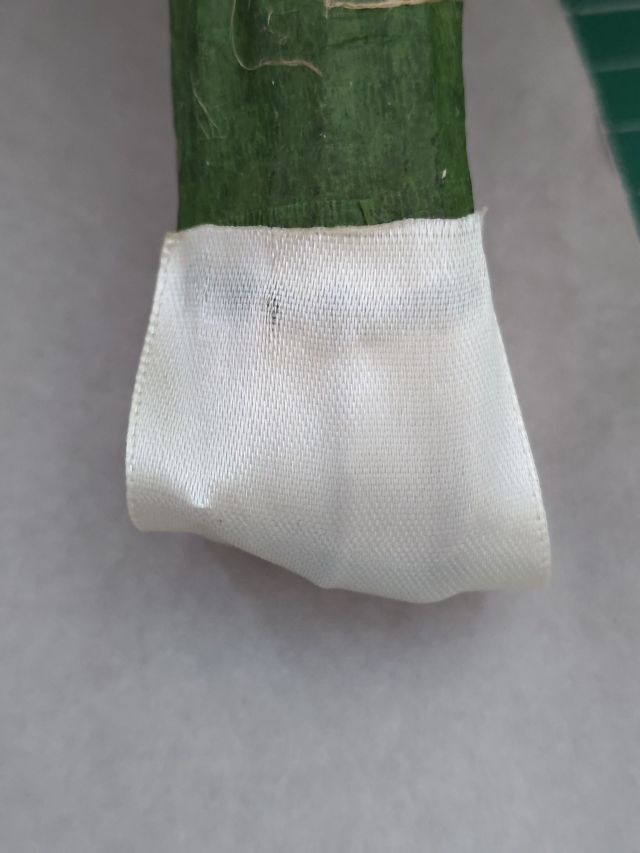
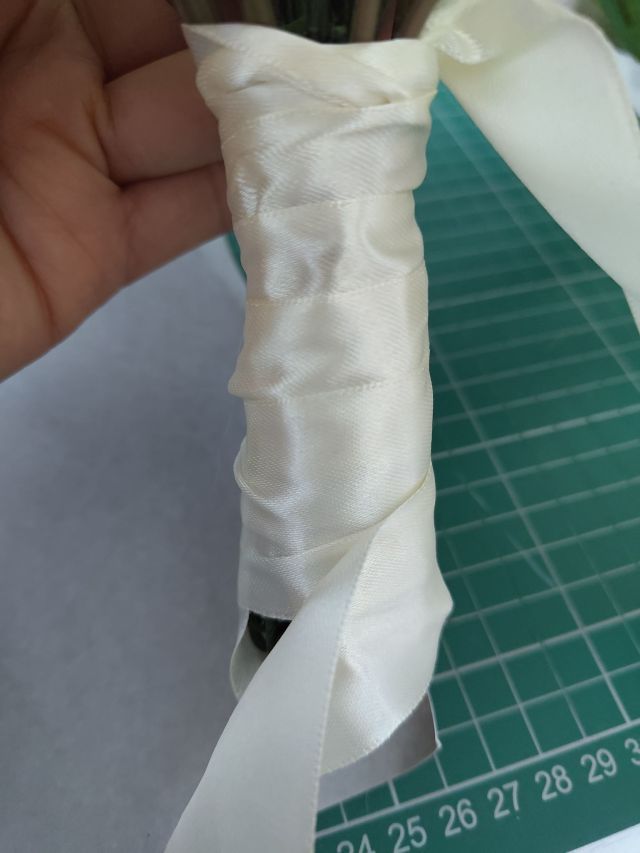
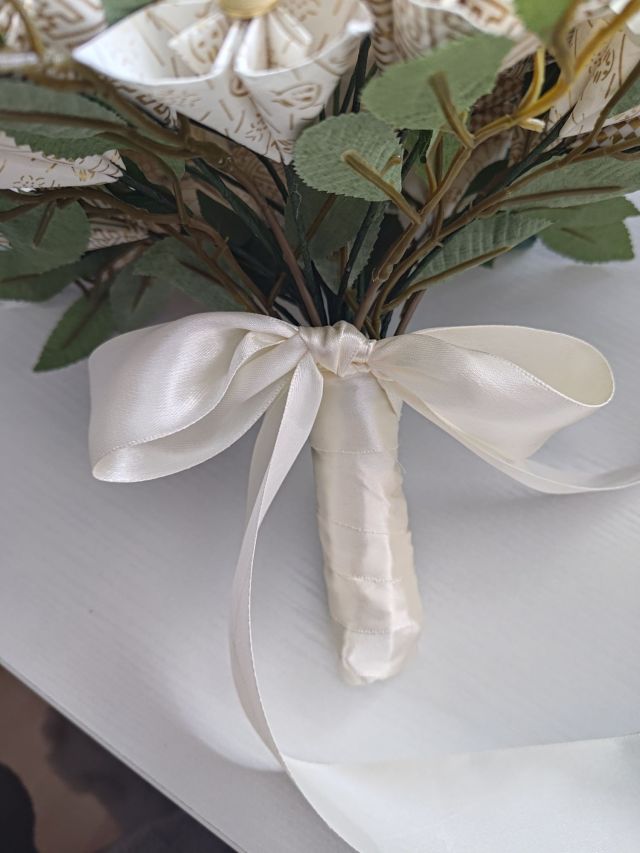
Finally, my last task was to add ribbon to the handle. I chose double-sided ivory satin ribbon to match the theme of colour and luxury. I cut a small bit to cover the bottom of the handle to hide the bent wires, then I cut a long 4m length of ribbon and tied a knot over the jute twine, then I wrapped the ribbon around the stem working towards the bottom, before going back up and tying a secure bow to finish. I left long trails of ribbon and cut a diagonal trim to finish.
Prior to using it, I sealed the ends of the ribbon with a lighter, and I used hot glue to glue the ribbon in place when attaching to the handle. The stem looks a little small, but I can use one or two handles to hold it.
So, the bouquet is finished now and I’m so happy with it, but… I’m not ready to show it off yet! I think I will wait until after the wedding when I get official photos from my photographer, so I hope you can wait until then! I have to keep some aspects of my wedding a secret, after all! I also have to design the bridesmaids bouquets and the groomsmen boutonnieres using the same theme, but I think it will go faster now as the bridal bouquet is the most important one and the longest time I spent (both time and money…) on a wedding project so far. I also have a lot of spare flowers that I could use for other projects. Hopefully everything else goes a bit more smoothly!
Materials used:
– white and gold washi paper
– pearlescent origami paper
– A4 ivory textured paper
– artificial green leaf branches
– gold and pearl costume buttons
– florist wire
– florist tape
– jute twine
– ivory double-sided satin ribbon
Tools used:
– craft knife and cutting mat
– hot glue gun
– scissors
– pliers set
