Eager to try out more macramé projects, I found out about macrame hammocks and came across this fantastic tutorial by Summer Macrame for a small macramé hammock. Anyone who knows me knows that I own a lot of plushies! This is a great way to tidy up and add a personal touch to my room.
I mostly followed the tutorial by using a 6cm wooden ring and 5mm macramé cord. I think you will need about 45m worth of cord but it will depend on the last step.
The techniques you will need to know are Lark’s head knot, the square knot, and the gathering knot. That’s it!
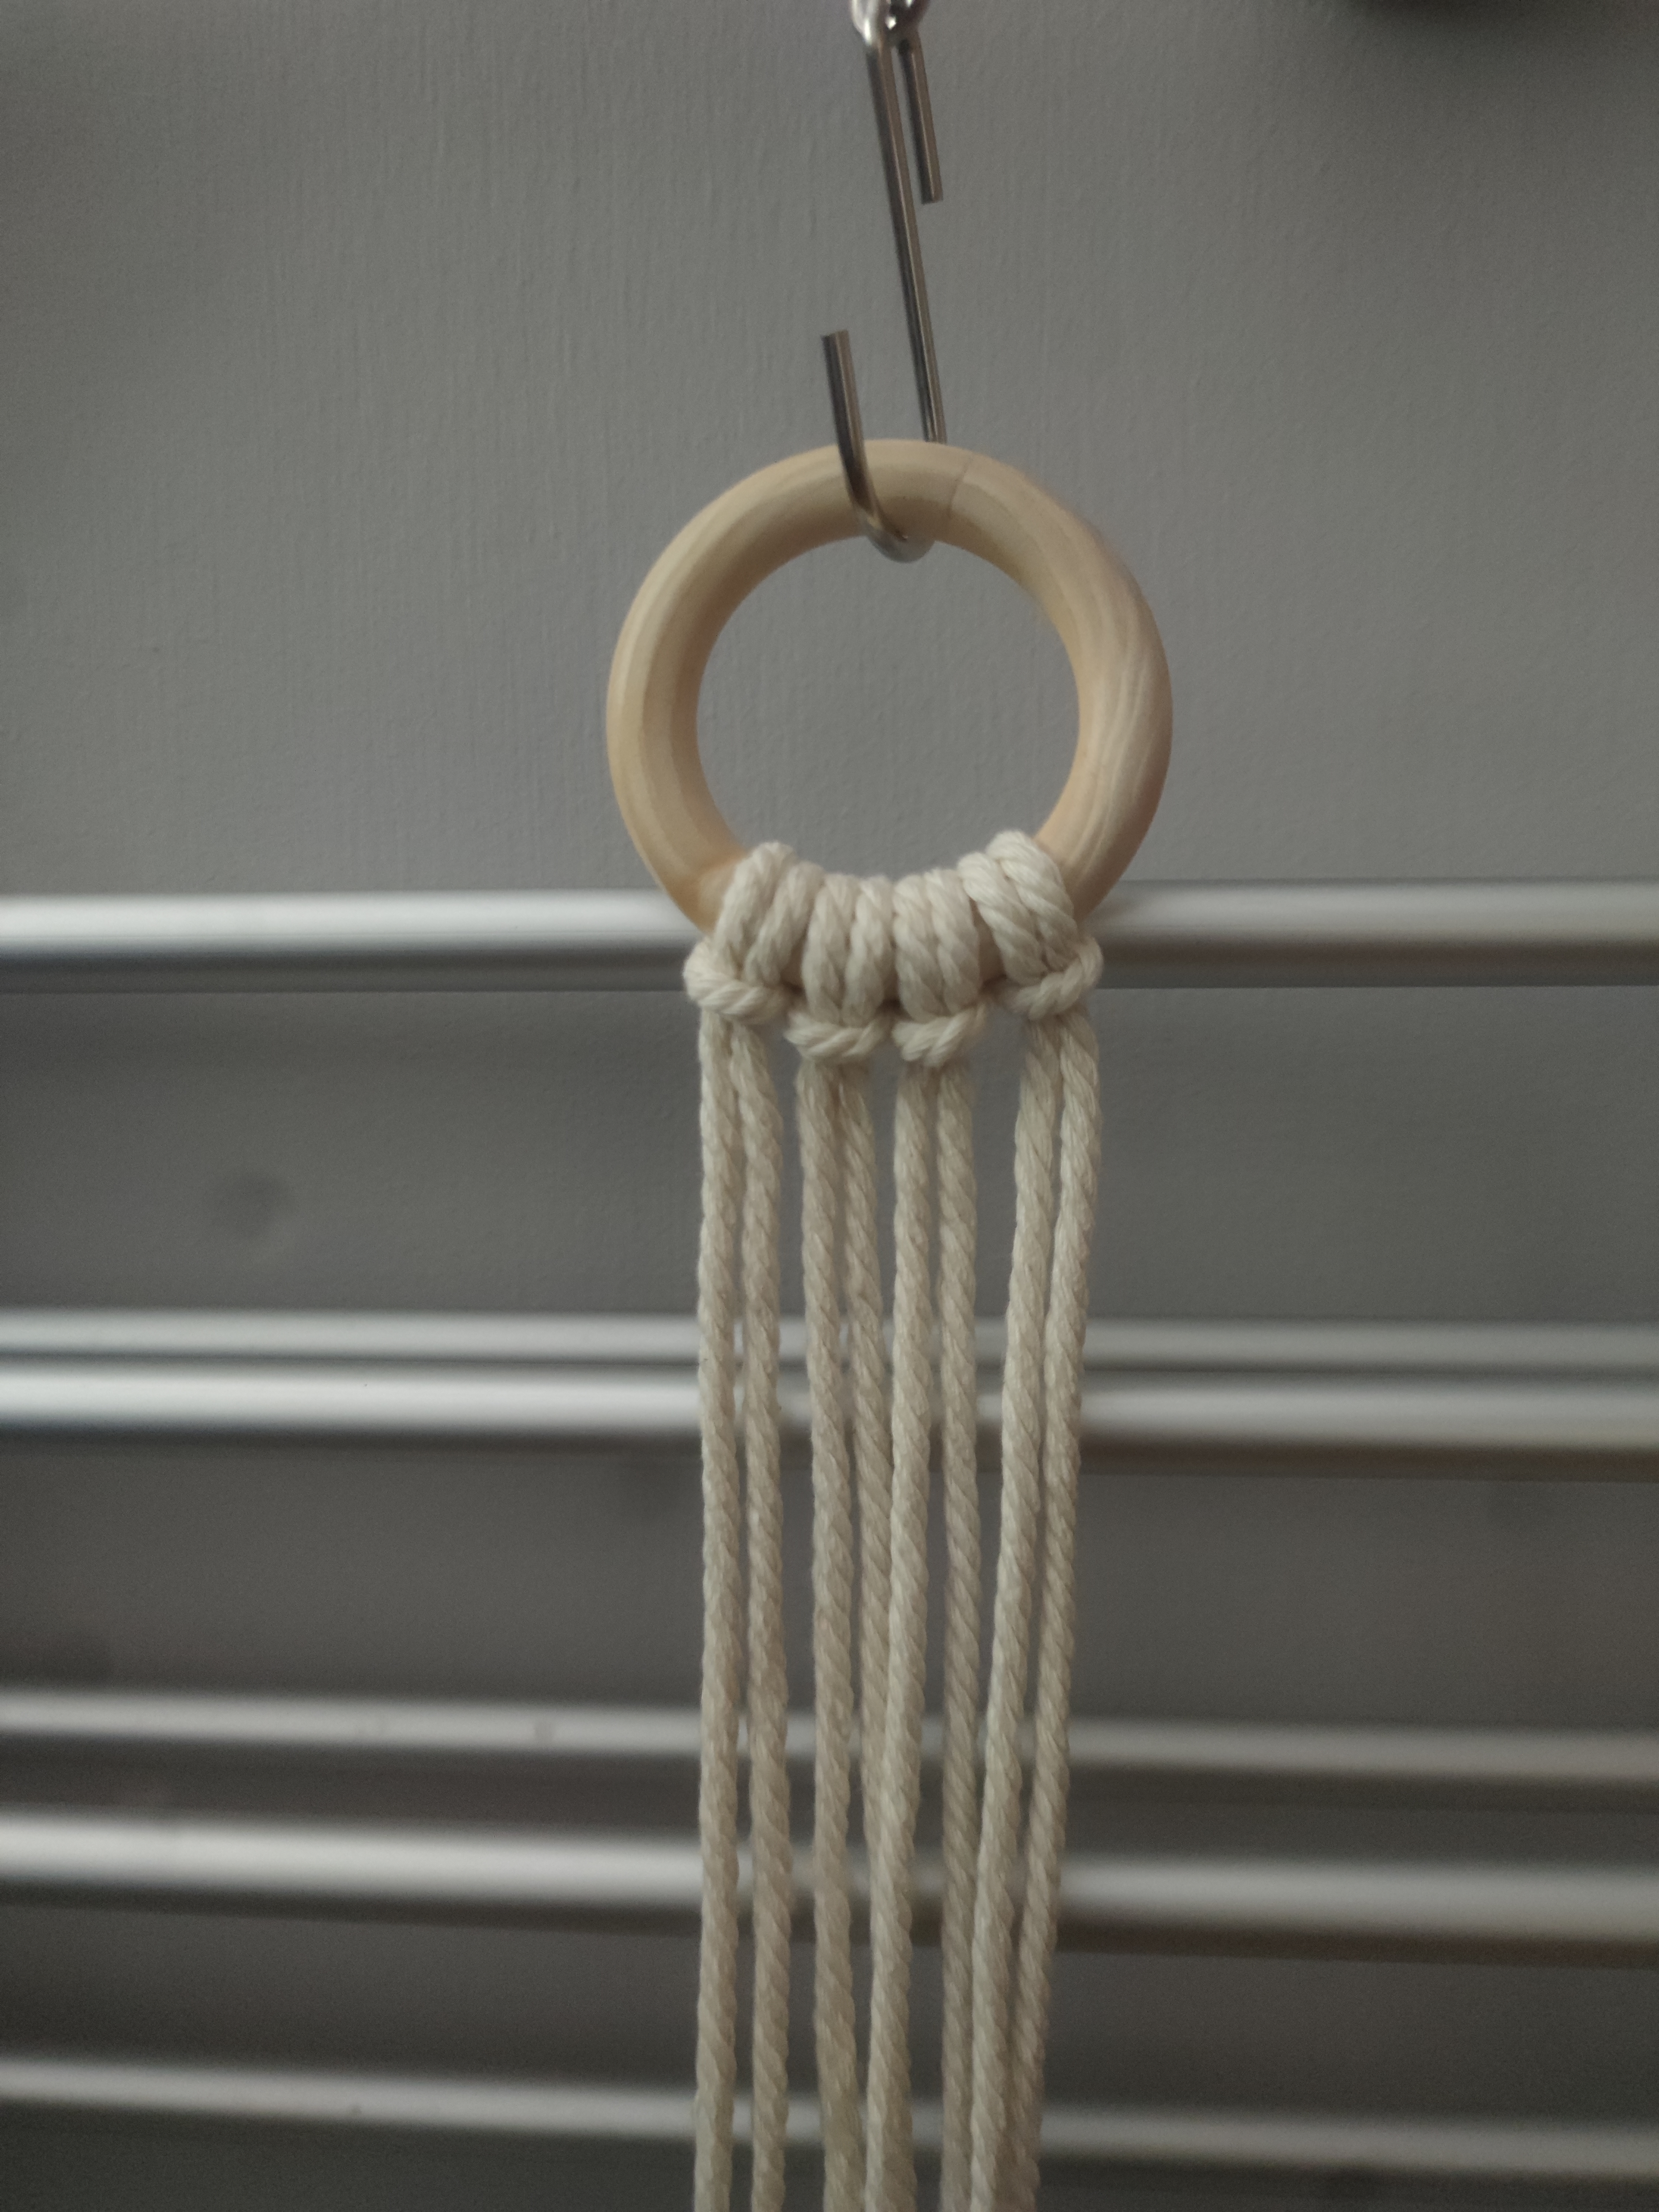
Now the author does recommended using a clothesline pole or a hanging rack of some form… I don’t really have access to that, nor do I want/need one in my house. So I had to improvise… I have this square drying rack that I seldom use. I used a wire hook to support the starting wooden ring and I just tied the strings up in a triangular shape to help guide my knotting.
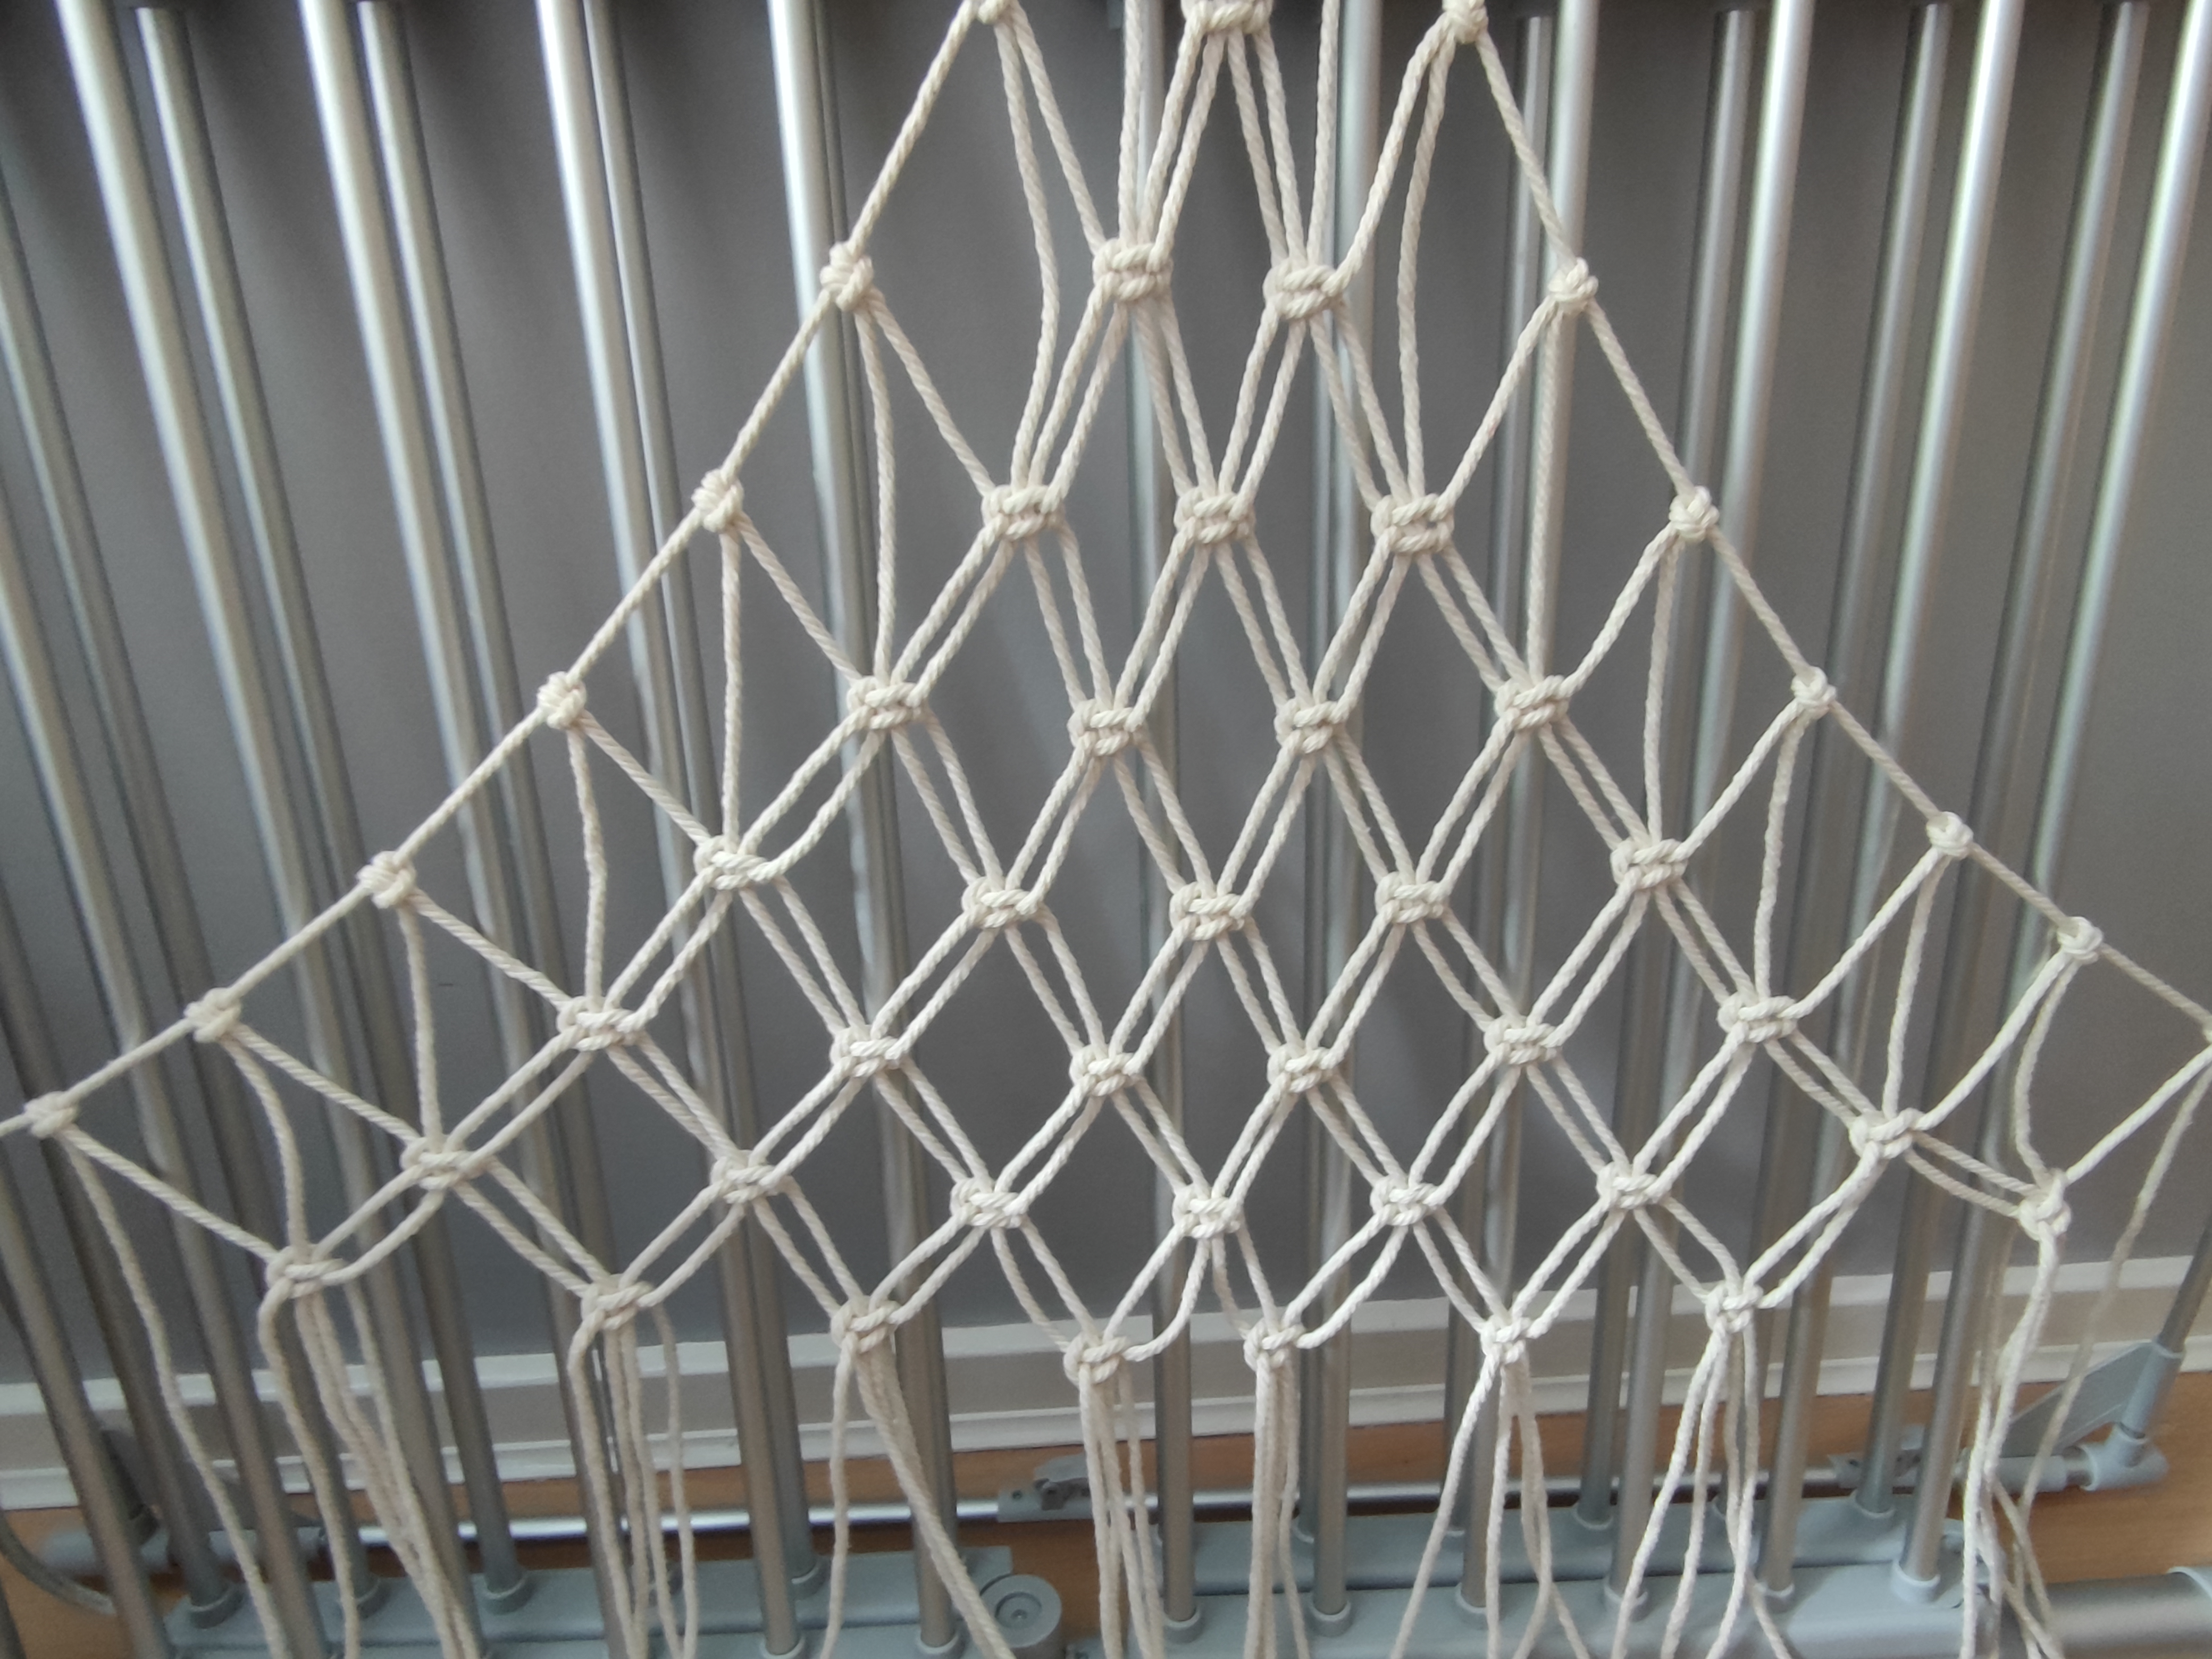
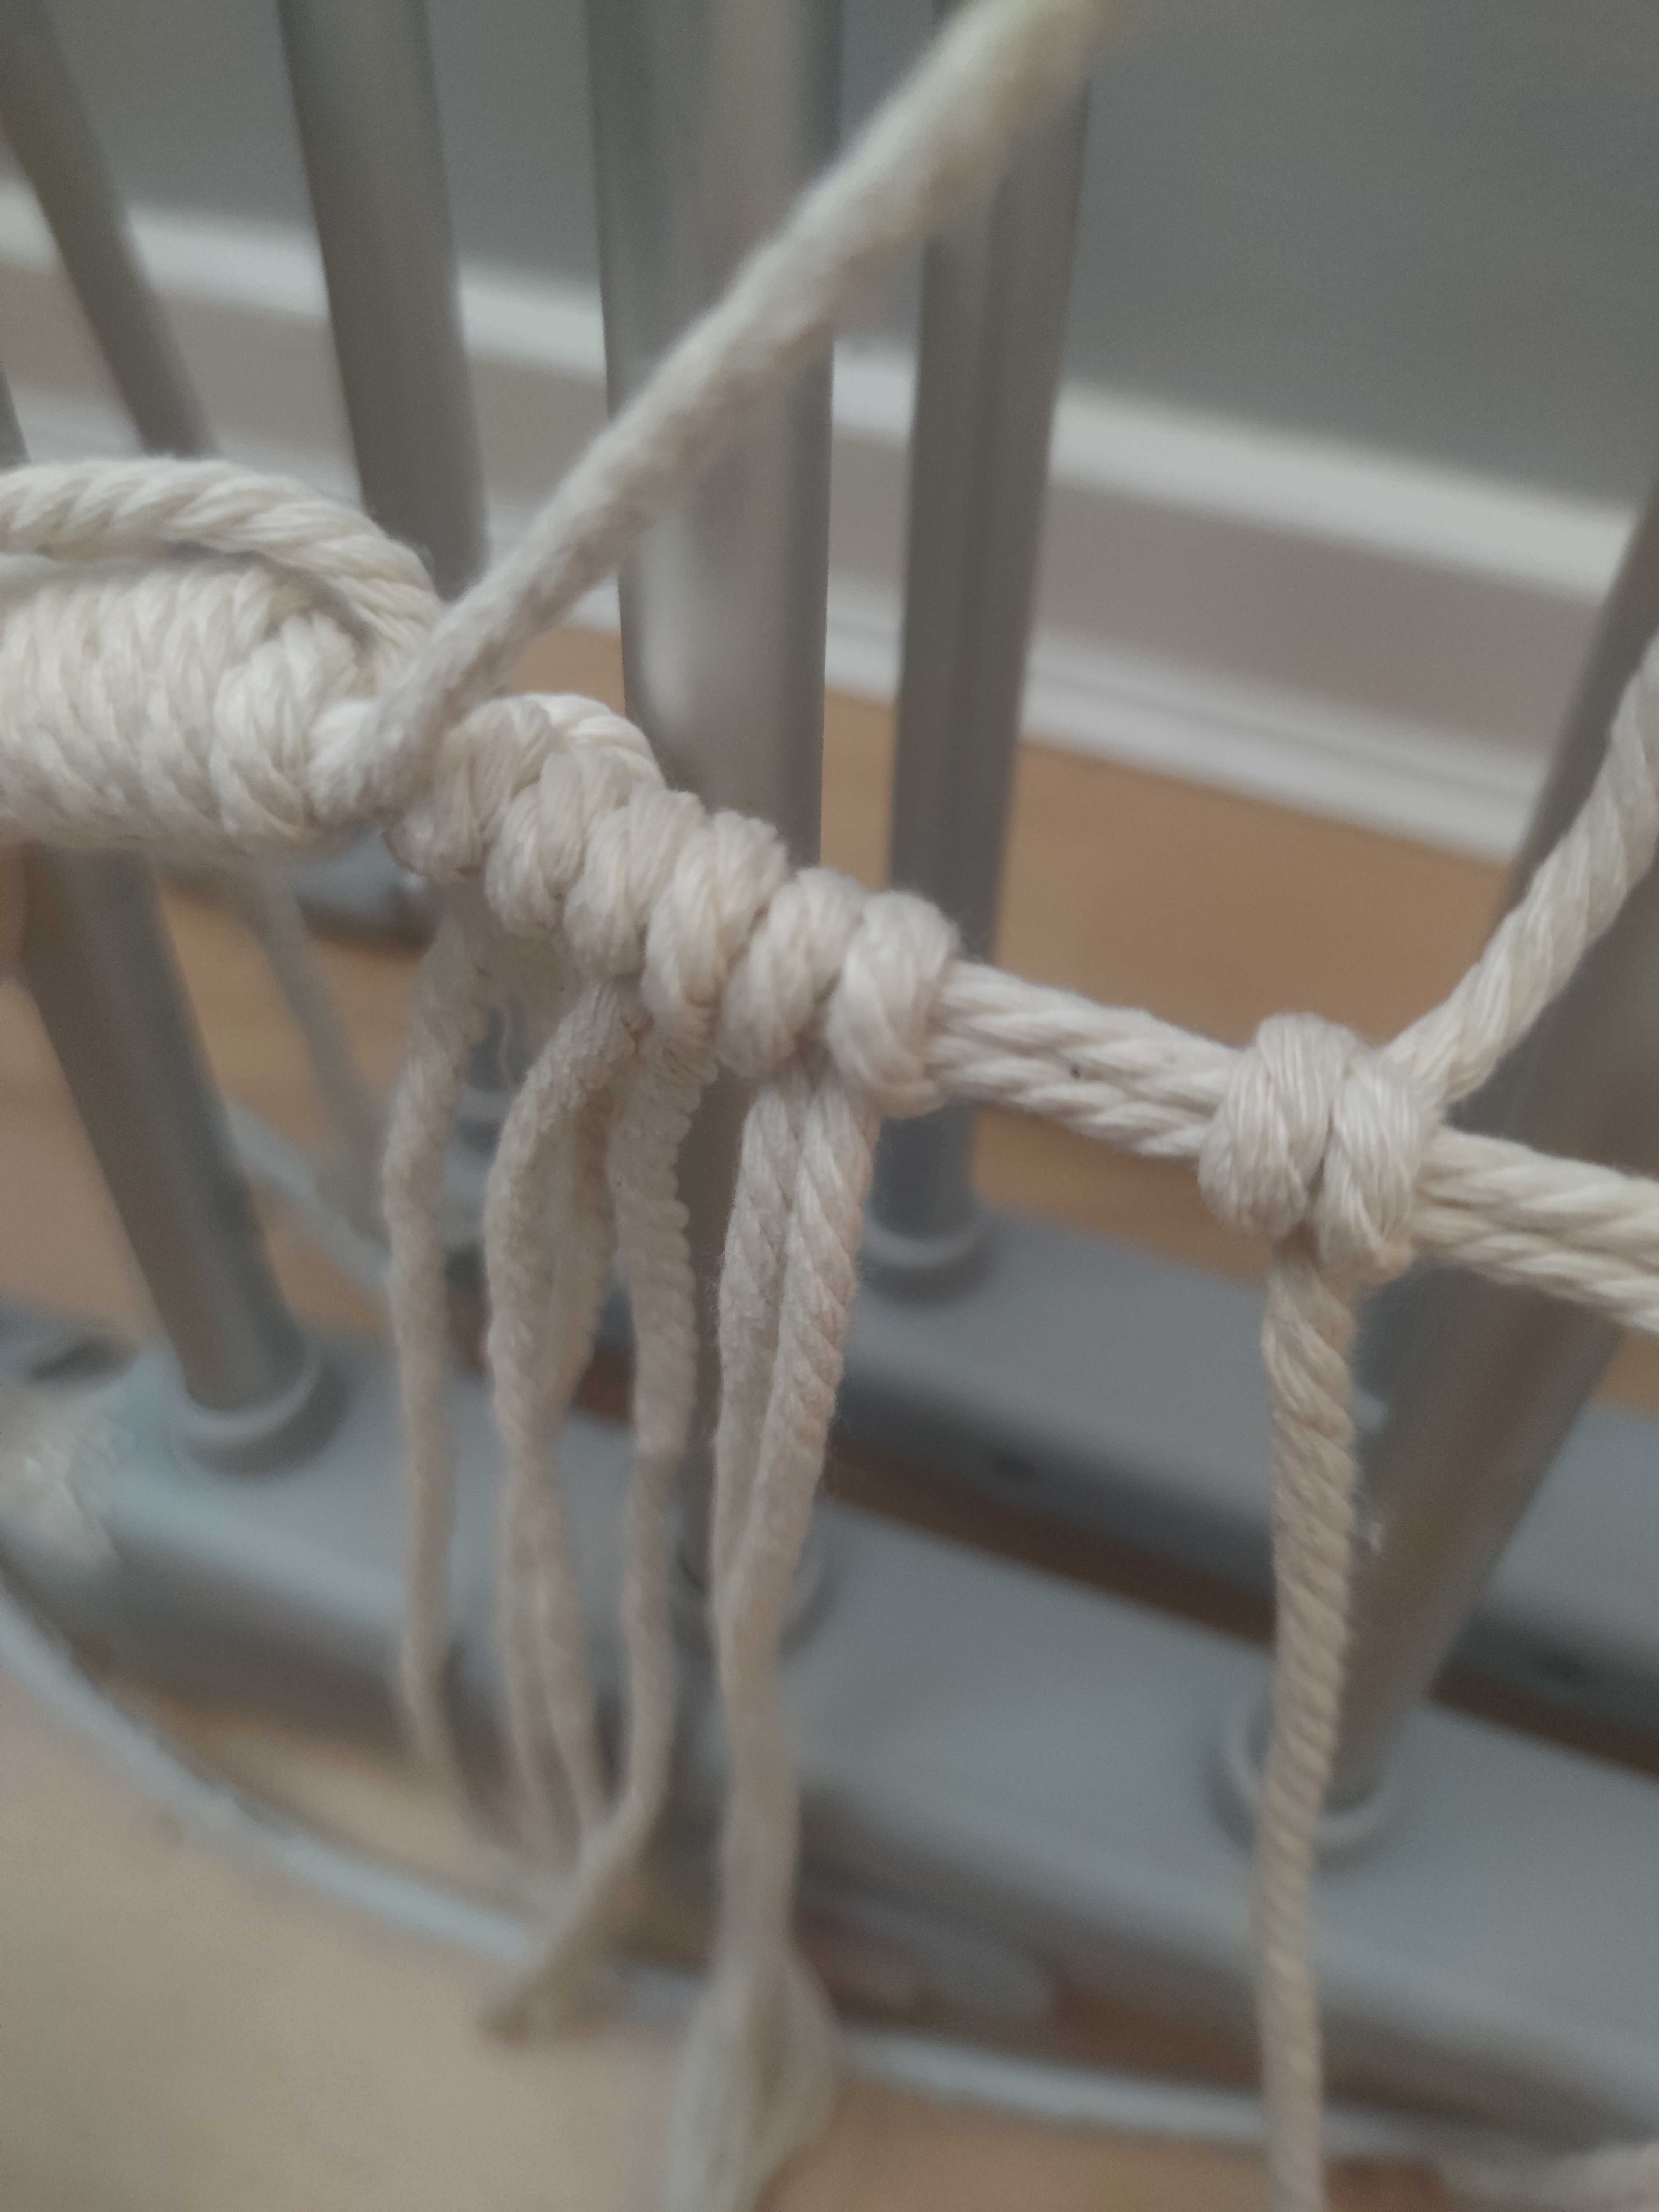
Honestly the tutorial is really fantastic. The main part you need to look out for is spacing the knots far enough and keep the hammock in a triangular shape.
When the two other wooden rings and gathering knots are in place, you can fill the fringe with reverse Lark’s head knots which is really a clever idea. I think you could add some beads somewhere in this too if you were feeling adventurous!
I honestly thought it would take me a long time to do this, but I was just having a lot of fun with this and time flew by! I actually think this took me less than a day, and this was from a first attempt. I had to undo some knots sometimes because they were not taut enough, but otherwise it is really straight-forward.
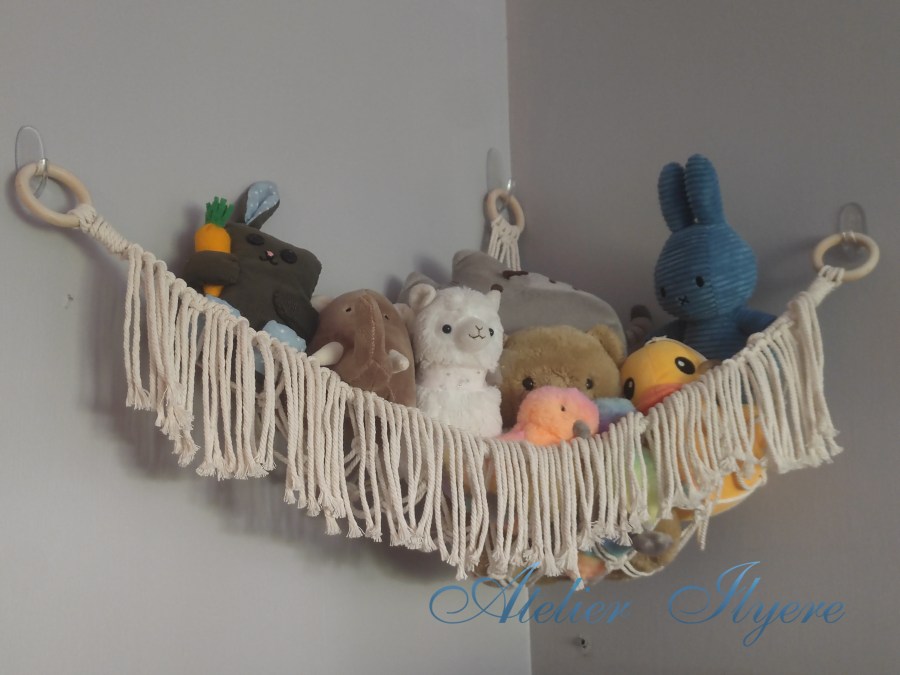
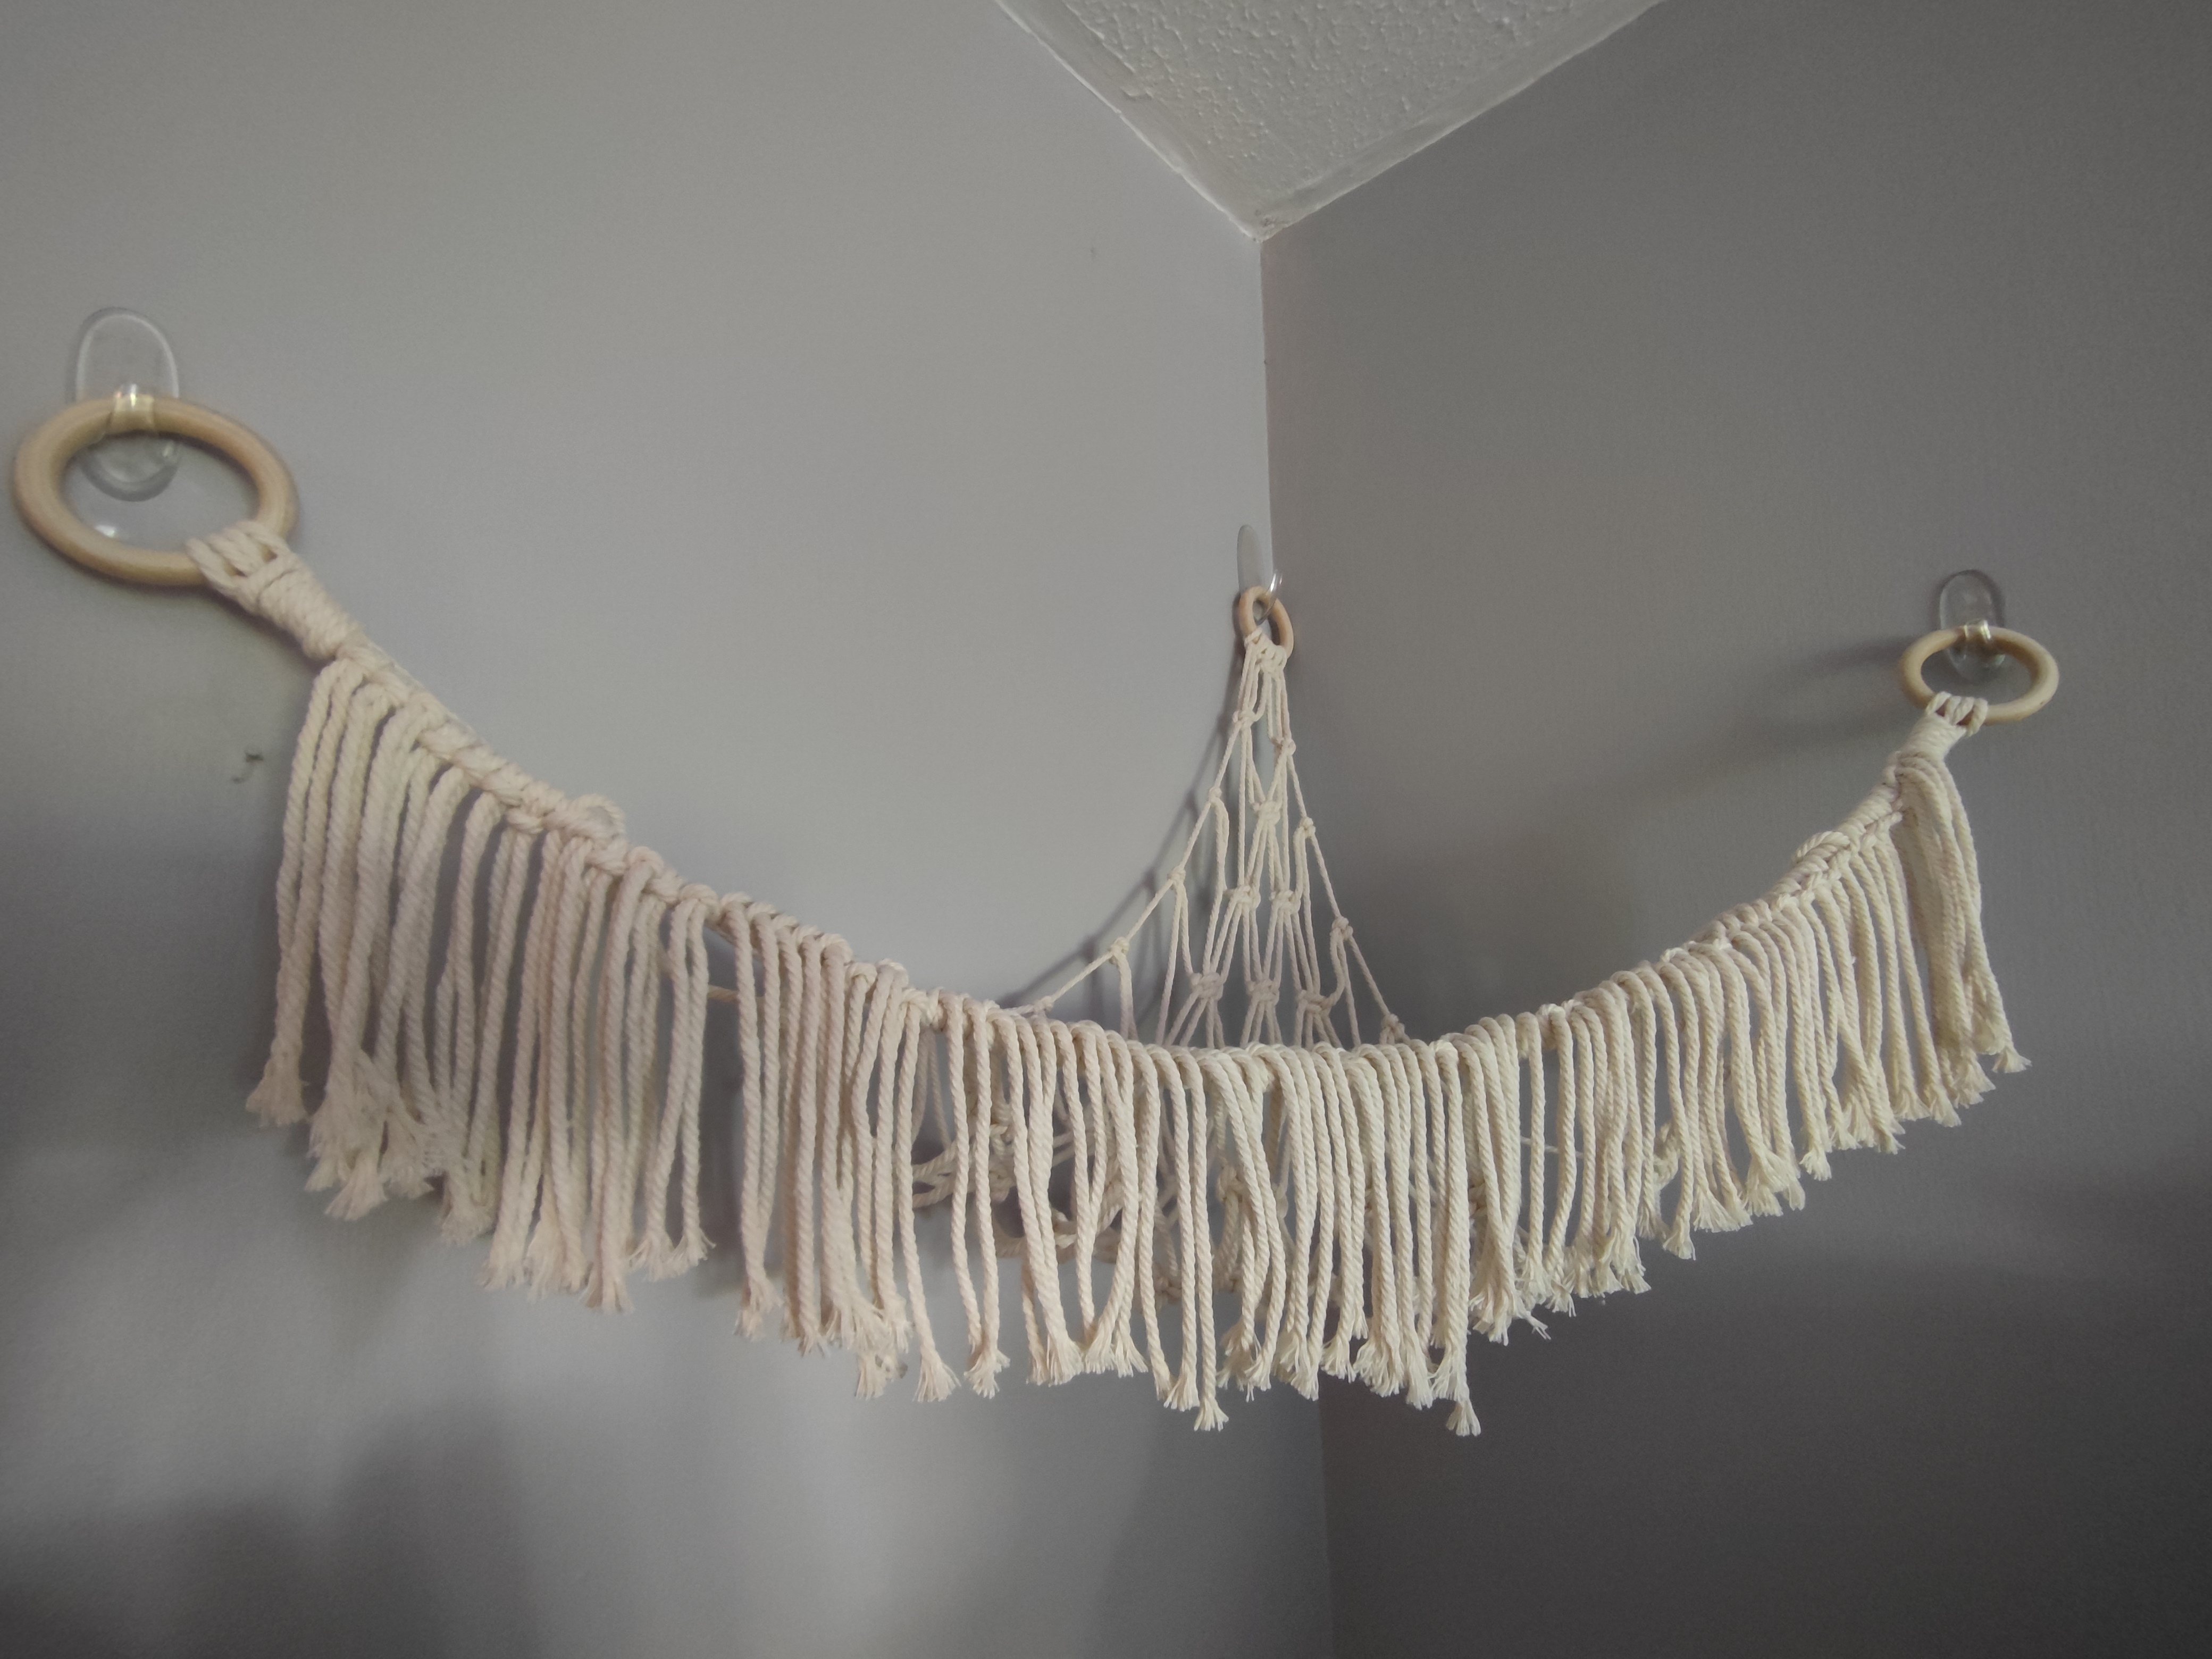
I set up a couple of large Command wall hooks in a corner of my room to hold the hammock up. I angled mine a little lower than the tutorial does.
So this step took a bit of messing about, I initially used some medium hooks but they kept falling off and pulling the tape off. This can be dangerous! Instead I used a large hook for the back, and decreased the distance between the front hooks so that it would hang slack instead of straight. At some point I might replace these temporary hooks with more permanent ones, as I don’t think they are good for this sort of project.
Honestly I think deciding where to hang up the hammock and sticking the hooks up took longer than the hammock itself! Now it’s finally time to fill it with plushies. Make sure to not overfill it, somehow plushies can actually be that heavy! (Or maybe these temporary plastic hooks don’t quite fit the bill.)

They look very secure though! Just be careful of the gaps! Some smaller plushies will not suit this. You can see their feet sticking out for some of them!

Materials needed:
– 3 x 6cm wooden rings
– ~45m of 5mm macramé cord
– toys for the hammock!
Tools needed:
– large frame to hold the project up (I used a washing rack)
