I am planning on getting legally married on my wedding day, so there will be a short ceremony section where myself and my partner will say our vows, exchange the rings, and then sign the marriage schedule whilst witnessed by friends and family, before walking out of the barn as a married couple.
The signing of the schedule is done on a register table (sometimes called a signing table) at or near the altar. I was given the option from my venue to dress the table and the chairs at an extra cost, but I thought it was a bit expensive considering we would only be in that area for 30 minutes max. Still, the photographer will be there to get some photos of the moment so I have decided to dress the table myself since all the attention would be up there. I would have considered the extra cost if I had also planned to hire a videographer to record the ceremony, but they are also quite pricey to hire! Weddings and costs that add up, eh?
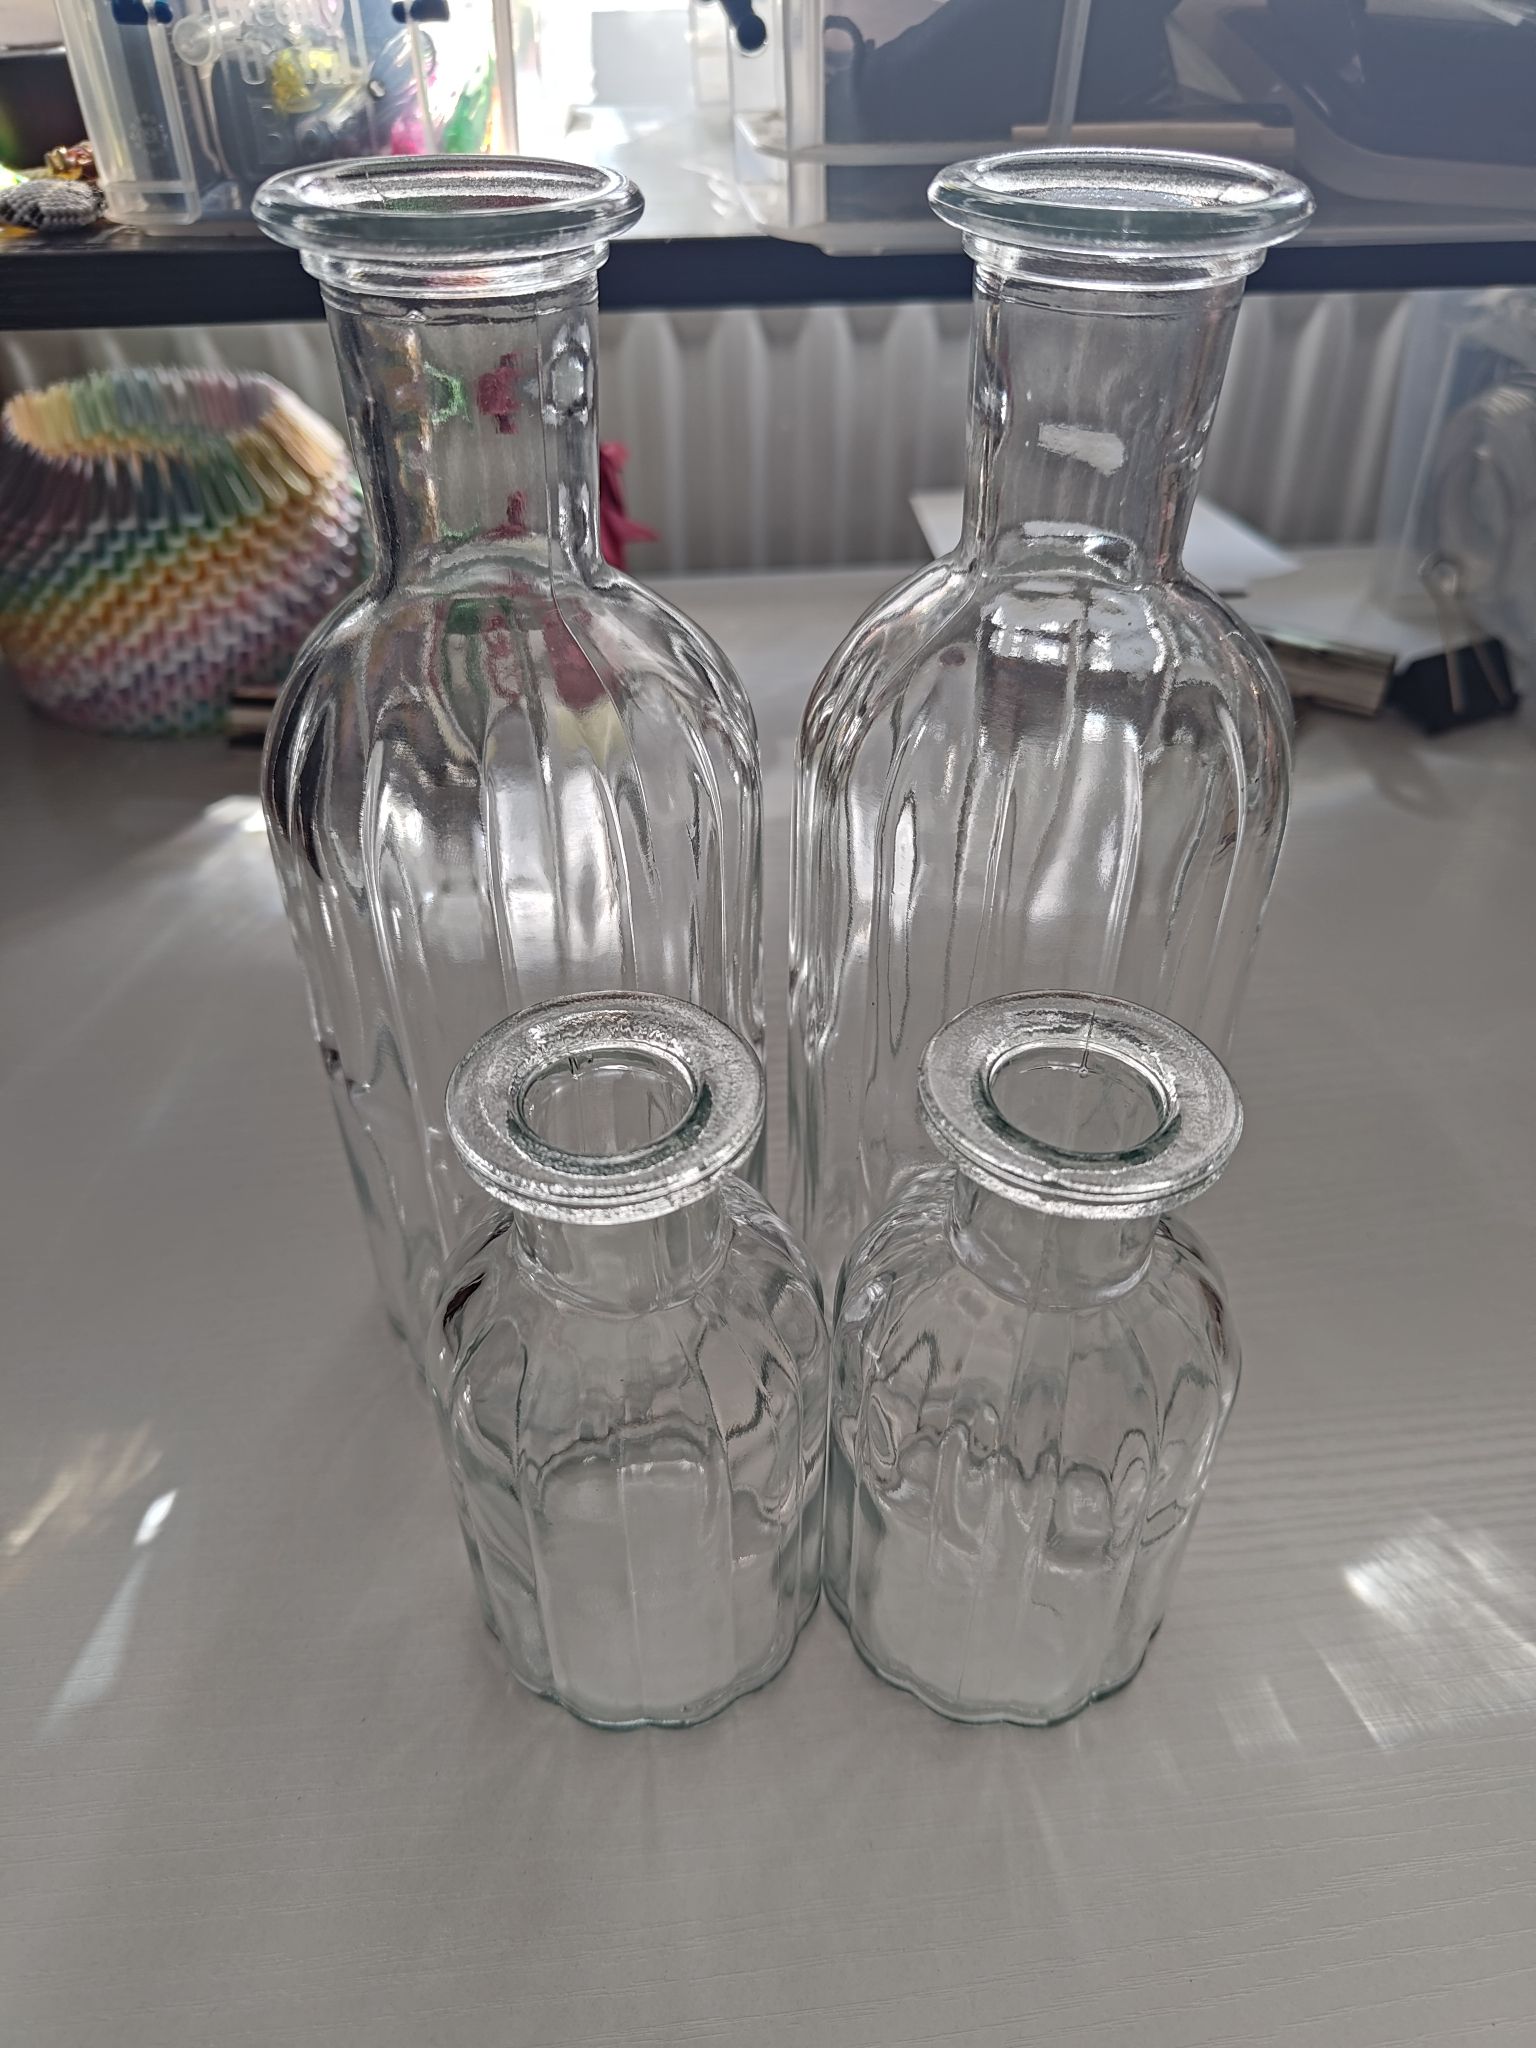
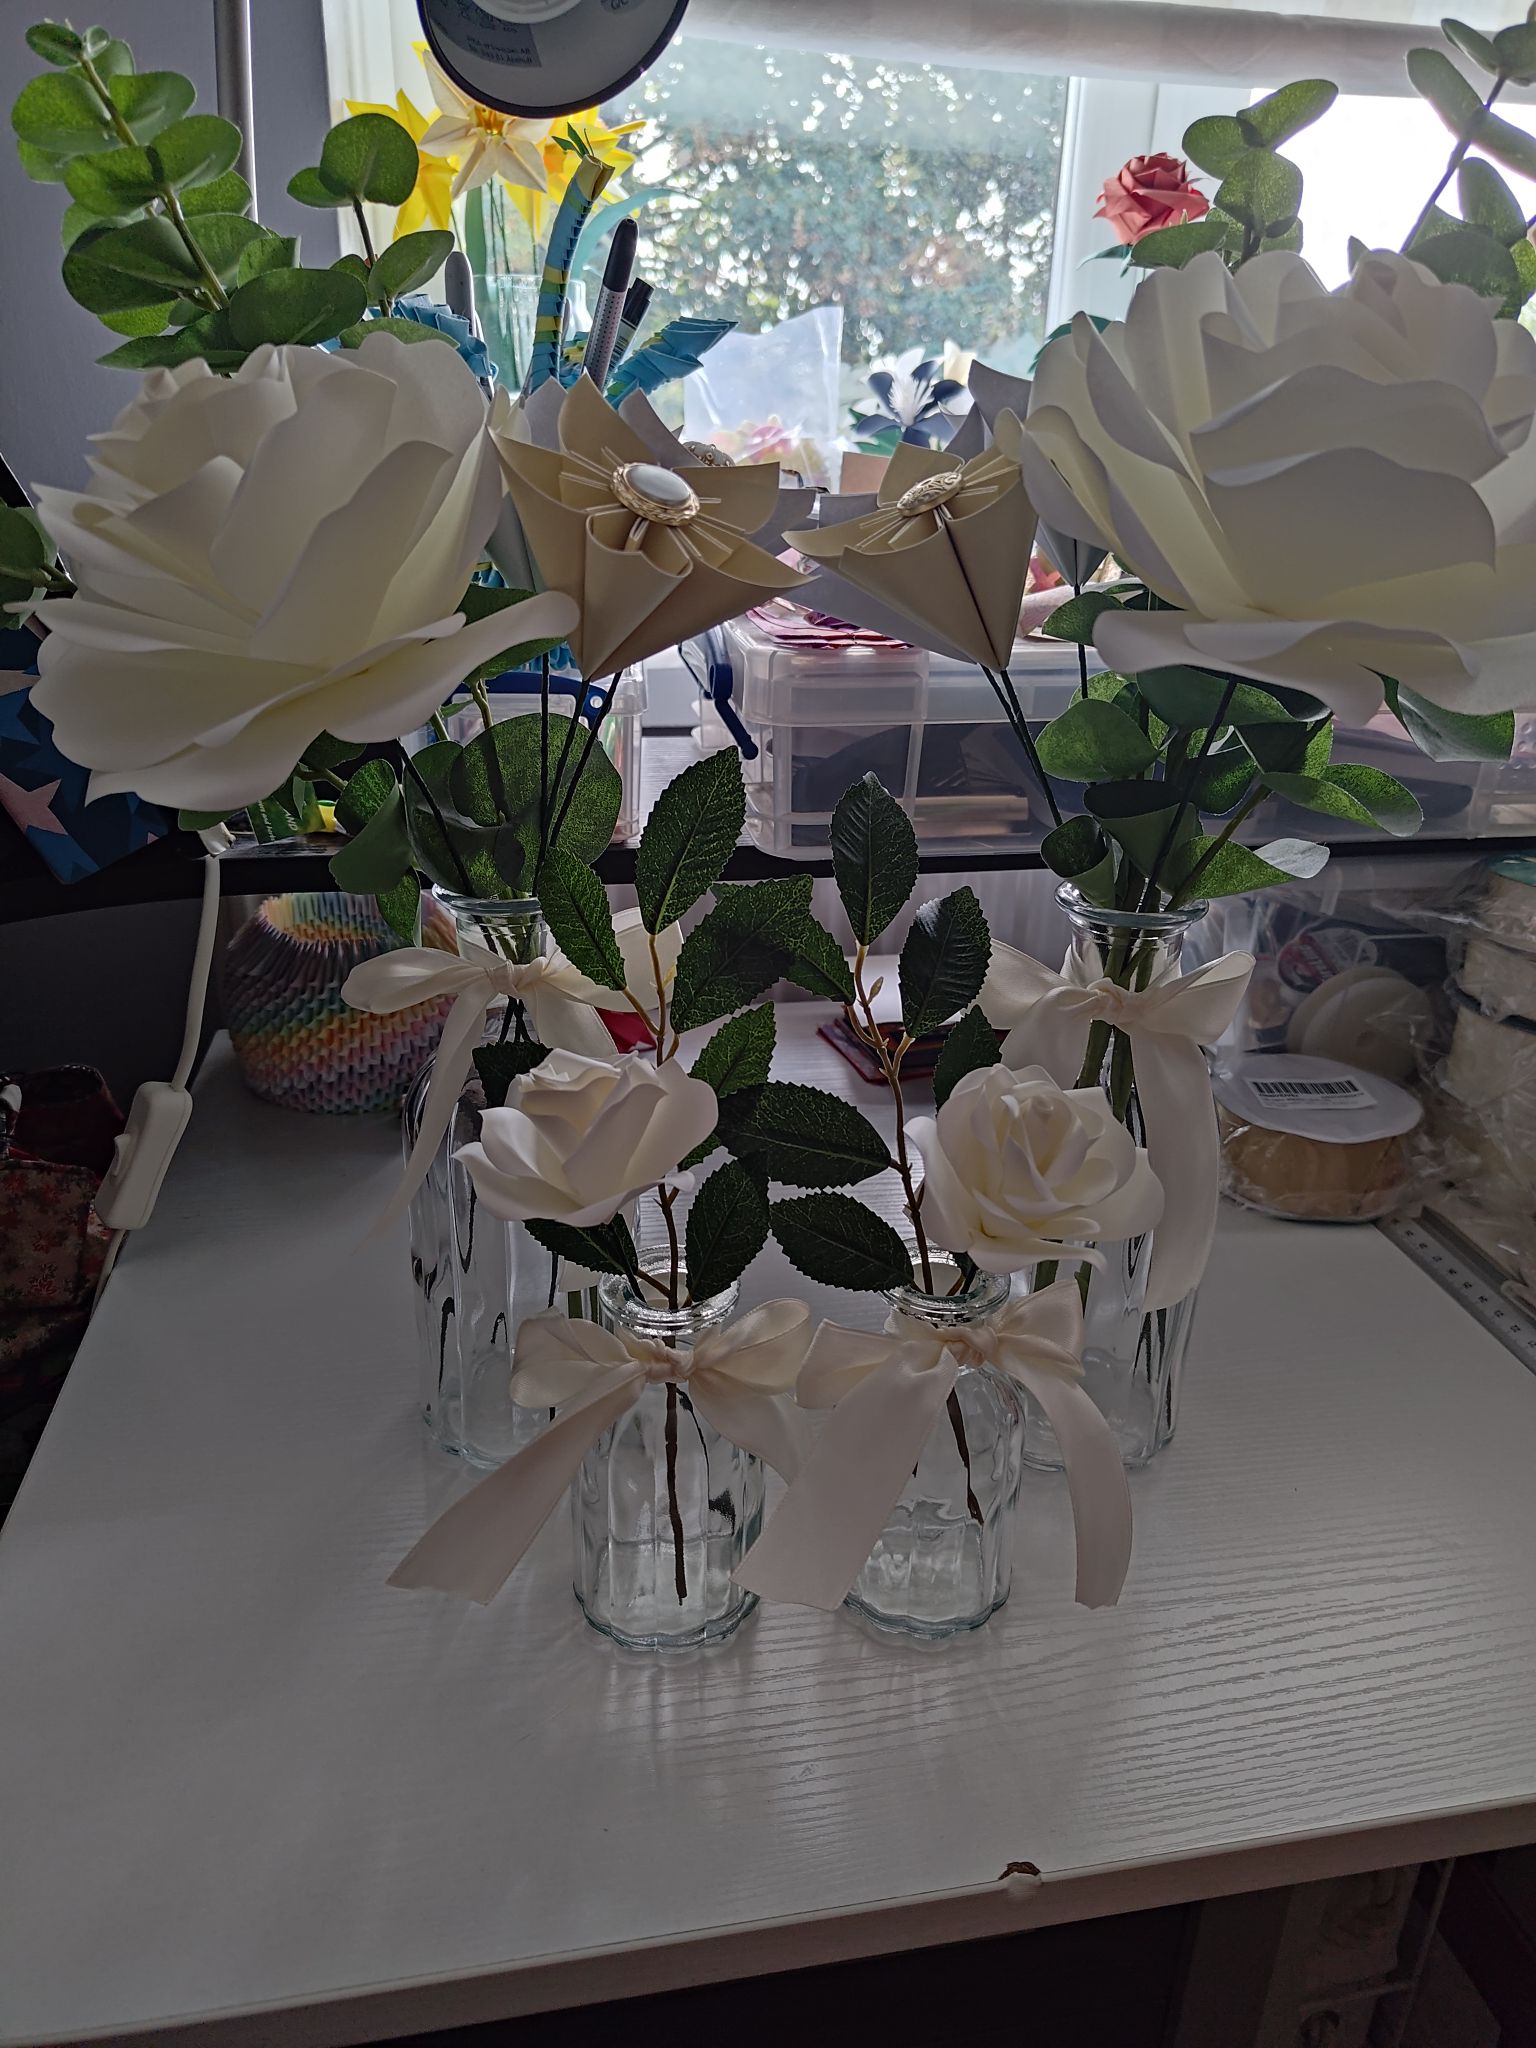
Well I certainly needed to start with some sort of floral arrangement. I ordered a set of two 19cm tall and a set of two 10.5 cm tall ribbed glass vases from BurrowAndNestGifts on Etsy. I wanted the 14cm ones as well but they were sold out at the time. The plan is to have the two tallest vases at either ends of the table, and the smaller vases to be spaced out in the middle.
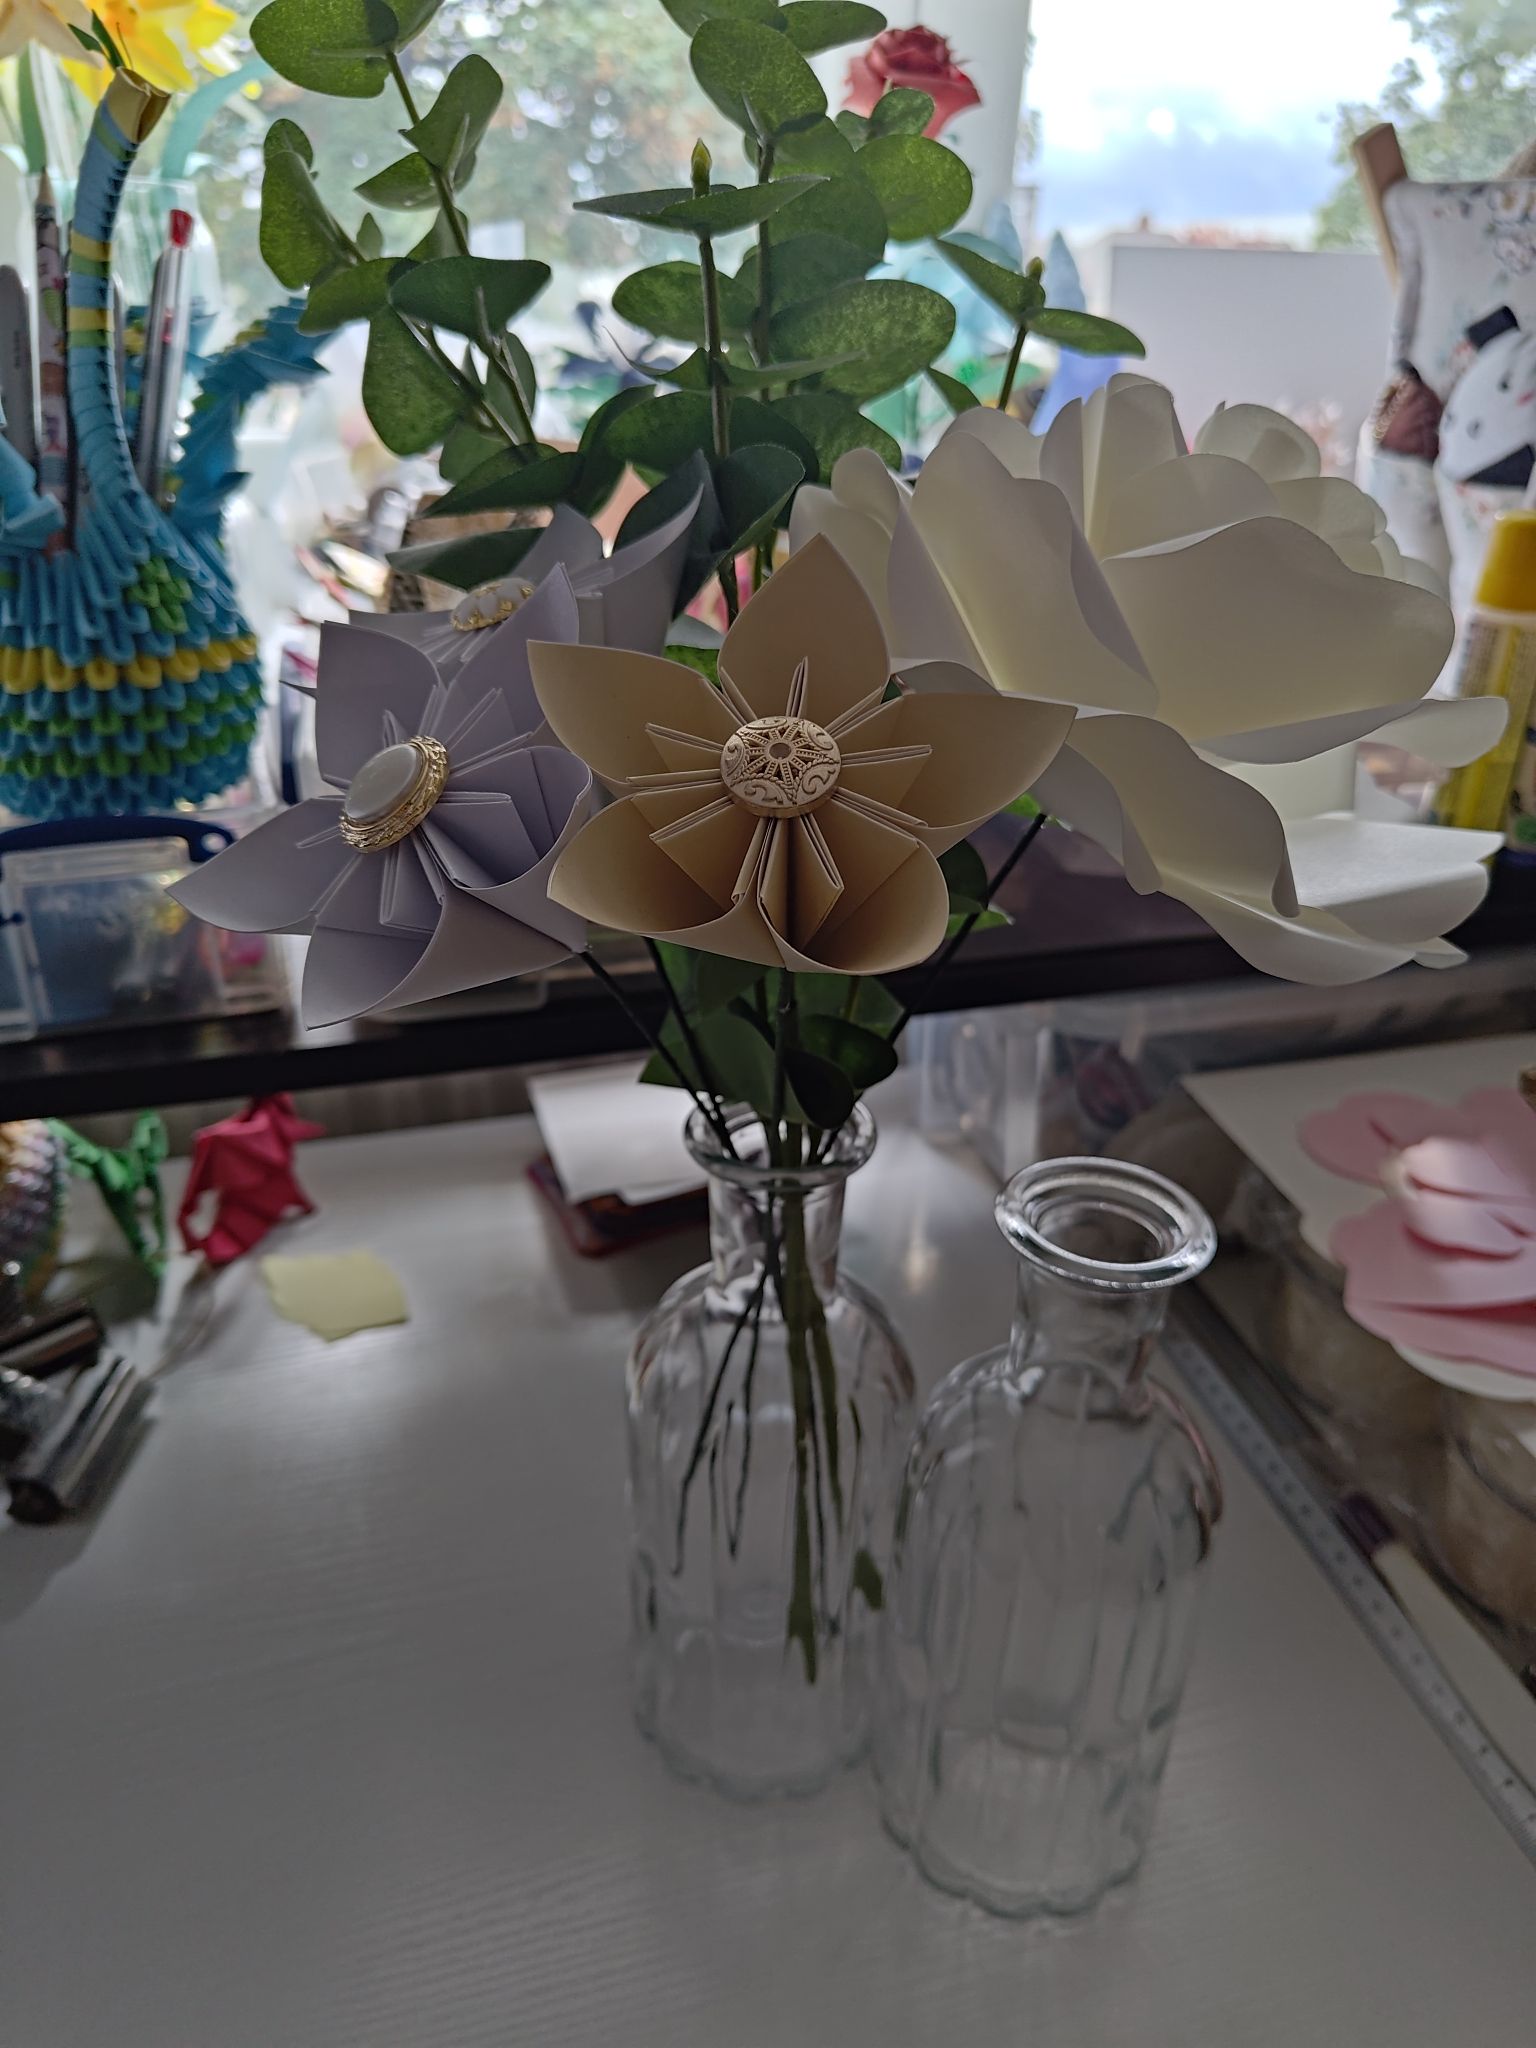
You may have seen in my previous posts where I designed my bridal bouquet and my bridesmaids’ bouquets that I made various flowers such as small papercraft ivory and cream roses, and white and yellow kusudama flowers. Since I ordered a lot of craft paper, I decided to make the larger papercraft roses to go with any leftover flowers and greenery.
I started with the large vase first and arranged one large papercraft rose, three white and yellow kusudama flowers with gold and pearl button centres, and two stems of the greenery that wasn’t used in the bouquets. It filled up the space pretty well already for so few flowers!
To adorn the neck of the vase, I cut off a 60cm length of 25mm wide ivory satin ribbon and tied a pretty bow, then trimmed the ends to sit above the base and sealed with a lighter.
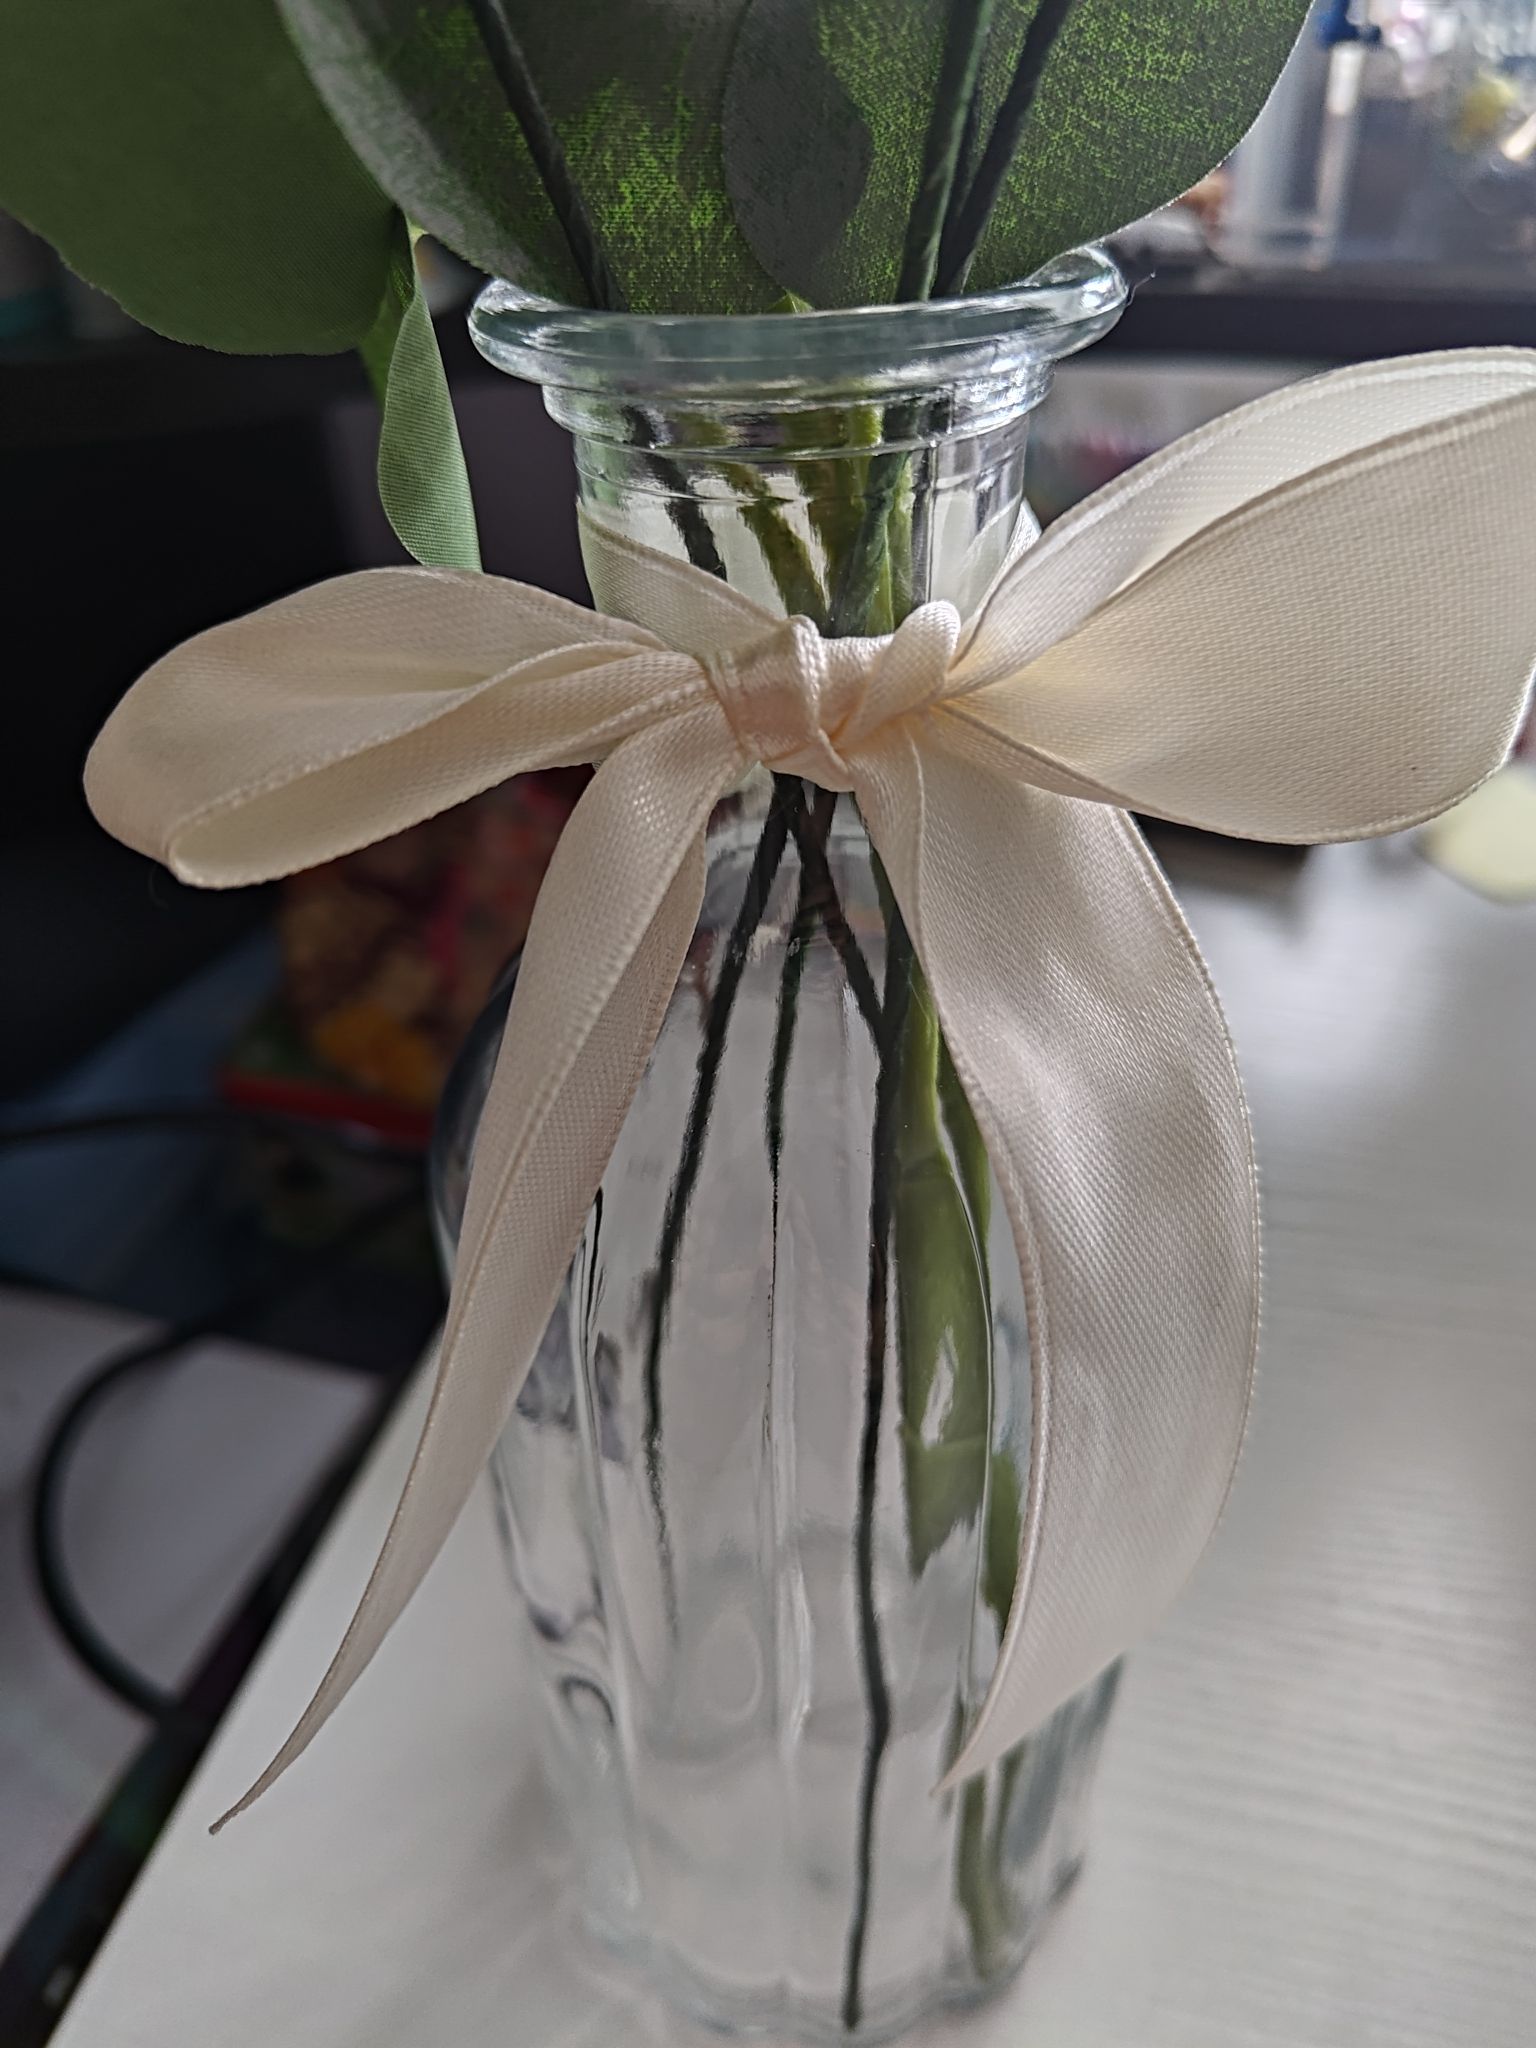
For the small vases, I opted for a single small ivory papercraft rose with the stem trimmed and a stem of greenery used in the bridal bouquet. I thought it could be a bit overcrowded with another flower. I also attached a ribbon to the neck as well. The decoration might be minimal but it is cohesive enough to match the full set.
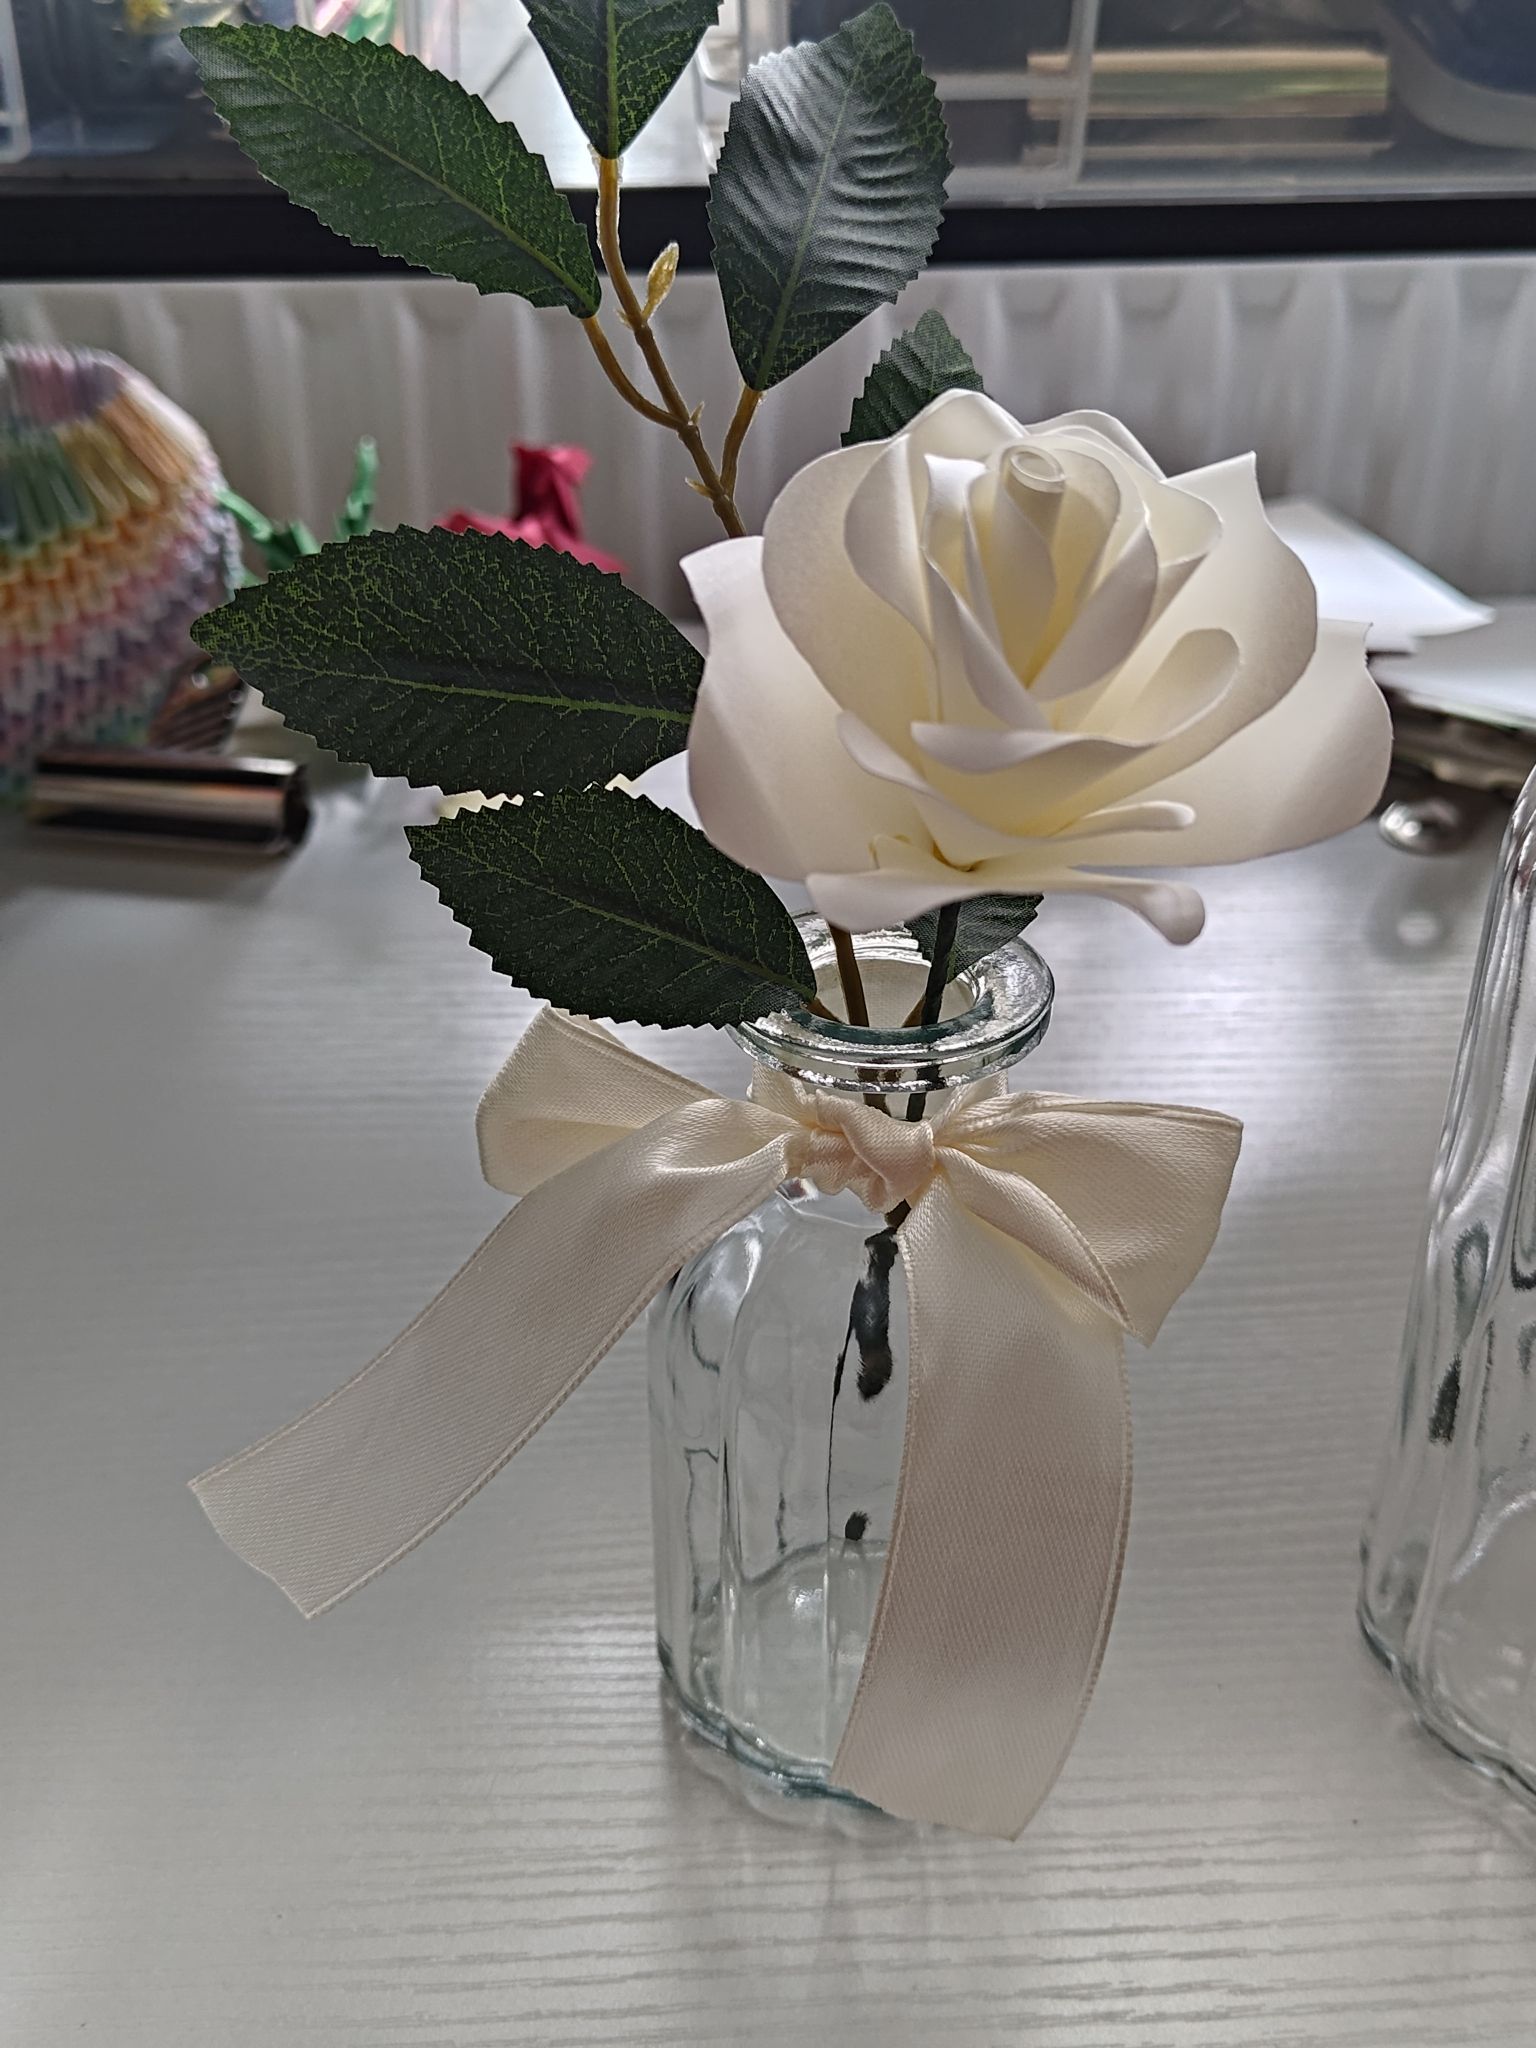
With the matching second vases, I made the same floral arrangements but mirrored so that the roses are facing outwards. The flowers are not stuck down with resin so they will have to be manually arranged on the day.
The tall vases are rather striking compared to the small ones! I guess I could have had more vases, but that would have been more work for me to do so I didn’t want to overdo it, especially as we are getting closer to the big day now.
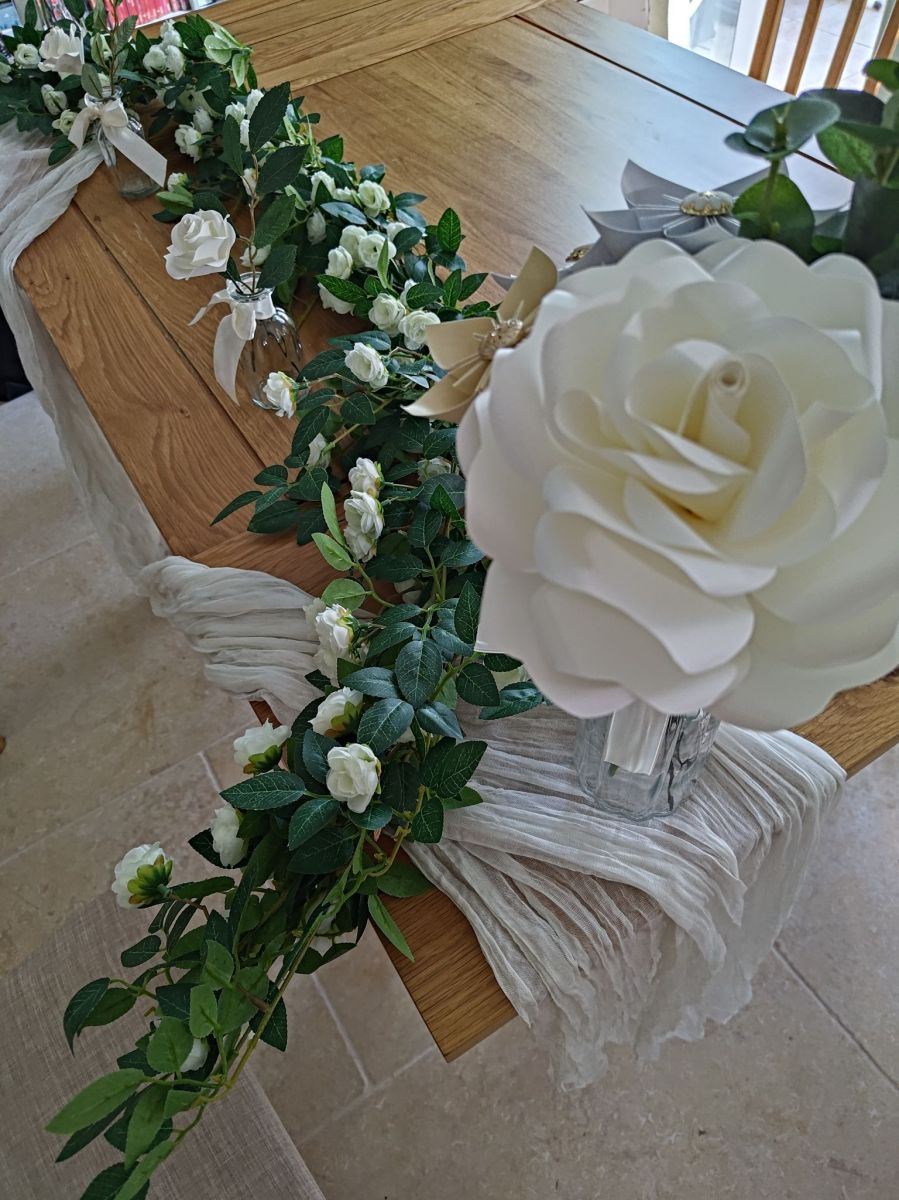
To put it all together, I needed a few more items. I had already purchased two artificial white rose garlands from The Range, and the white cheesecloth table runner from AnaClare2 on Etsy (I also got some dried petal confetti from this store too!) had just arrived on the weekend. I went downstairs to my dining room and opened out the dining table to test out some arrangements!
Just to note, I decided to purchase an artificial garland because of the amount of effort required to make realistic looking leaves. It is totally possible to make a garland from scratch! But I thought the amount of time and effort needed to make one would be too much for me. I try not to buy too many artificial decorations, especially ones that have few opportunities to be reused. Sustainability is very important to me!
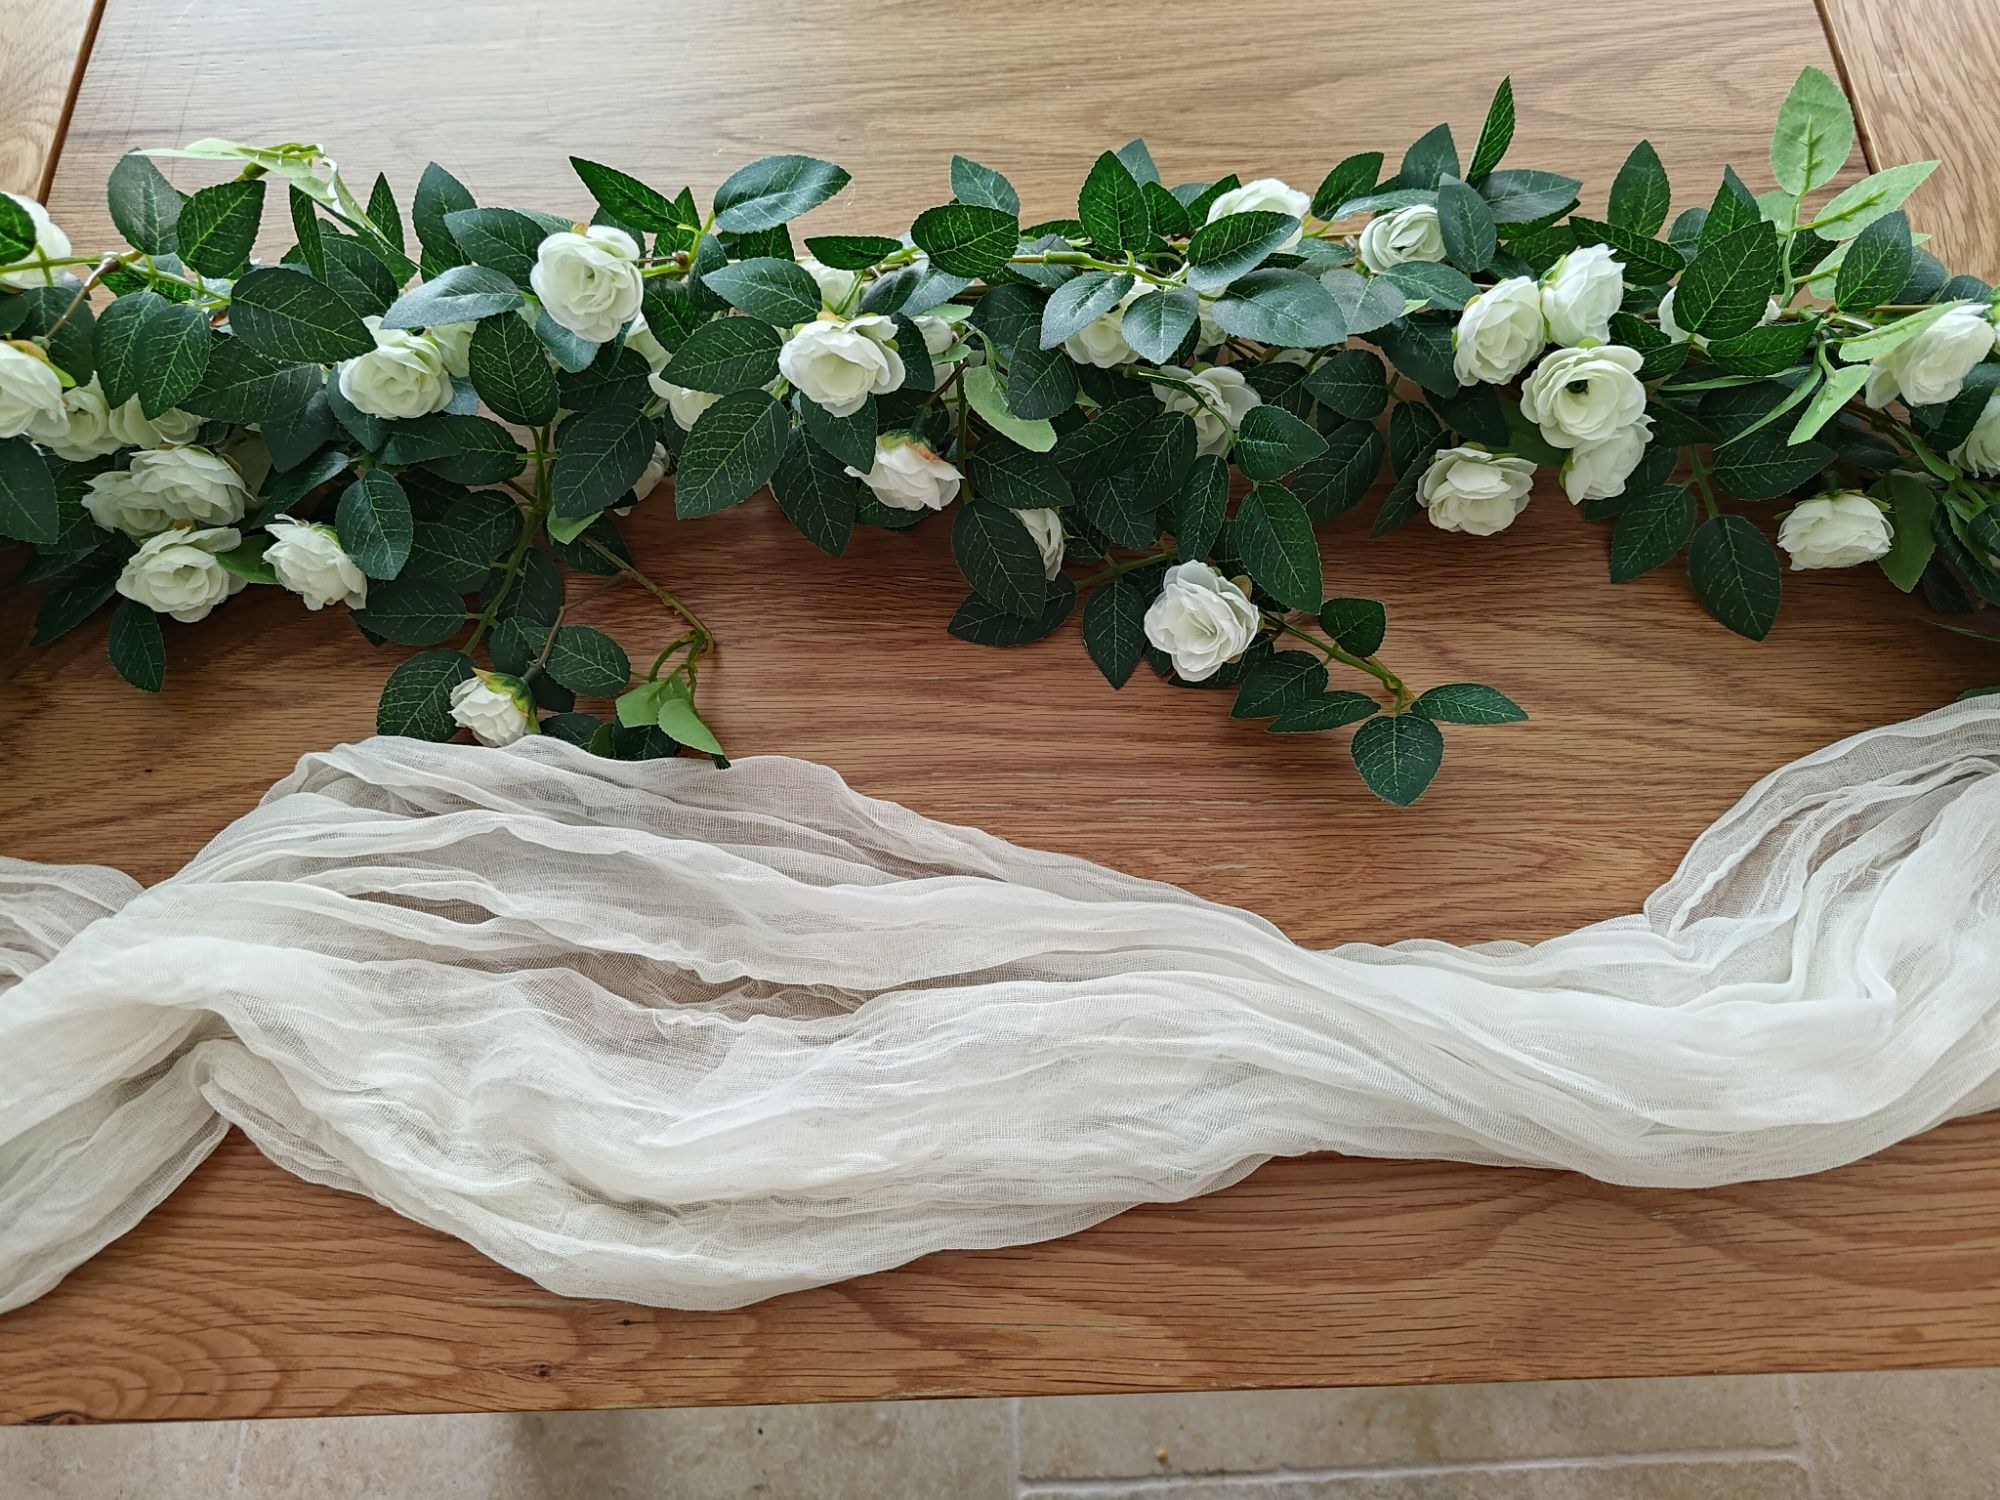
At the moment I am not sure how long the register table measures, so I have laid out the table runner to drape over the front of the table as it touches the ground on the sides in my house. I tied the two garlands together with raffia to create a fuller looking vine, then placed it on top of the table runner, with the tall vases pinning the ends of the table. The small vases will go in the middle somewhere.
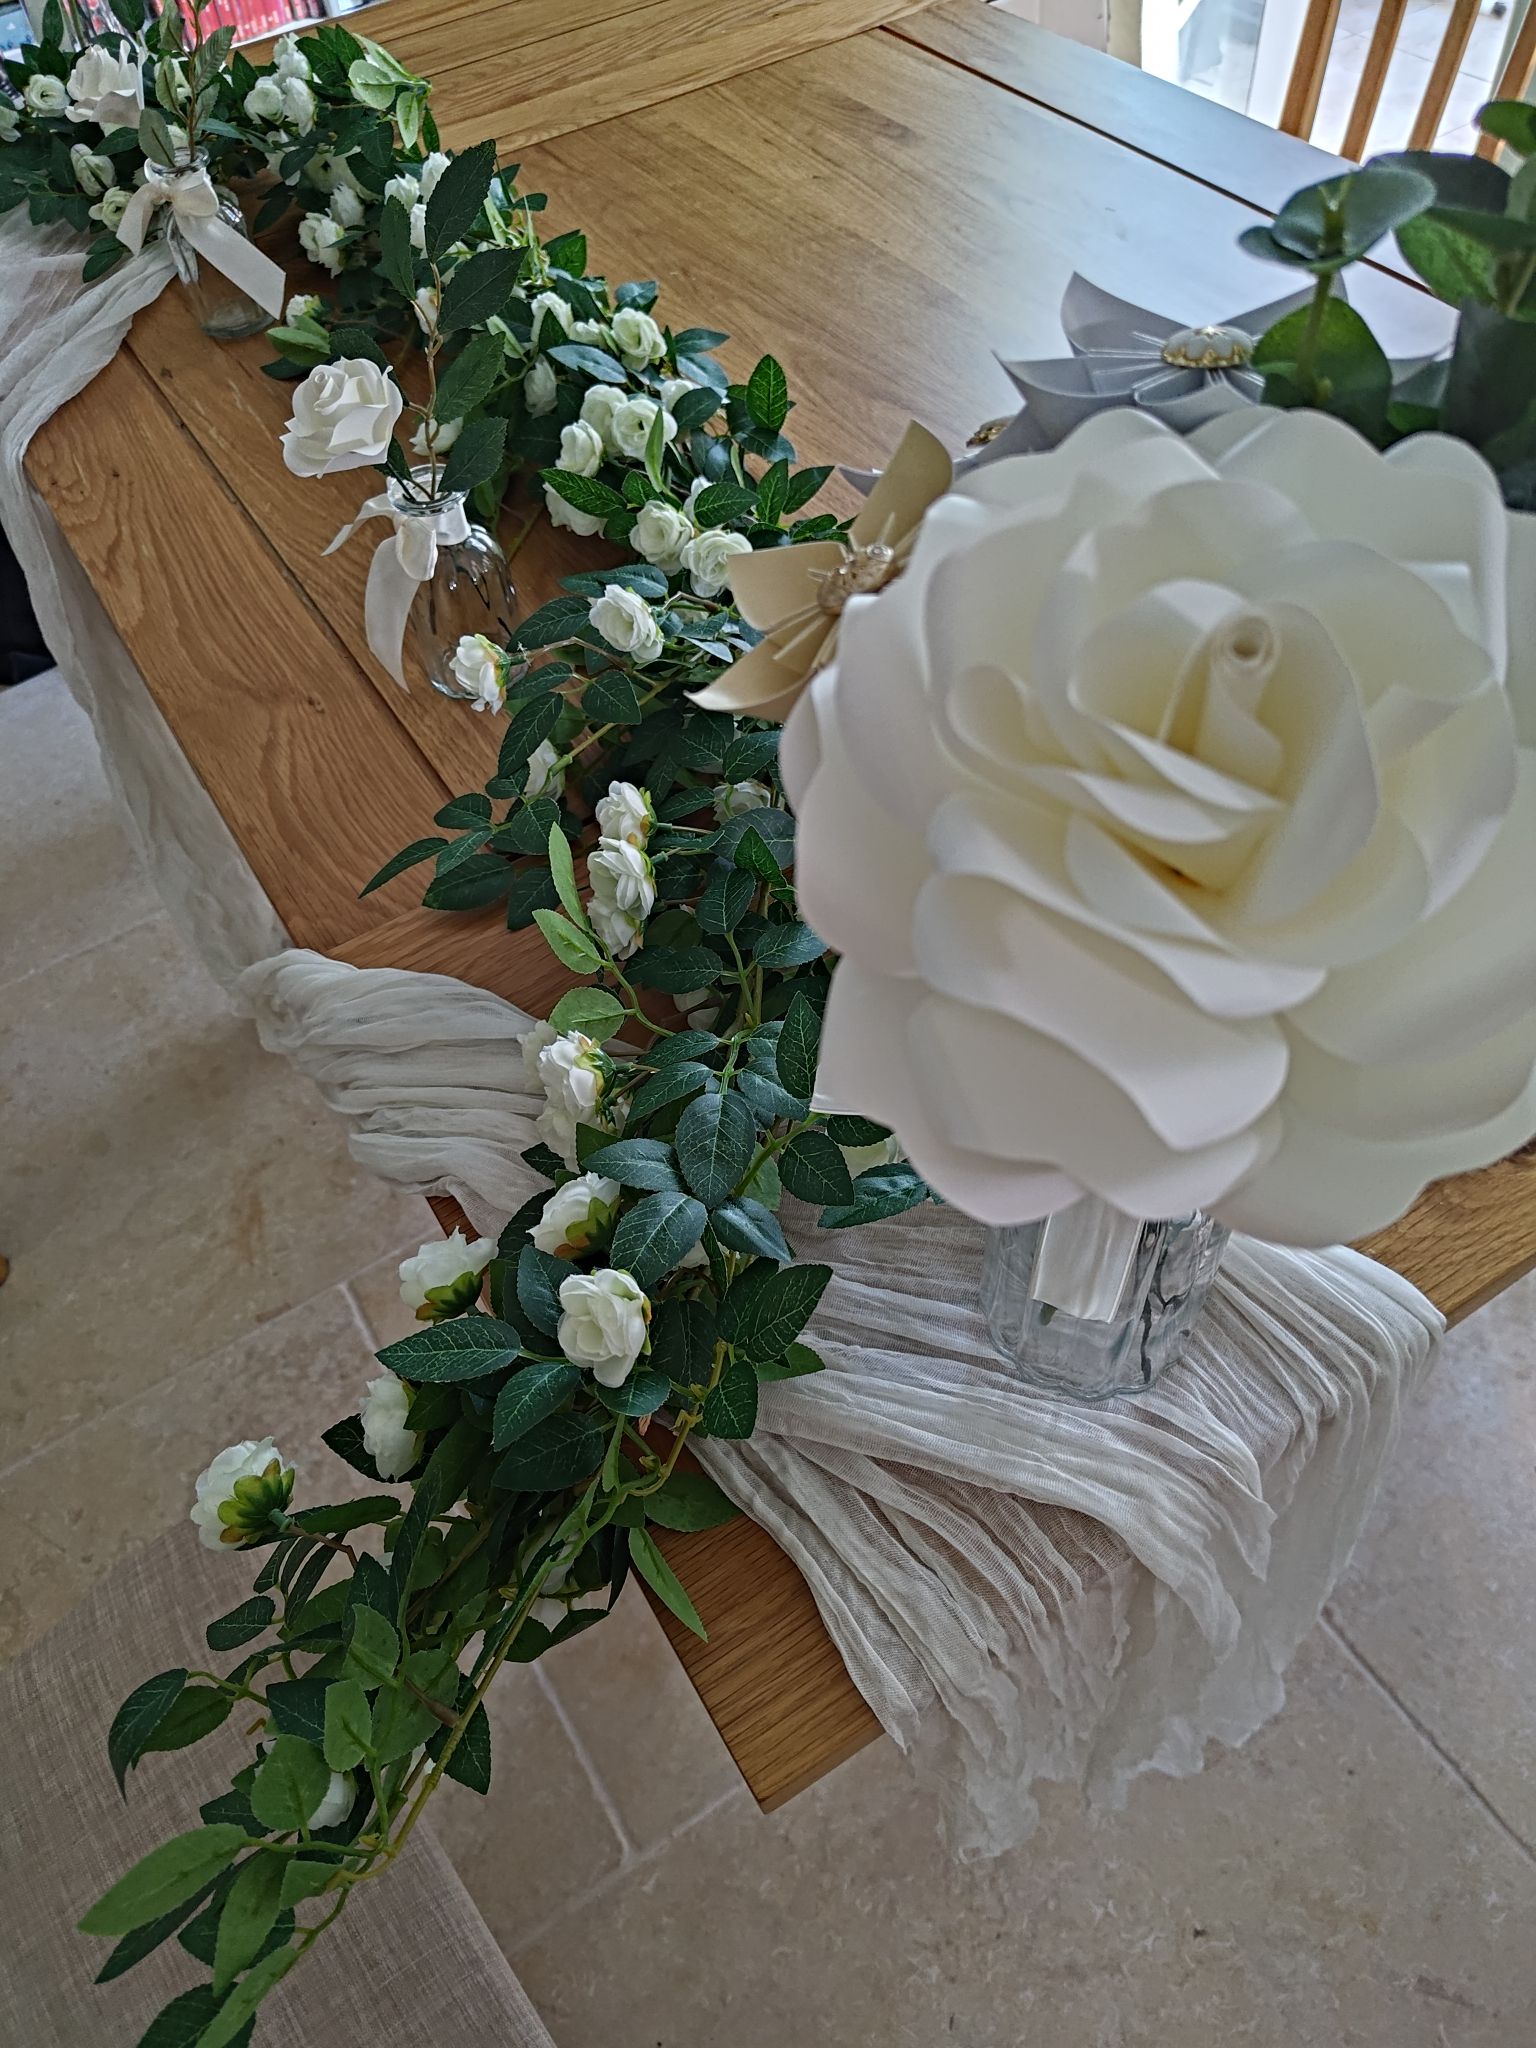
I don’t know if the table runner will drape over the front of the signing table, but if it did, does it look better when it hangs off the front of the table or when it runs along the edge and the vases sit on top? It’s helpful for me to visualise some ideas now, in case things change on the day.
I am also wondering if I should place some small wedding plushies in the centre of the table. I have been gifted quite a few and I think it would make a really nice addition, as well as fill the empty space.
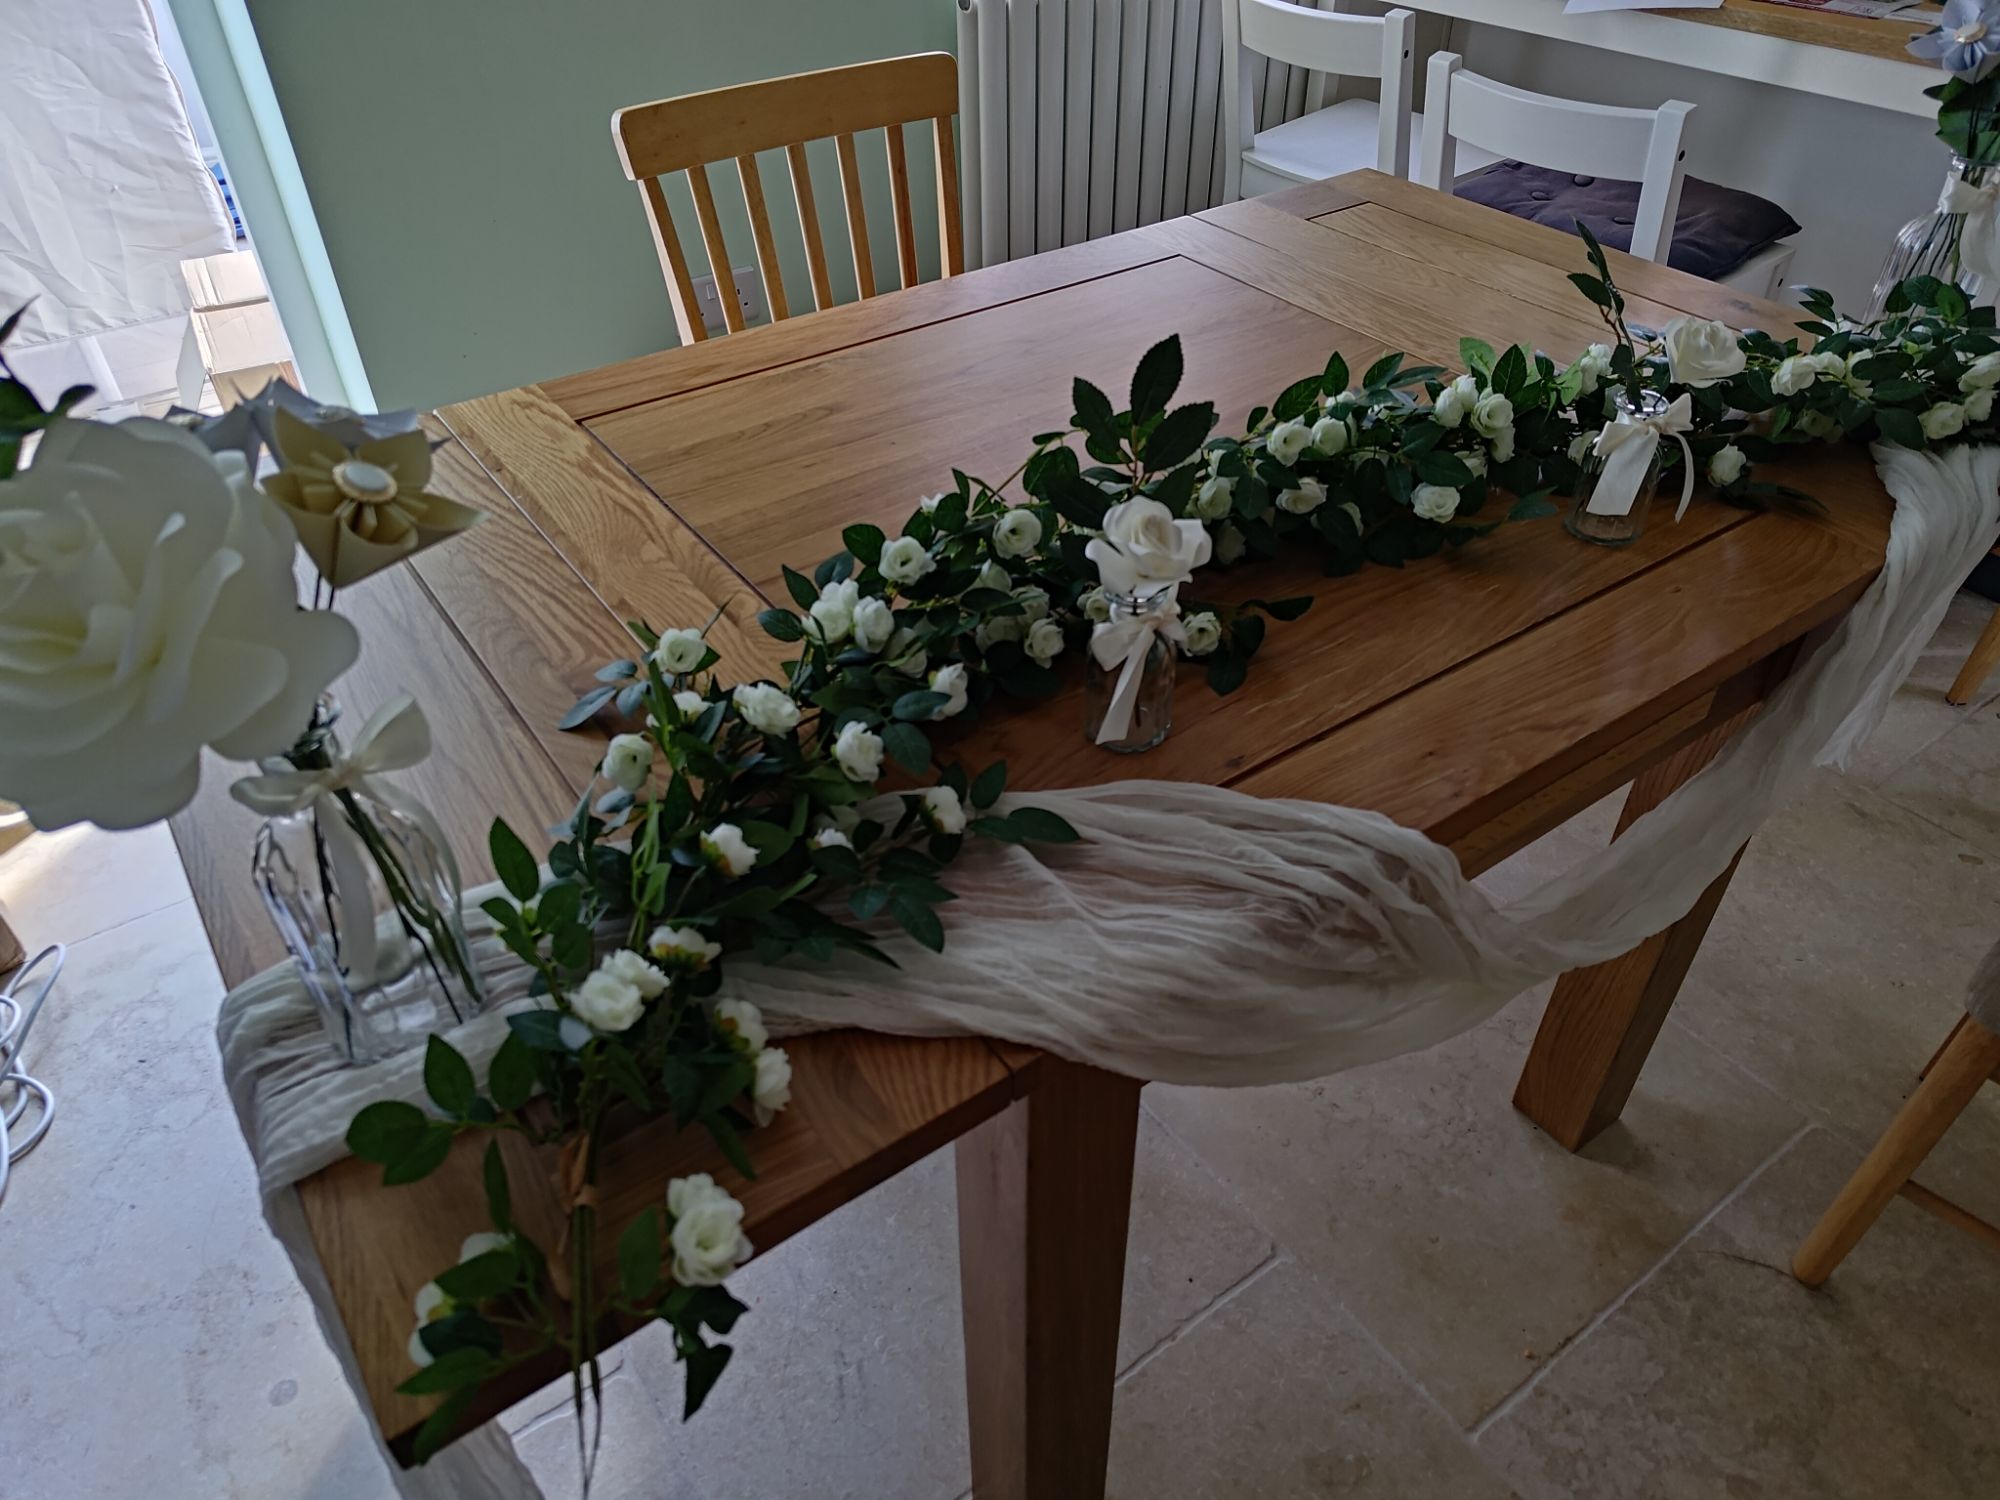
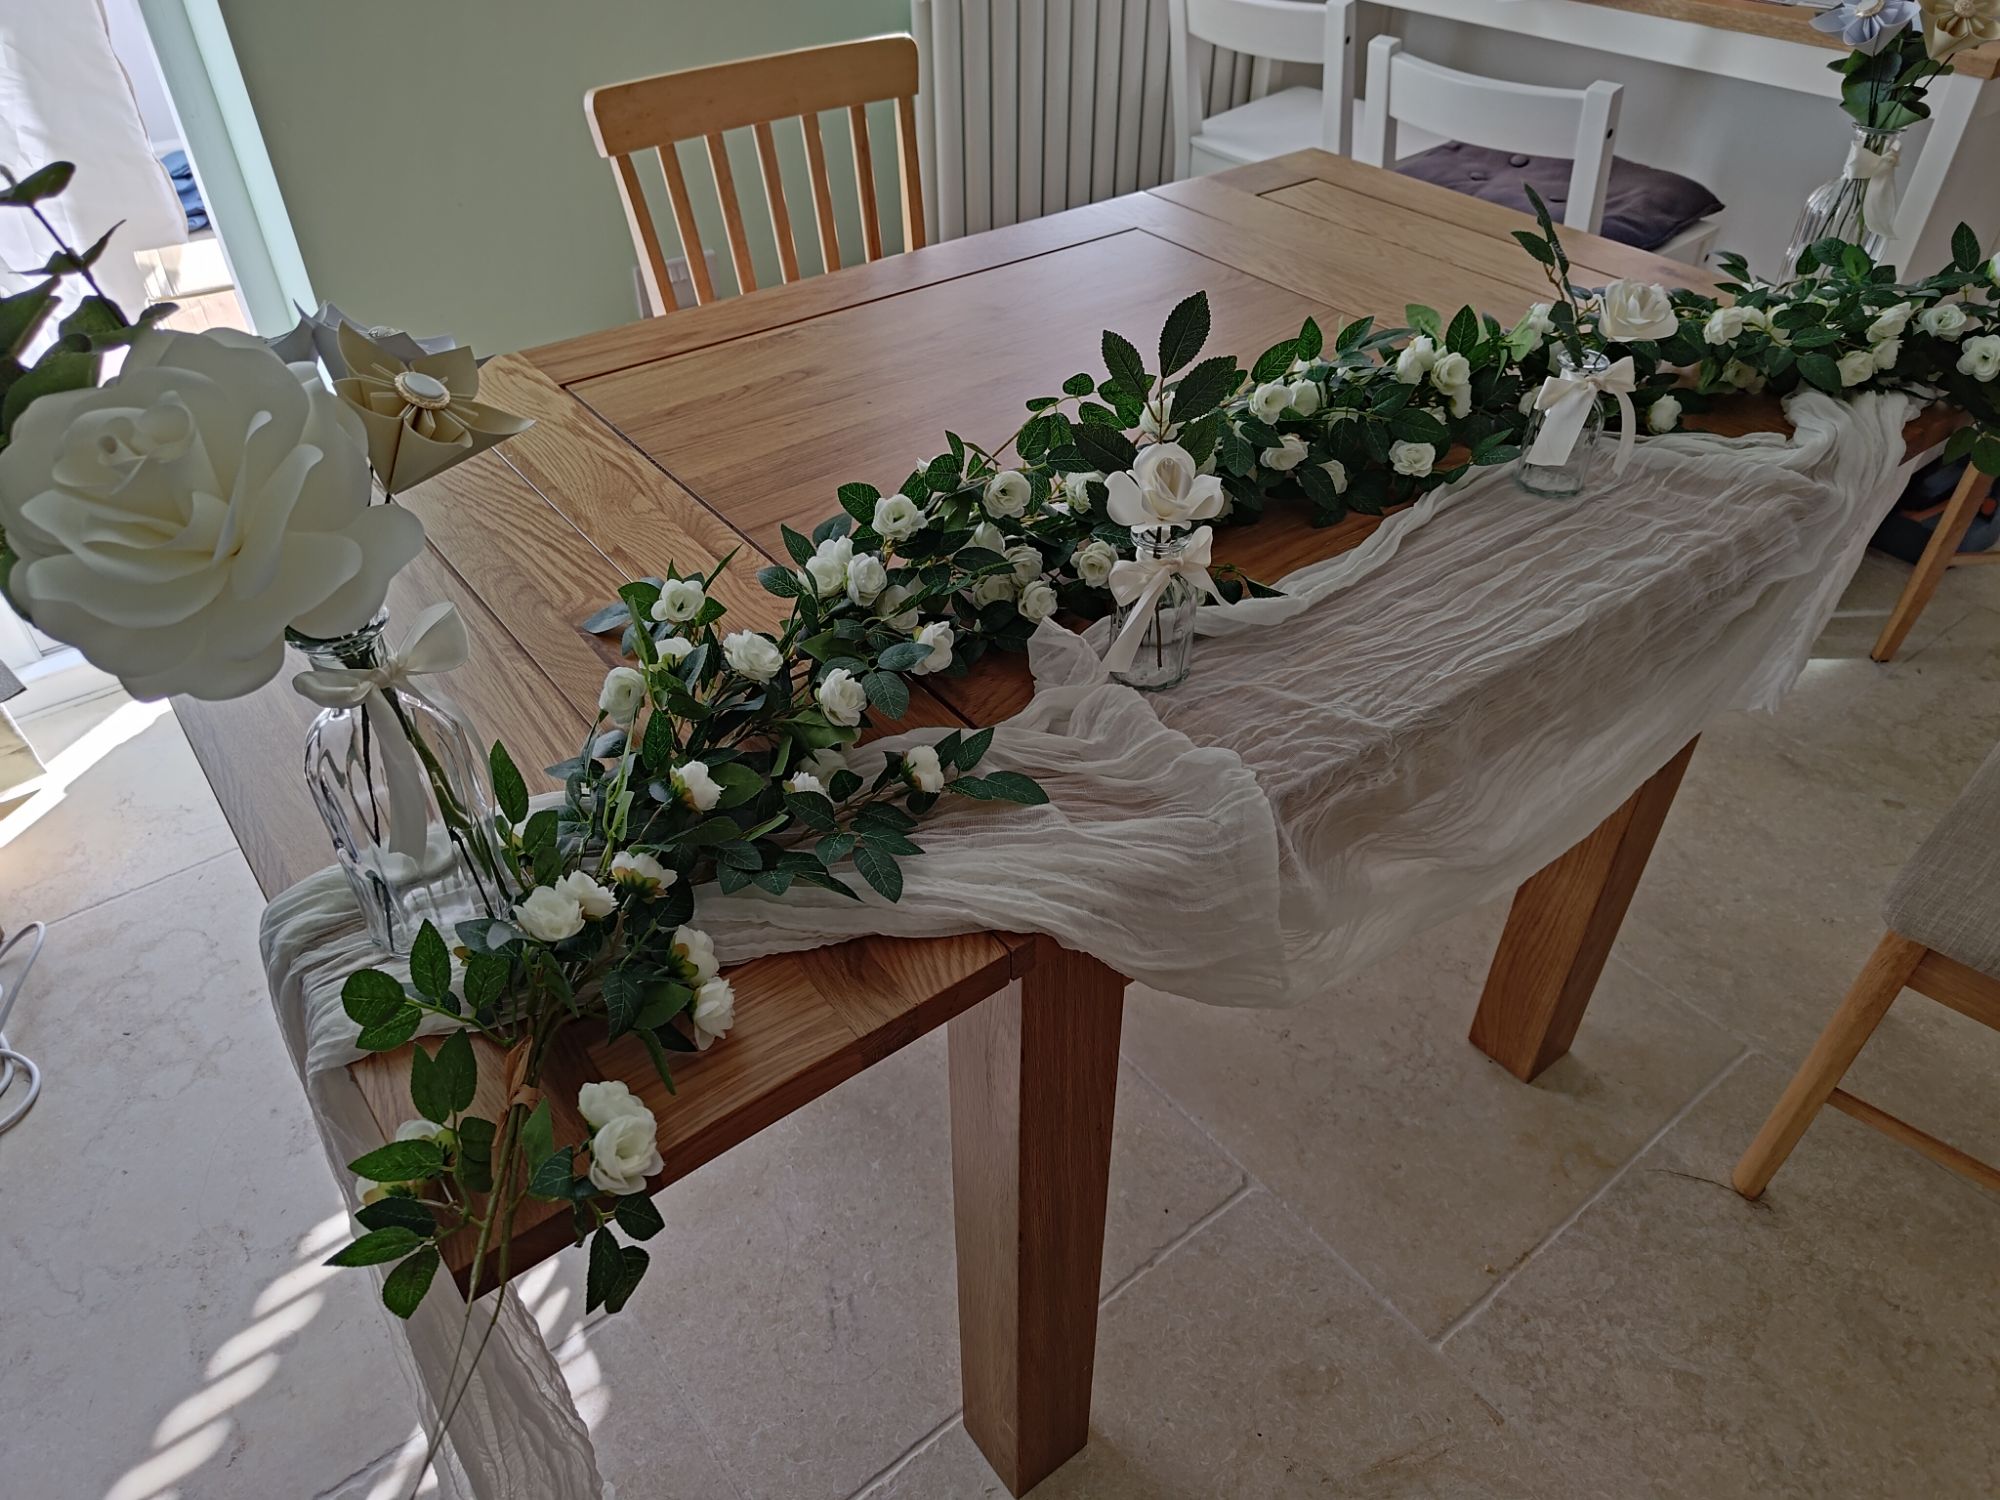
I’ll be dressing the table on the day myself in the morning. It sounds a bit stressful given that I need to do some other things on the day, but I want to make sure everything is decorated perfectly. Now, one more problem; should I pack all the materials separately and assemble on the day, or should I have everything ready to go and move to the venue with the utmost care? These are the small questions that keep me up at night on the run-up to the big day!
Materials used:
– two 19cm ribbed glass vases
– two 10.5cm ribbed glass vases
– A4 ivory craft paper
– white and yellow pearlescent origami paper
– gold and pearl costume buttons
– artificial greenery stems
– florist wire and tape
– 25mm ivory satin ribbon
– two artificial white rose garlands
– one white cheesecloth table runner
Tools used:
– scissors
– craft knife and cutting mat
– wire trimmers
– hot glue gun
– lighter

