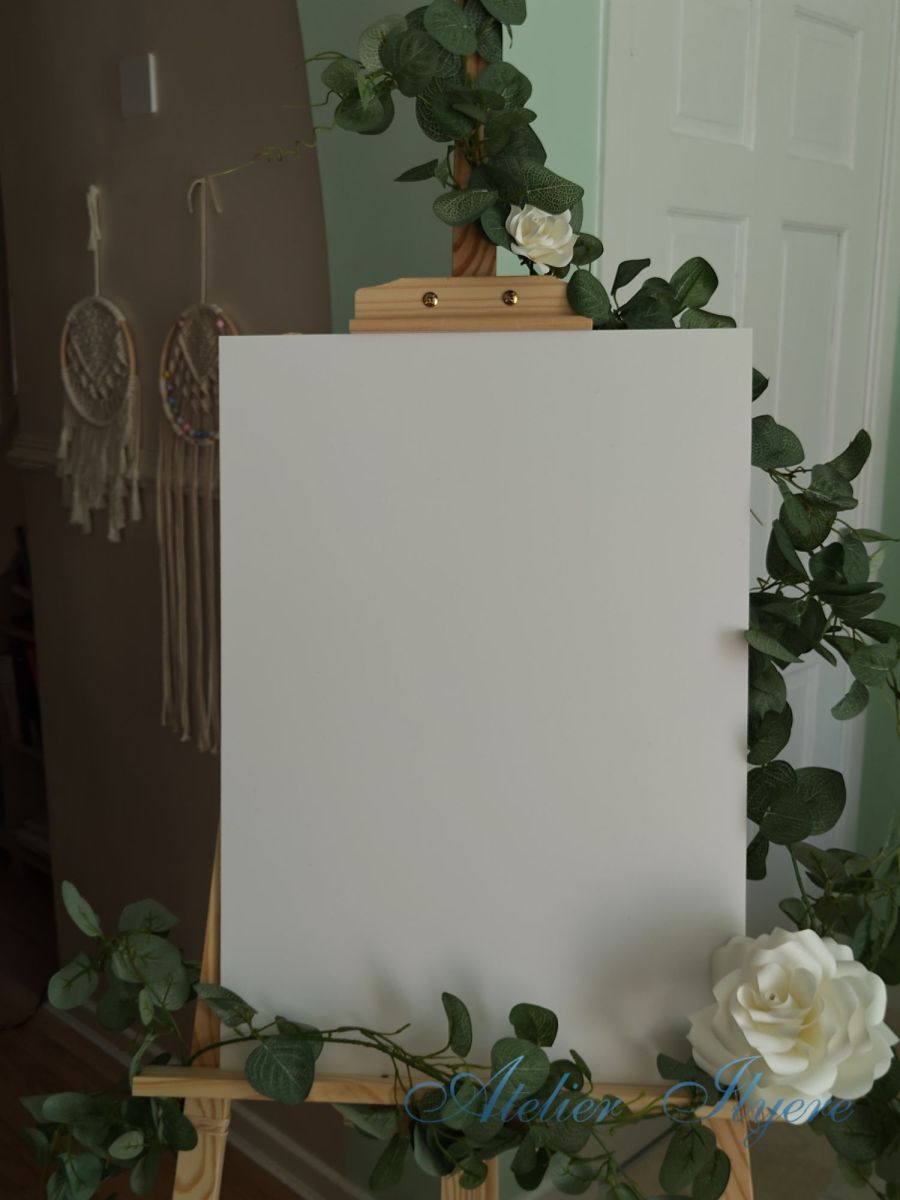
This is the last-ish thing I have prepared for my wedding! It’s a small project, but it will be great in the photos. Usually every wedding has at least two signs that need to be displayed: a welcome sign at the entrance to let guests know that they are in the right place and at the right event, and a table plan sign in the dining area to let guests know where they will be sitting for the wedding breakfast. Another sign that is optional but could be useful is a schedule / timeline for the day’s events. However I chose not to have this because my schedule is digitally accessible via my wedding website.
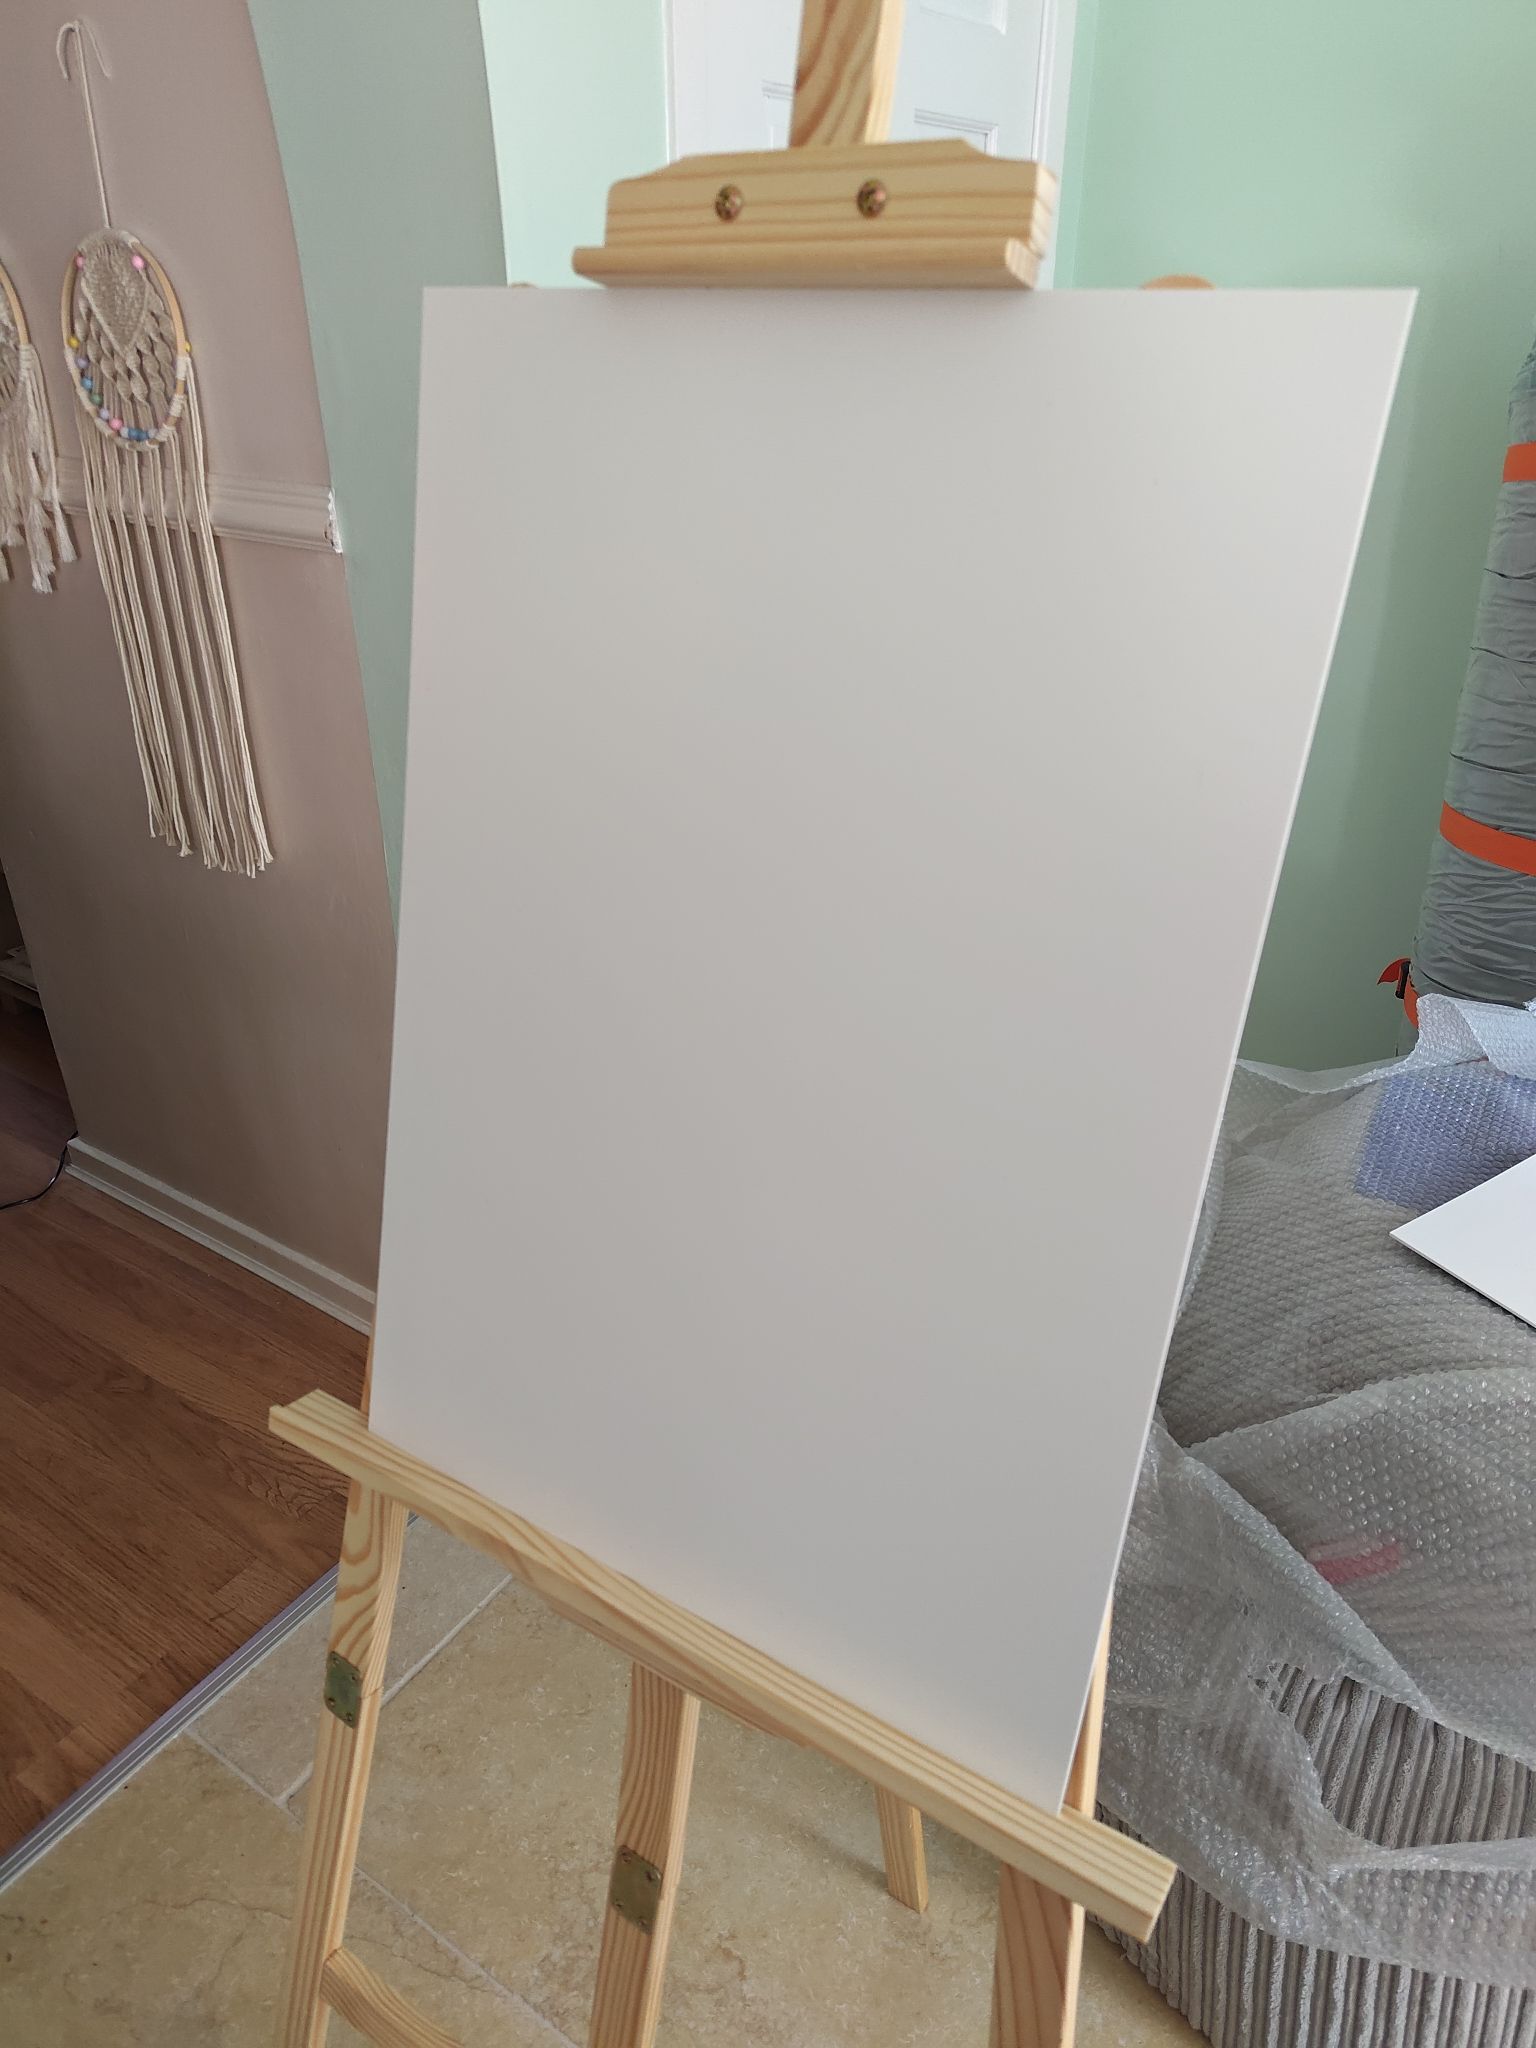
My A2-sized foamex welcome and table plan signs arrived recently, and I bought some flat-pack artist’s easels from Amazon to go with each one. I had to spend a day building these in advance and the height of the base can be adjusted! And obviously I have the sign flipped around for privacy, but I ordered the gold leaf design from TheInviteShack on Etsy if you’d like to know the specific design that I used.
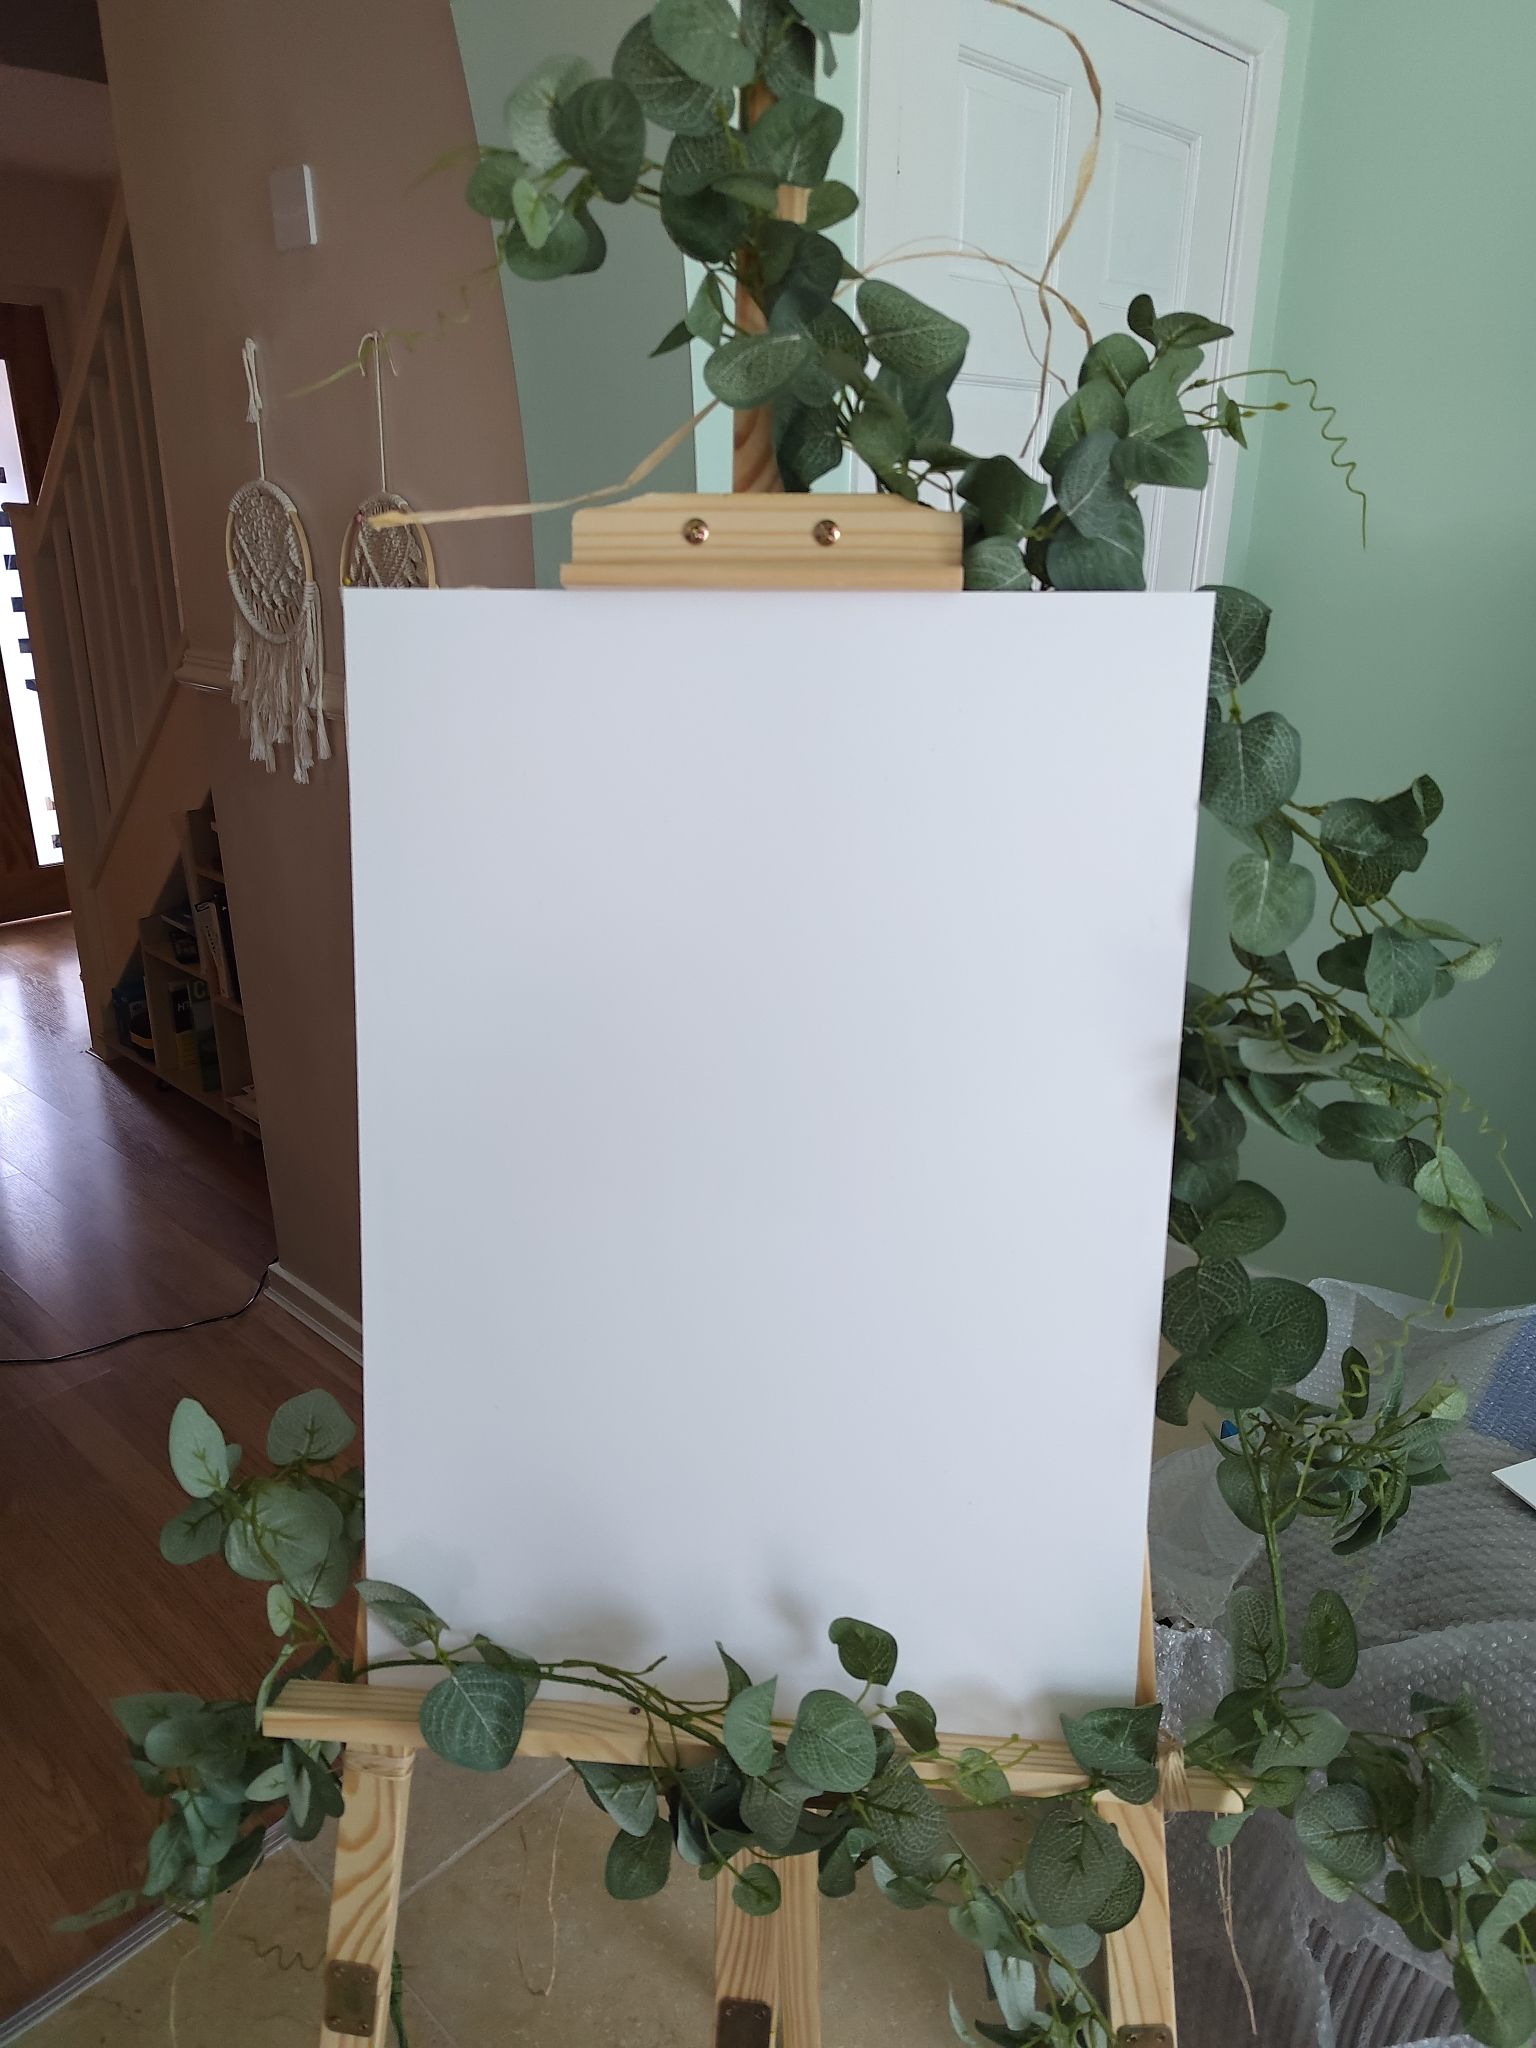
Now I could have these displayed as is, but where is the joy in that? With a few cheap materials, you can add a little extra touch to make it really pop and match your wedding theme. Due to the size of the easel, I am working in my dining area today so you might spot some extra mess in the background, sorry about that!
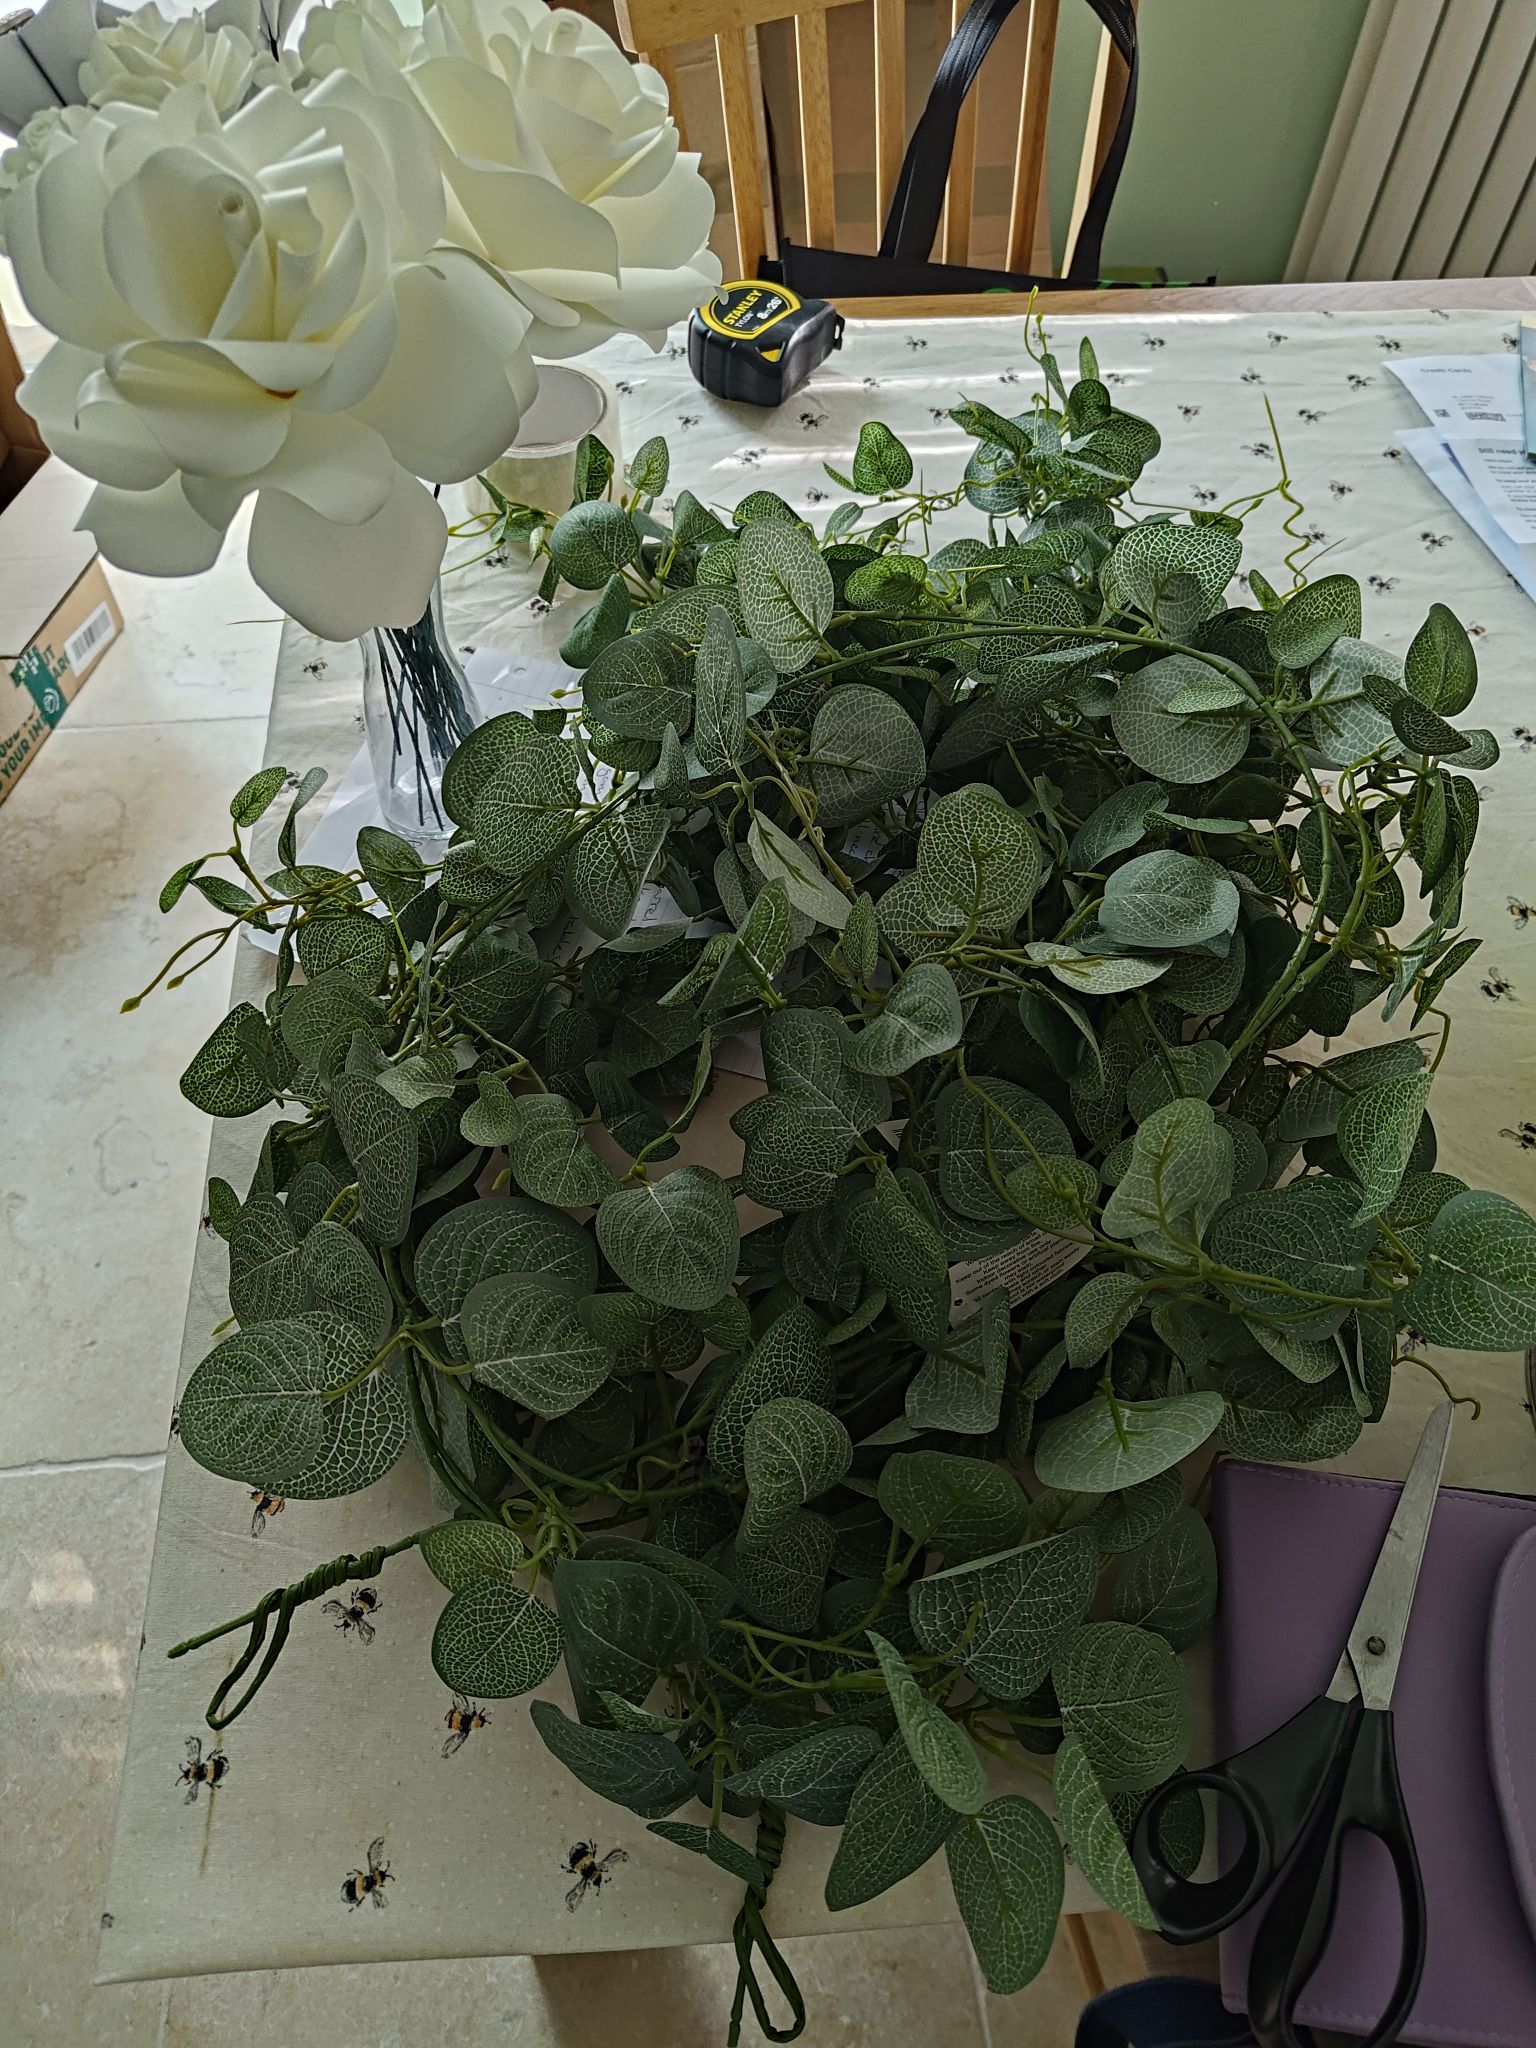
I bought two artificial eucalyptus garlands at The Range to wrap around the easels – the welcome sign would be displayed outside but under cover so it would need to be a bit weather-proof. I also had some spare ivory papercraft flowers on hand just in case. And I had my scissors and wire cutters ready.
If your garland is long enough, you could just wrap it directly onto the frame. Mine were 1.8m long but I wanted it to be framed in a certain way, so I also used some raffia ribbon. You can also use jute twine or whatever matches your colour the closest as it will be visible in some way from the front.
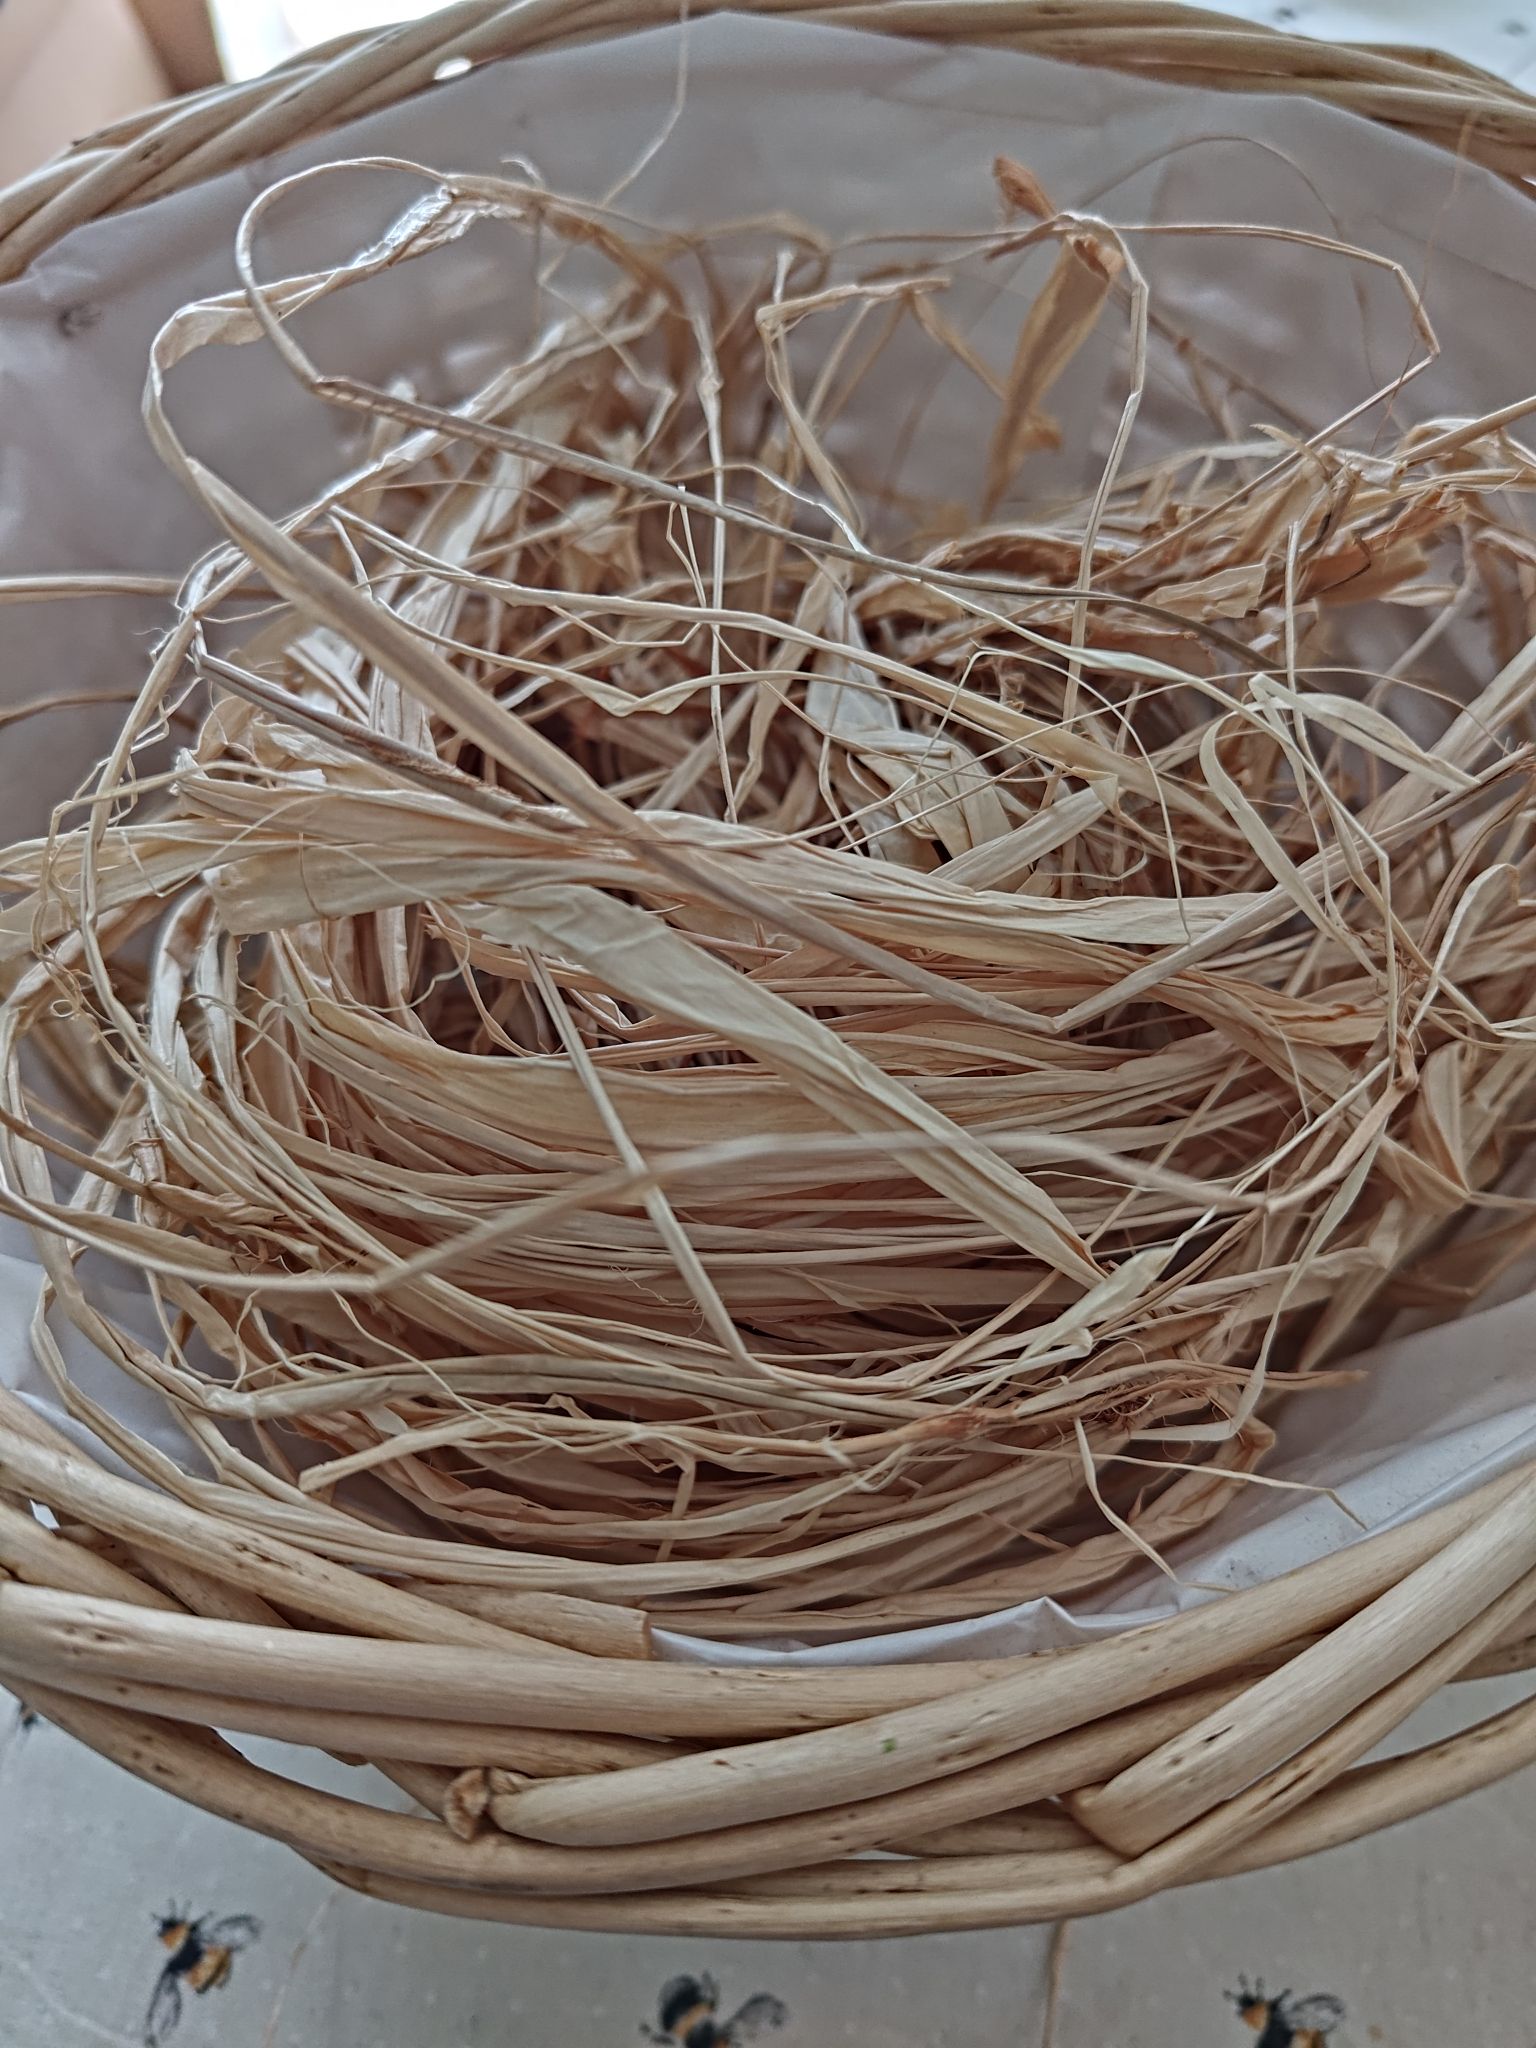
After playing around with the arrangement a little, I started at the top of the easel and took a bit of raffia, wrapping it around both the garland and the easel five or six times, then I tied a double knot at the back. The colour of the raffia is quite similar to the easel which is a happy coincidence! And there should be enough leaves on the front to camouflage it too.
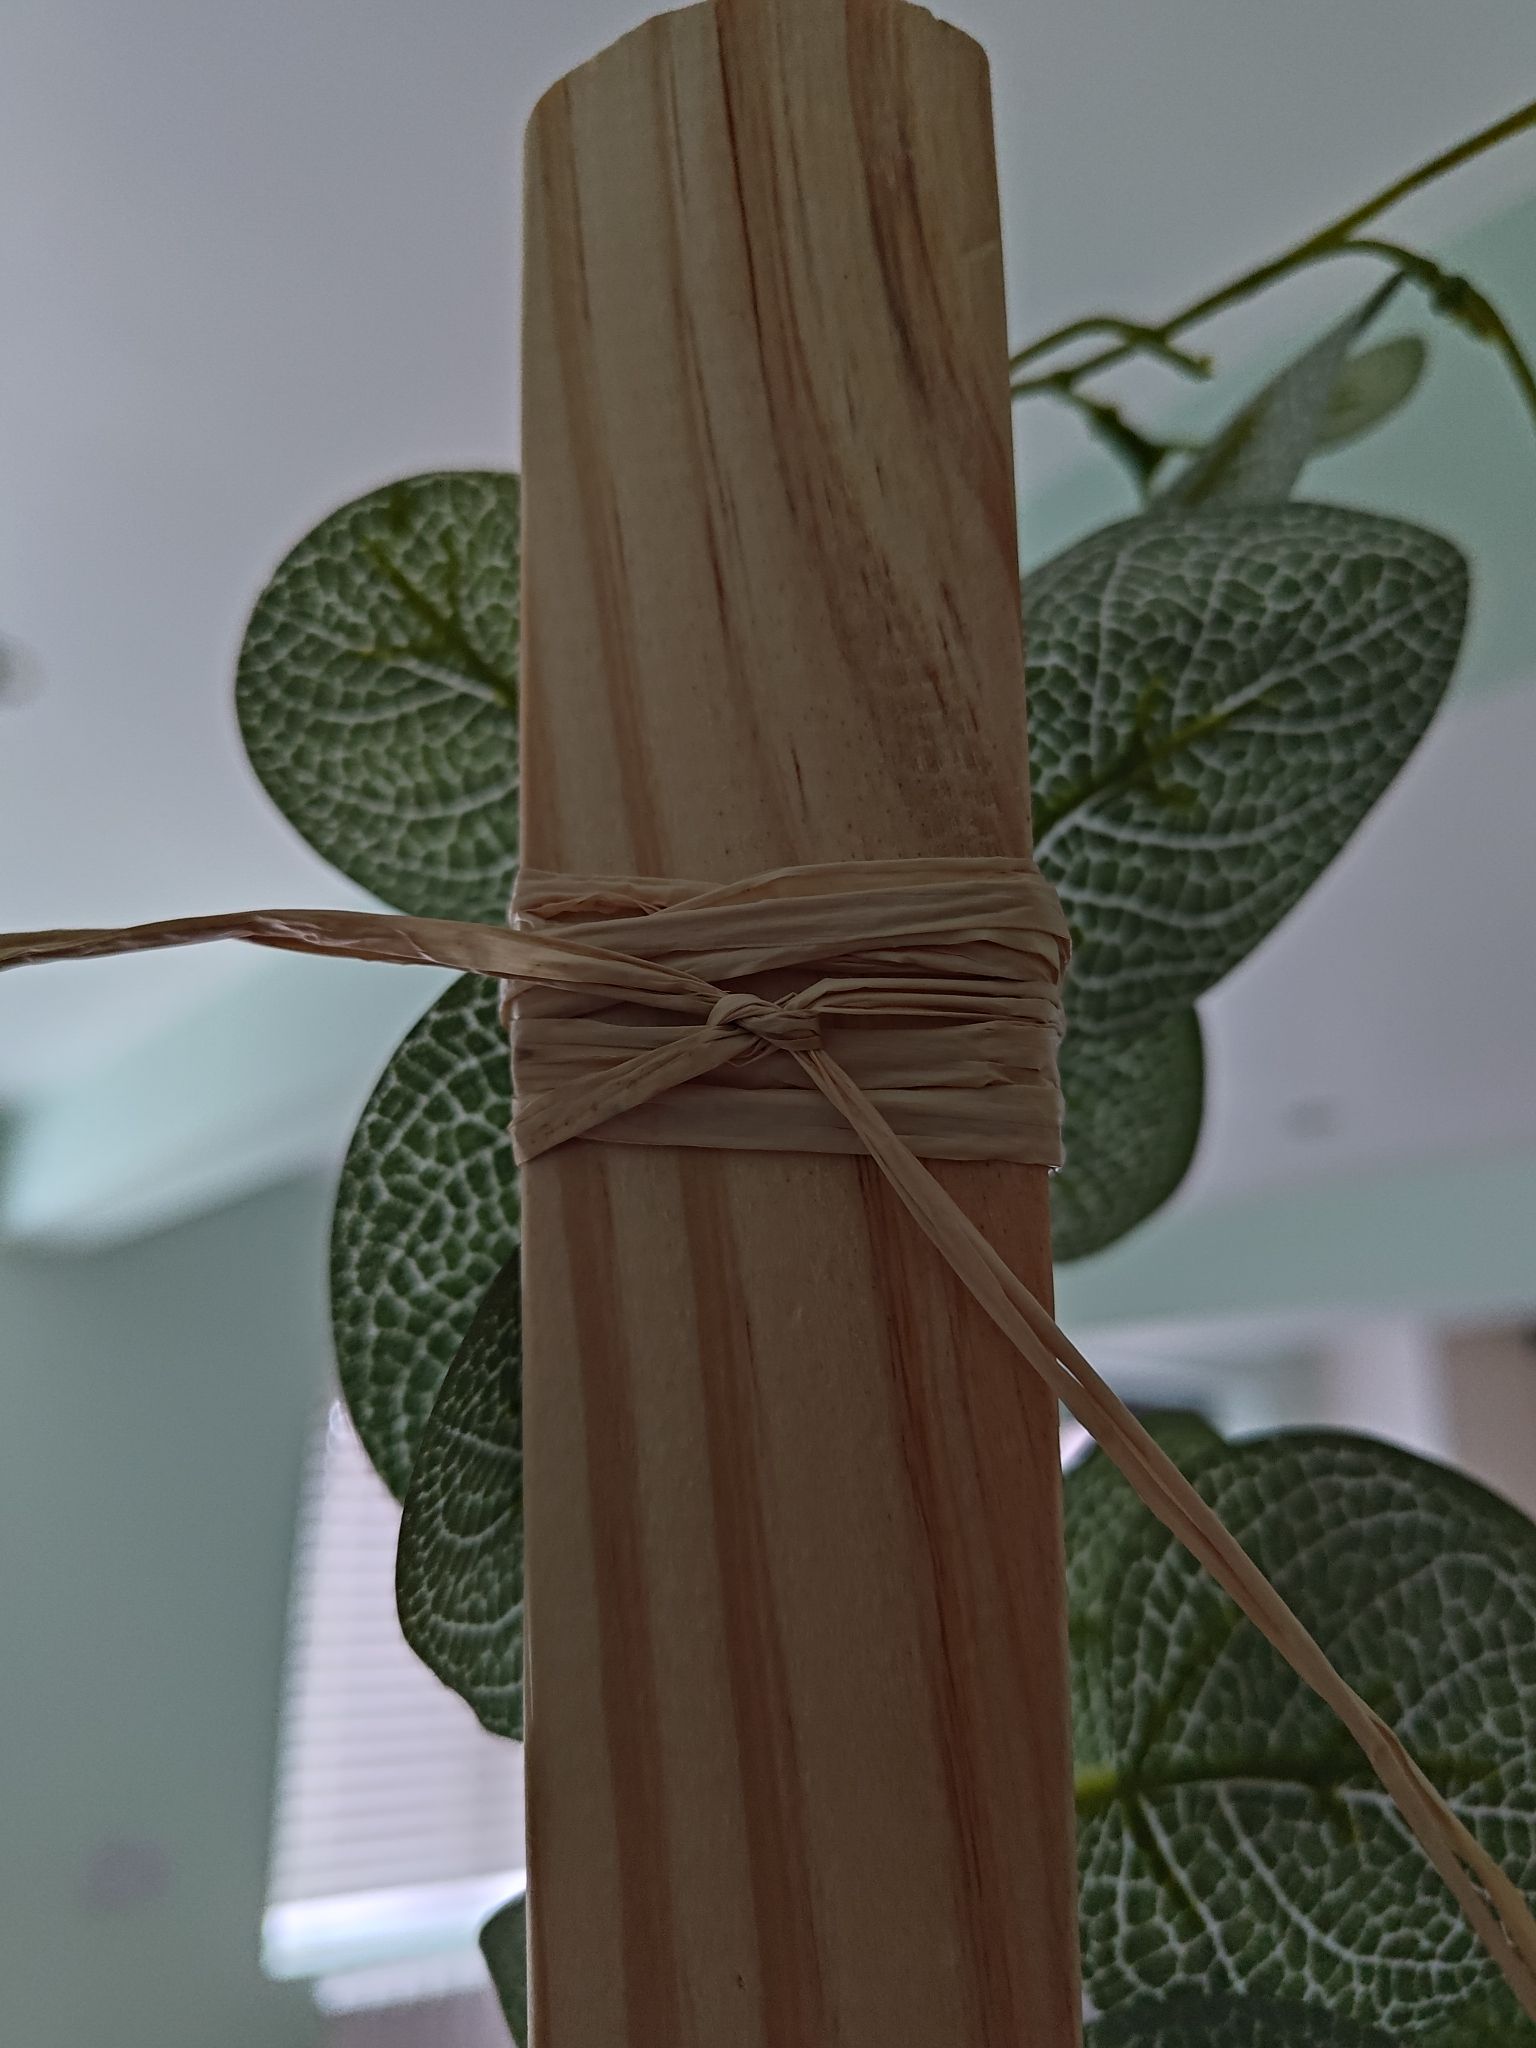
I made a few more raffia knots to guide the garland down the right-hand side of the easel, then along the base where the sign sits, ending just behind the left leg, to frame the sign. The raffia is quite visible here, but it will get trimmed at the final step. I like the way some of the branches fall away from the easel.
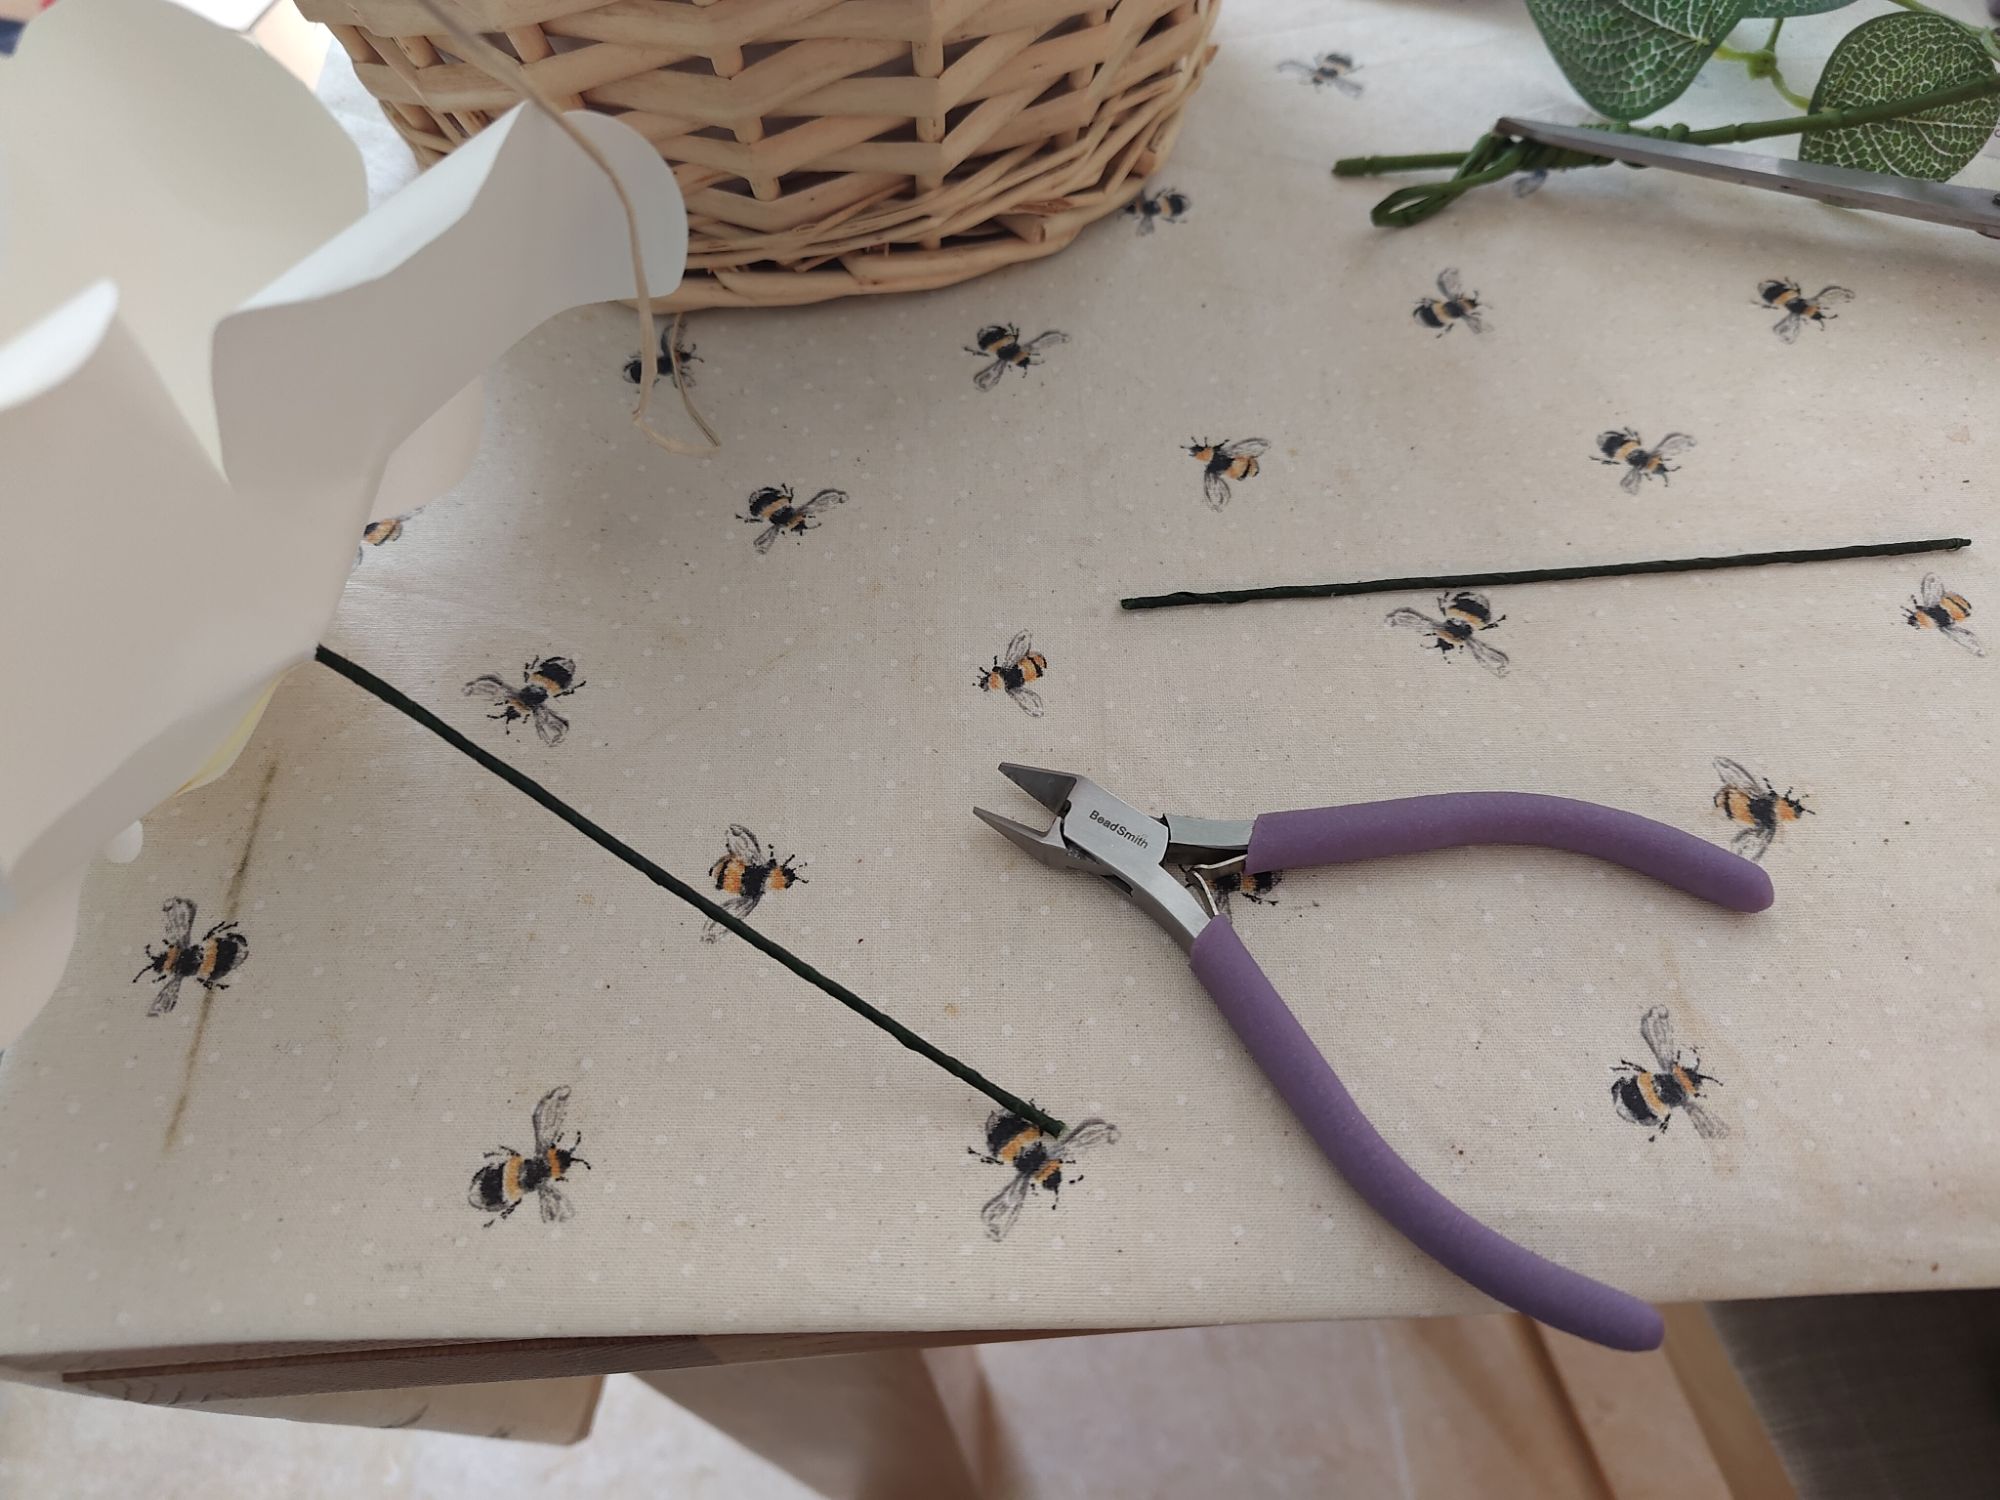
To make it match my wedding theme, I took a large papercraft rose, cut the wire in half, then wrapped it around the garland three times on the bottom right of the sign. I did the same with a small rose at the top. I could have added more roses, but these were my spares from all the various projects I have done so far and I did not want to add to the effort by making even more stuff!
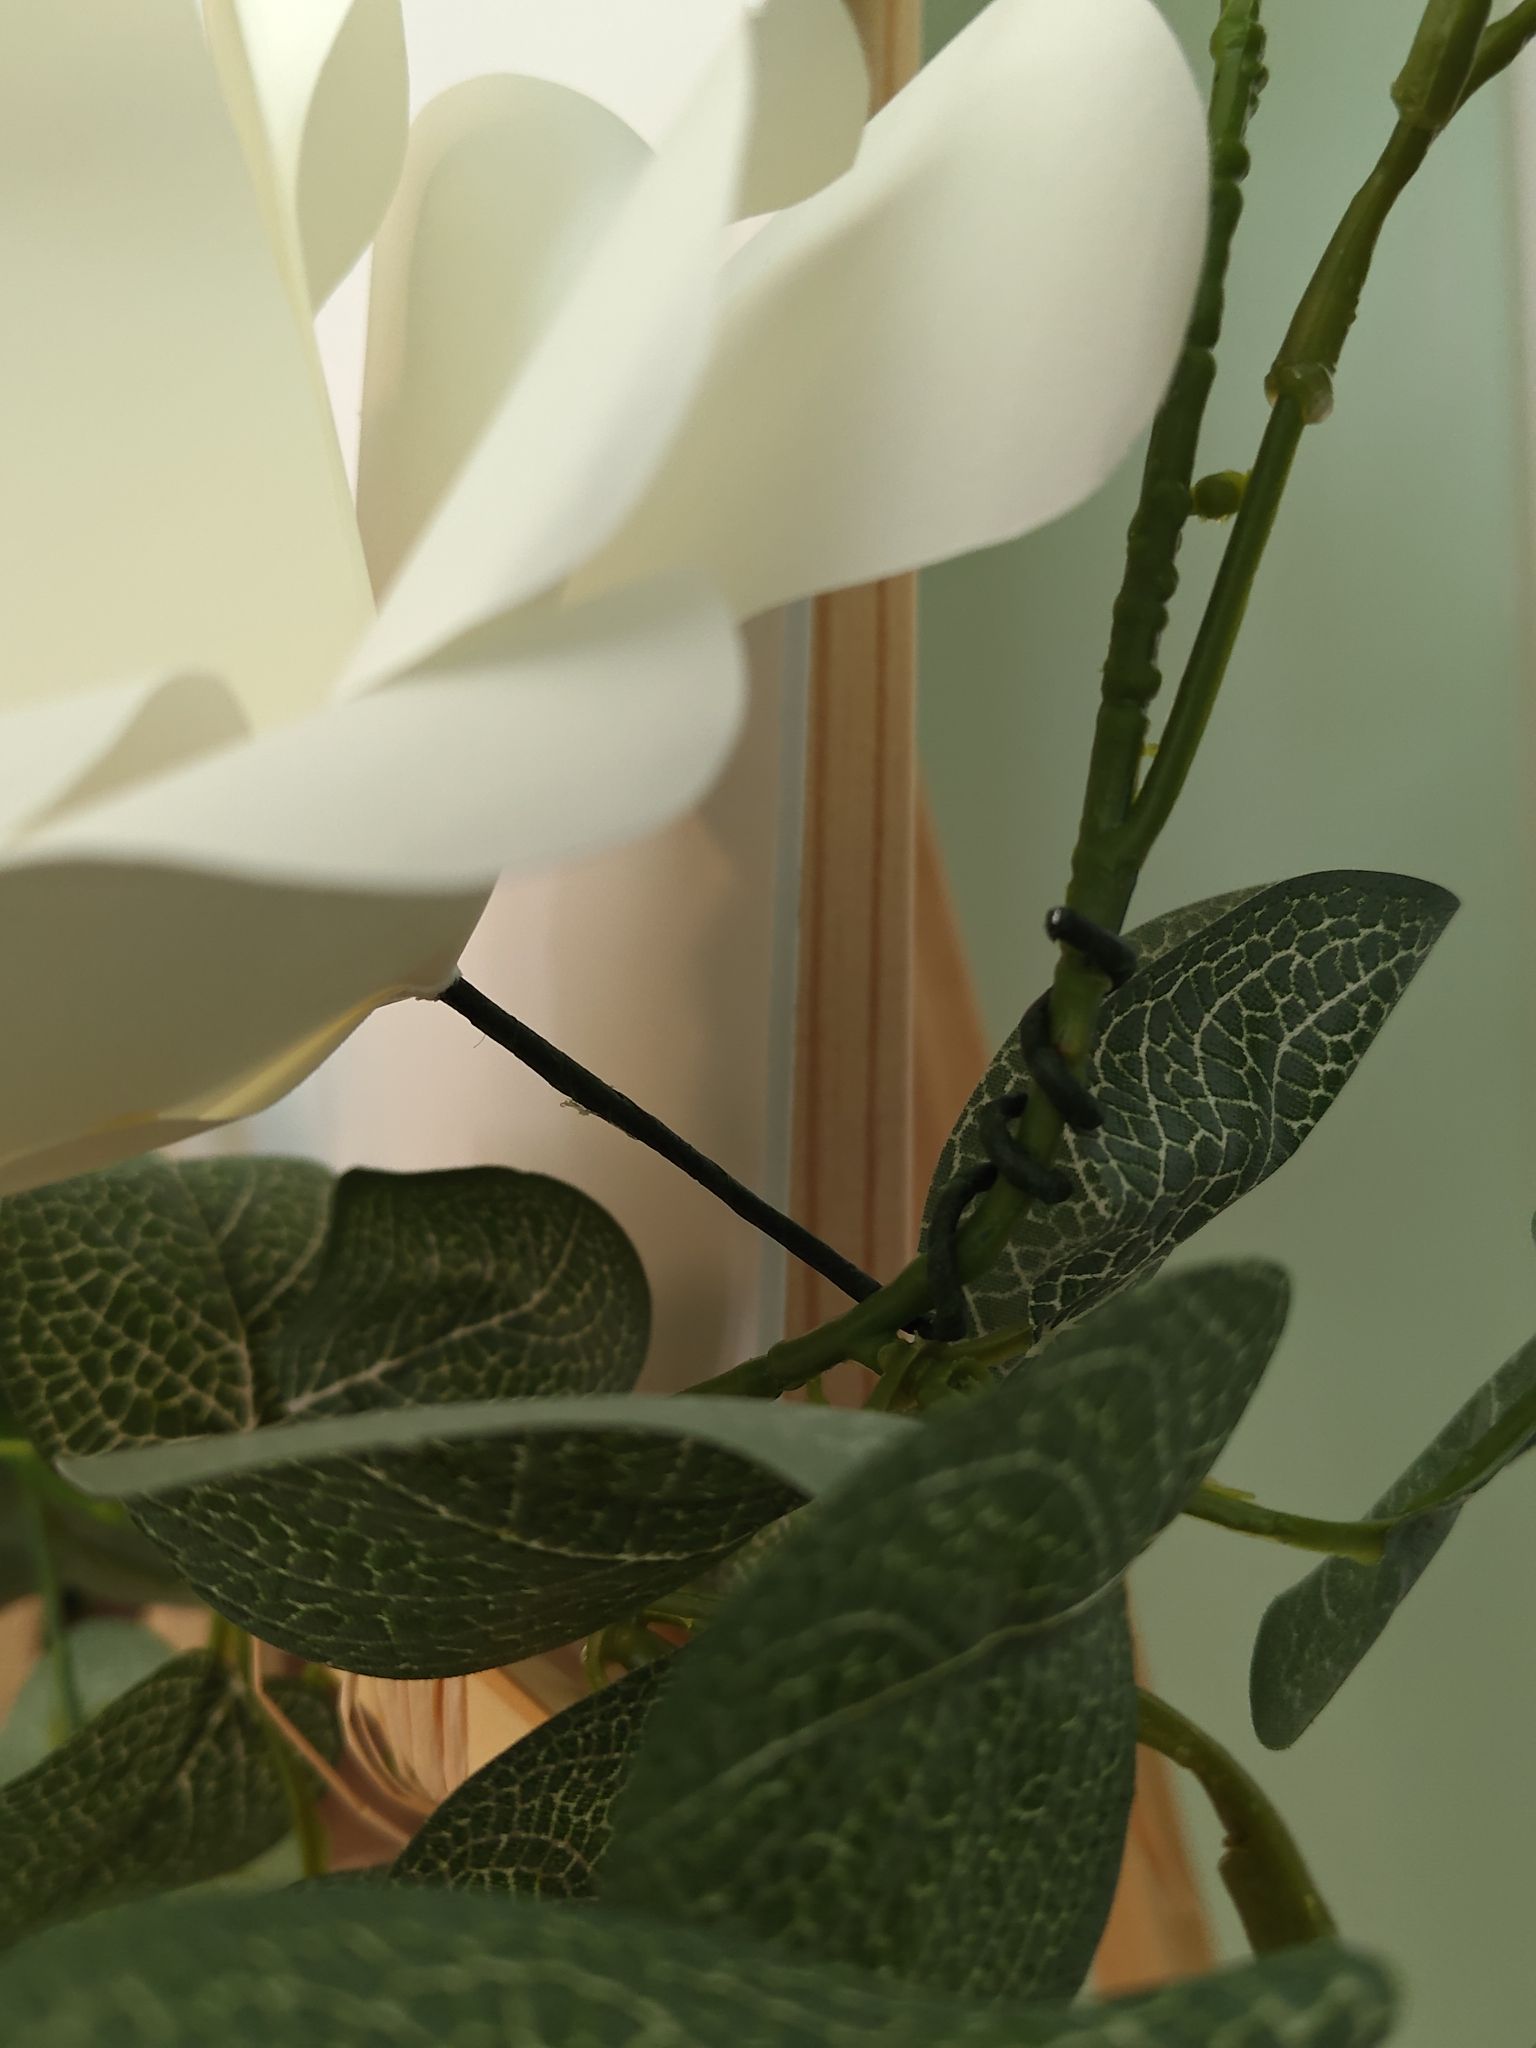
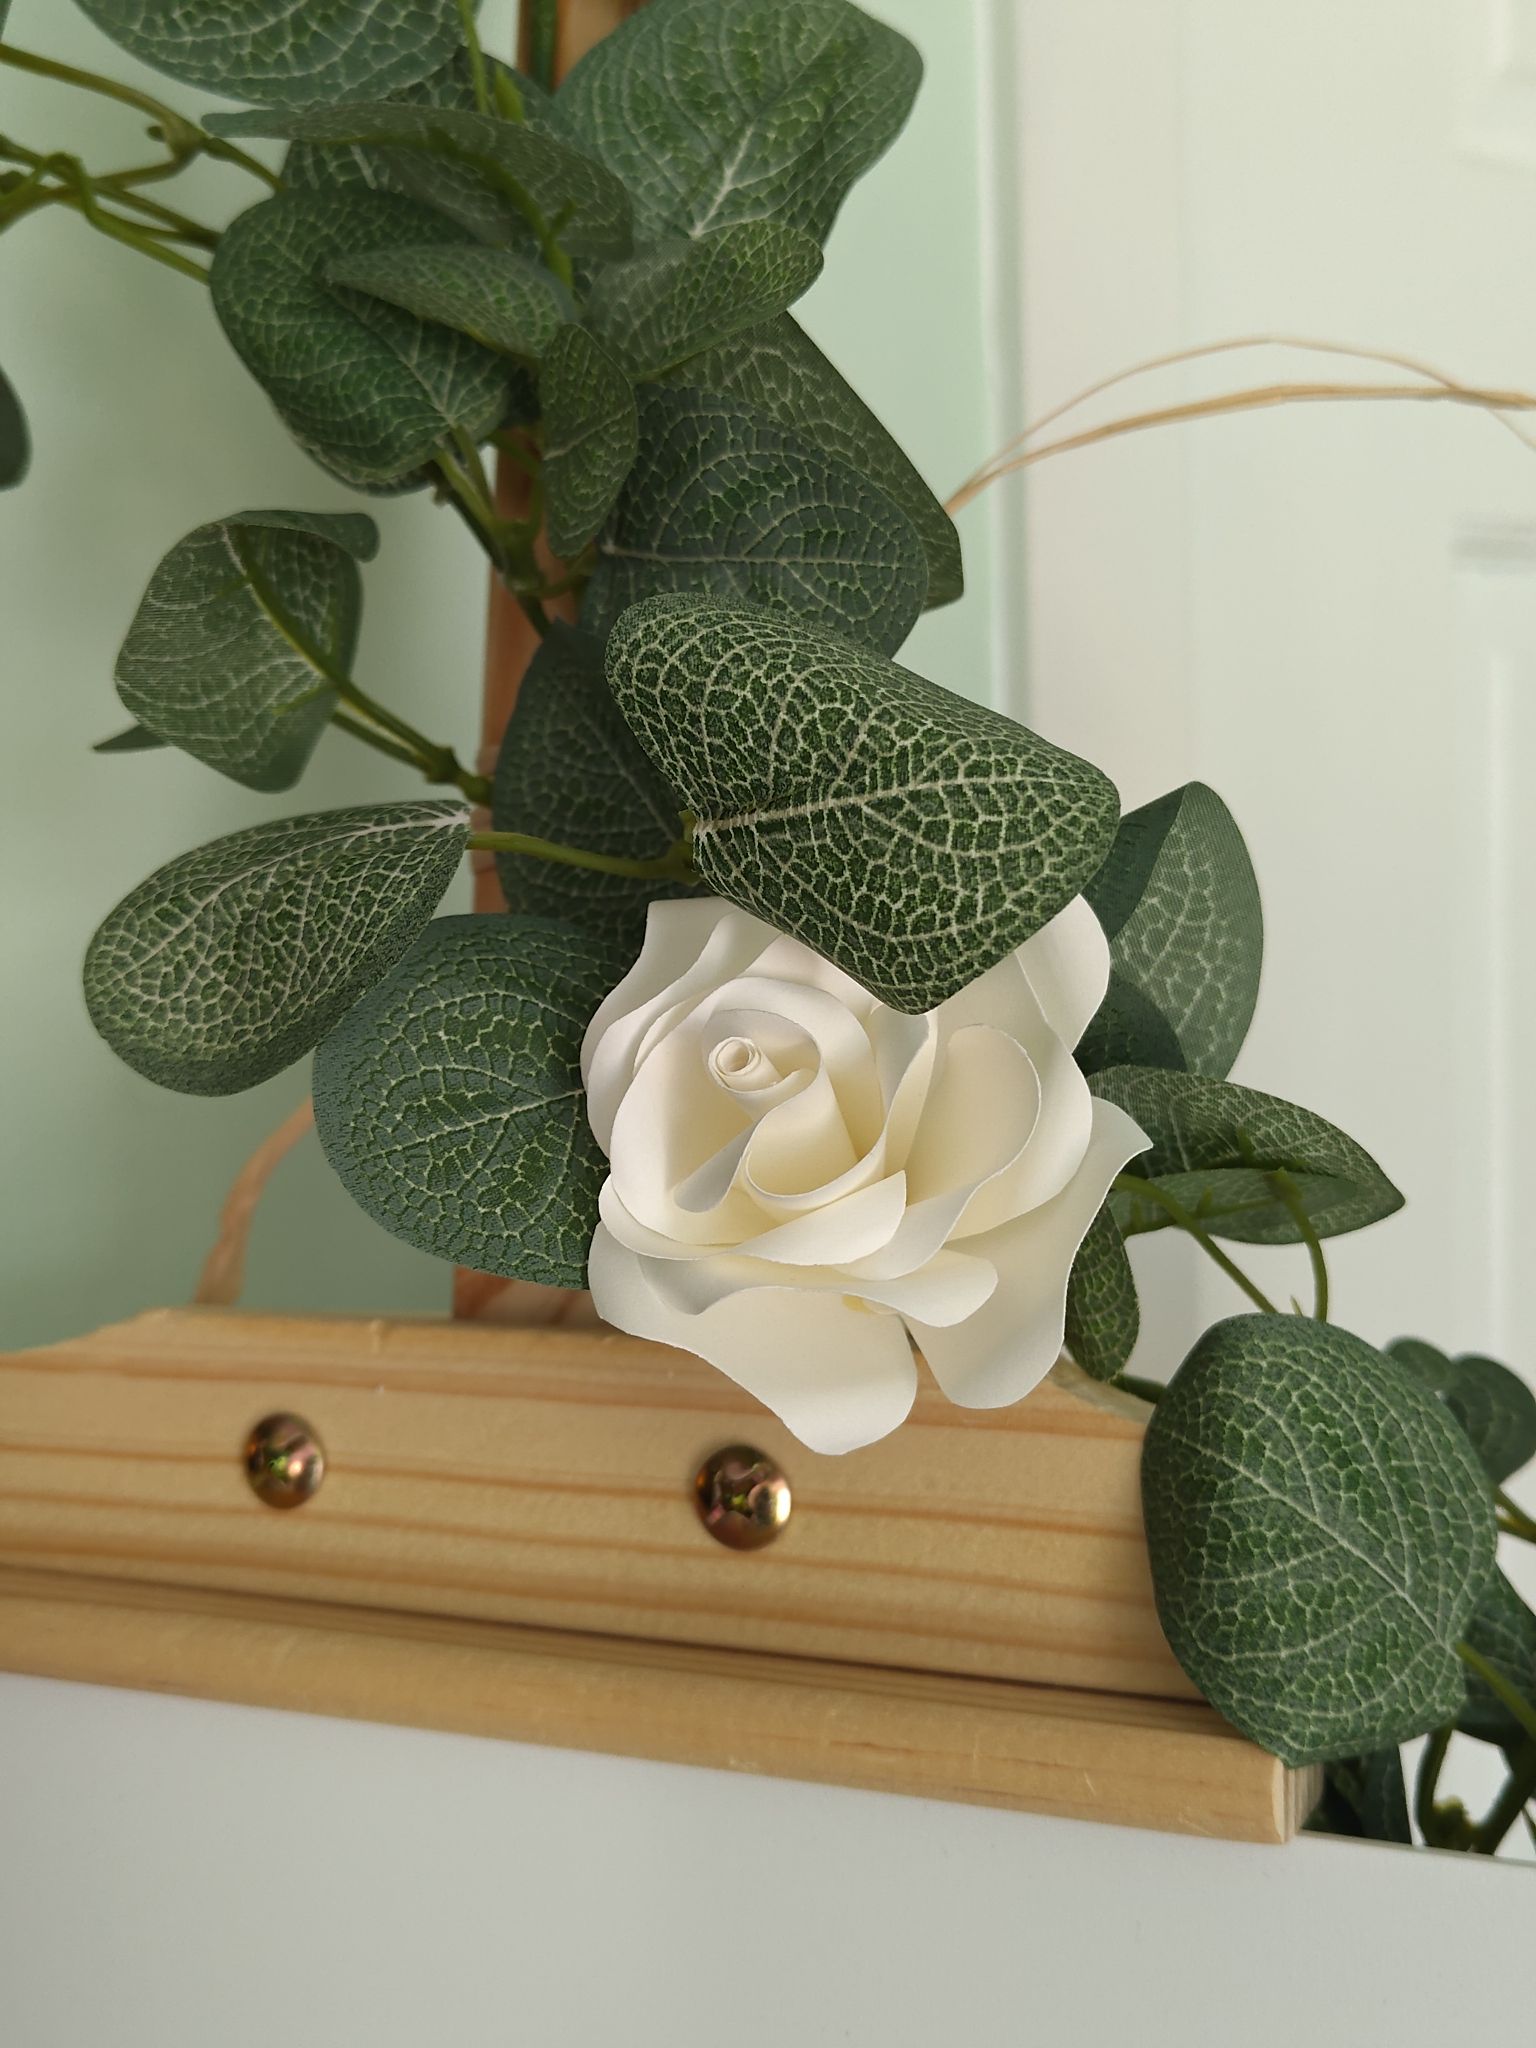
Once I was happy with the arrangements, I snipped the raffia ends so that they were no longer visible from the front and tucked in any wires from the roses.
This is a very simple way to elevate a plain easel for a wedding, and the ivory roses help it match the theme of my bouquet and the signing table. And since I used raffia, when I am done with my wedding I can always reuse the garlands elsewhere in my home! The printed design I have on the boards works really well with the greenery too.
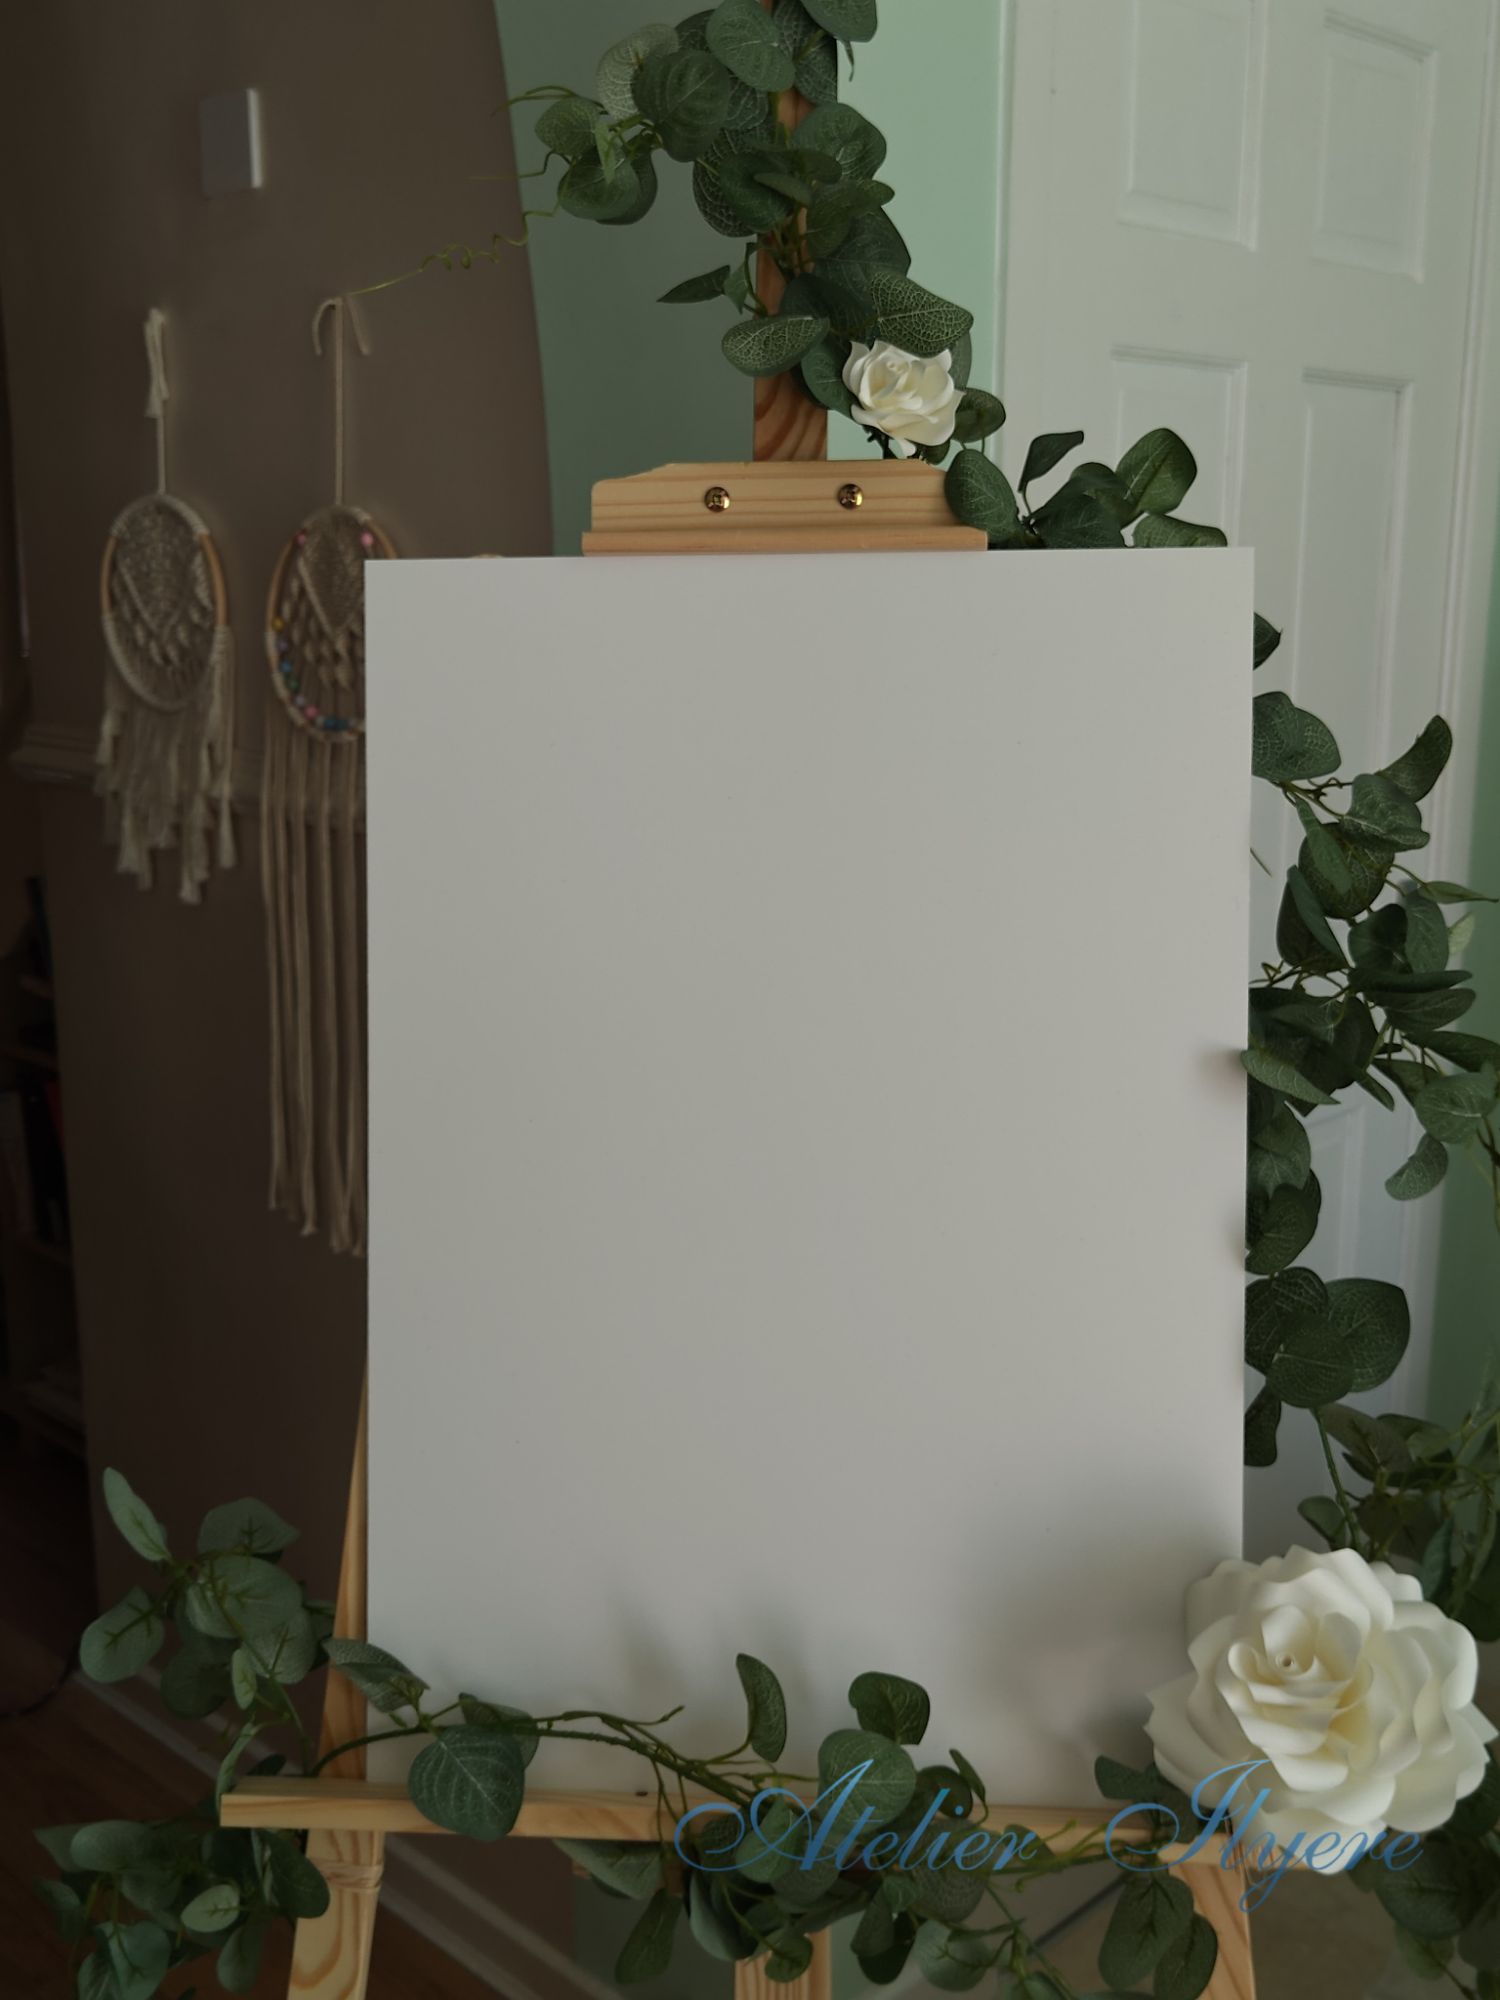
This is it, the last stretch to the big day for me now! I may go quiet for a bit as I need to prepare everything and box stuff up for the wedding, then actually have the wedding, followed by a much-deserved honeymoon soon after!
Materials used:
– A2 foamex board sign x2
– 1.75m artist’s easel x2
– 1.8m eucalyptus garland x2
– large ivory papercraft rose x2
– small ivory papercraft rose x2
– raffia ribbon
Tools used:
– scissors
– wire cutters

