Now that I’ve finished my bridal bouquet, it’s time to make the matching bridesmaid bouquets. These are somewhat easier to do simply since I actually know what I am doing now, but also because I plan on making them have simpler designs. However the difficulty could depend on how many bridesmaids you are having. I only have two so this feels more manageable!
Although the bouquets do need to match the floral wedding theme, you want to make sure that the bridesmaids do not “upstage” the bride; the bouquets can be a smaller bundle of flowers, or a basic design with less variation. In my bridal bouquet, I used 31 flowers of varying sizes and paper types with lots of greenery bundles, so I can easily use less flowers. I made so many to begin with!
I started with a base of extra gold and white flowers that I previously made, instead choosing to use cream as the main colour instead of ivory for the roses and the ribbon, and I used a different bundle of greenery to match. I also chose not to include any large kusudama flowers using pearlescent paper as I wanted the bouquet to be small in width.
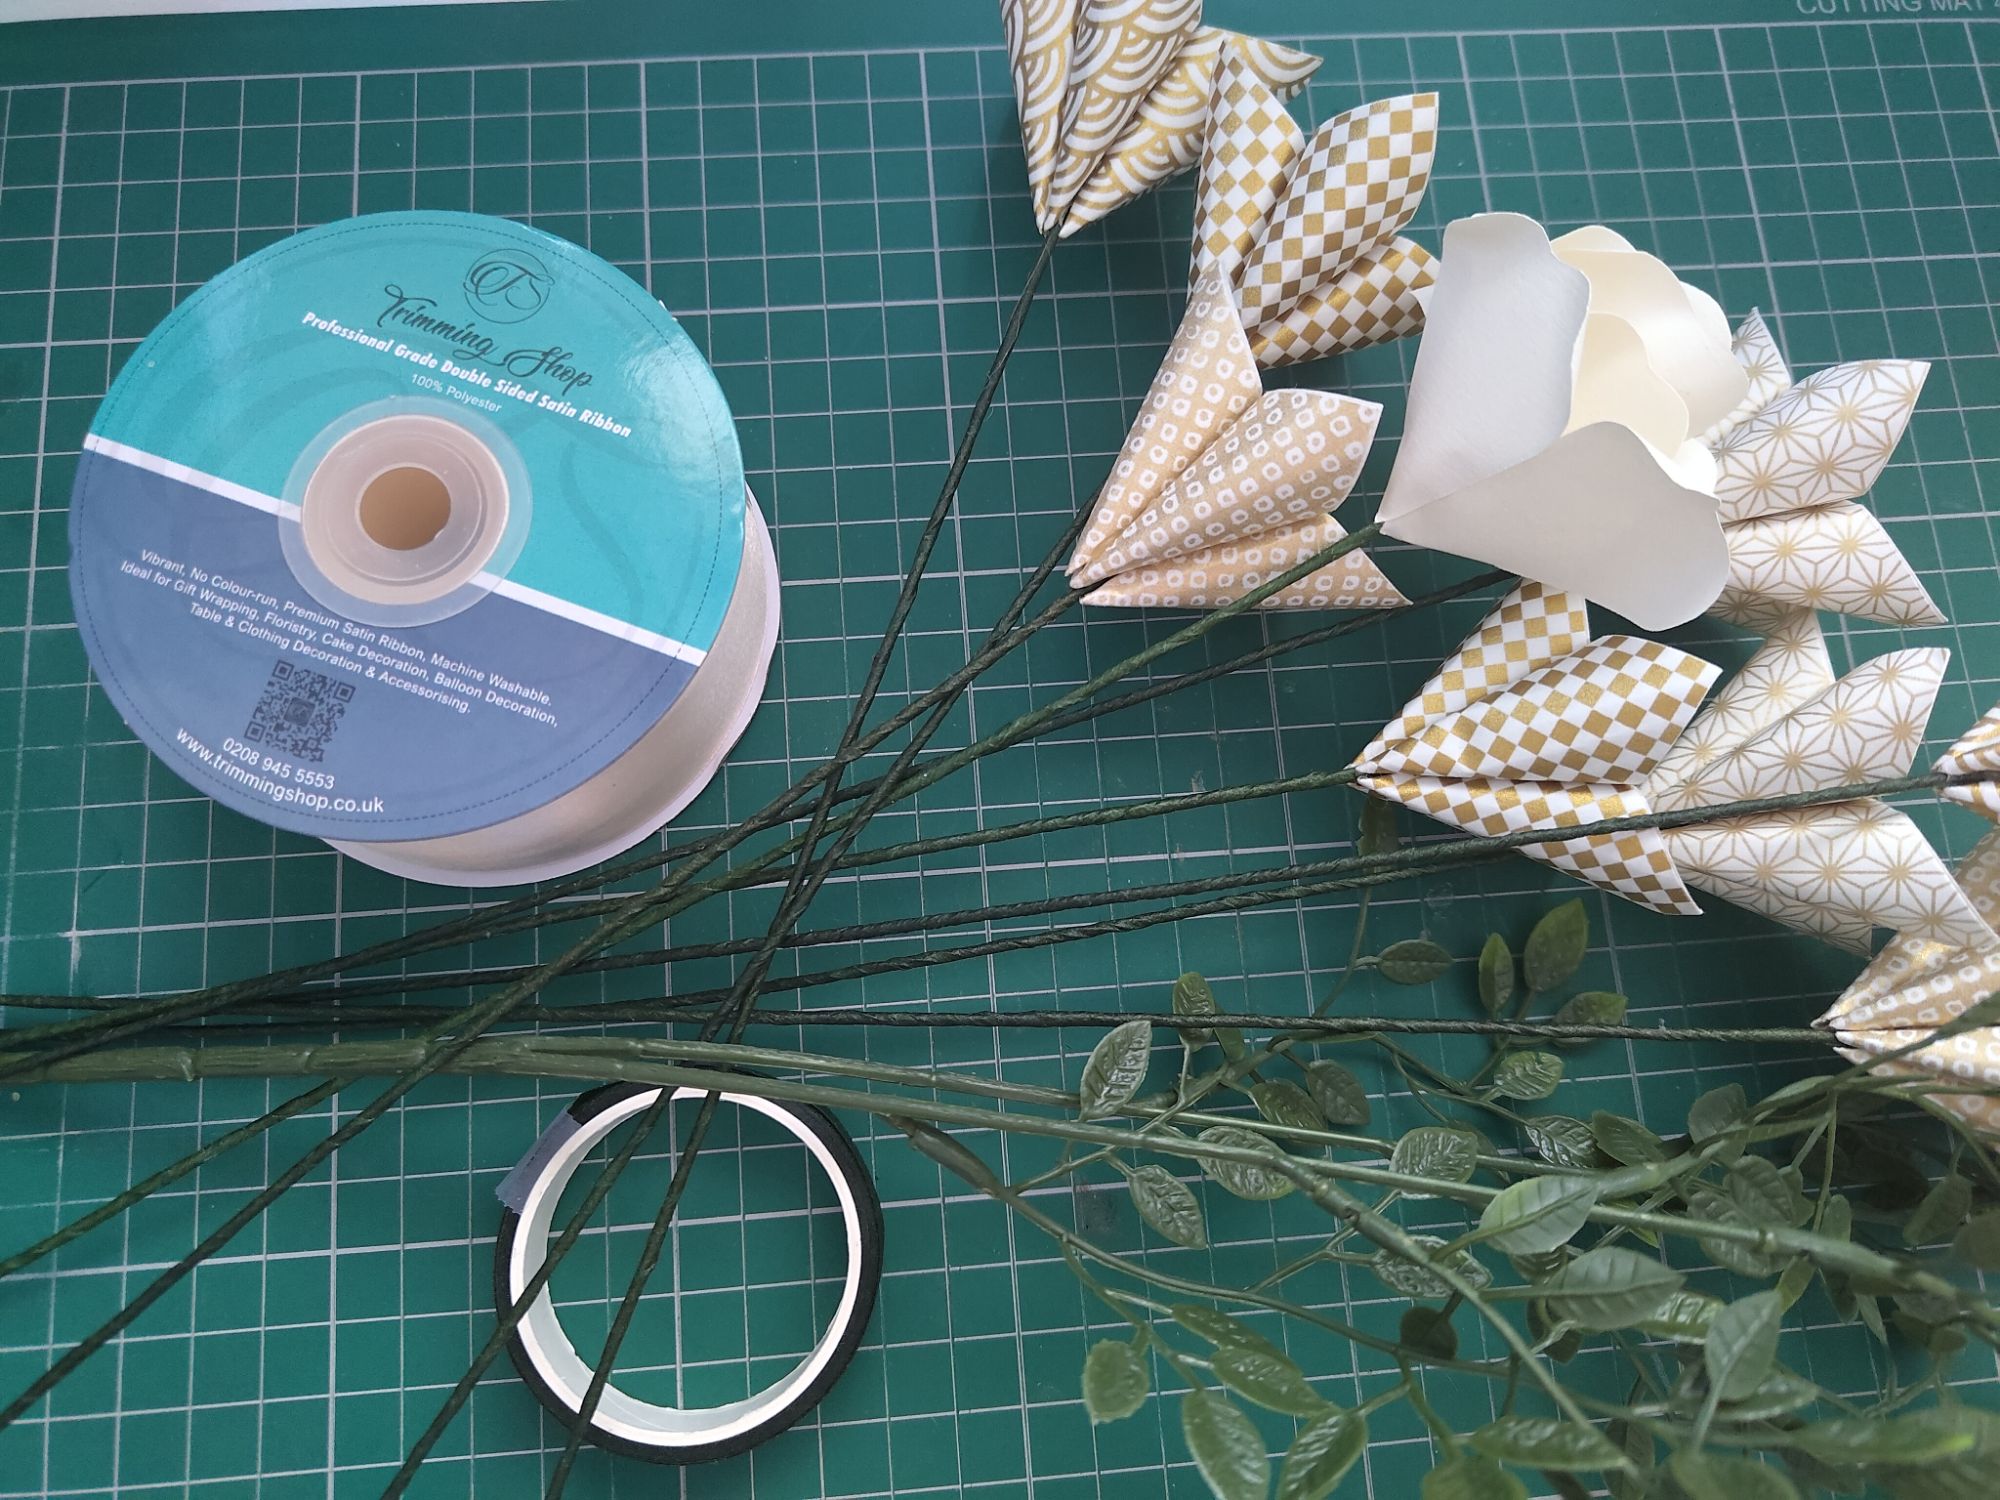
Please view how I made my flowers in the bridal bouquet post! I already have them wired and wrapped here so I will be skipping this step.
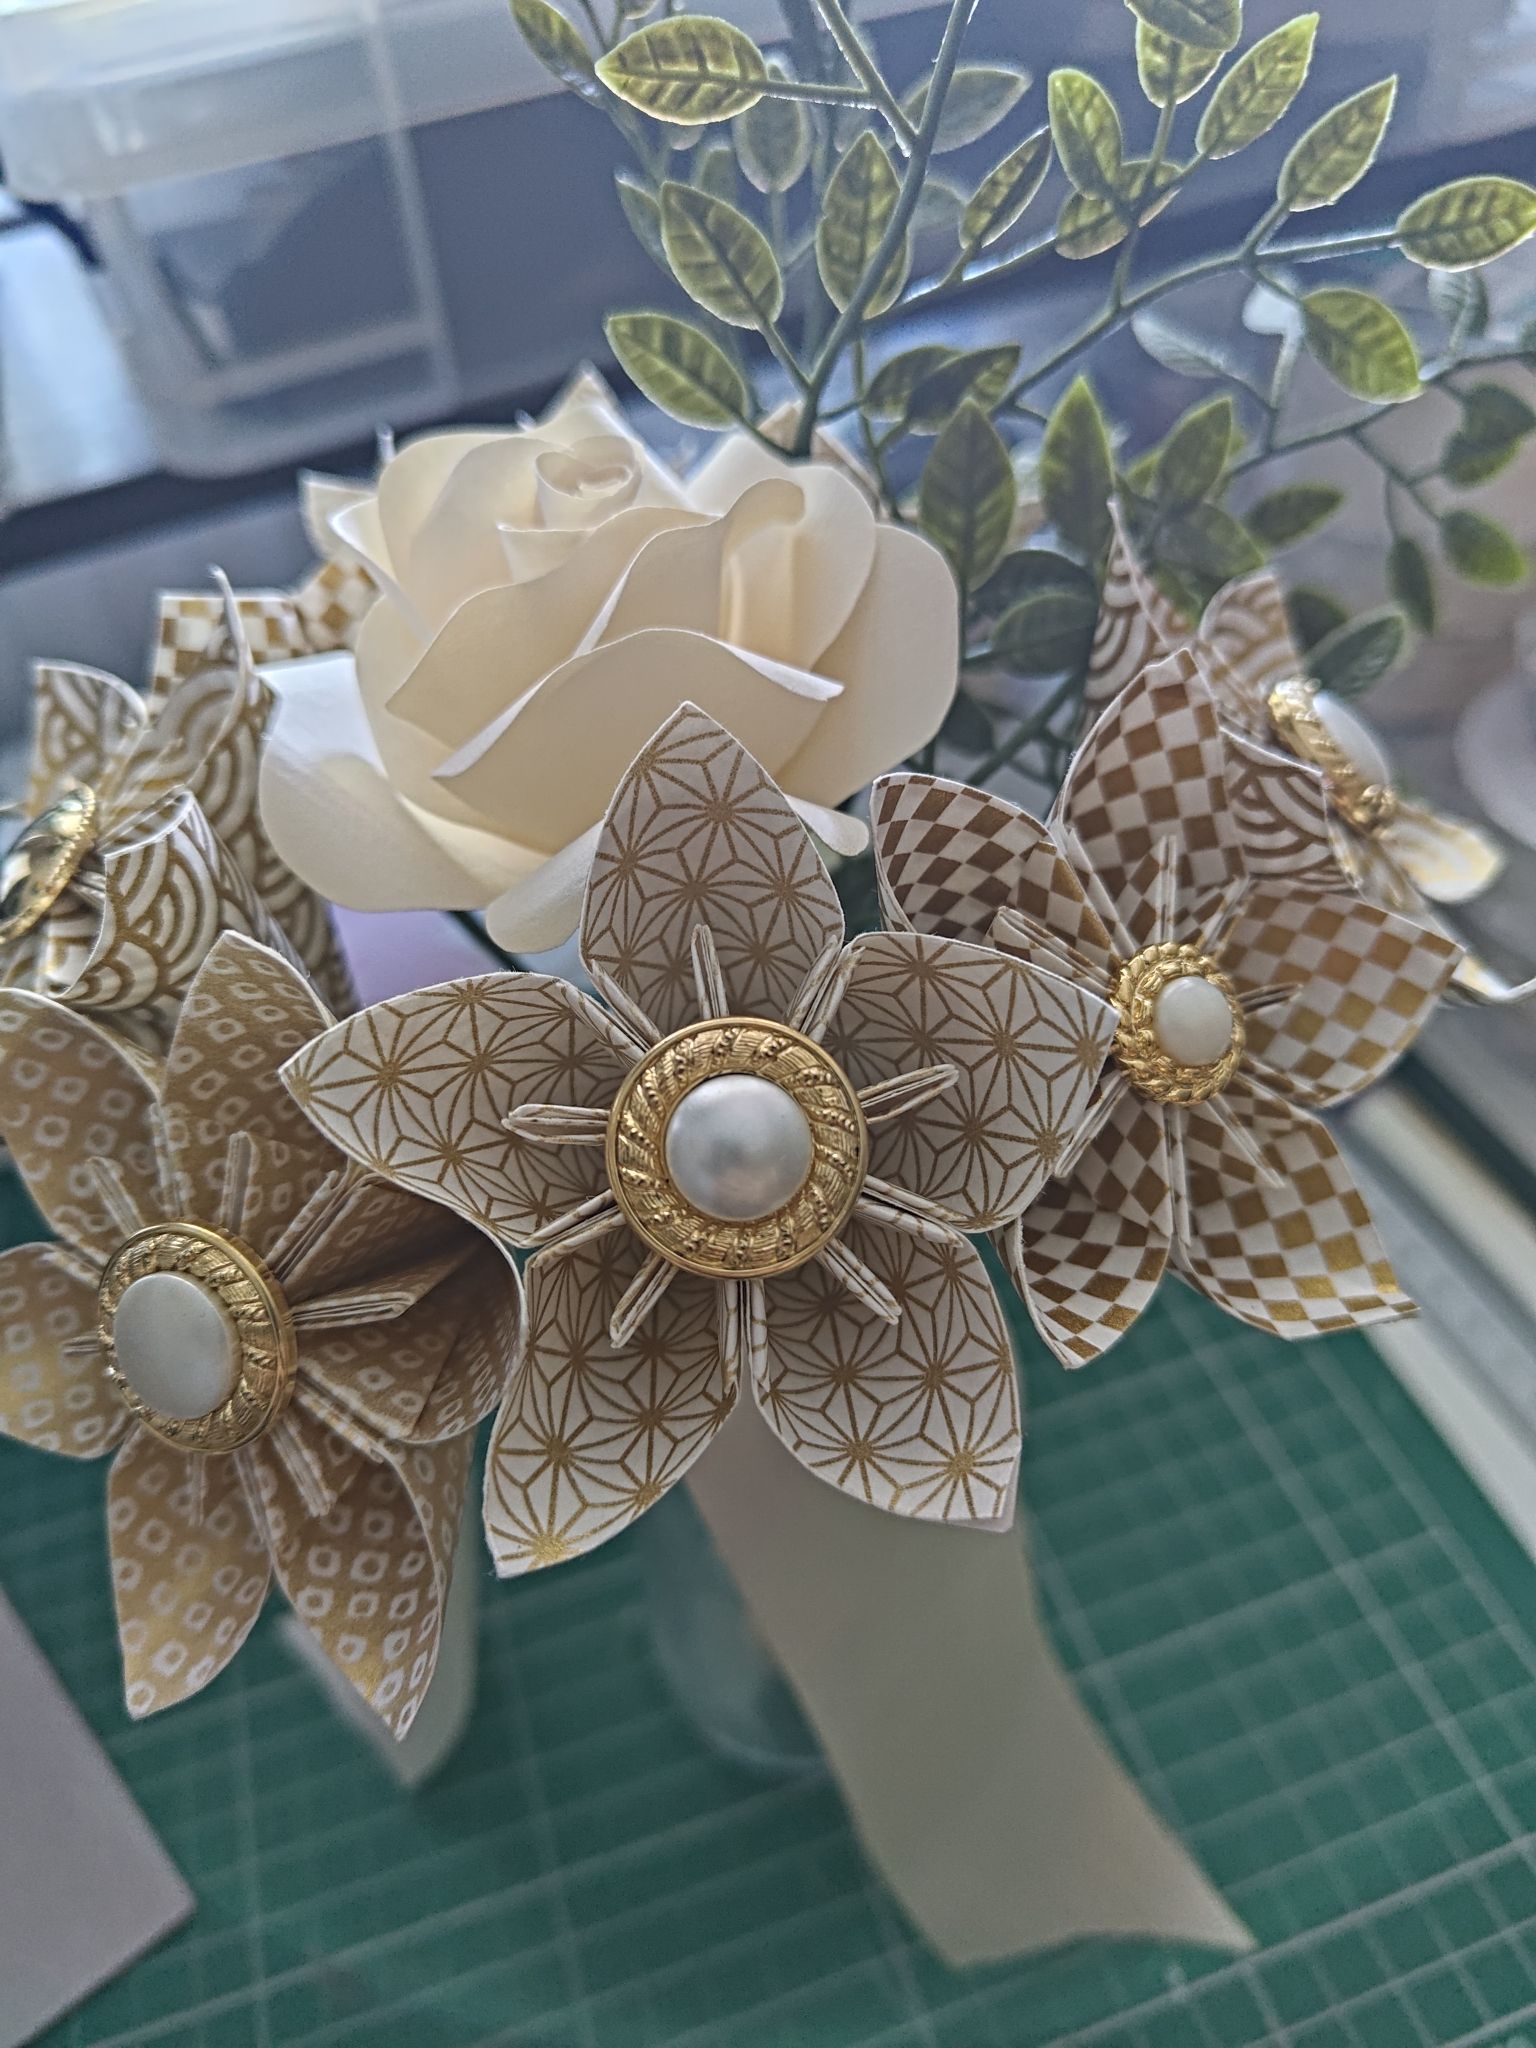
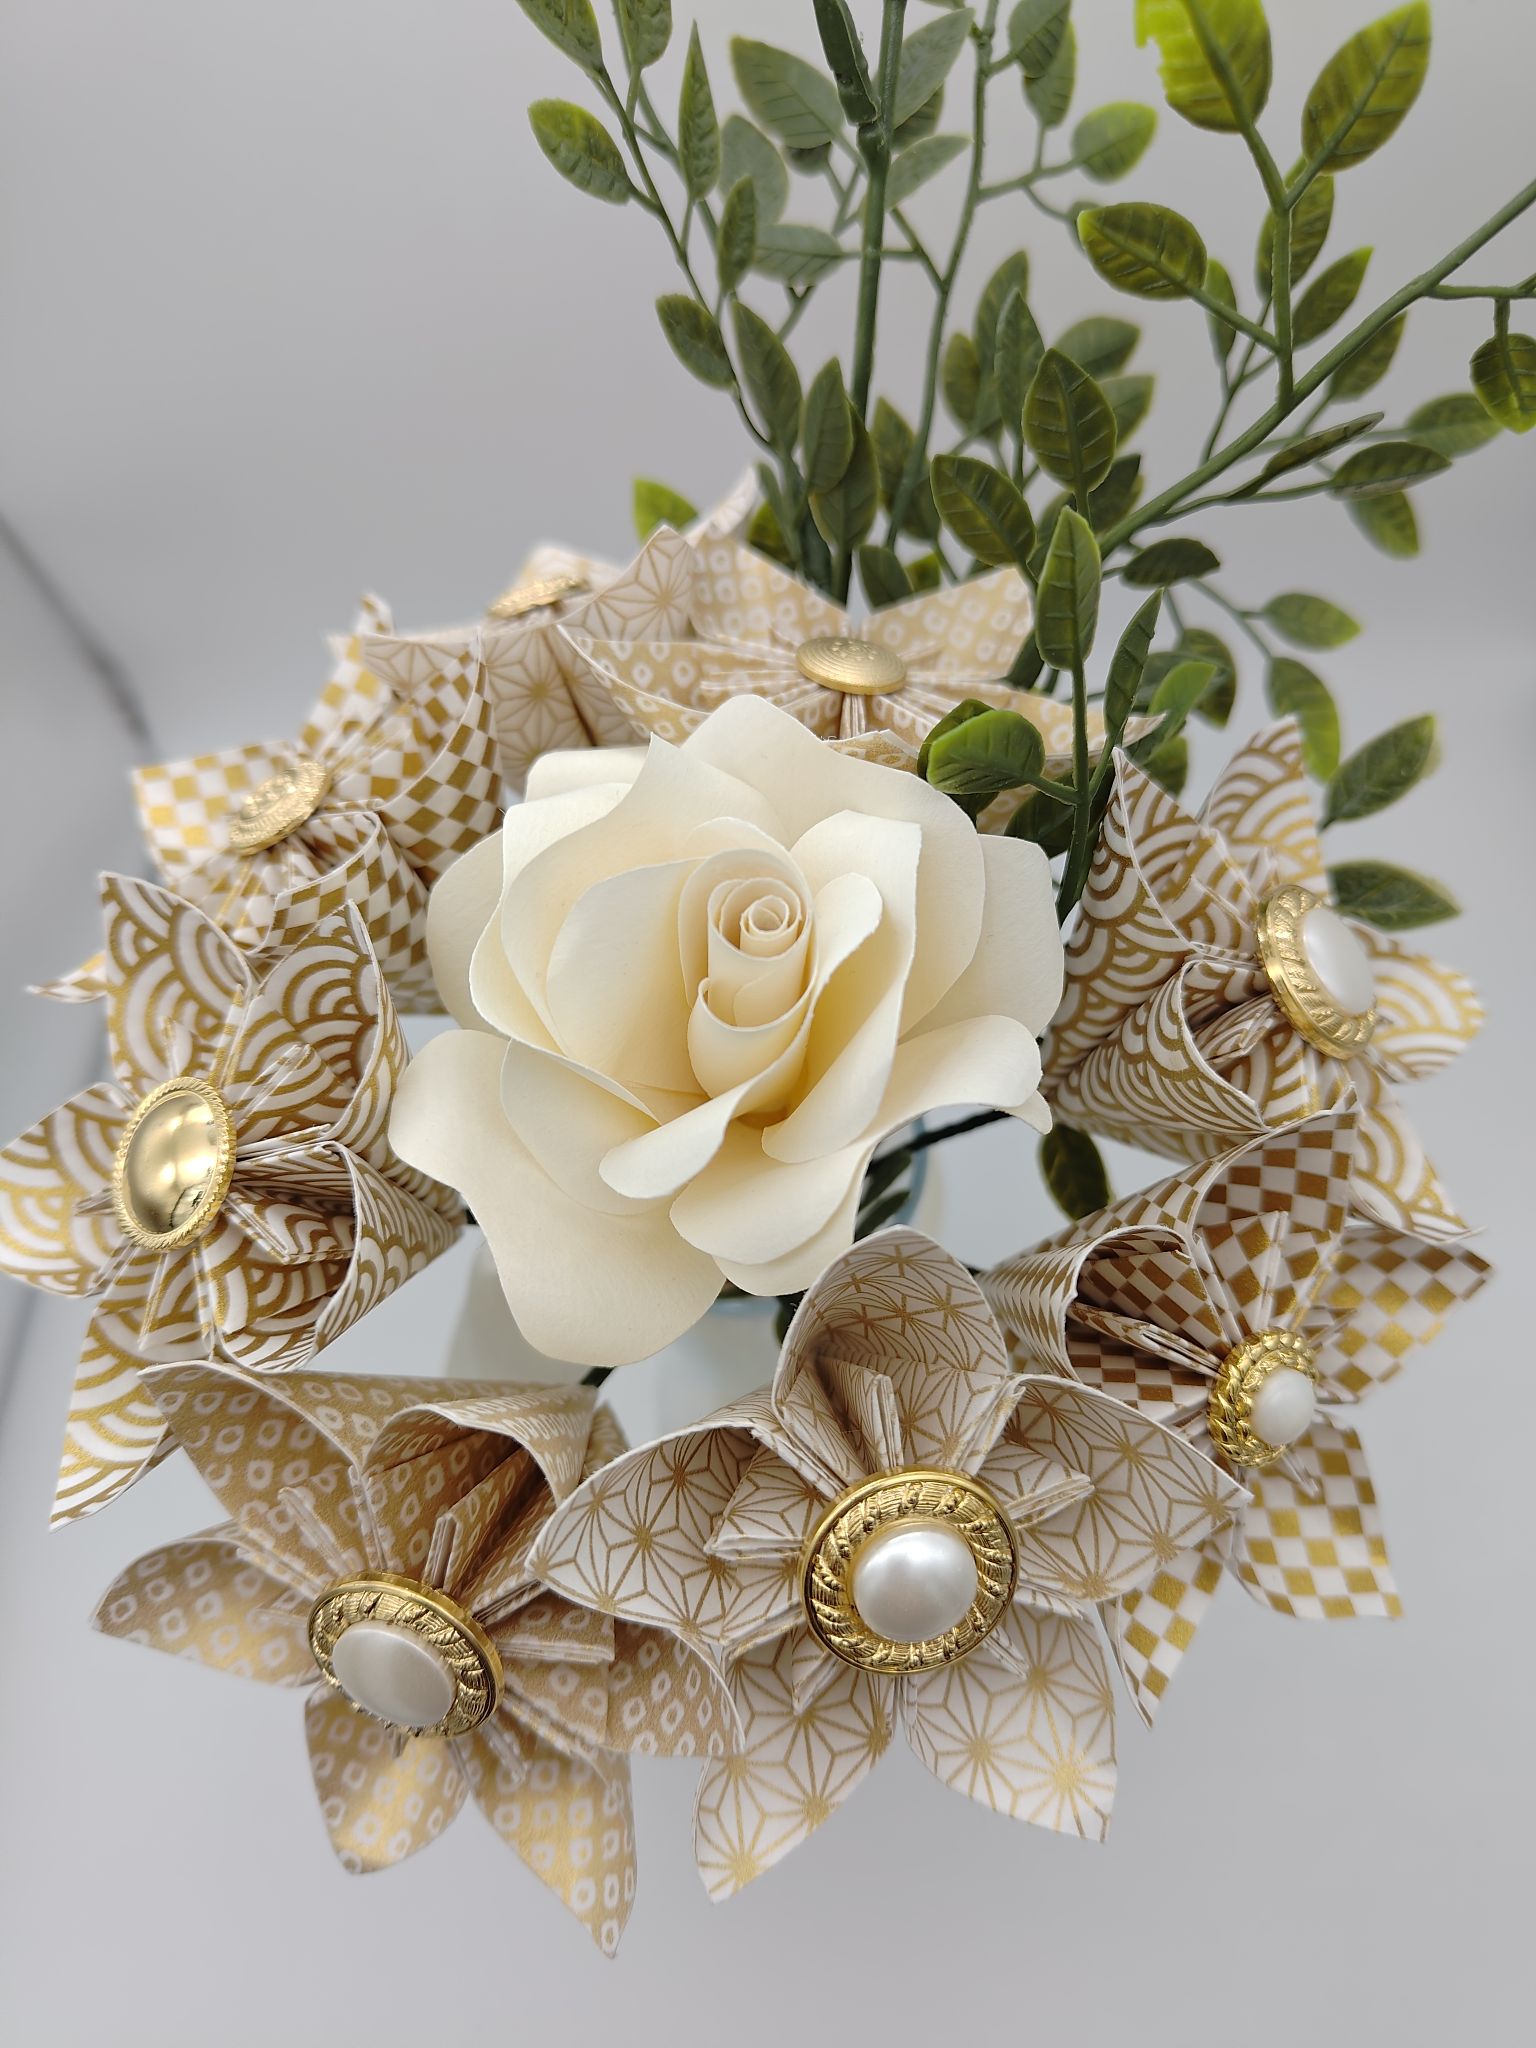
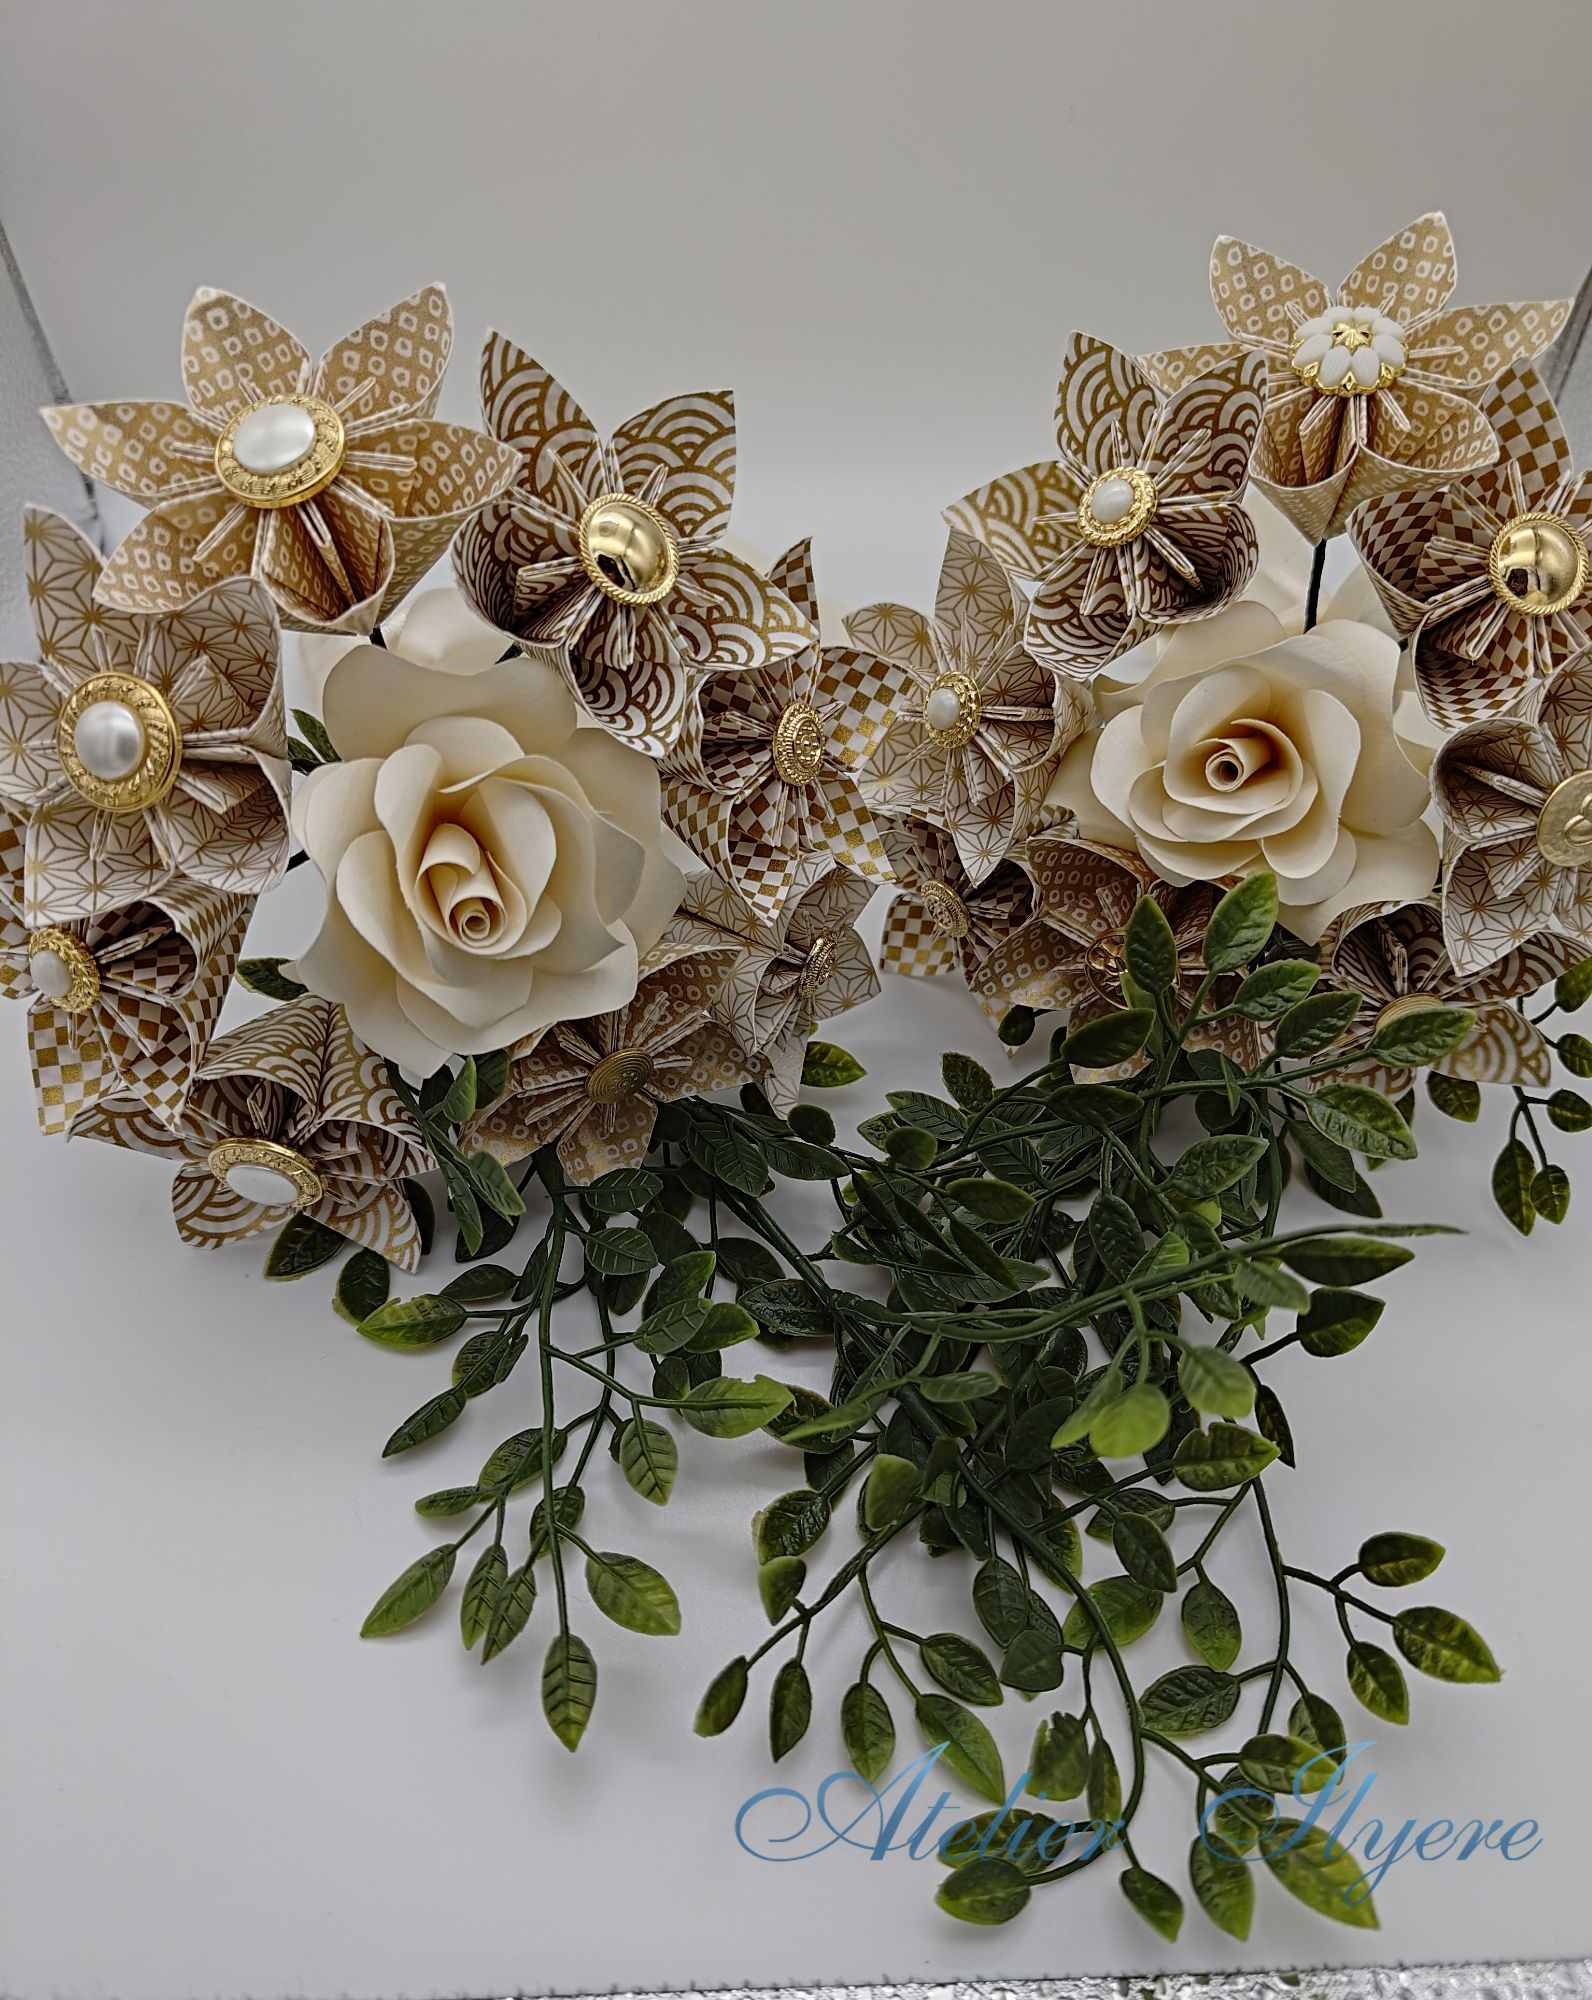
For each bouquet, I used nine flowers total. The central flower is a small cream papercraft rose and the surrounding flowers are the gold and white washi kusudama flowers. The greenery will be held on the side closest to the bridesmaids.
With nine flowers, it does sort of gravitate towards a square shape naturally but since everything is on wire stems the flowers can easily be repositioned to form a better shape.
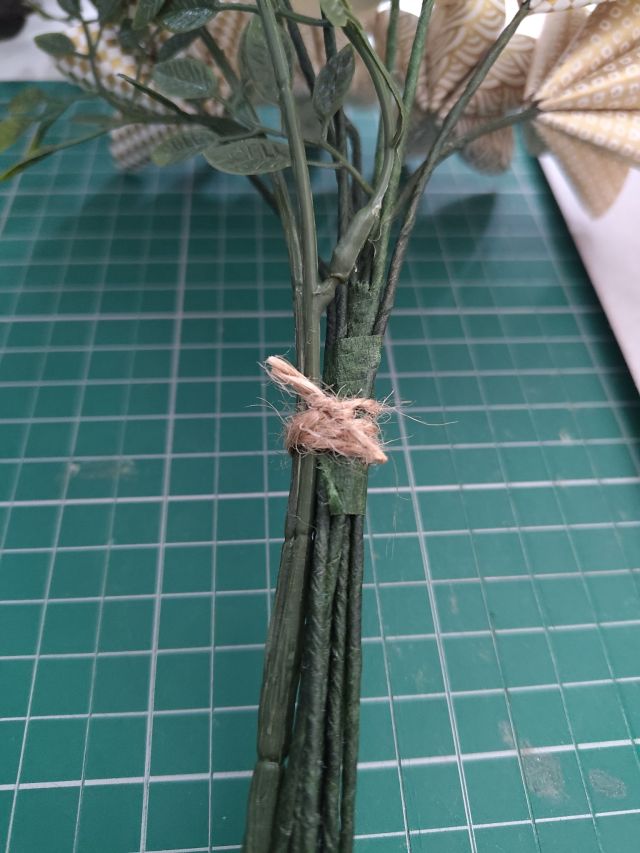
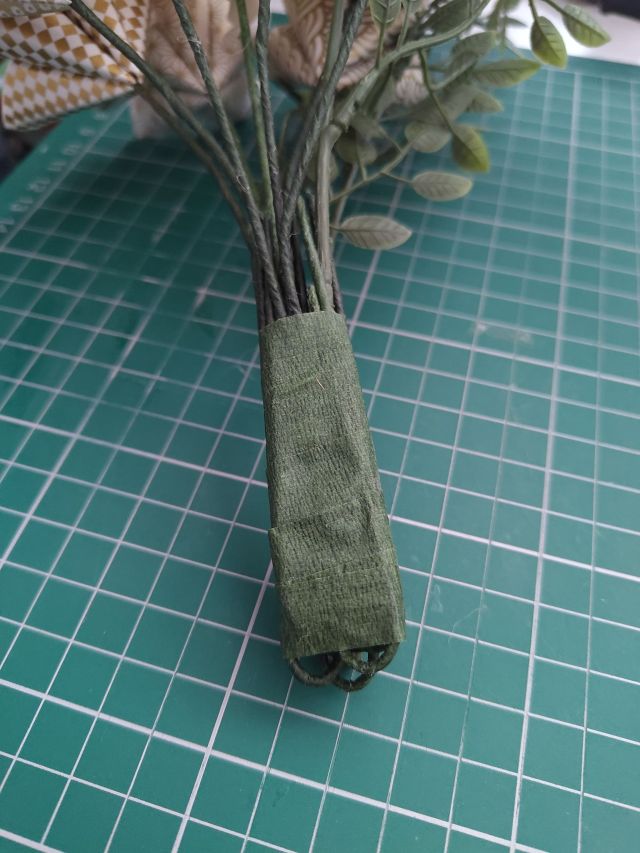
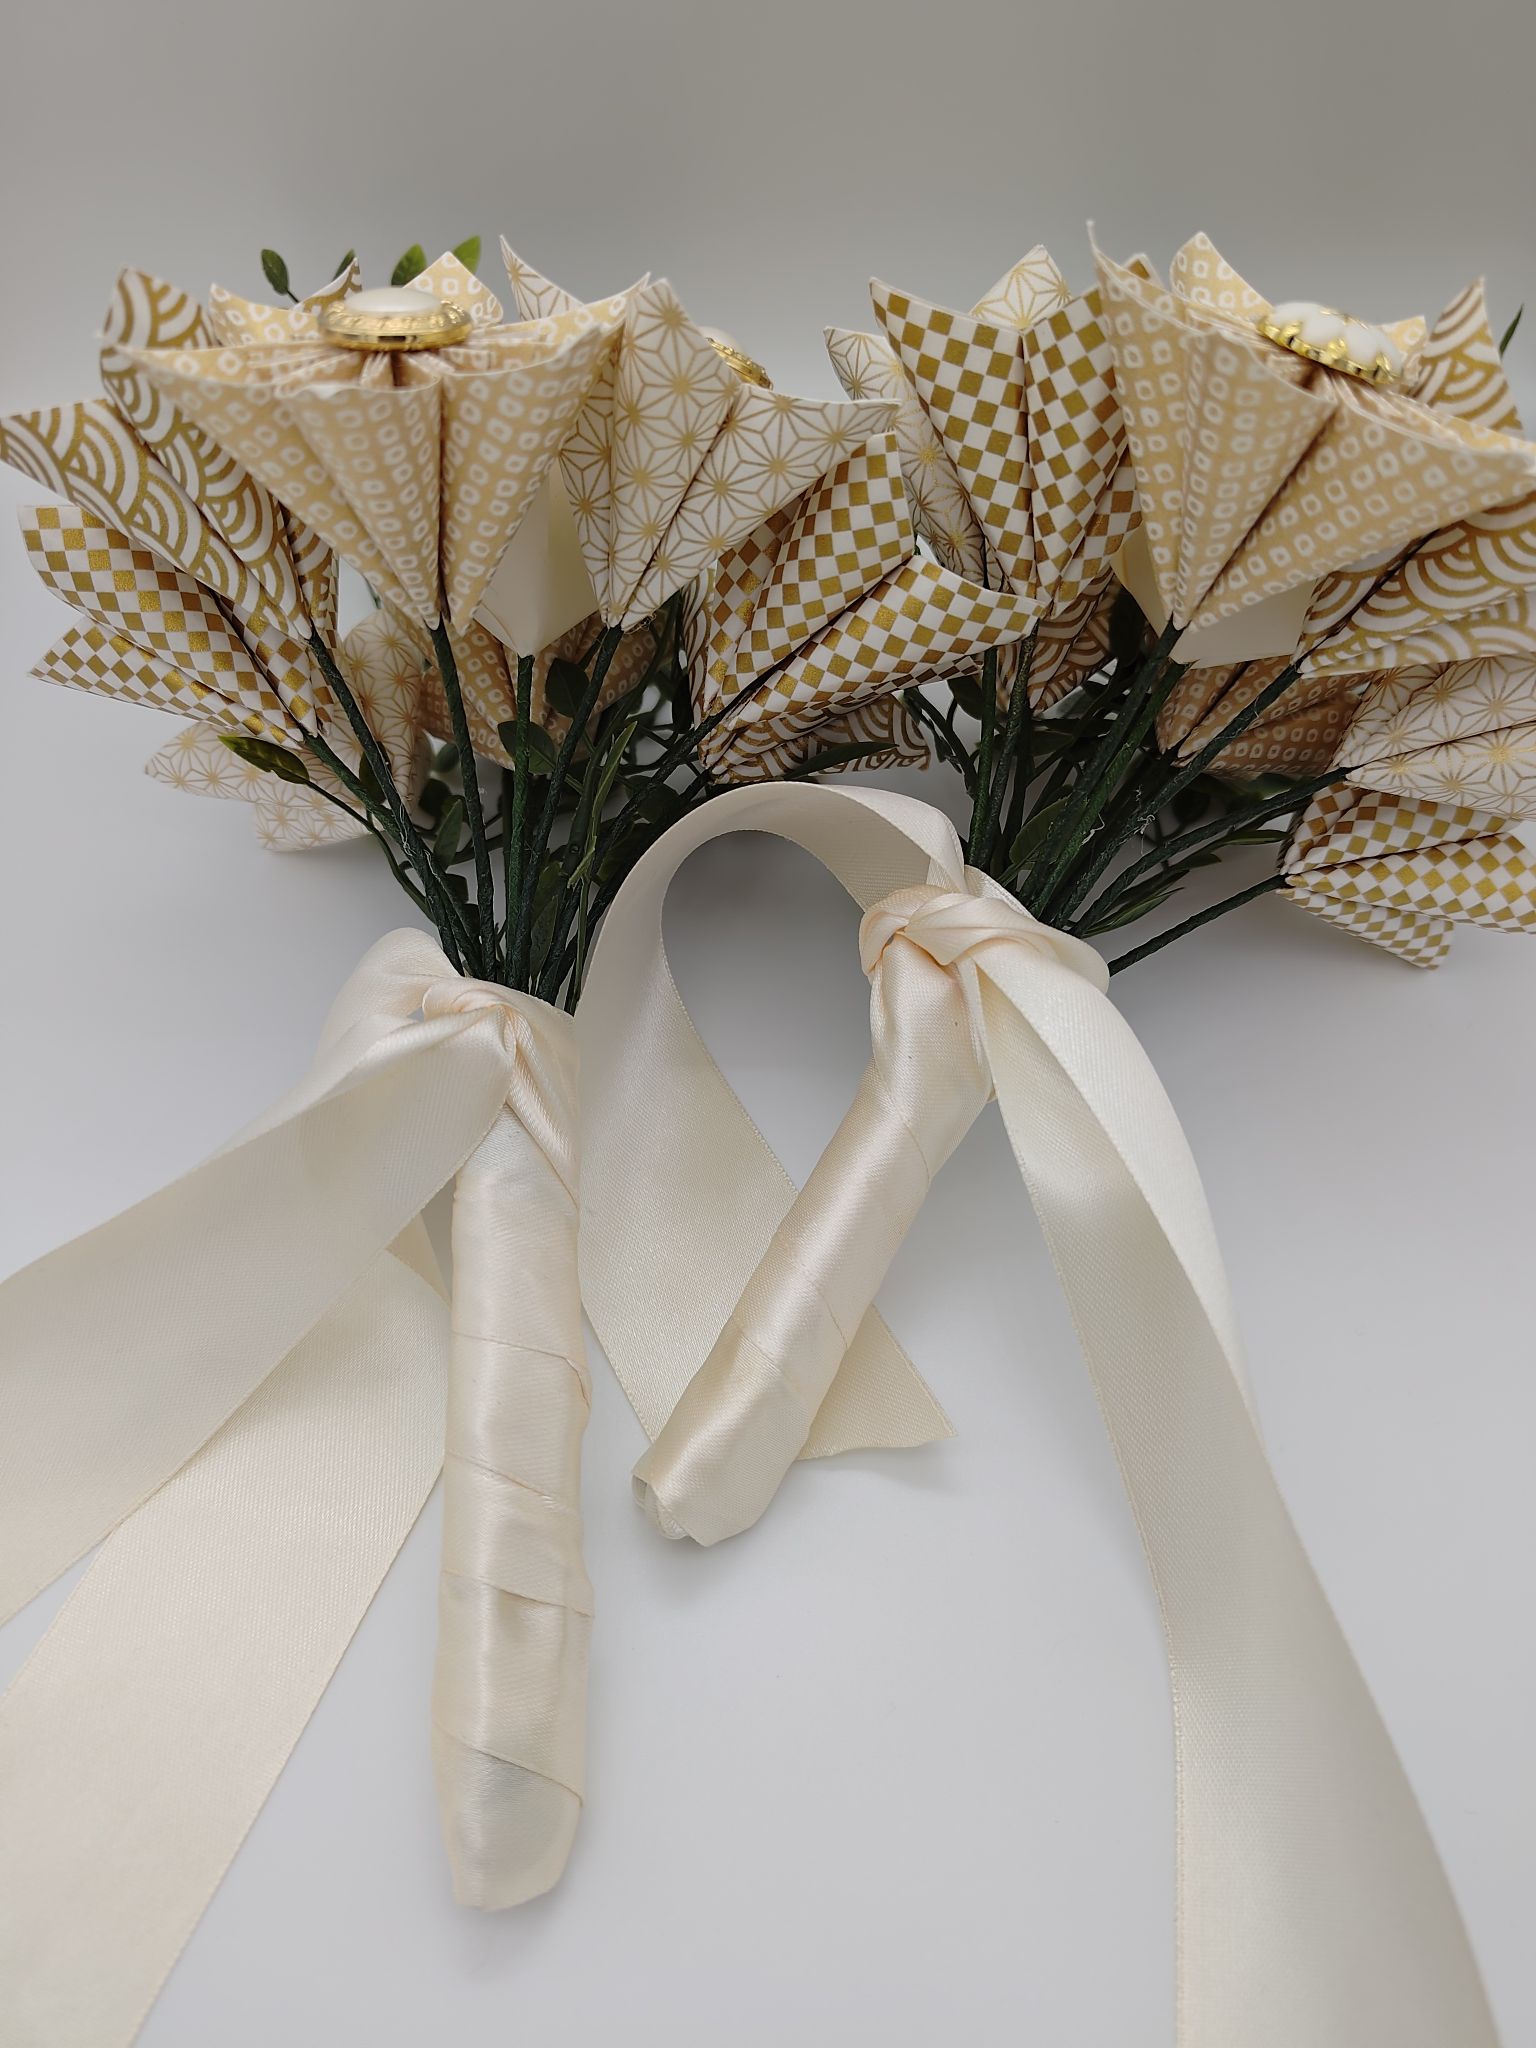
The steps are mostly the same but I was working with a smaller number of stems. This meant that when I did the florist tape to wrap the stems together and the bending of the wires, the handle ended up being much smaller in width. It is not the easiest to hold with two hands! I will ask the bridesmaids to do so for the ceremony and the photos, but at other times one handed is fine.
I tried to test a variation where I added some wooden dowels to make the handle thicker, however due to the length of the dowels this made the handle longer and it looked somewhat odd to me when I finished wrapping everything. This could be an option for a different type of bouquet in the future but it didn’t suit my needs this time.
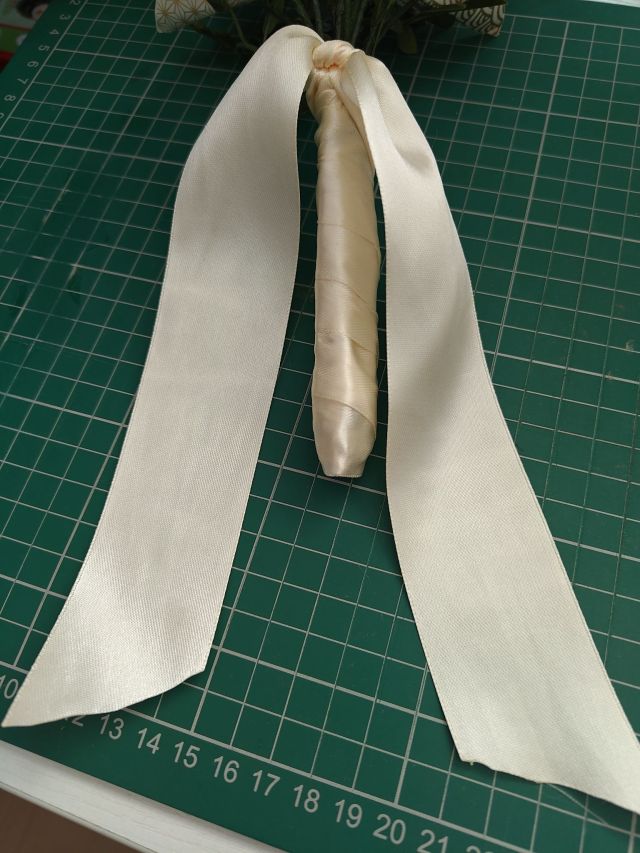
To finish the bouquet, I wrapped the handle with cream satin ribbon in the same way, but finishing by only tying a simple knot and leaving a trail the length of the handle, then I trimmed the ends diagonally and sealed the ends with a lighter. I tried to tie a bow at first but it looked too big and awkward. I think it will be covered anyway when it is held.
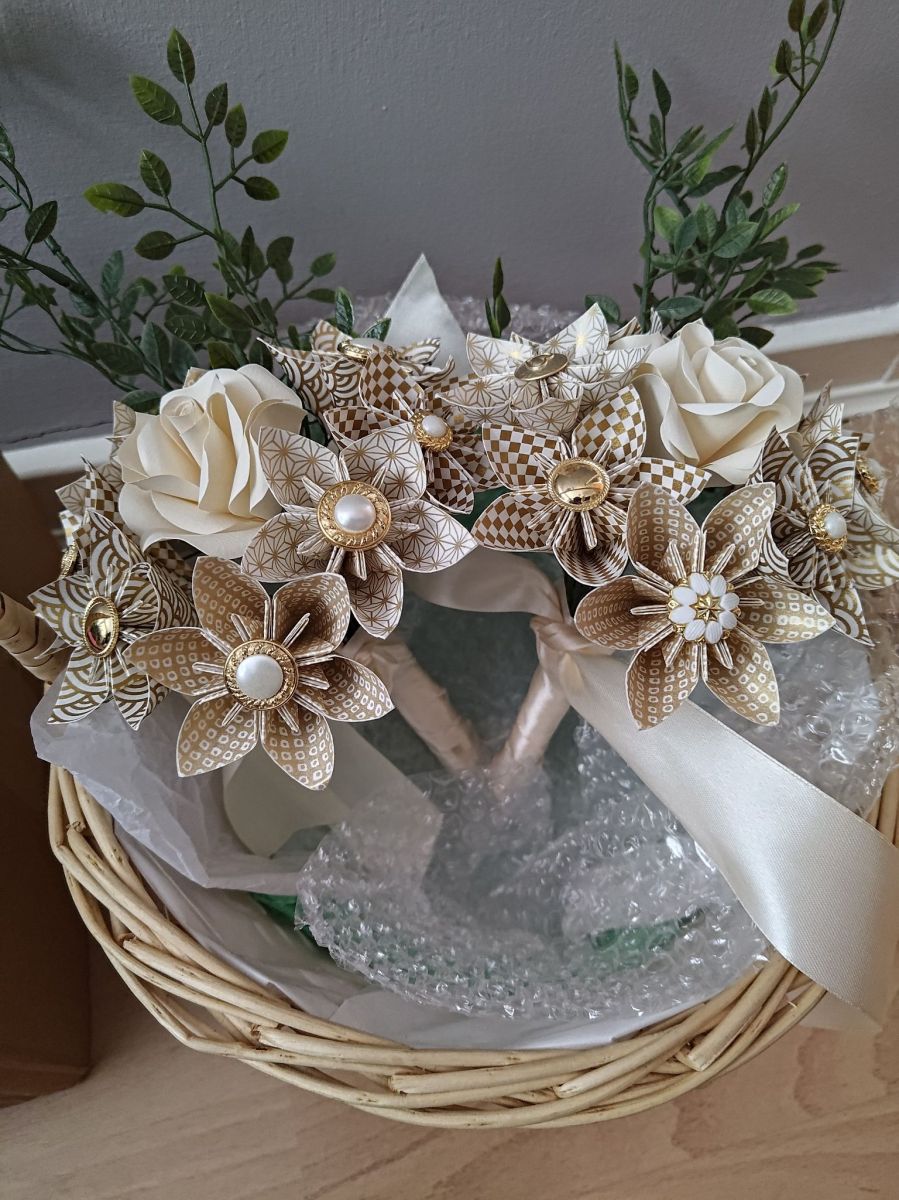
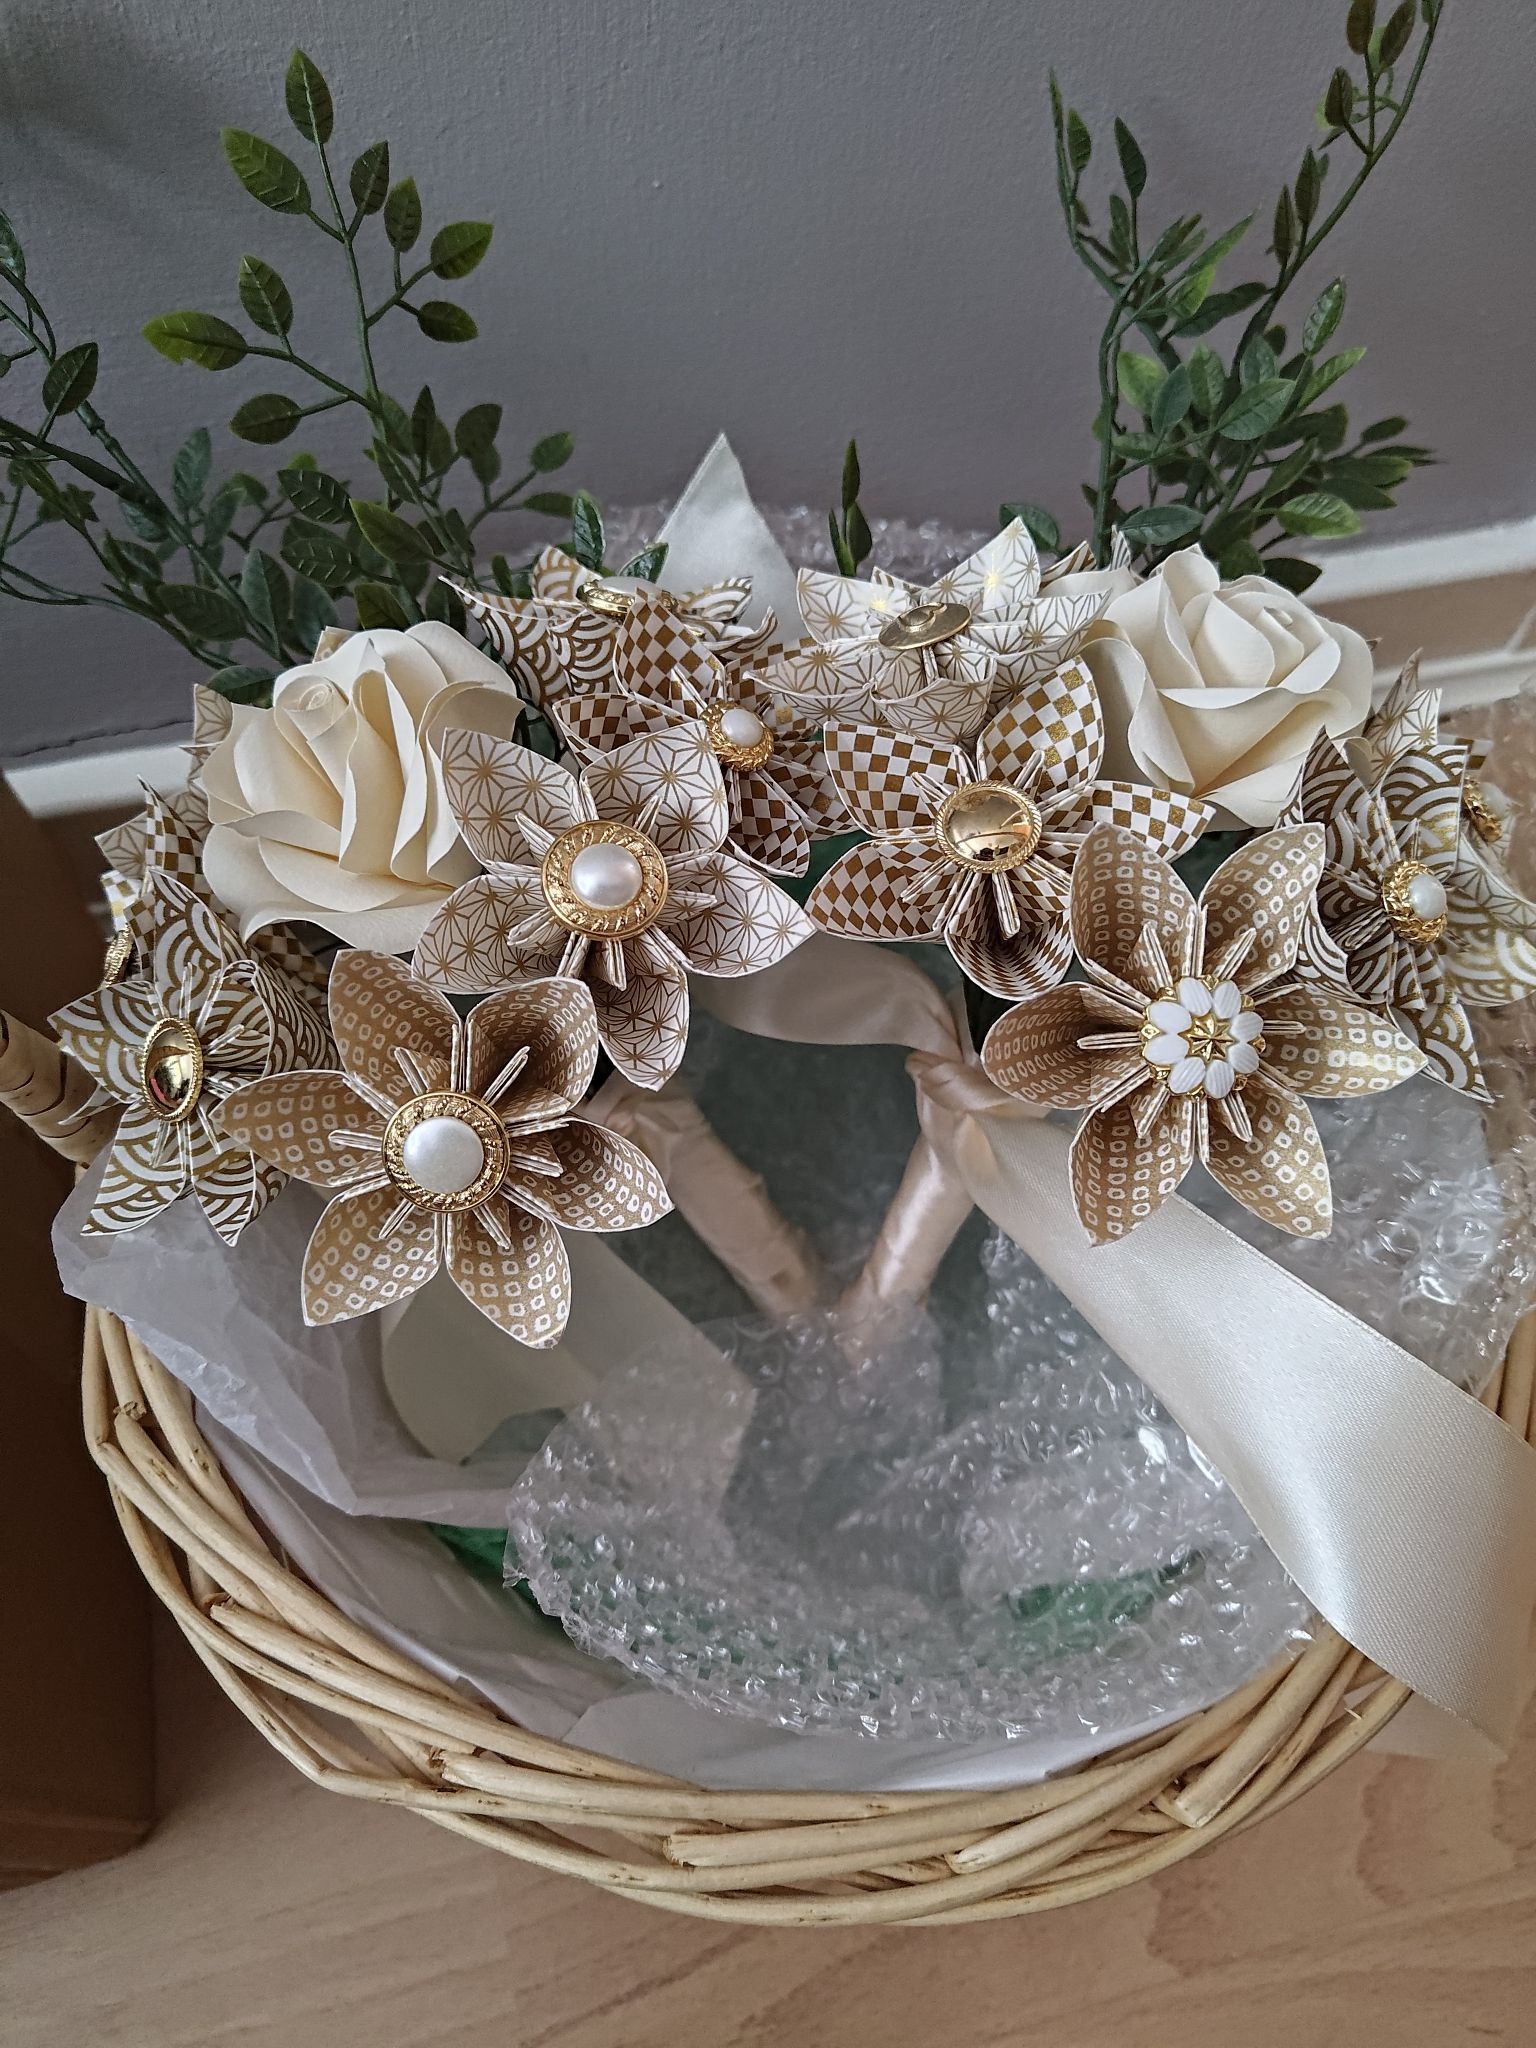
Unlike the bridal bouquet, which is still a secret at this stage, I am happy to show you what the finished bridesmaid bouquets look like! I will say however that I slightly eyeballed the designs when I was bending the stems and my second bouquet ended up having a shorter handle somehow. I think I trimmed the wires too short on the second one because of the dowel test I previously did! I don’t think anyone will notice this small difference, unless the two bouquets are left right next to each other…
The bouquets are identical in materials but they have different button inserts and patterned paper arrangements. So they are unique in a way! And the best part is that the bridesmaids can choose to keep their bouquets after the wedding as a lifelong keepsake. I know I am definitely keeping mine! Just keep them out of sunlight…
I also arranged and fanned out the flowers so it looked more like a heart or teardrop shape. I put three flowers at the back towards the greenery and pointed all the flowers slightly outwards, with one flower pointing down at the end. The bouquet can be held just under where the knot is so that the trails sit above the hands, with the singular six-petal flower facing towards the audience. It looks a lot better than the original square arrangement.

Next up, the buttonholes! They should be even simpler to make but I am missing a part at the moment. They aren’t necessarily key to the design though so I am confident that I will have an update on them before the end of the month. It’s a little rare to get a double update from me in the same month so things must be going well so far!
Materials used:
– white and gold washi paper
– pearlescent origami paper
– A4 ivory textured paper
– artificial green leaf branches
– gold and pearl costume buttons
– florist wire
– florist tape
– jute twine
– ivory double-sided satin ribbon
Tools used:
– craft knife and cutting mat
– hot glue gun
– scissors
– wire cutting pliers
