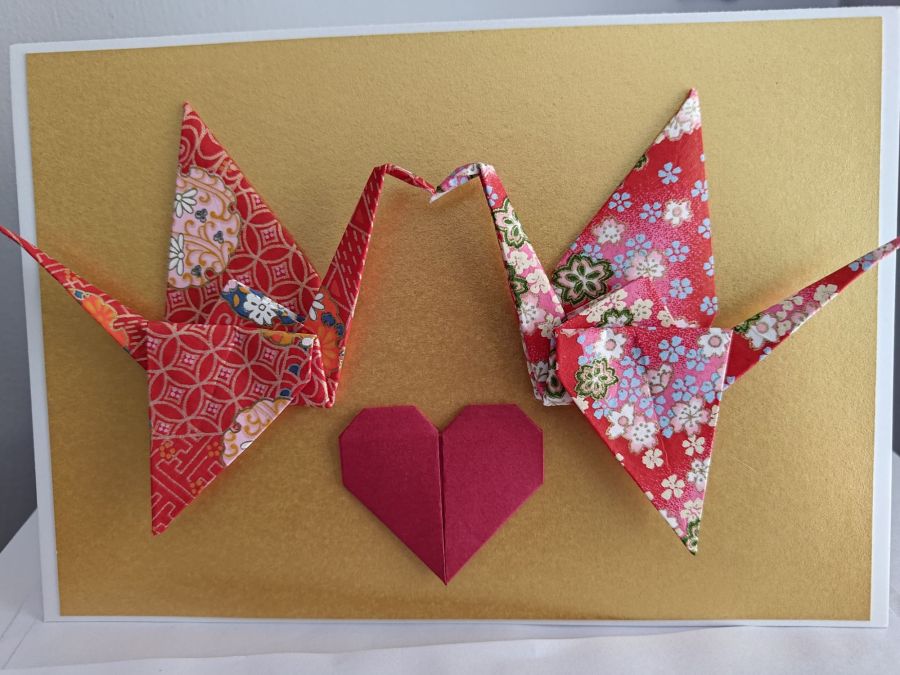
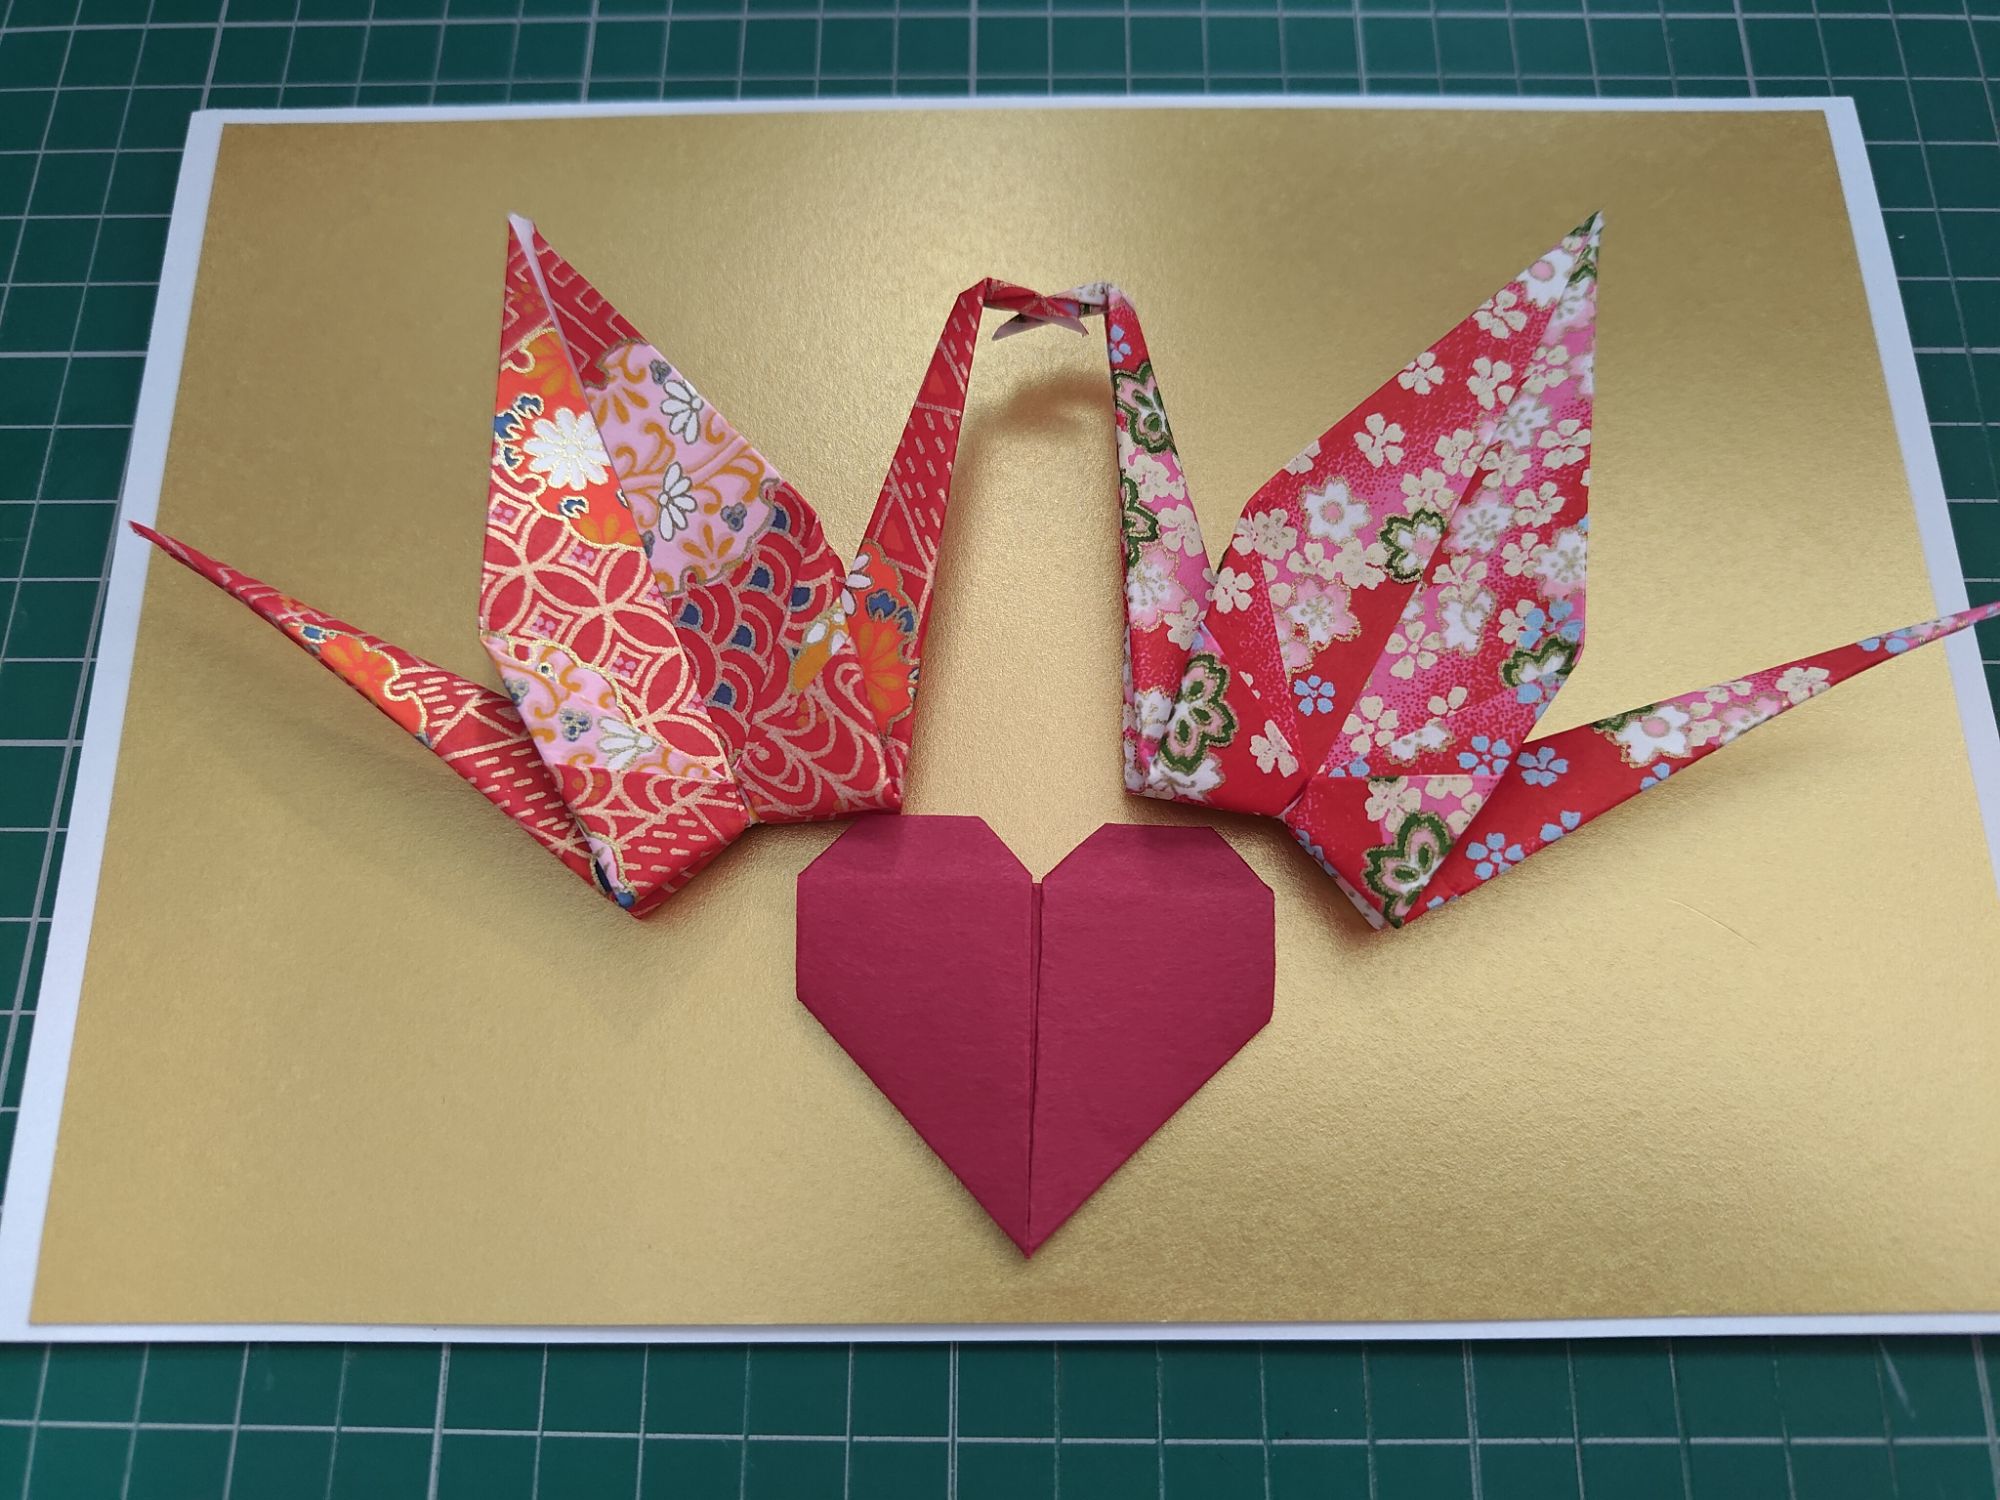
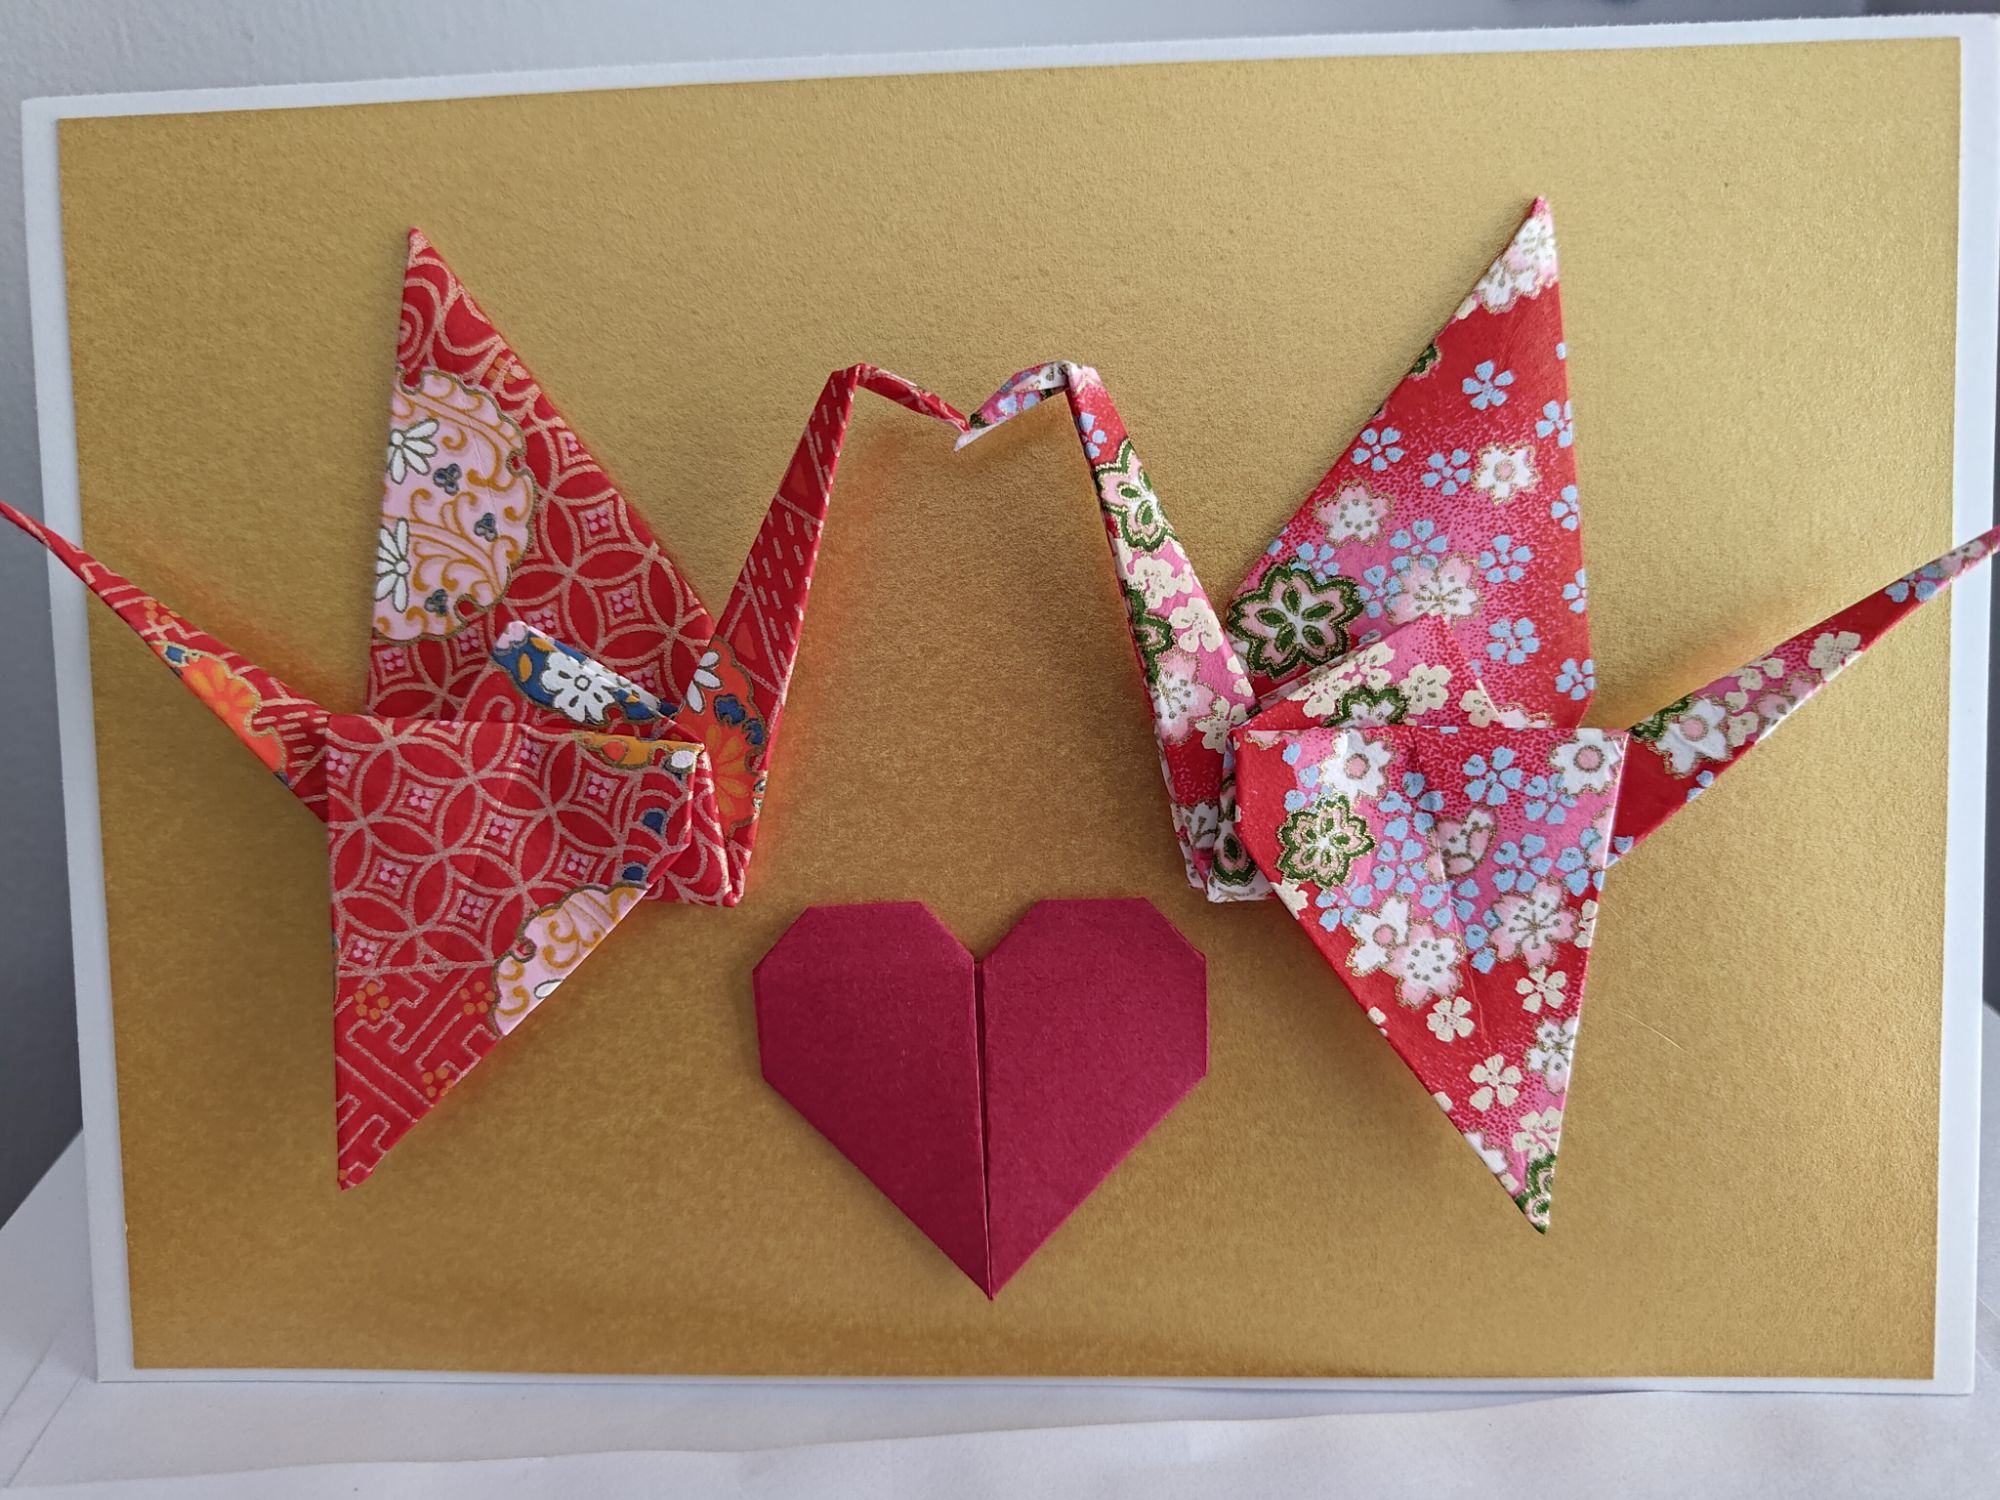
Quick update today – I may be in the swing of things when it comes to wedding preparation (in fact something just arrived this week, another update on that soon!), but I’m not the only one getting married so I’ve been preparing some handmade cards for friends and family. They all follow the same design but the colours and patterns are customisable. Despite how simple it seems to put together, the result is really professional-looking!
For this set, I picked out a lovely patterned washi pack and the red tant pack (I grabbed these from Japan!), then I took out some plain white card and gold craft card. The card will be cut down to size with a craft knife and cutting mat. For gluing card to card I used a liquid glue stick, and for gluing origami to card I used glue dots. I had some sticky foam pads and a pair of scissors as back-up, but I ended up not using them later.
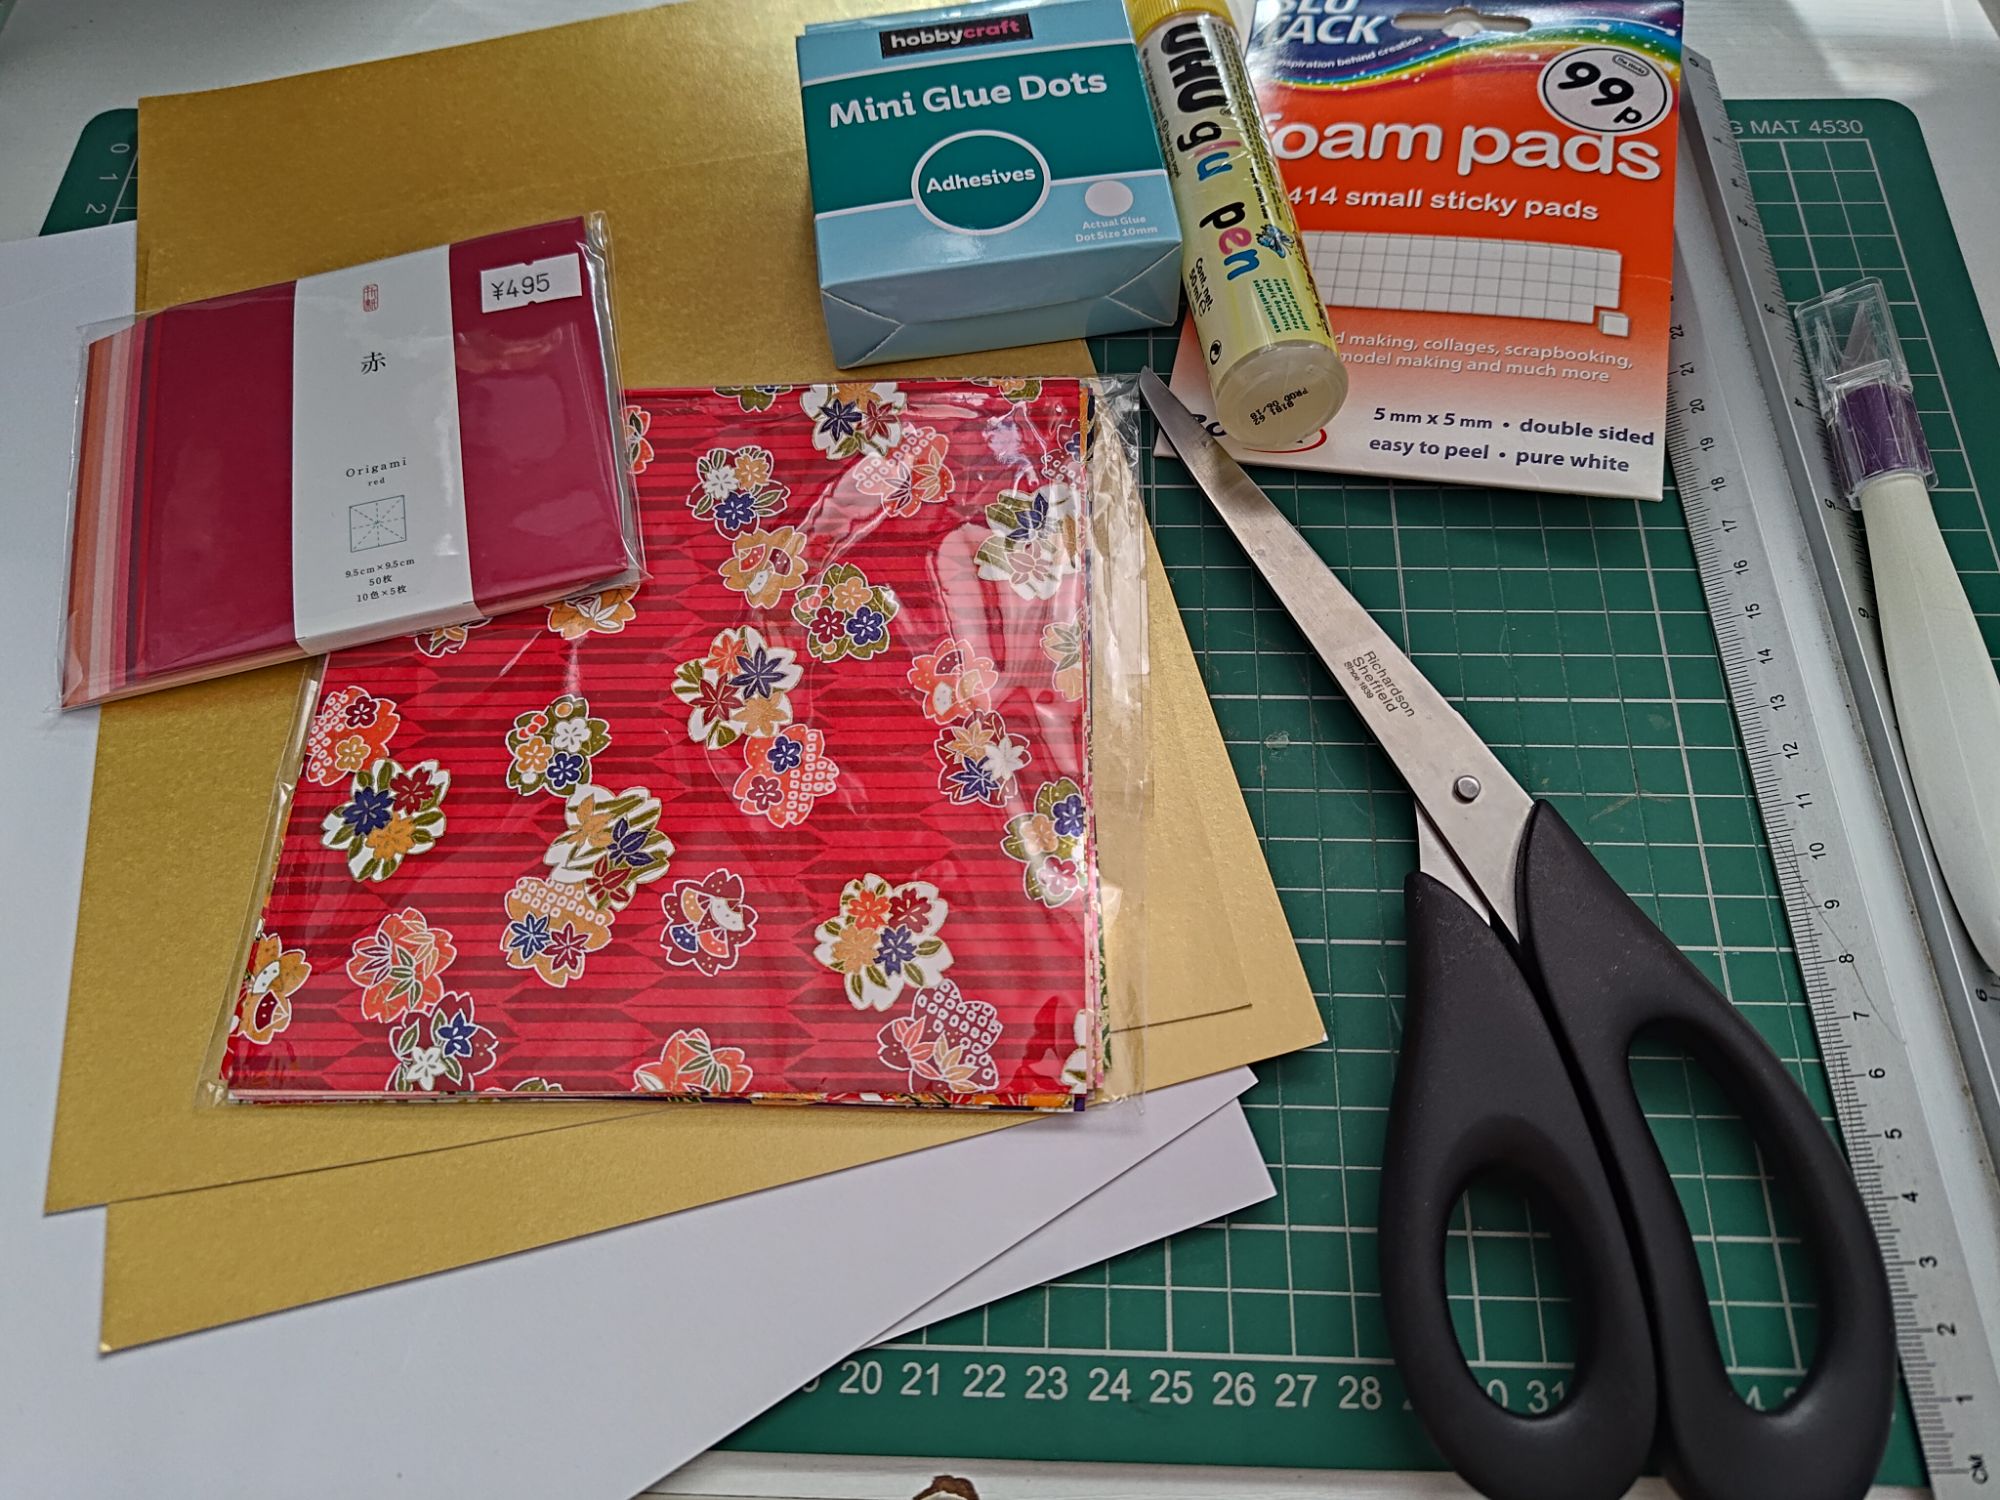
As for why I chose these colours; in Chinese culture, red and gold are very lucky and prosperous colours, red being the colour of happiness and luck, and gold being the colour of good fortune and prosperity. Sometimes you see gifts of money given in a red packet or “hongbao (红包)” at special occasions. I didn’t have any, which is why I put together a card in such a short amount of time!
The base card was created by lightly scoring the white card down the middle, then folding in half and trimming the edges to straighten the card up and match an A5 envelope size. The gold card was cut to a slightly smaller size and glued to the front using the liquid glue stick, then pressed down until properly set.
Meanwhile, I made the origami parts. I made sure to pick out red-themed washi for my pairs of cranes in different patterns. The washi has nice gold parts in the pattern to match the colours as well! If you’ve not tried folding a crane before, here is a tutorial on origami.me.
For the red tant paper, I folded a basic love heart shape. If you’ve not tried folding a heart before, here is a tutorial on origami.me. When it is stuck down, you won’t see the folds on the back of the heart, so the simple shape is good enough for this purpose.
I positioned the cranes so that they were facing each other at a slight angle and the beaks slightly overlapped to seem like kissing. The heart can go between them, or underneath them depending on how much card space you have. Also, if the card is cut a little small, the crane tails might stick out of the card. 14cm paper would have been perfect if you have it. I made it fit anyway!
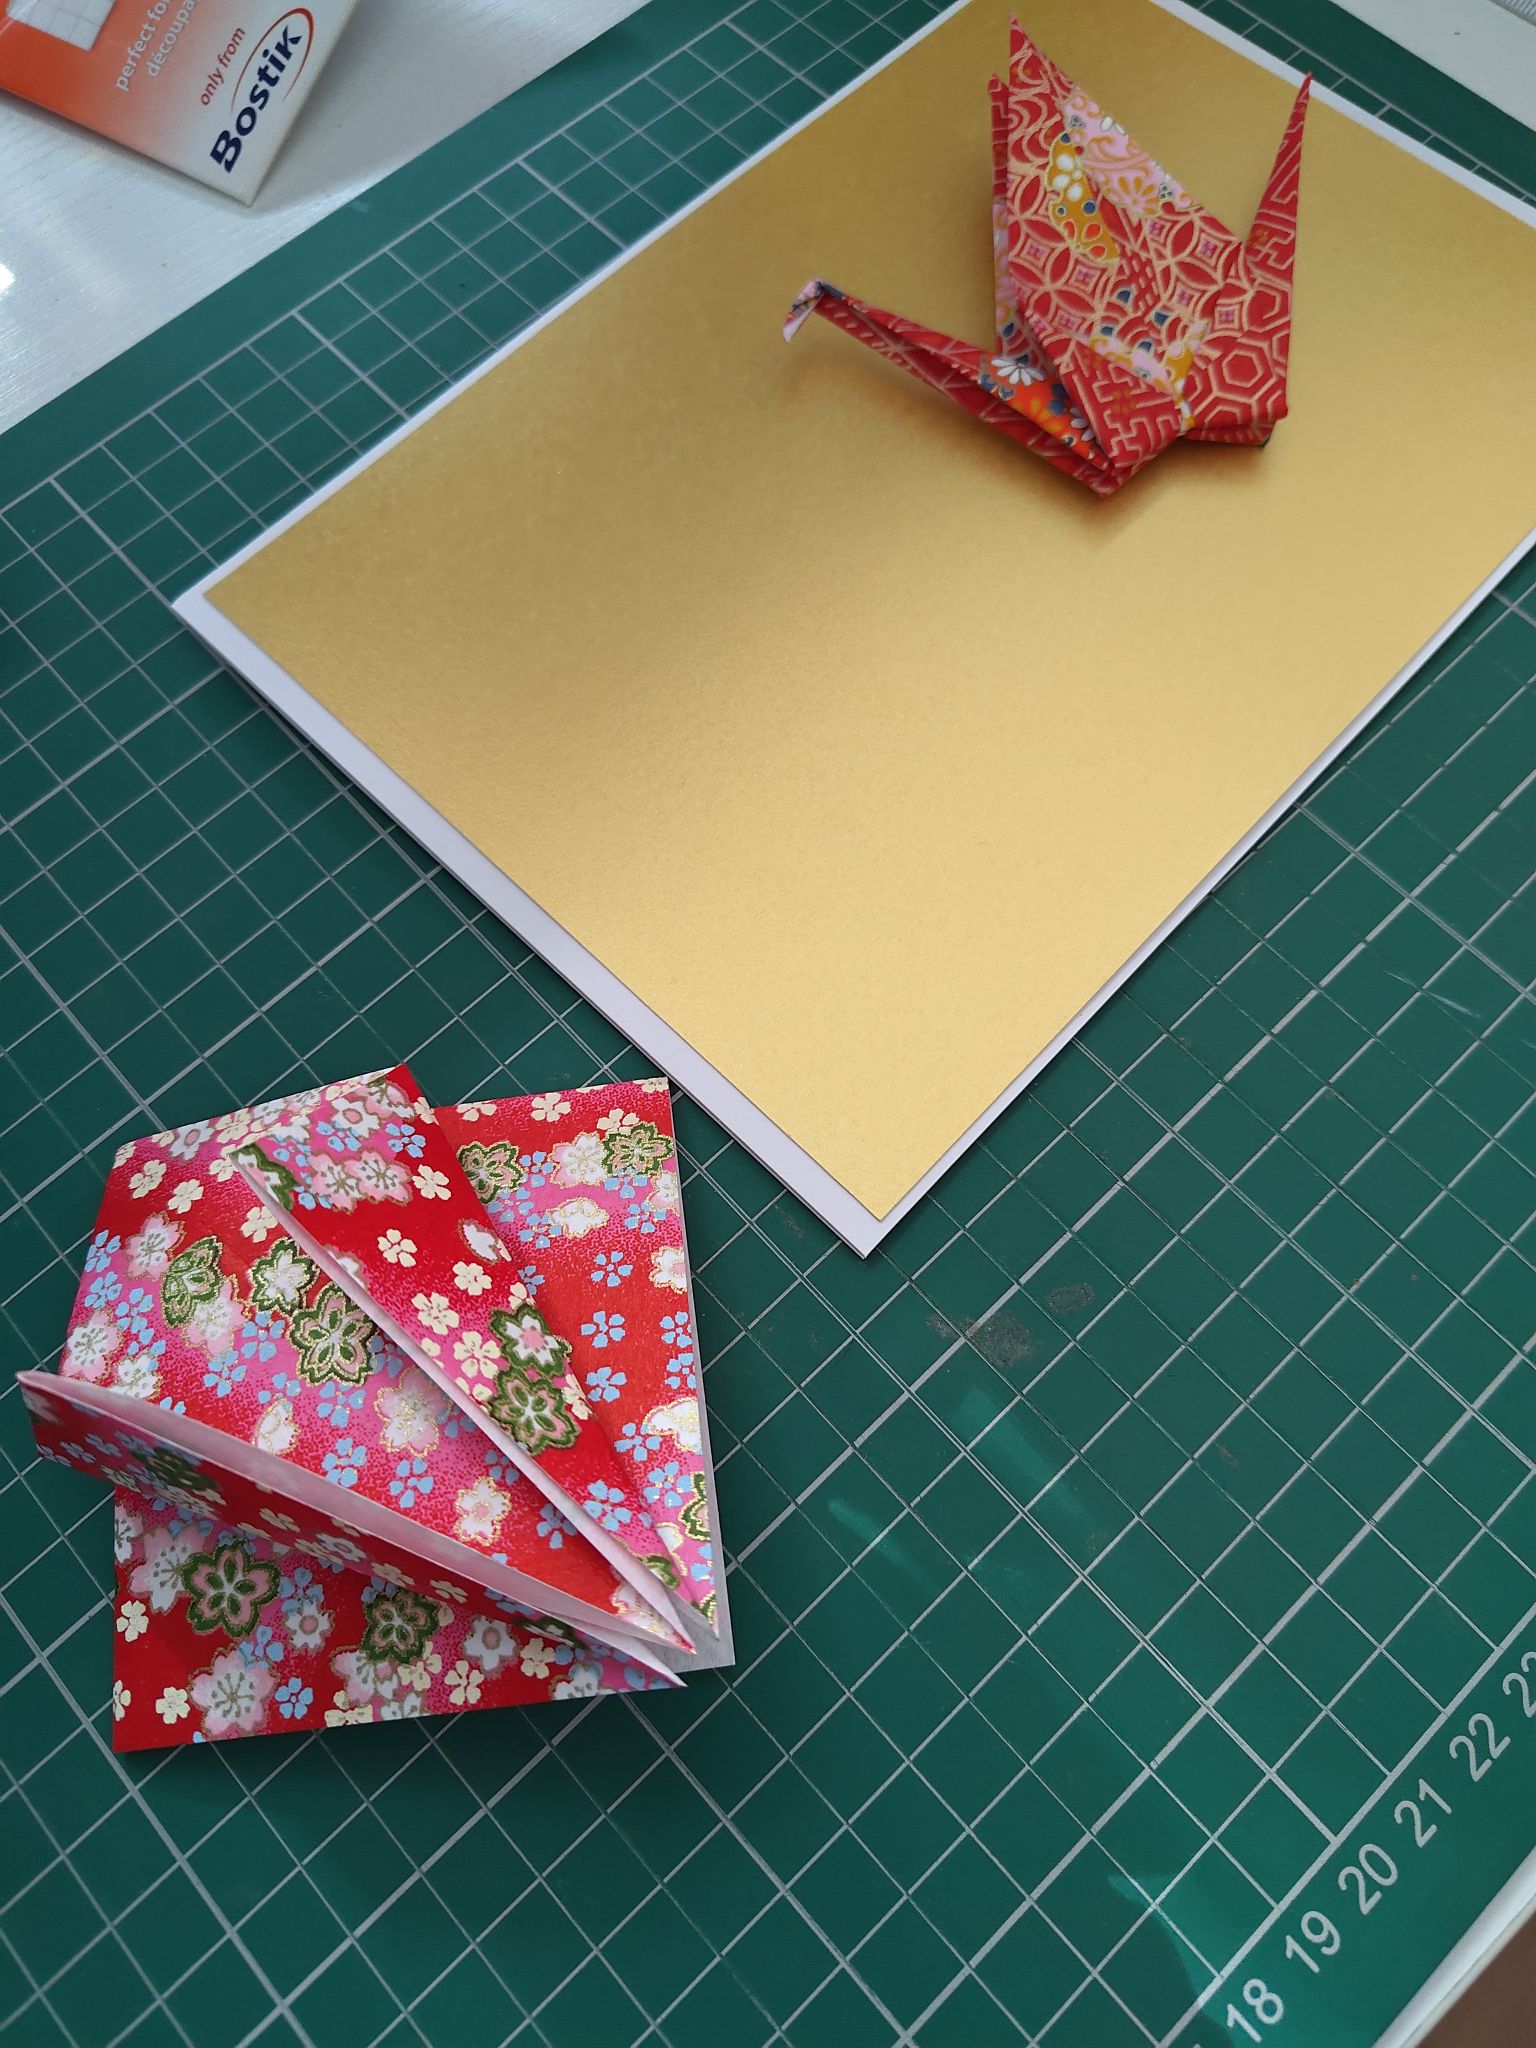
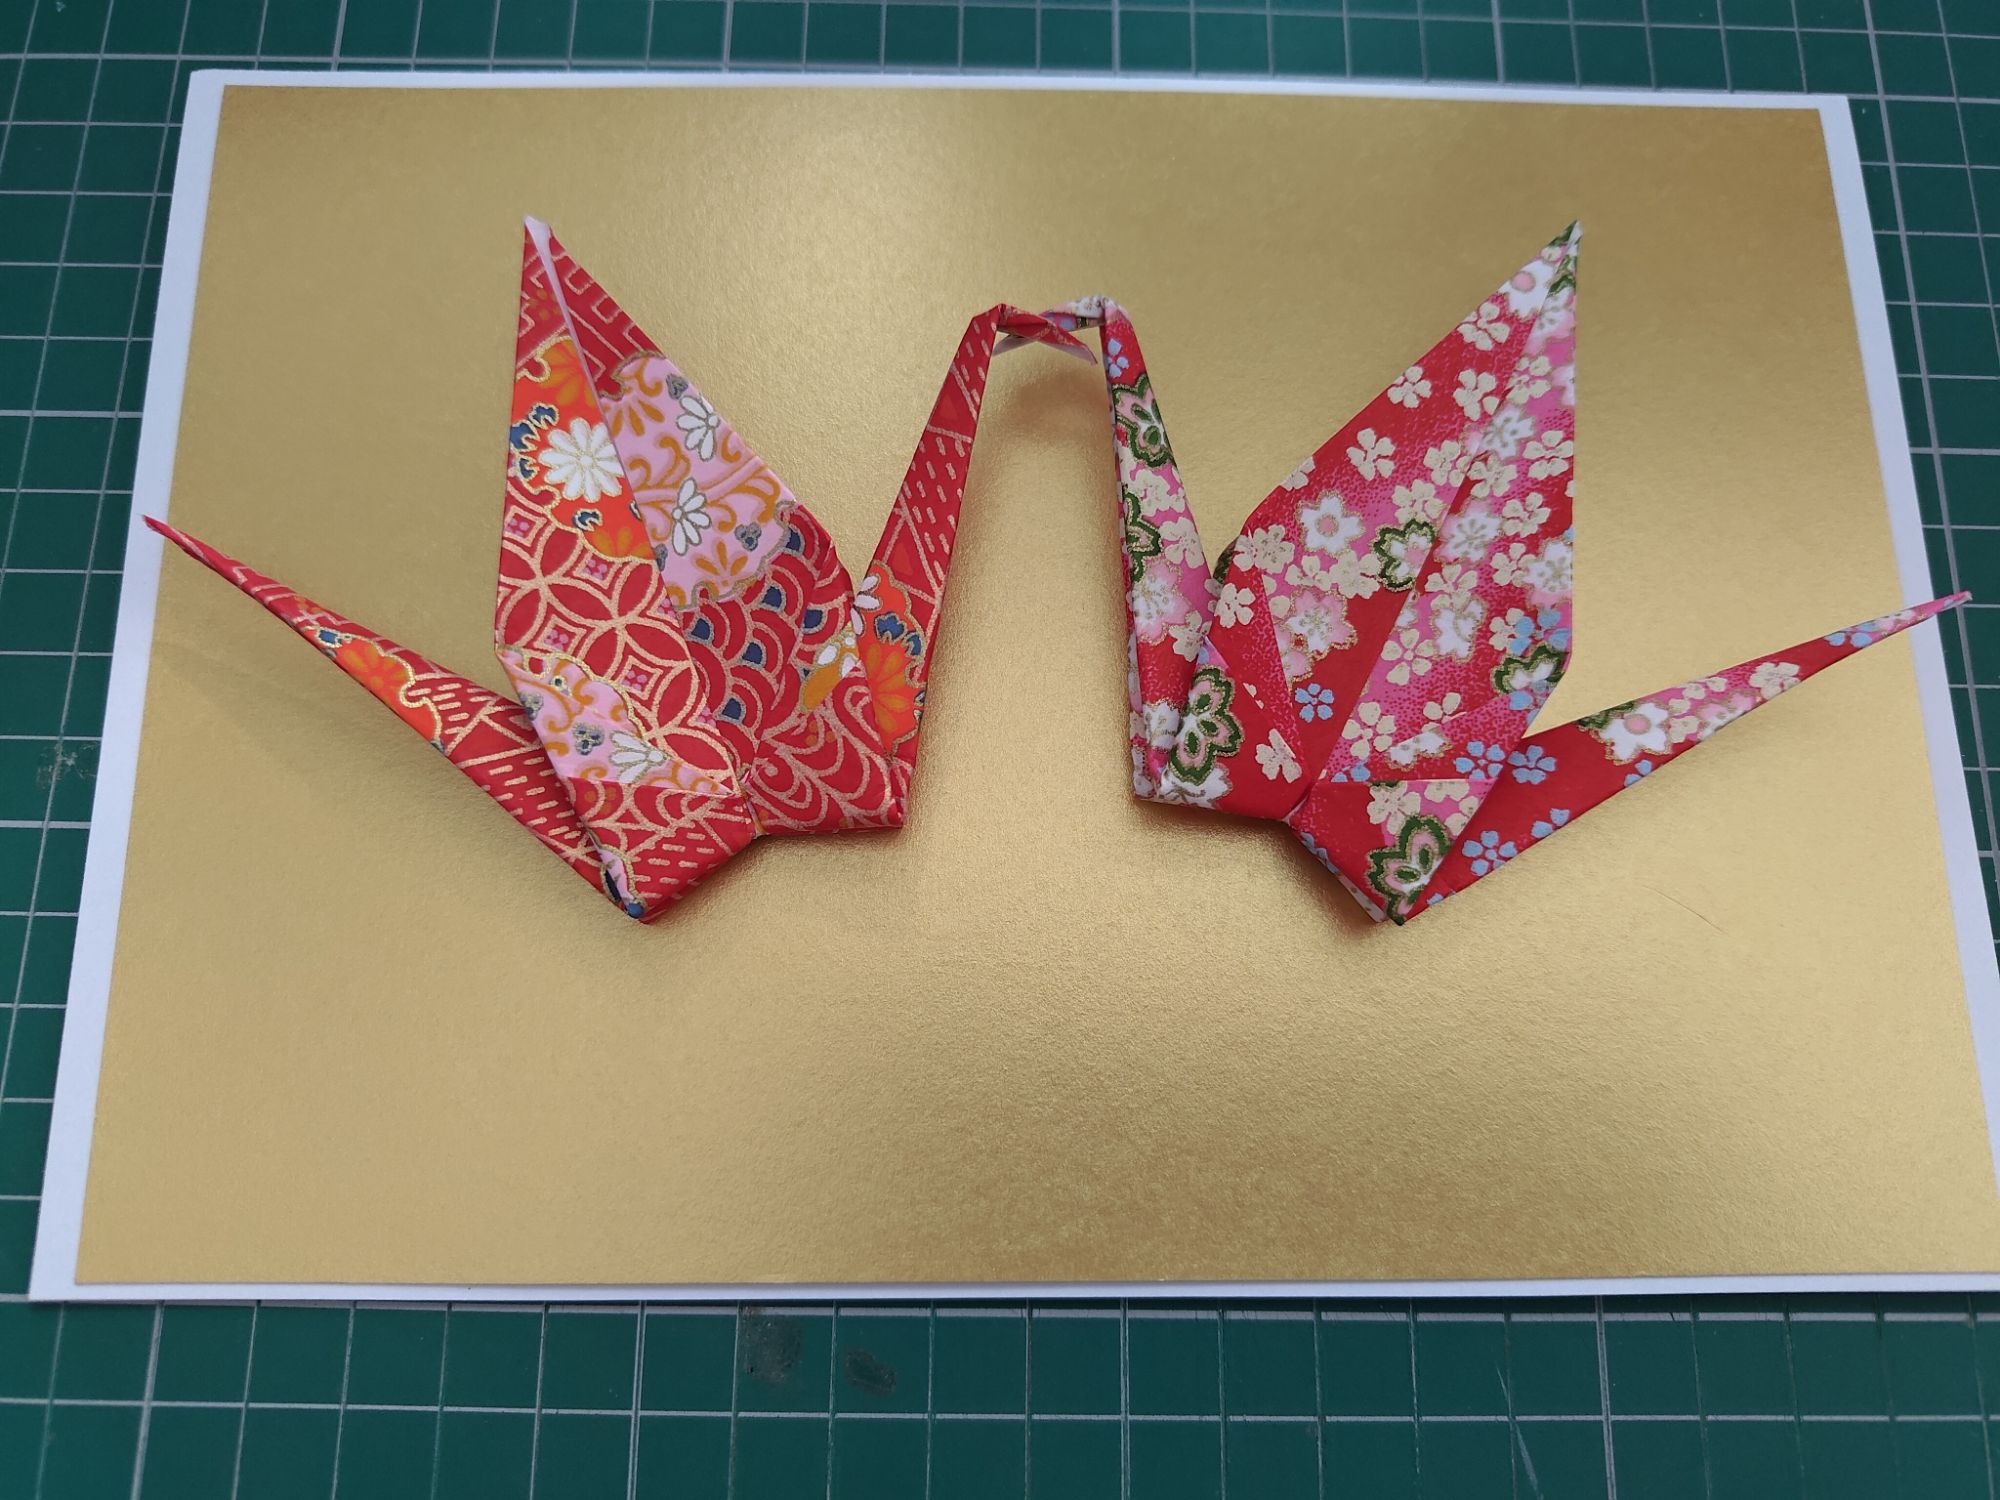
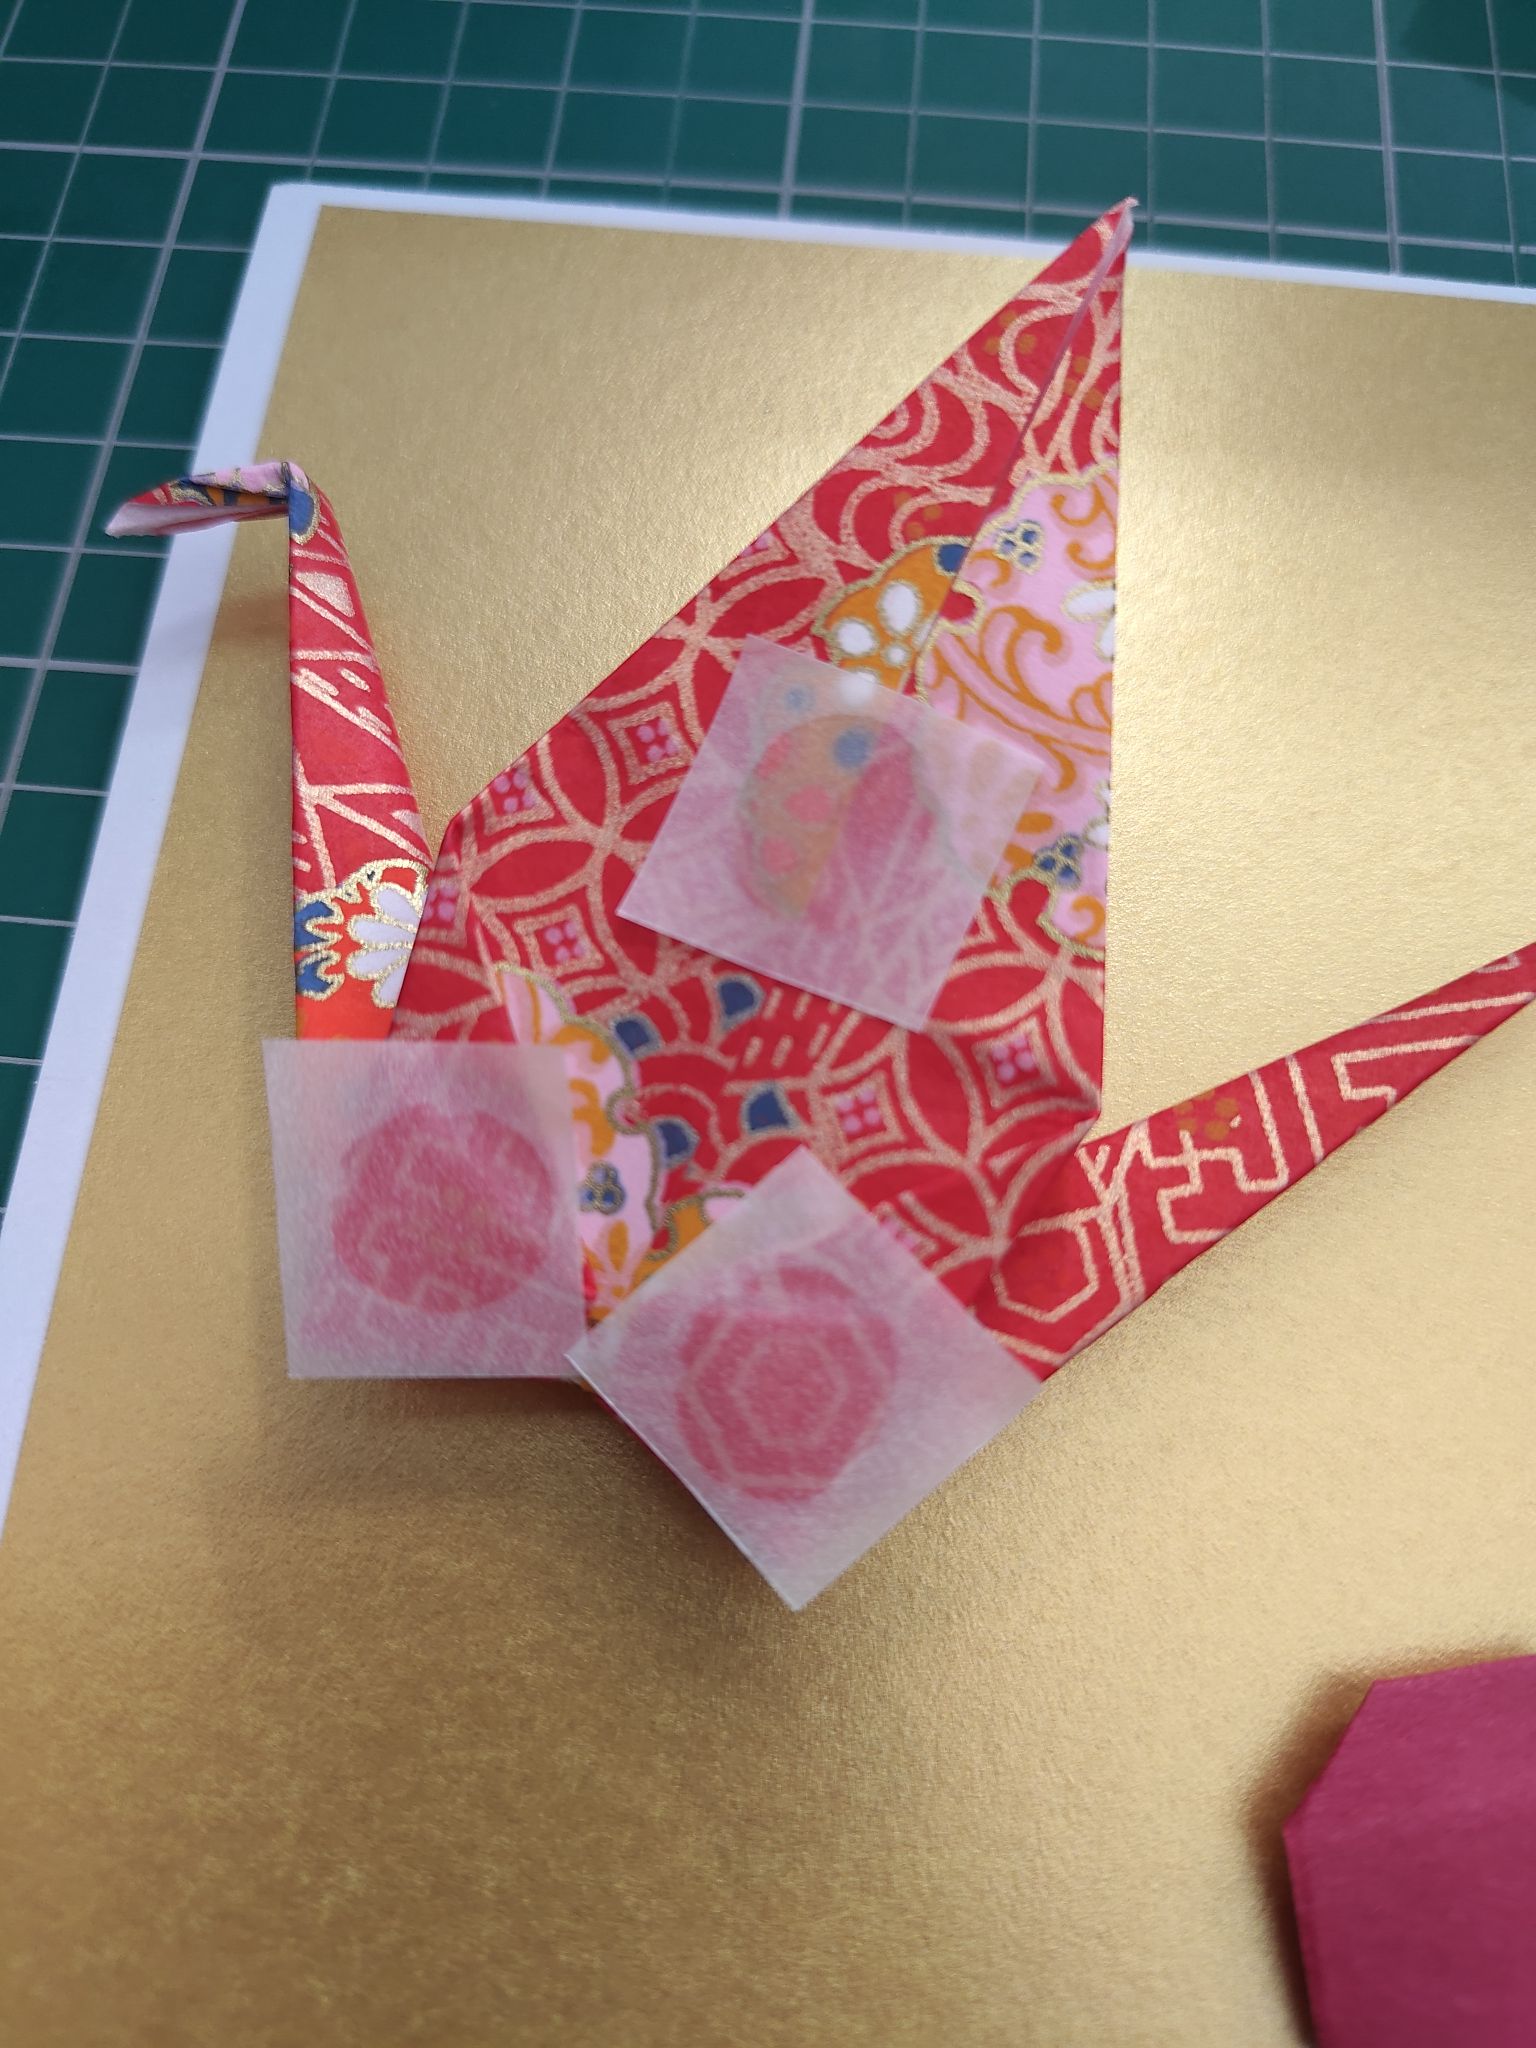
I thought about using sticky foam pads to stick the paper down, but at certain angles these can be visible. This time I tried mini glue dots – honestly I think they are superior! I thought it might struggle because of the washi texture (a regular glue stick wouldn’t work with washi) but it worked so well. You can easily cut out the glue dots from the roll and unpeel them when you are ready to glue them down. However they are quite sticky so be sure you don’t accidentally touch them when they are exposed!
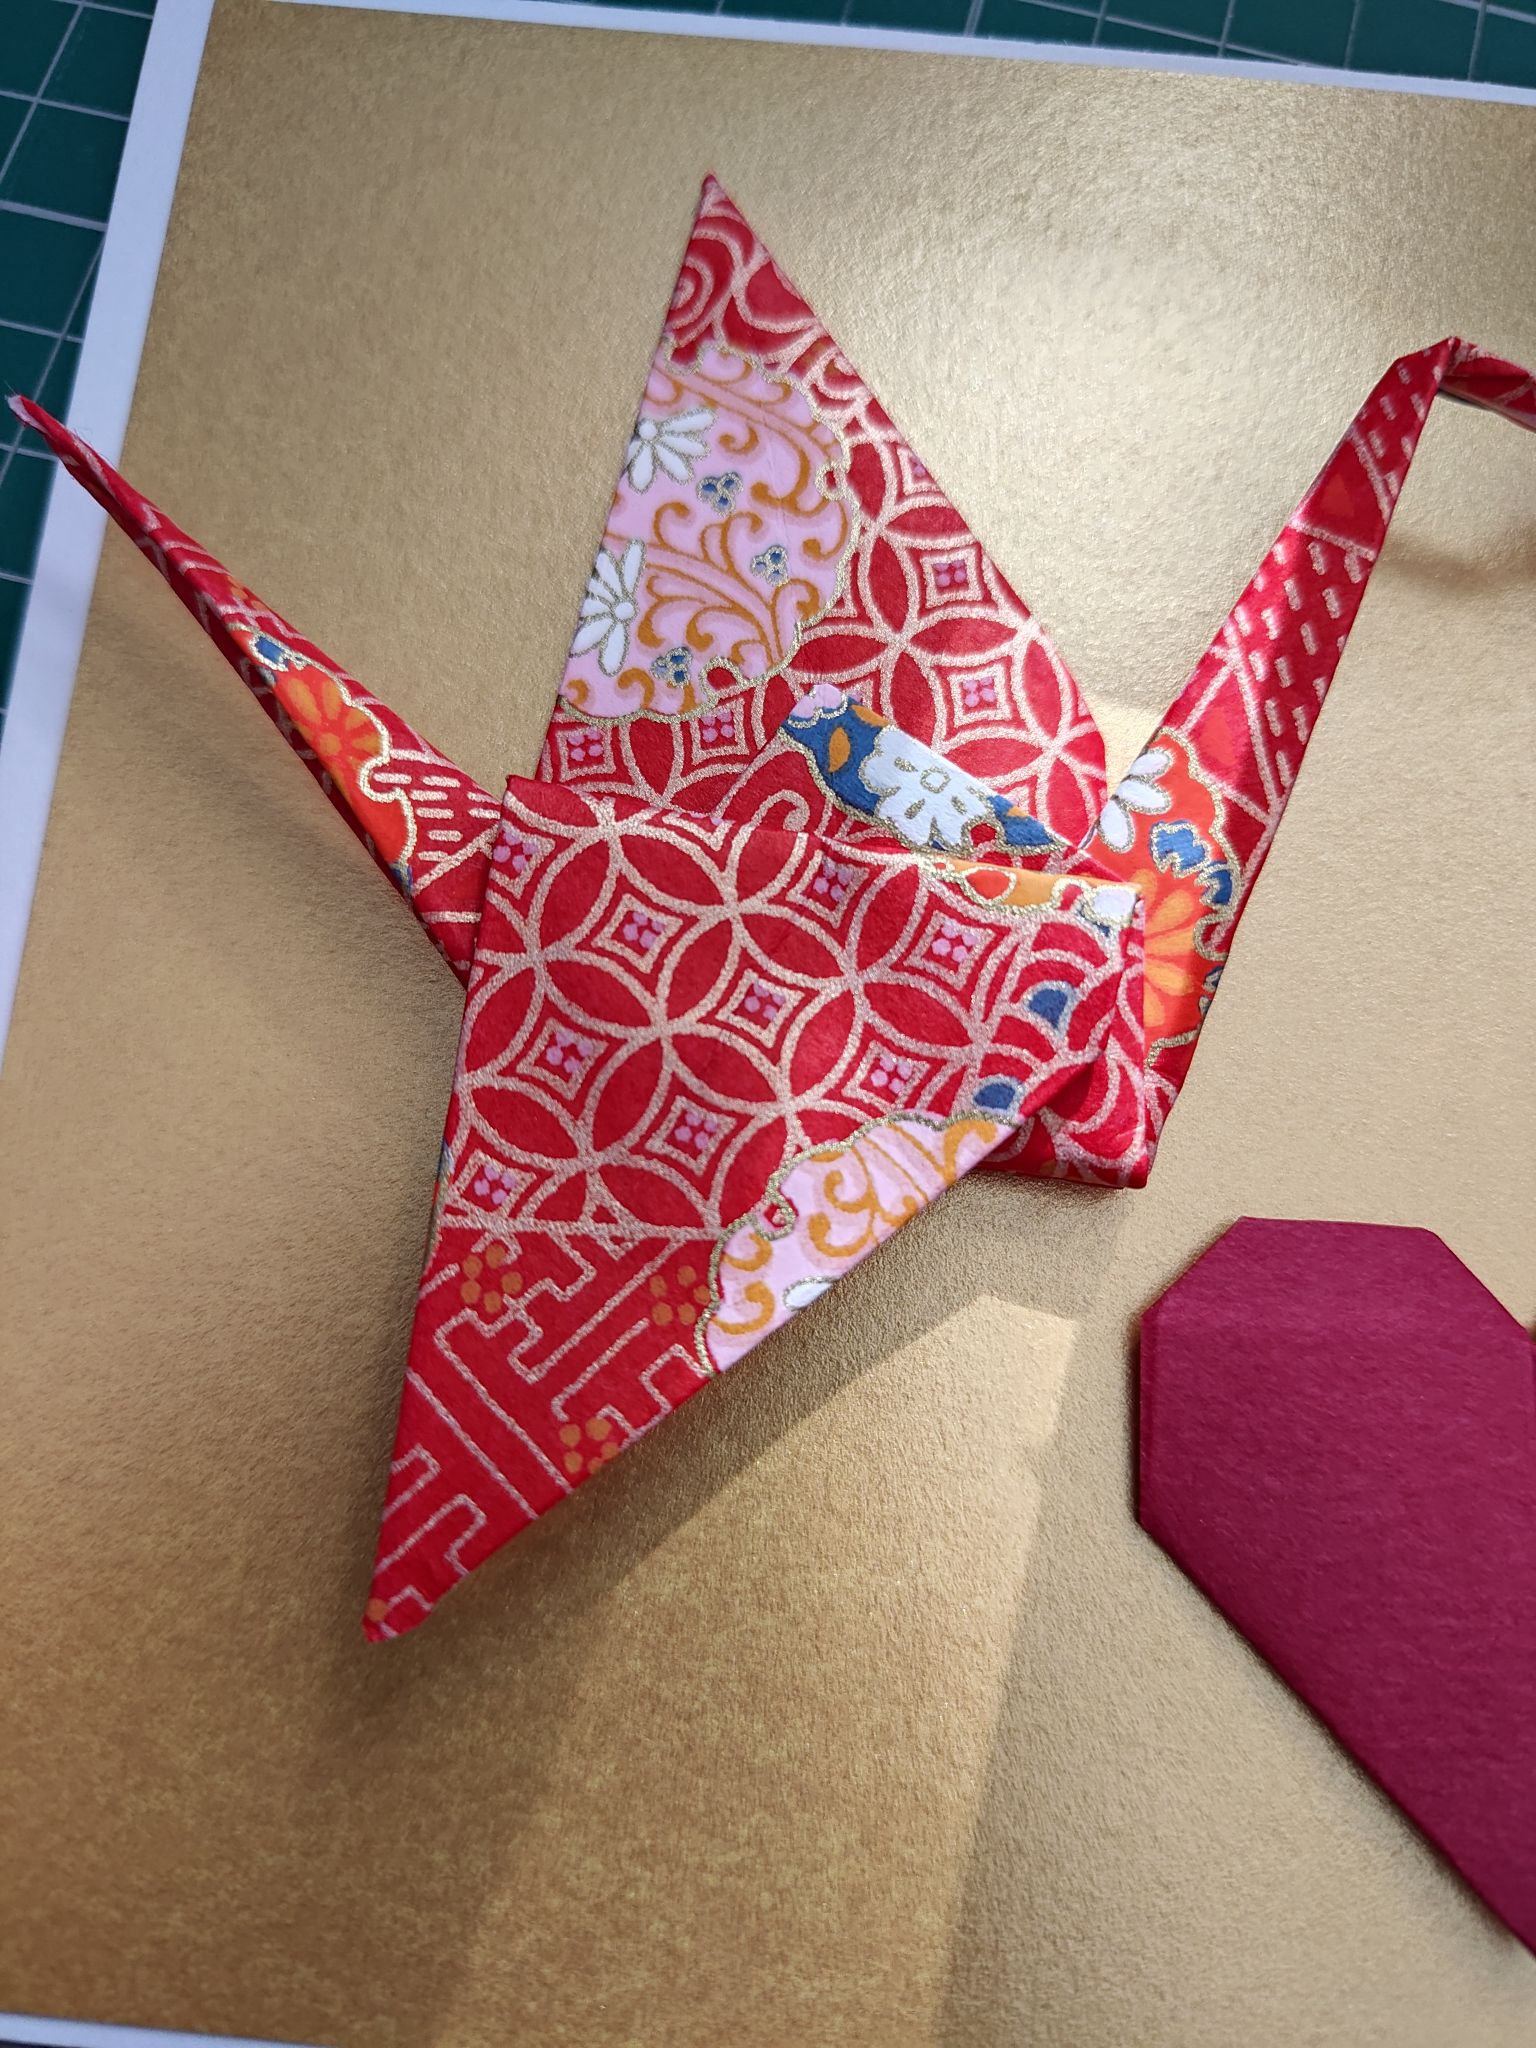
Once everything is glued down, you could stop here, or you could also fold down the front. This can help keep the crane in position by adding another glue spot. You could use a foam pad here to stick the wing to the gold card, but I chose to use a mini glue dot between the wing and the body to keep things hidden.
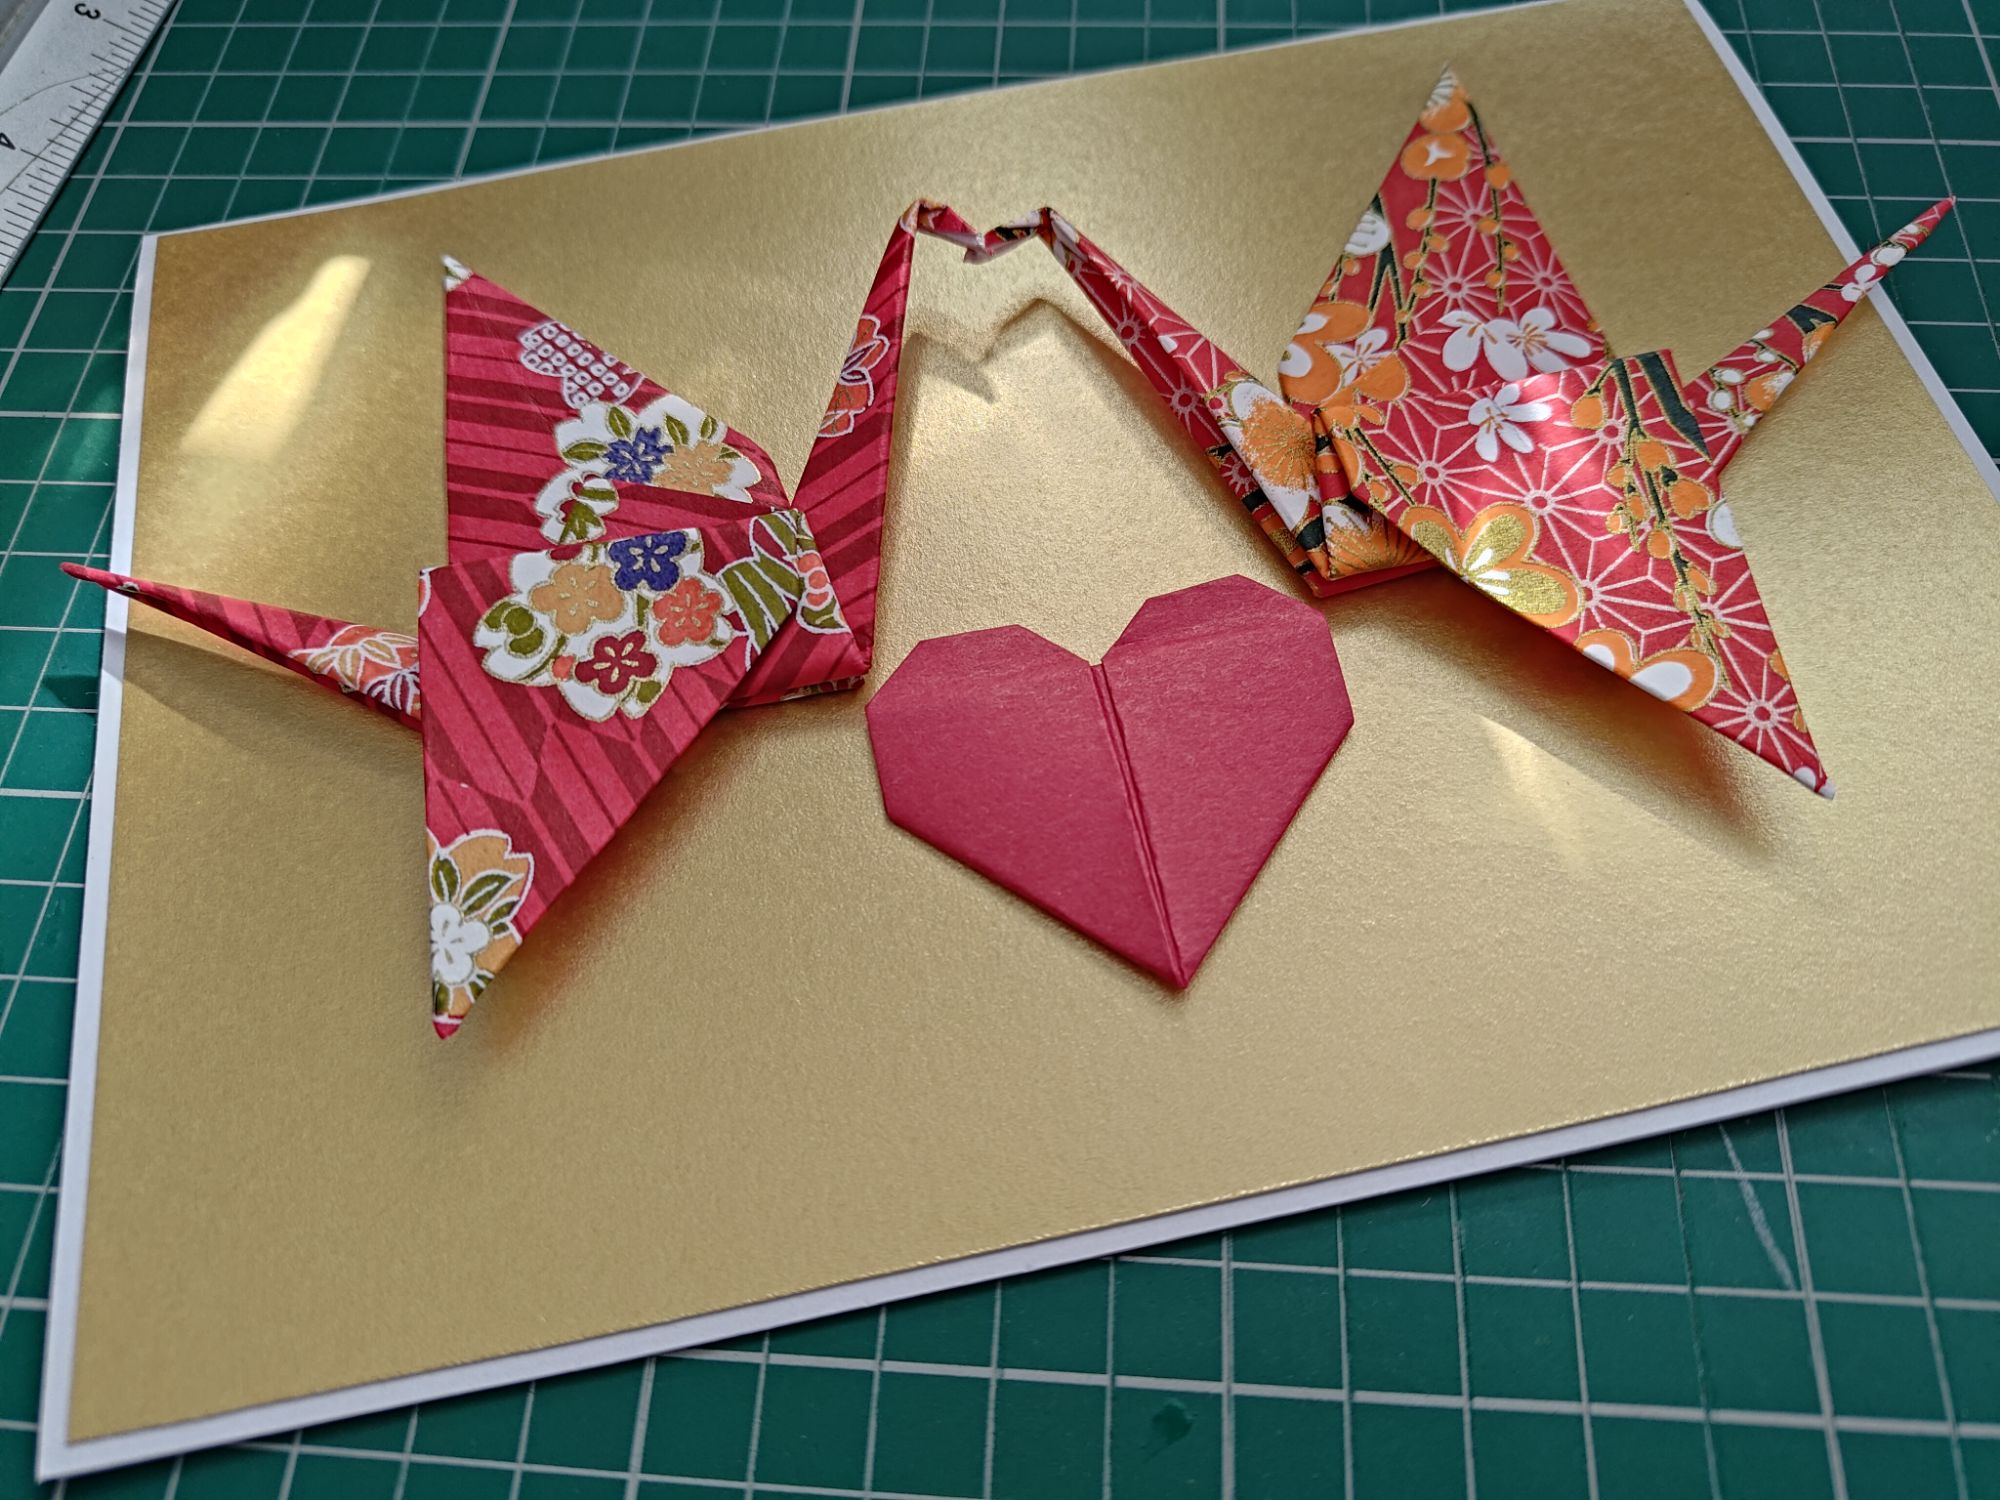
I originally wanted to cut a circle out of the gold card to symbolise a sunrise, but hand-cutting a circle is not the easiest thing, so I defaulted to a plain rectangle. I could also experiment with adding scalloped borders or frames to the card as well next time.
These crane cards are very versatile because you can customise them for all occasions. You can change the colours of the cranes or the card backing if the receiver has a favourite colour. You could gift them for Valentine’s Day or wedding anniversaries. Or you could play with the background more.
I have already made a few of these in different designs. Everyone I know will be getting one! And the card is blank inside for me to write a nice personalised message to every one.
Materials used:
– 15cm square red-themed washi
– 9.5cm square red tant paper
– A4 white card
– gold card, cut to size
Tools used:
– craft knife and cutting mat
– mini glue dots
– liquid glue stick

