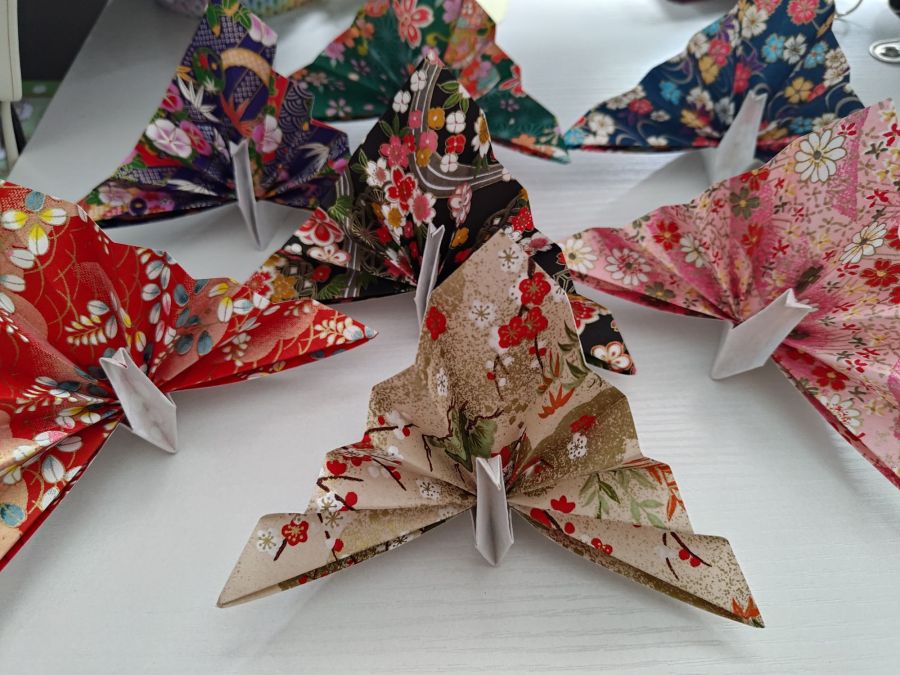
I discovered too late in my wedding journey about the existence of origami fantail cranes or celebration cranes. They are snazzy versions of your regular crane with a beautiful fan-shaped tail that opens out at the back and sit well on a flat surface. They definitely look the part in a celebration!
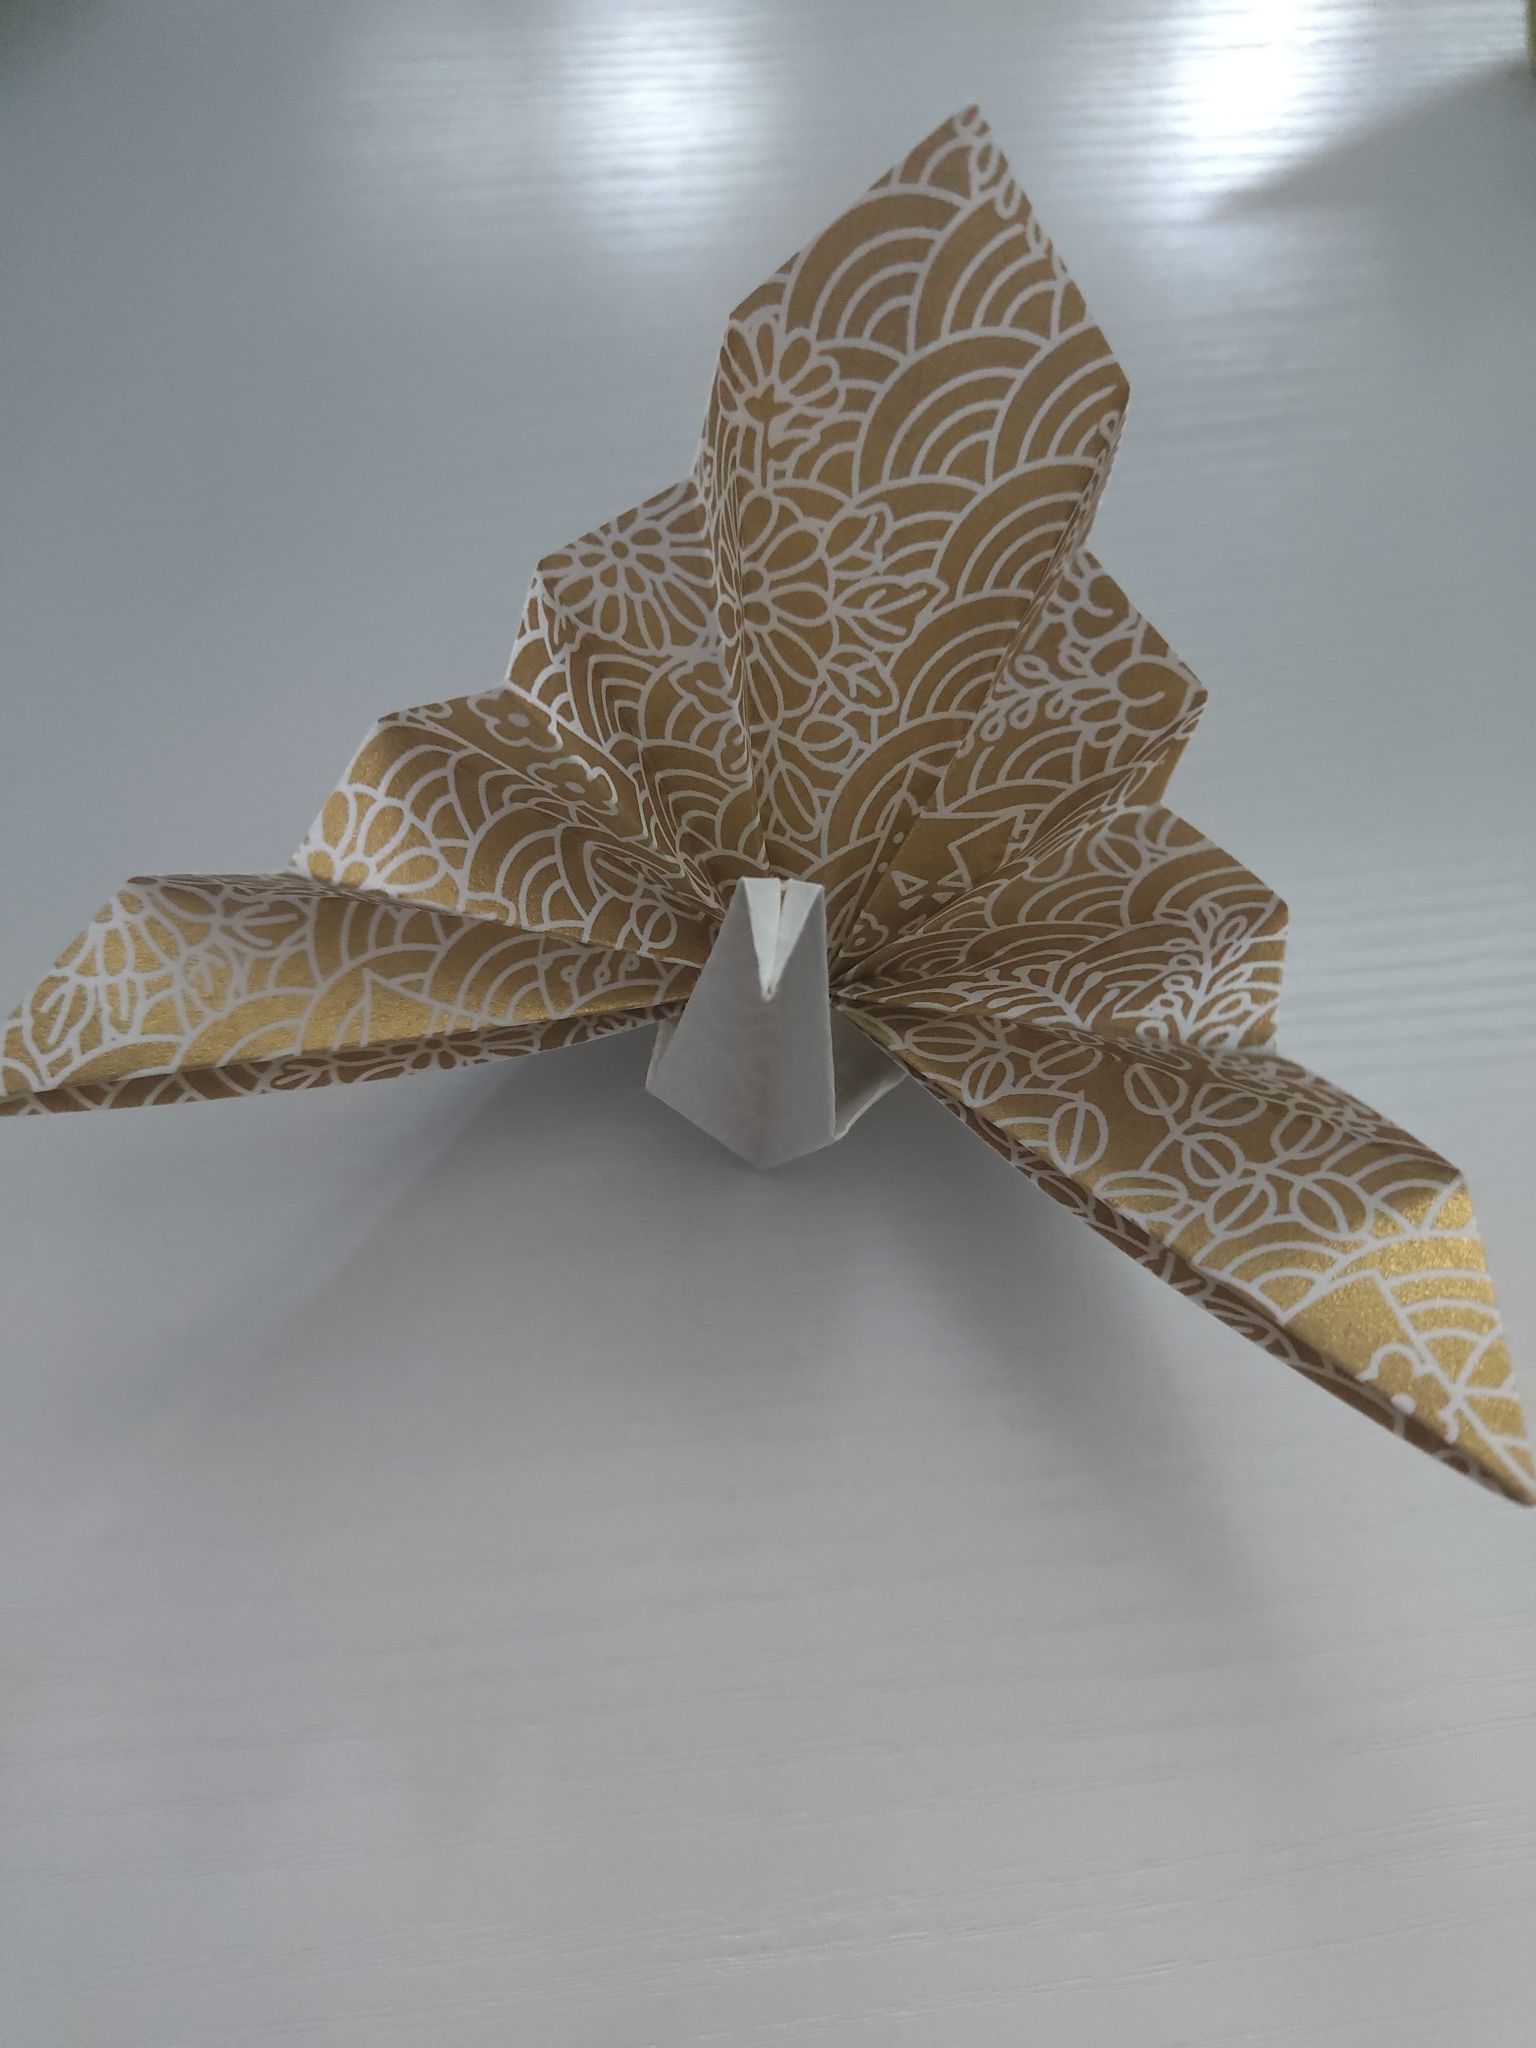
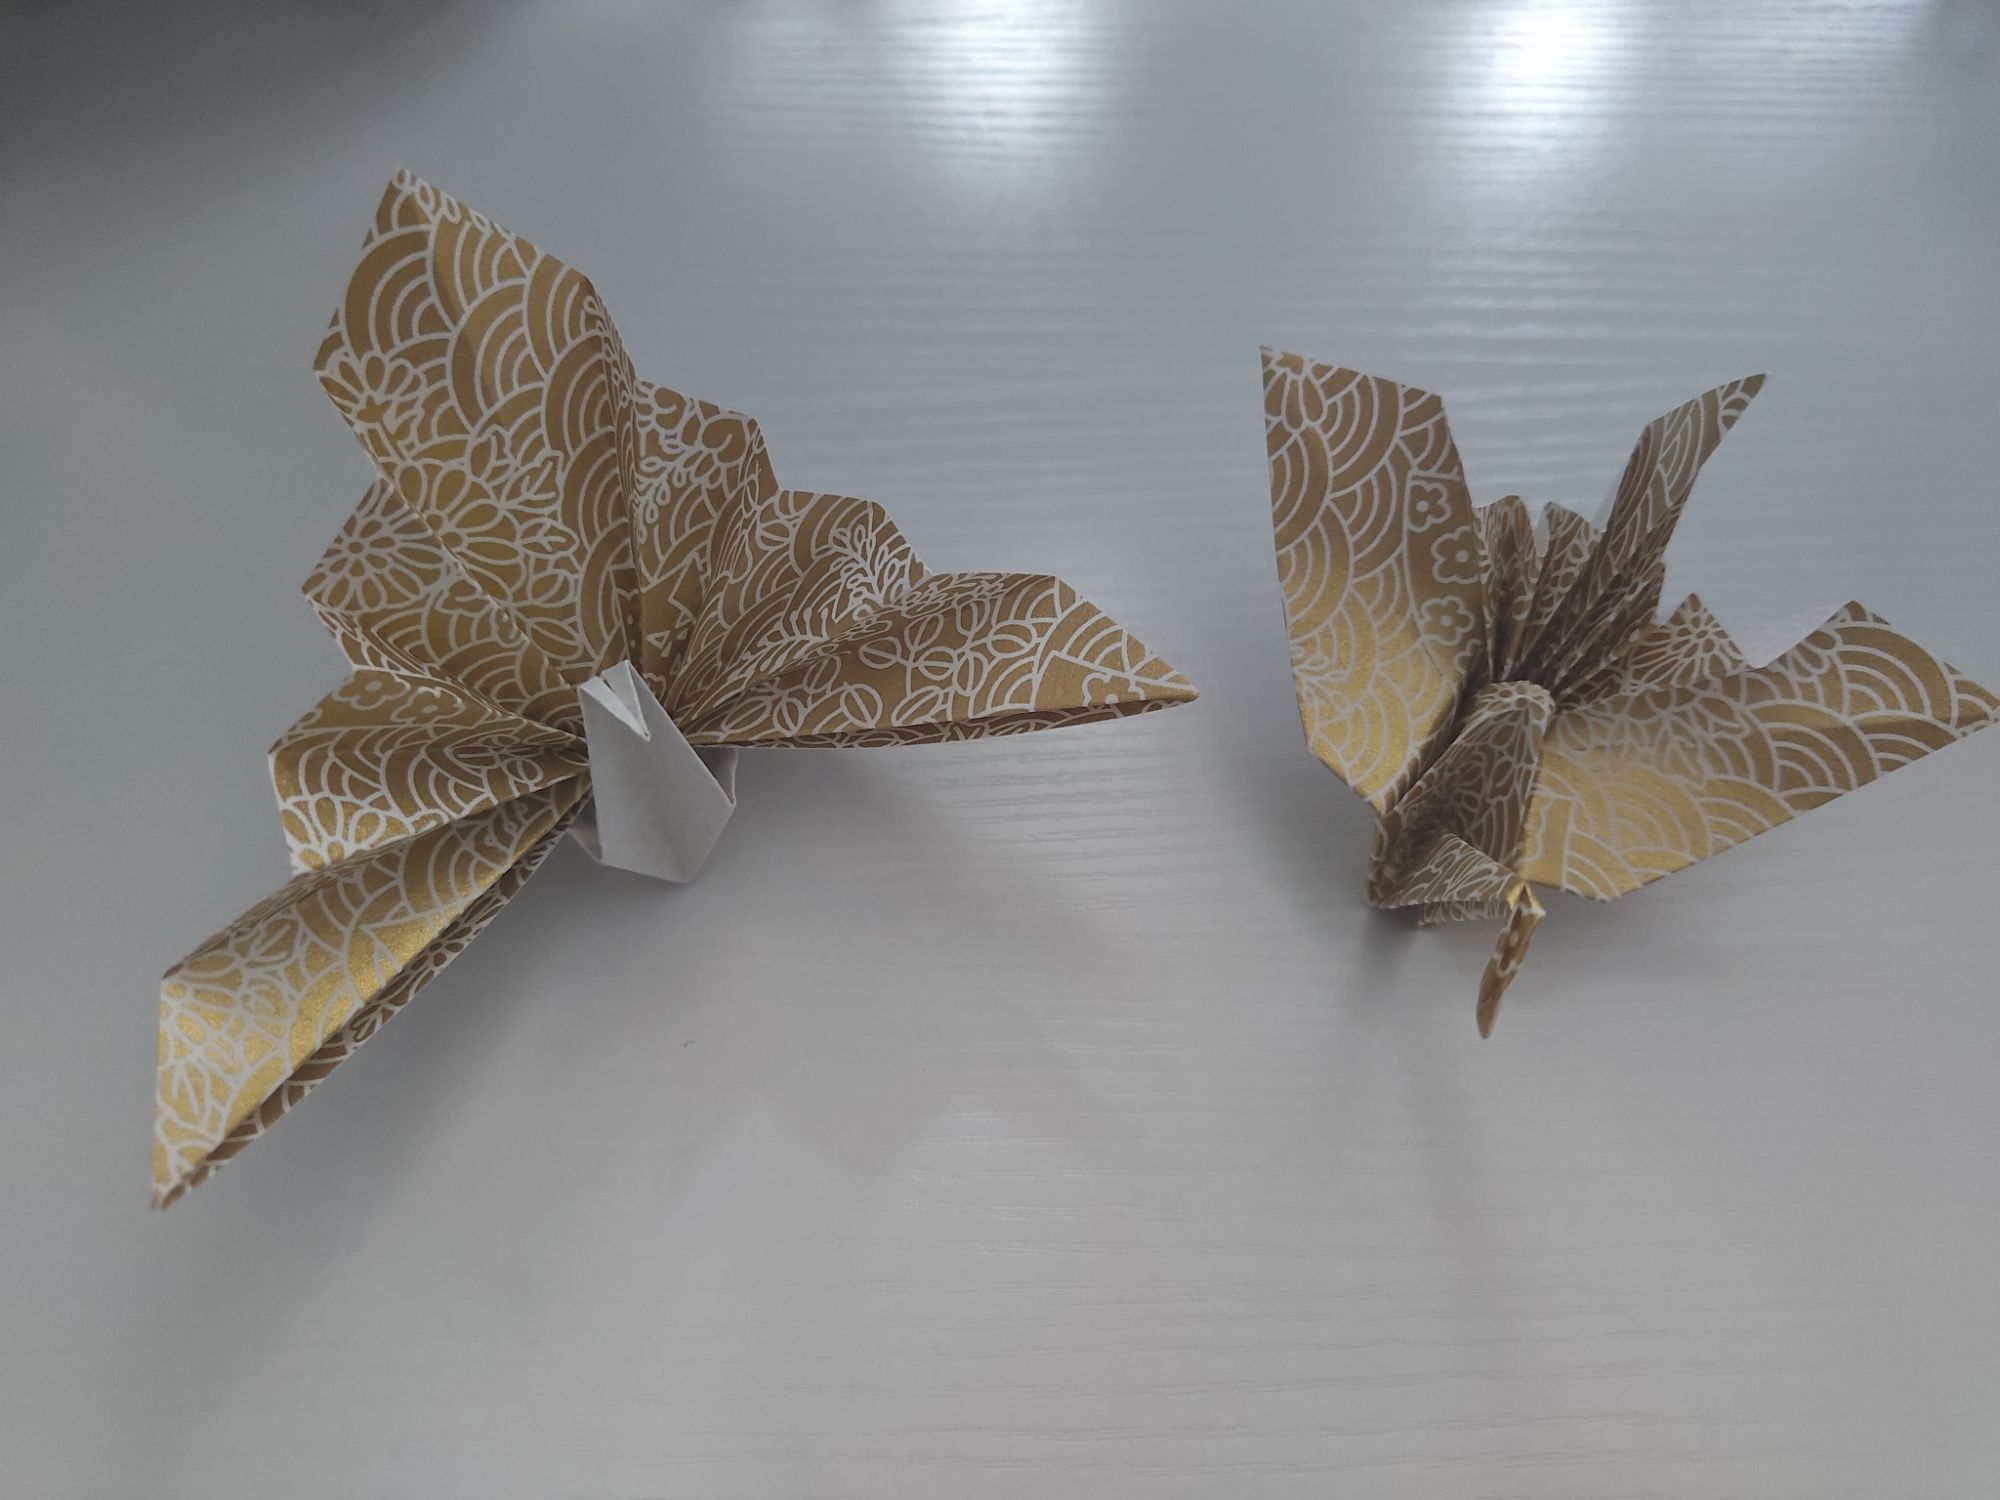
The tutorial that I will be following is this one on origami.me. You can use one-sided paper for this, but it would look more striking with double-sided paper. Here you can see the difference depending on which side of the paper I start with. Unfortunately none of my beautiful washi had double-sided colours, so despite the body of the crane being white in my images, I still think the pattern showing on the tail looked the best.
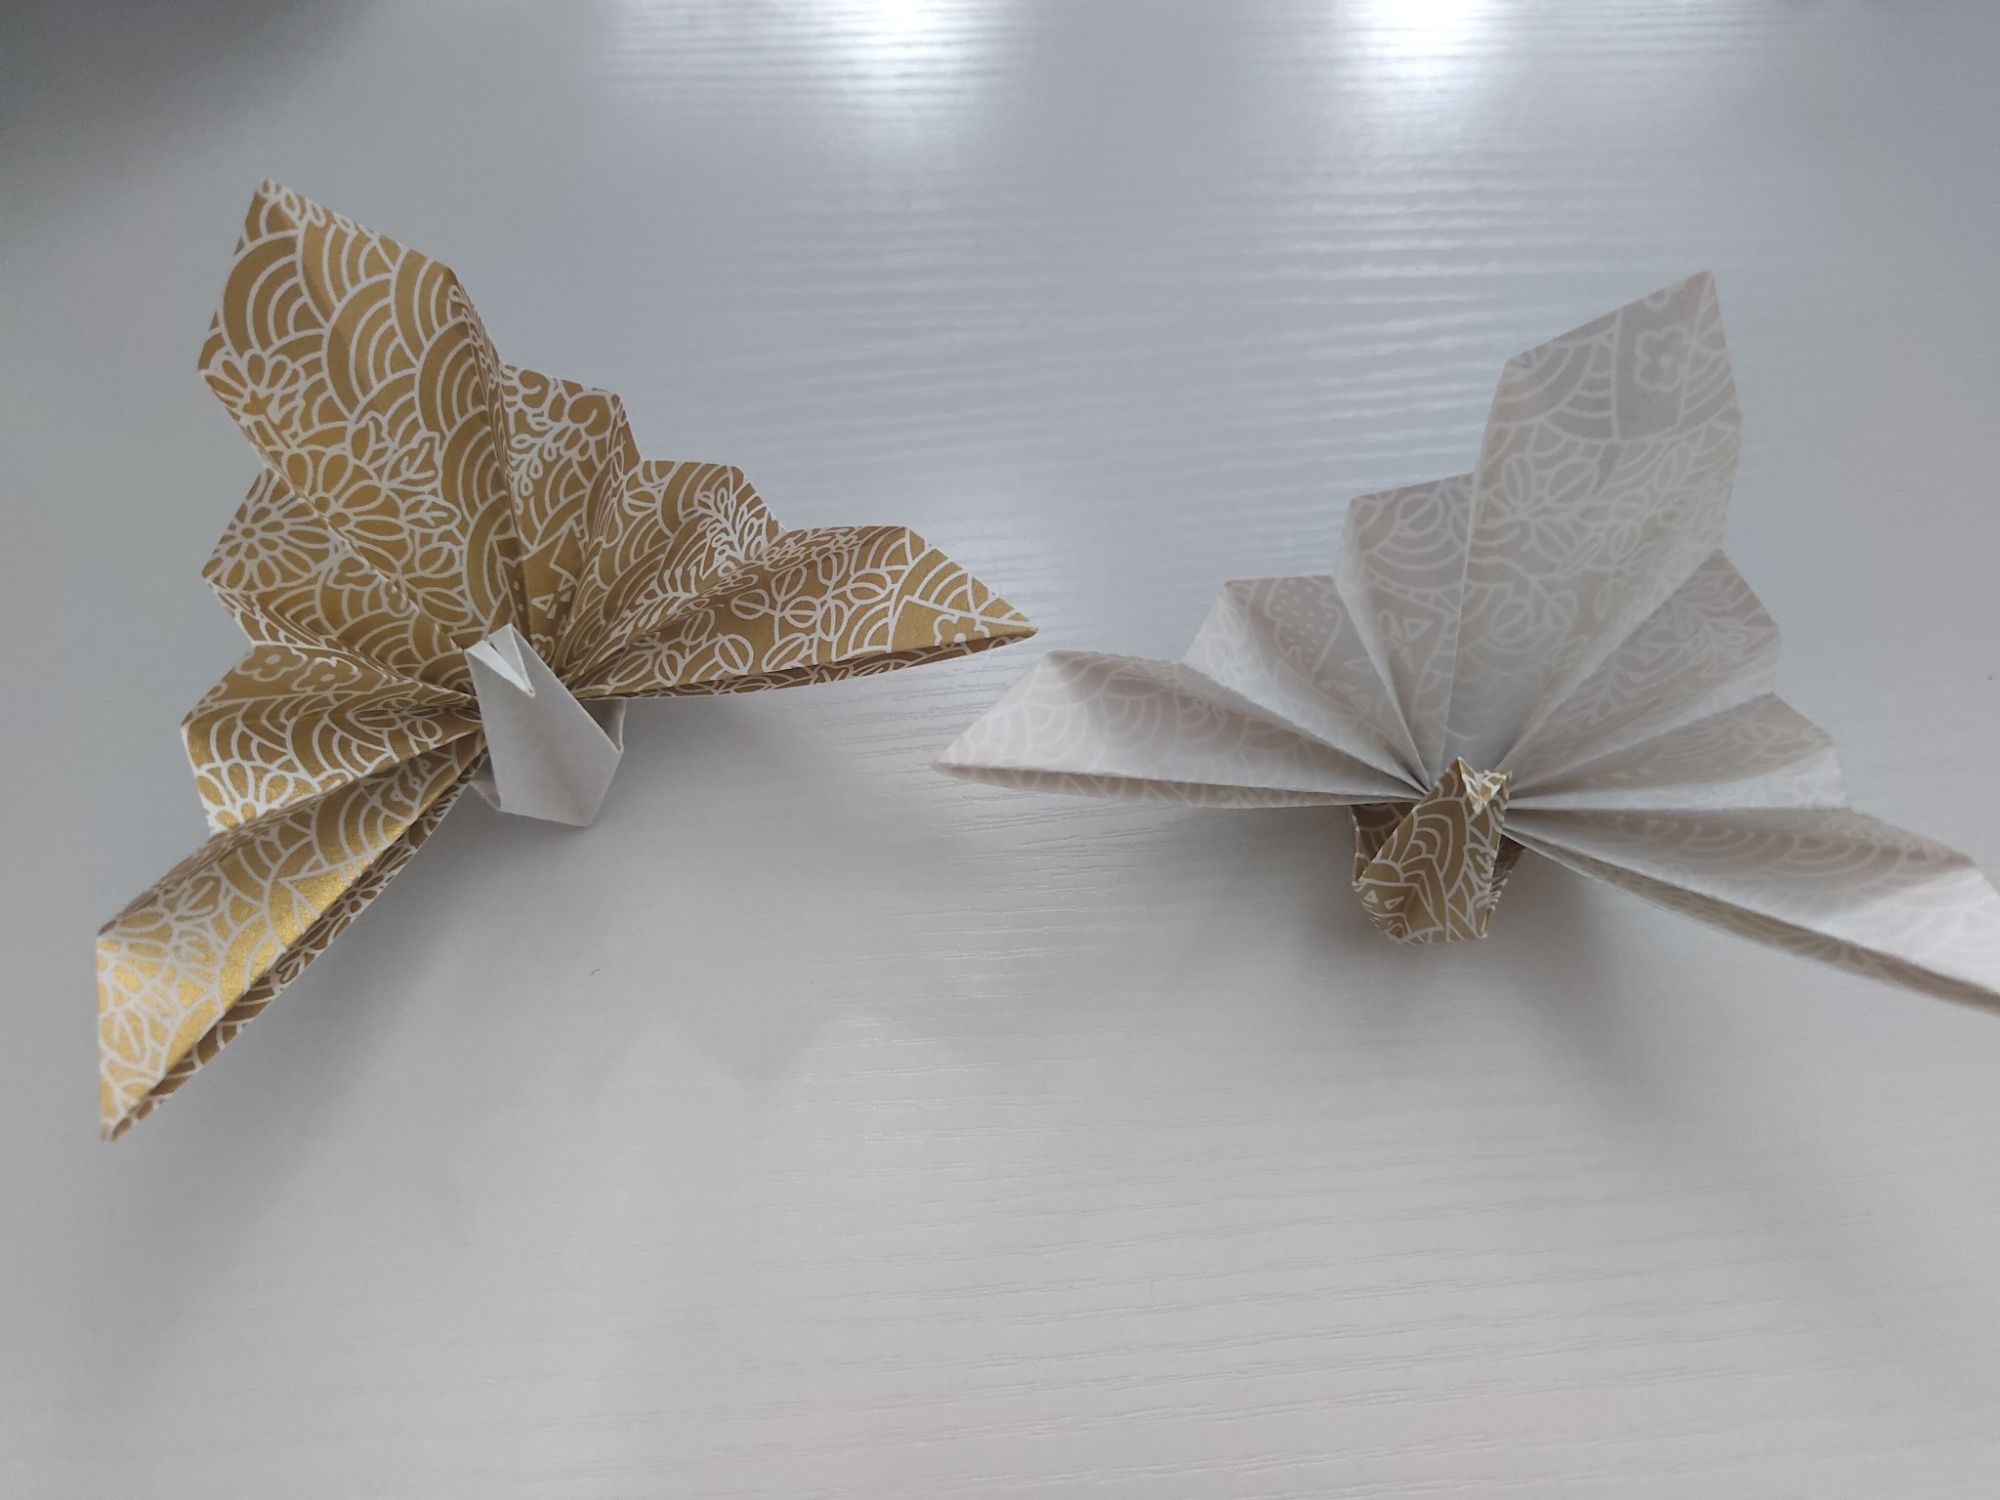
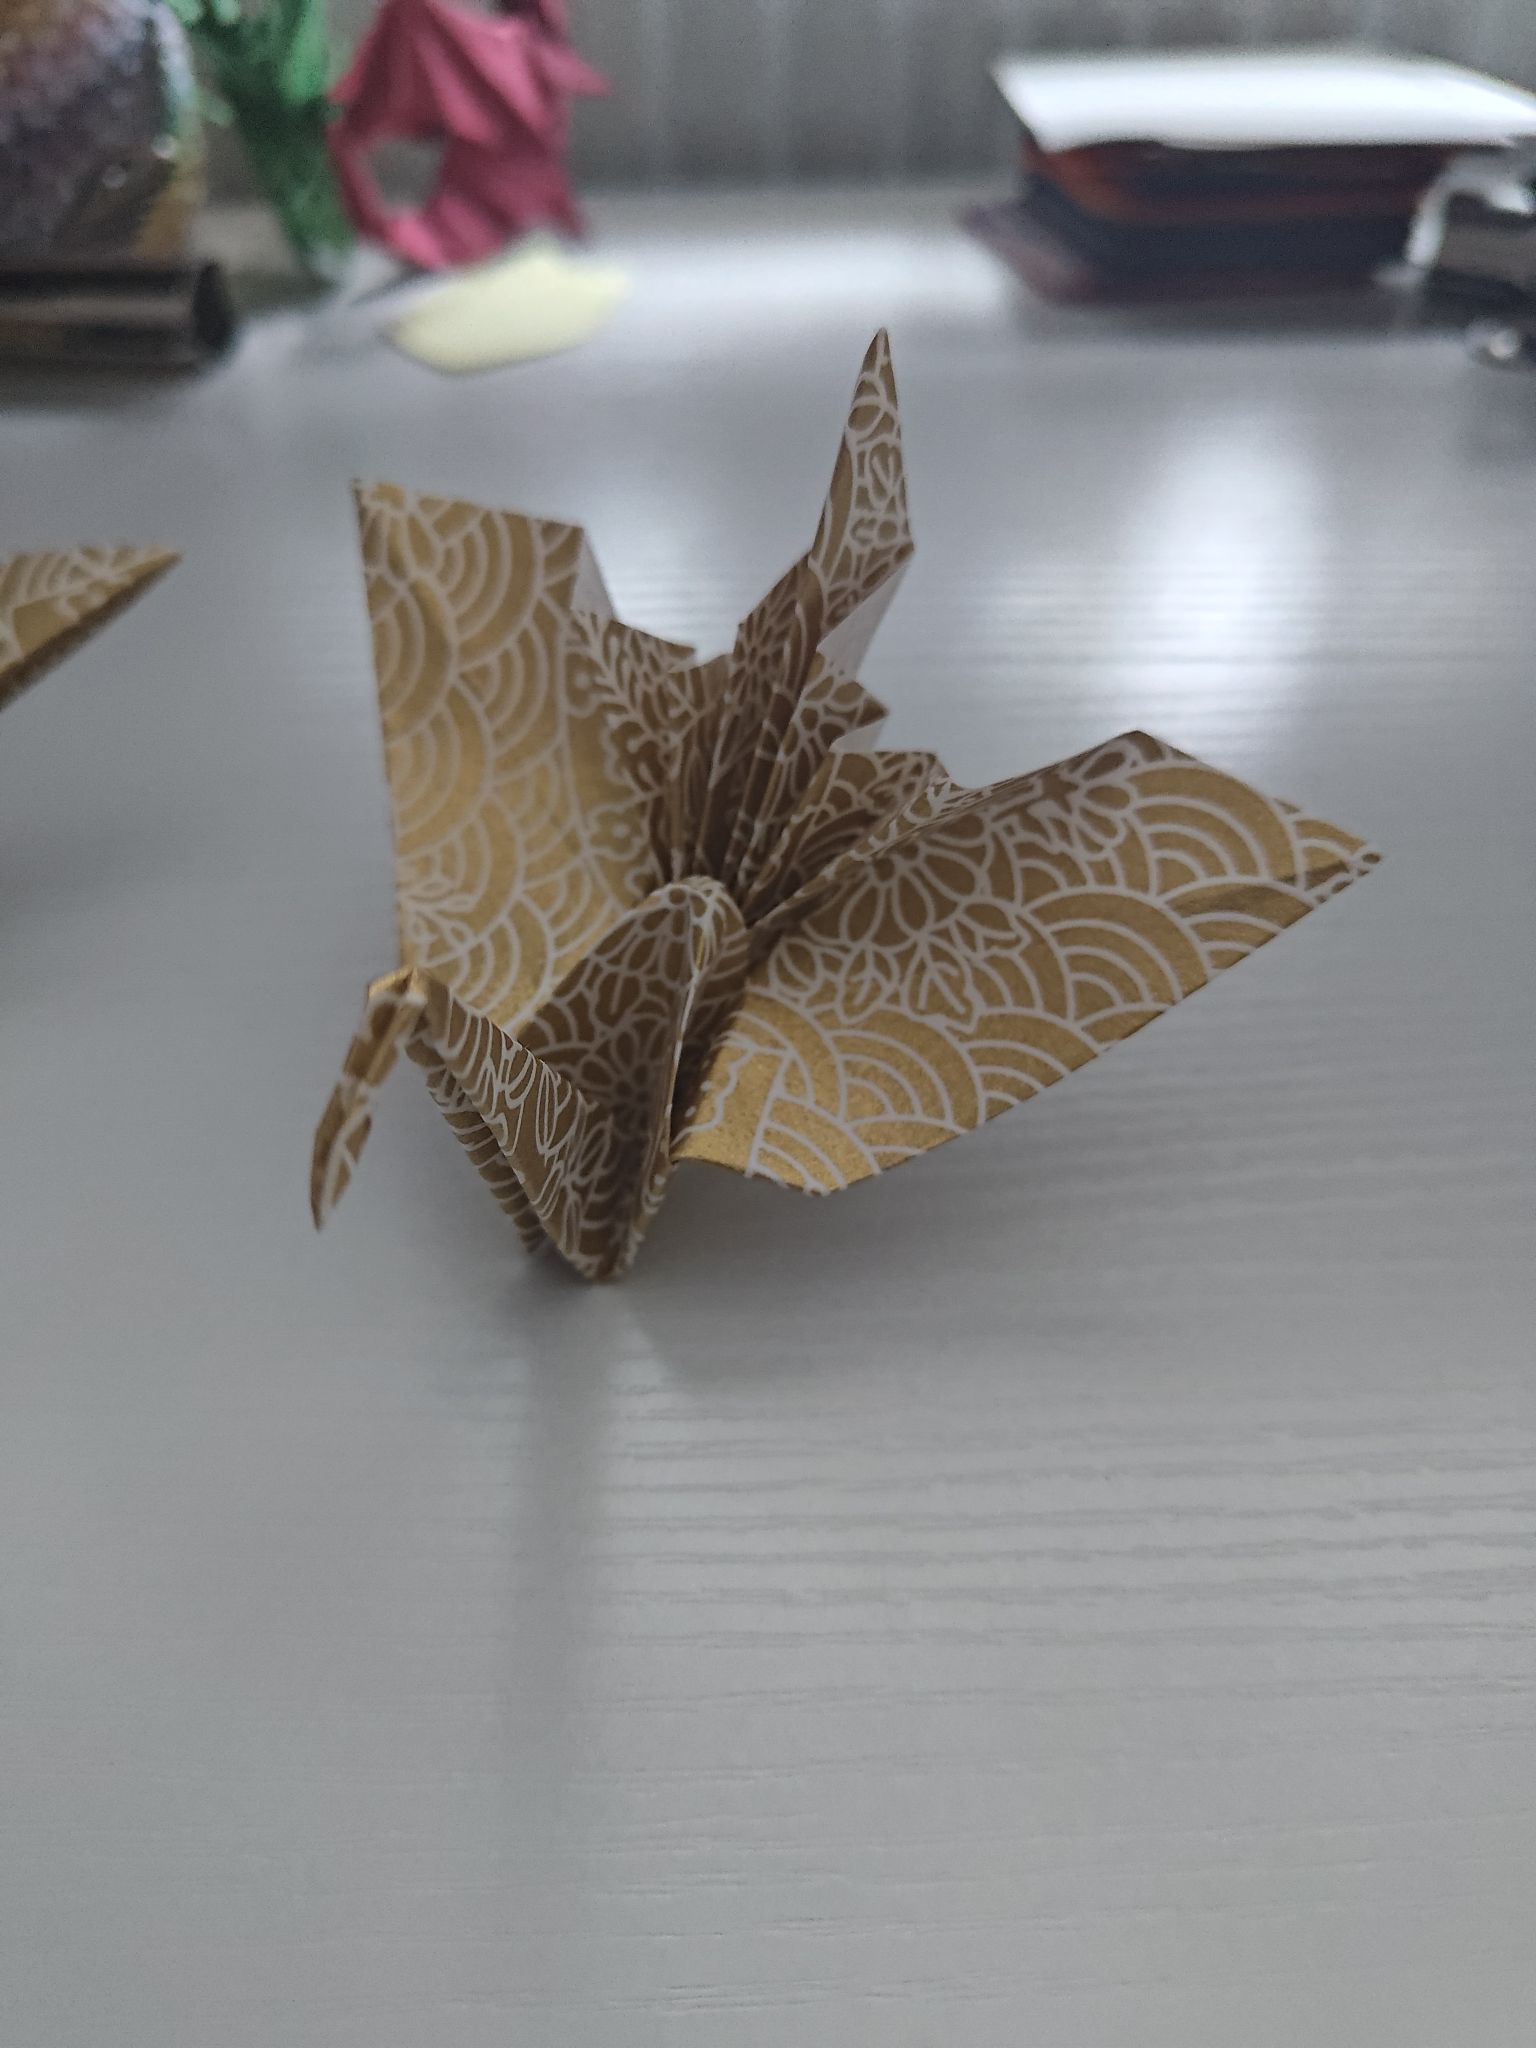
There is an alternative celebration crane – this one by Jo Nakashima is a traditional model called a kotobukizuru. This one is better for paper that is coloured on one side only as you will only see the pattern on the front (and it would be blank at the back facing away), but I found it very complicated to fold and it did not look that much better for the extra effort. Those last few folds to form the wings were quite difficult! You can see it is a bit smaller but a lot more folds go into it. I tried to fan out the tail as best as I could but it didn’t open as wide as the previous model as well. So I will stick with the first one.
Another important thing is the paper type. I initially tried folding some cranes using 20cm square pearlescent sheets (because I wanted a big crane to sit in the middle of the table as a centrepiece or table marker) but they would tear in the middle at the step where I needed to fold the model in half lengthways. So you do need sturdy paper that can withstand many layers of folds and washi is perfect for that.
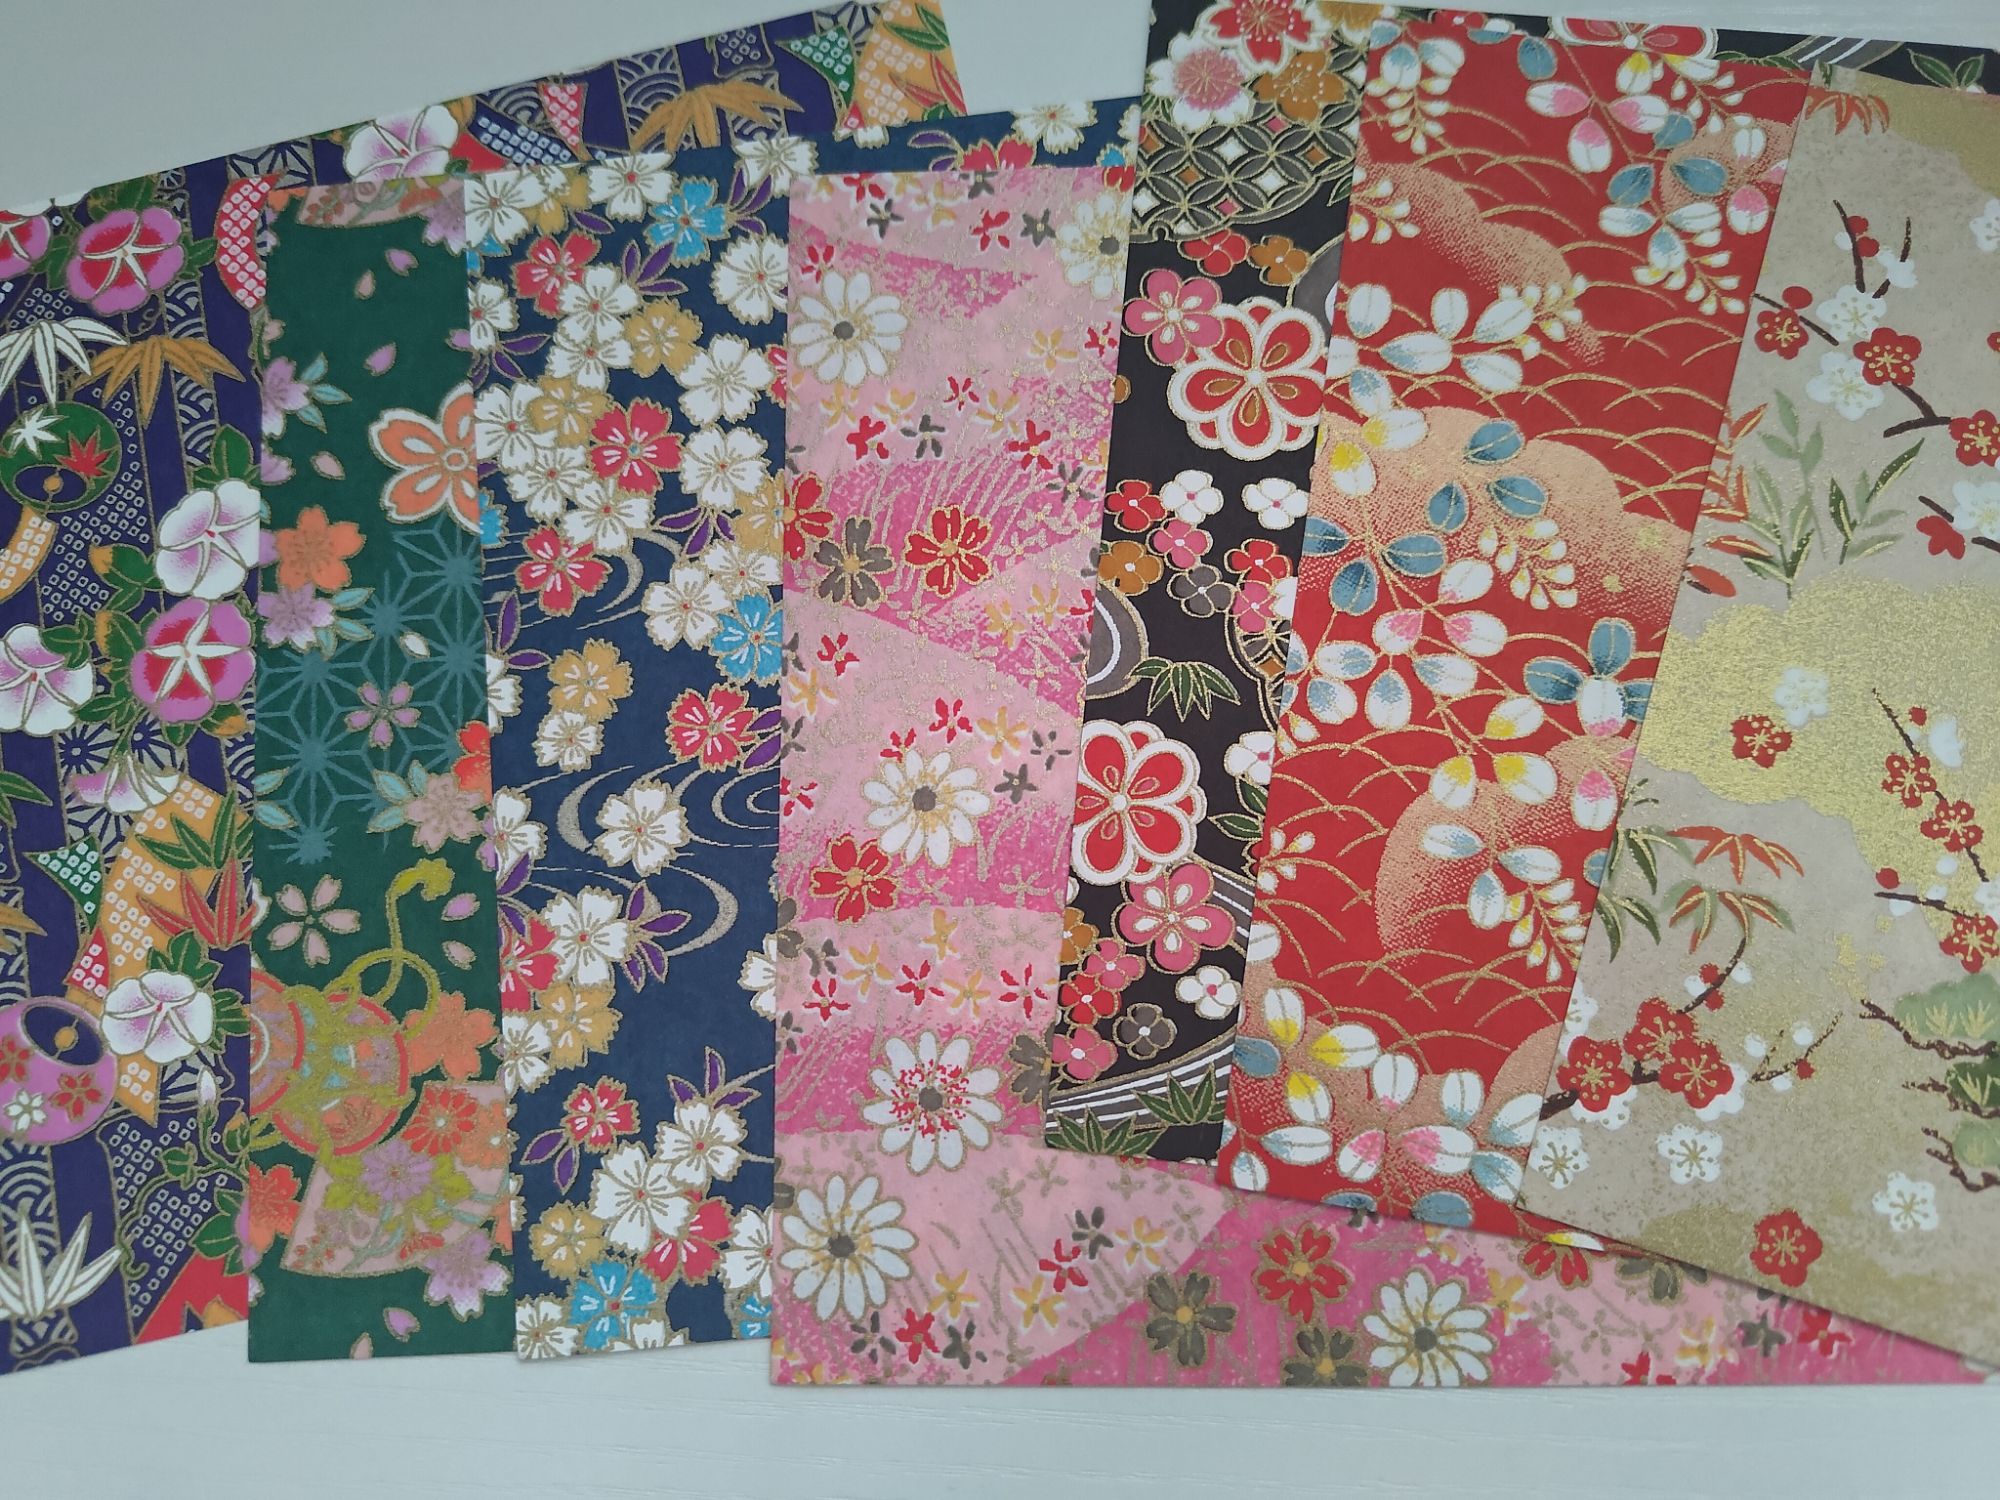
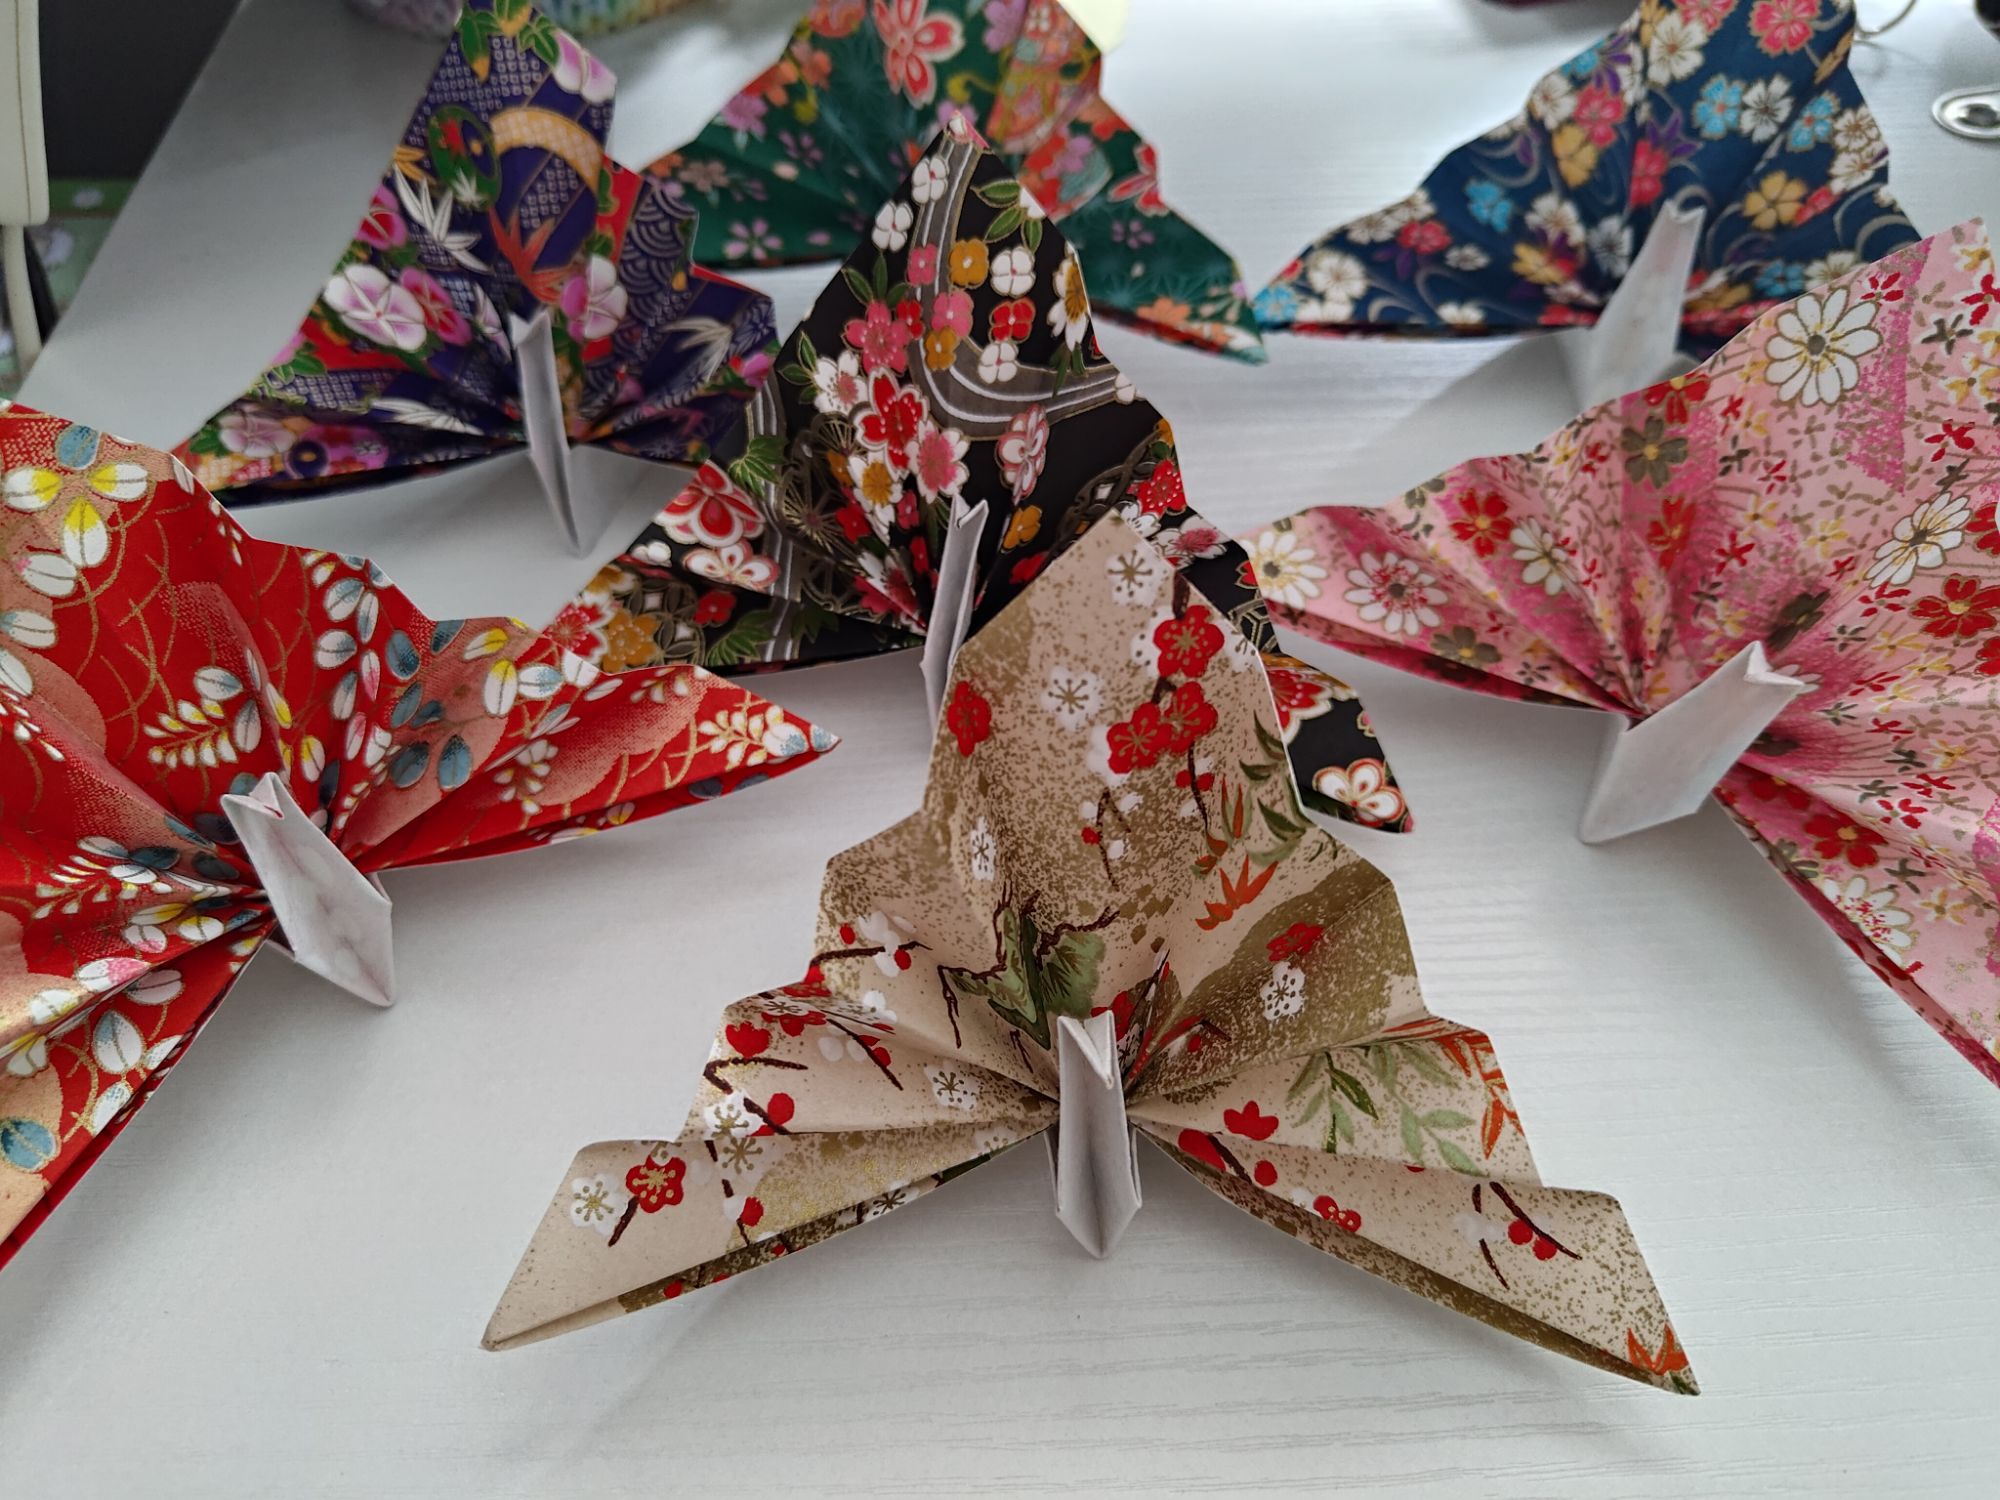
Once again, my Japan stash to the rescue! I looked through one of my packs of 15cm washi and found exactly seven sheets in the perfect colours for my tables. These patterns are different to the previous ones I have already used for my name card holders and table decorations, and they are slightly bigger by 1cm.
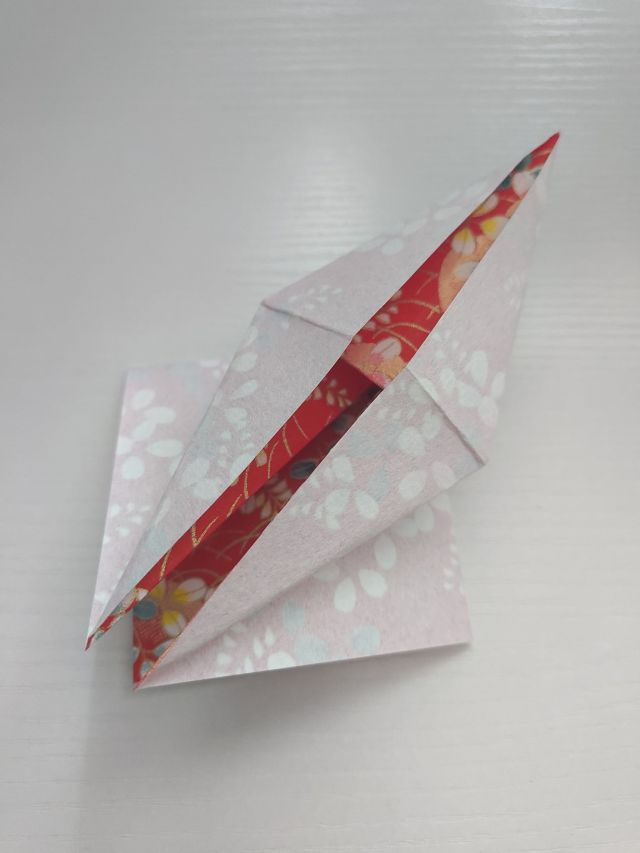
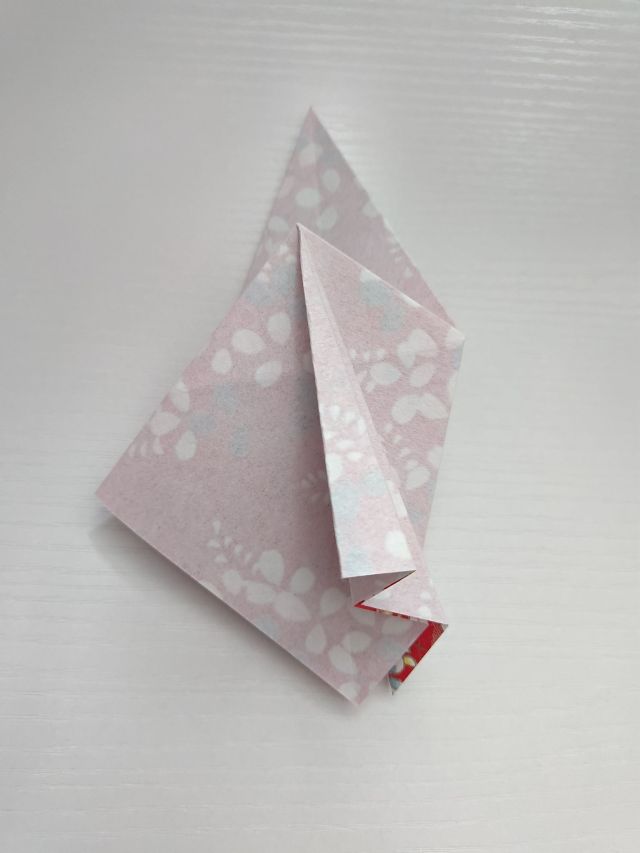
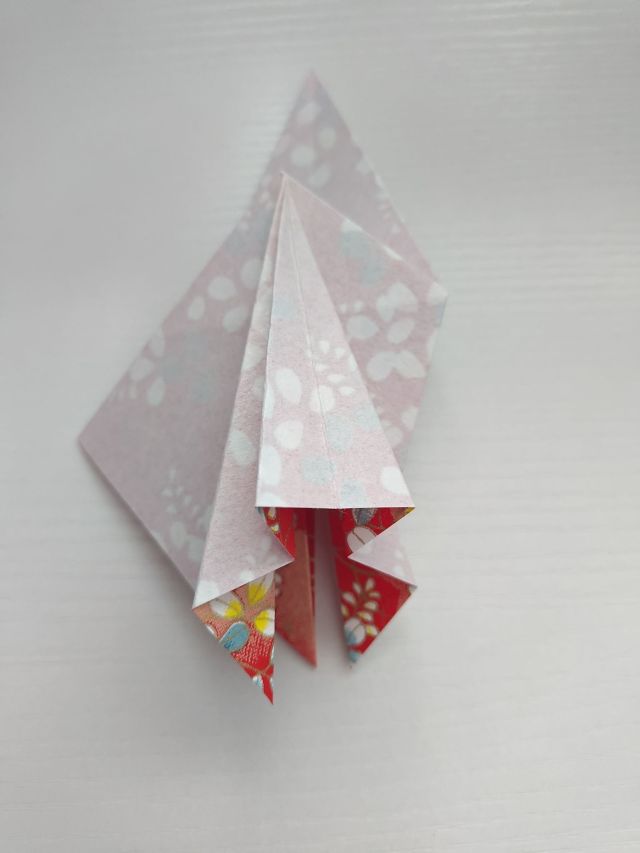
The most complicated bit I think is doing a number of reverse and squash folds to create the fantail shape, but everything else is pretty straightforward. I would still follow the first linked tutorial, but I included a few images of how it looked for me as I had the blank part of the paper facing me.
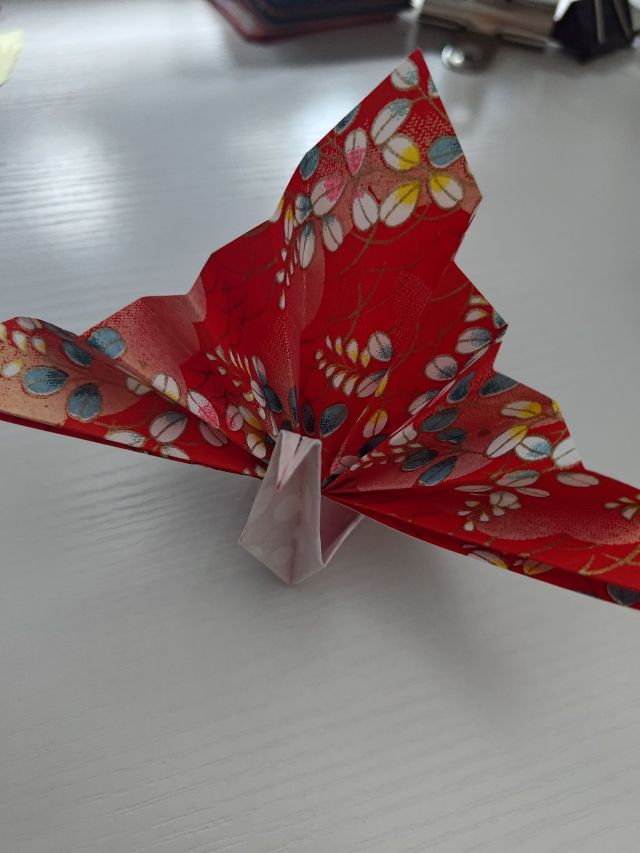
Seven completed fantail cranes for seven tables! I plan on having the six for the round tables sit in the middle next to the table number, and the seventh gold crane will sit between the bride and the groom at the top table. Hopefully far enough away from the food and drink so I can get them back unharmed afterwards!
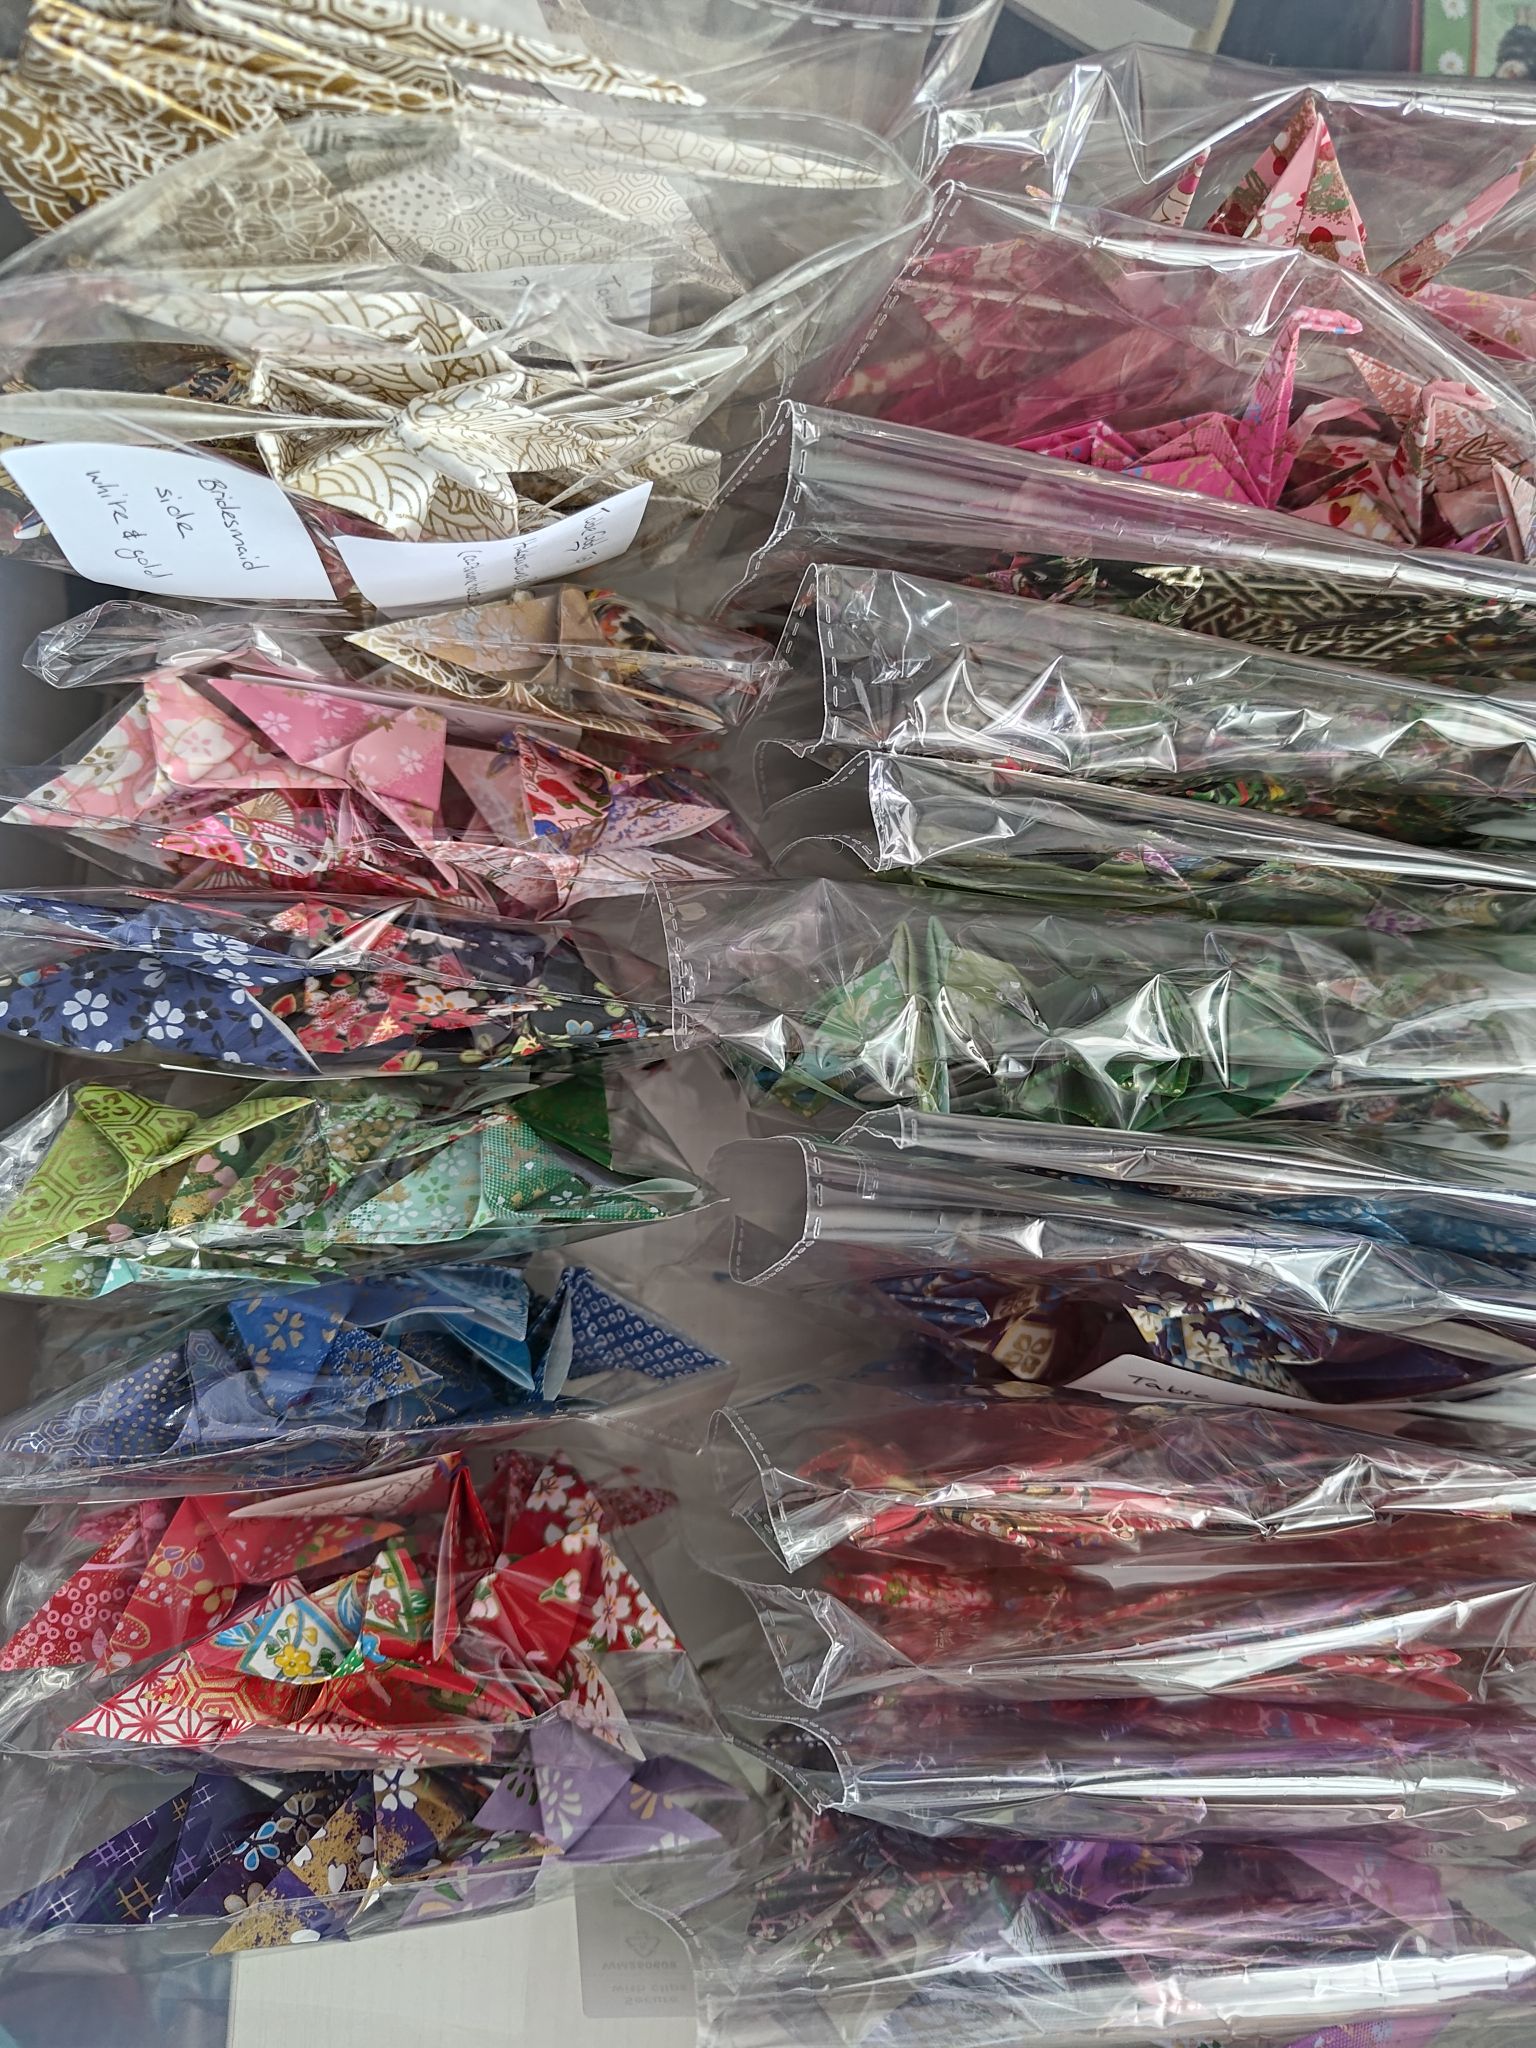
Here is a quick storage box update – I rearranged the packs in the boxes so it was all in order. Now every table will have origami hakobu name card holders, origami cranes for scattering on the tables, origami butterflies for the plates (or maybe I’ll also scatter this around the table depending on how the napkins are presented), and one pack of fantail cranes for sitting next to the table numbers in the centres. The only worry now is if the decorating team will understand how to put things out the way I want them to…
And not picture are the origami lucky star favour jars that will sit next to the table settings. I’m not quite done with origami yet as I have one more project in mind (a small symbol for the bride and groom!), however in terms of decorating the guest tables I think I have finally finished that part!
Materials used:
– seven sheets of 15cm gold-patterned washi in different colours

