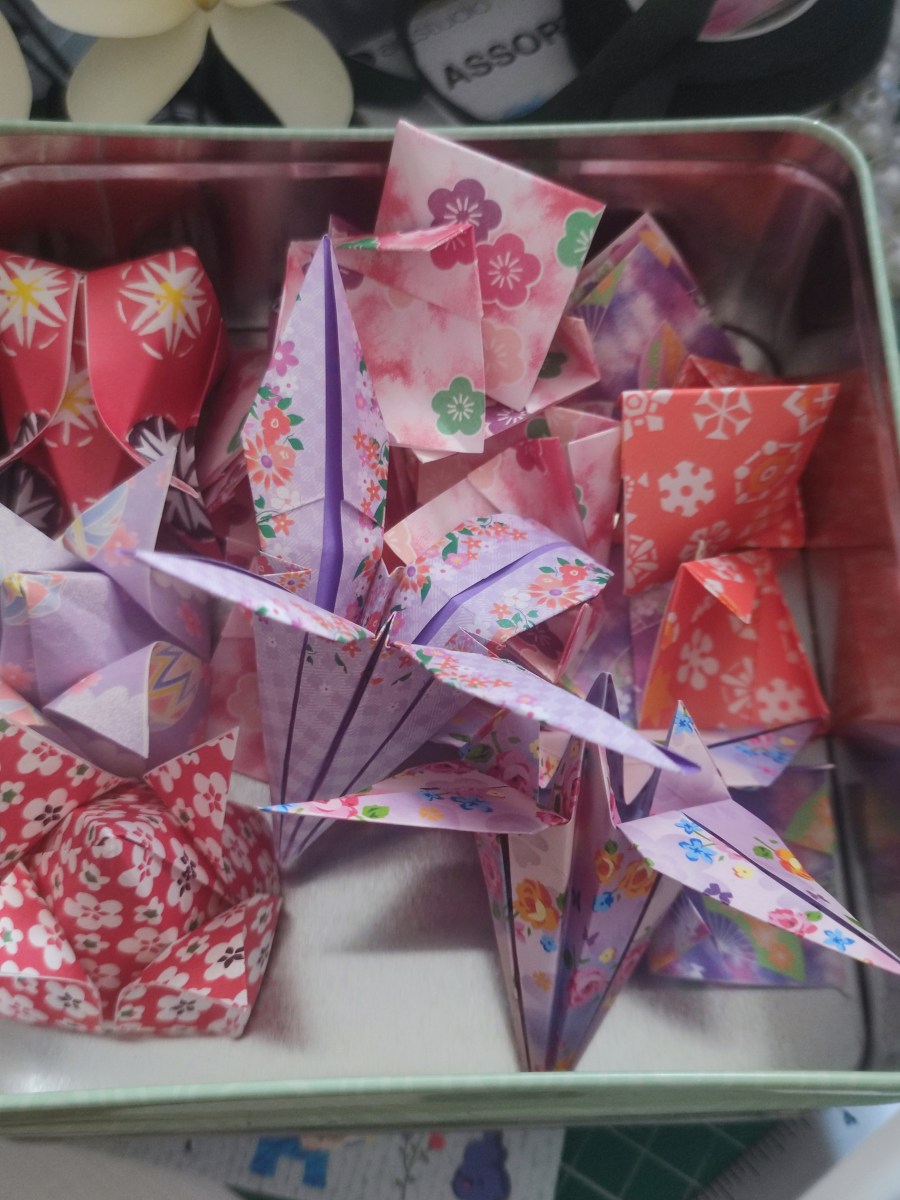
Of all the ways to display origami projects, an origami bouquet has got to be my favourite! I’ve made many over the years and the techniques I used have evolved over time. They haven’t always been perfect! My first blog post showing off my version one bouquet was my blue kusudama flower bouquet where you only have to use florist wire and tape with hot glue, and the ribbon is optional to hide the tape. But with this origami lily vase project, you have to secure the lilies in a creative way and I don’t think I did the best job in this attempt as it does not have much flexibility with moving the flower heads around, for fear of popping the flowers off!
Some bouquets I’ve previously done:
I noticed that when it comes to making things like origami flower bouquets and centrepieces, there wasn’t actually too much detailed information out there online that lays it out step by step. Some of these things you have to figure out by looking at what people sell on their stores! I don’t claim to be great at writing and producing tutorials as I prefer using other people’s well-written ones instead, however I don’t mind sharing some of my knowledge to allow you to follow along with my projects. I recently made a small flower bouquet (which I will write up in another post soon!) as a housewarming gift for some friends, and I ended up taking a lot of photos during the crafting process to help explain some parts, so I’ve separated this out into its own post.
Quick links:
1. Kusudama flower
2. Lily (with wire stamens)
3. Tulip (closed)
I may update this in the future to add more flower types and create some sort of central information hub for flower wiring techniques! For now, I made three types of flowers in the before-mentioned bouquet.
Kusudama flower
If you want to learn how to make a basic kusudama flower, you can use these instructions by the Origami Instructions website. There are some variations you can do to the petals for a different look once you learn the basics.
I usually make five-petal flowers folded from 7.5cm squares (I cut them from 15cm squares which is standard origami size) in my projects, and I strongly recommend that you use PVA glue or something similar first when gluing the petals together in case you make a mistake with lining the paper up. I apply a thin layer using a small paintbrush, and use a paper clip or something similar to hold the petals together.

I always keep a stack of 24 and 26 gauge florist wires as most paper flowers are quite lightweight and small, but you will needed smaller gauge wires for larger flowers. When the kusudama flower is fully dried, you can begin to attach the wire to the flower.
Now you could apply the wire directly to the flower with hot glue, but I find that it helps to use a pair of round-nose jewellery pliers to bend the end of the wire first. Then I can apply a glob of hot glue to the loop and secure it better that way, rather than only line one part of the inner flower. If the glue dries on top, I can always try to hide it in the next step.


Another thing I own is a box of flat back glass pearls in various colours. You can use this in both flower-making and cardmaking so it can pull double duty! To cover the centre, I apply extra hot glue until it spills over to the top slightly, then I add an appropriately coloured flat back pearl using angled tweezers and hold down for a few seconds until fully dried.
It doesn’t have to be pearls either! You can use buttons and diamantes too. If you do use buttons and they have holes, make sure that the hot glue does not overflow and become visible on the top.


If the flower is to be part of a bouquet, you could choose to wrap the stem in florist tape. You can start wrapping the tape at the base and then push the tape up into the flower. I have previously not done this before, but I can see why people do this!

Other related blog posts:
Flower-patterned kusudama bouquet (simple wiring with hot glue and button decorations)
Festival-patterned kusudama bouquet (simple wiring with hot glue and flat back pearl decorations)
Lily (with wire stamens)
If you want to learn how to make a lily, here are some example instructions from the Origami Instructions website. When you want to make a lily as a gift, I would recommend dual-coloured paper as both sides of the paper are visible in the final model.
You can actually just fold a lily flower and just use that in your bouquet, but a lot of people like to add stamens to theirs to make it a little more realistic-looking. You can use either premade stamens, or wire some up yourself. Here, I’ve wired up some glass pearls to 0.4mm silver wire, cut to the size of the flower, and twisted the end of a florist wire to make a small loop. Then I secured the stamens to the loop as tightly as possible, as this will go inside the flower.


When passing the wire through, you want to go as far as the bottom of the twisted loop, otherwise it will tear the paper and potentially ruin the flower. I use florist tape to start below the flower and then wrap upwards to secure the part of the flower that covers the loop – it will look a bit thicker but this is actually fine as it is similar to actual nature! (Look up a ‘receptacle‘ of a flower!) Then you wrap down the stem as usual. It is a lot more work but the results are great.


Other related blog posts:
Mixed purple origami bouquet (plain lilies, no stamens, using tissue paper balls)
Tulip (closed)
There are two types of tulips that I’ve made. There is the open version (I actually made a tutorial for this!) where you can see into the flower, and the closed version (tutorial by Origami Instructions) where the other side of the paper is not visible.
The open version uses a bit of cotton stuffing to secure the flower, however if you plan on using colourful paper then you’d be able to see this easily, which isn’t the best look for a lifelike decoration. I actually prefer the closed tulip because it works with one-sided paper and I find it simpler to fold!
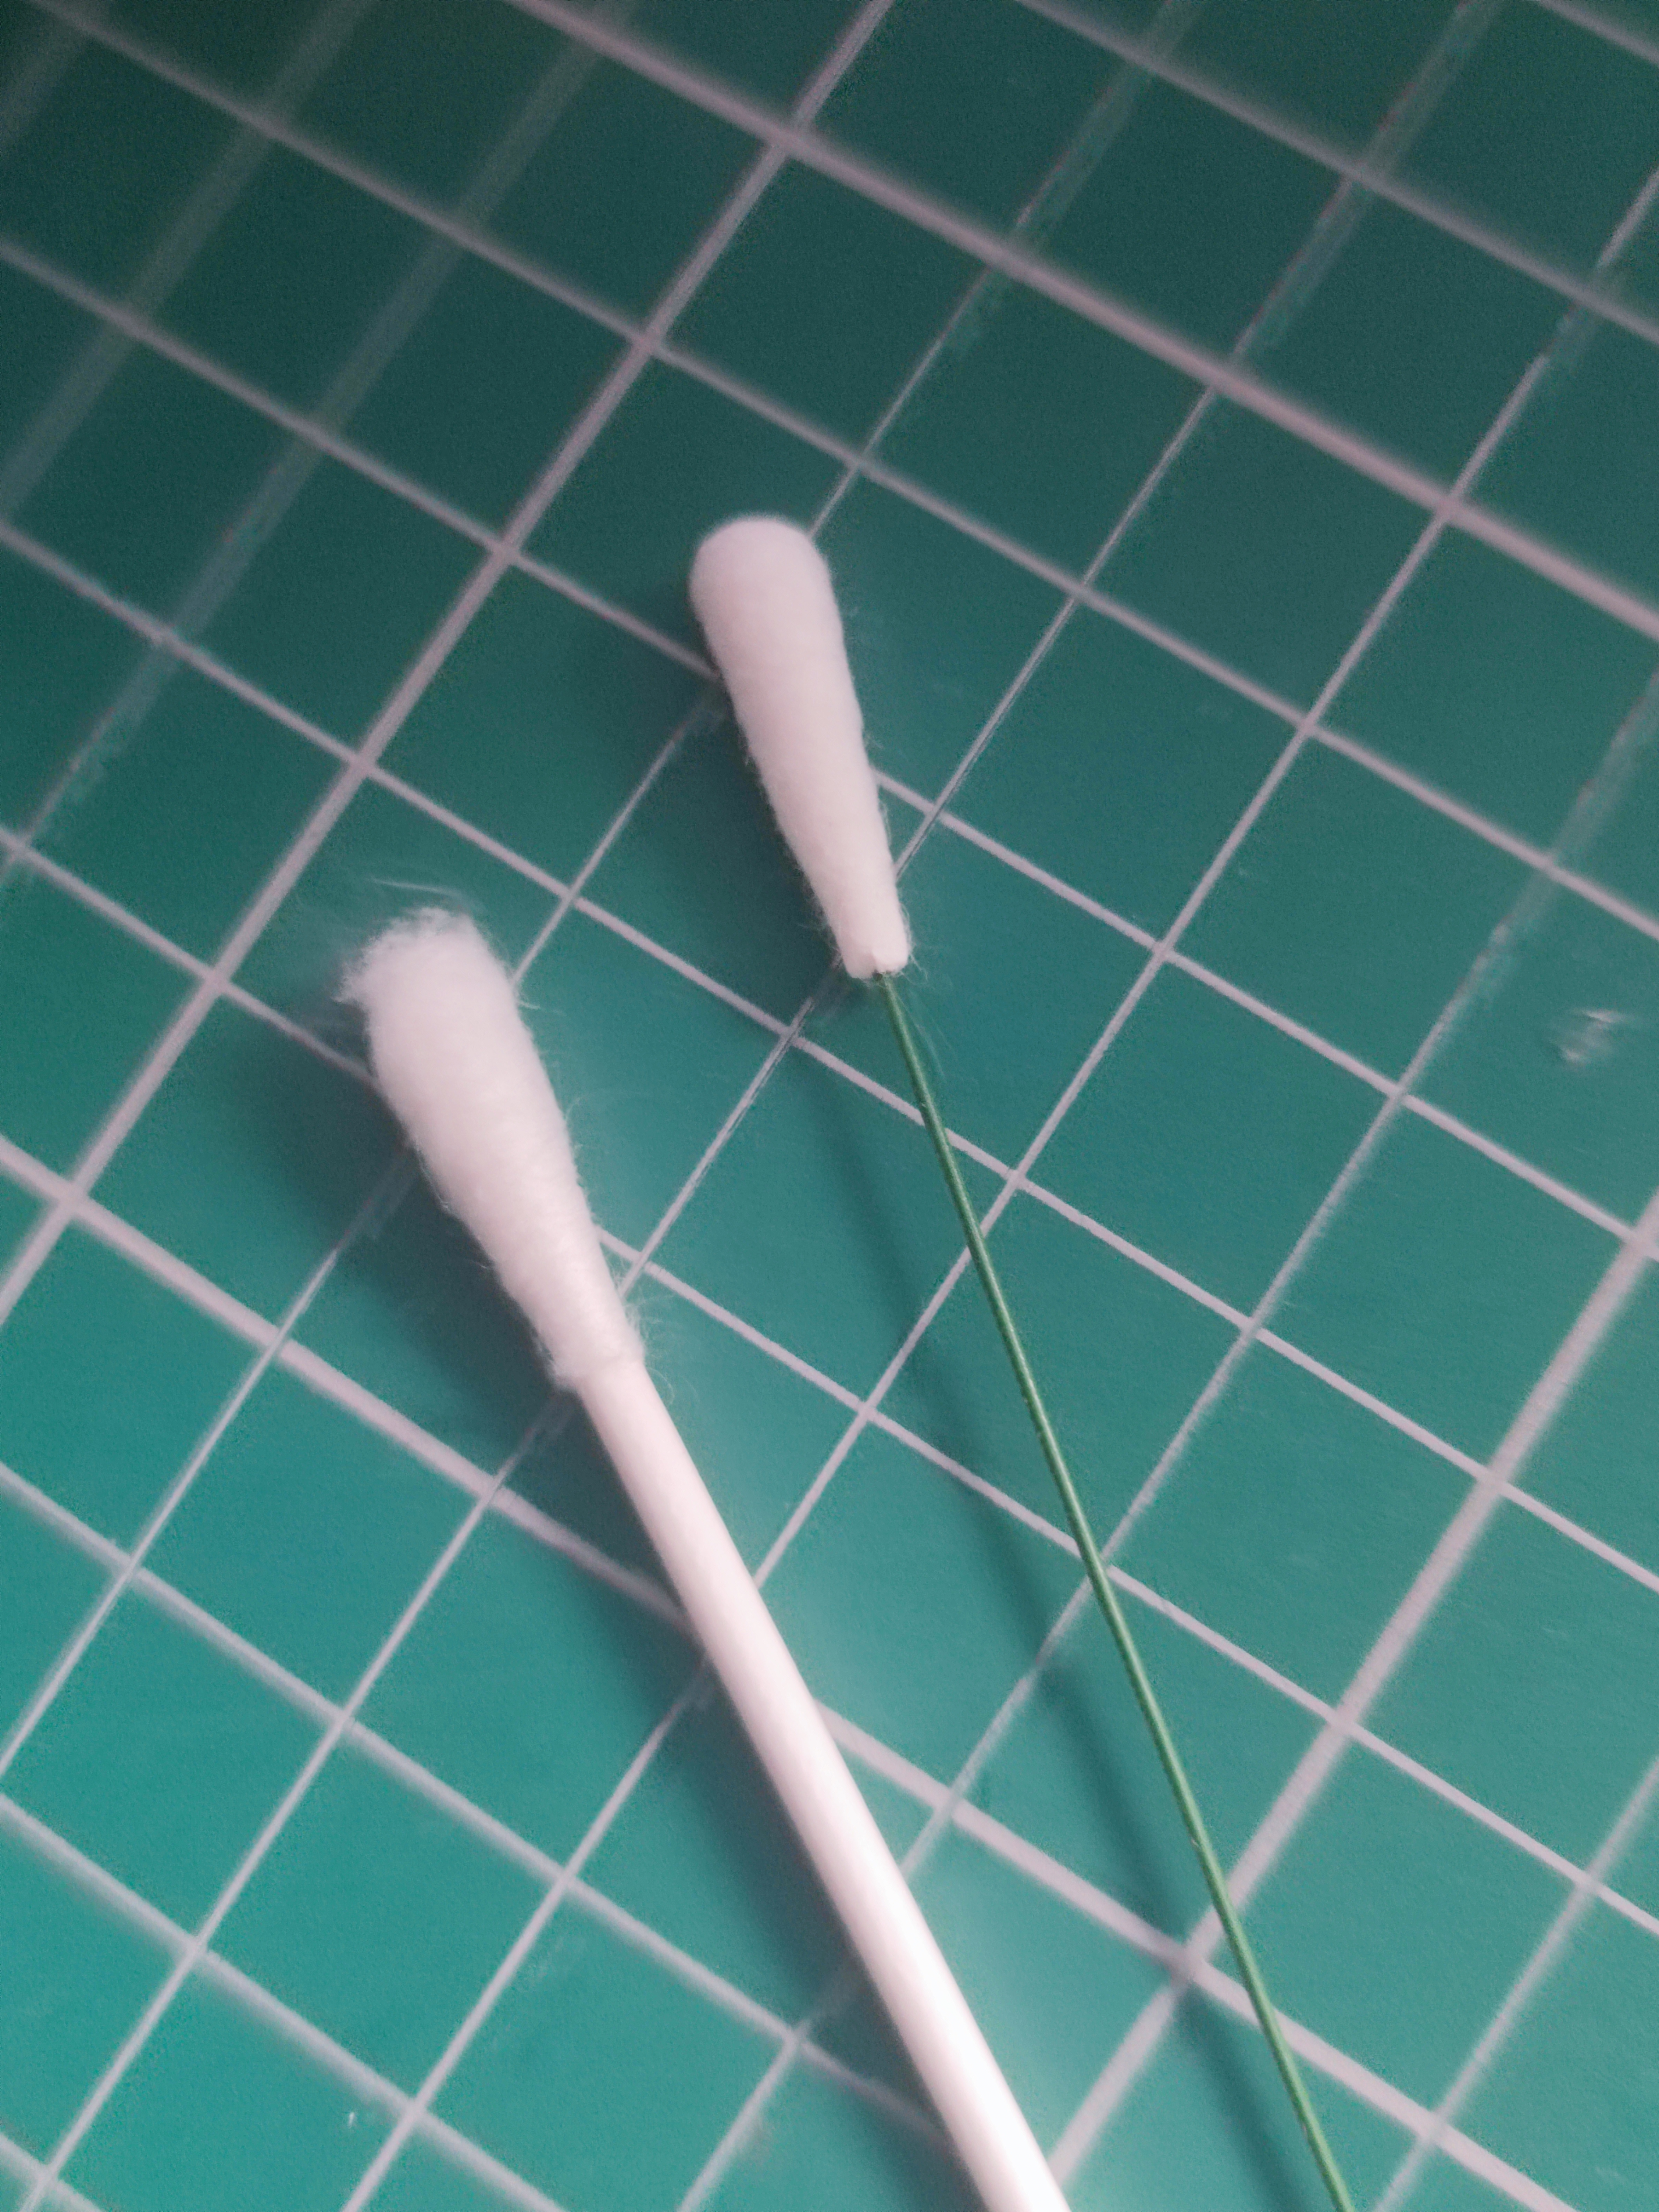
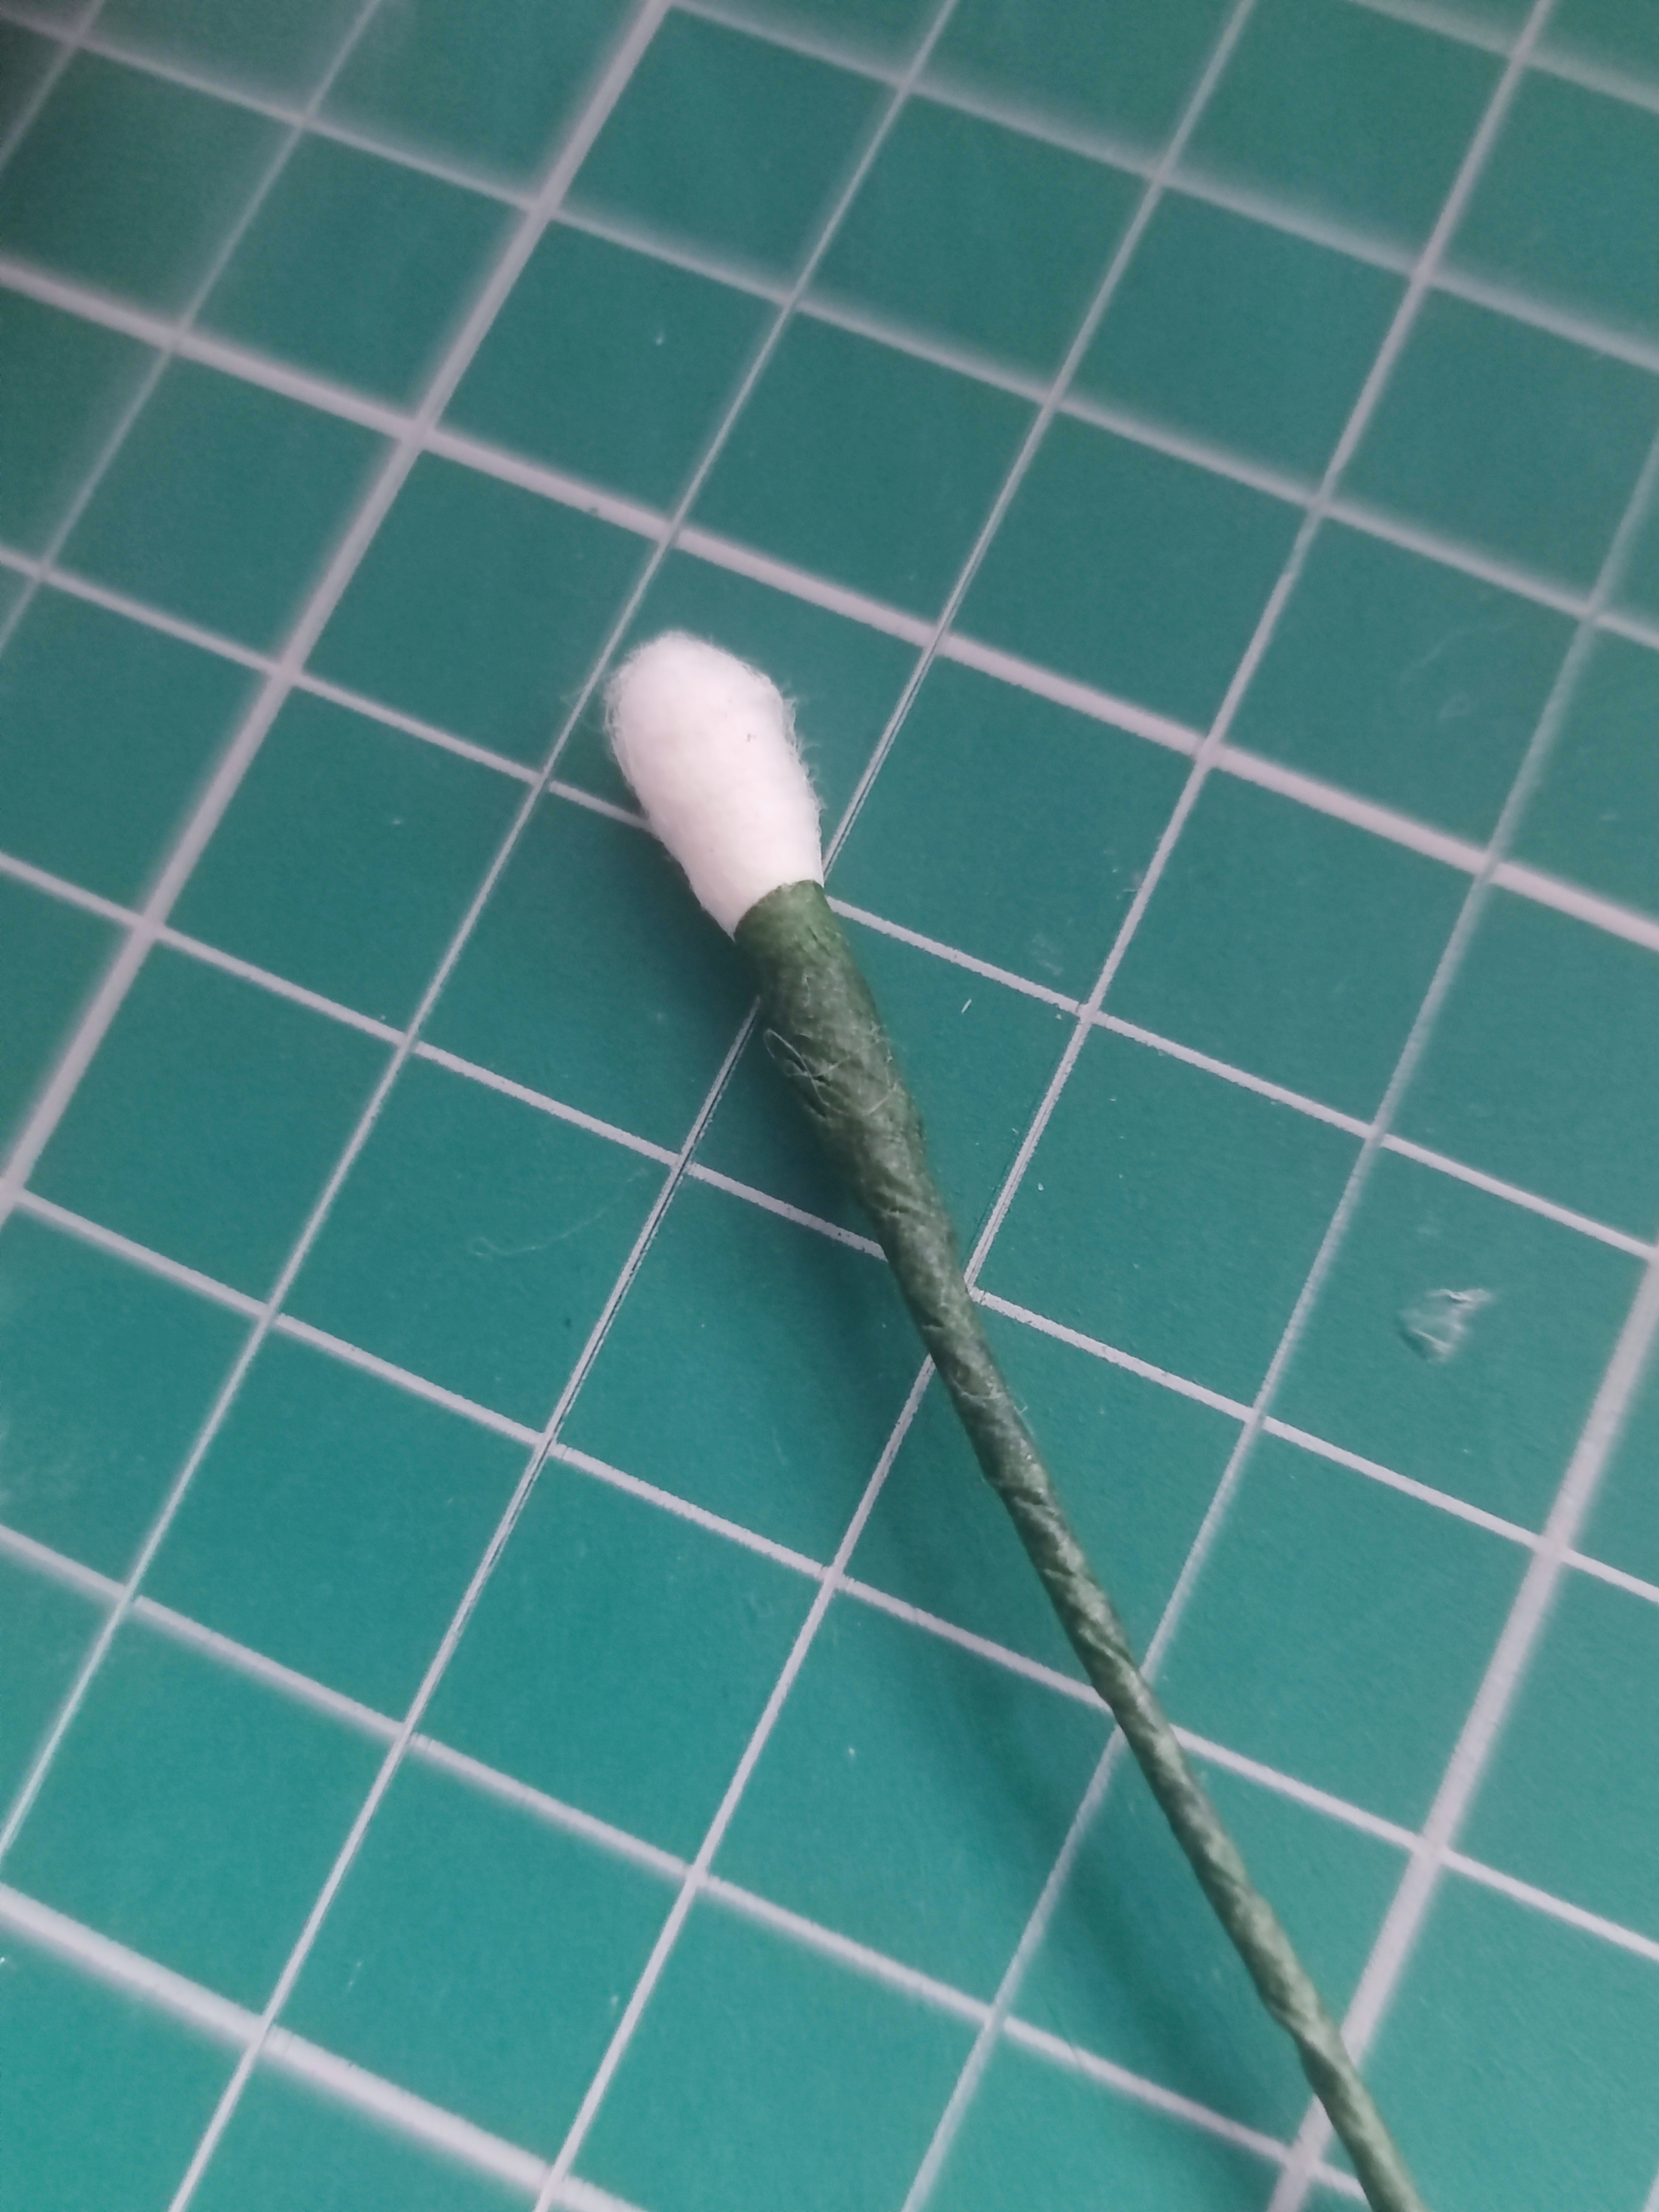
If you want to use florist wire for tulips, you can choose to use them as is because they are quite sturdy, but for a bit of added security, I cut the tip of a paper cotton bud off and poke the wire stem into the centre of it. Then I wrap it with florist tape to secure the cotton bud.
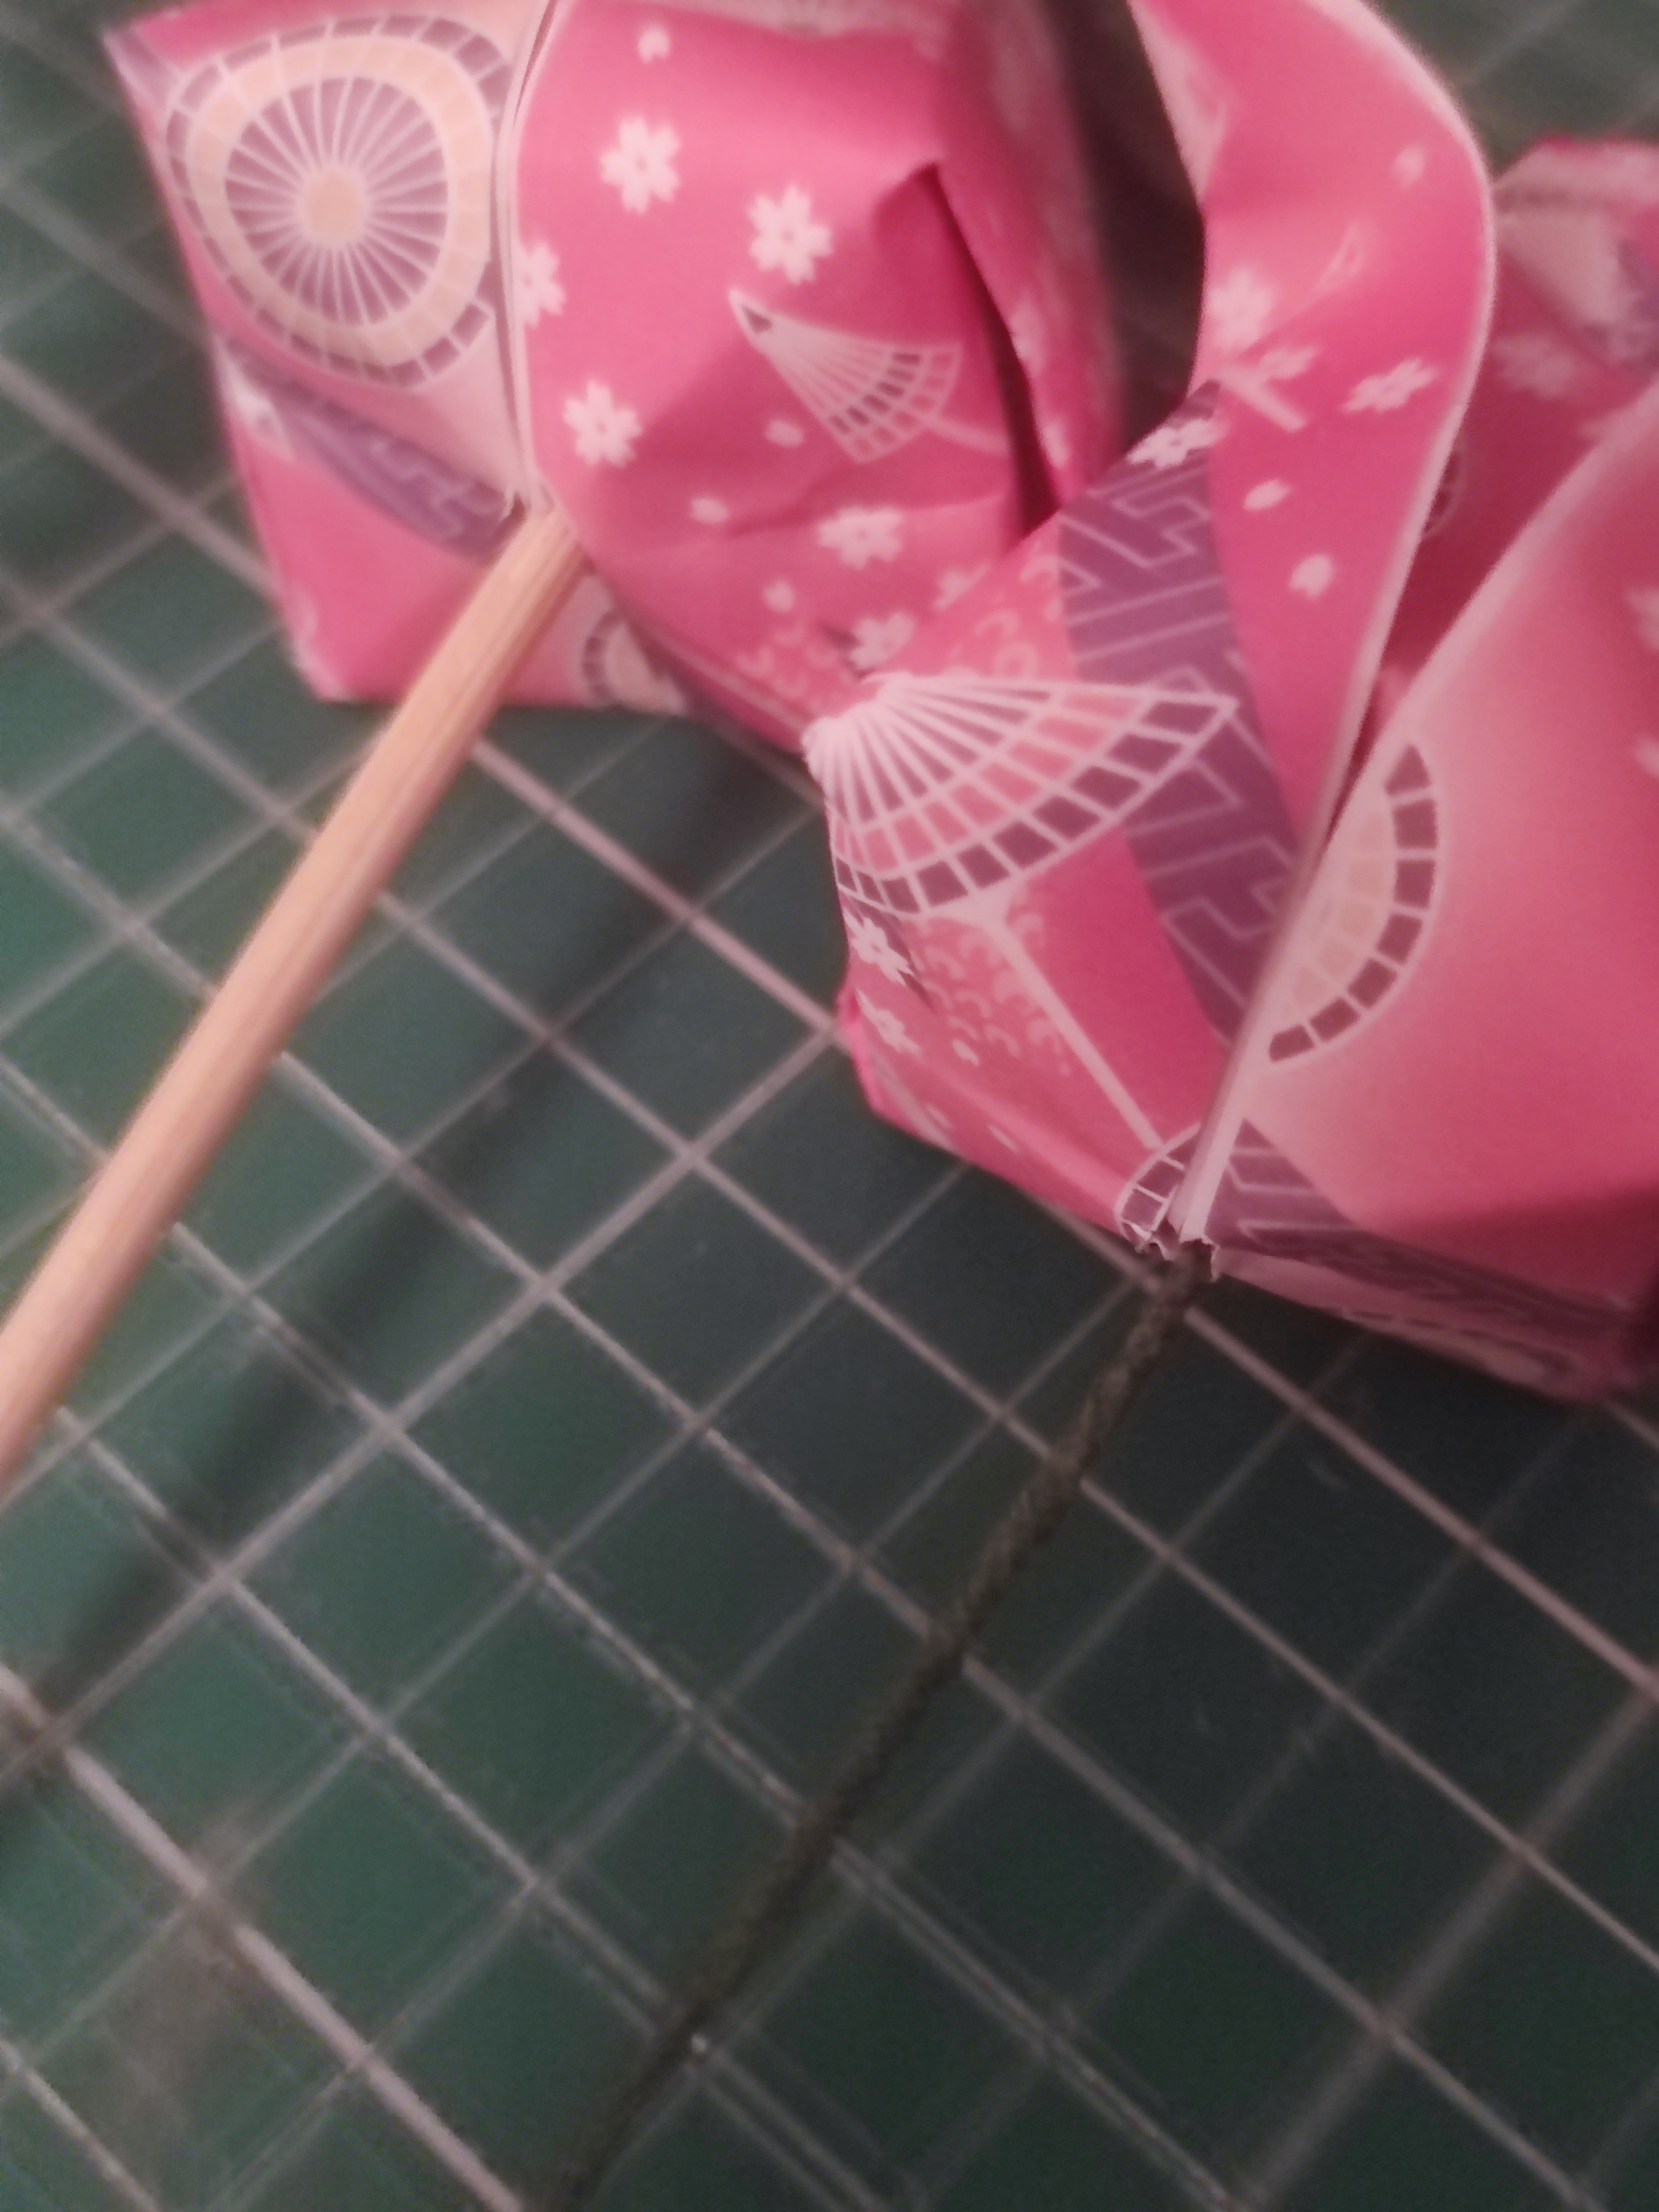
This stem can also be inserted as is into the tulip bulb. You can choose to apply a tiny bit of PVA glue to the bulb to stop the flower falling off (usually this only happens if the flower can freely move) but I would only use a bit as it will stick to the top of the bulb. Too much glue will weaken the bulb and cause a hole to appear, or make the cotton fall apart.
In a previous blog post I made for tulips, I also used wooden skewers. Skewers work really well if the decorative project is a bundle of just tulips! But with a mixed flower bouquet, I would use florist wire and tape so that you can position the flowers and make a nicer arrangement.
Other related blog posts:
Origami tulip pot (open bulb, cotton wool method)
Origami tulip vase (closed bulb, wooden skewer method)
There are plenty of other flowers that can be part of a bouquet or centrepiece. Hot glue, florist wire and florist tape will get you most of the way there, then you have to be a little creative with it to make your flowers properly secured but also looking beautiful!
