I was asked by someone yesterday to produce a short tutorial on how to make an origami tulip, so here is a photo tutorial on making the tulip, as well as attaching it to a stem.
I’ve taken many photos in an attempt to make the process clear. The photos are all thumbnails with the instructions as captions. Click on them to enlarge the photo, if you need to take a closer look. (There are 31 photos/steps in all!) Please comment if there’s a certain step that you don’t get, I’ll be happy to add more photos to the tutorial.
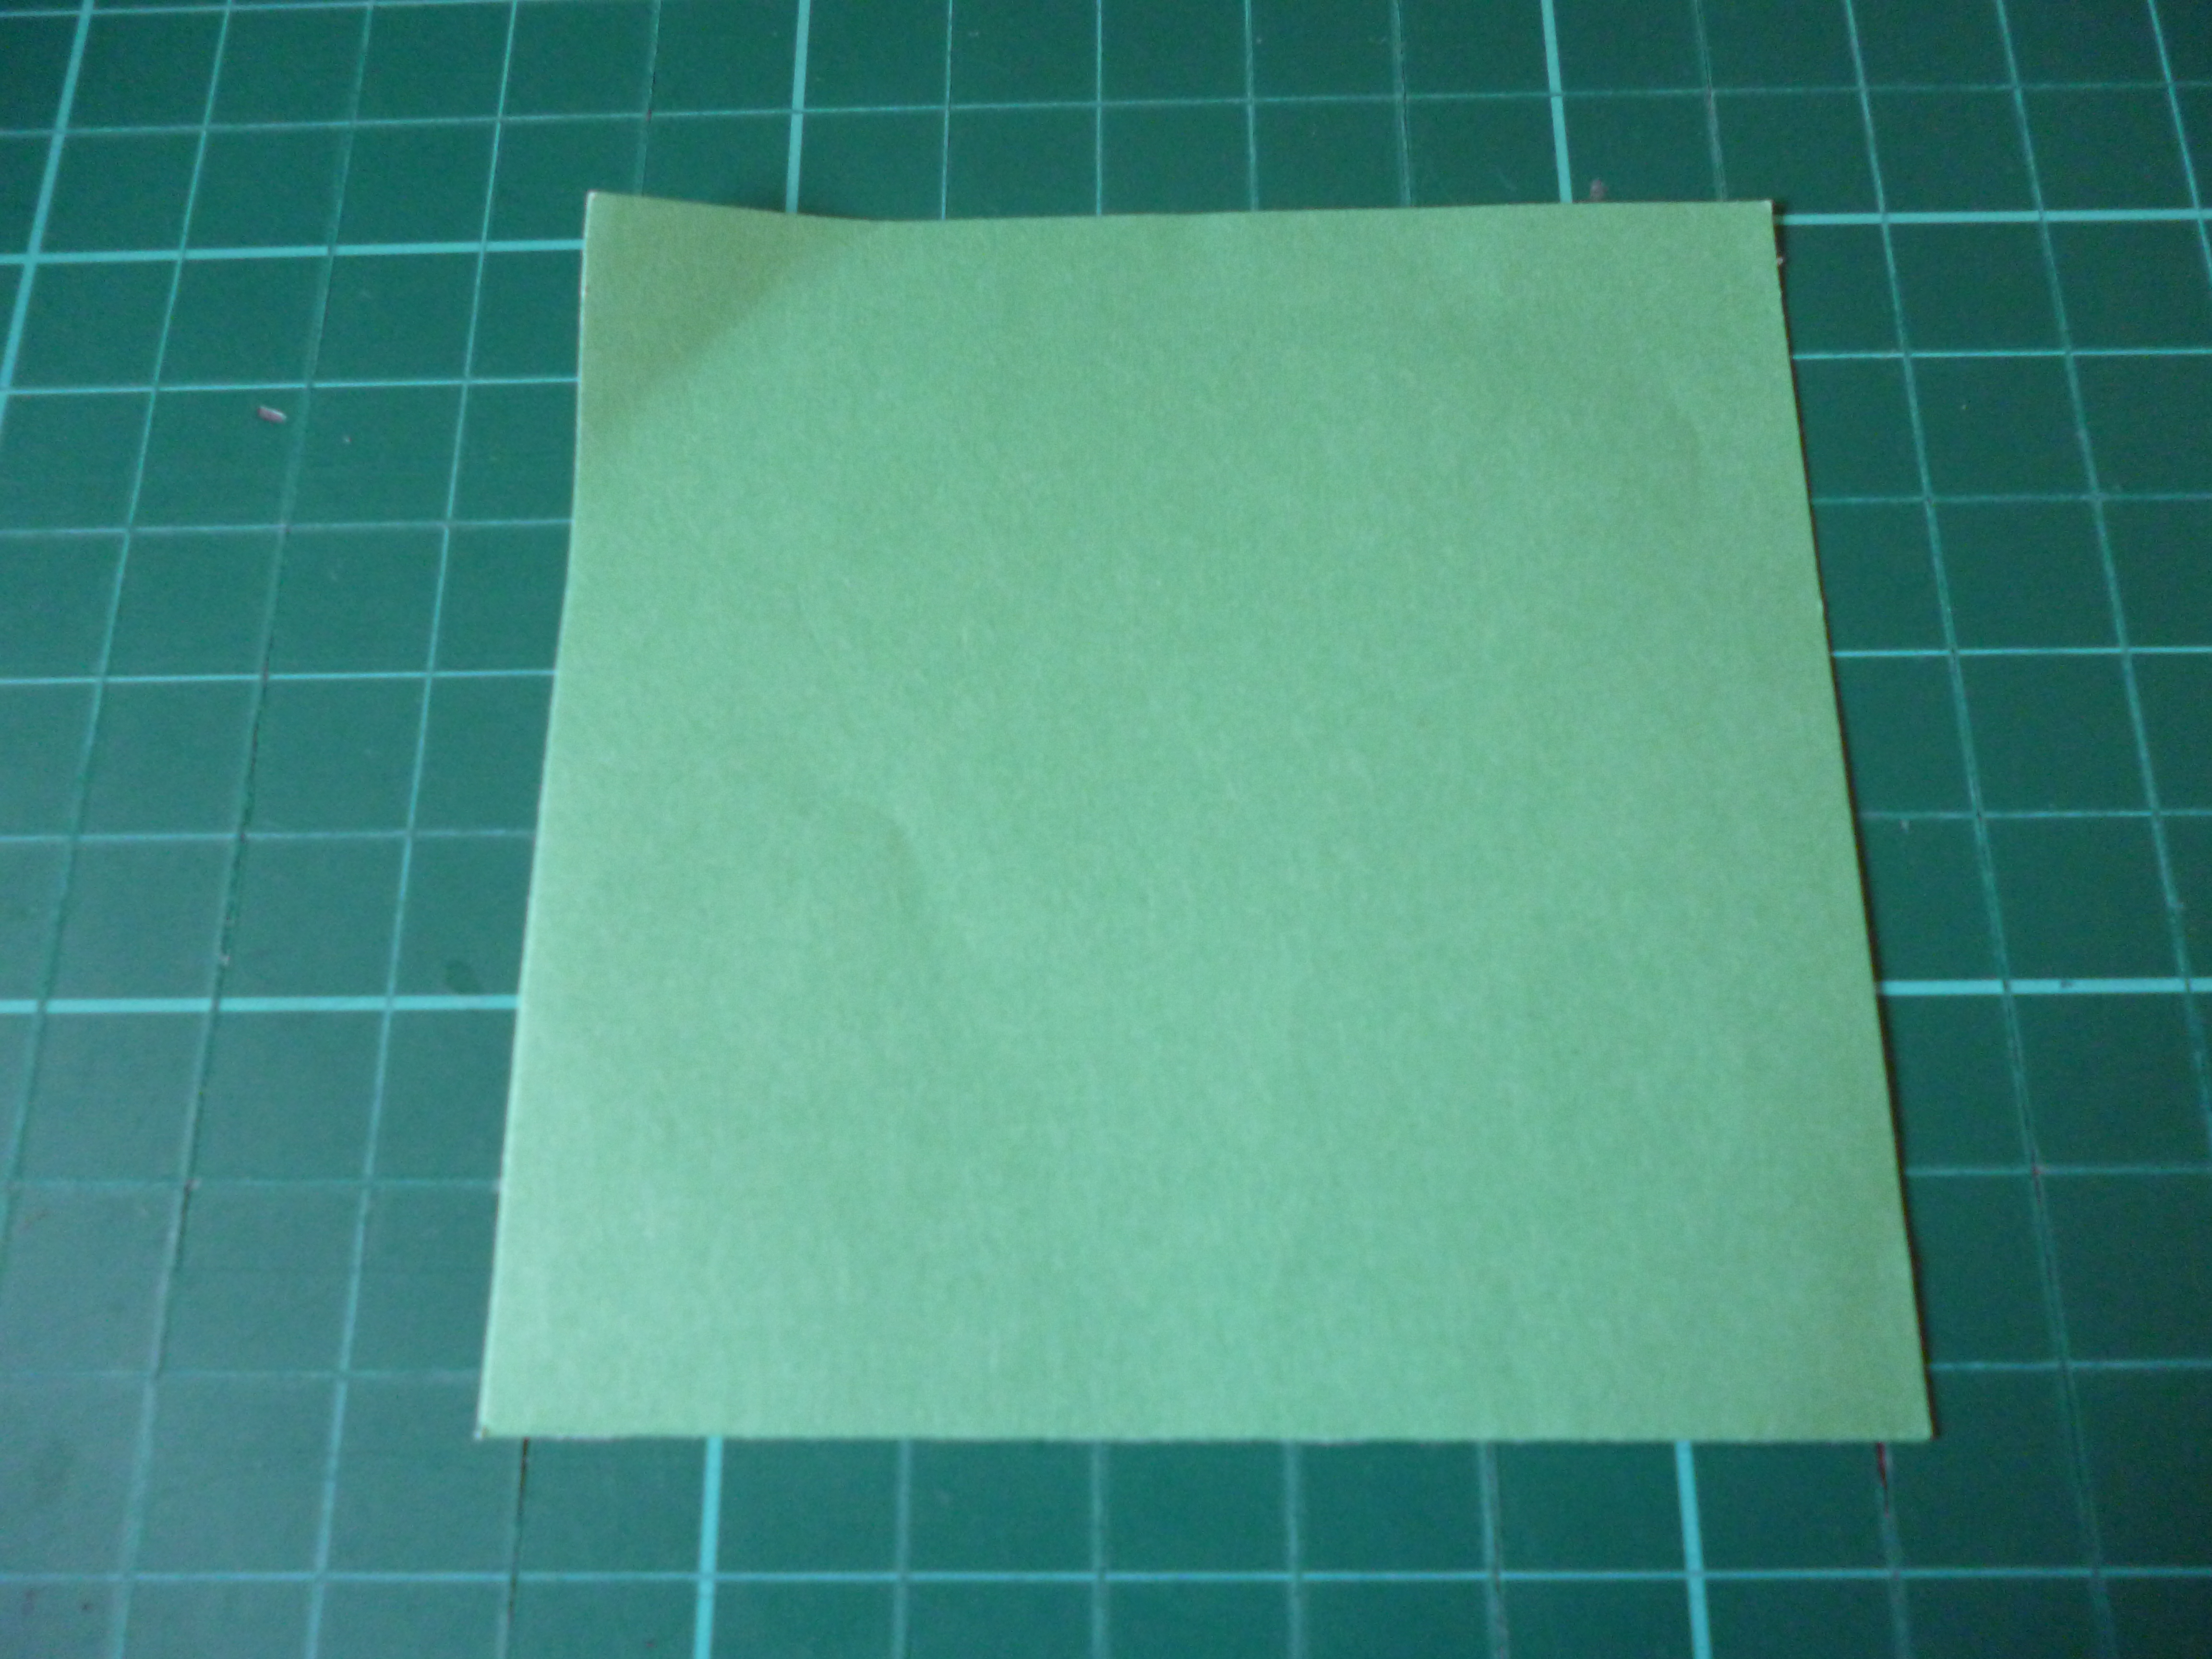
You will need the following: One paper square of any colour (I used yellow), one green paper square, one florist’s wire, cotton wool/stuffing, PVA glue, paintbrush, pliers
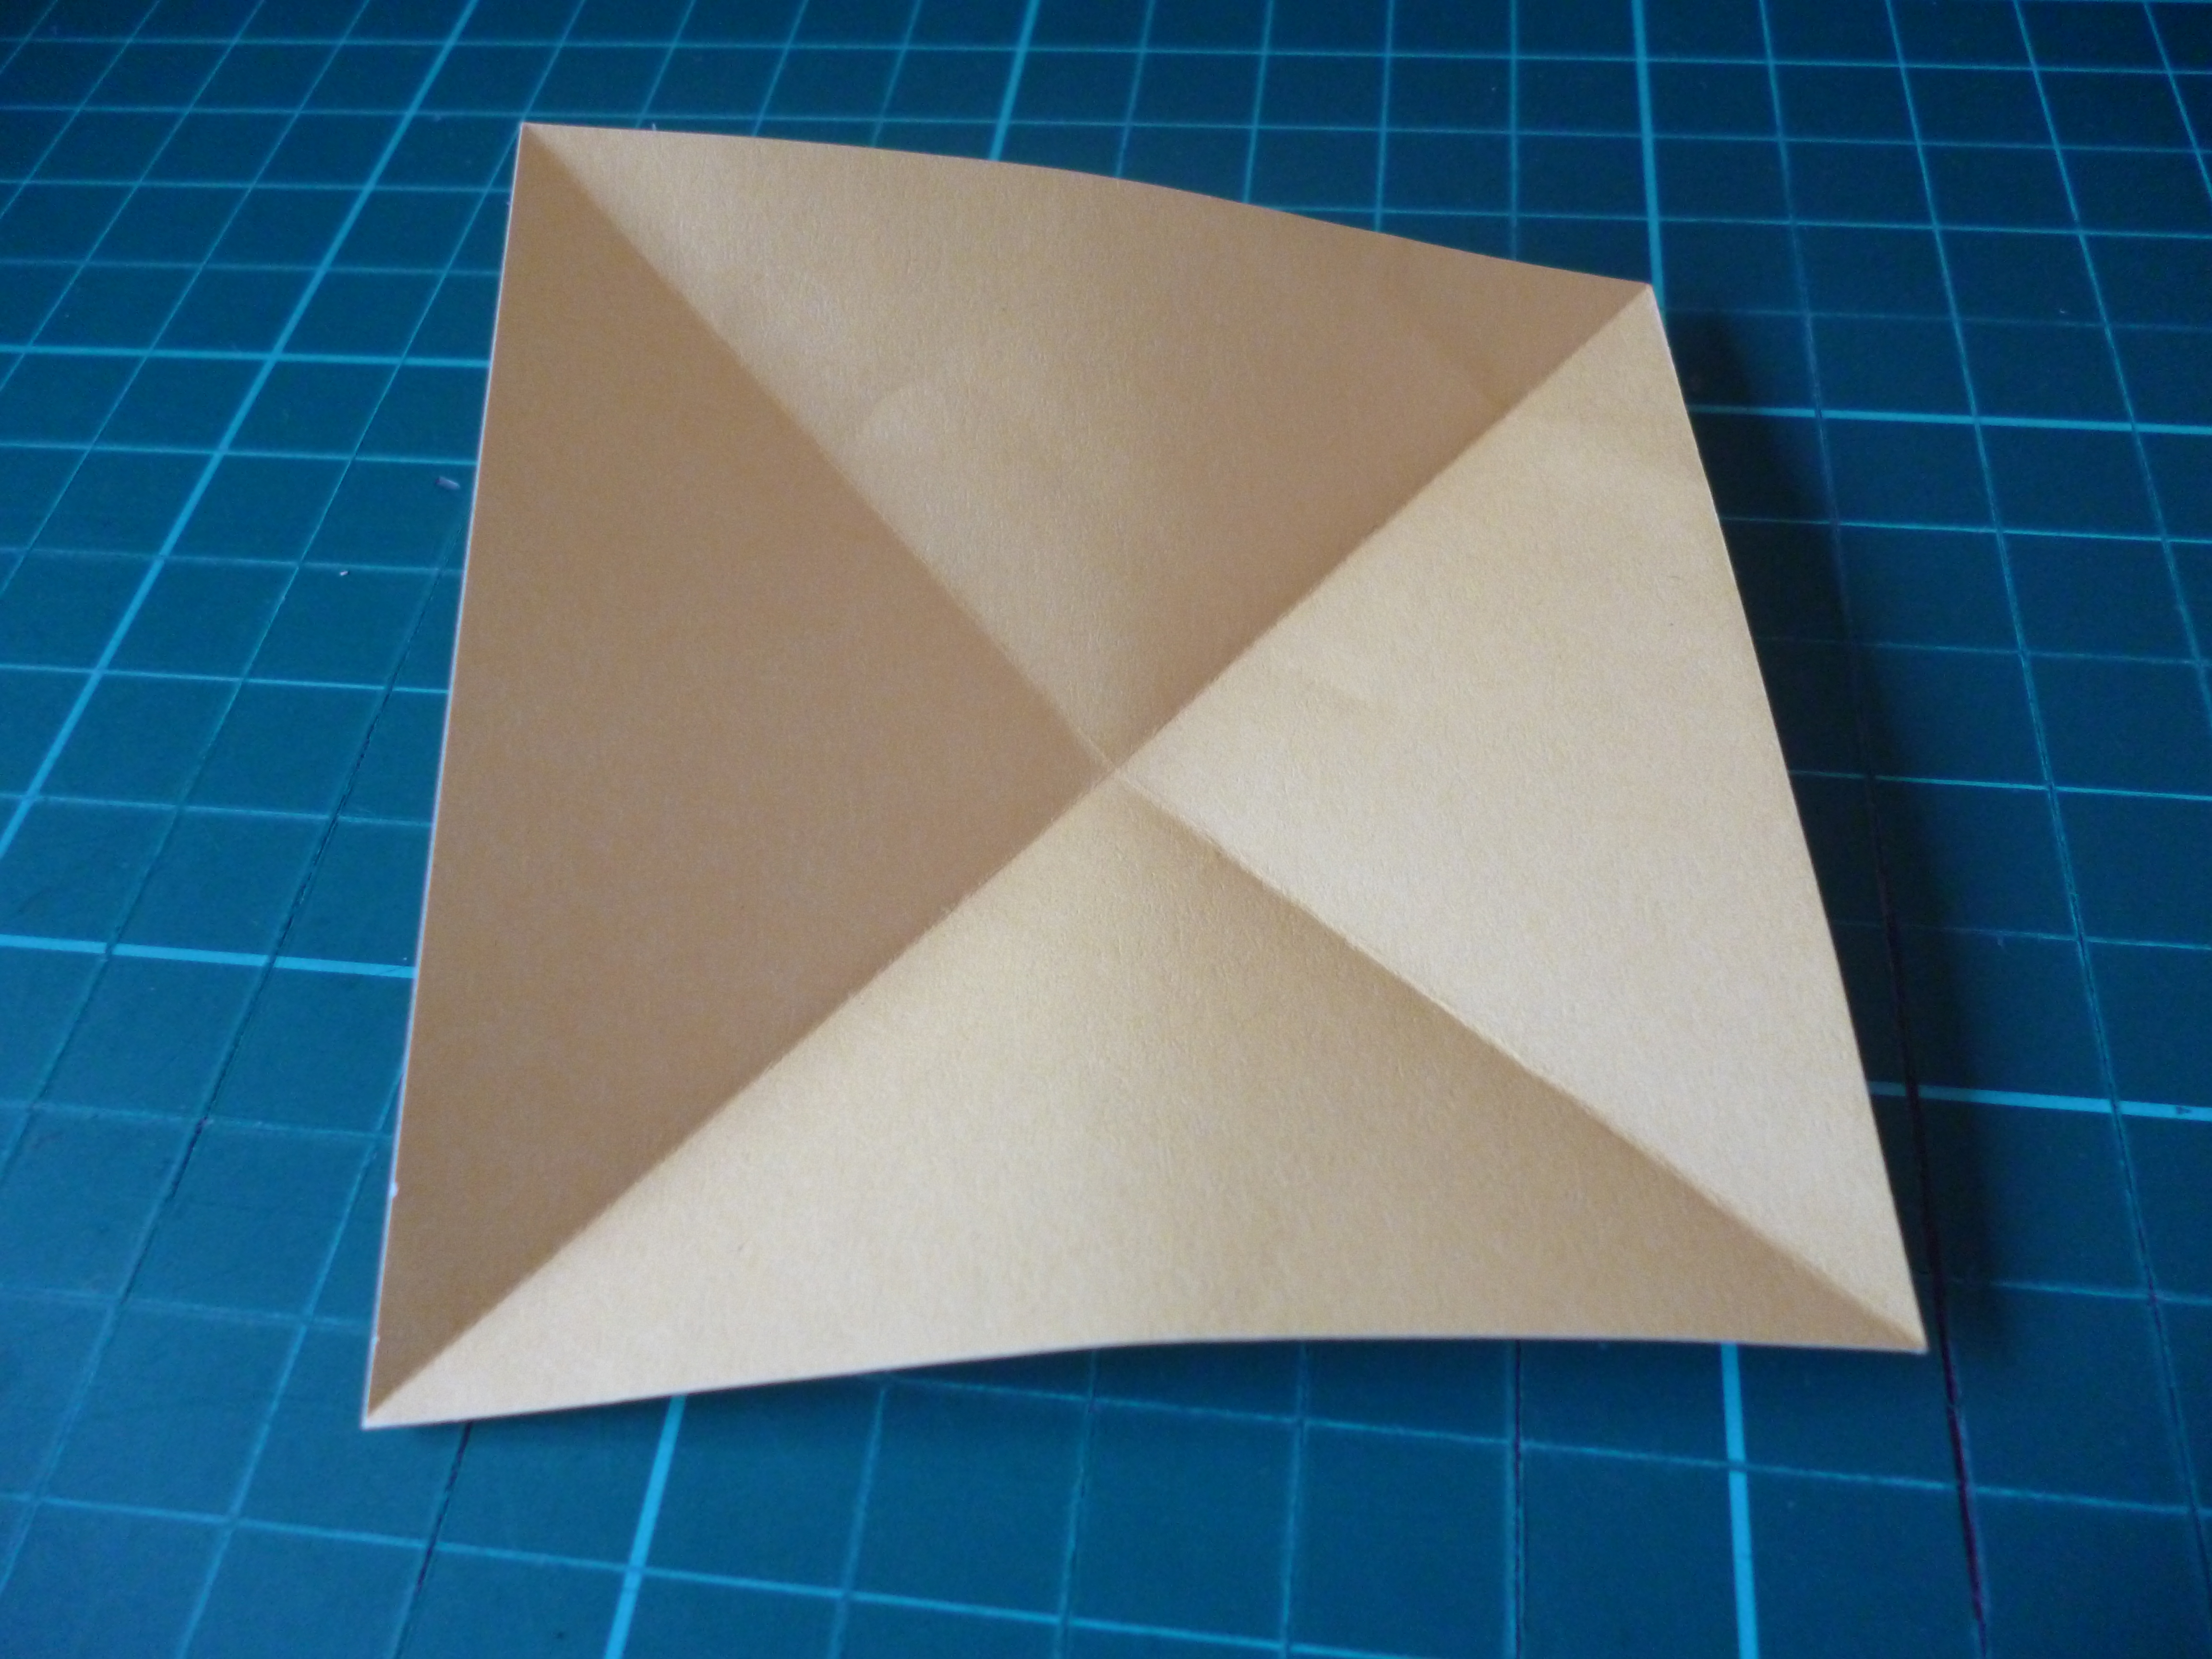
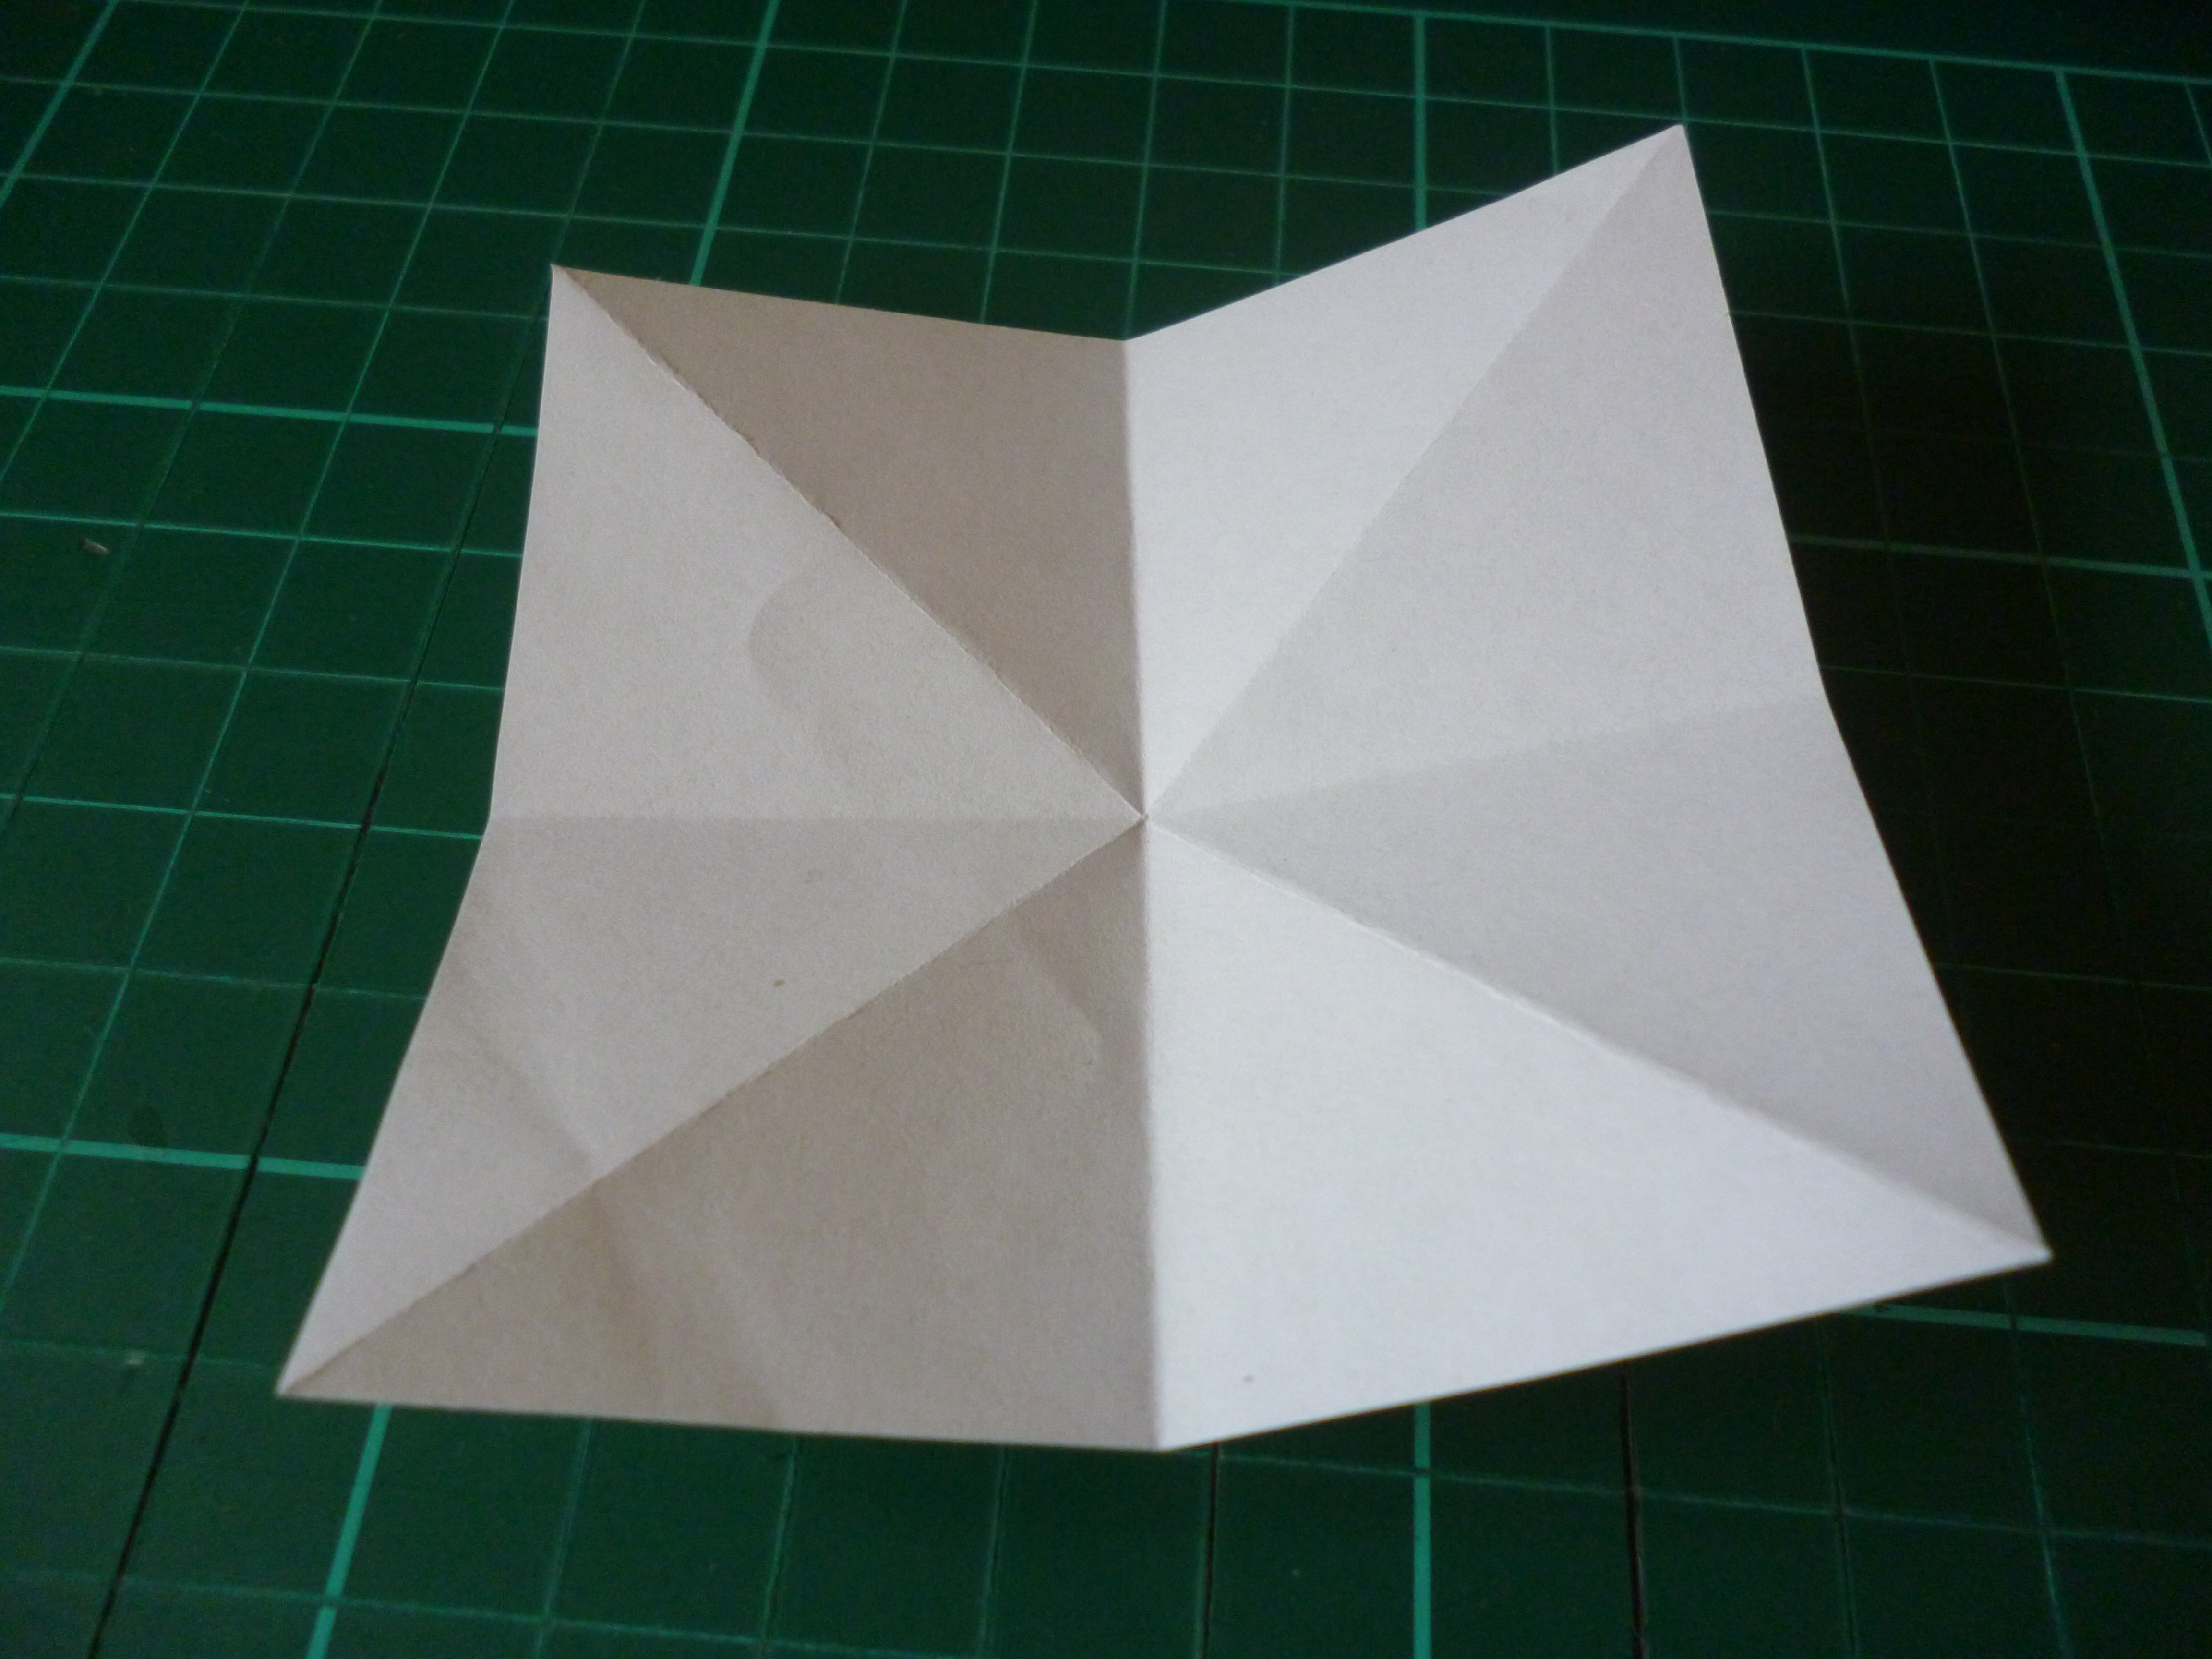
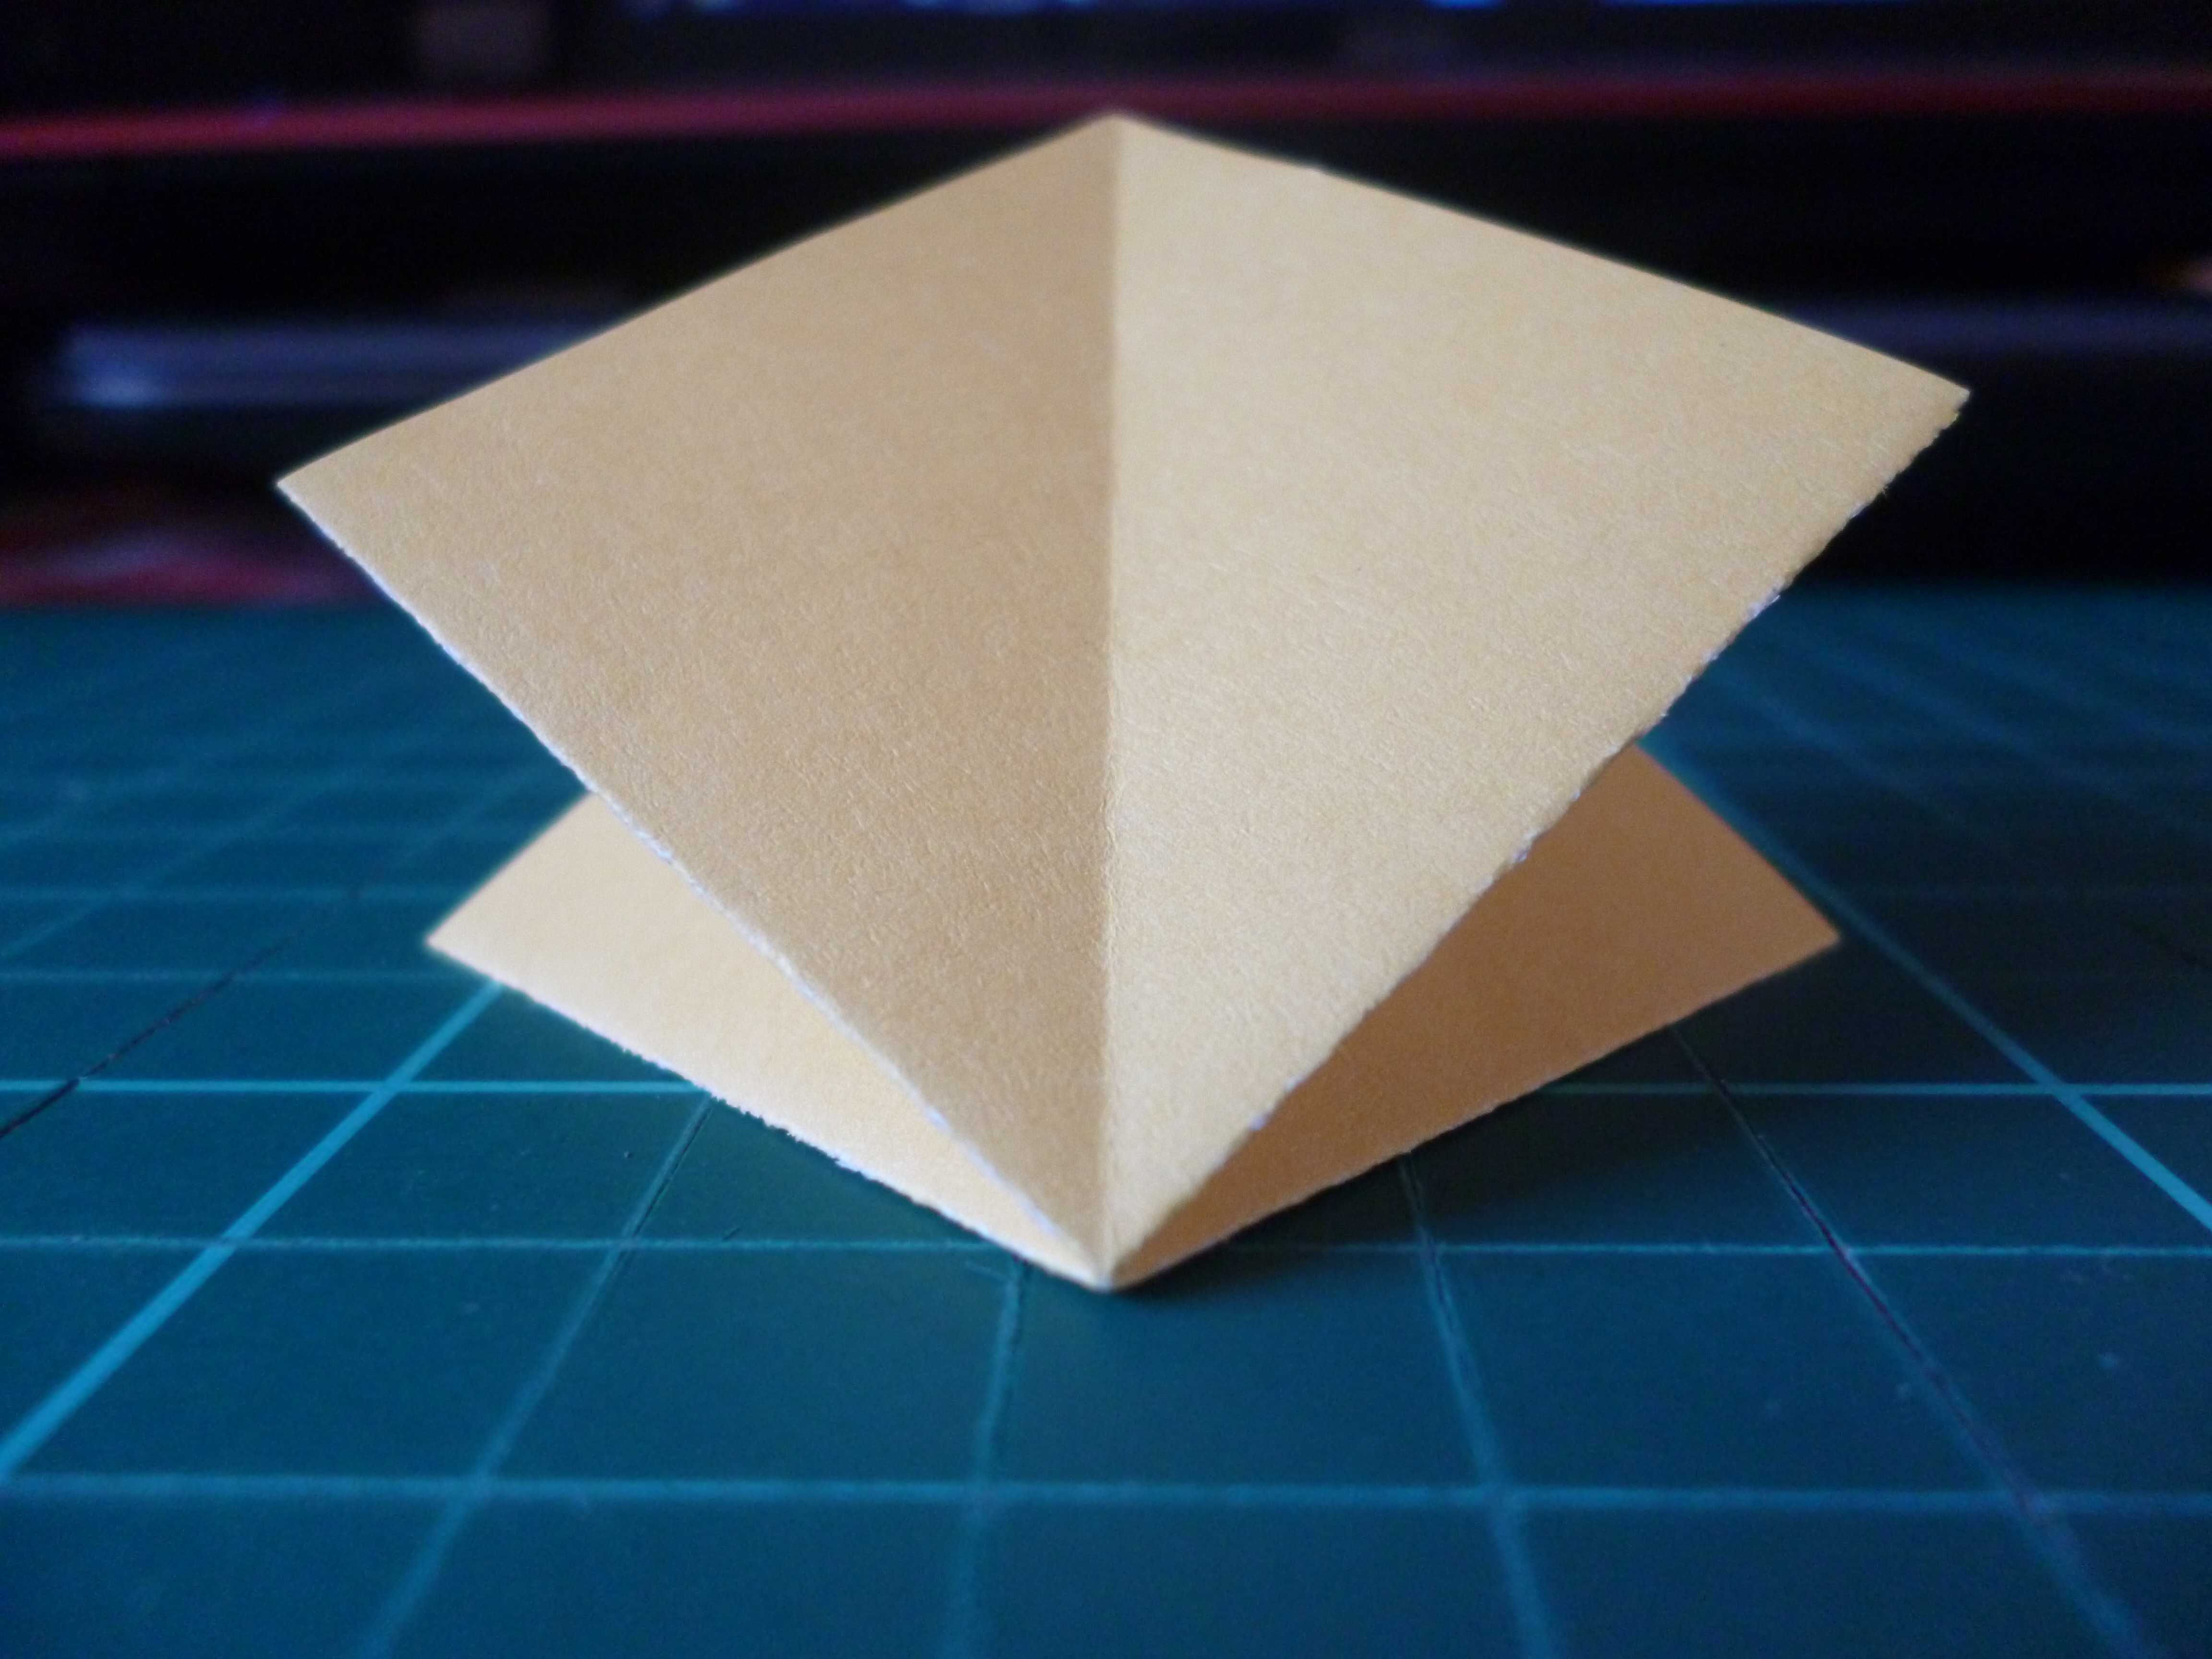
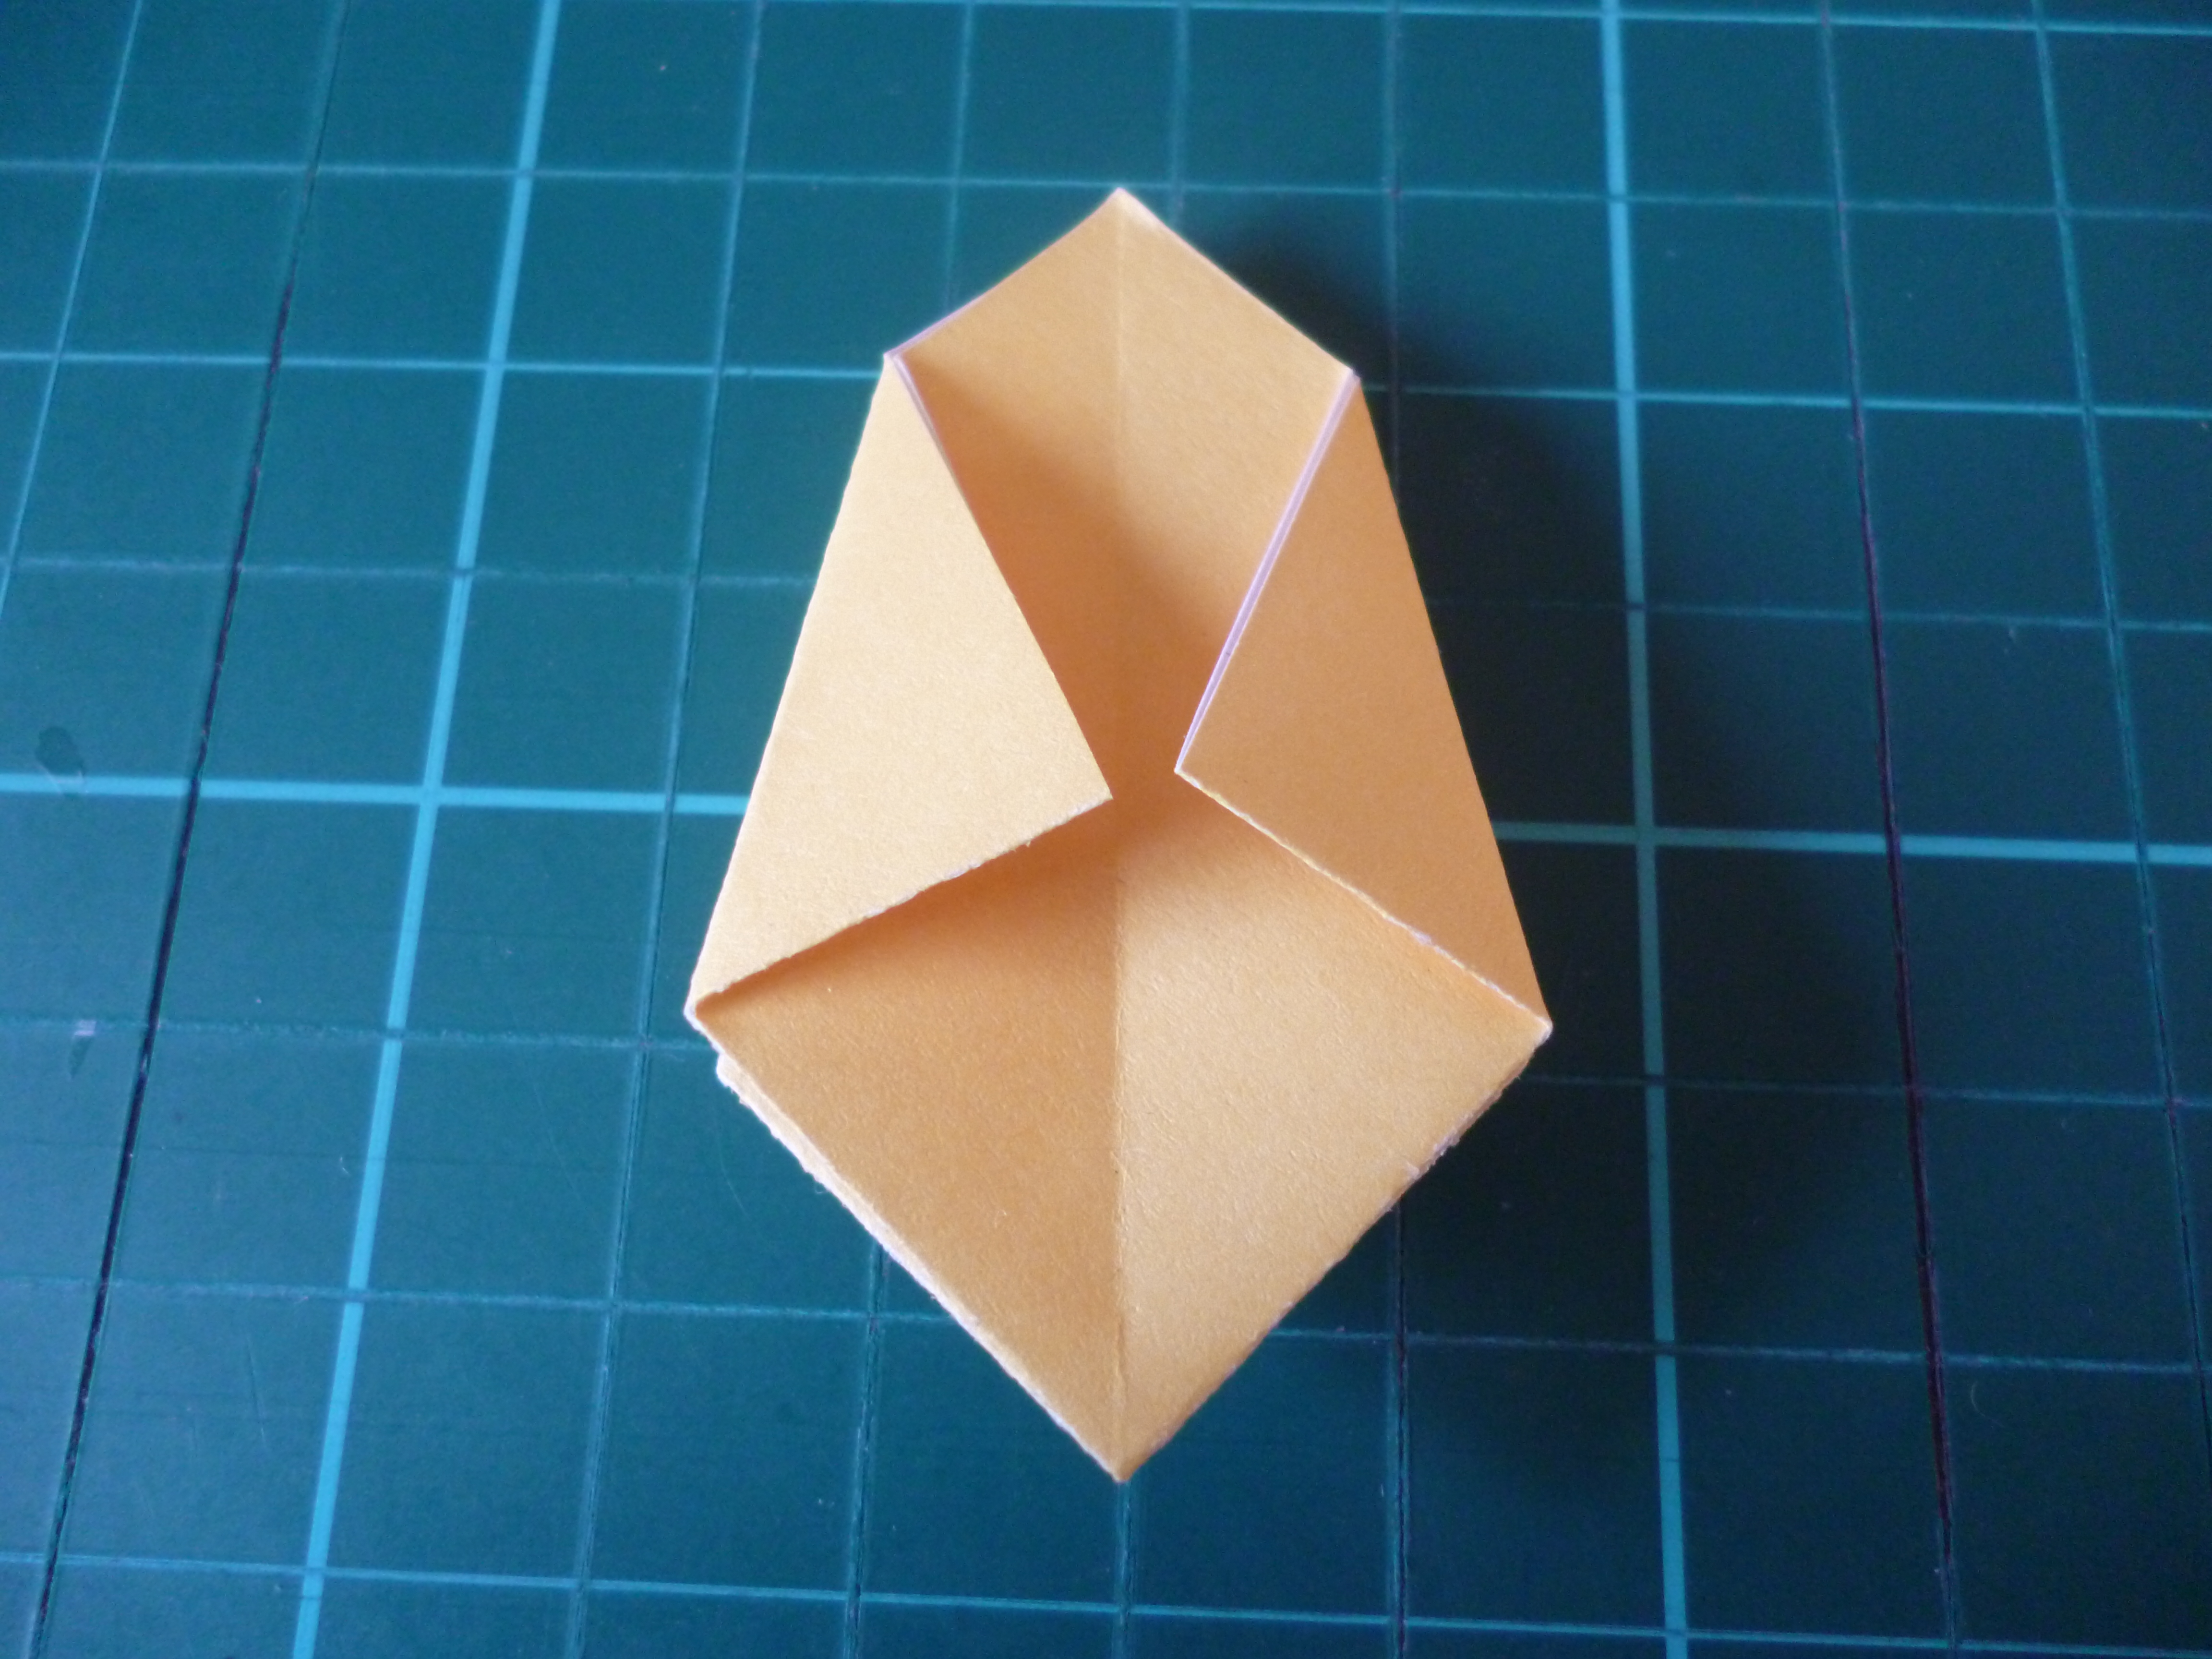
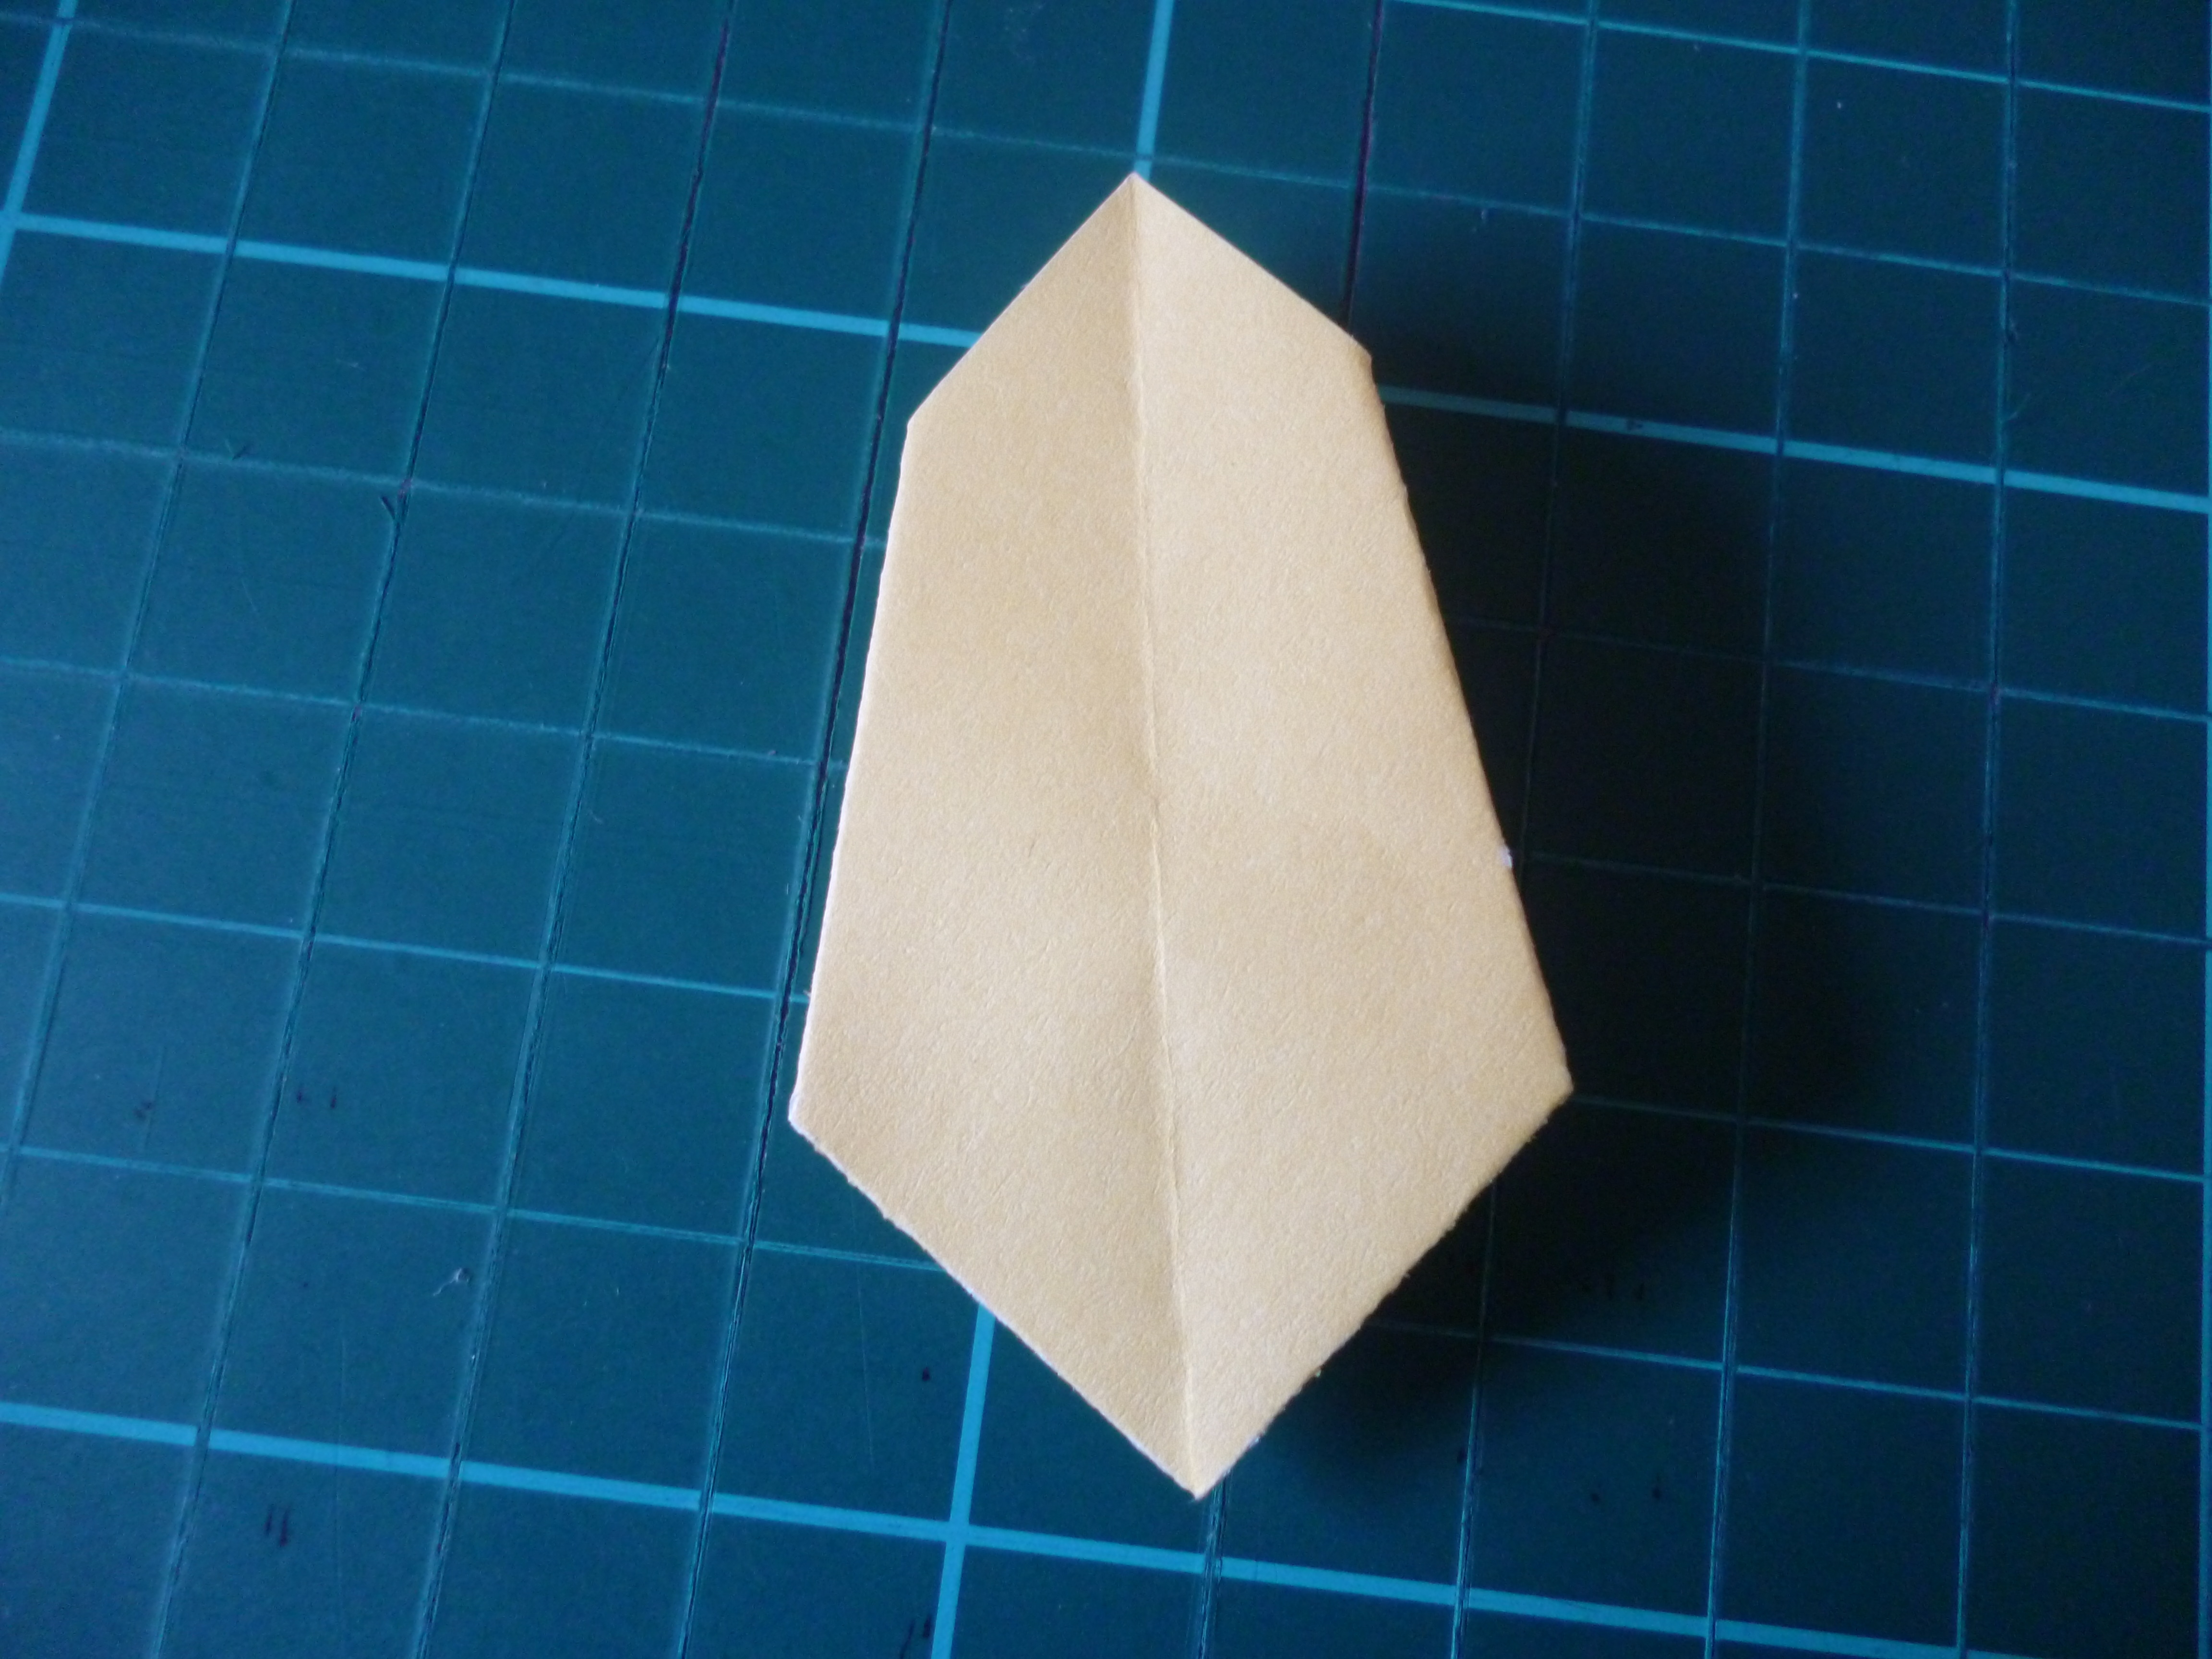
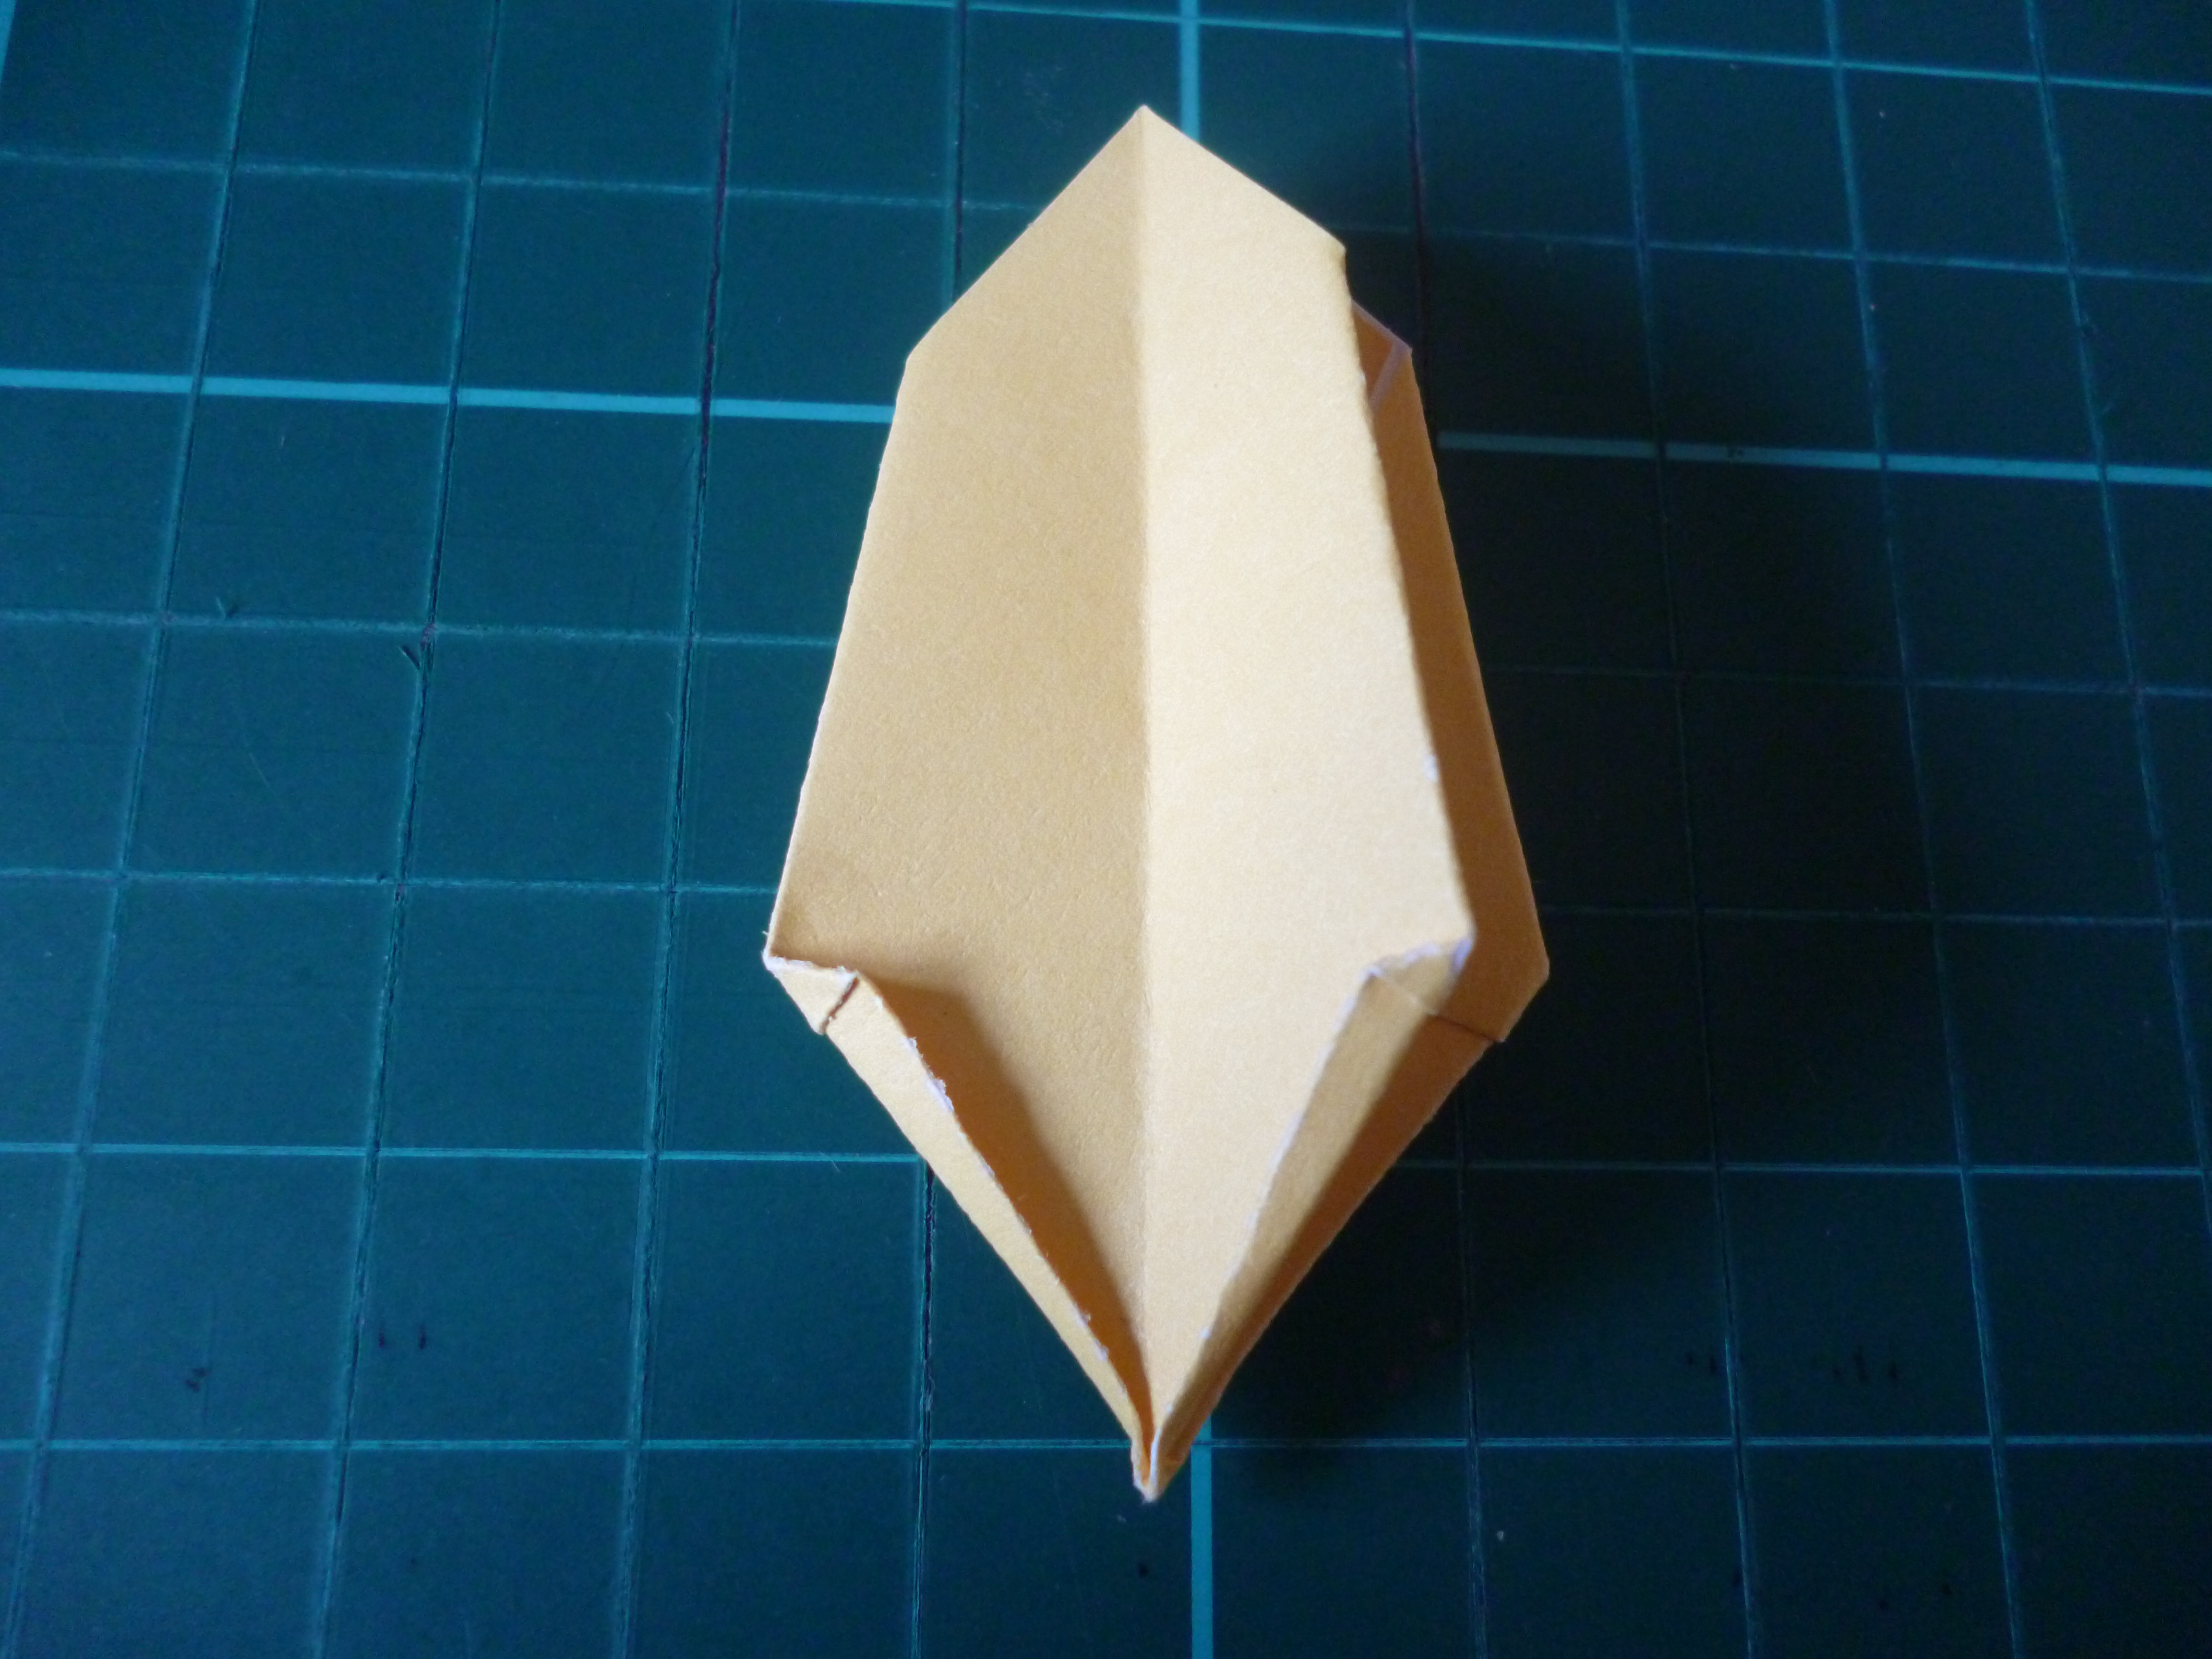
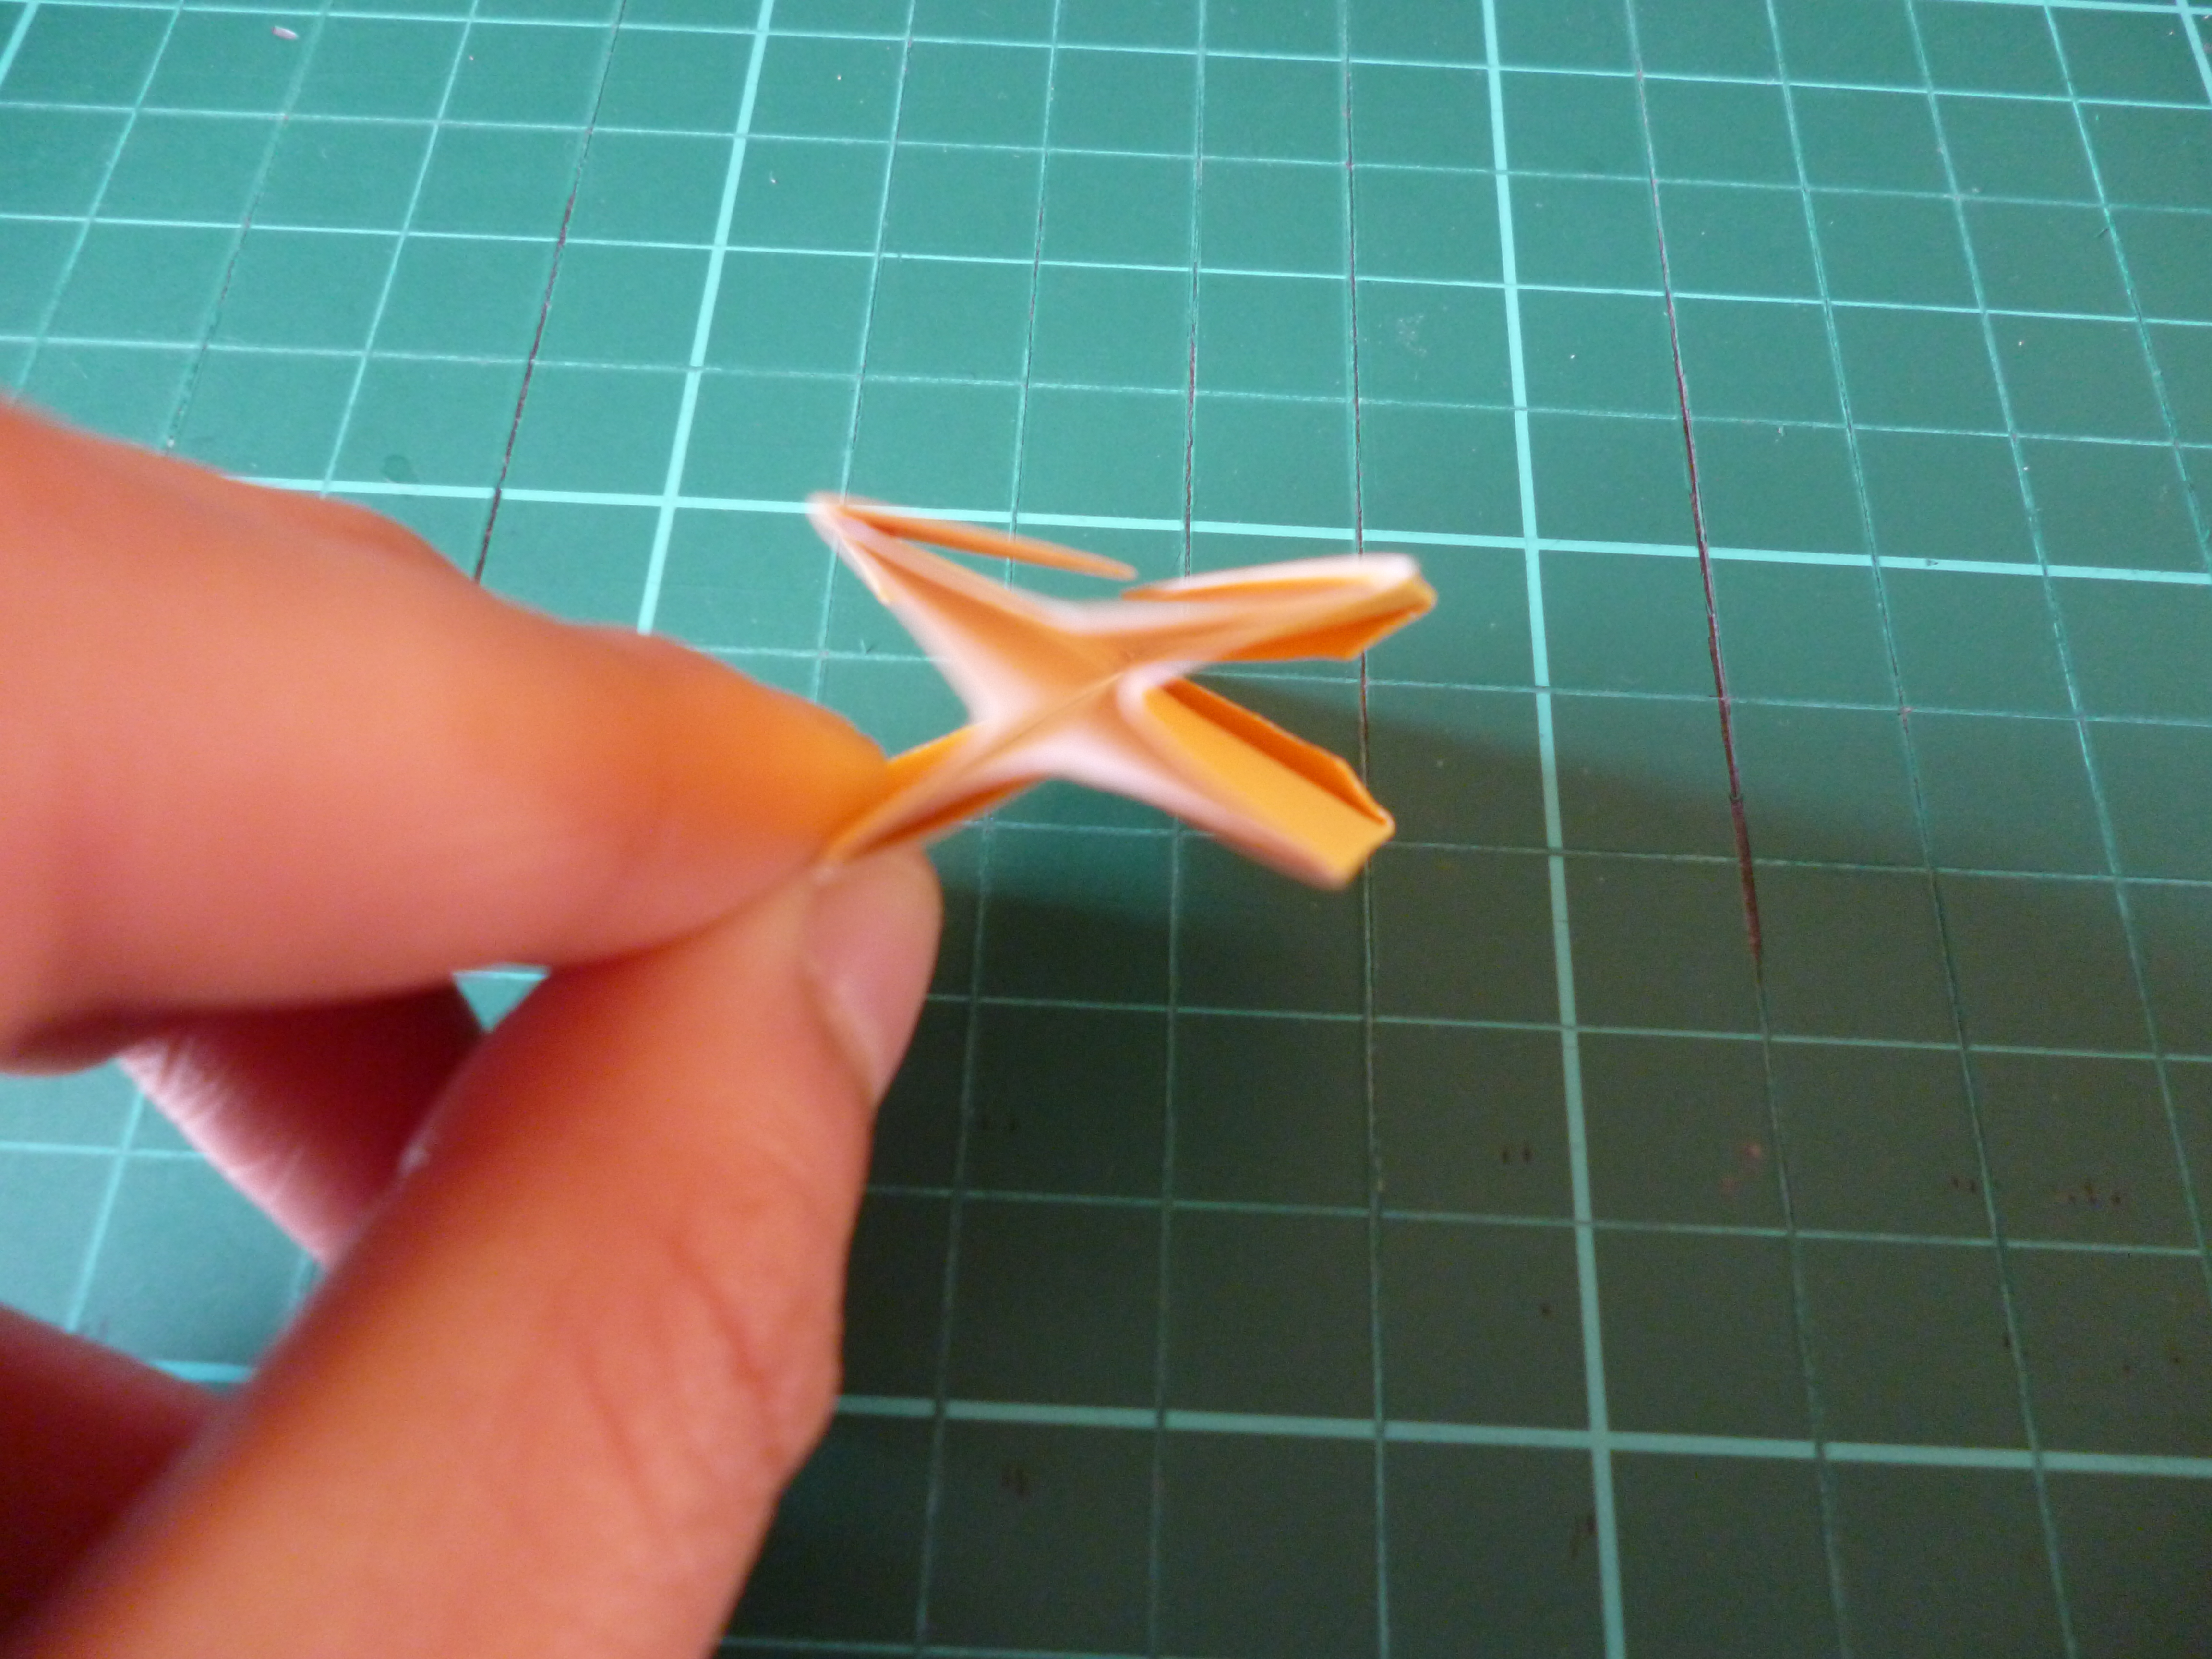
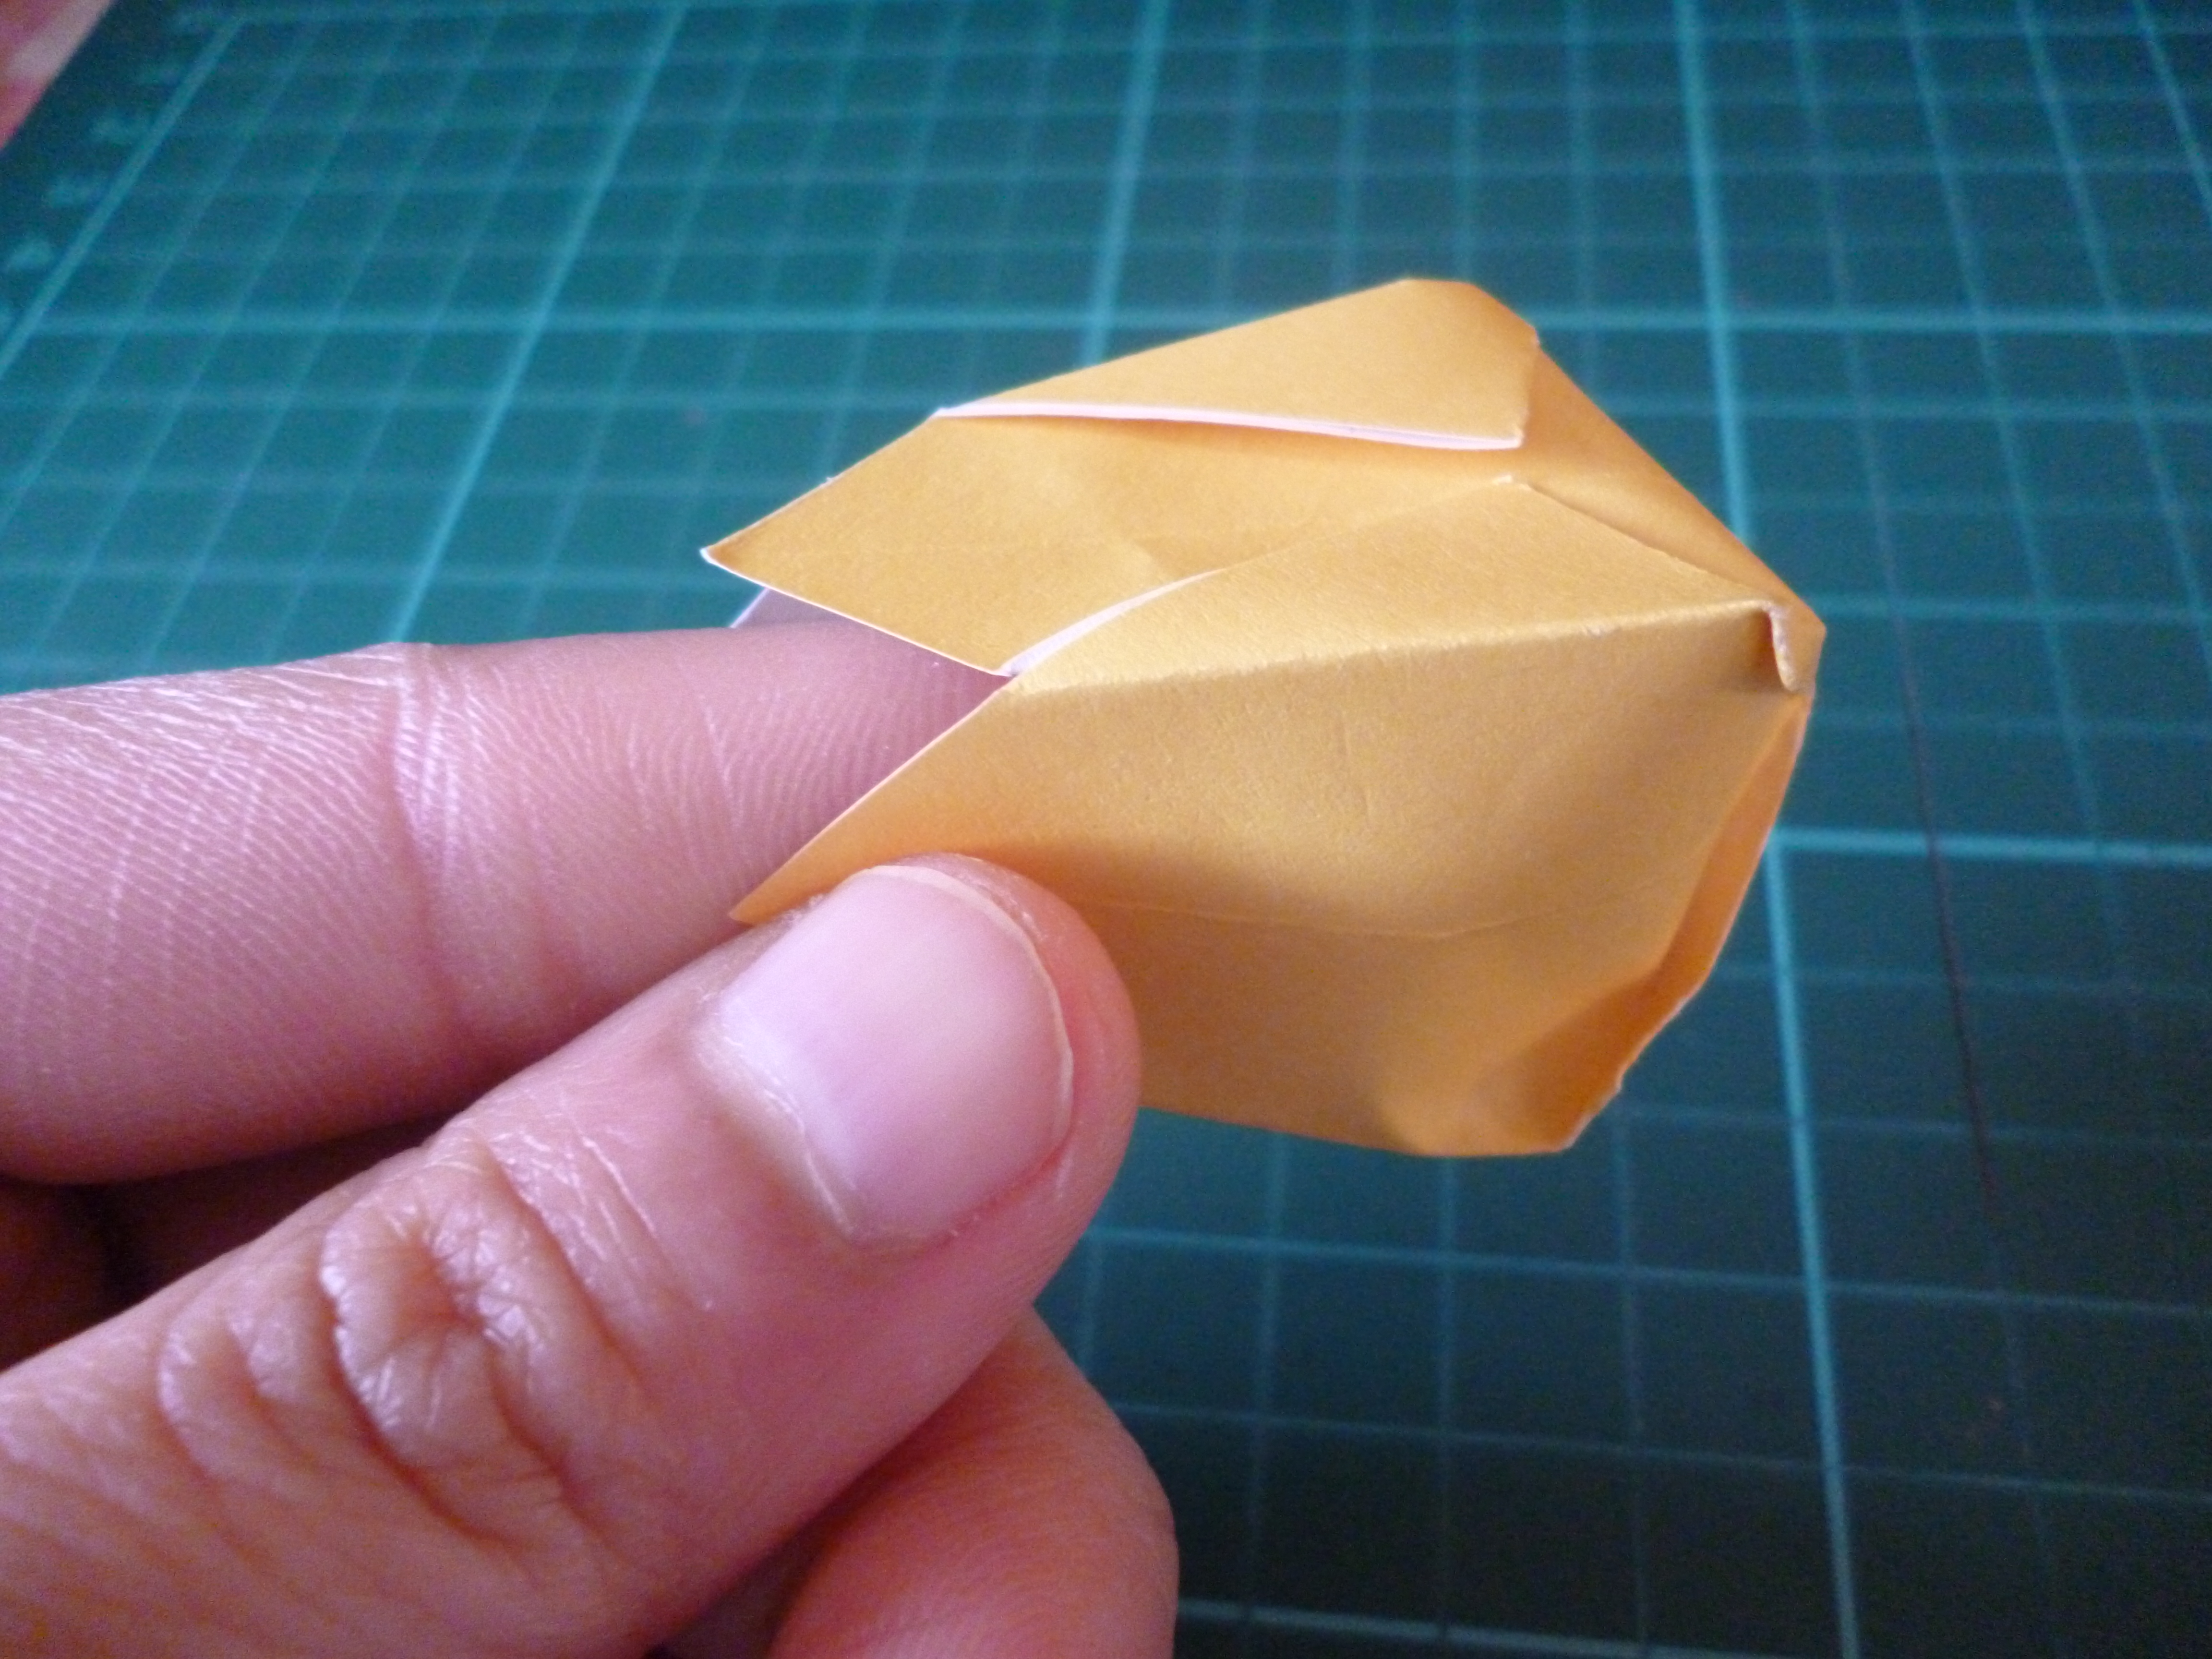
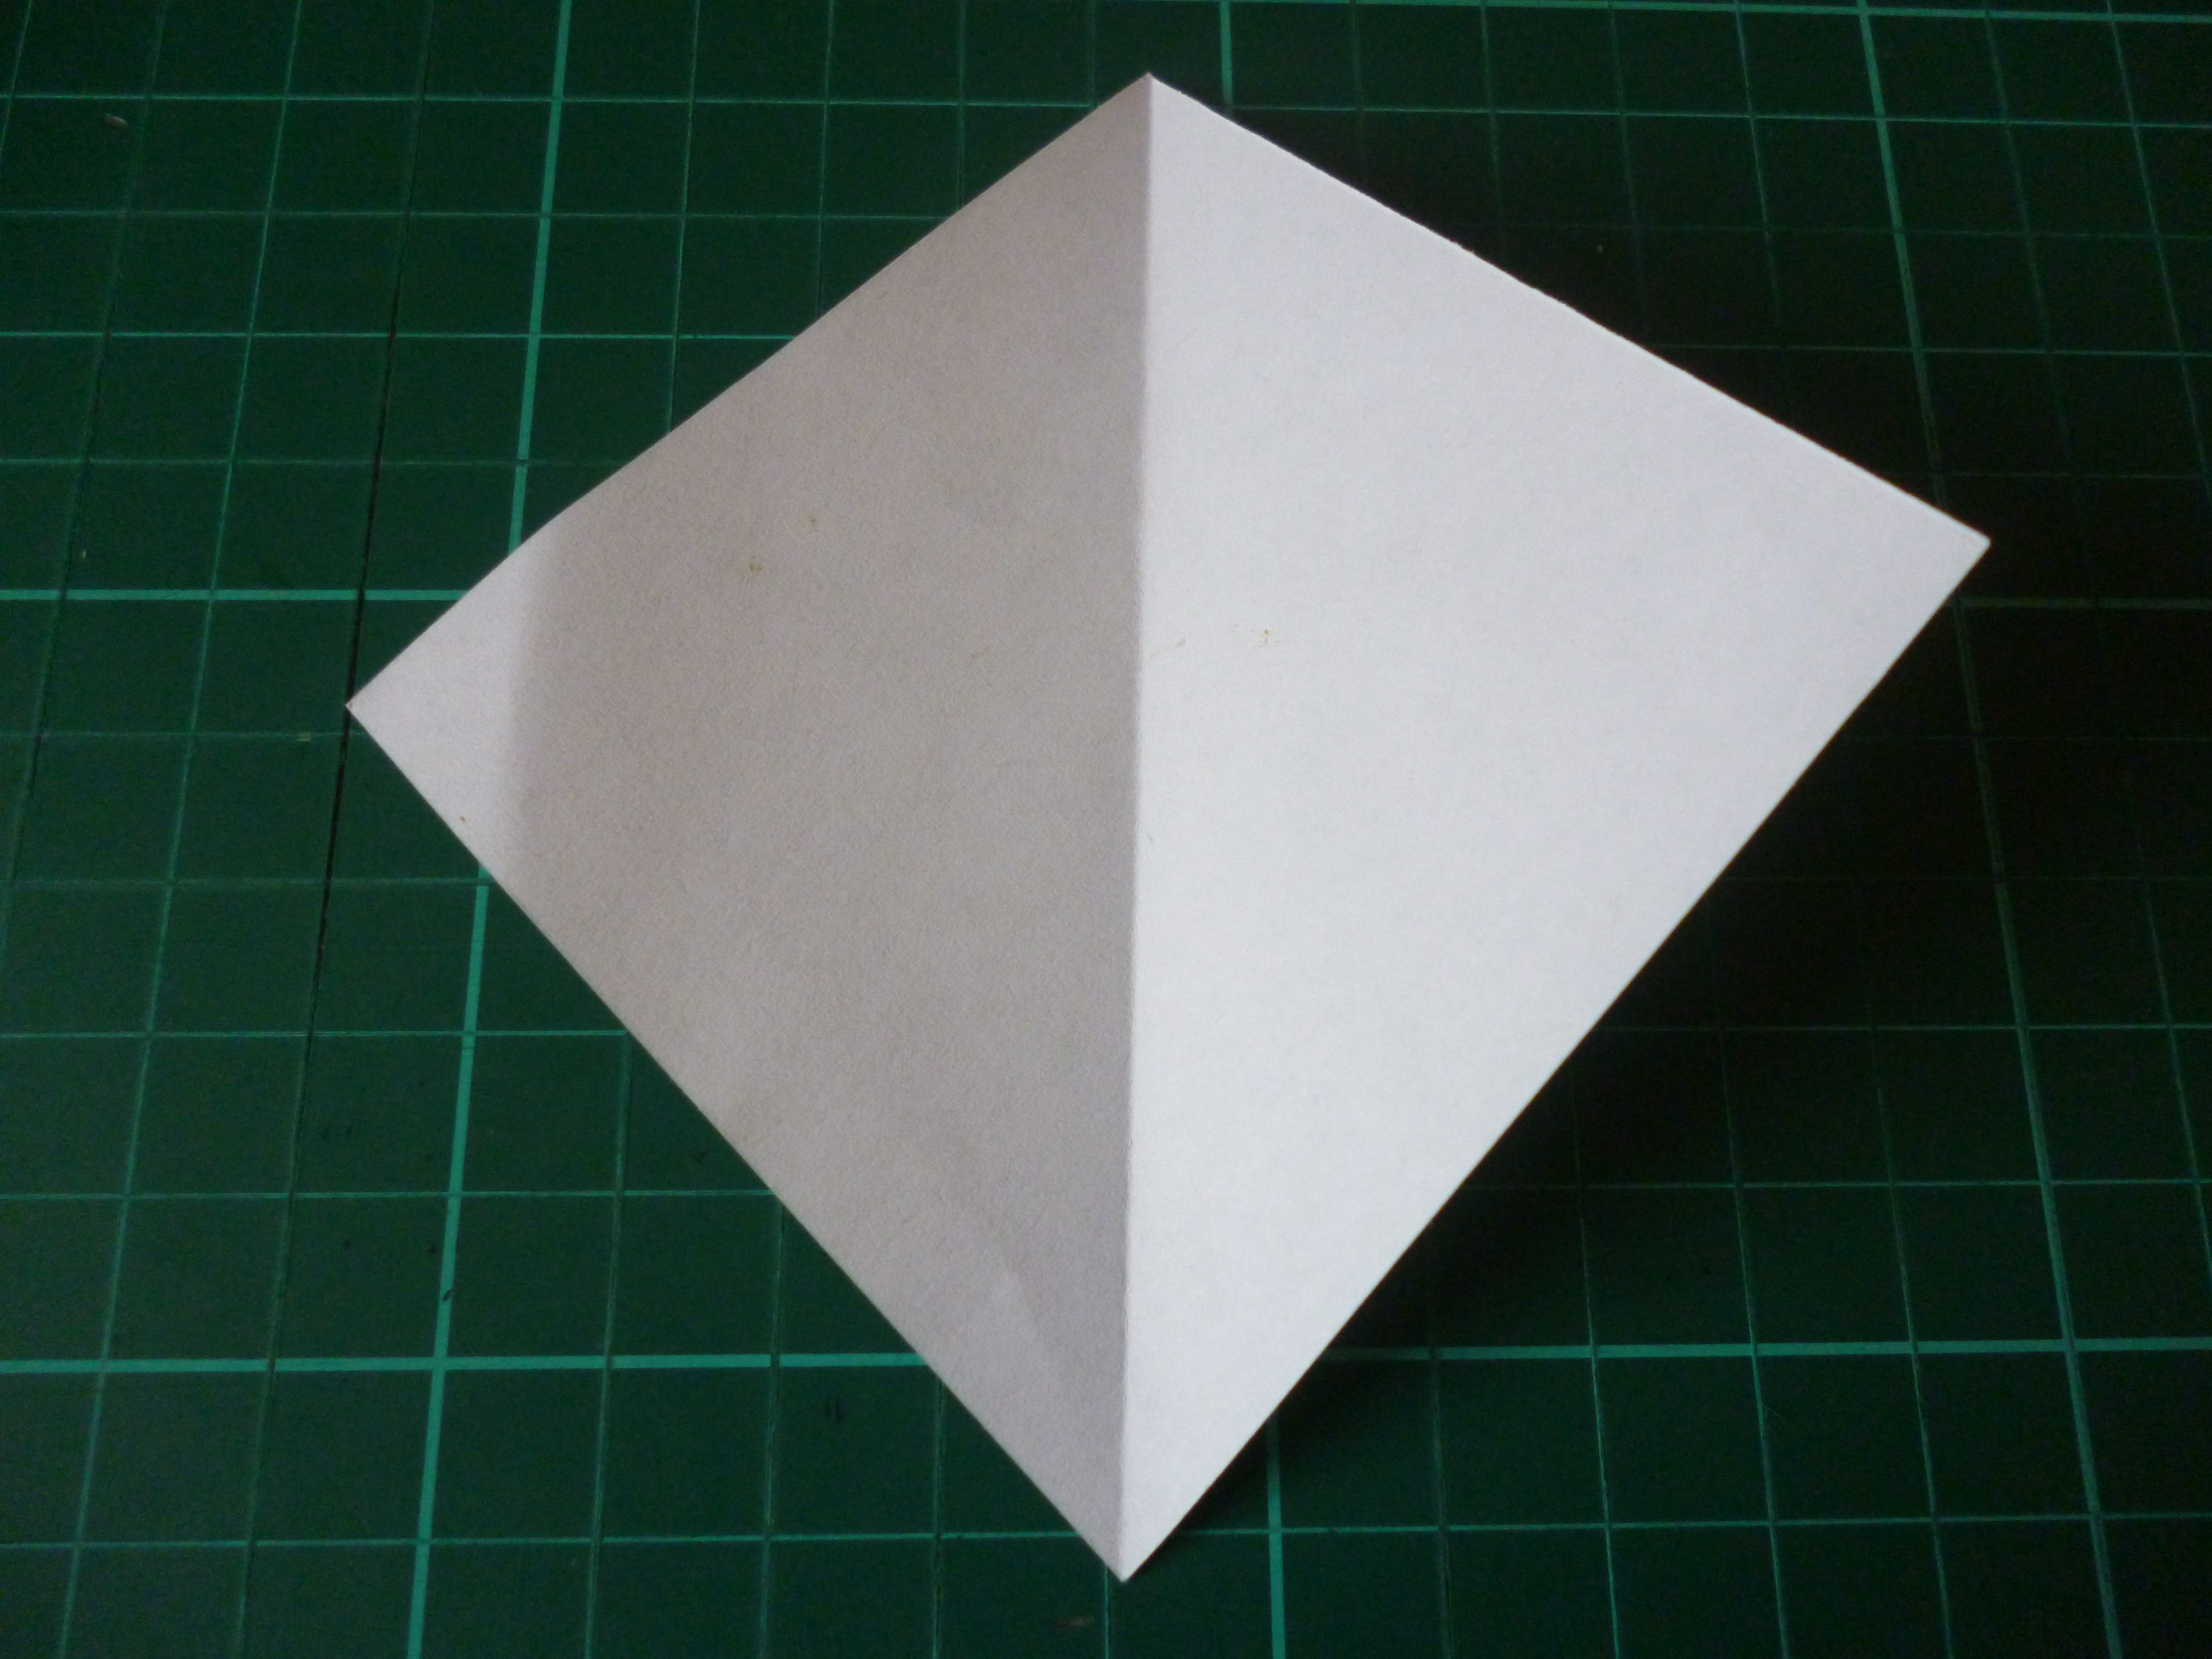
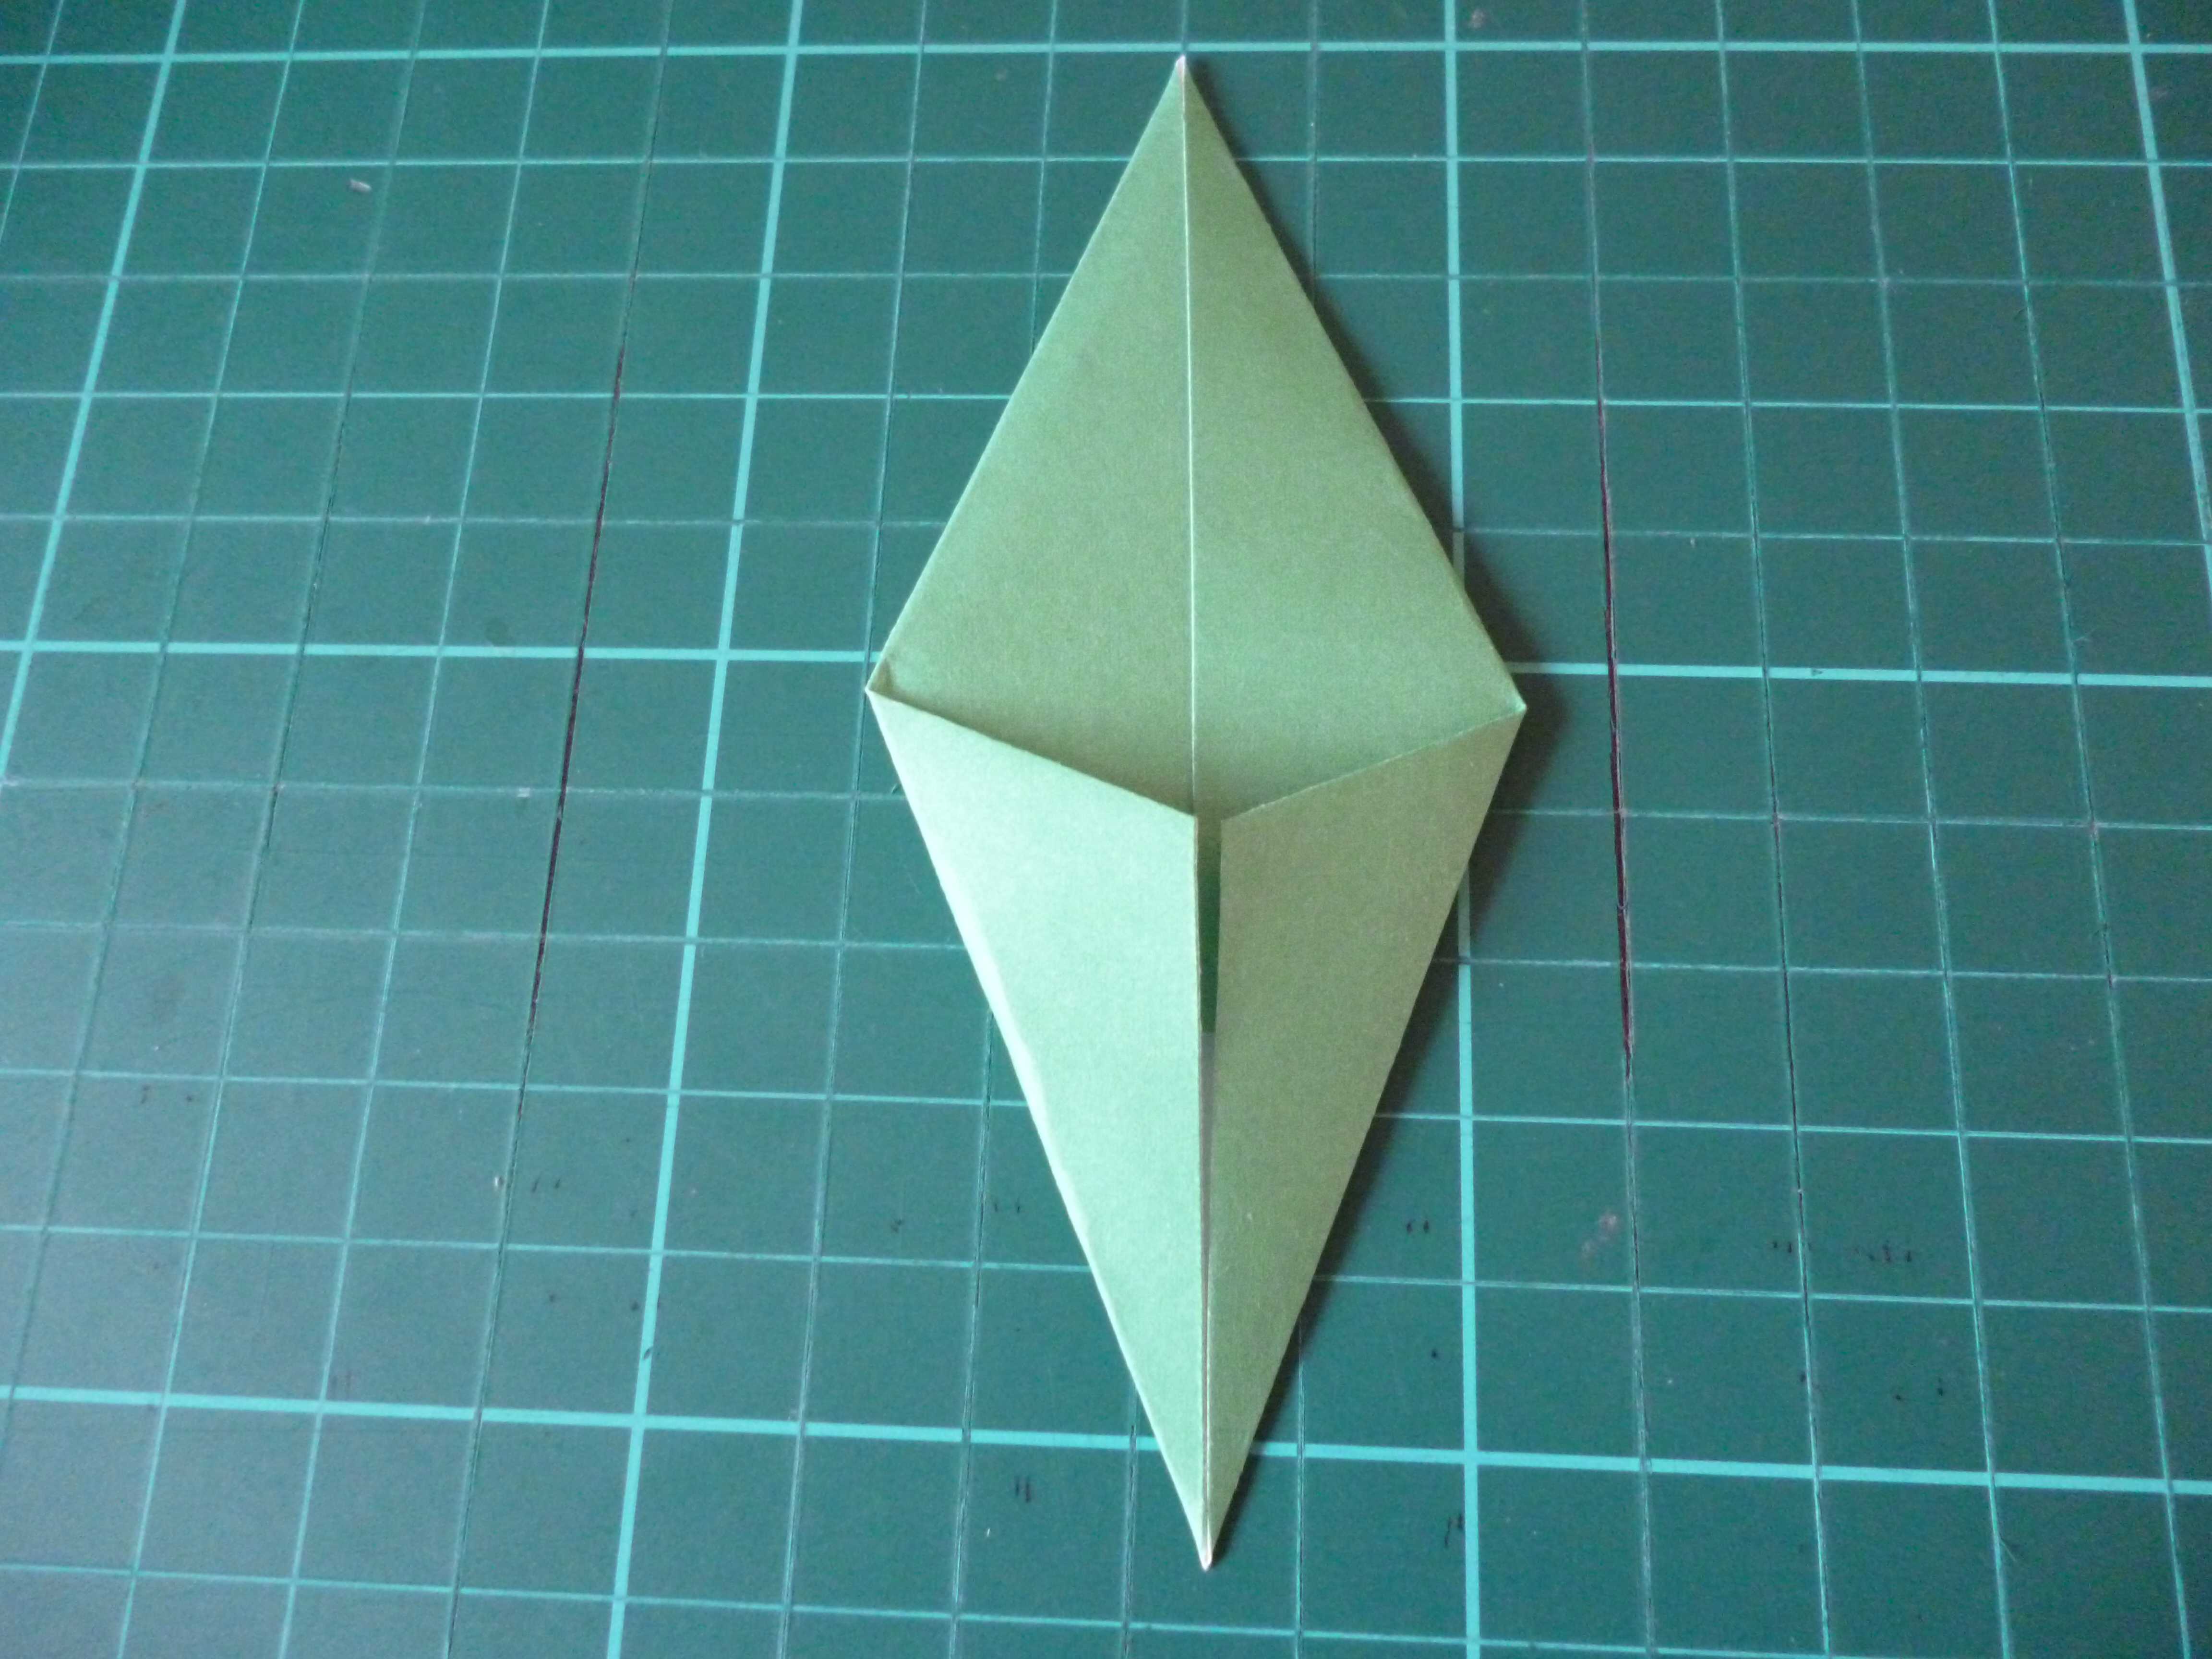
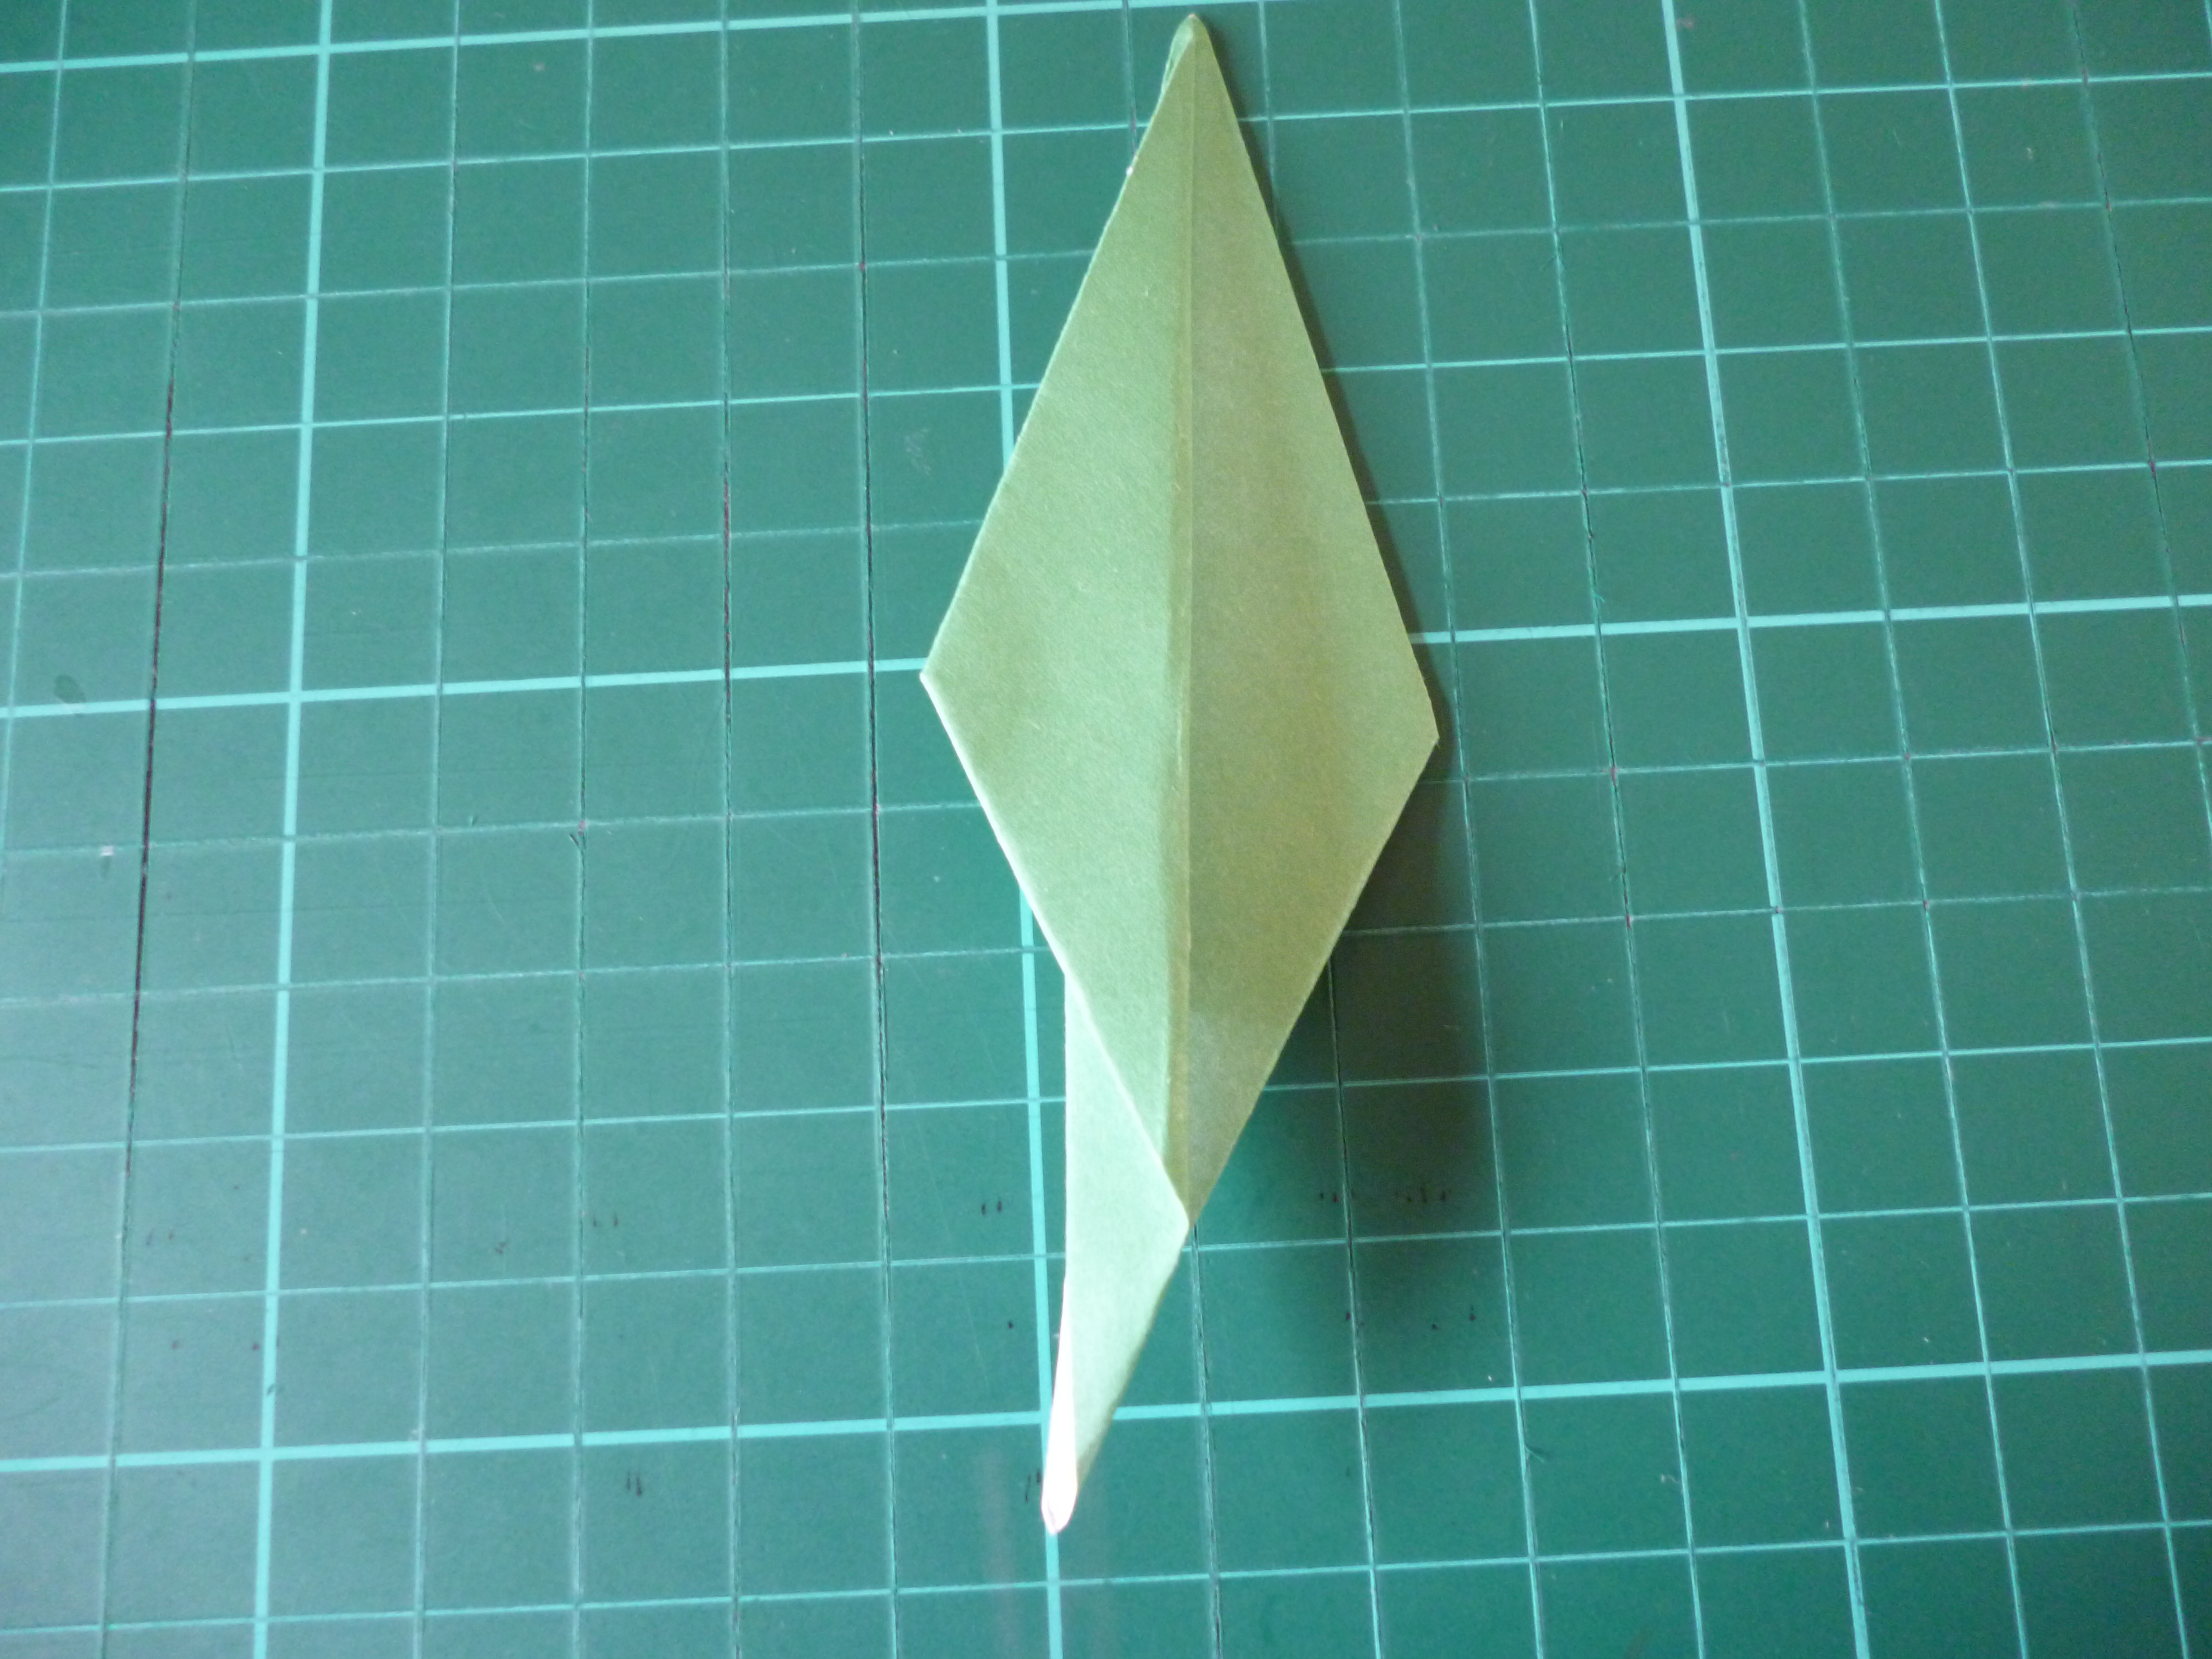
1. Take the yellow square and have the yellow side facing up.2. Fold diagonally from corner to corner twice to make an ‘x’3. Turn over to get the white side, and fold horizontally from side to side twice to make a ‘+’4. Turn around so a corner is nearest you, hold it down, and pull the opposite corner towards you5. Your square should fall into what’s known as the ‘preliminary base’ or the crane base6. Have the open end face away from you7. Fold the corners on the sides to the middle line8. Turn the paper around and do the same thing for the other side9. Flip the right side over to see the ‘hidden’ face10. Fold the bottom edges up only by a small bit11. Flip the left side back over to get the view seen in step 812. Now flip the left side over to see the remaining ‘hidden’ face13. As per step 10, fold the bottom edges up slightly14. Flip the right side back over, and hold the open top so that it faces you15. Open the tulip bulb by smoothing out the inside using your finger16. Curl the tips, and you have your finished tulip bulb!17. Now let’s make the leaf with the green square of paper18. Have the white side facing up, and fold from one corner to the other19. Fold the other two corners towards the middle so that the edges line up with the middle line20. Fold the new corners create by the kite in the same fashion, but line them upwards21. Mountain fold the leaf; fold the left half behind the right half22. Fold the right half (the half facing you) ‘backwards’ or towards the left at any angle you like23. Tuck the corners of the leaves by folding a section behind the leaf and your leaf is done!24. Take the wire and curl a loop using pliers25. Wrap the loop with a bit of cotton wool/stuffing26. Apply a dab of PVA inside the bulb, at the bottom (don’t use too much otherwise the bottom will tear easily)27. Insert the wire from the top of the bulb and push it through the base, pulling it so that the cotton sticks to the glue28. Wrap the tape around the wire, starting at the base of the tulip29. At a suitable point down the stem, hold a part of the leaf against the stem30. Continue wrapping the tape as usual, covering the tip of the leaf31. The finished tulip with stem and leaf!