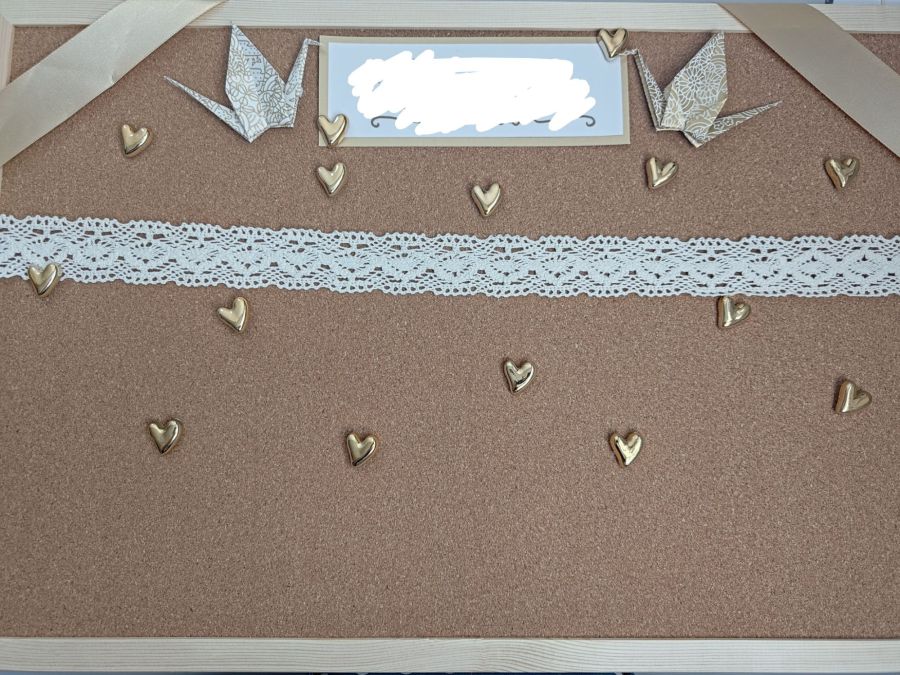
It’s time to get back on the wedding crafts train! There’s not too long now before the big day so I am planning to be full steam ahead until then. Who knows if things will actually go to plan though?
So, some couples like to tell a story about how they met or how their journey together has gone so far at the wedding venue. I thought it would be a nice idea to print out and collate some photos of me and my partner together and display them in a photo gallery, to be displayed at the entrance or at the drinks reception. Framing them is a simple enough task, so I wondered what I could do to make it feel more personalised to me and the theme of the wedding.
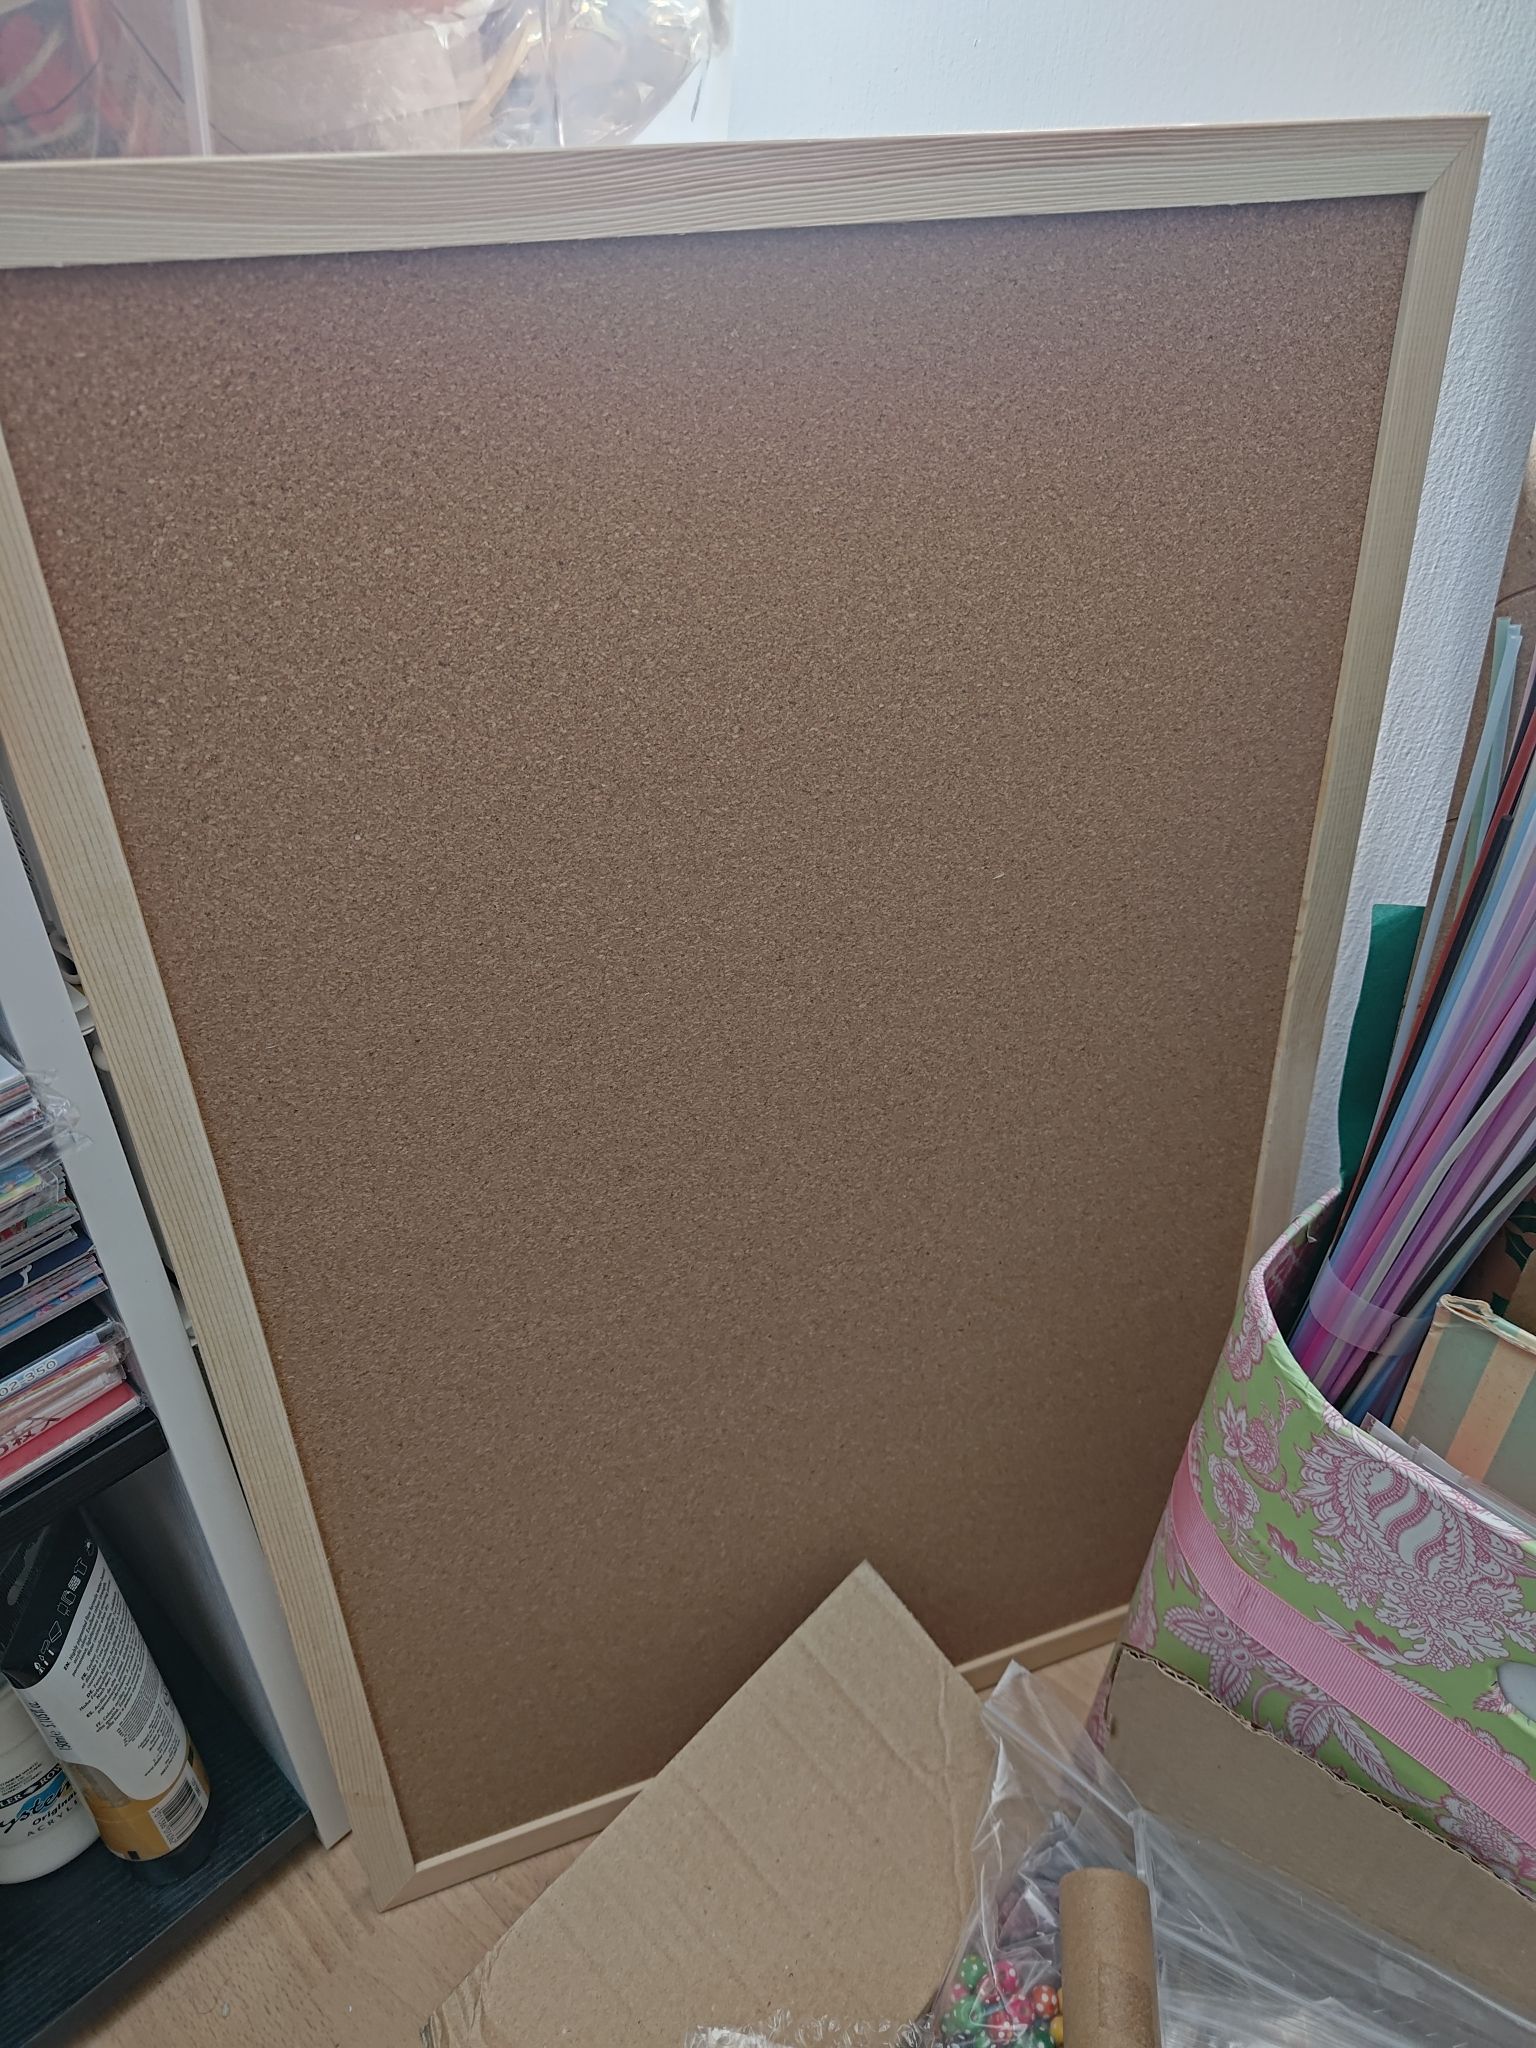
I bought a plain cork notice board that measures 40cm by 60cm a while back and had it sitting on the side of my craft room for a few months whilst I was working on the flowers for my bouquets. I was slowly ordering materials for this over time until I finally decided to sit down and assemble it with a burst of inspiration last weekend. I also planned to reuse some scraps from other craft projects to keep it as low cost as possible, so I don’t have a picture of my starting materials for a follow-along project. Feel free to get creative with what you have!
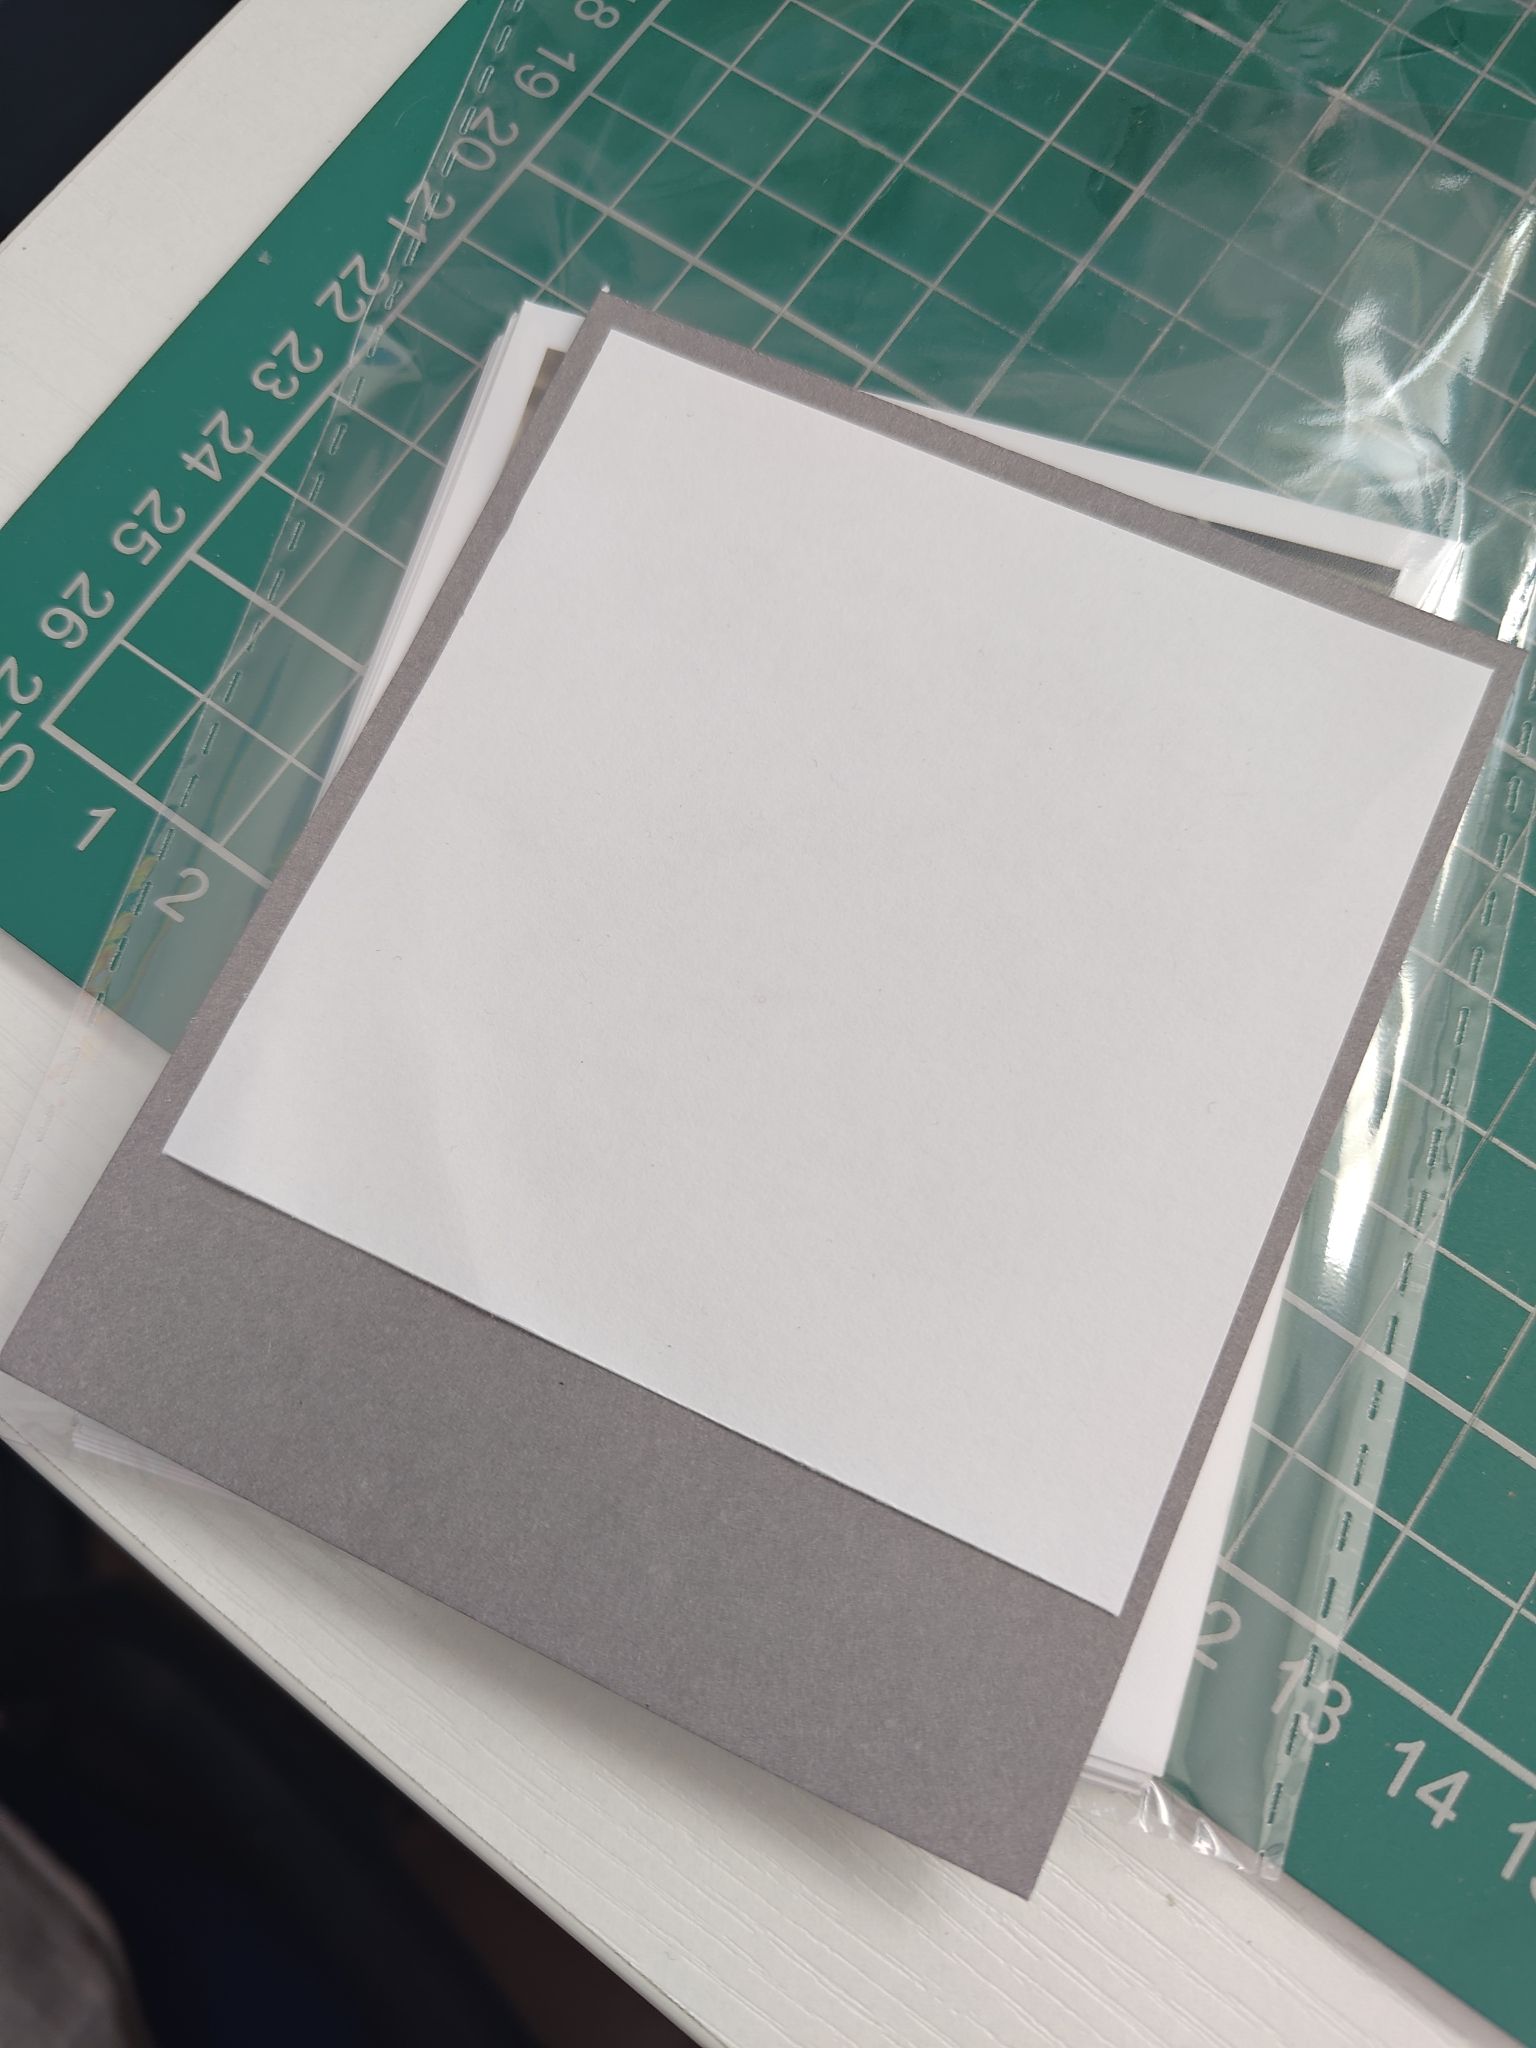
I ordered some retro-style photo prints from PostSnap – they look like Polaroids with a square photo area and the space below to write a message underneath! For each photo, I used a black Sharpie marker and wrote down either the location we were visiting or the activity we were doing on the day. It was nice to go through all the photos and try to recall what I was doing at that exact point in time.
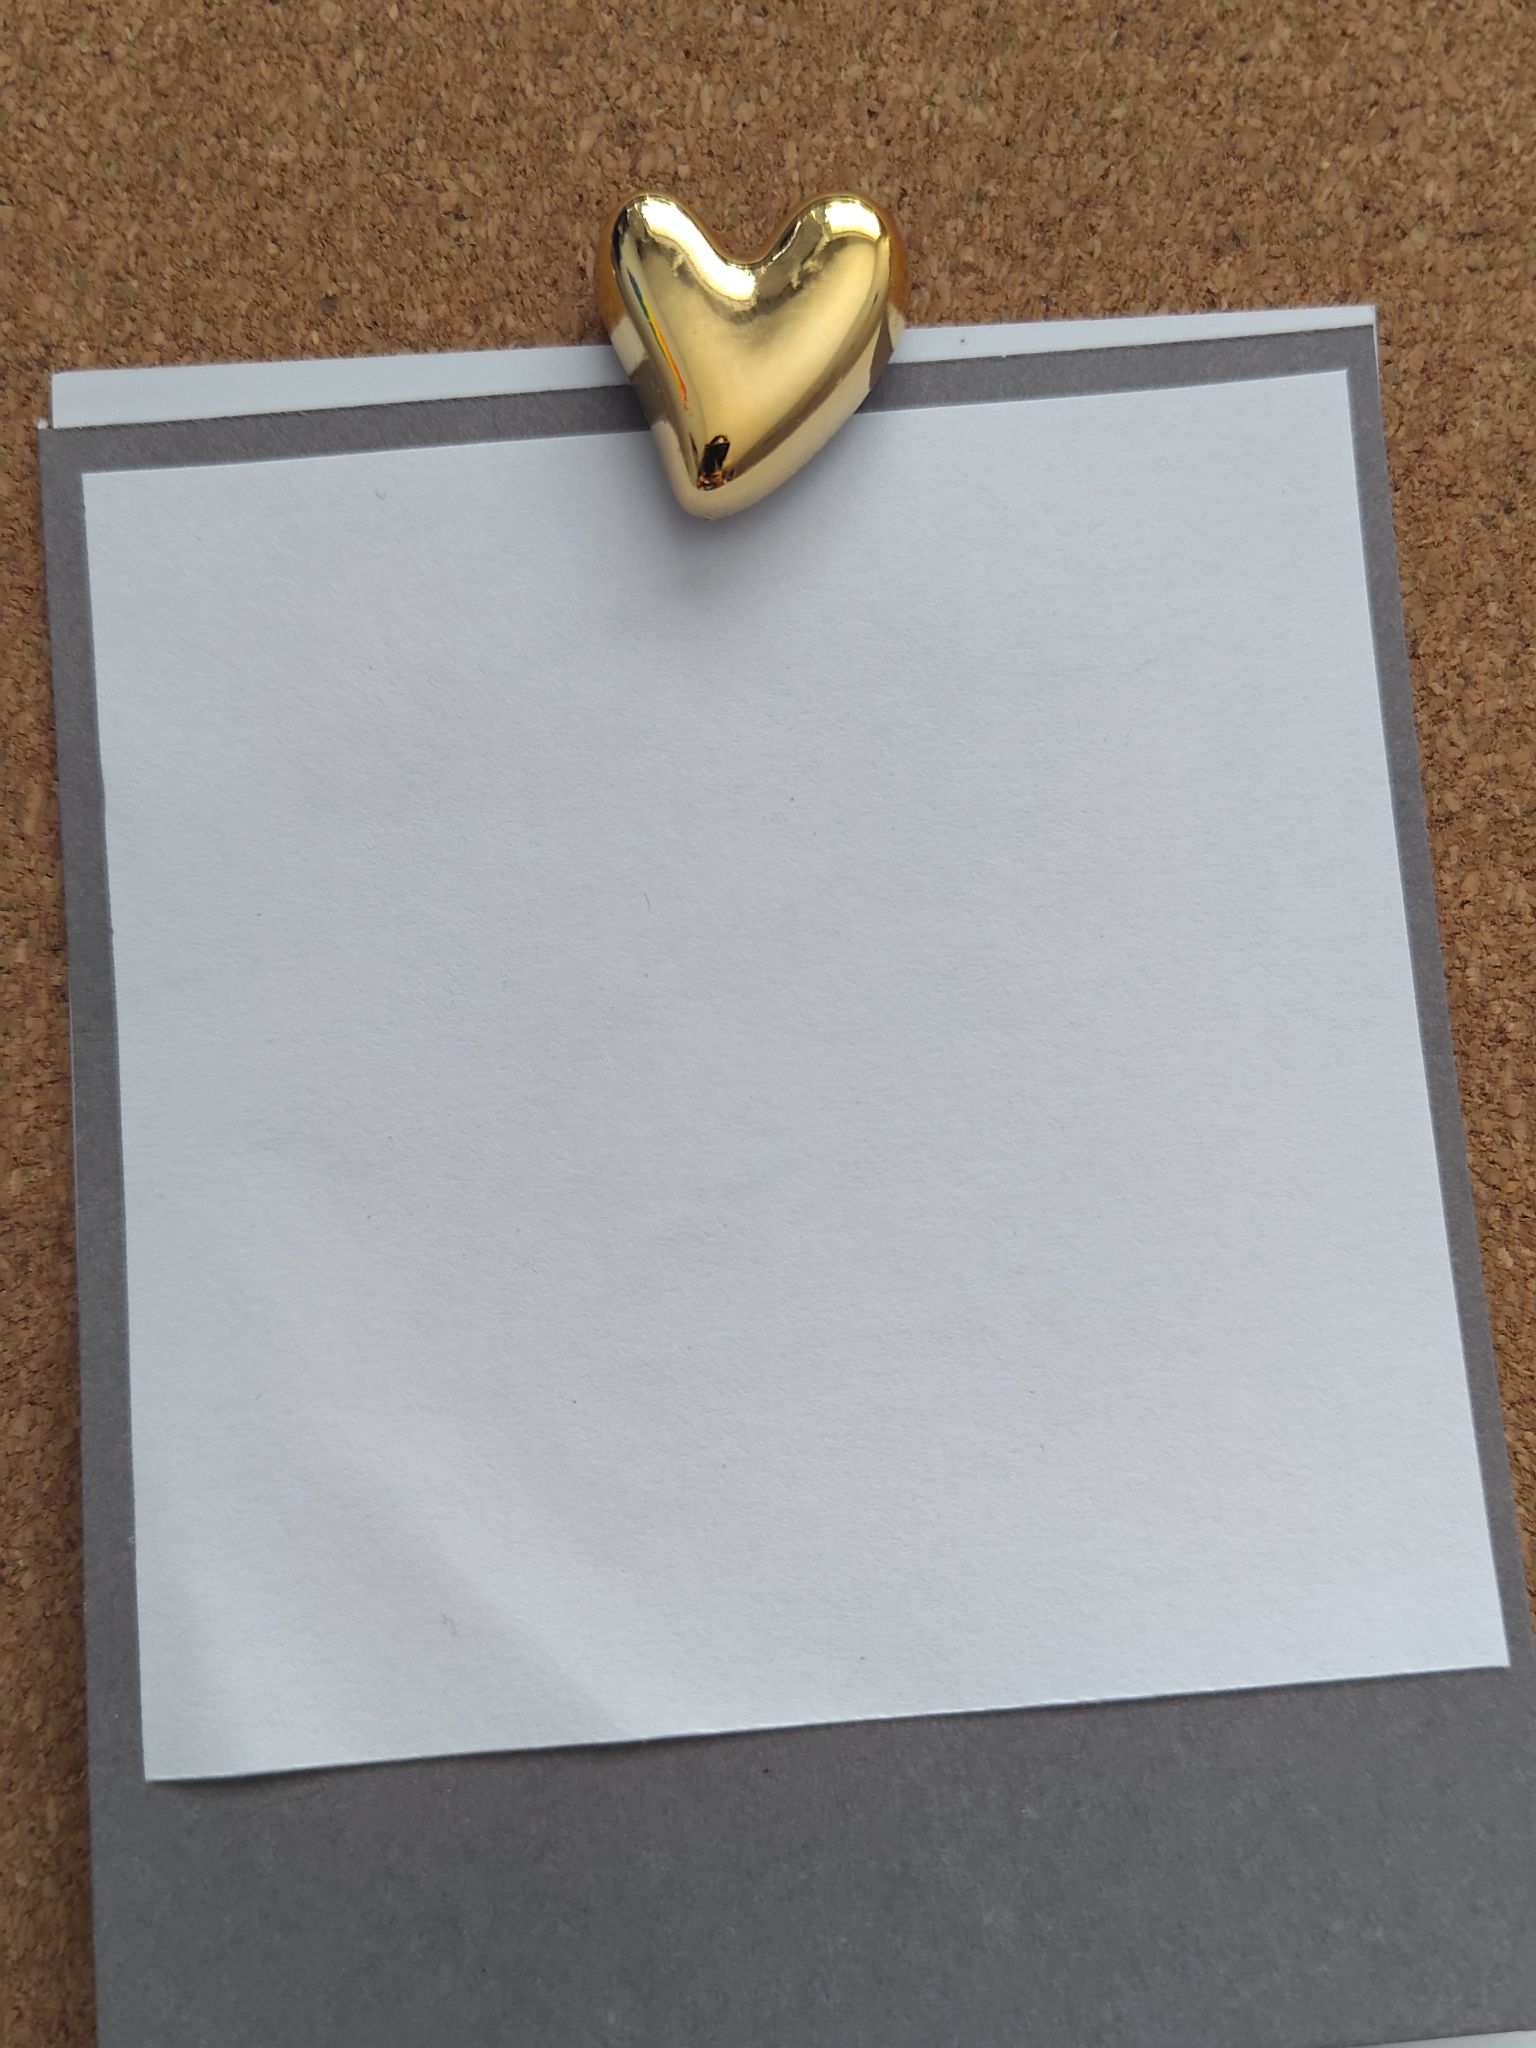
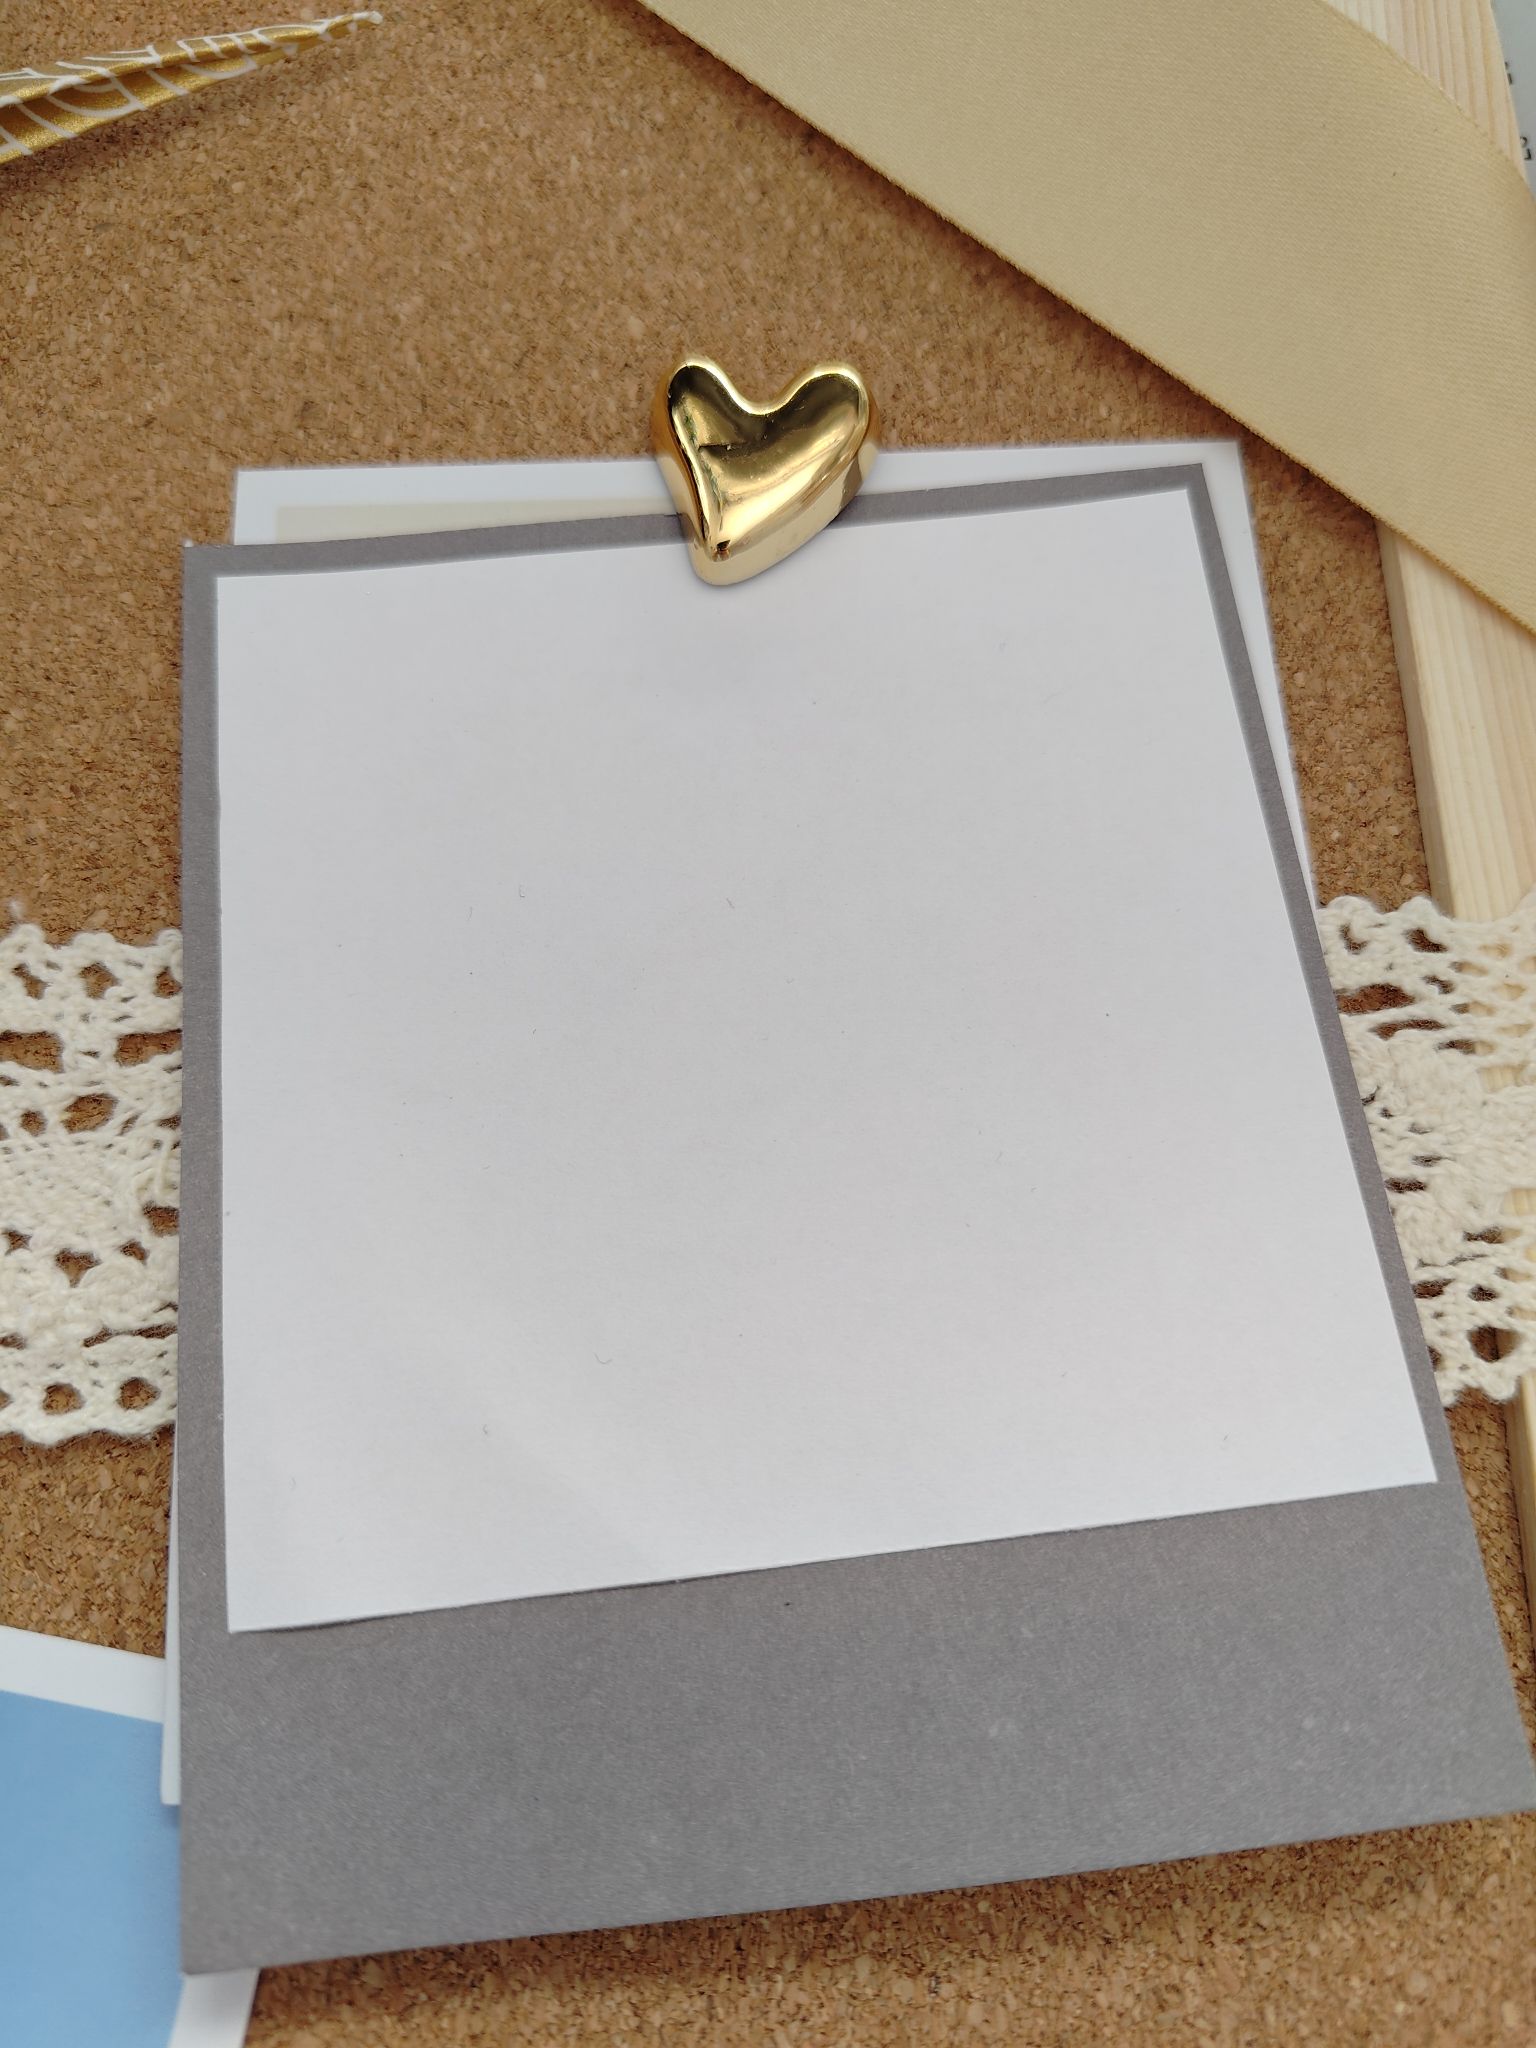
For privacy reasons of course I will not be sharing the photos, however I did a mock-up card print so you can see the dimensions, and also to cover up the prints in later photos.
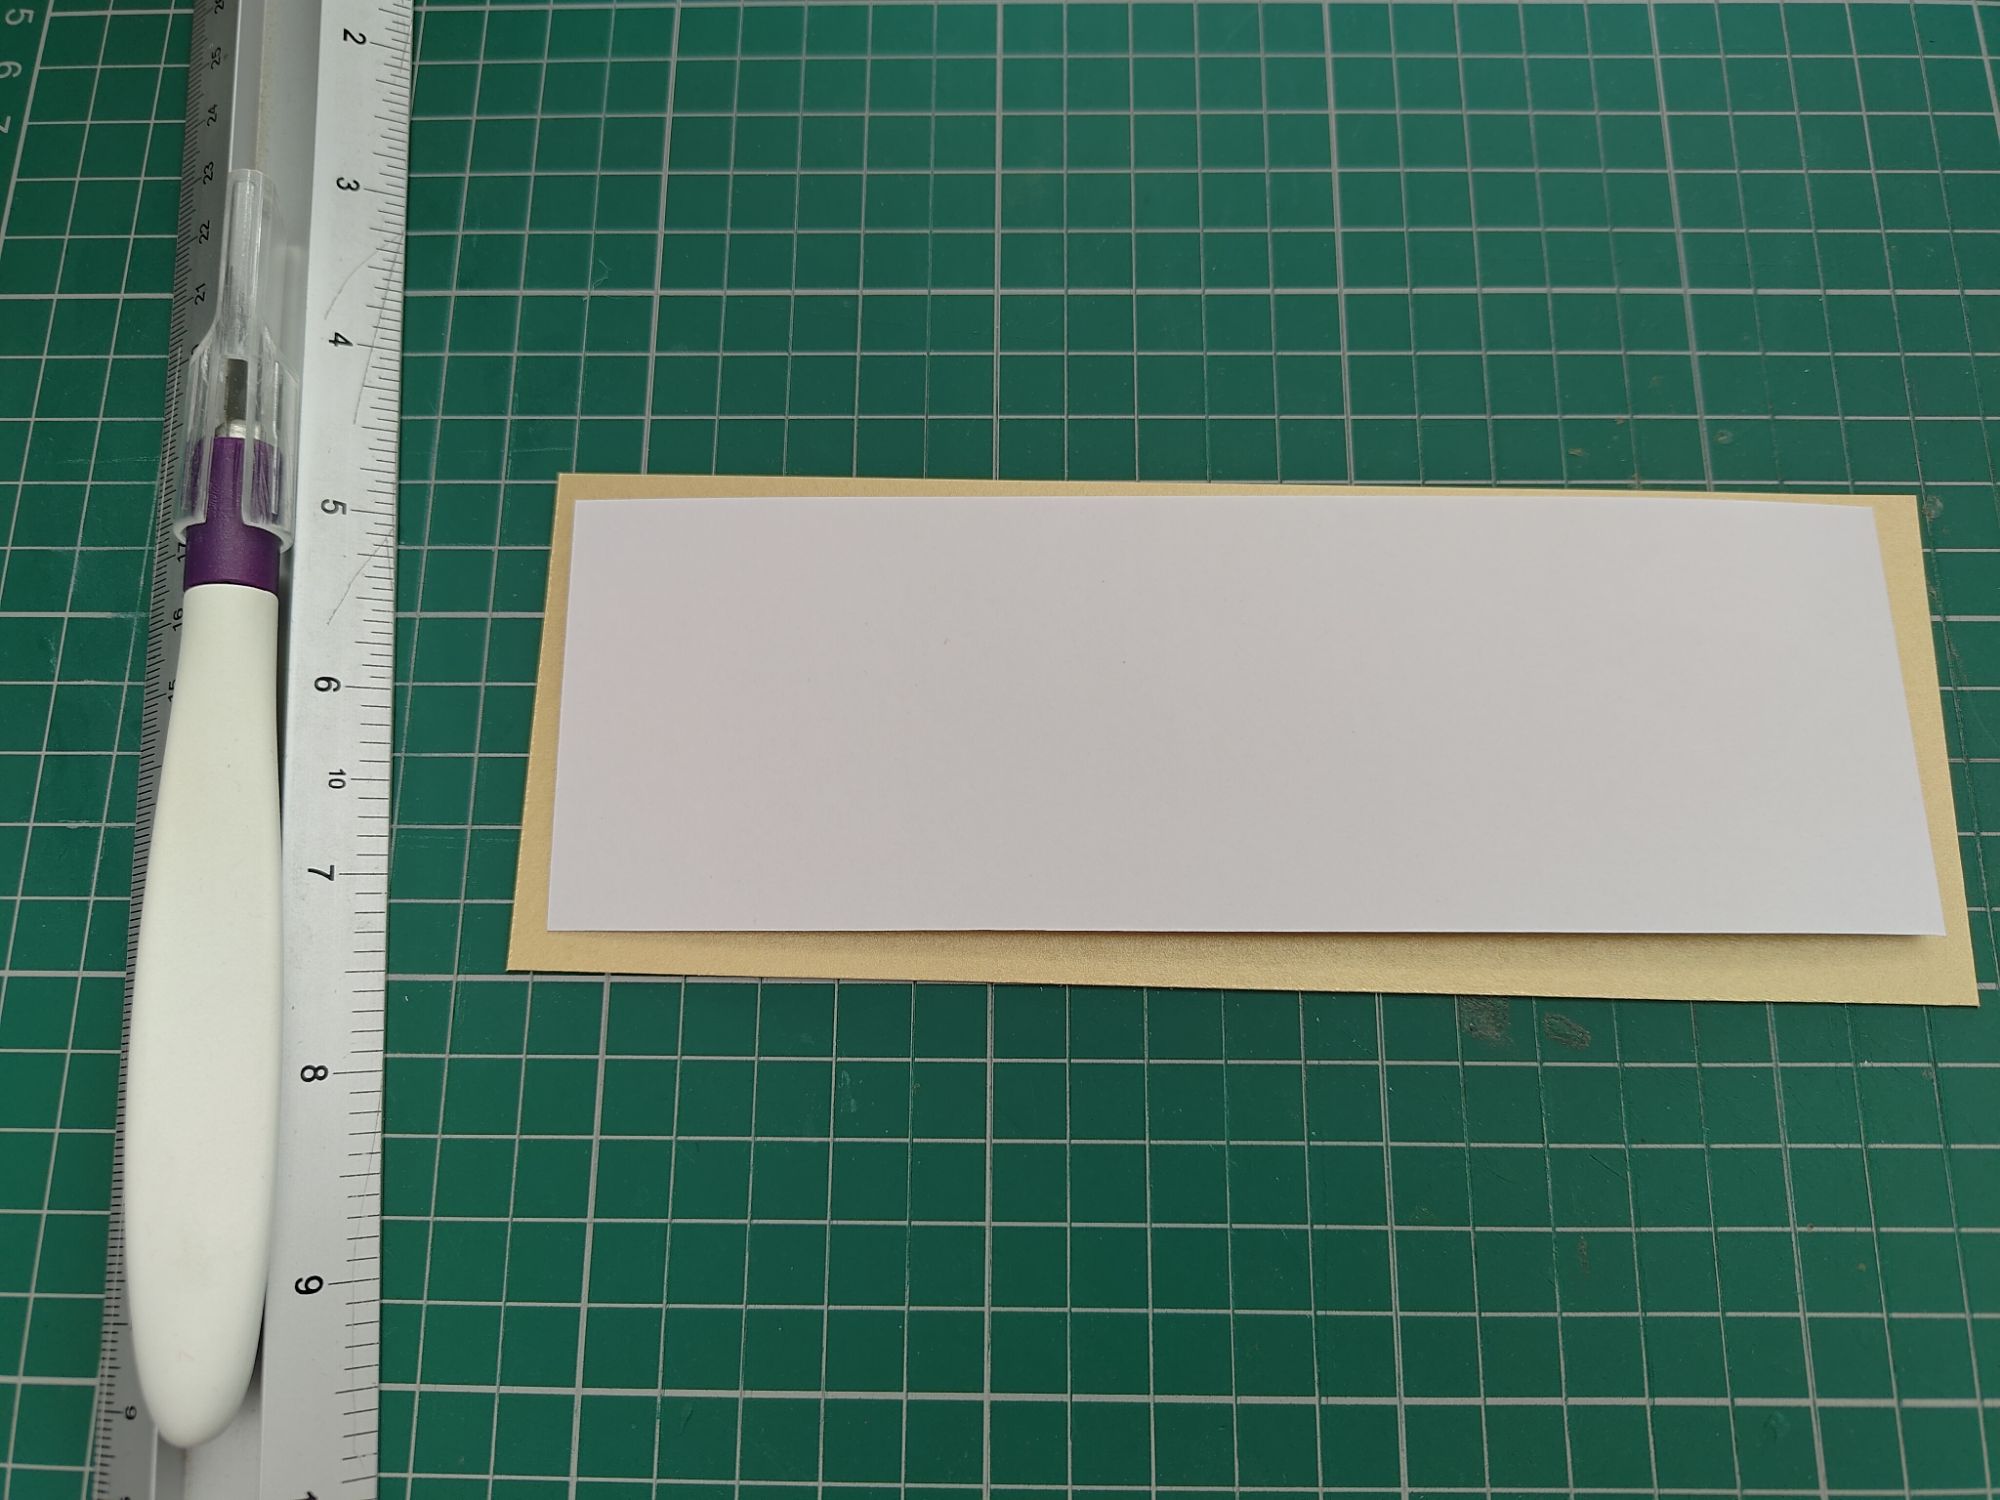
The first thing I did was cut out some rectangles from white and gold card, as I wanted to write our names and the date of the wedding for the title in fancy writing. The gold card was about 1cm bigger to make the border. I used a gold Sharpie marker to write the text – I had to write first with pencil and then draw over the lines to ensure neat handwriting! Then I glued the two pieces of card together with a liquid glue stick until mostly stuck together.
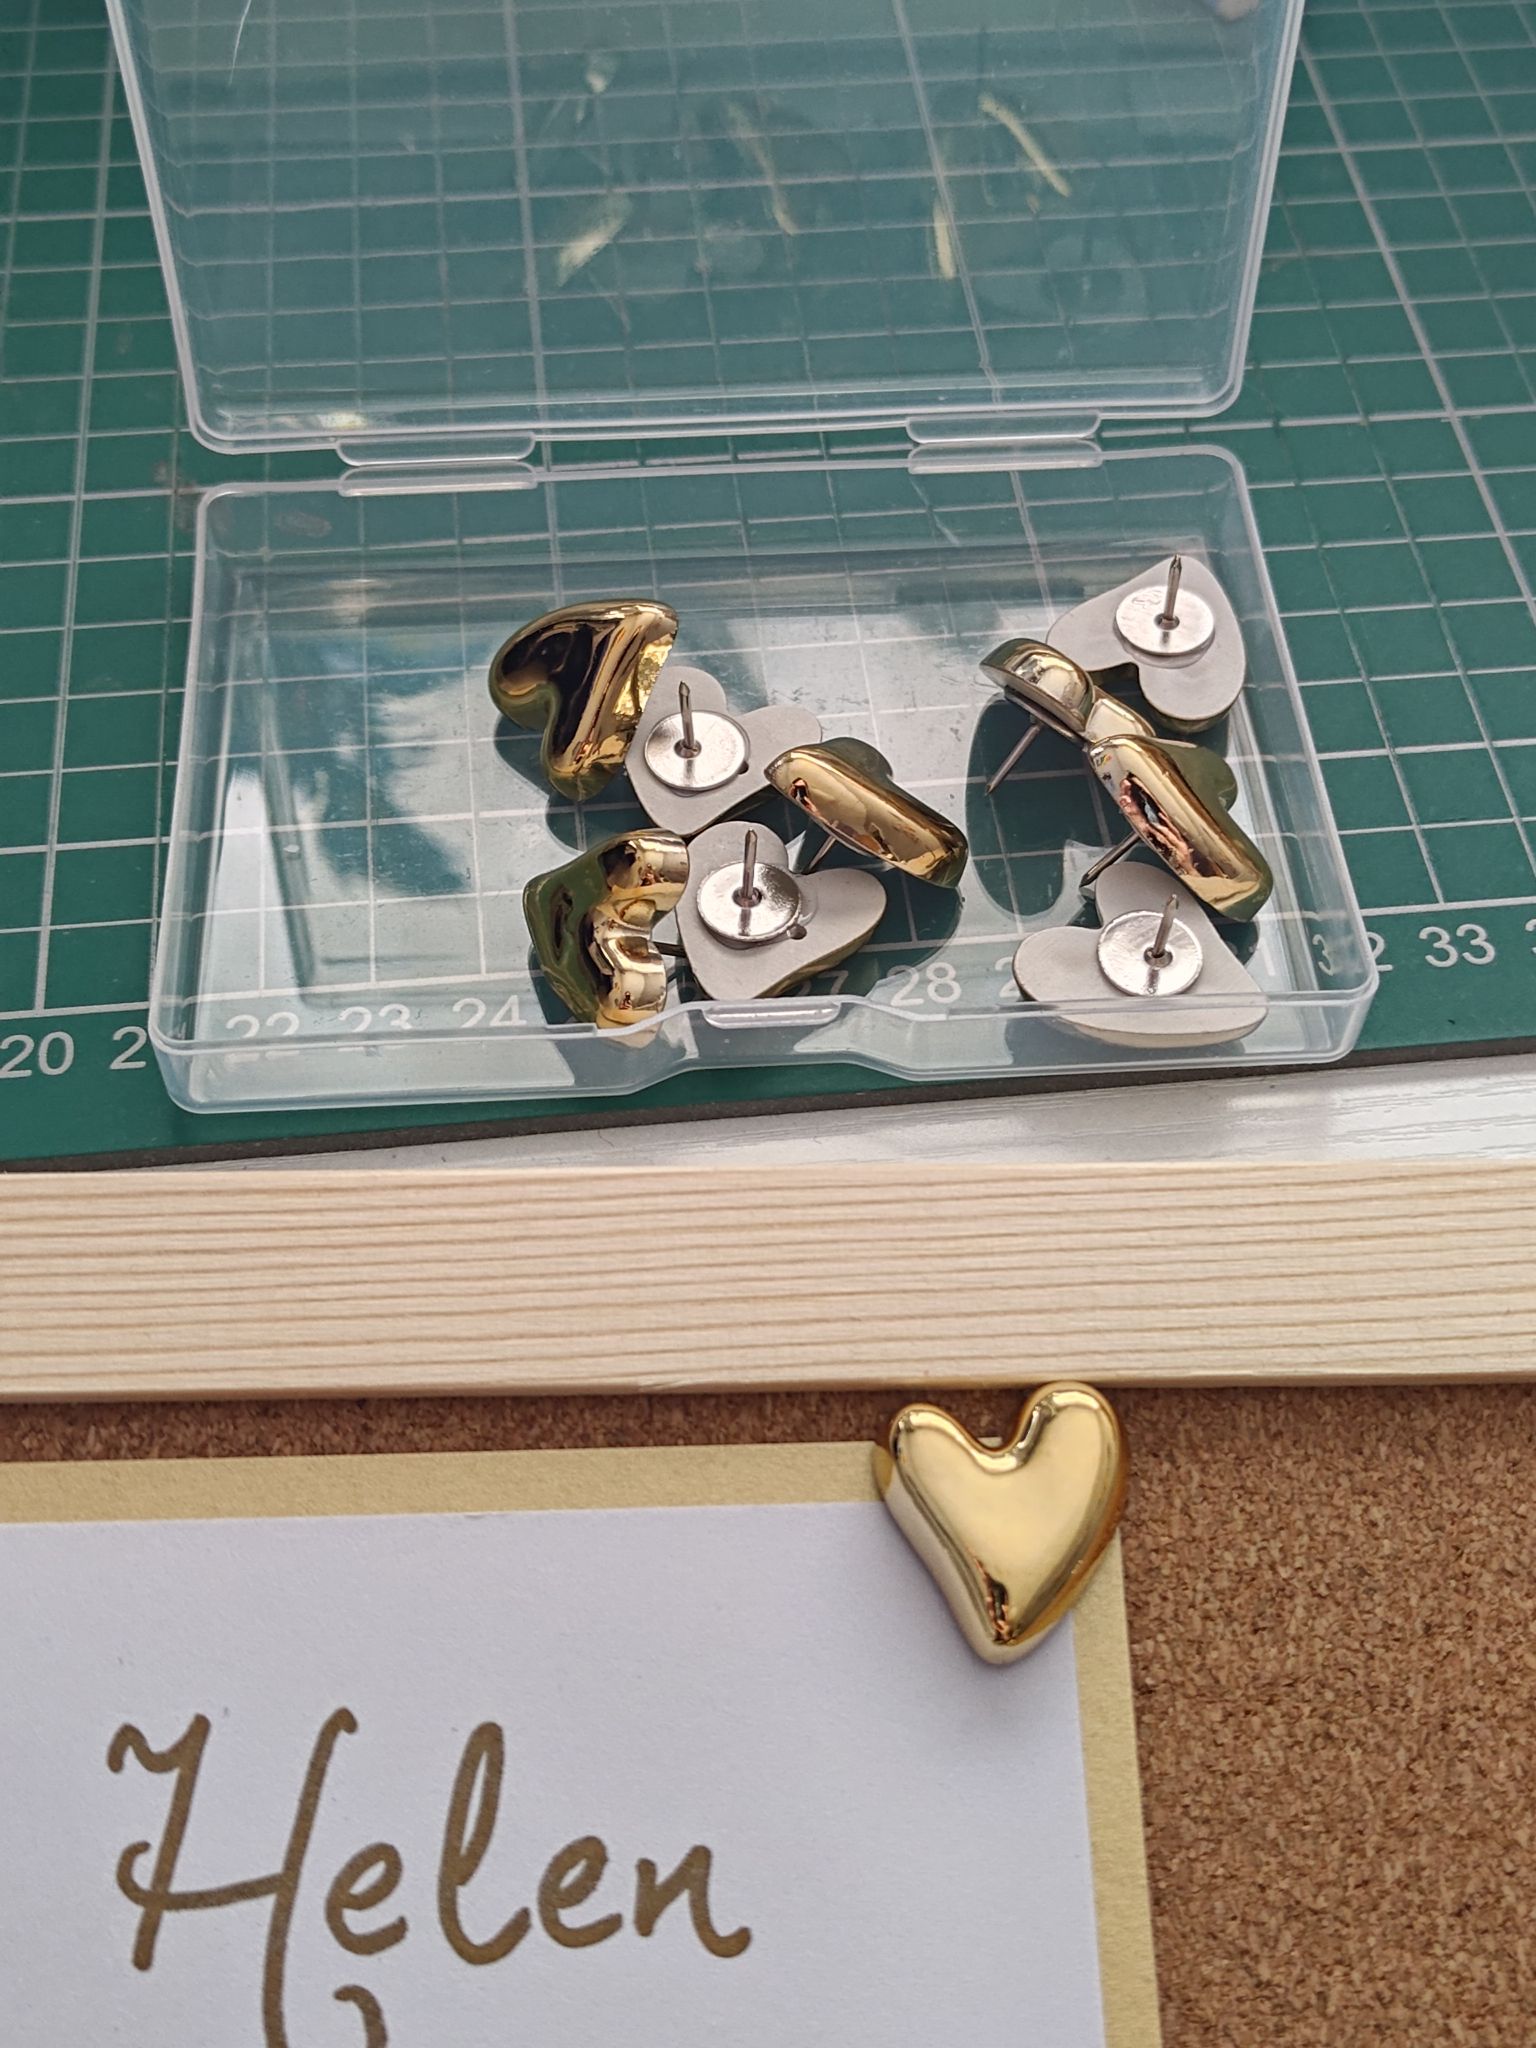
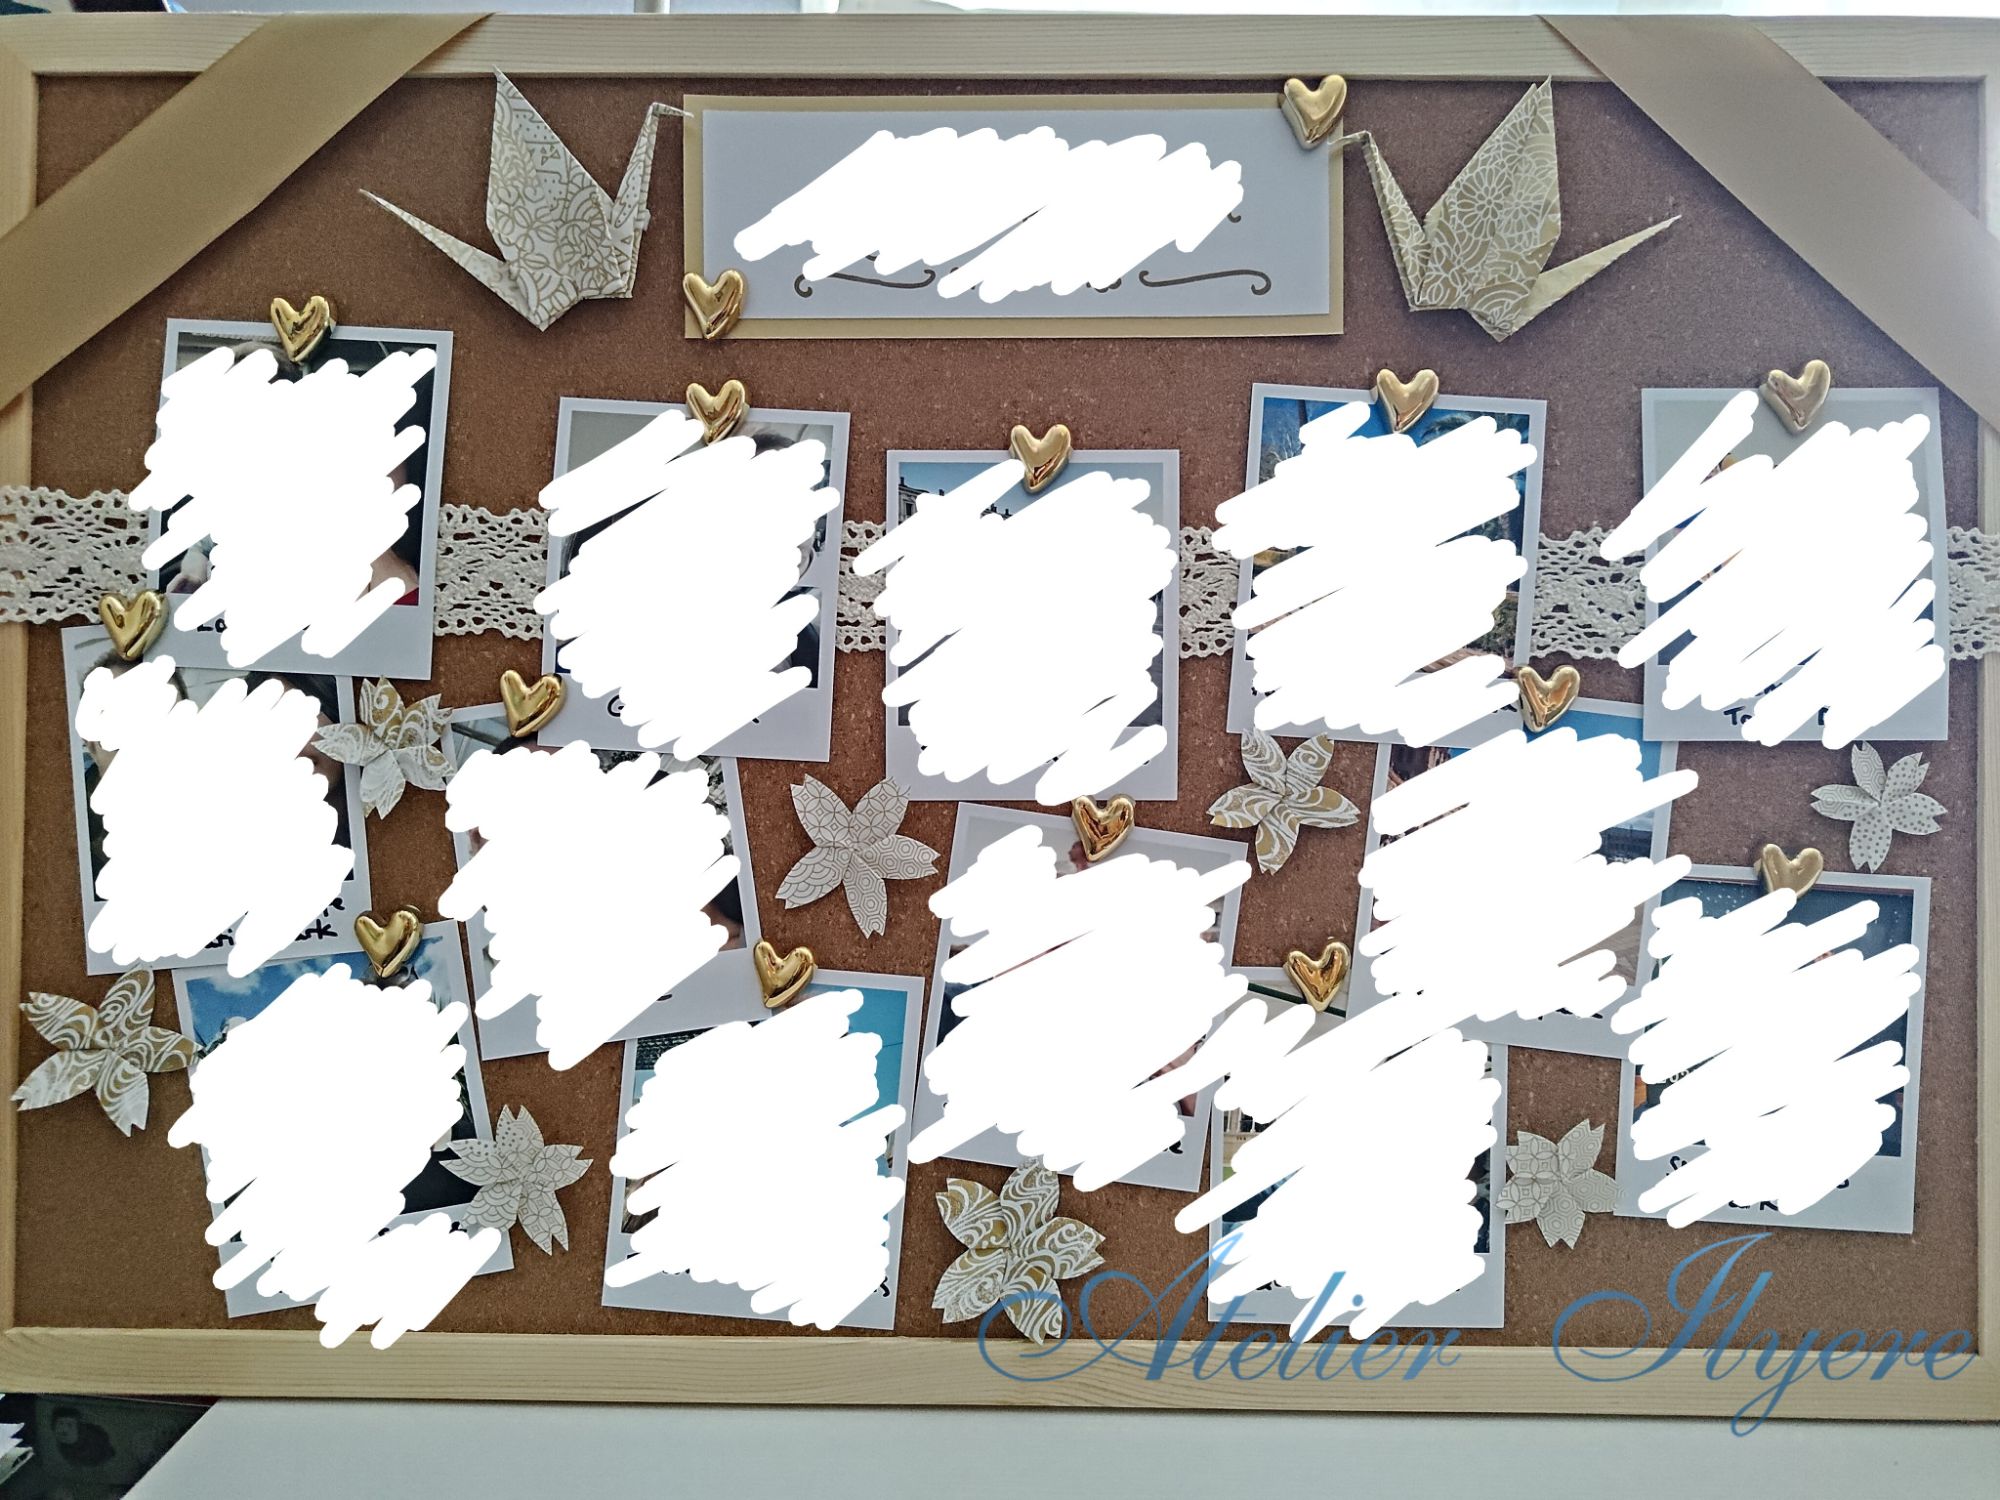
I had previously looked up cute push pins online and found these novelty gold heart pins on eBay! I used two of these to pin the title to the top of the notice board at opposite corners, then I used one pin per photo afterwards.
I arranged the photos in the way I wanted to and pinned them all down, then I removed the photos and left the pins in their locations to help with the decorating step later. I sort of did a generalised timeline going from left to right, where left were my earliest dated photos and right were photos from my latest holiday.
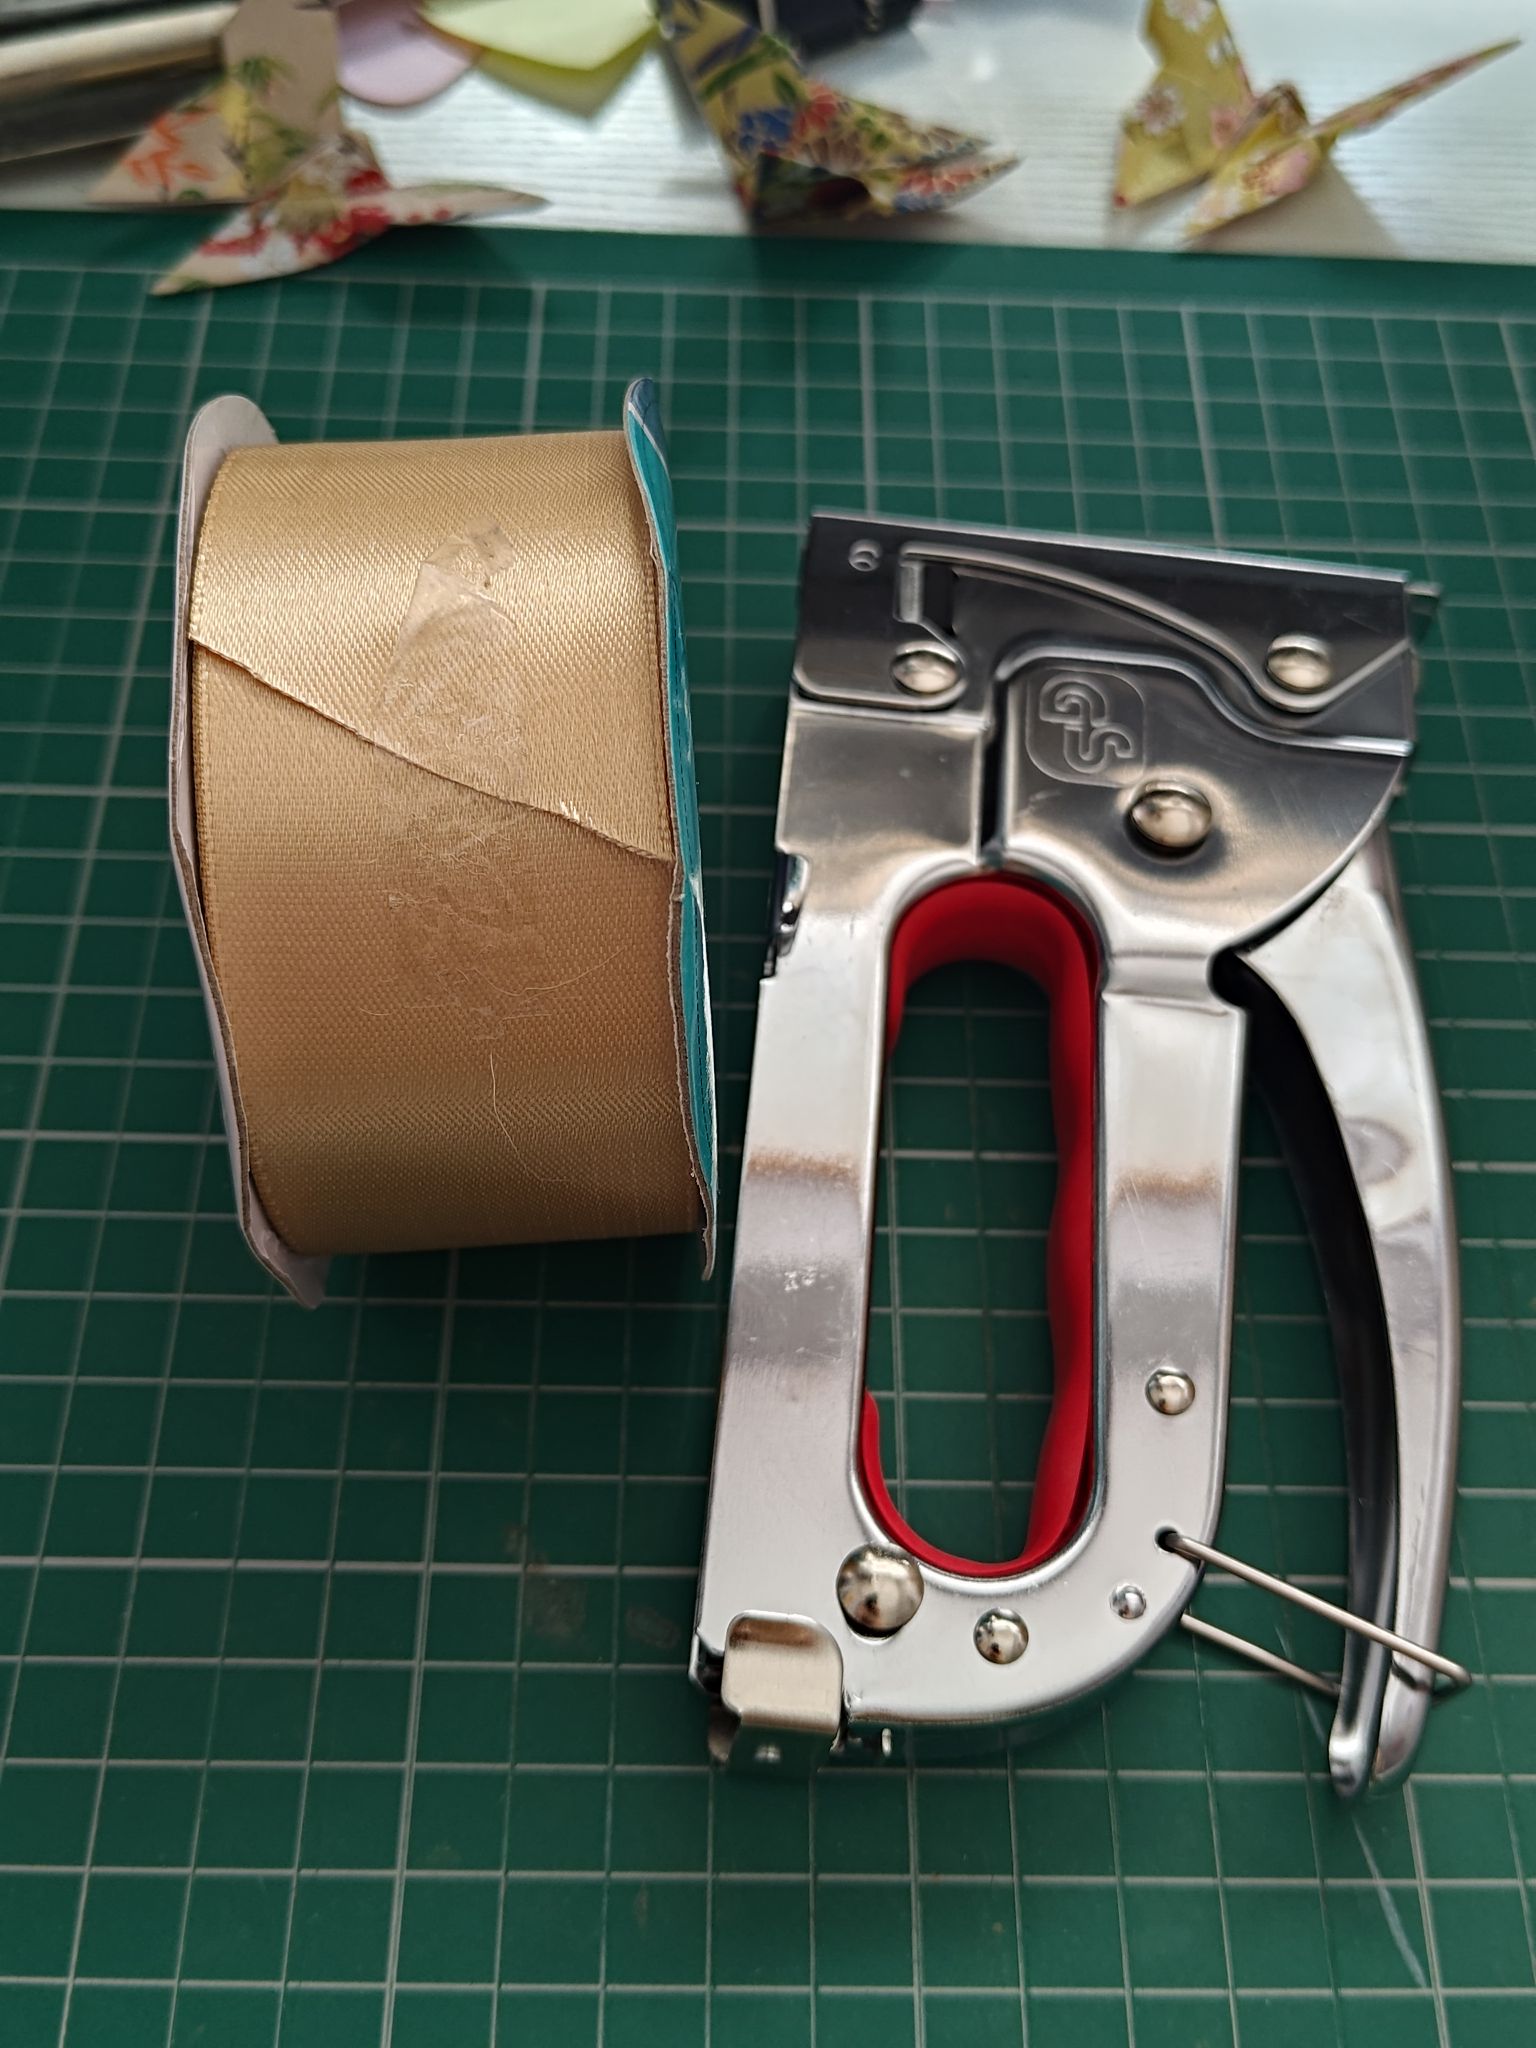
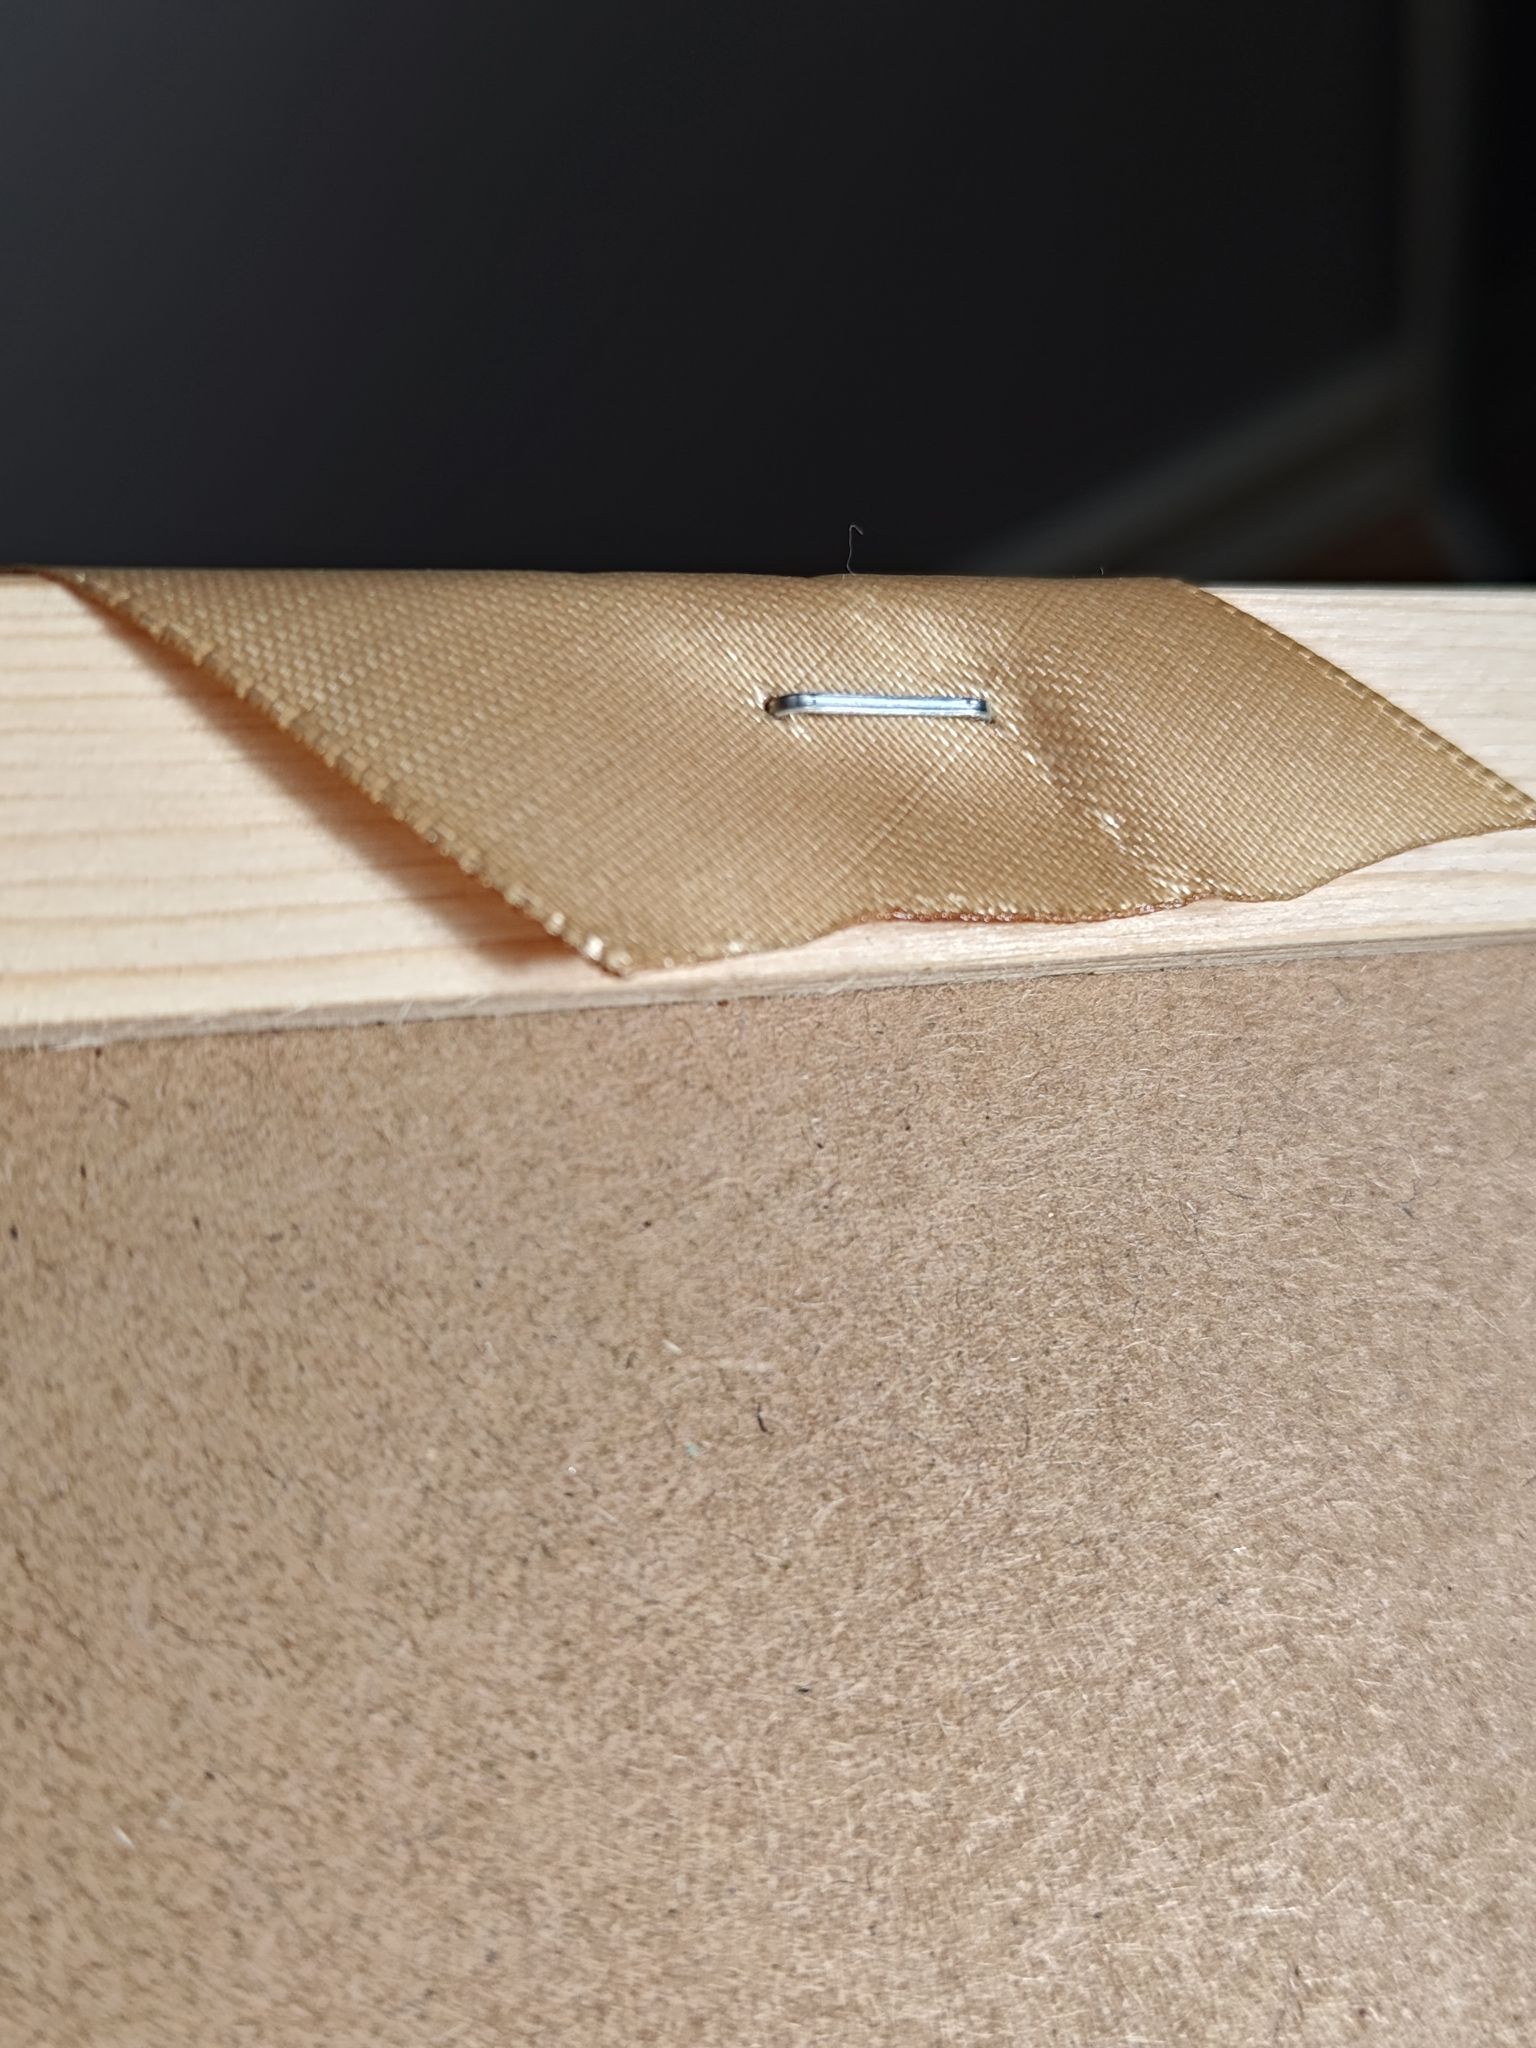
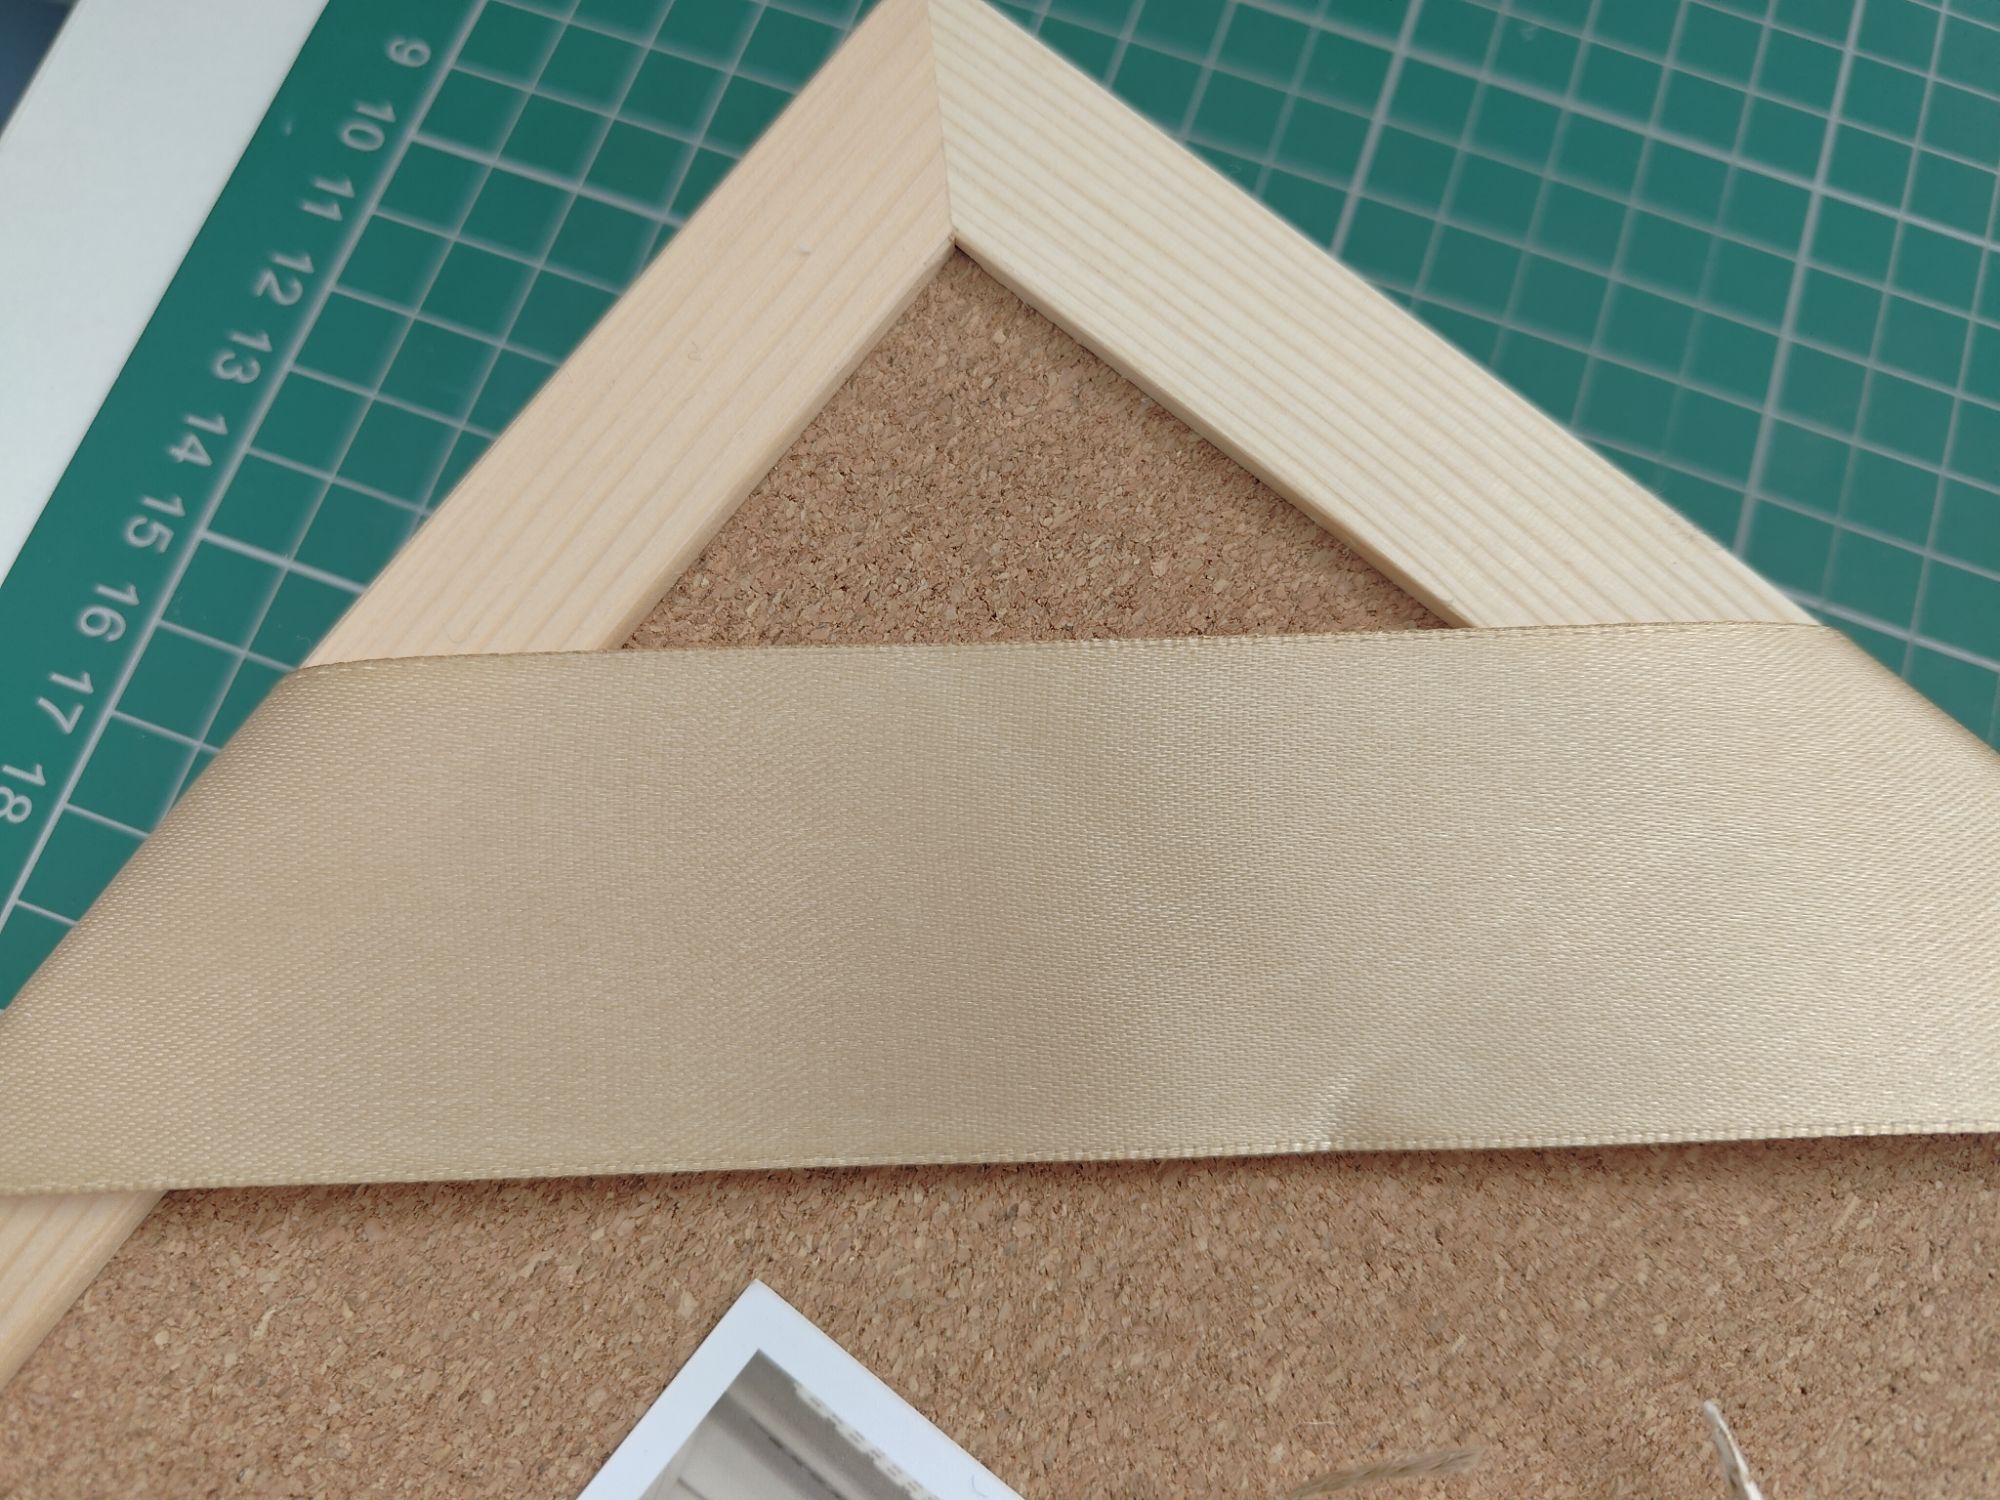
I also bought a staple gun for upholstery – it was a bit scary using them at first but after a few practice tries I got the hang of it! I used them to staple some ribbon accents to the top corners of the board. I cut out some gold satin ribbon long enough to go around the back and sealed the ends with a lighter, then I held the ribbon over the back of the wooden edge and stapled them down. One staple should be enough at each end.
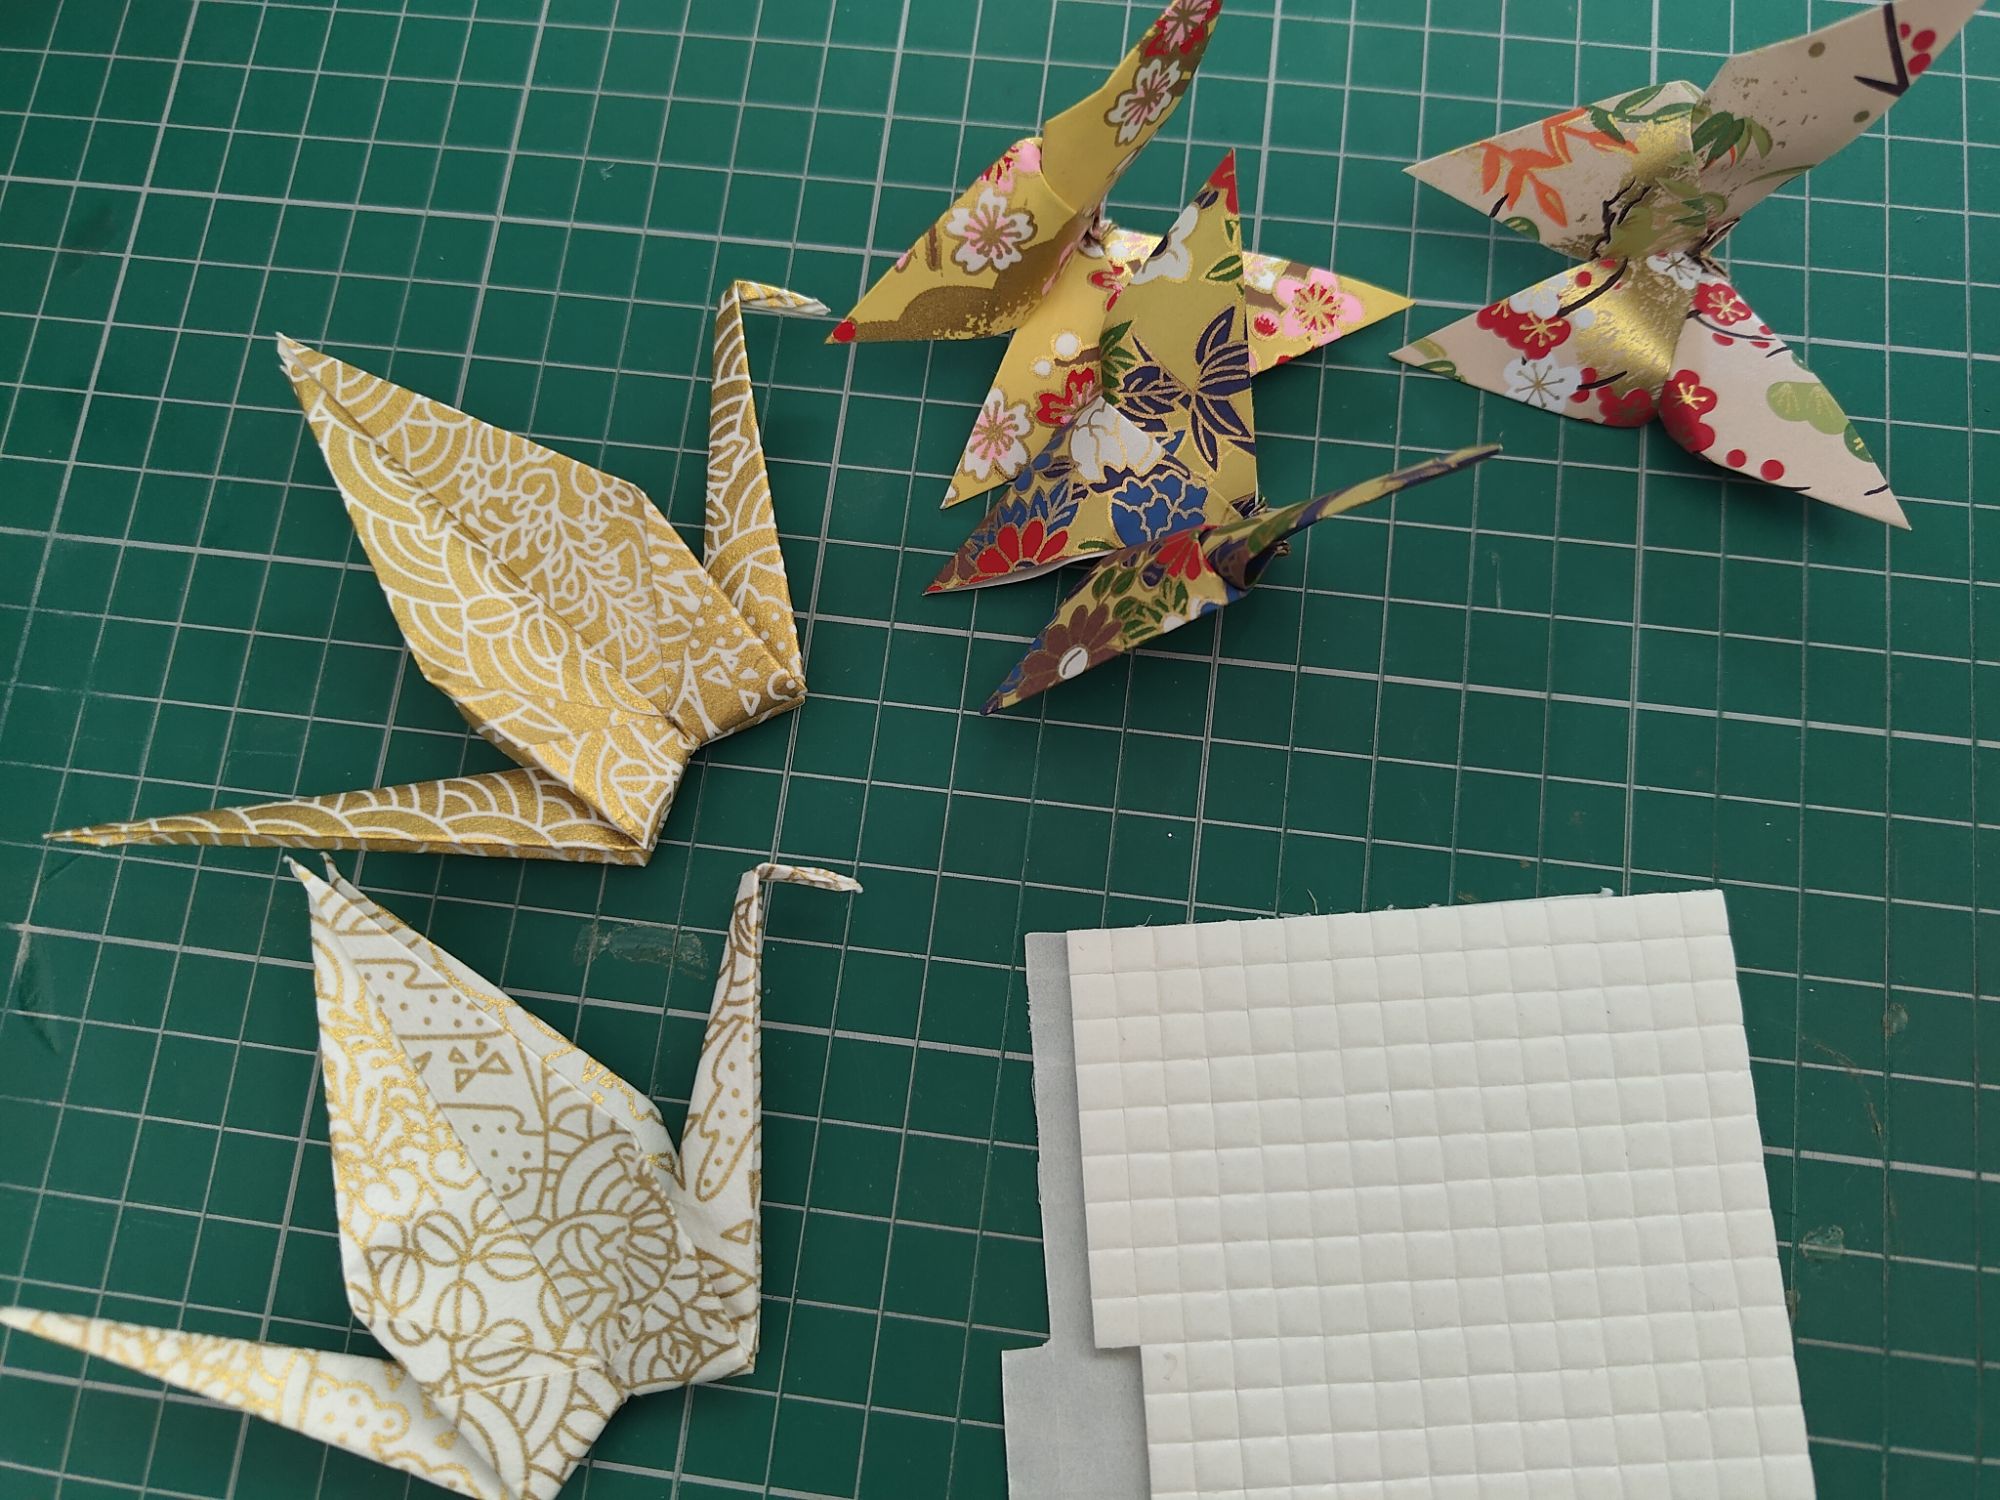
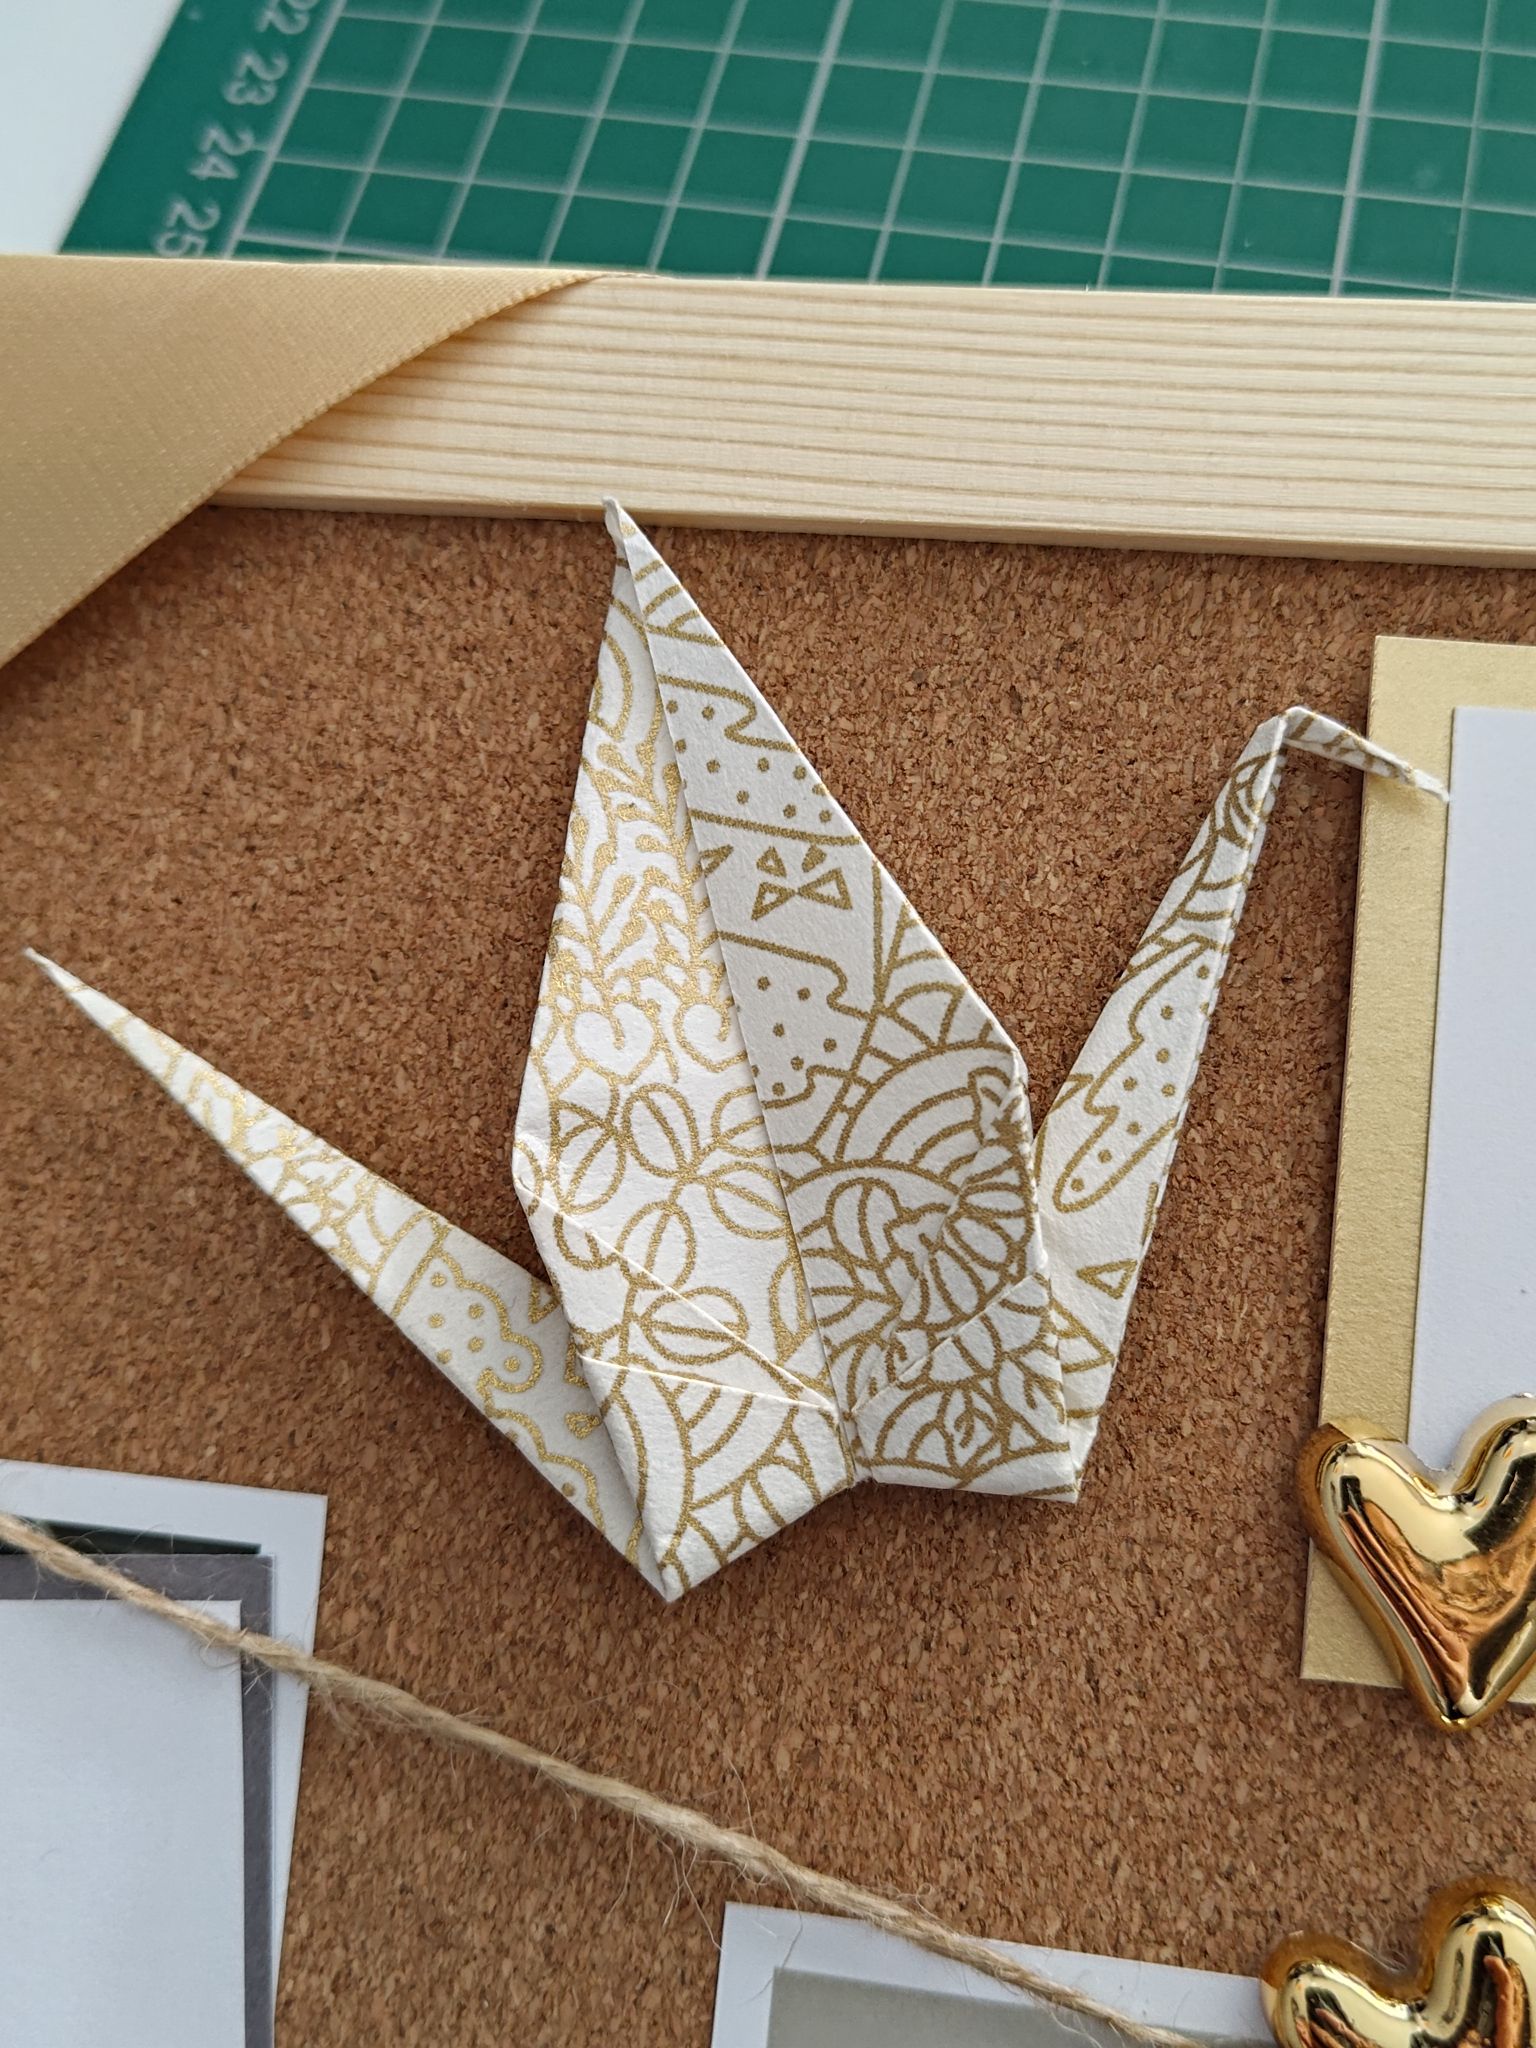
To fill in some of the space, I folded some origami cranes and butterflies out of spare gold and white washi. Then I planned on sticking them to the board with 3D sticky foam pads. I didn’t want to pin them down as the heart pins were quite big, however the foam pads didn’t work very well on the butterflies. They did work really well on the cranes though! I stuck one on either side of the title card.
I also explored using jute twine to connect the photos together at the pins but it didn’t look great on reflection. It is a lot of trial and error when using craft scraps!
I did find some spare lace ribbon in the stash and I just about had enough to go across the board horizontally. I cut out a long enough length and stapled the ends to the back of the board, like with the satin ribbon.
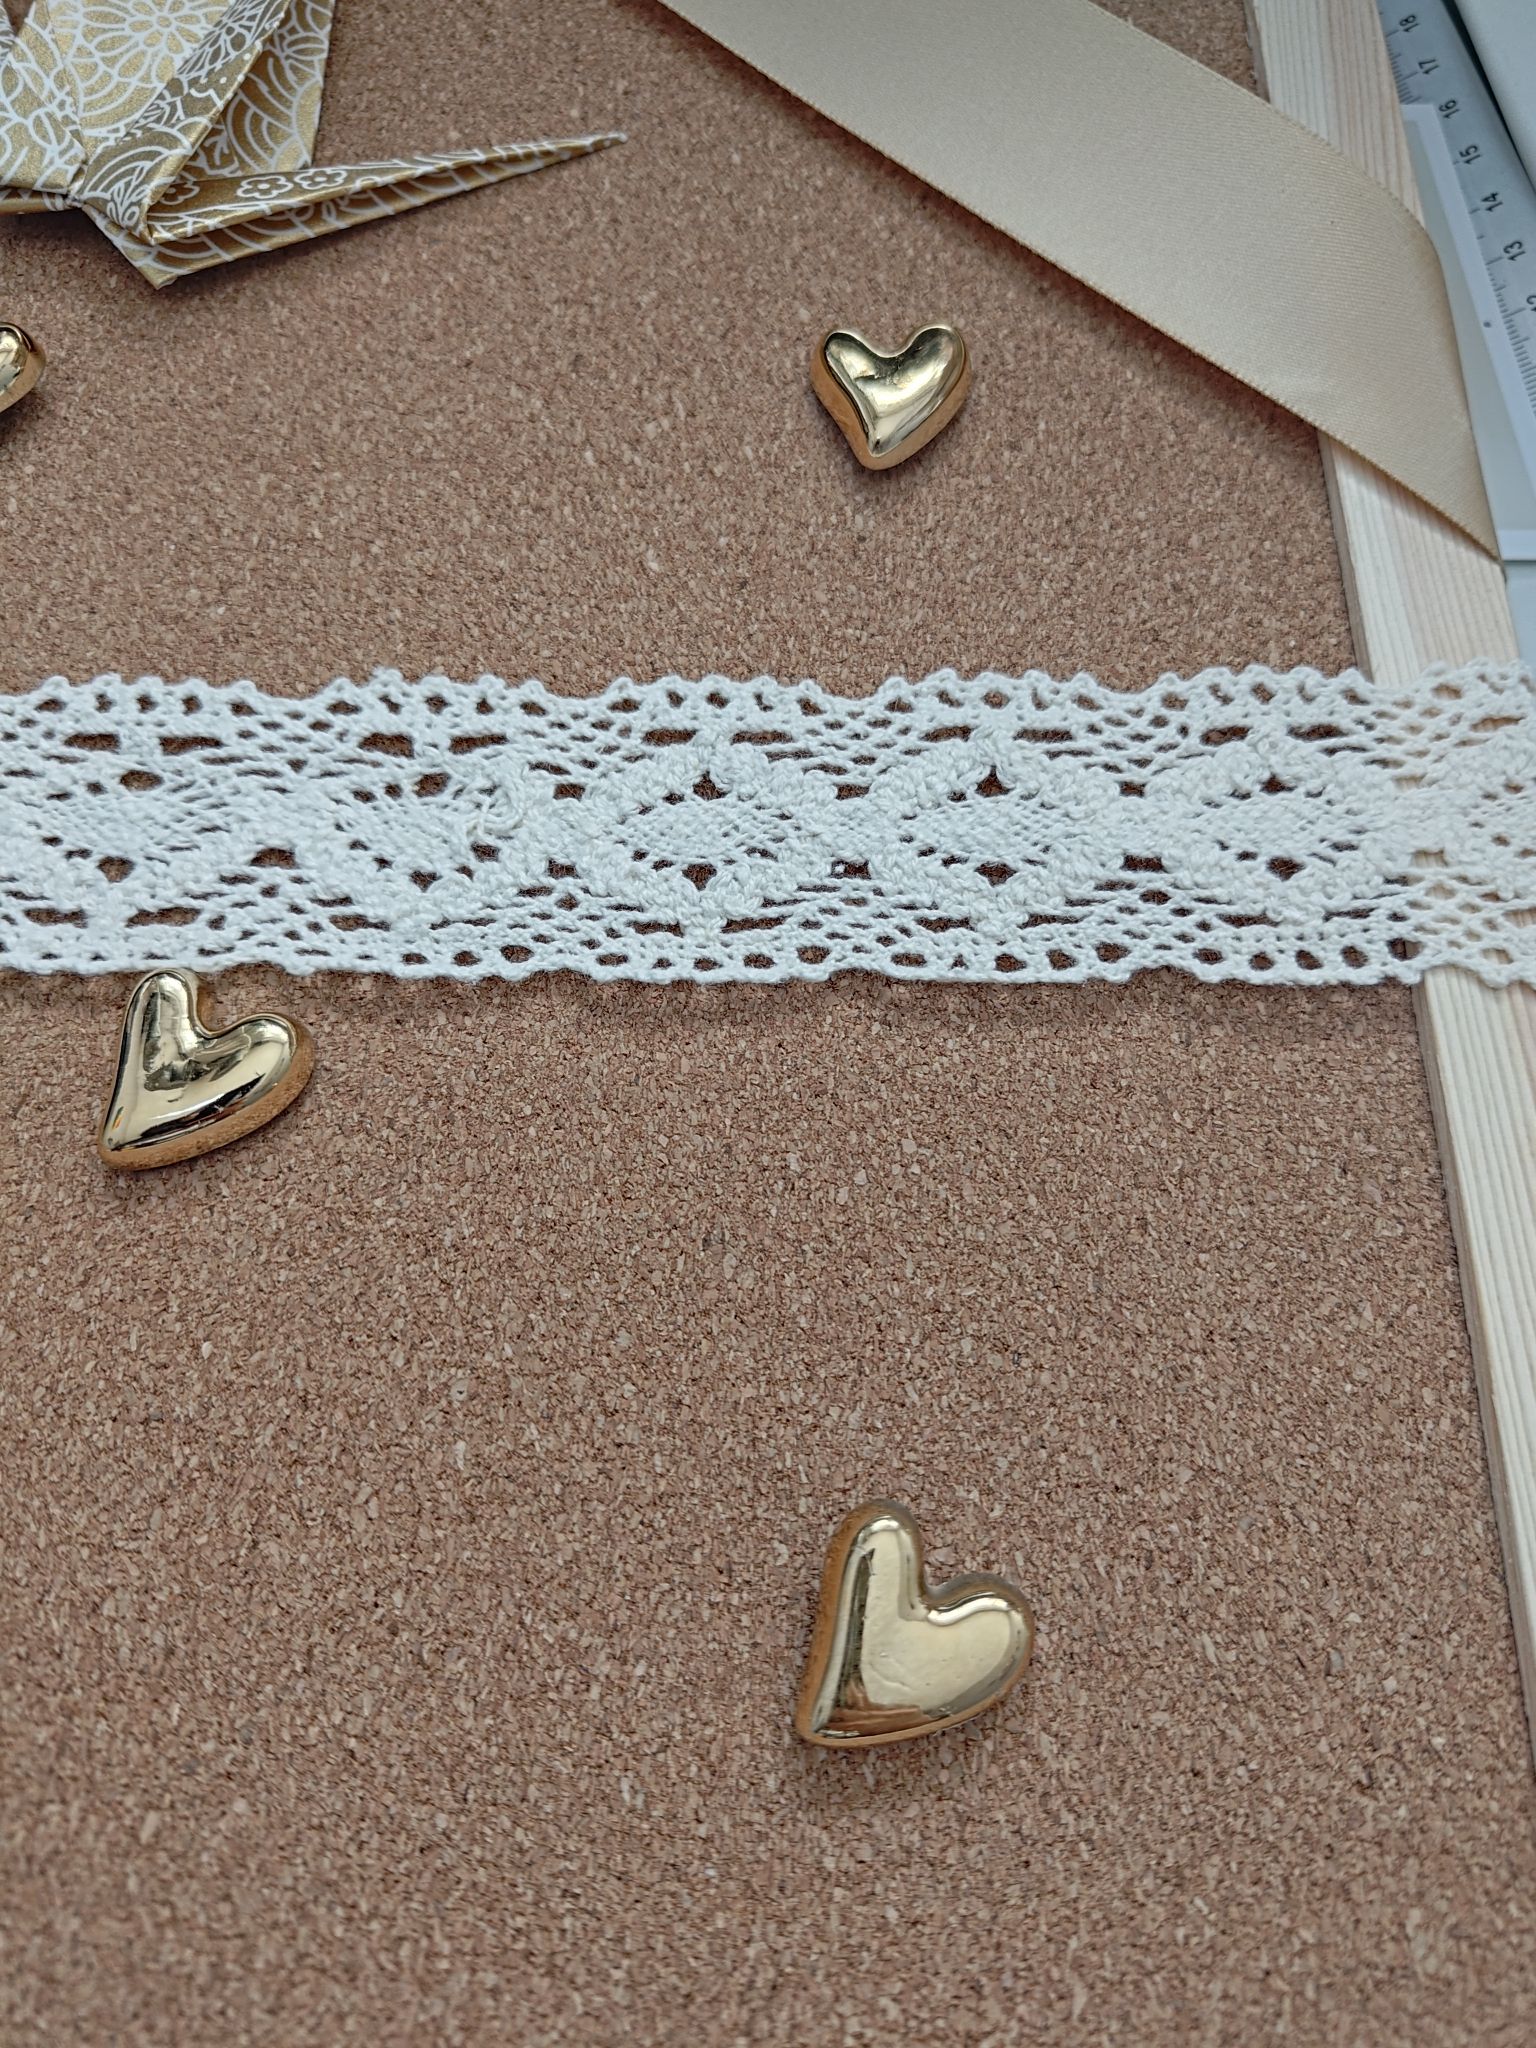
The lace ribbon lined up with the first row of photos after they were pinned again. I could have added more rows of ribbon, but I had an odd number of photos – 13 to be precise, so there was no way of neatly lining them up in rows and columns. I also ran out of lace ribbon; it really was a leftover scrap from a different project! I tried seeing if burlap ribbon could also work but it didn’t really match the theme of the board.
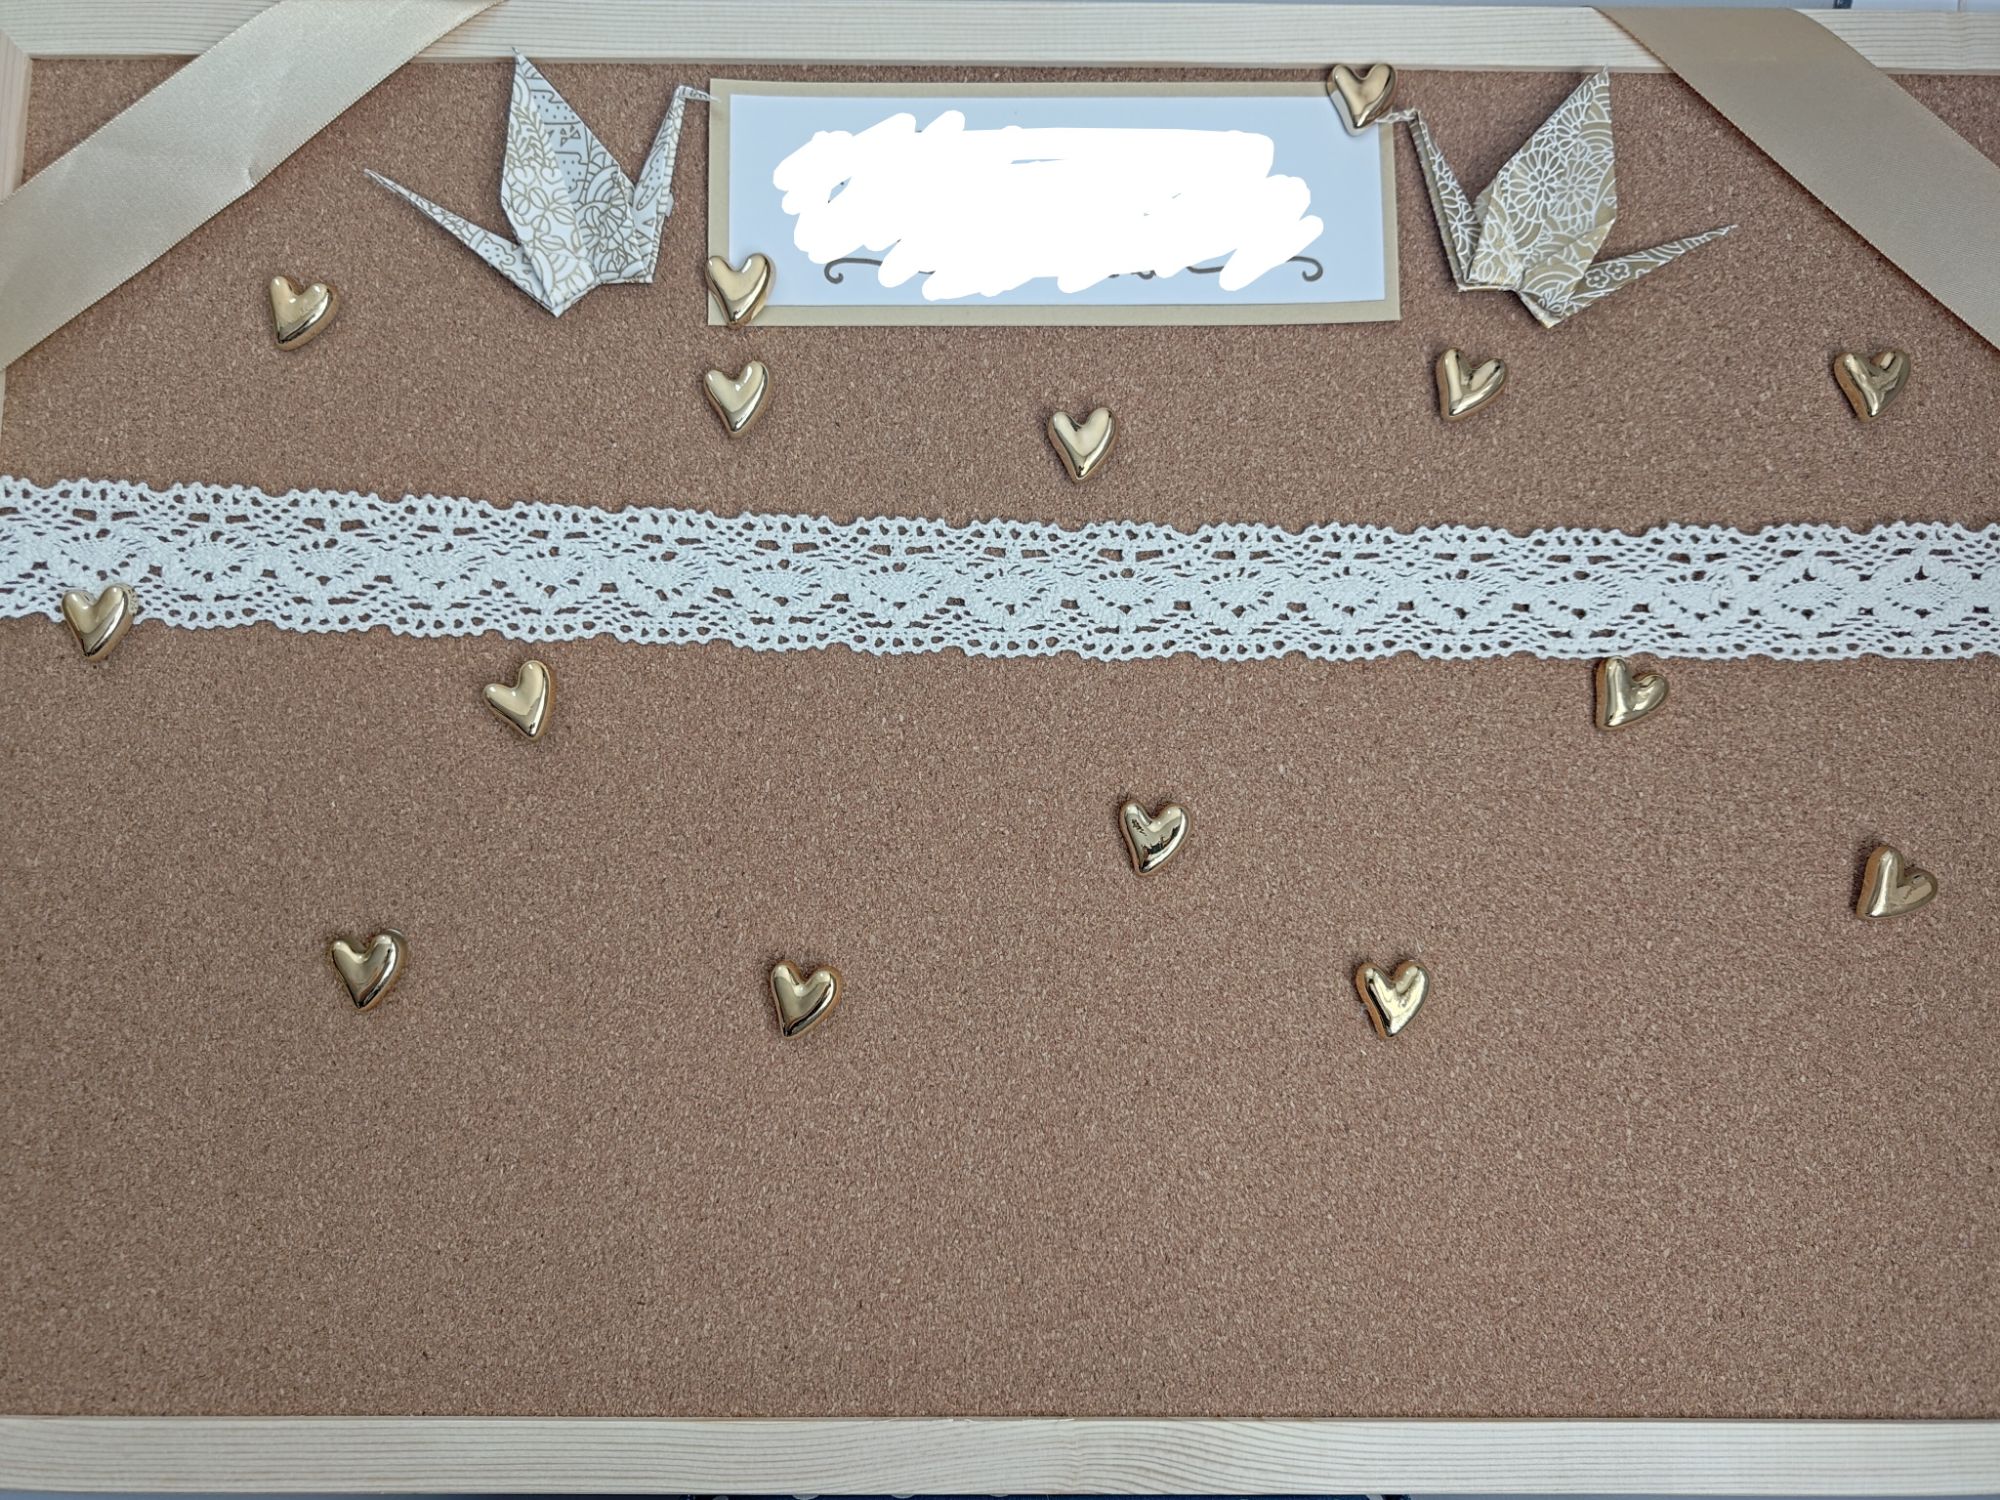
So using some ribbon, paper, and themed push pins, the plain notice board has been transformed into a gold-themed photo display! It looks a bit bare when the photos aren’t there, but they do take up a fair bit of space.
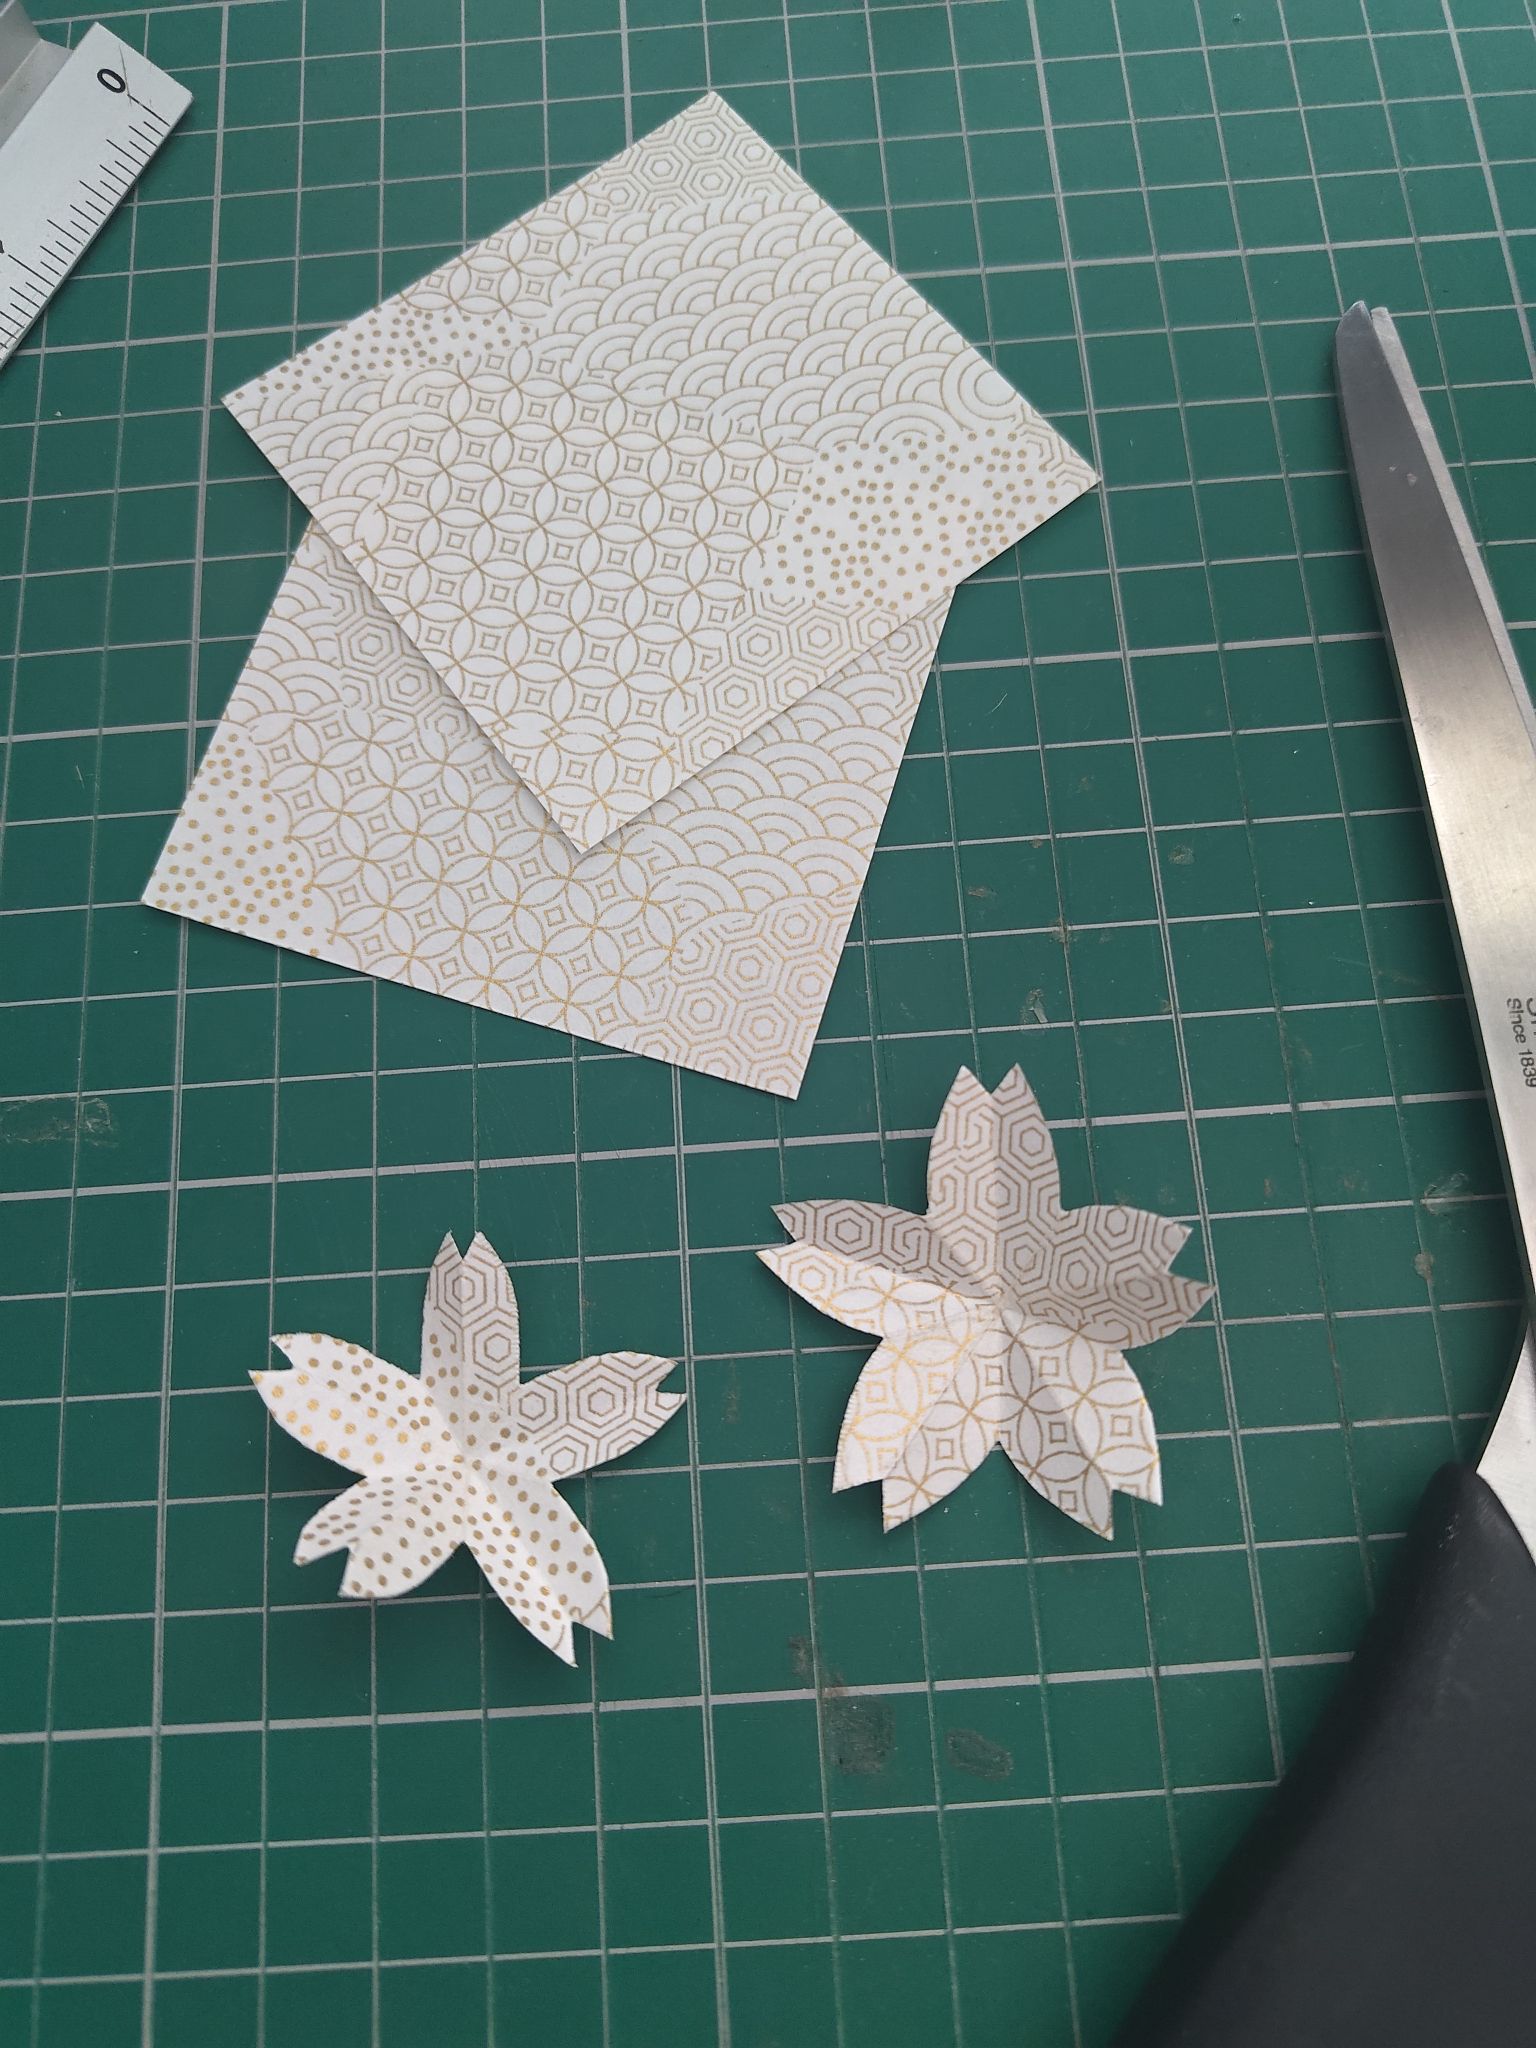
I could have stopped at the previous step and called it a day but I did think there was still a bit of space between the photos that could be filled in. Since the butterflies from earlier did not work out so well, I thought that something more 2D would would suit, so I cut out some flowers using scissors. I have commonly seen it referred to as kirigami cherry blossoms – here is an tutorial from Origami-Instructions.com. You can use them as is right after cutting them out if the last folds are too fiddly; I just about managed with how small the paper was! I stuck these down with the foam pads as well. I repositioned things a lot here, and it turns out the foam pads were quite sticky and would tear bits of cork out! Be careful before sticking things down.
Also this is quite thematic to use cherry blossoms – we loved our trip to Japan so much that we will be heading there again for our honeymoon!
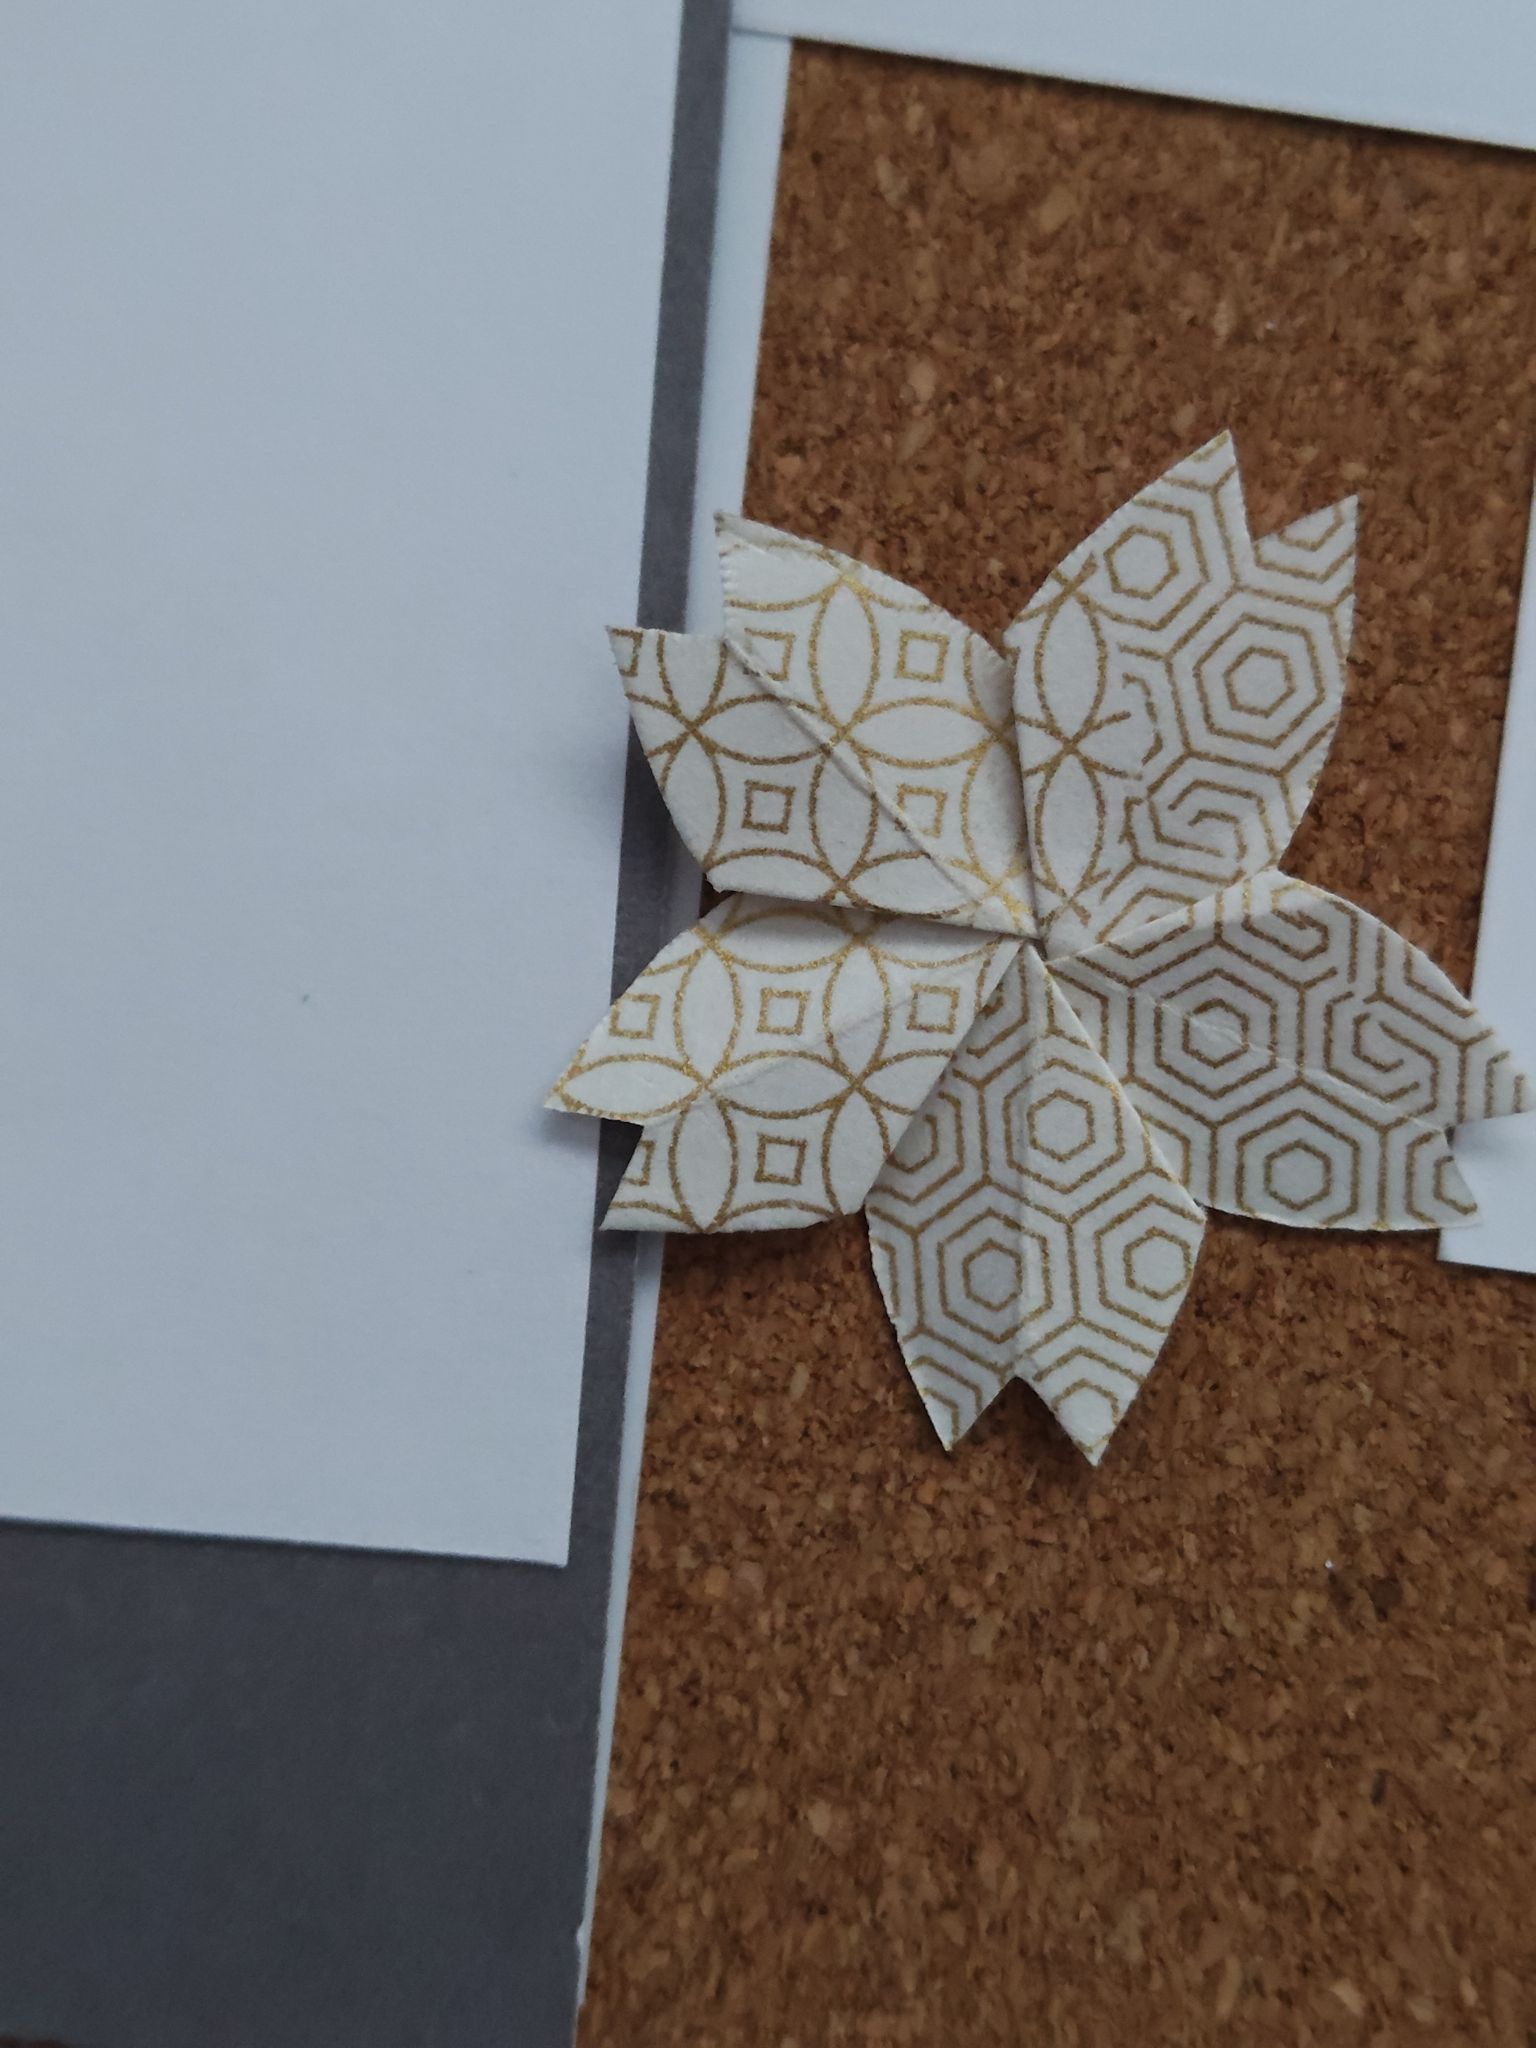
The final photo looks a lot better after I stuck everything down, but it does look a little silly with all the white pen censoring all the photos and the text. Hope you understand why I have done this! And hopefully it shows a really neat way to transform a plain notice board into a keepsake photo gallery. I would certainly love to display this somewhere after its wedding debut!
Materials used:
– retro photo prints
– a 40cm by 60cm cork notice board
– gold heart push pins
– gold satin ribbon
– cream lace ribbon
– white and gold origami paper
Tools used:
– craft knife and cutting mat
– liquid glue gun
– sticky foam pads
– staple gun and staples
– scissors

