
Lately my posts have all been wedding-focused (if you are new here, please see the Wedding posts category for my journey so far!) but I have hit a bit of a wall since I have done all the main tasks so far. I need more materials to do the other stuff which are just nice-to-haves, so I have put them aside for a bit to go back to usual crafting. Well it is summer once again (and quite the insufferable one for us in the UK since we don’t have air con…) so I wanted to revisit fabric flower hair clips. My last set was done back in August last year for similar reasons! And there were quite a few patterns that I did not use, so let’s expand the colour palette as well!
As a foreword, all fabric flower clips that I made in this post only require basic sewing knowledge and are hand-sewn with a needle. You will also need scissors to cut the fabric, and a hot glue gun to stick on the felt backing and the alligator clip. You may also wish to use an iron to remove creases and a sewing machine if you prefer. Each section shows the starting materials, a slideshow of instructions, and the finished product. Follow along if you want to! Incidentally I also dropped the “hair” from the hair clips title as they don’t necessarily have to be worn as hair accessories!
First off, I wanted to try a new technique and I found this old post on The Crafting Chicks for creating easy ruffle fabric flowers. I chose two blue fabric fat quarters in different shades, some neutral-coloured grey felt and some grey thread. I never usually choose a button at this stage as I like to do that near the end of making the flower, but I also have this massive fish bowl of various buttons to go through at my leisure.

I cut long lengths of each fabric, the lighter blue with 8cm width and the darker blue with 10cm width, with the intention to use one flower on top of the other. Both were about 30cm in length. I also used an iron at this stage to iron out the creases before starting.
You simply need to fold the fabric in half lengthways so that the right side is showing, then do a running stitch along the cut ends. I cut them very messy but it doesn’t need to be neat as they will mostly be hidden! Once I reached the end, pulling the thread will gather the fabric so that it naturally gathers in a circle. I sewed the smaller light blue flower on top of the larger dark blue. Then I added a button on top and a felt disc below to cover the centre.

The starting pieces of fabric roughly cut out. One is a little wider than the other. 
One piece of fabric, folded in half to show the right side and pinned. 
Starting a running stitch along the cut edges. 
Pulling the thread to gather the fabric. 
The fabric fully gathered together. 
On the back side, the two edges are sewn together with a double running stitch. 
A second, slightly larger flower made in the same way. 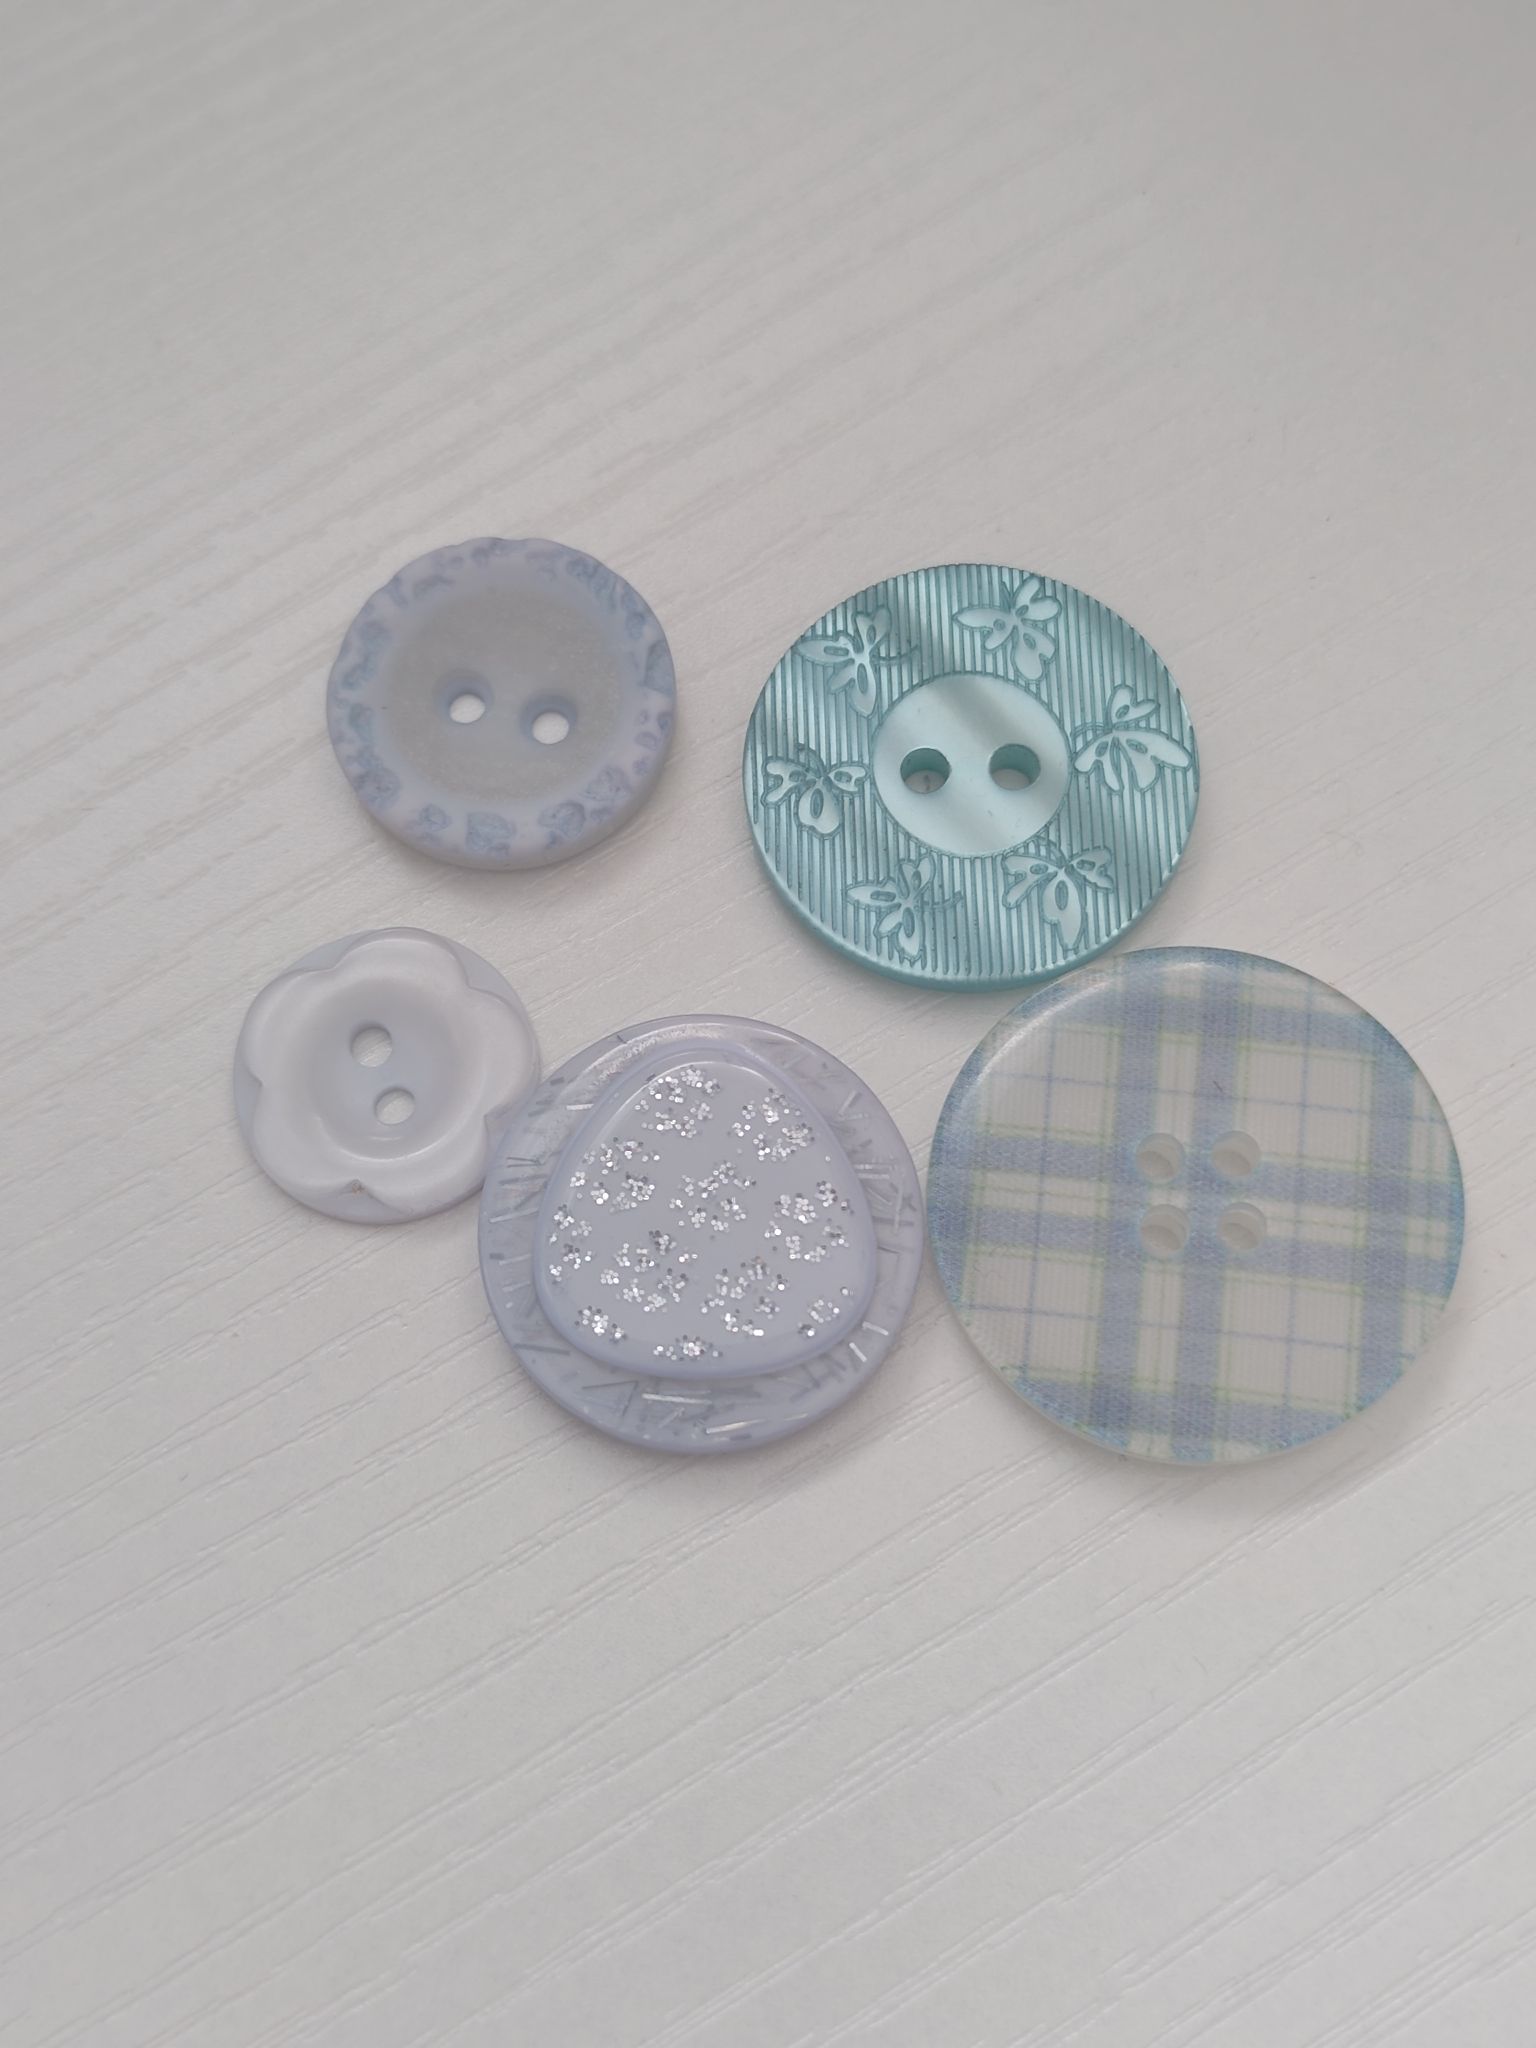
Choosing a matching button to go on top. Any of these would work! 
Attaching the button and the two flowers together by the same thread. 
A piece of felt and an alligator clip hot glued to the back of the flower.
The finished size was about 20cm in diameter. It is a little on the larger side so you could use it as a brooch instead. There is also room to add smaller layers if you want more colour and height!

My next flower used the floral orange fat quarter bundle. There were two different patterns so I wanted to do the curved petal flower from last time. I also used yellow felt and orange felt.

I cut out a card template of a circle with 10cm diameter, larger than my previous size of 8cm, and cut out six matching circles, three of each pattern. Then I folded each one in half with the right side facing out and did a running stitch along the curved edge, until all circles were joined and gathered. This is the same thing I did for the blue five-petal flower in my previous post.
The flower ended up being quite larger than expected, so I needed to use a very large button to cover the centre. I chose a large plain yellow button, with a smaller orange textured button to add colour. I covered the back with a large yellow felt disc and a clip hot glued on.

Six circles of fabric cut out using a template, three in each pattern. 
Starting a running stitch along the curved edge of a circle folded in half, right side showing. 
Joining alternating patterns with the same thread in the same way. 
Pulling the fabric to gather the petals together. 
The back of the flower without the felt disc and clip but with the front button. The centre hole is quite large. 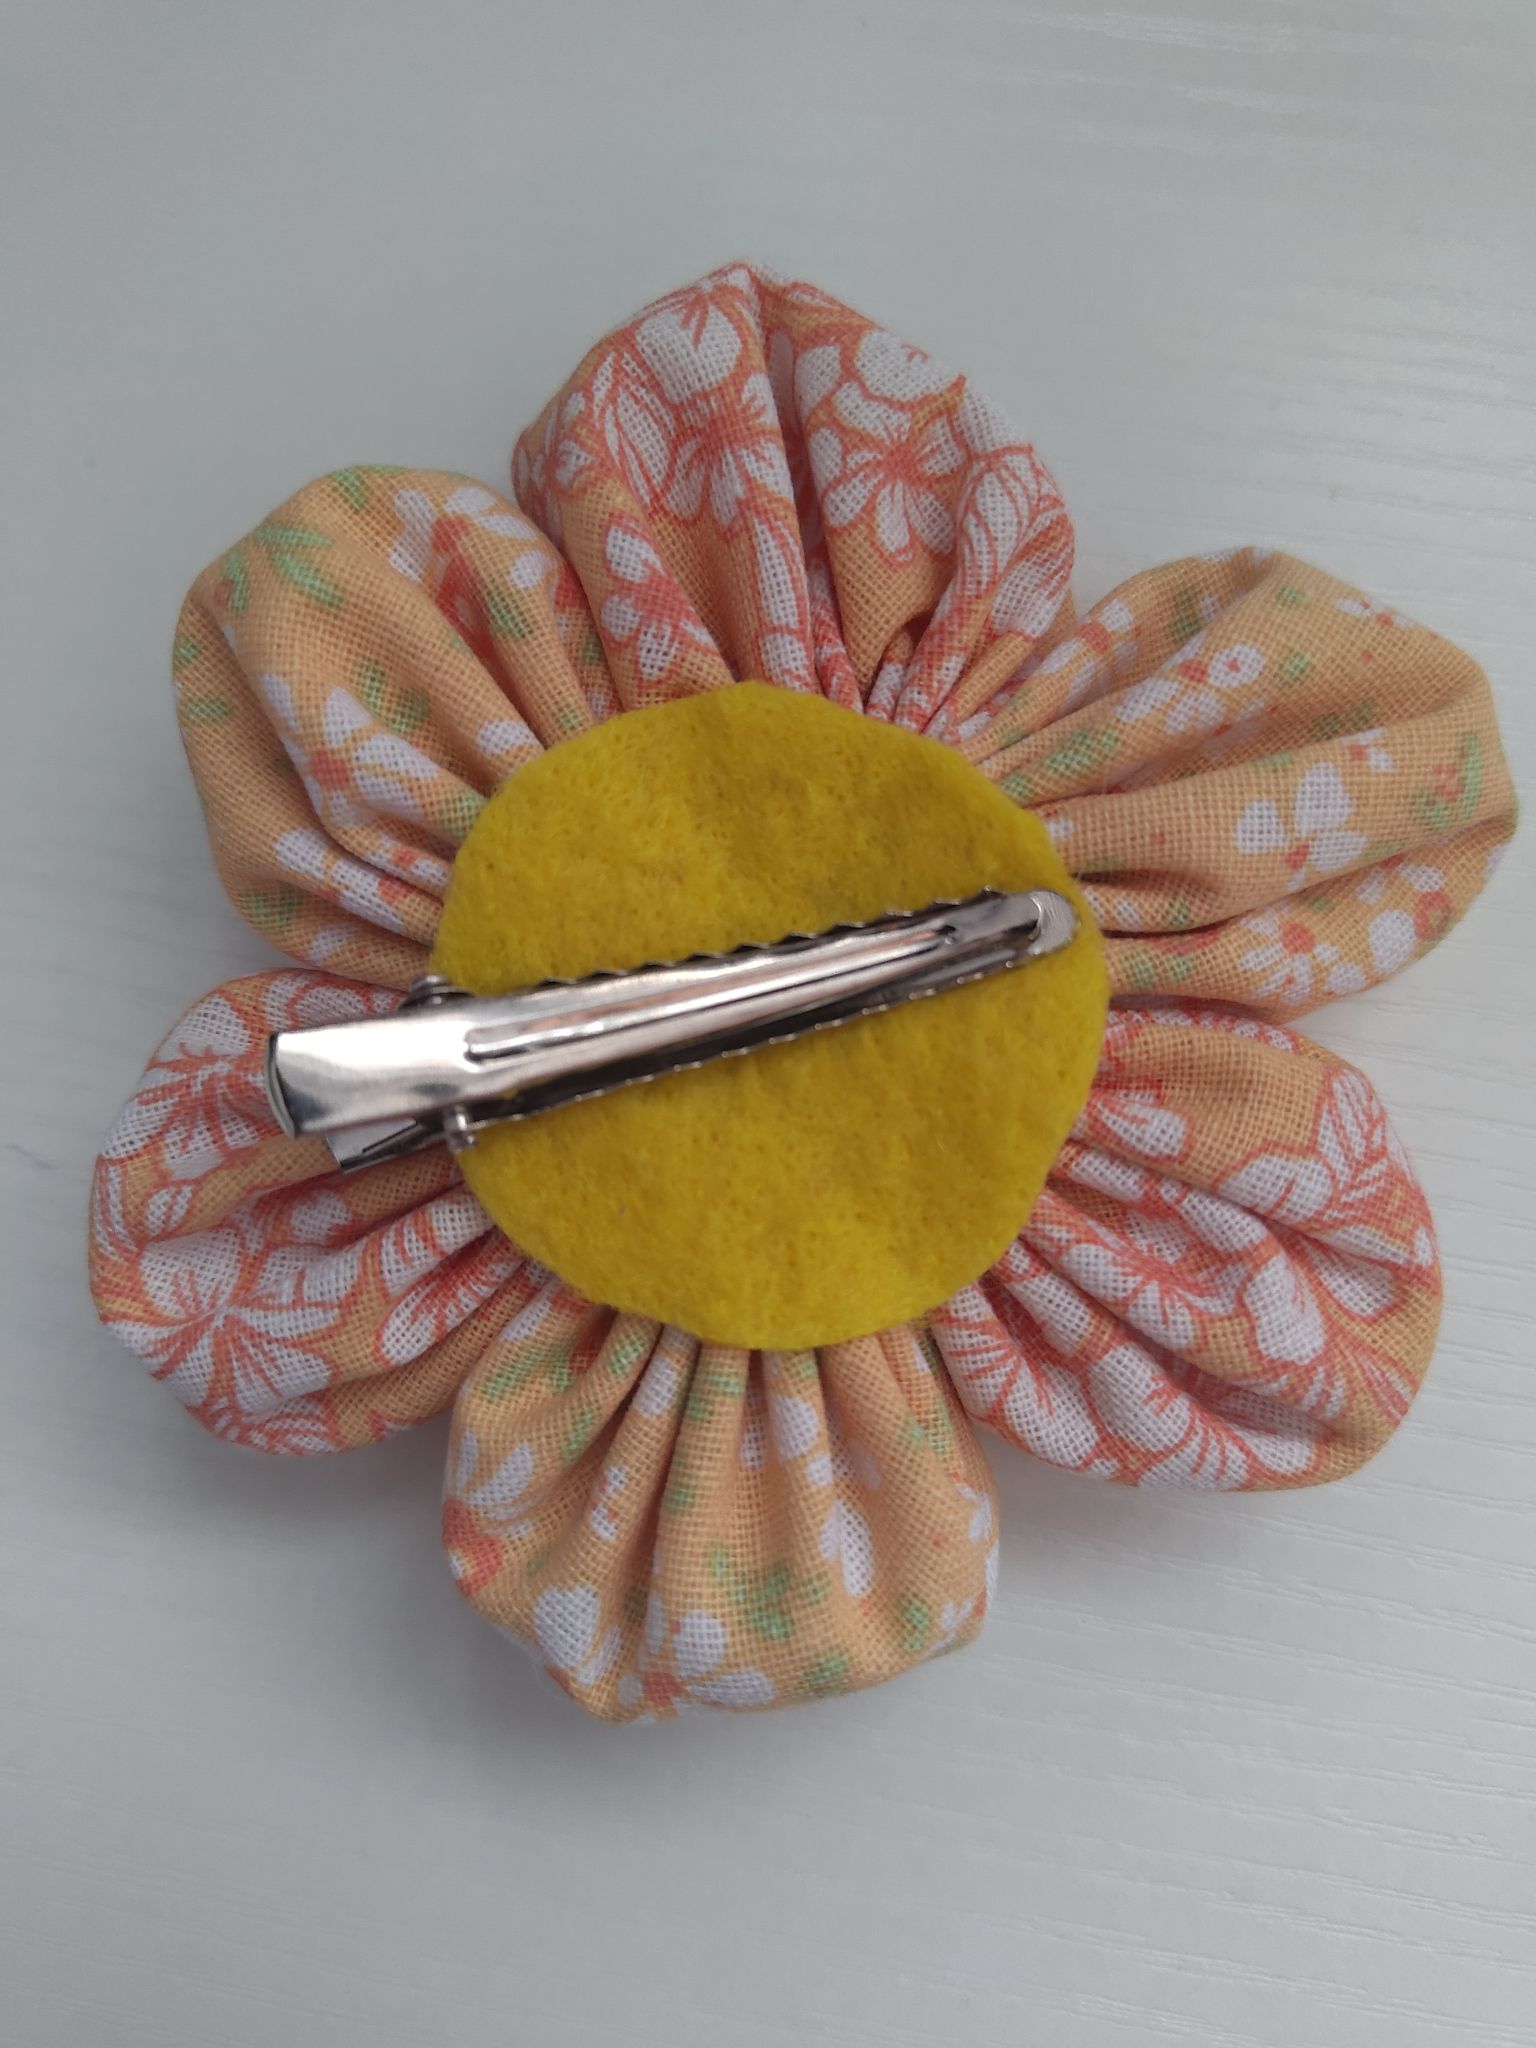
The back of the flower with the felt disc and clip. I made a large disc just in case.
The finished size is just under 10cm diameter. In comparison, it is almost twice the size of the previous one, but it did have one extra petal. I think it is definitely more suited to a brooch or bag clip than a hair clip!


I then revisited the first technique with this white fabric with green polka dots. I also used white felt and white thread.

The starting size was a strip of fabric with 8cm width and 40cm length as I wanted to experiment a bit. I ironed the creases and trimmed any long threads from the cut edges. I also saw on a different site that you could also fold the ends of the strip in to hide the cut ends. If I find the link again I will add it here.
The longer strip of fabric created a flower that curled on itself more than once. I chose to just gather the fabric and use as is, but a more high effort method would be to sew the exact spiral shape you want into a larger felt disc base. I put a light green button in the centre.

You can fold in the edges before starting the running stitch to hide the cut edge. 
Pulling the thread to gather the fabric once again. 
The result spiralled about two and a bit times. 
I rearranged the ruffles slightly to make the shape and then sewed the button to the front side. 
The white felt disc and alligator clip hot glued onto the back.
The finished size is about 7cm diameter. You could experiment with even longer strips of fabric for more height, or increasing the width gradually along the length to make the base larger.

And here is a bonus fourth flower based on the pattern previously made. I selected the light blue gingham pattern, white felt and white thread.

I cut seven circles with a starting size of 8cm diameter. I cut each circle very neatly because the cut edges will be visible on this flower. Each one was folded in half twice with the wrong side on the outside and the thread went through the corners. I looped the thread through each piece twice in a circle and unfurled the flower to form a hemisphere shape. I didn’t add a button this time so one of the petals fills the centre instead. It is similar to the red flower from the Felt flower box frame project.

Seven circles cut from fabric. 
Each circle is folded in half twice, with the wrong side facing out, then threaded on the corner. 
The pieces do unfurl in the process, which is why they needed to be threaded twice in a circle. 
A hemisphere naturally forms, so the flat part can be used as the back. 
A white felt disc and an alligator clip hot glued to the back.
The finished size is about 6.5cm diameter and 3.5cm height. I think it could benefit from extra decoration like some ribbon trails but it is nice by itself still.

Here are all four makes pictured together. And this time I managed to get them done before summer ended this year!
There are so many ways to vary the techniques and patterns to create an assortment of flower clips now! You could also try upcycling old materials and clothes instead of buying fat quarter bundles.

Materials used:
– Assorted flower-patterned fabric from fat quarter bundles
– Assorted buttons of different sizes and colours
– Sewing thread of different colours
– Alligator hair clips
– Felt of assorted colours
Tools used:
– scissors
– compass and pencil for drawing templates
– hot glue gun
– iron and ironing board
Bonus image: the potpourri dish of flower clips
I had this shallow dish that was relegated to storing materials, which was a bit of a boring use. Instead I decided to put all my fabric flower clips into it. It looks like a potpourri dish and I can easily see my hair clips. I will added my future flower clips here instead of the big Hair clip tidy for my grab-and-go outfit coordination moments!

 Atelier Ilyere