
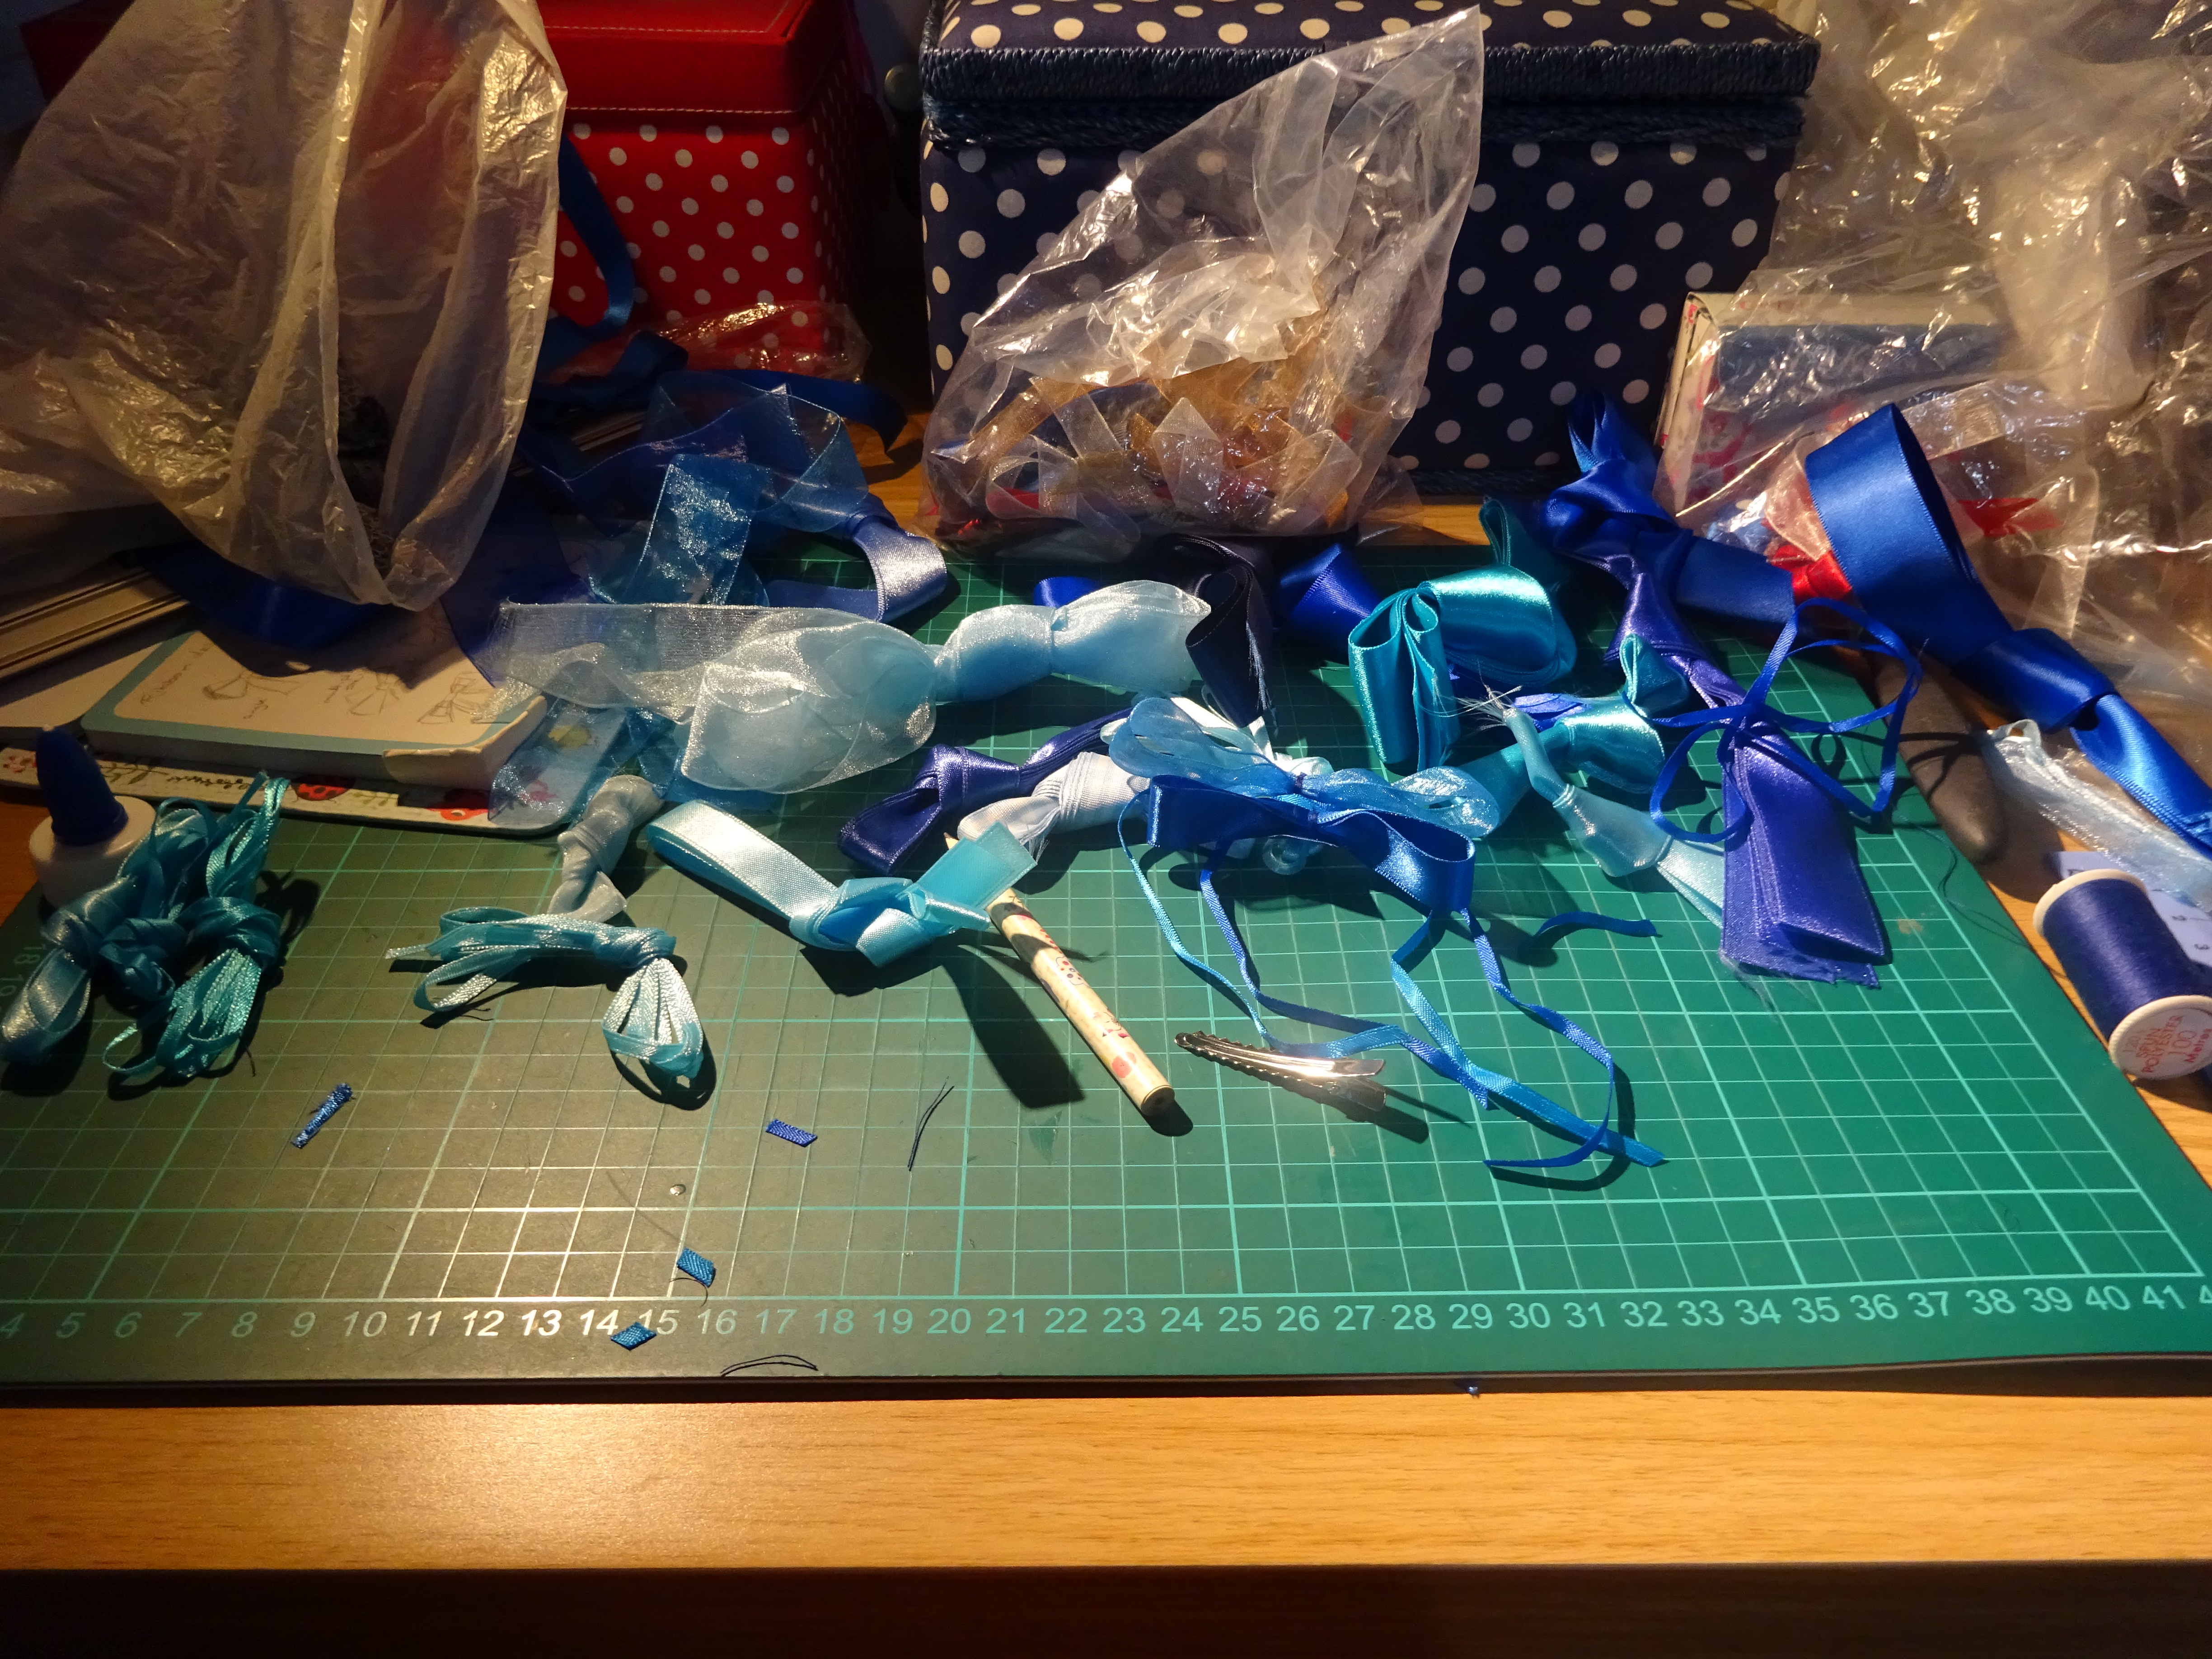
I recently got into hair clip fever! I had a look at my massive stash of ribbons and decided to use them all for hair clips. When you sit down to make one, I find that you usually end up making a lot because everything’s all in front of you!
I ordered a lot of alligator and straight hair clips and got to work. Currently it’s looking mostly blue, but I’ll buy more colours the next time I’m in the markets.
When I thought about the hair clips that I made, I realised that I wanted to display them in a very nice way, so that I could see everything that I had made but also so I can choose a look for the day. Currently I throw all of them into a box, it’s not the most organised thing in the world.
A quick search for ‘hair clip tidy‘ brings up a lot of similar things – lengths of ribbon tied to a fixture or hanging down freely, where you can clip your hair clips.
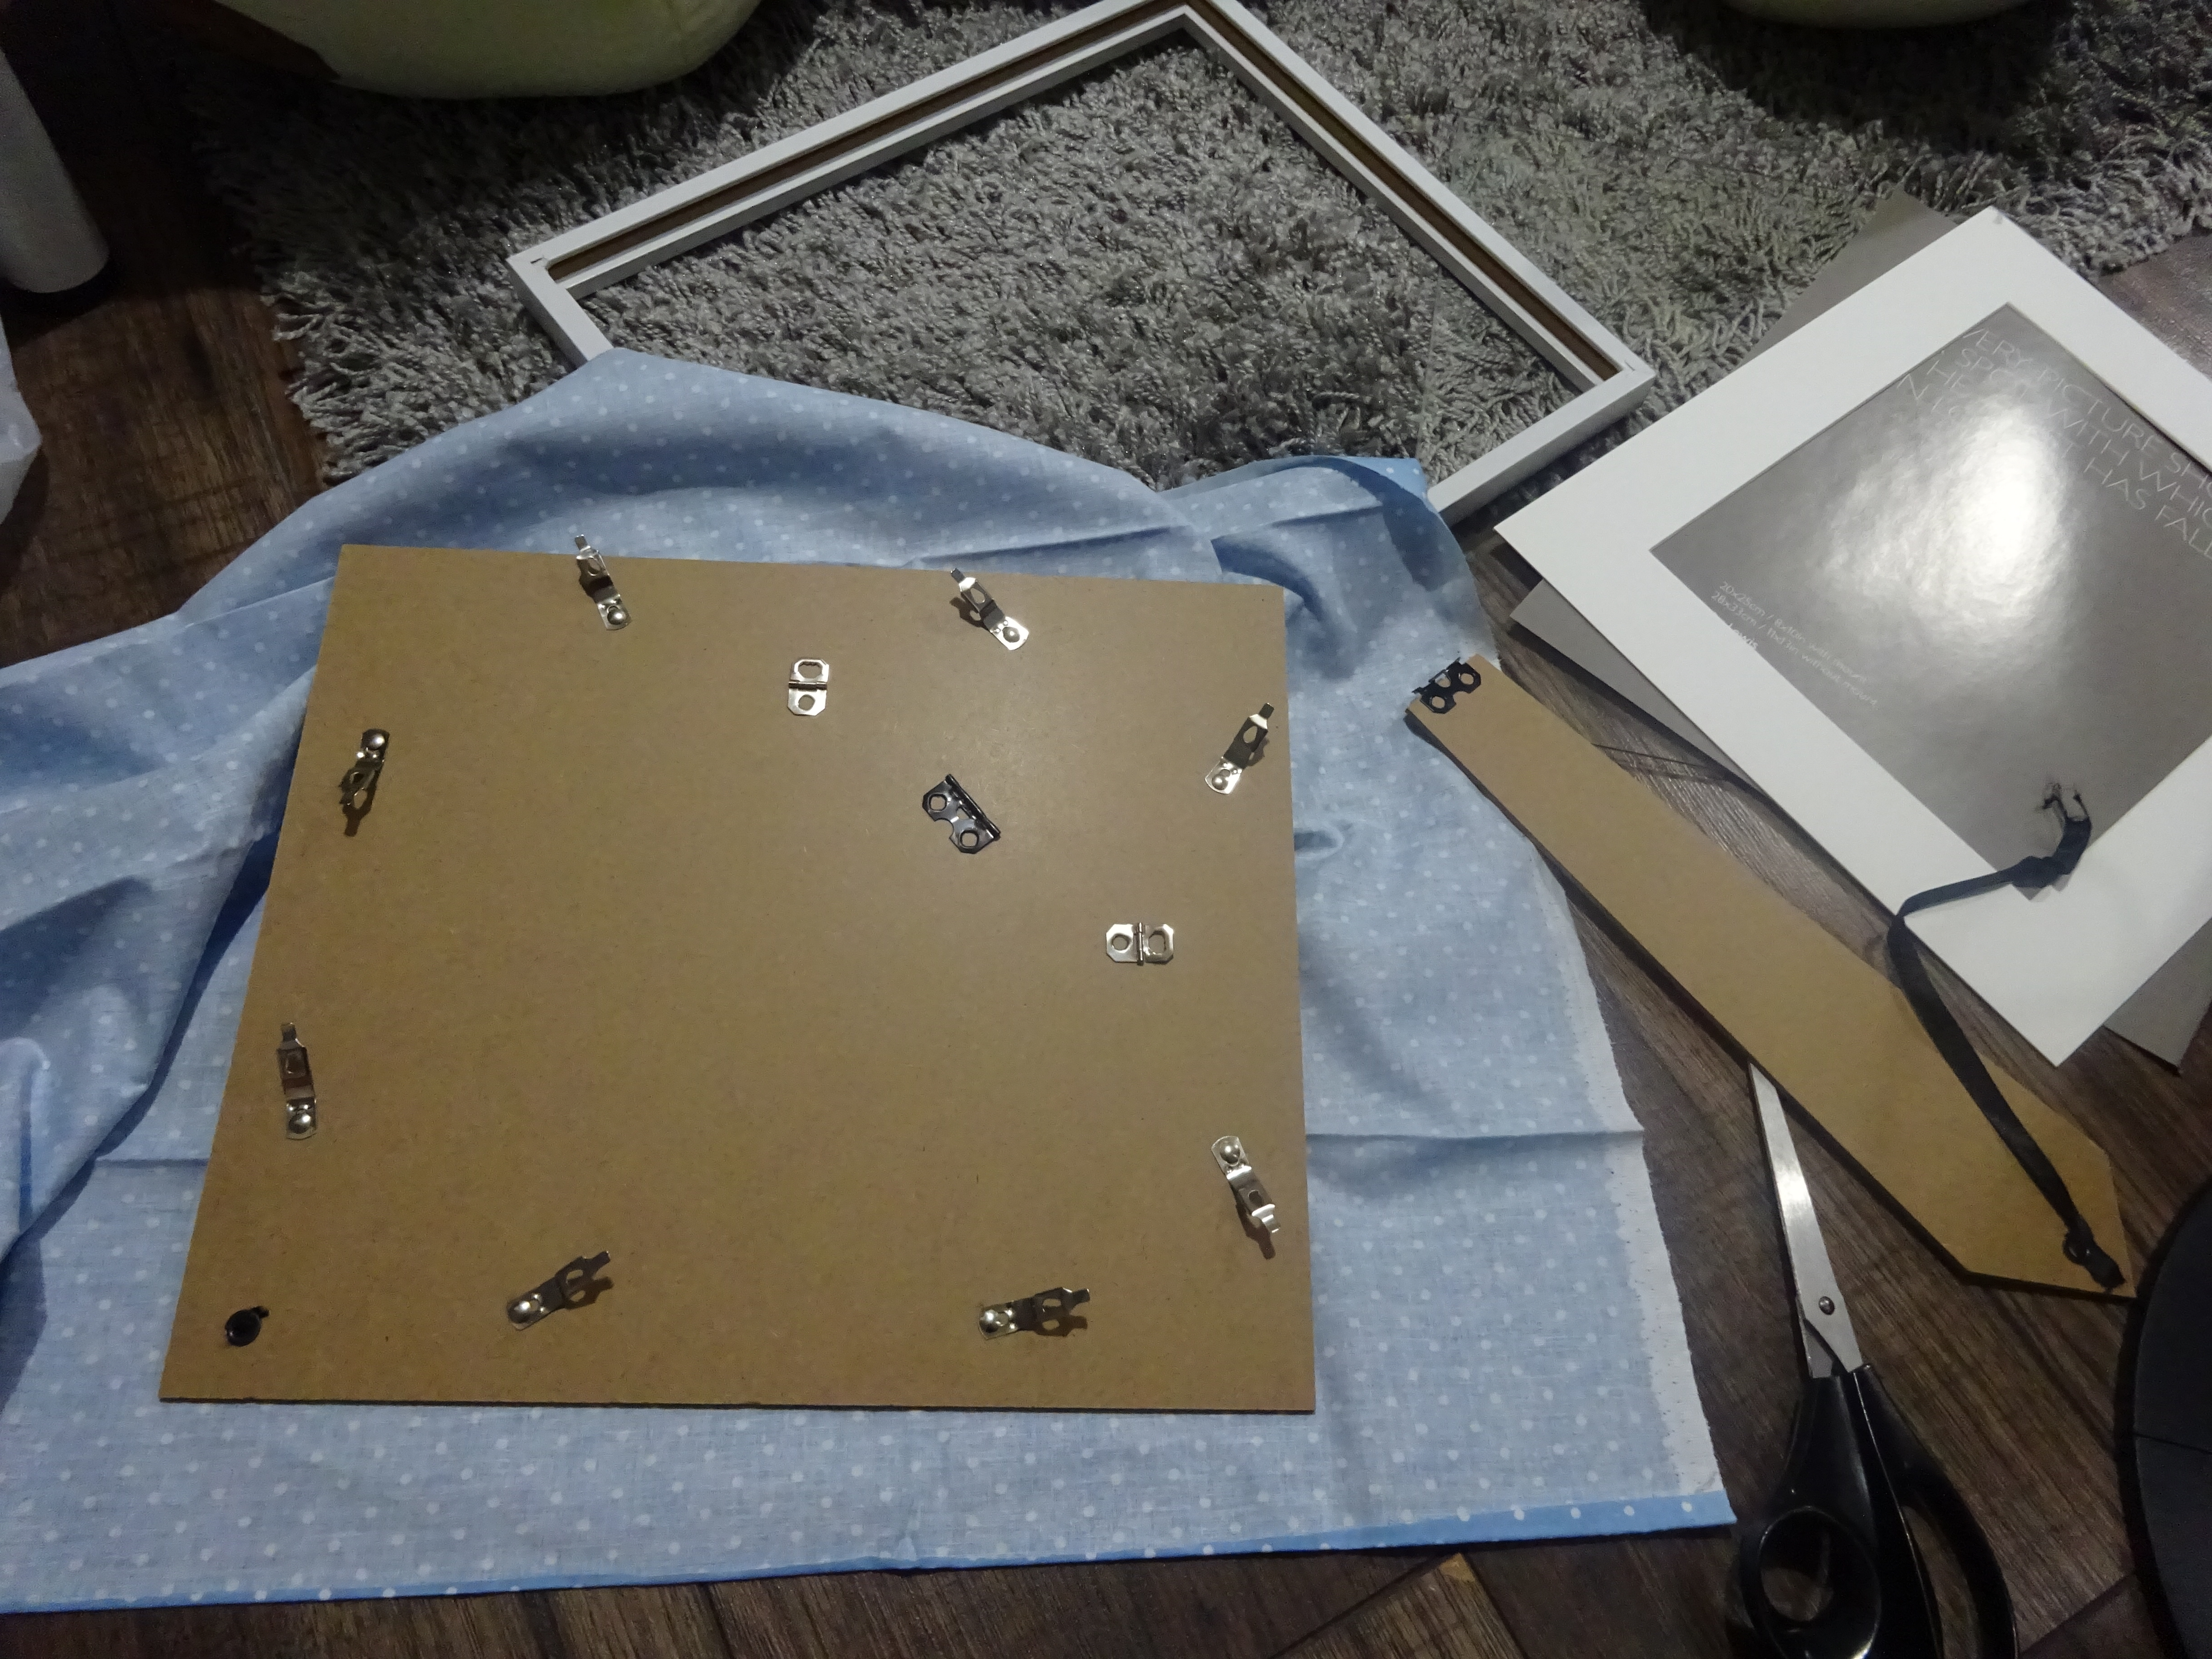
I opted for the photo frame idea. So I bought a photo frame and… I destroyed it. Took all the stuff off the back of it because I don’t have a picture to frame! Then I measured out some fabric to cover the backing of the frame.
I ironed out the fabric to reduced the creases, and cut the corners to avoid overlap. The margins were superglued down. It doesn’t have to be too neat on the back, it will be covered by the frame anyway!
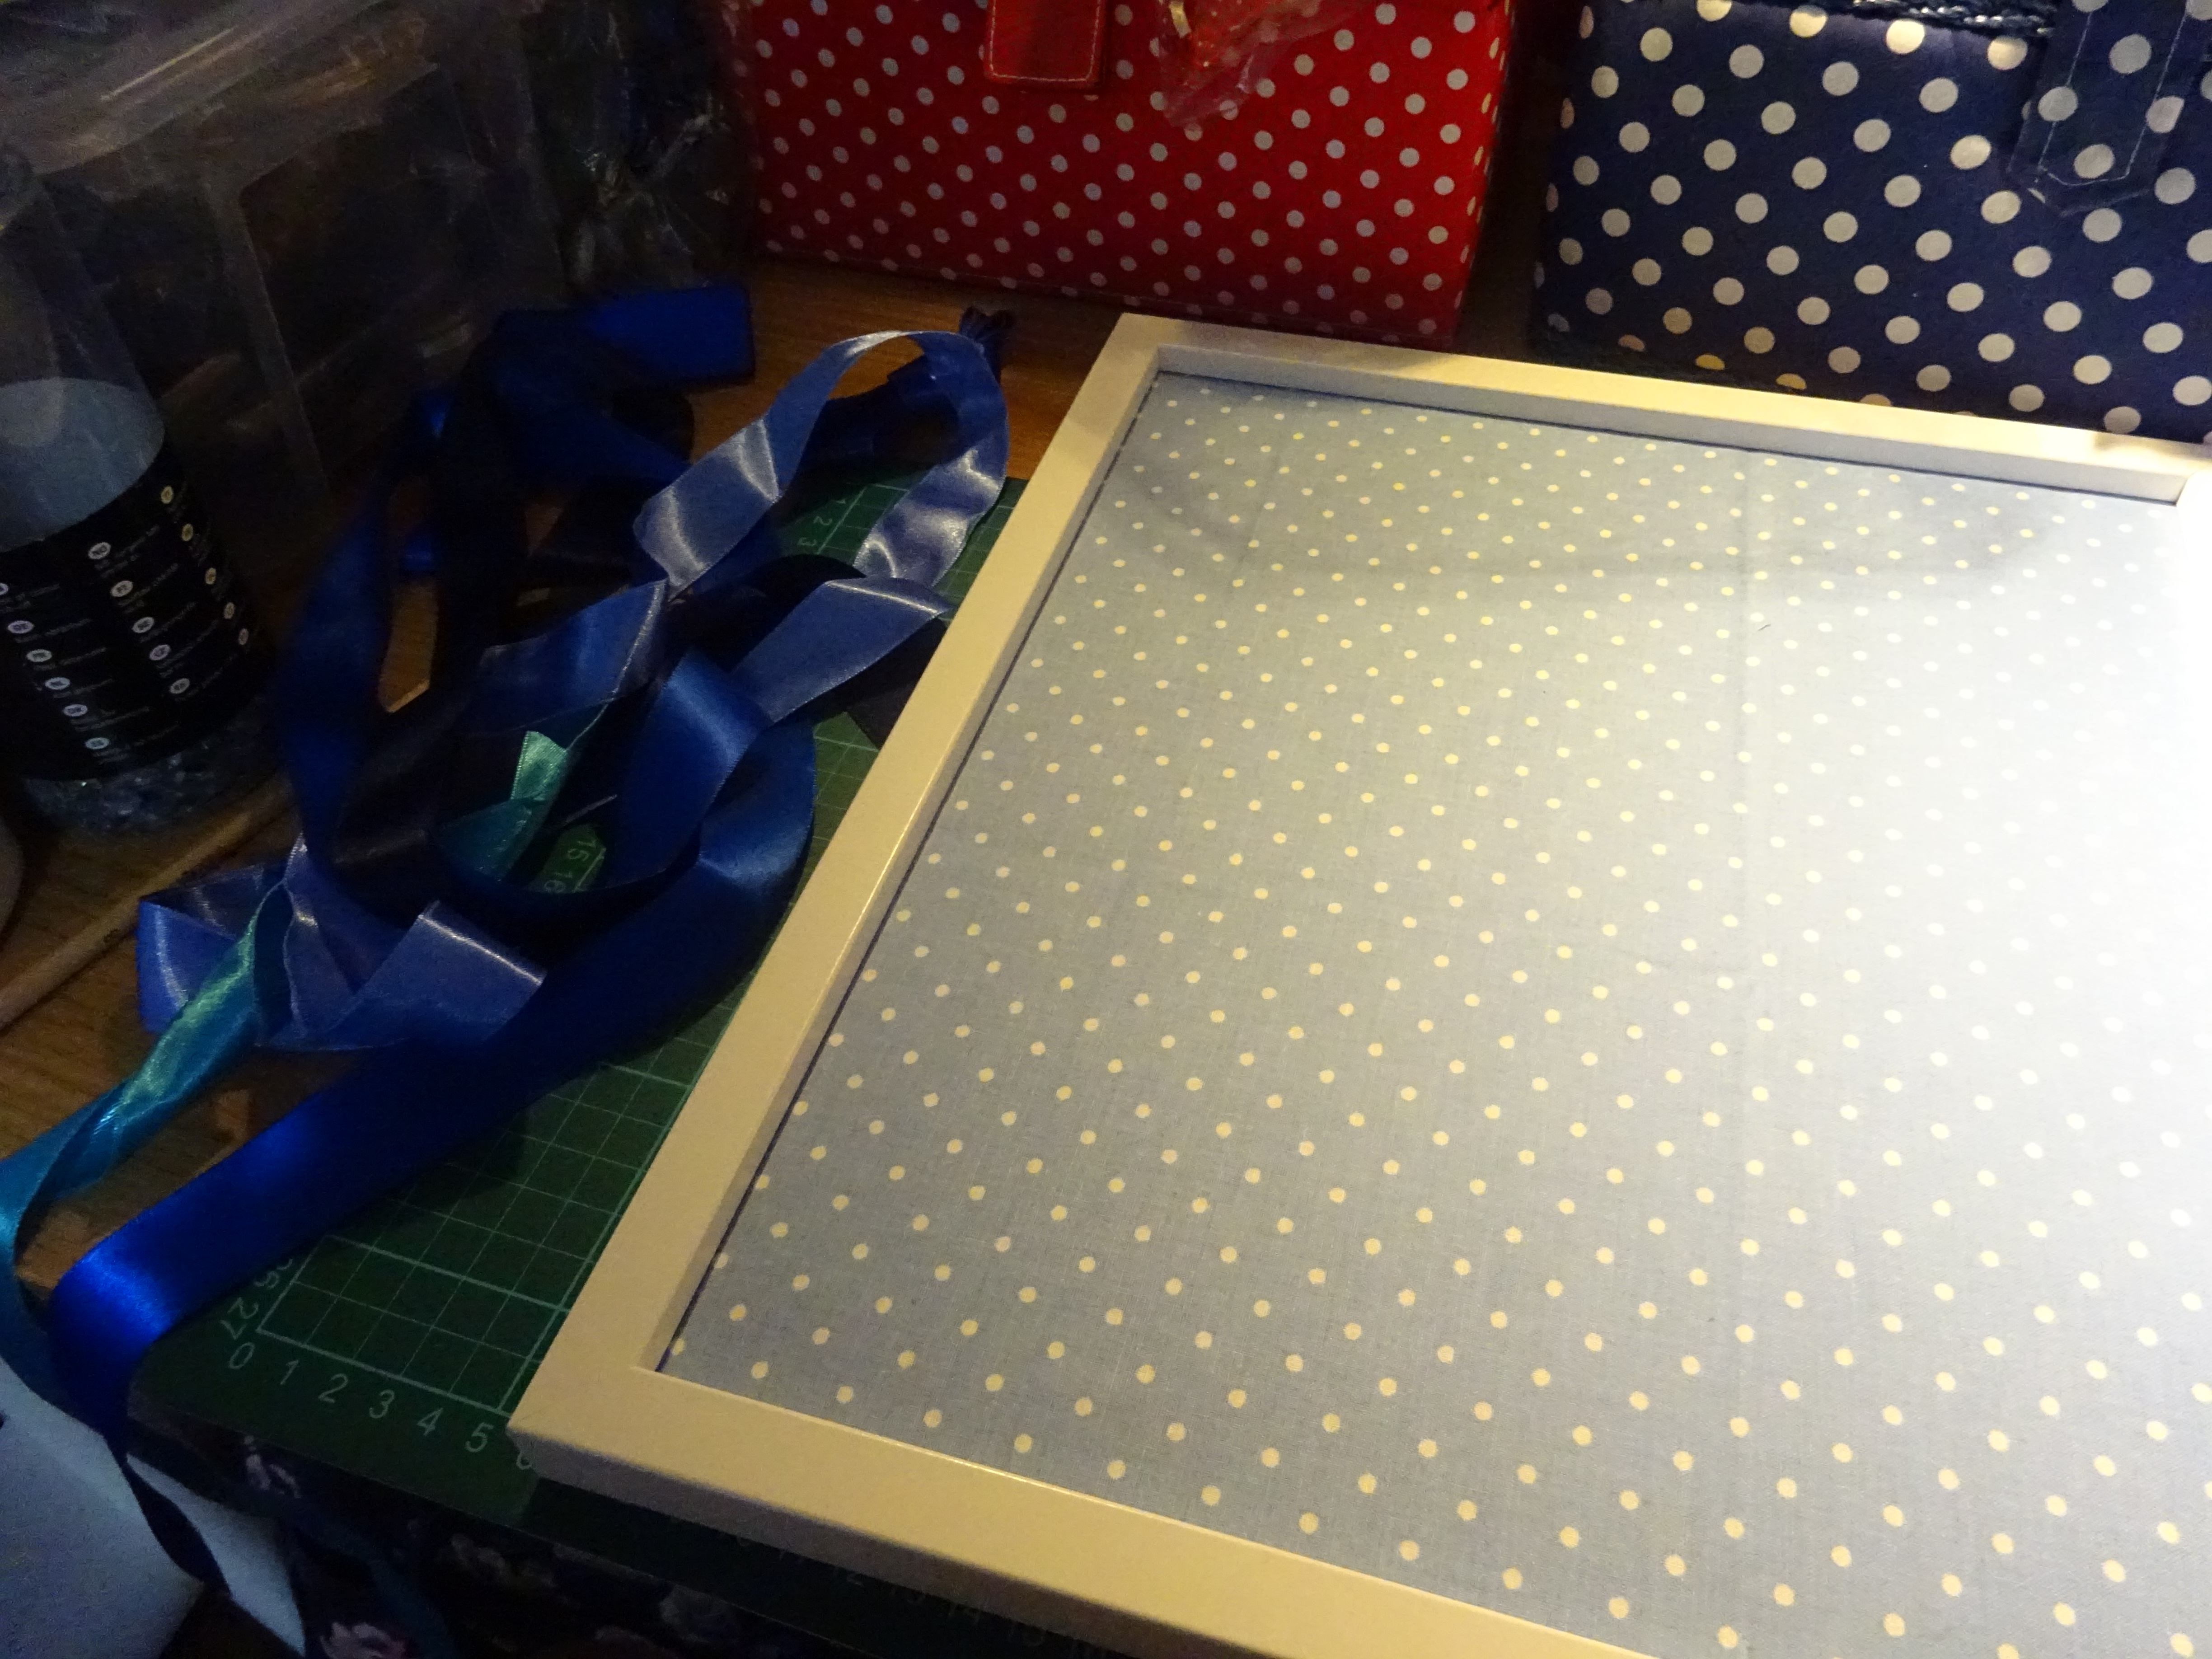
Then I chose some thick lengths of ribbon to run down the frame. Since I had a lot of blue… It was a natural choice!

I tried lining them up as best as I could. Then I superglued these ribbons down, from the back side only. Allow enough space for hair clips to reach underneath! Then put your frame back on.

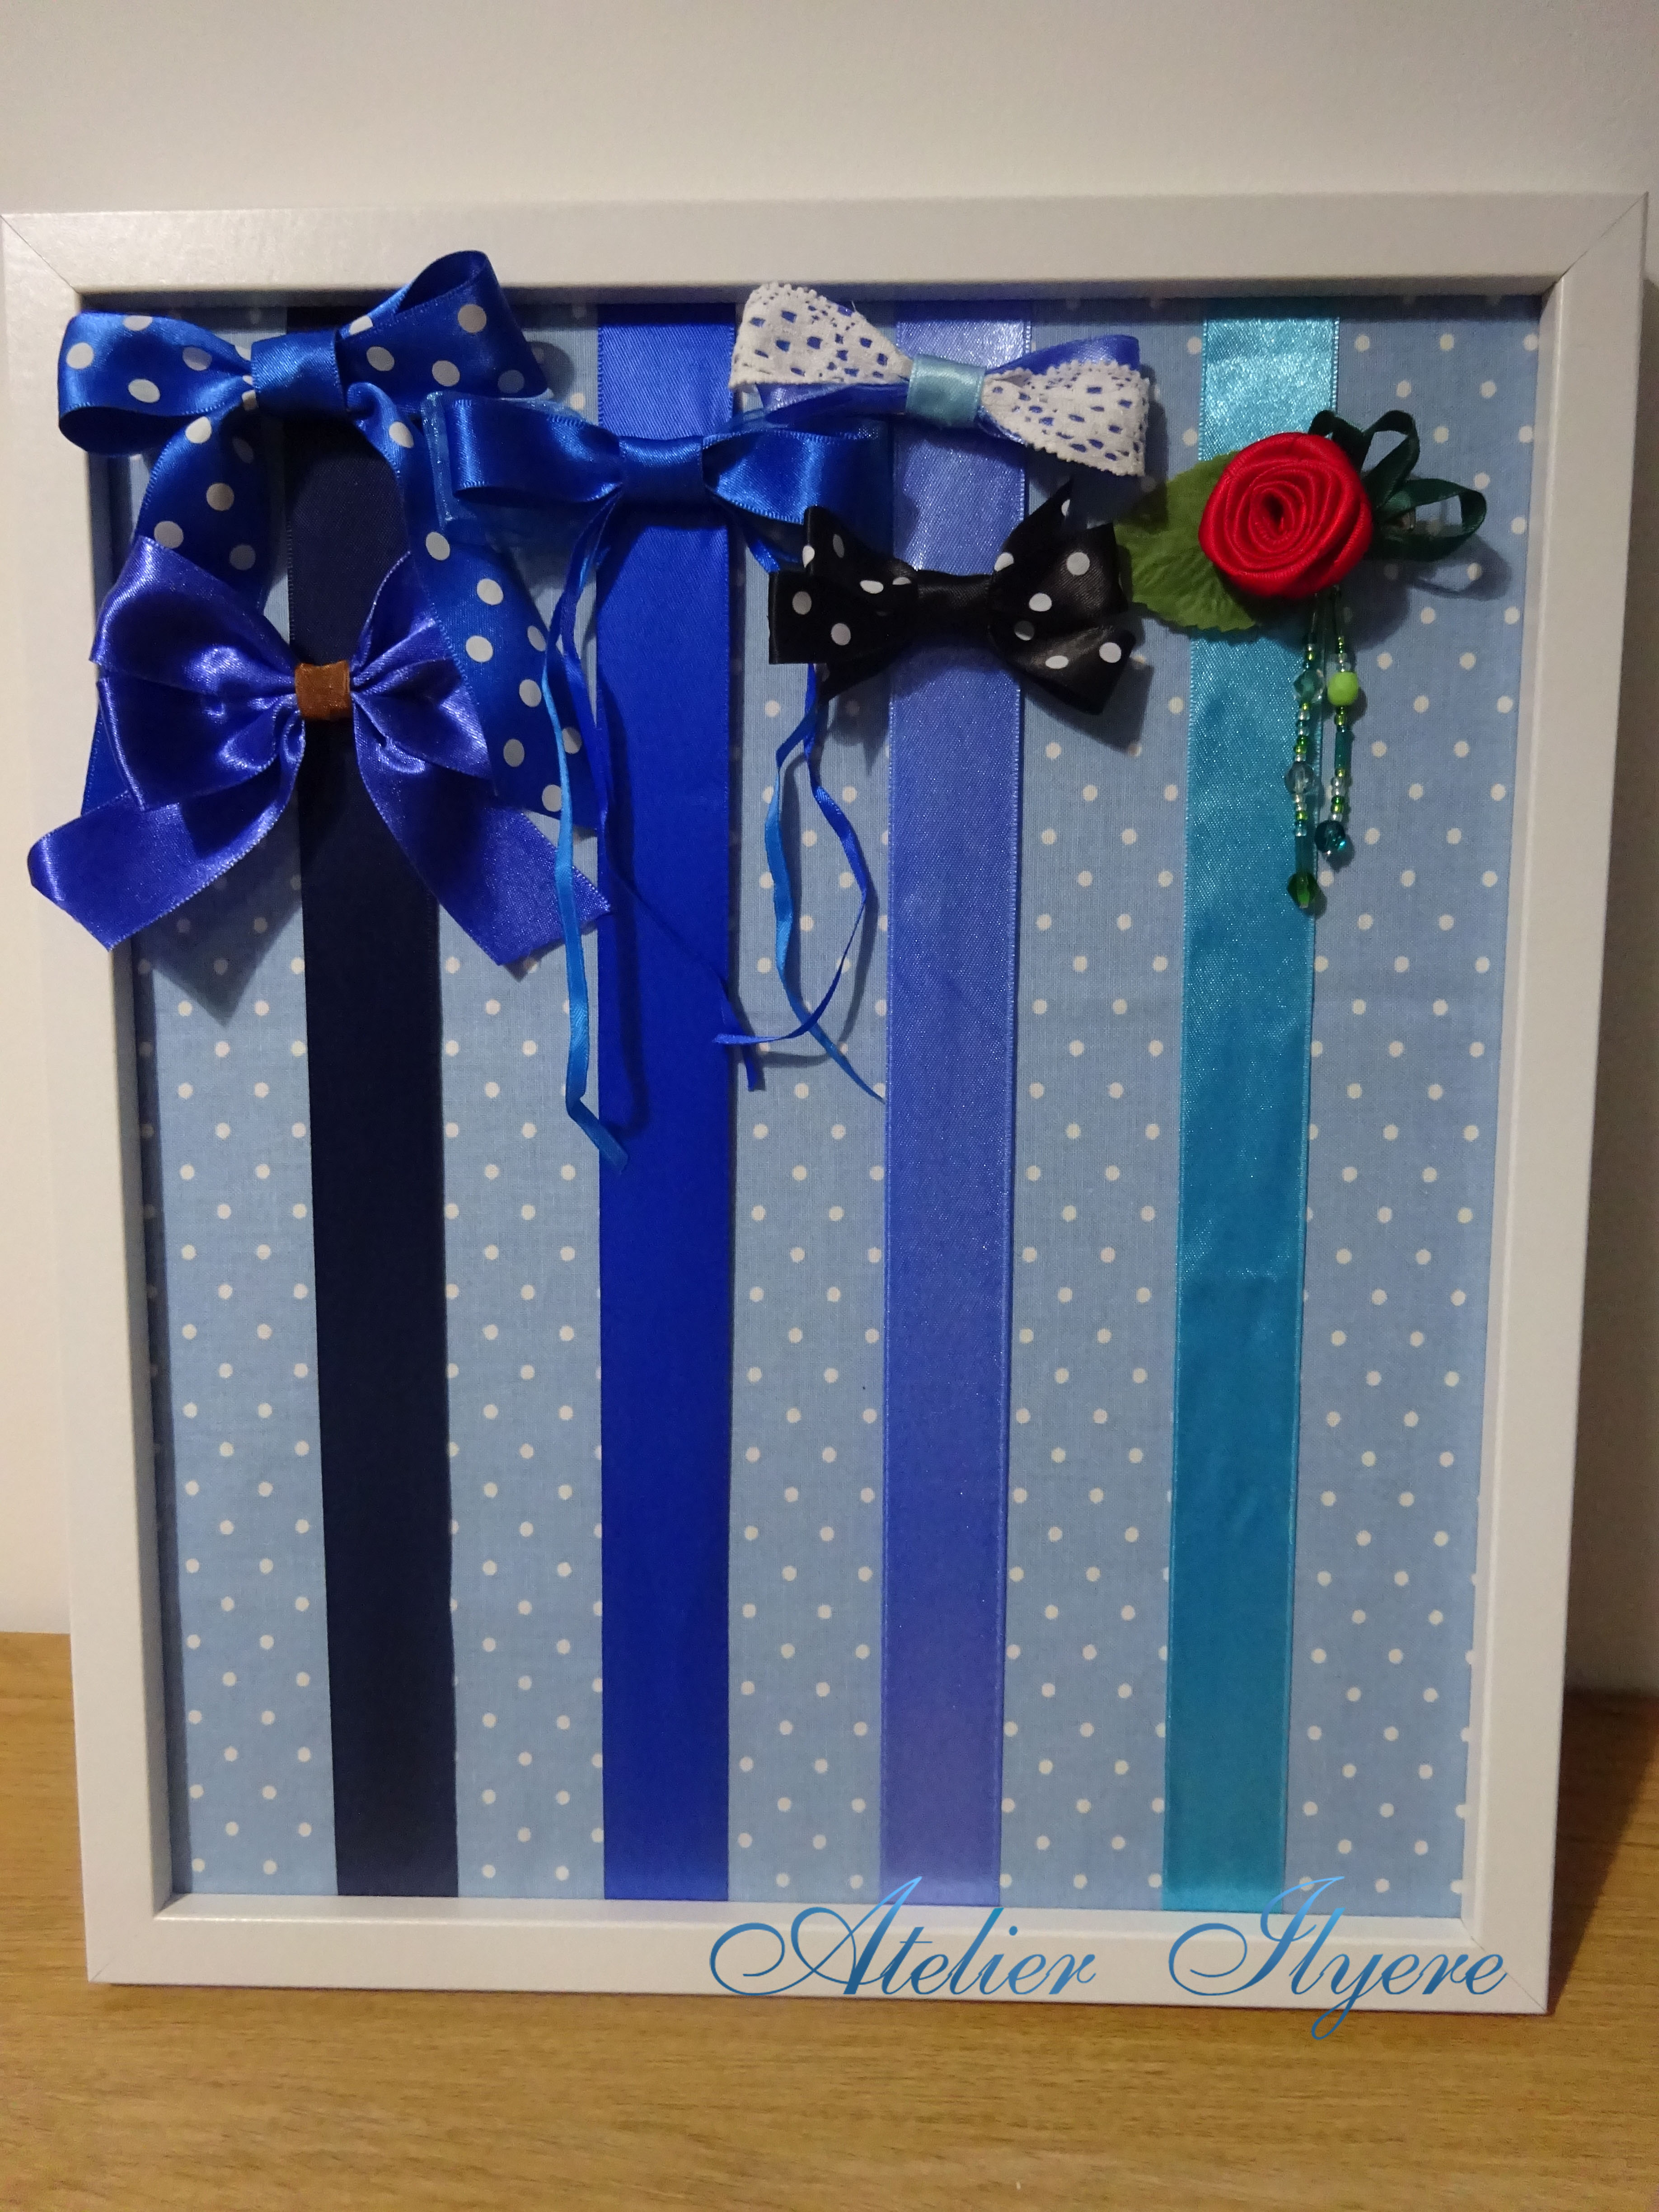
And that’s it! It’s ready to be used. I keep it upright on a dresser near my jewellery box.
Here is a few of my handmade hair clips so far. I will endeavour to make more and eventually fill this board! Definitely with a wider variety of colours though, haha.
Materials needed:
– one 28x33cm photo frame
– blue polka dot fabric
– four lengths of wide blue satin ribbon
Tools needed:
– hot glue gun
– scissors
– iron and ironing board
