Small disclaimer: I made purchases from a lot of stores which I’m happy to talk about. These are not affiliate links and I get nothing from this, I just wanted to share my specific finds. Support small businesses!
Wedding favours seem to have quite mixed reception both online and in-person from what I’ve seen. In case you don’t know what they are, wedding favours are small gifts given to guests as a thank you for attending. They can be generic gifts or personalised for the event, they can be decorative to last forever or edible to provide immediate satisfaction… They’re also totally optional! They can easily be cut out of the wedding budget if needed, and not everyone seems to remember them from those who I’ve spoken to and from online opinions.
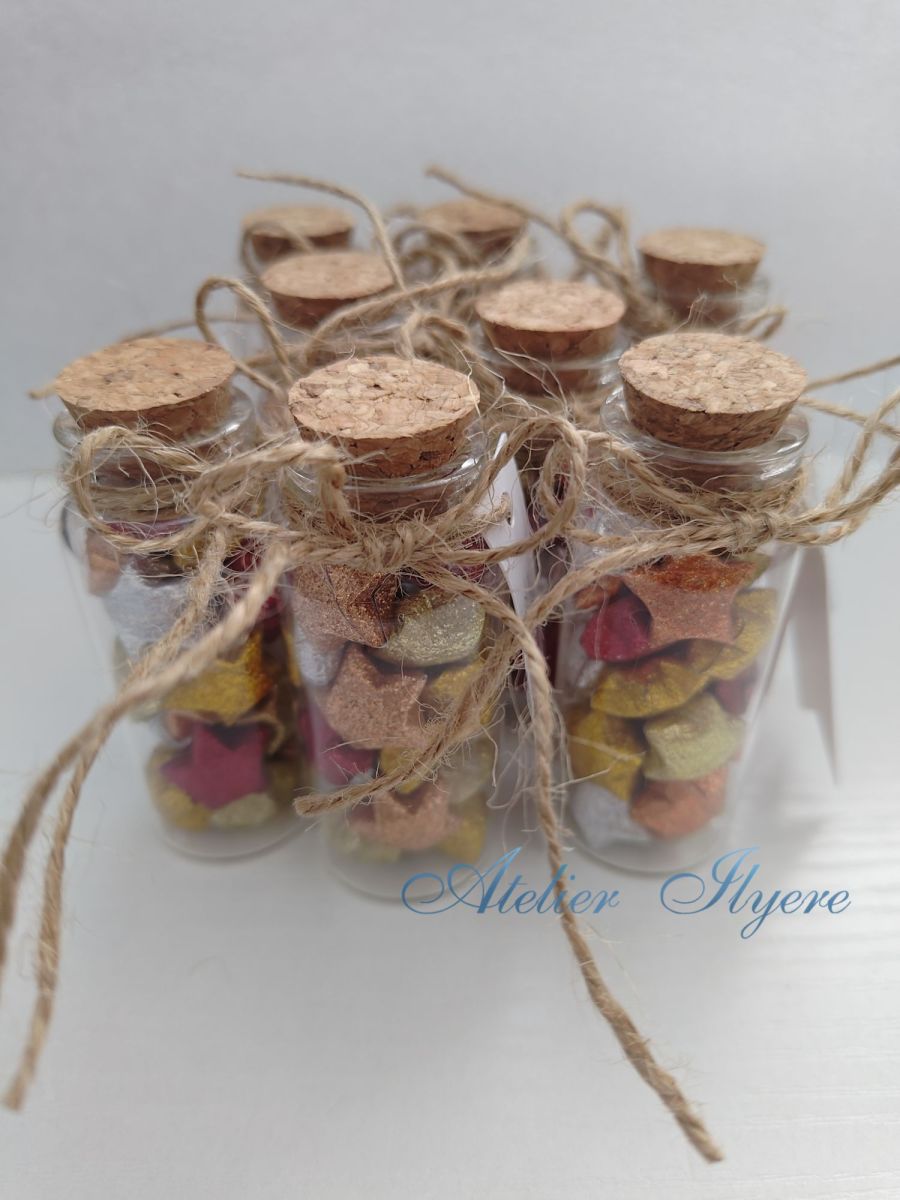
However I do love a good handmade item and I hope that the favours I have made will be memorable for my guests. I chose a decorative thing for my wedding favours – origami lucky star jars! You can buy large themed packs of star paper and keep them in portable jars. They’re also quite simple to make, it just takes a bit of time. I started this about three months ago and I’ve only just put the finishing touches together! Fortunately my guest list is quite small, and I made some extras for anyone who couldn’t make it.
I needed some key components:
– origami lucky star paper – I ordered multiple packs in gold glitter colours from Vivi’s Collection on eBay
– mini bottle jars – I ordered a set from Studio2121 on Etsy
– personalised thank you gift tags – I ordered this from XOXOKristen on Etsy
– jute twine – anywhere works, I got mine from Hobbycraft
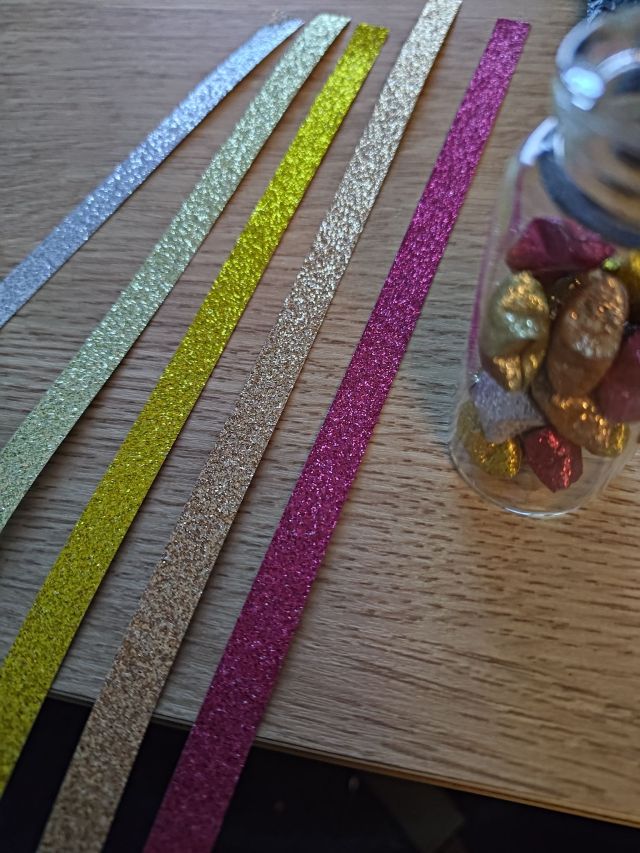
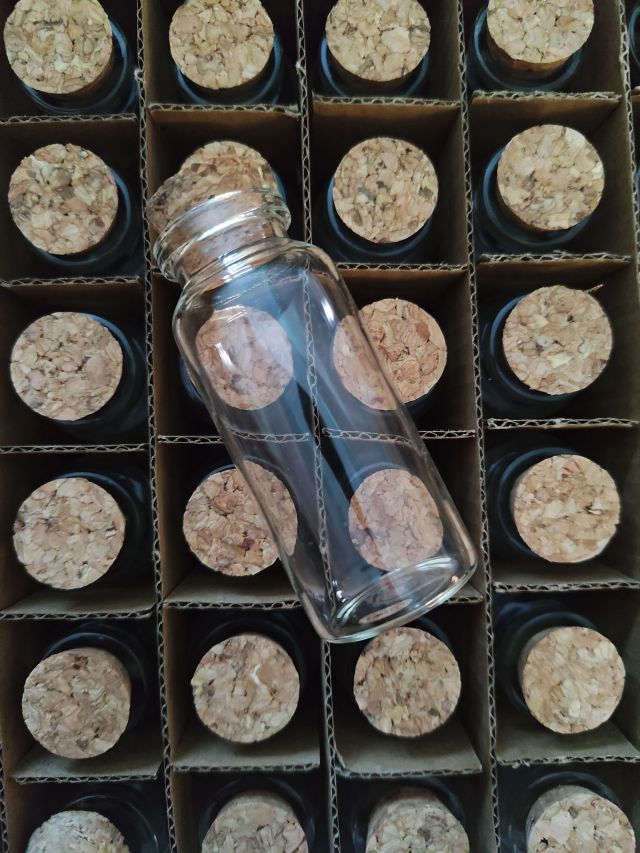
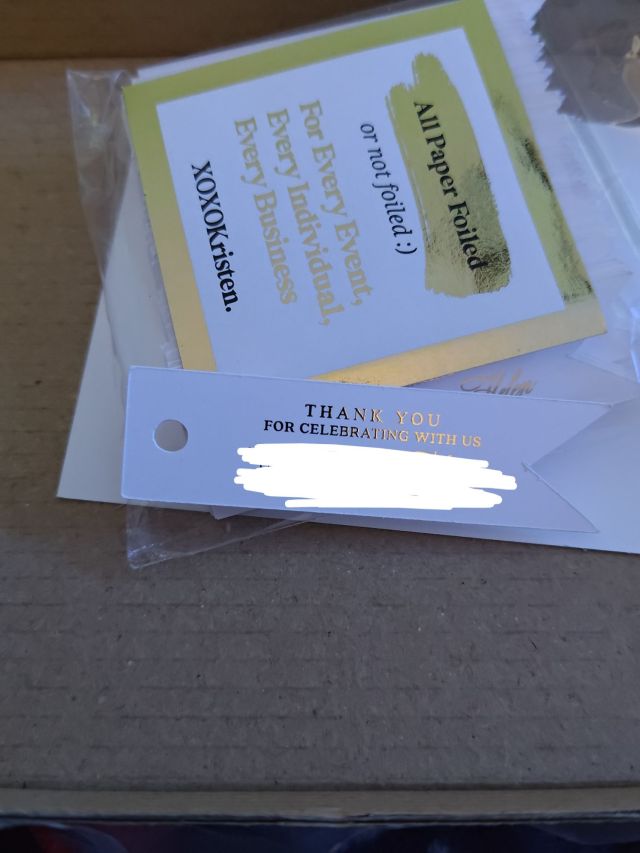
Why did I choose this colour theme? No real reason, however my cranes and butterflies have gold shiny foil in their patterns so it does sort of match? I also just really like these colours! Also I have obviously blanked out any identifying information on my gift tags but you can see images that other customers have shared on Etsy. The gold foil is really nice!
Oh and in case you didn’t already know, lucky star paper is really thin long strips of colourful paper. You can shape this paper to create a 3D star! It is fairly cheap to buy the packs as well and I have previously used them for larger jars although it seems to have been a while. If you have never tried it before, I have included a small tutorial if you want to follow along!
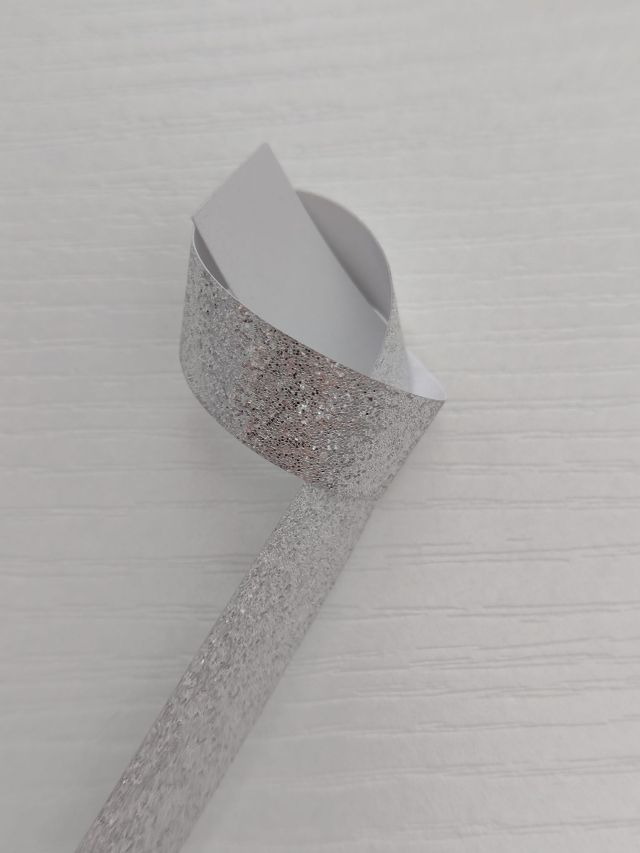
1. “Tie a knot” in the paper, leaving a small tail end. 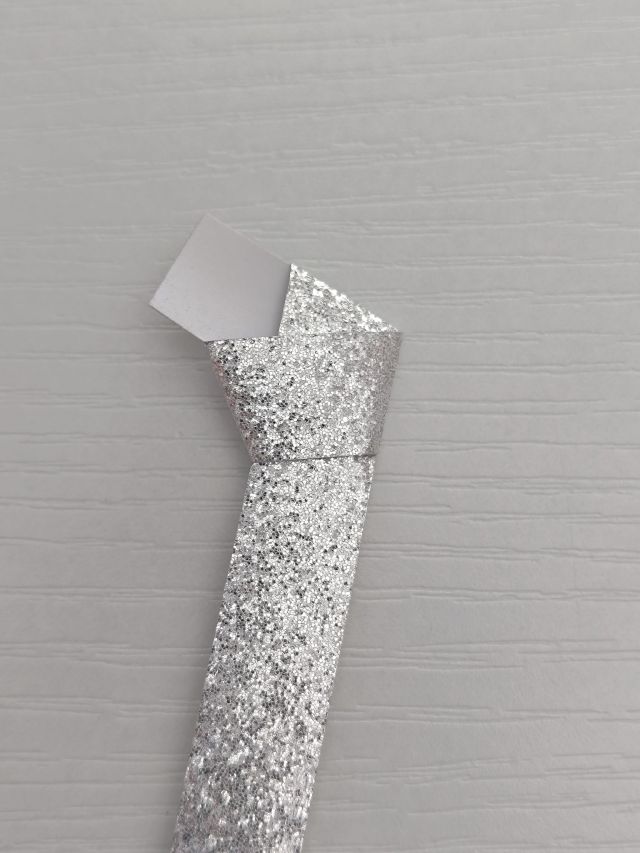
2. Flatten the knot to form a pentagon shape. 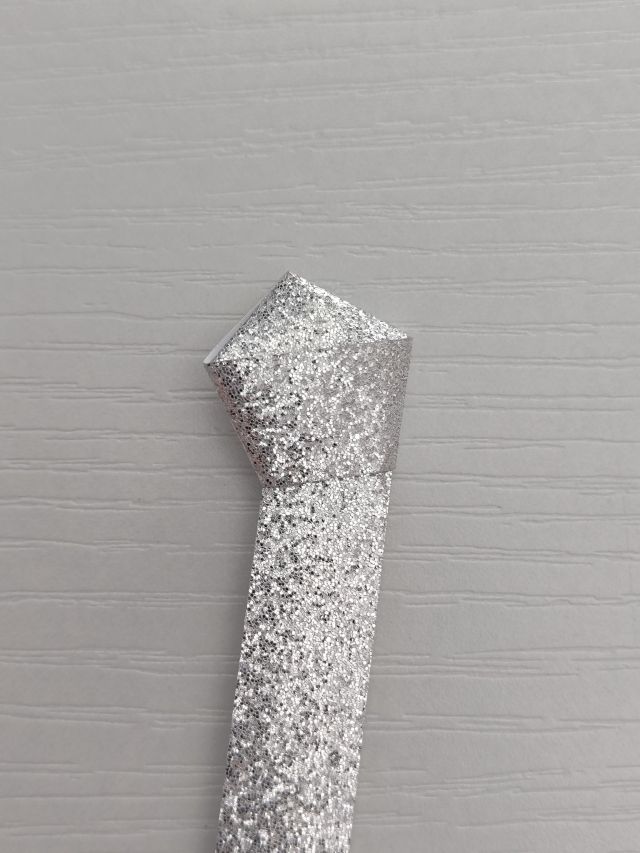
3. Tuck the tail end into the pentagon shape. 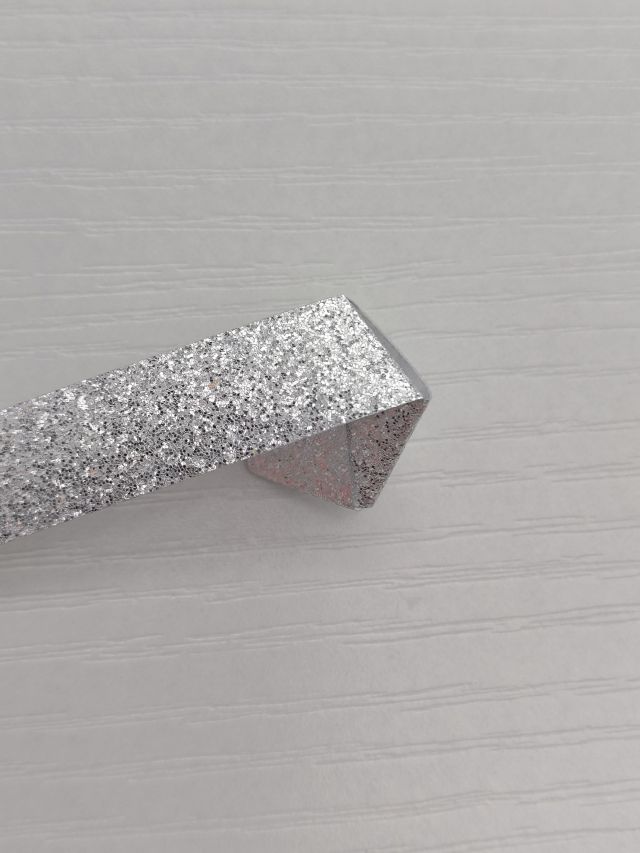
4. Fold the long part of the paper over and along the closest edge. 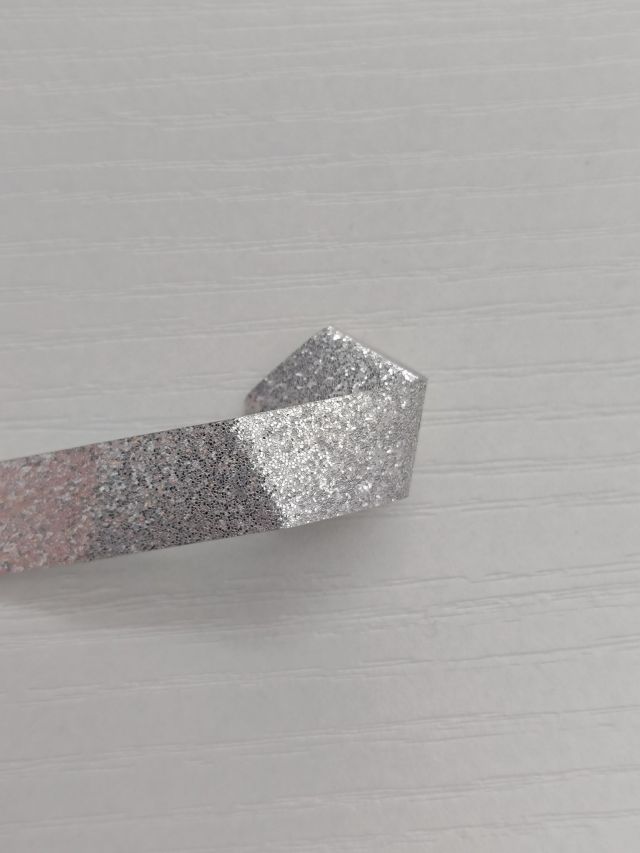
5. Fold the long part of the paper over and along the closest edge. 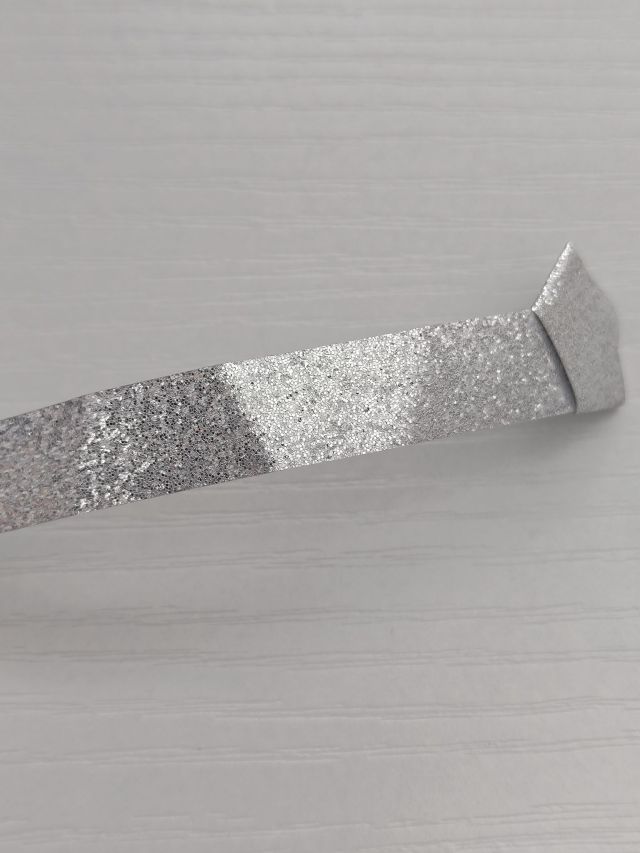
6. Keep repeating the folds. The edges should alternate, I have open the paper to show. 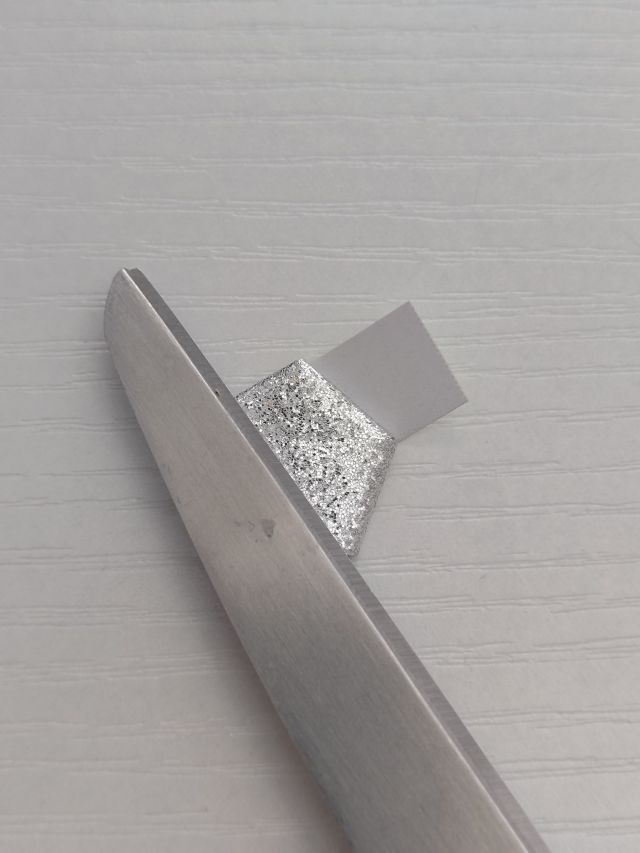
7. Keep folding until the paper is too short to continue. 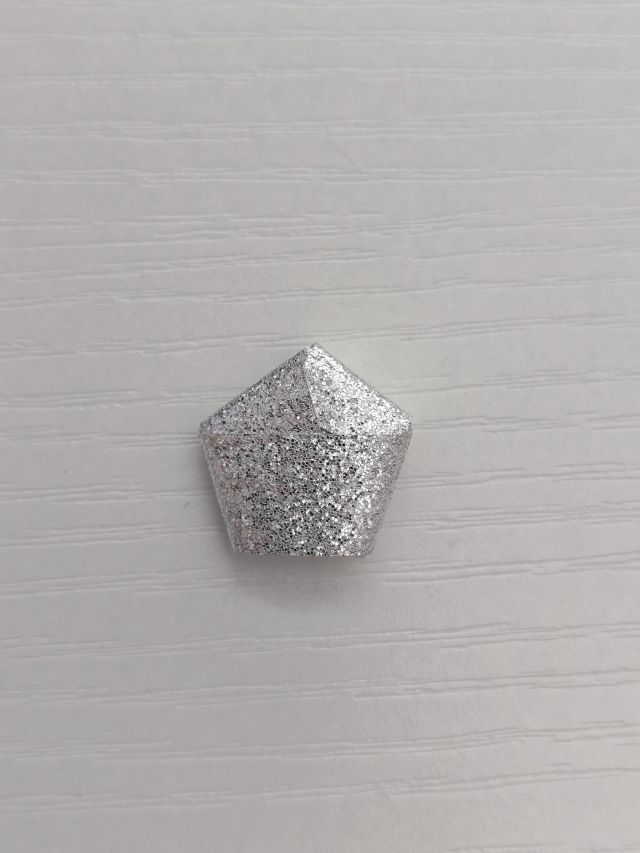
8. Tuck the end into the pocket of the other two folds. 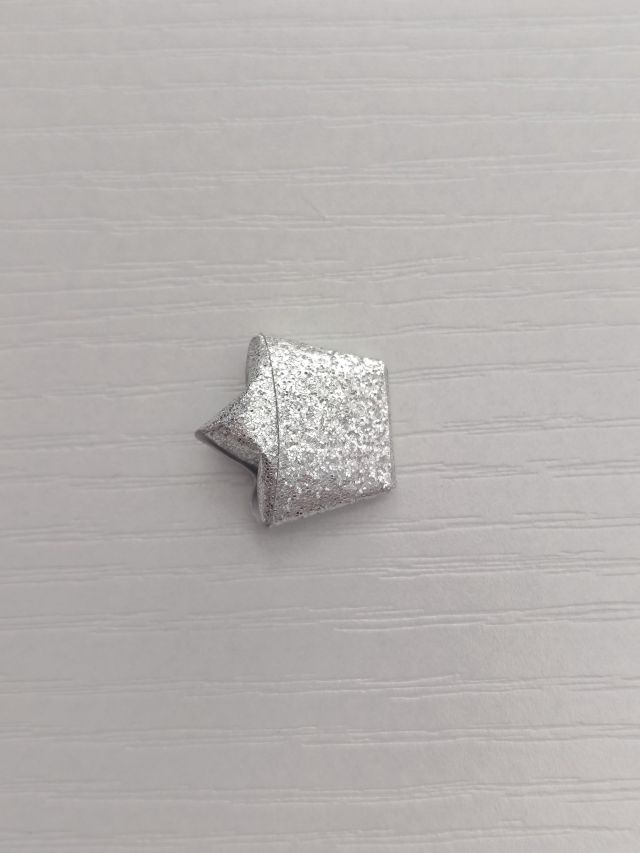
9. Using your thumb and finger, pinch two edges at each corner to create a point. 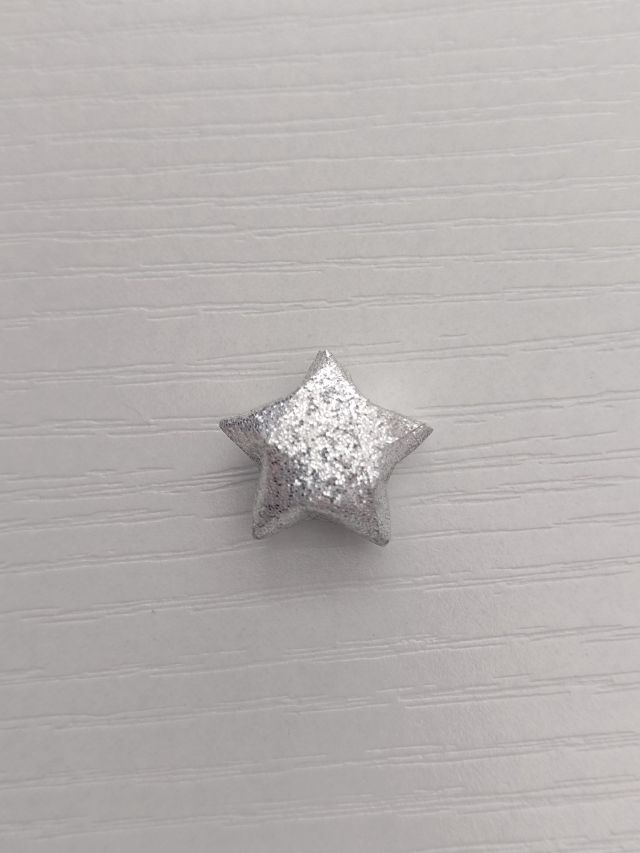
10. Repeat for all points to create a 3D star!
I used fairly sturdy lucky star paper and I worked on it so slowly over the last three months because pinching the star points repeatedly would eventually hurt my fingers and I needed breaks. Each jar could hold at least 20 stars, I tried to make them uniform but I wasn’t always making the same size stars every time! I put 20 into each other, then went back over the jars and added more until they were very full.
You could already give these jars out as is but I wanted to add a personalised touch. For each jar, I used about 70cm of jute twine and one gift tag, with scissors to trim the ends. Not pictured is a ruler to measure the twine.
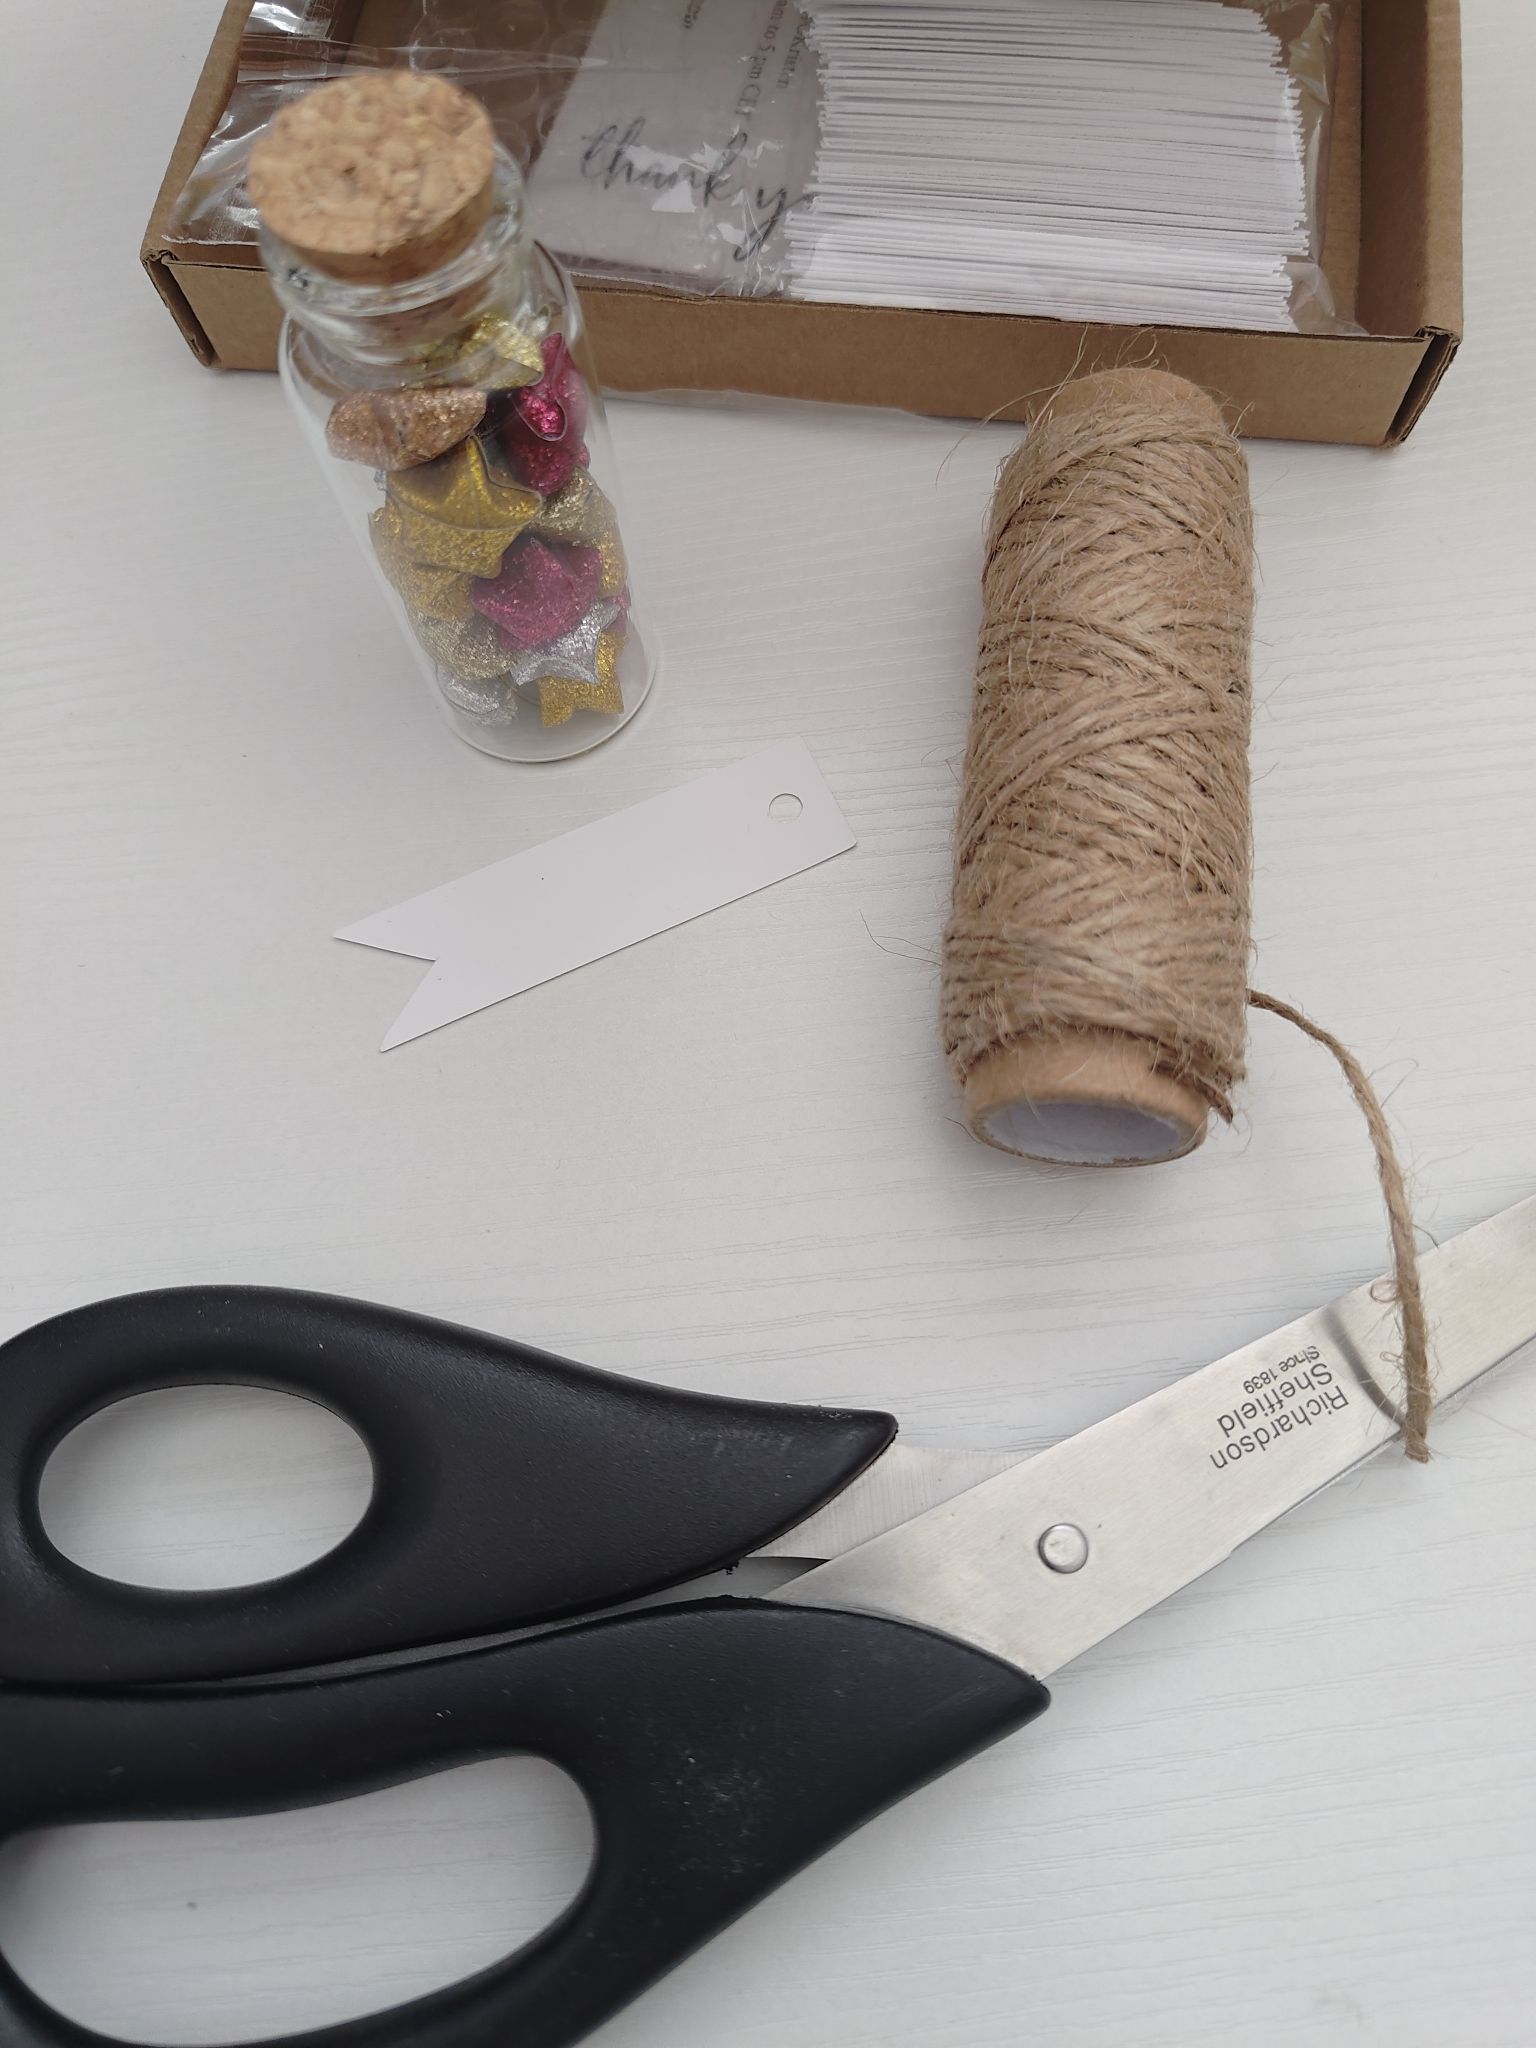
The seller for the bottles actually offered a kraft gift tag and twine option, however I wanted pre-printed gift tags for mine. If you didn’t mind handwriting or had a printer of some sort then it can save a step!
The process I used was quite uniform here and involved wrapping the twine exactly four times around the neck of the bottle and tying a Berluti knot. This is actually a dress shoe knot, but it is secure and looks good! You could leave the twine long if you wanted to, but I trimmed them so it was shorter than the height of the bottle.
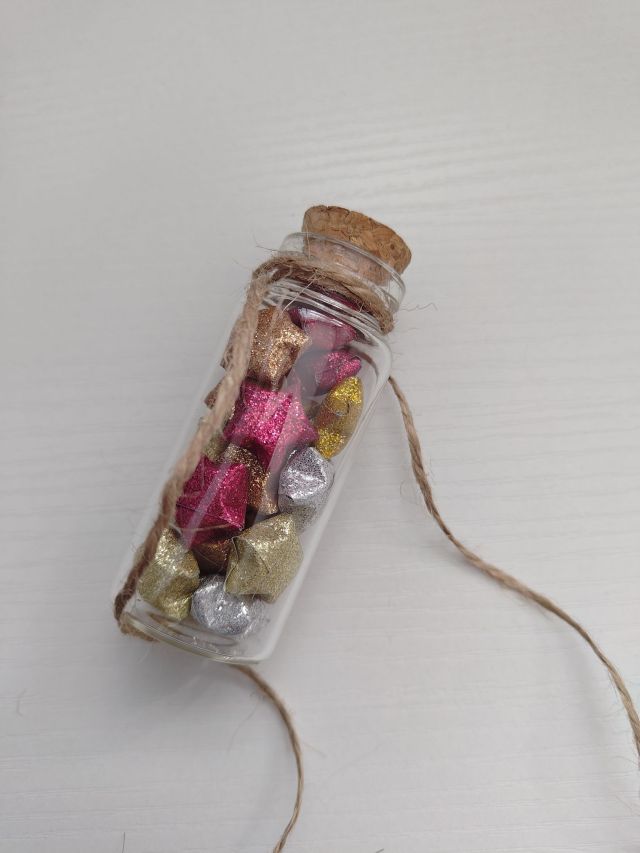
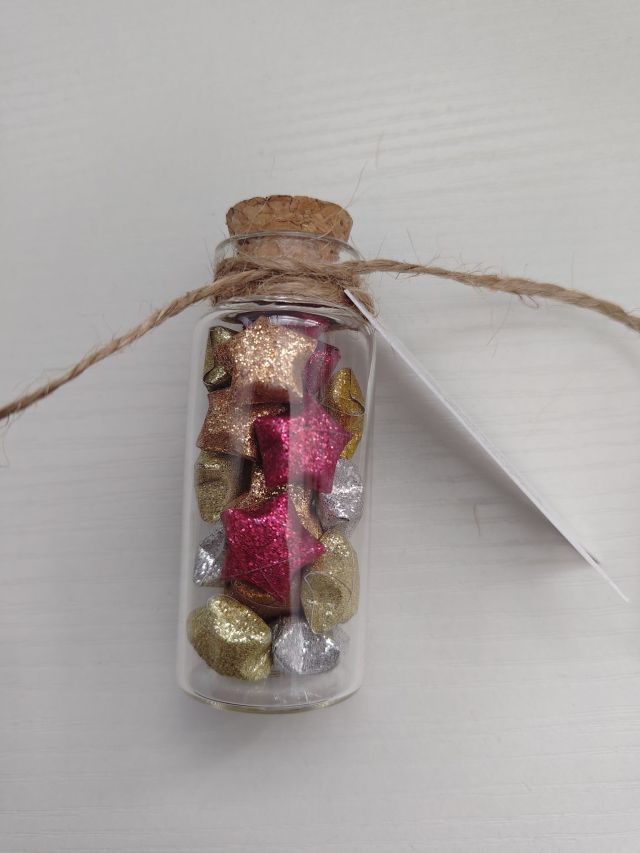
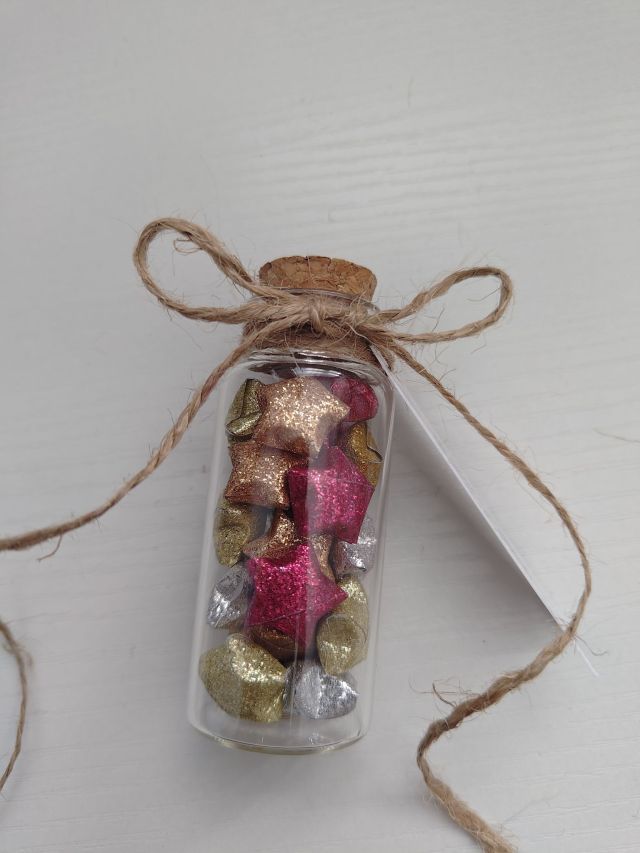
When I was done with each bottle, I put them back into my delivery box that I originally received. It will then be easy to take to the venue and stored with the other decorations.
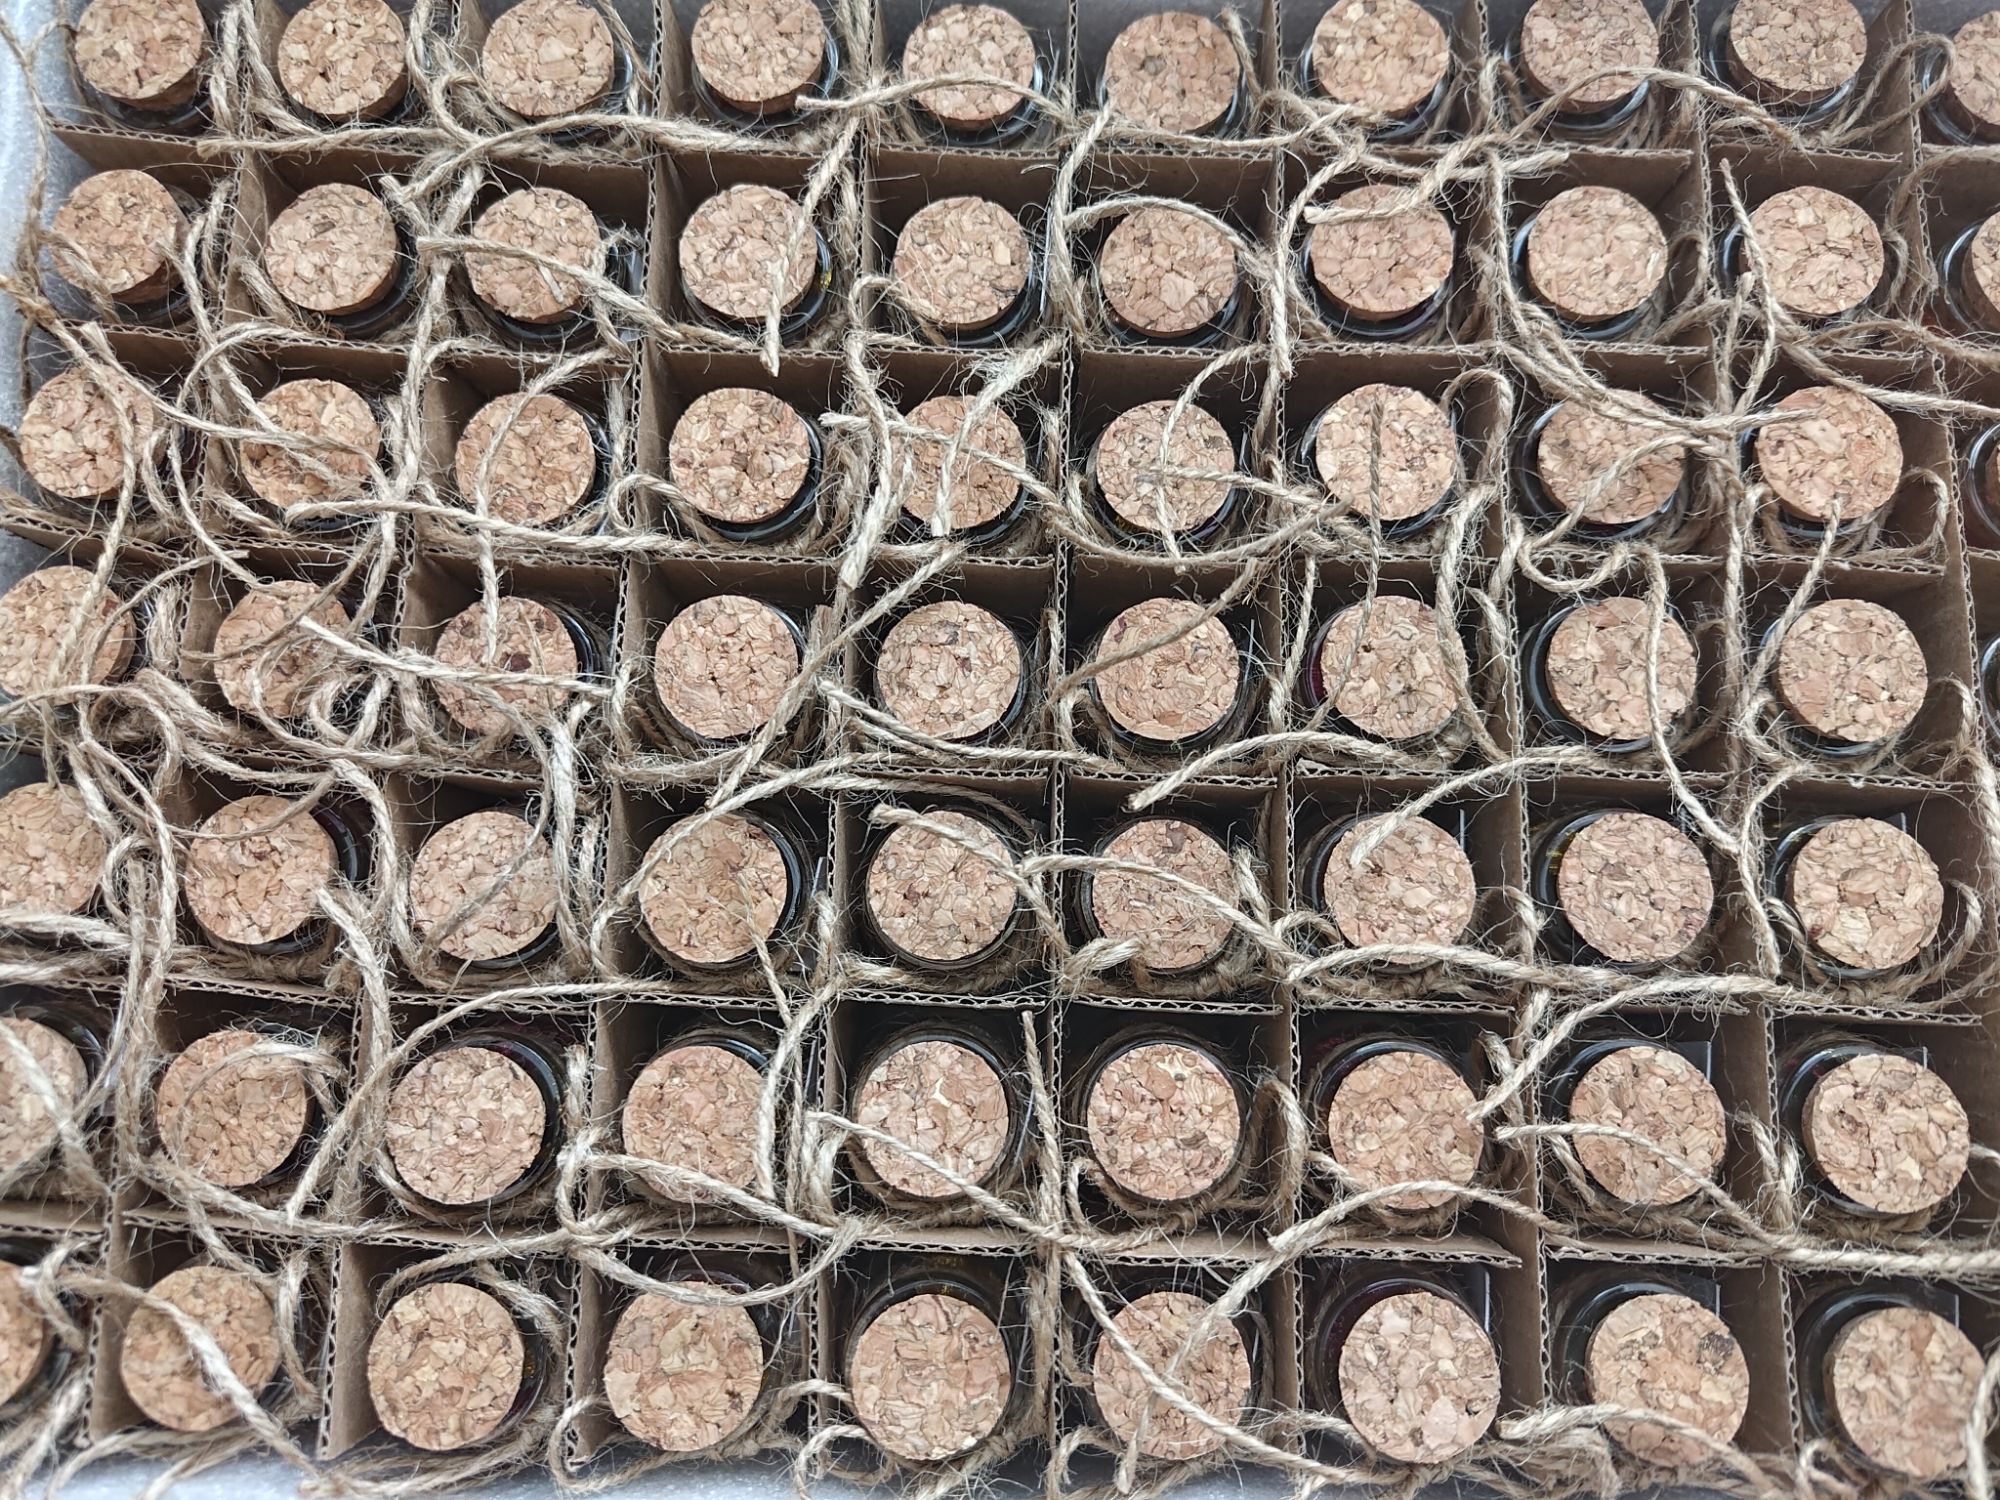
I am planning on telling the decorating team to put one out for every guest on their table settings when we sit down for the wedding breakfast, but I am currently not sure where to put the spares at the moment as leaving a cardboard box out might be unsightly. There sure is a lot to think about!
Anyway this was a small update. I still have a lot to do; I have to decorate the ceremony table, do the bridesmaids bouquets, and do the groomsmen boutonnieres, maybe decorate the wedding cake at a minimum. Hopefully I haven’t missed anything else off…!
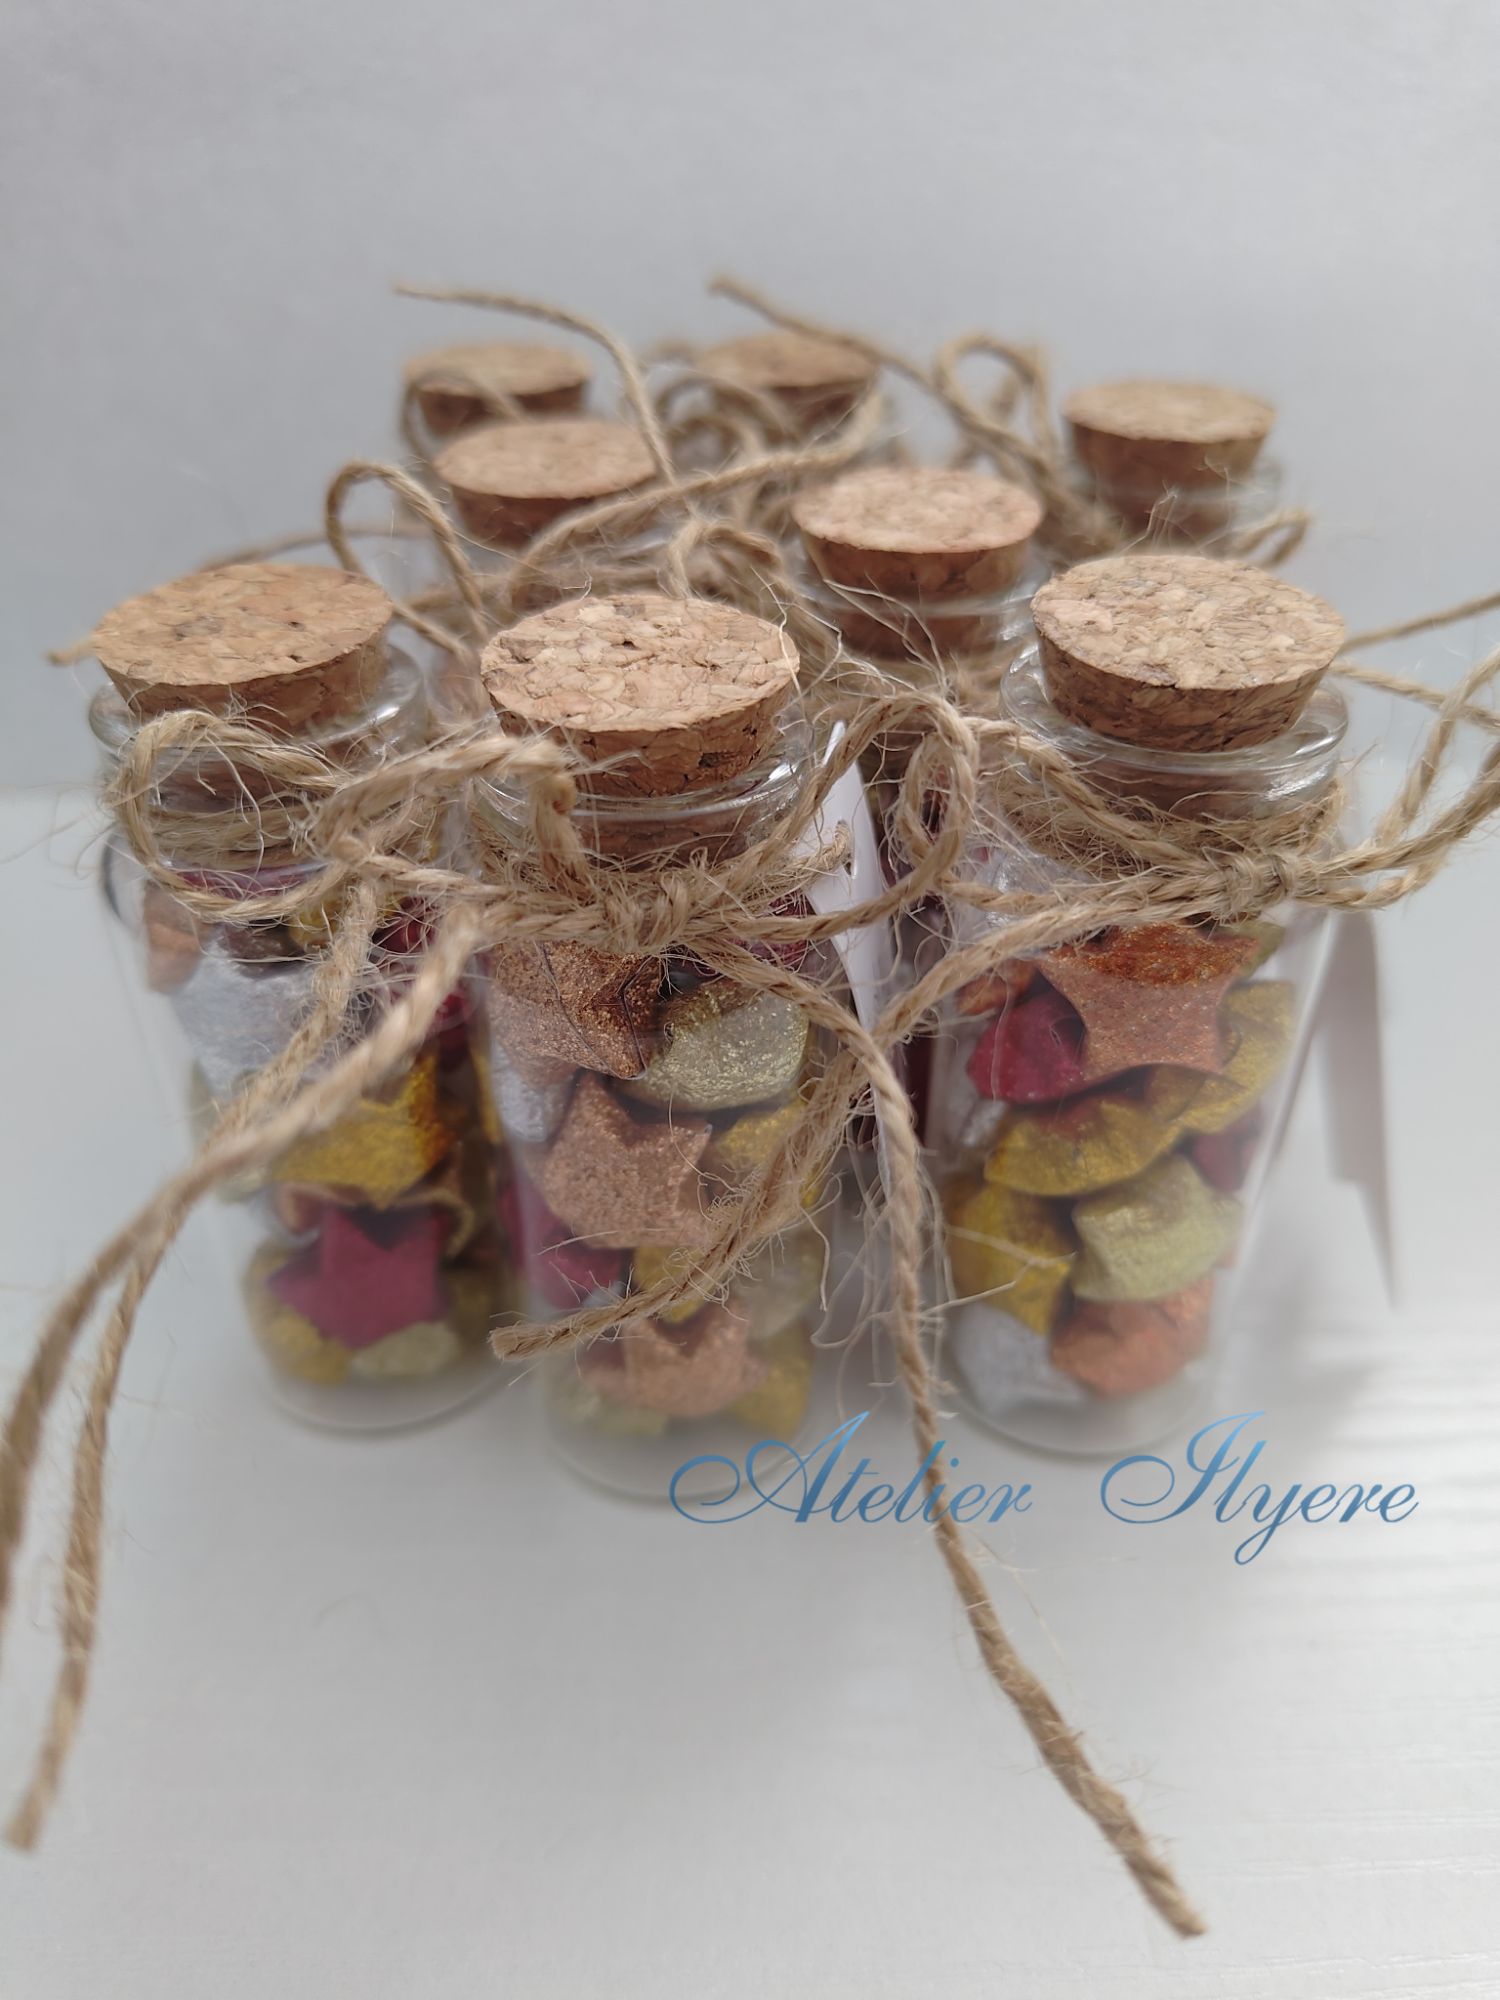
Materials used:
– gold glitter themed origami lucky star paper
– glass favour jars 7cm by 3cm
– jute twine
– personalised thank you gift tags
Tools used:
– scissors
– ruler

