
Anyone who’s into any trading card game will have lots of spare cards lying around. I’ve heard some stores will take your spares but in bulk only, so you have to sell a lot of cards in one go to make it worthwhile!
Shadowbox TCG cards have been emerging as a great way to turn old cards into something cooler. You can add depth by turning multiples of the same card into layers. The best tutorial I’ve come across is this one by TheJWitzz on YouTube.
I did a much simpler version without the paints for my first attempt as I wasn’t too confident with them yet. I chose Sinistea 089/202 from the base Sword and Shield set as I like the card design and I have a number of copies from my booster pack pulls. Ideally you want to choose something with defined easy-to-cut objects when starting out.

Using a craft knife, I cut out layers with the items nearest to the borders and some extras of other assorted duplicate cards with just the frame to add more depth. I also cut out extra Sinistea parts to make the main body have depth too.
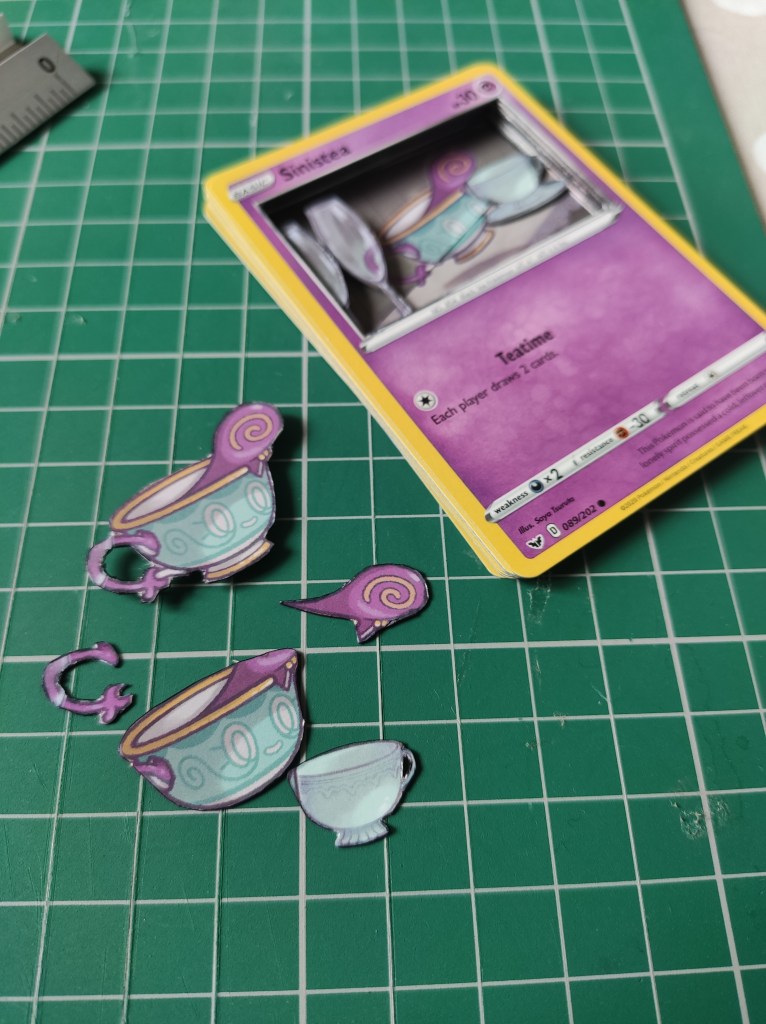
Not the neatest cutting in the world! But fortunately there is a way to hide this. As shown in the linked video tutorial, I used a coloured Sharpie marker to go around the white cut edges. Most of it was black, some were grey to match the background.
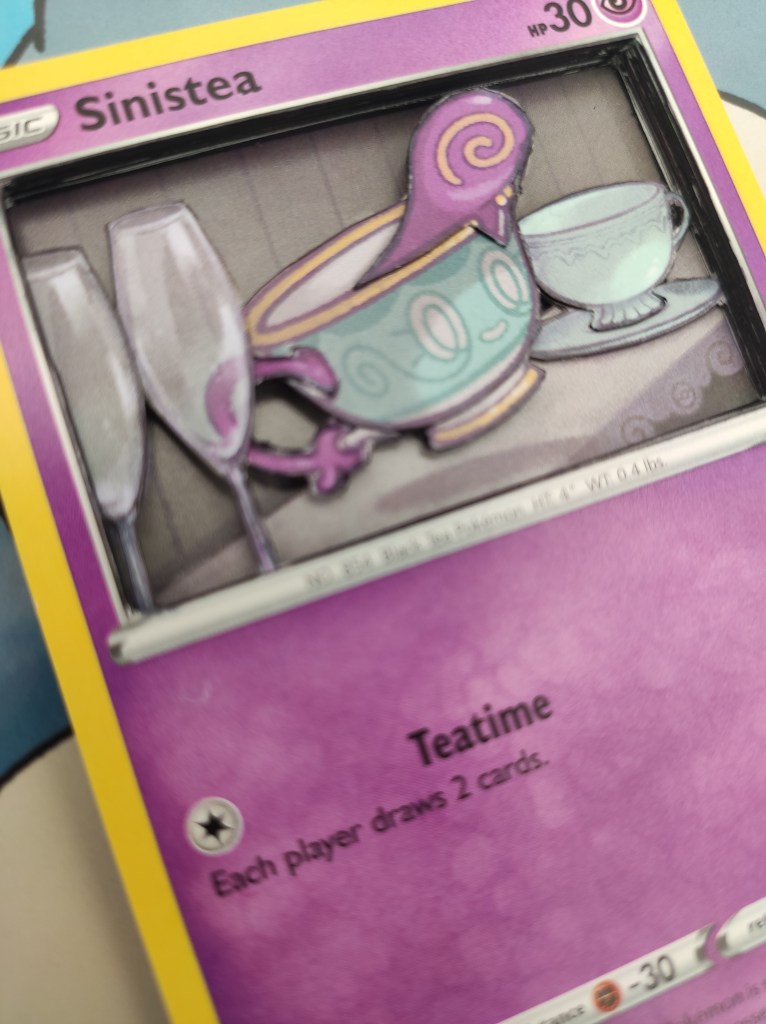
The card layers were glued on using a craft glue stick that works well with card and paper. The main Sinistea body used a small piece of foam tape and stuck down with the appropriate layer.
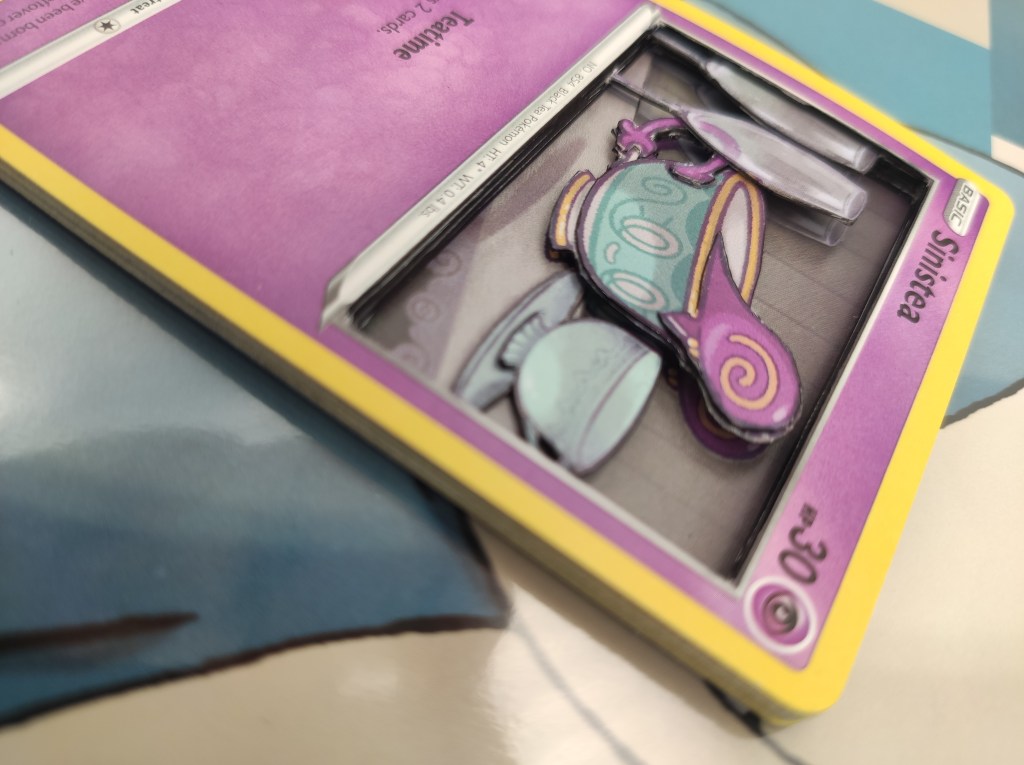
I realise that if you look at the card at a certain angle, you can see the base layer with the same elements like the vase, but I was willing to overlook it for this project. This is where the painting step comes in handy in the linked video. You could paint them the same colour as the background or you could paint them black to show a shadow. I honestly did try a bit of painting on a test card, but it just didn’t look right. I’m not a painter, I couldn’t match the background colour at all!

For my first go, I think it went okay. However, I would advise you to have lots of spare cards in case you mess up; I was hoping only six cards would be needed, but I ended up using ten including my reverse holos… I was also supposed to use a reverse holo as the top layer, but I cut out the wrong part so I had to use it as a spacer frame. I also used seven other random unused cards to add more spacers to the frame.

Materials needed:
-13 Pokemon TCG cards (six of the same Pokemon, seven other random cards)
– foam tape
Tools needed:
– craft knife and cutting mat
– paper glue stick

The quality of the content of your blog was great. Very impressive and useful write-up. Will be waiting for more updates. Keep posting.