Continuing on with my kumihimo adventures, I started learning how to incorporate beads. With a normal braid, you need a thicker cord, but this time you will need beading cord and appropriately sized beads. Here, I’ve used 0.5mm cord, size 8/0 seed beads, and 4mm crystals and pearls.
You start by braiding a little with the cord for the end caps, then you want to lay out the beads so that the pattern spirals up the bracelet.
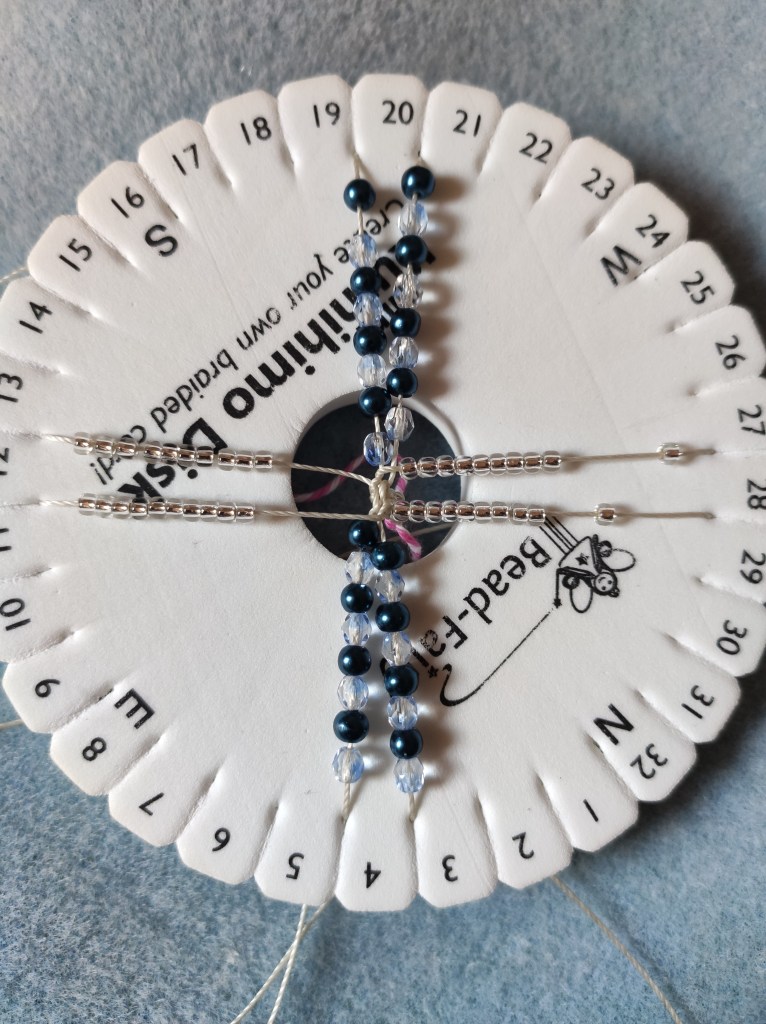
Then it’s like normal braiding, except you have to slot a bead under the previous cord, before you pull the cord up. A large kumihimo disc would be ideal for this – I struggled with my small disc but I continued on anyway! (You’ll be pleased to know that I finally had the common sense to buy a bigger disc after this ordeal…)
It is important to check the braid as you go along, as it is easy to forget to add a bead or have it sitting above the cord instead of under. You may have to undo a lot of cord like I did at one point…

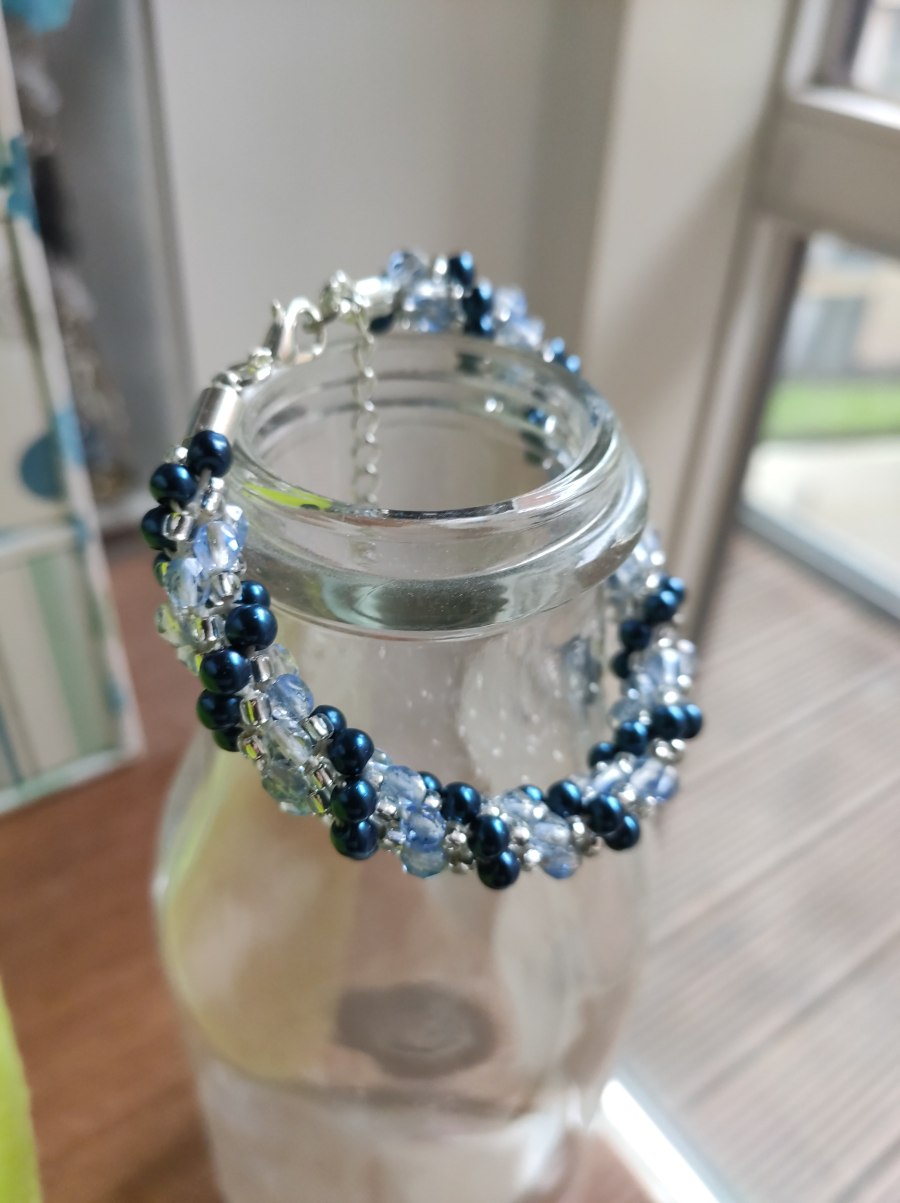
I love the finished bracelet and I would absolutely love to make more in different colours!

Materials needed:
– 0.5mm S-Lon oyster-coloured cord
– 4mm blue glass pearls
– 4mm light blue crystal beads
– silver size 8/0 seed beads
– silver end caps
Tools needed:
– kumihimo disc
– jewellery glue
