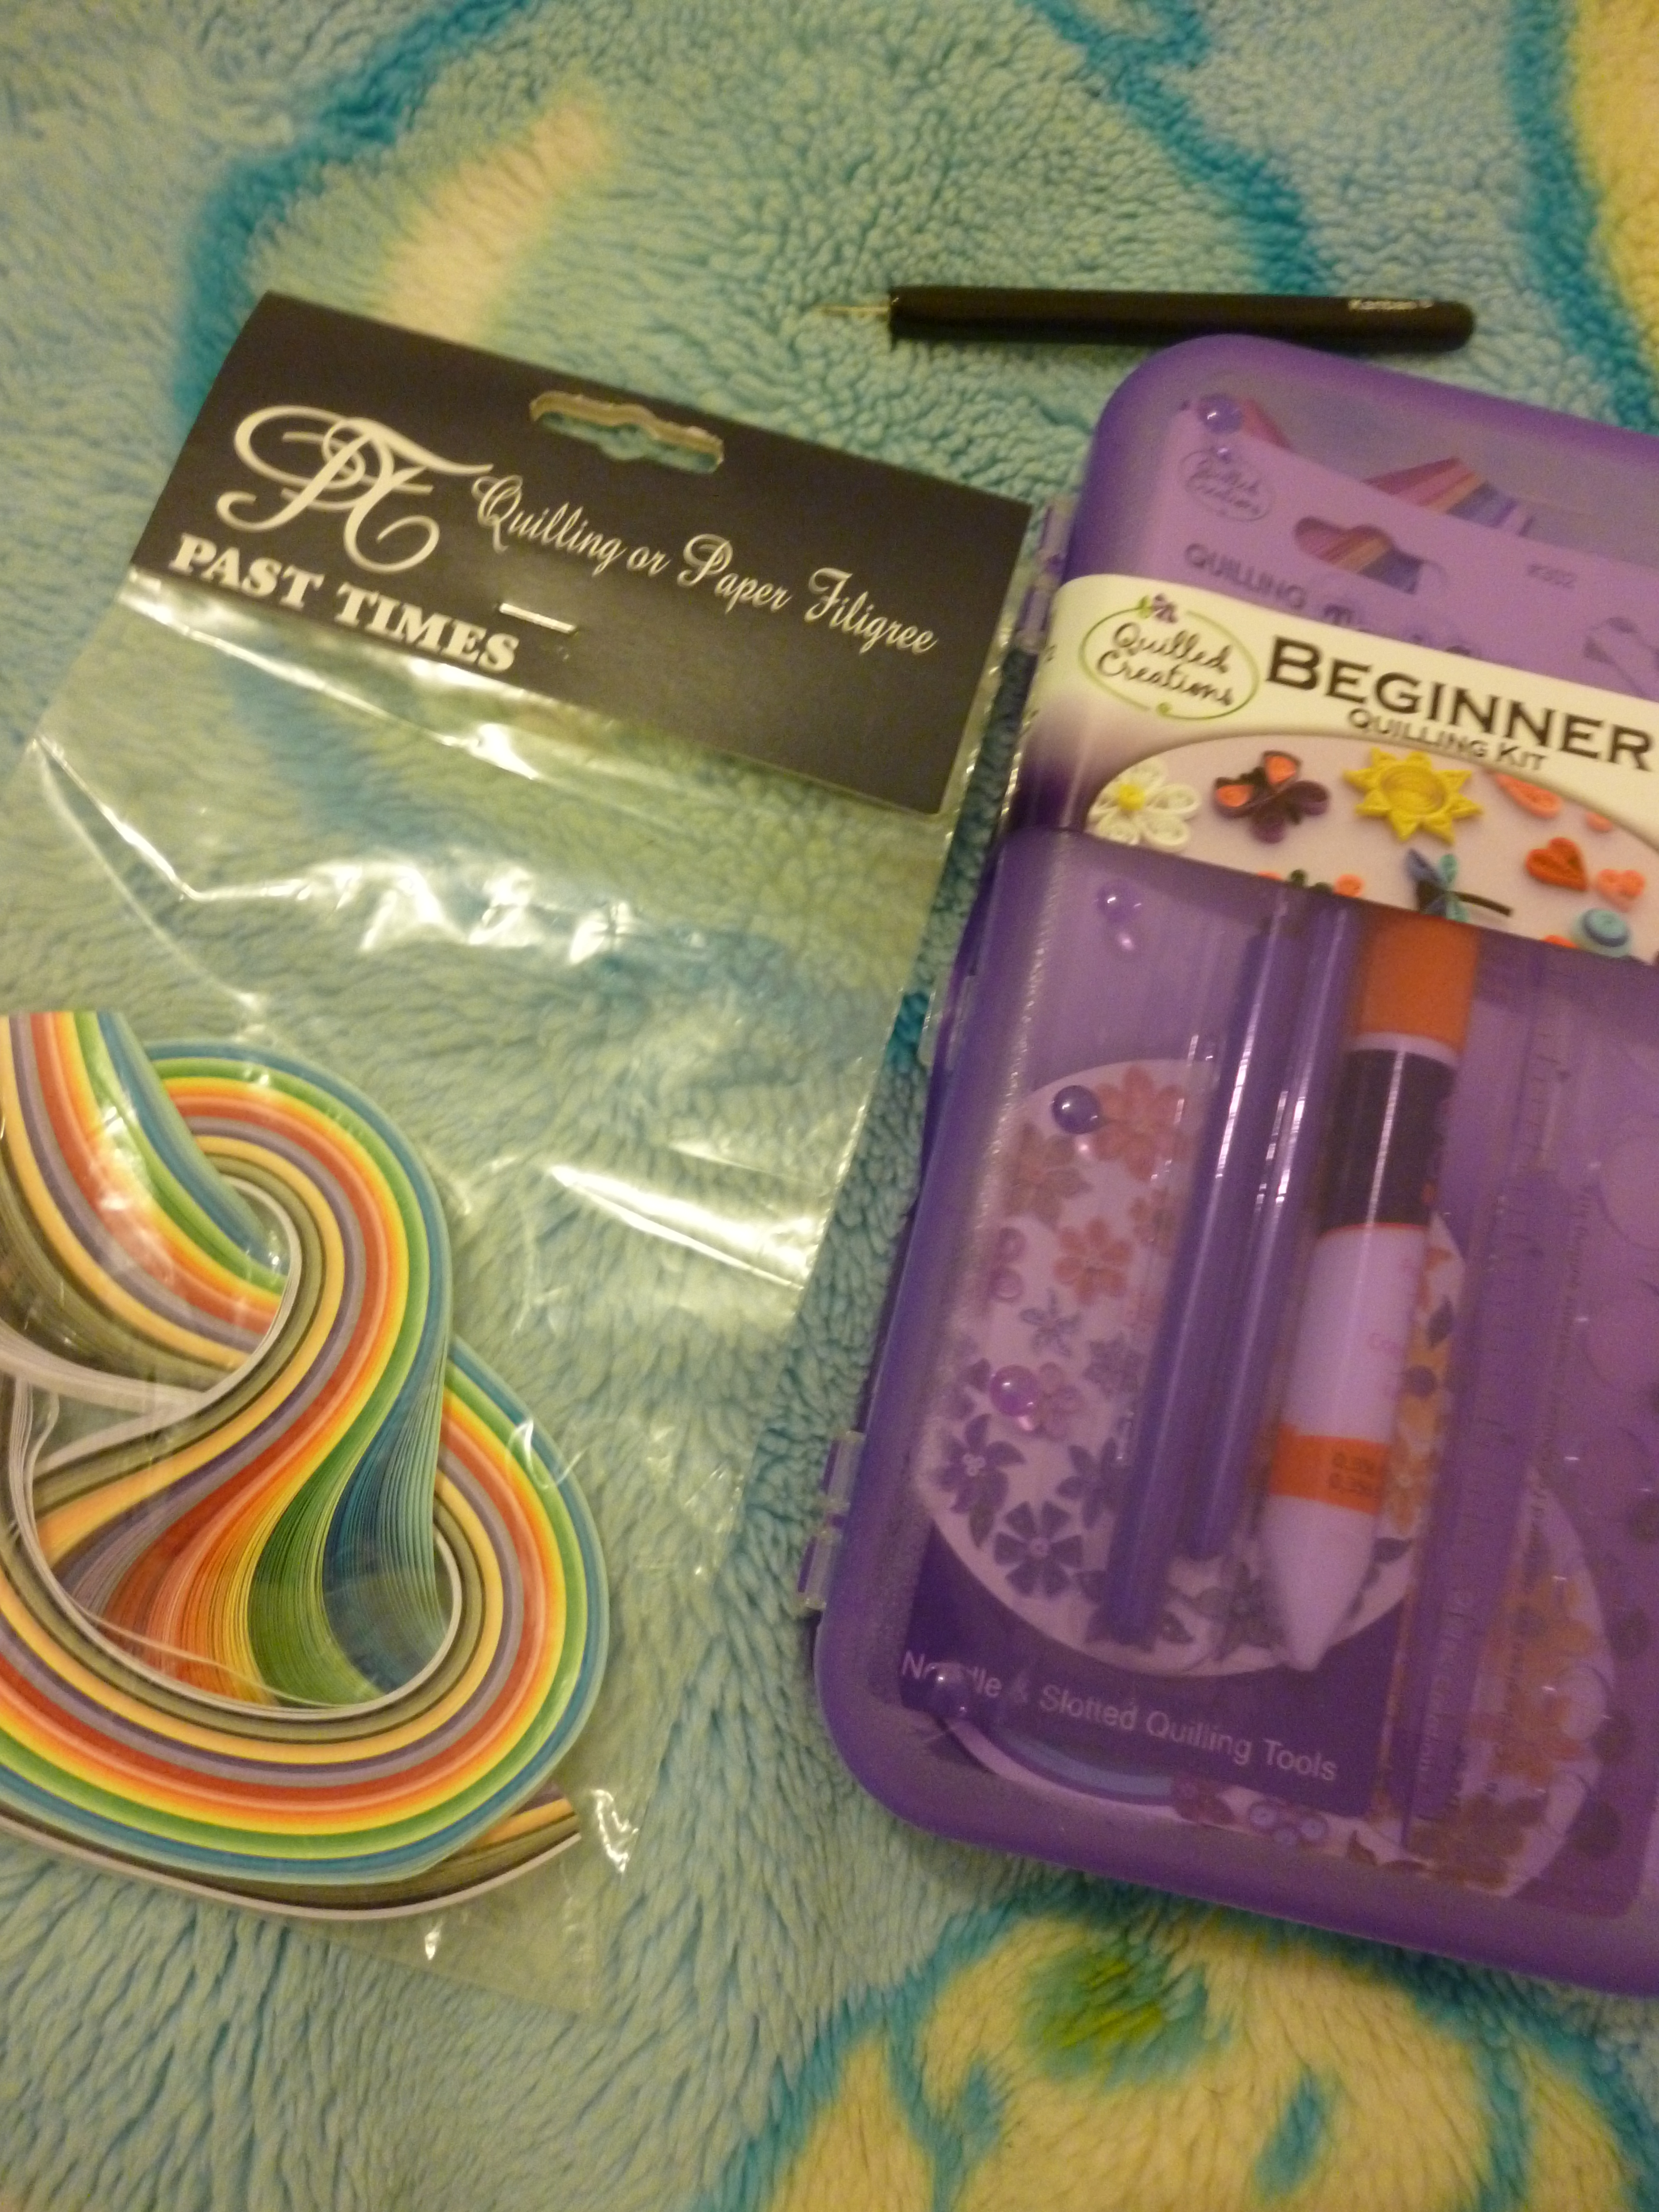
Have you ever heard of quilling? It’s the art of rolling paper up into circles and gluing them down to make pictures. I was intrigued by the concept and bought a starter kit from Hobbycraft. It is called the Beginner’s Quilling Kit by Quilled Creations. It contains quilling paper, three tools, a glue stick, a circle ruler stencil, and a guidebook. I also bought extra paper for cardmaking purposes. You don’t have to use quilled objects for cards, but it is the most common application.
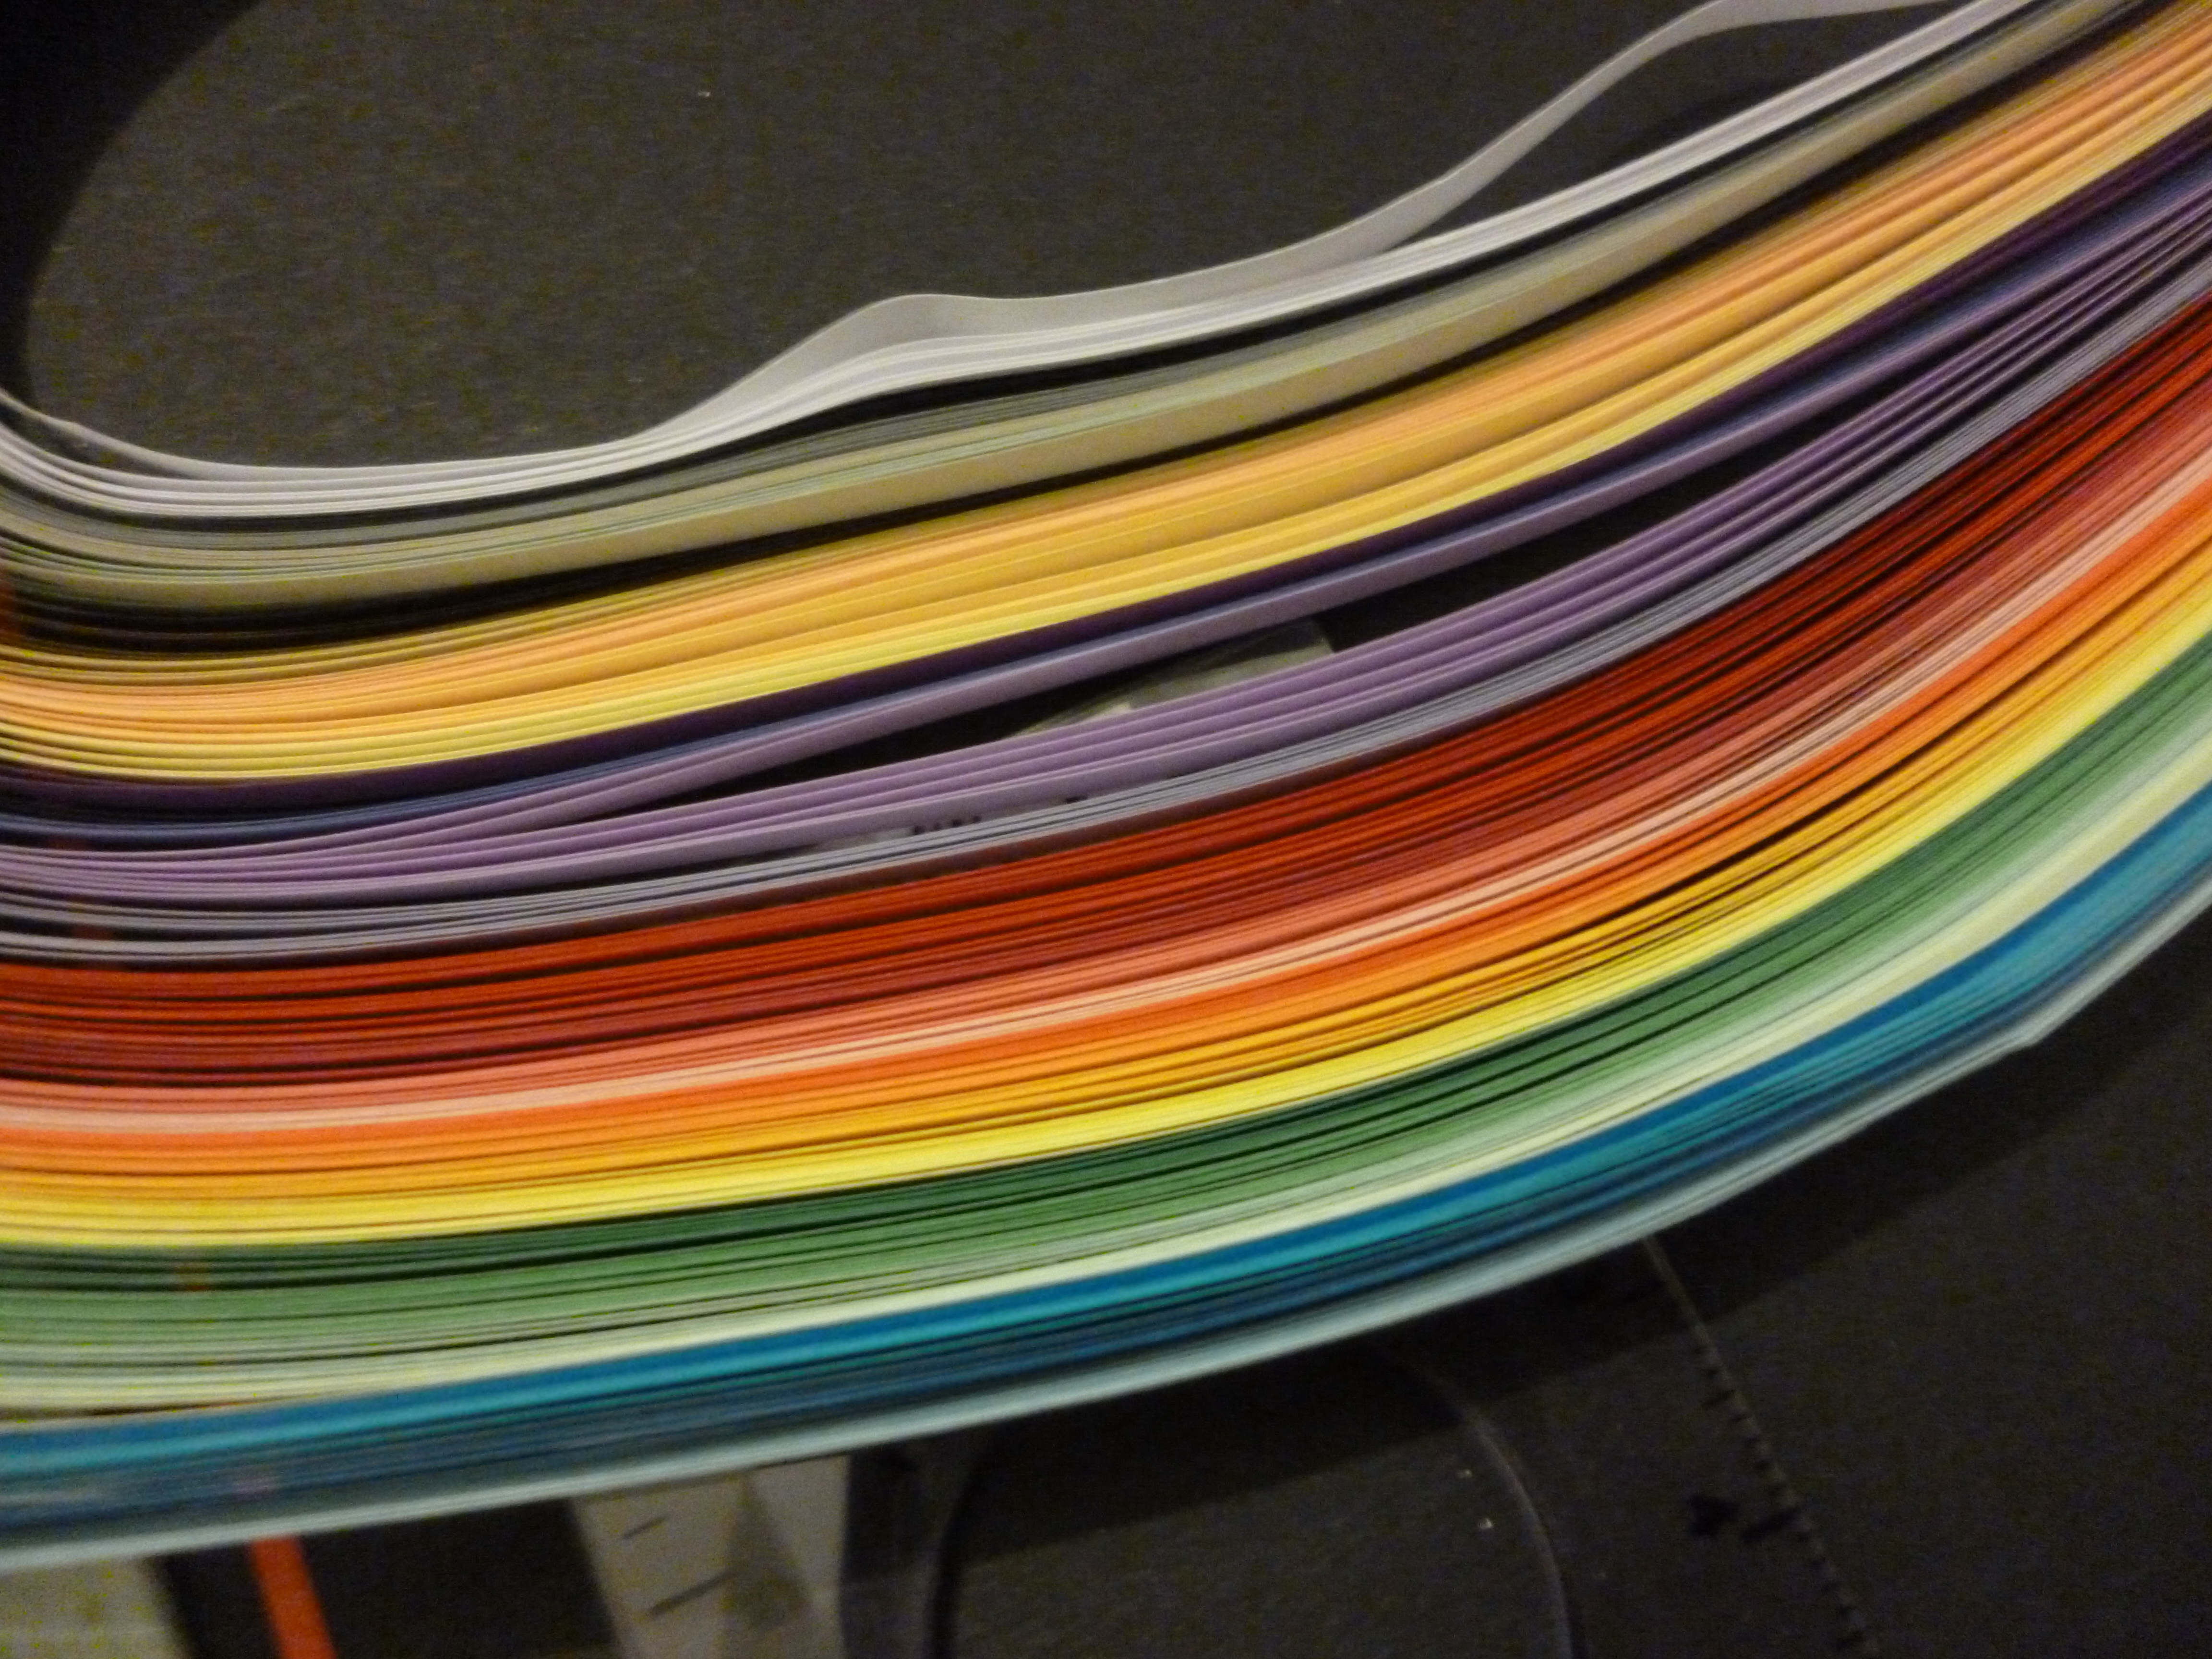
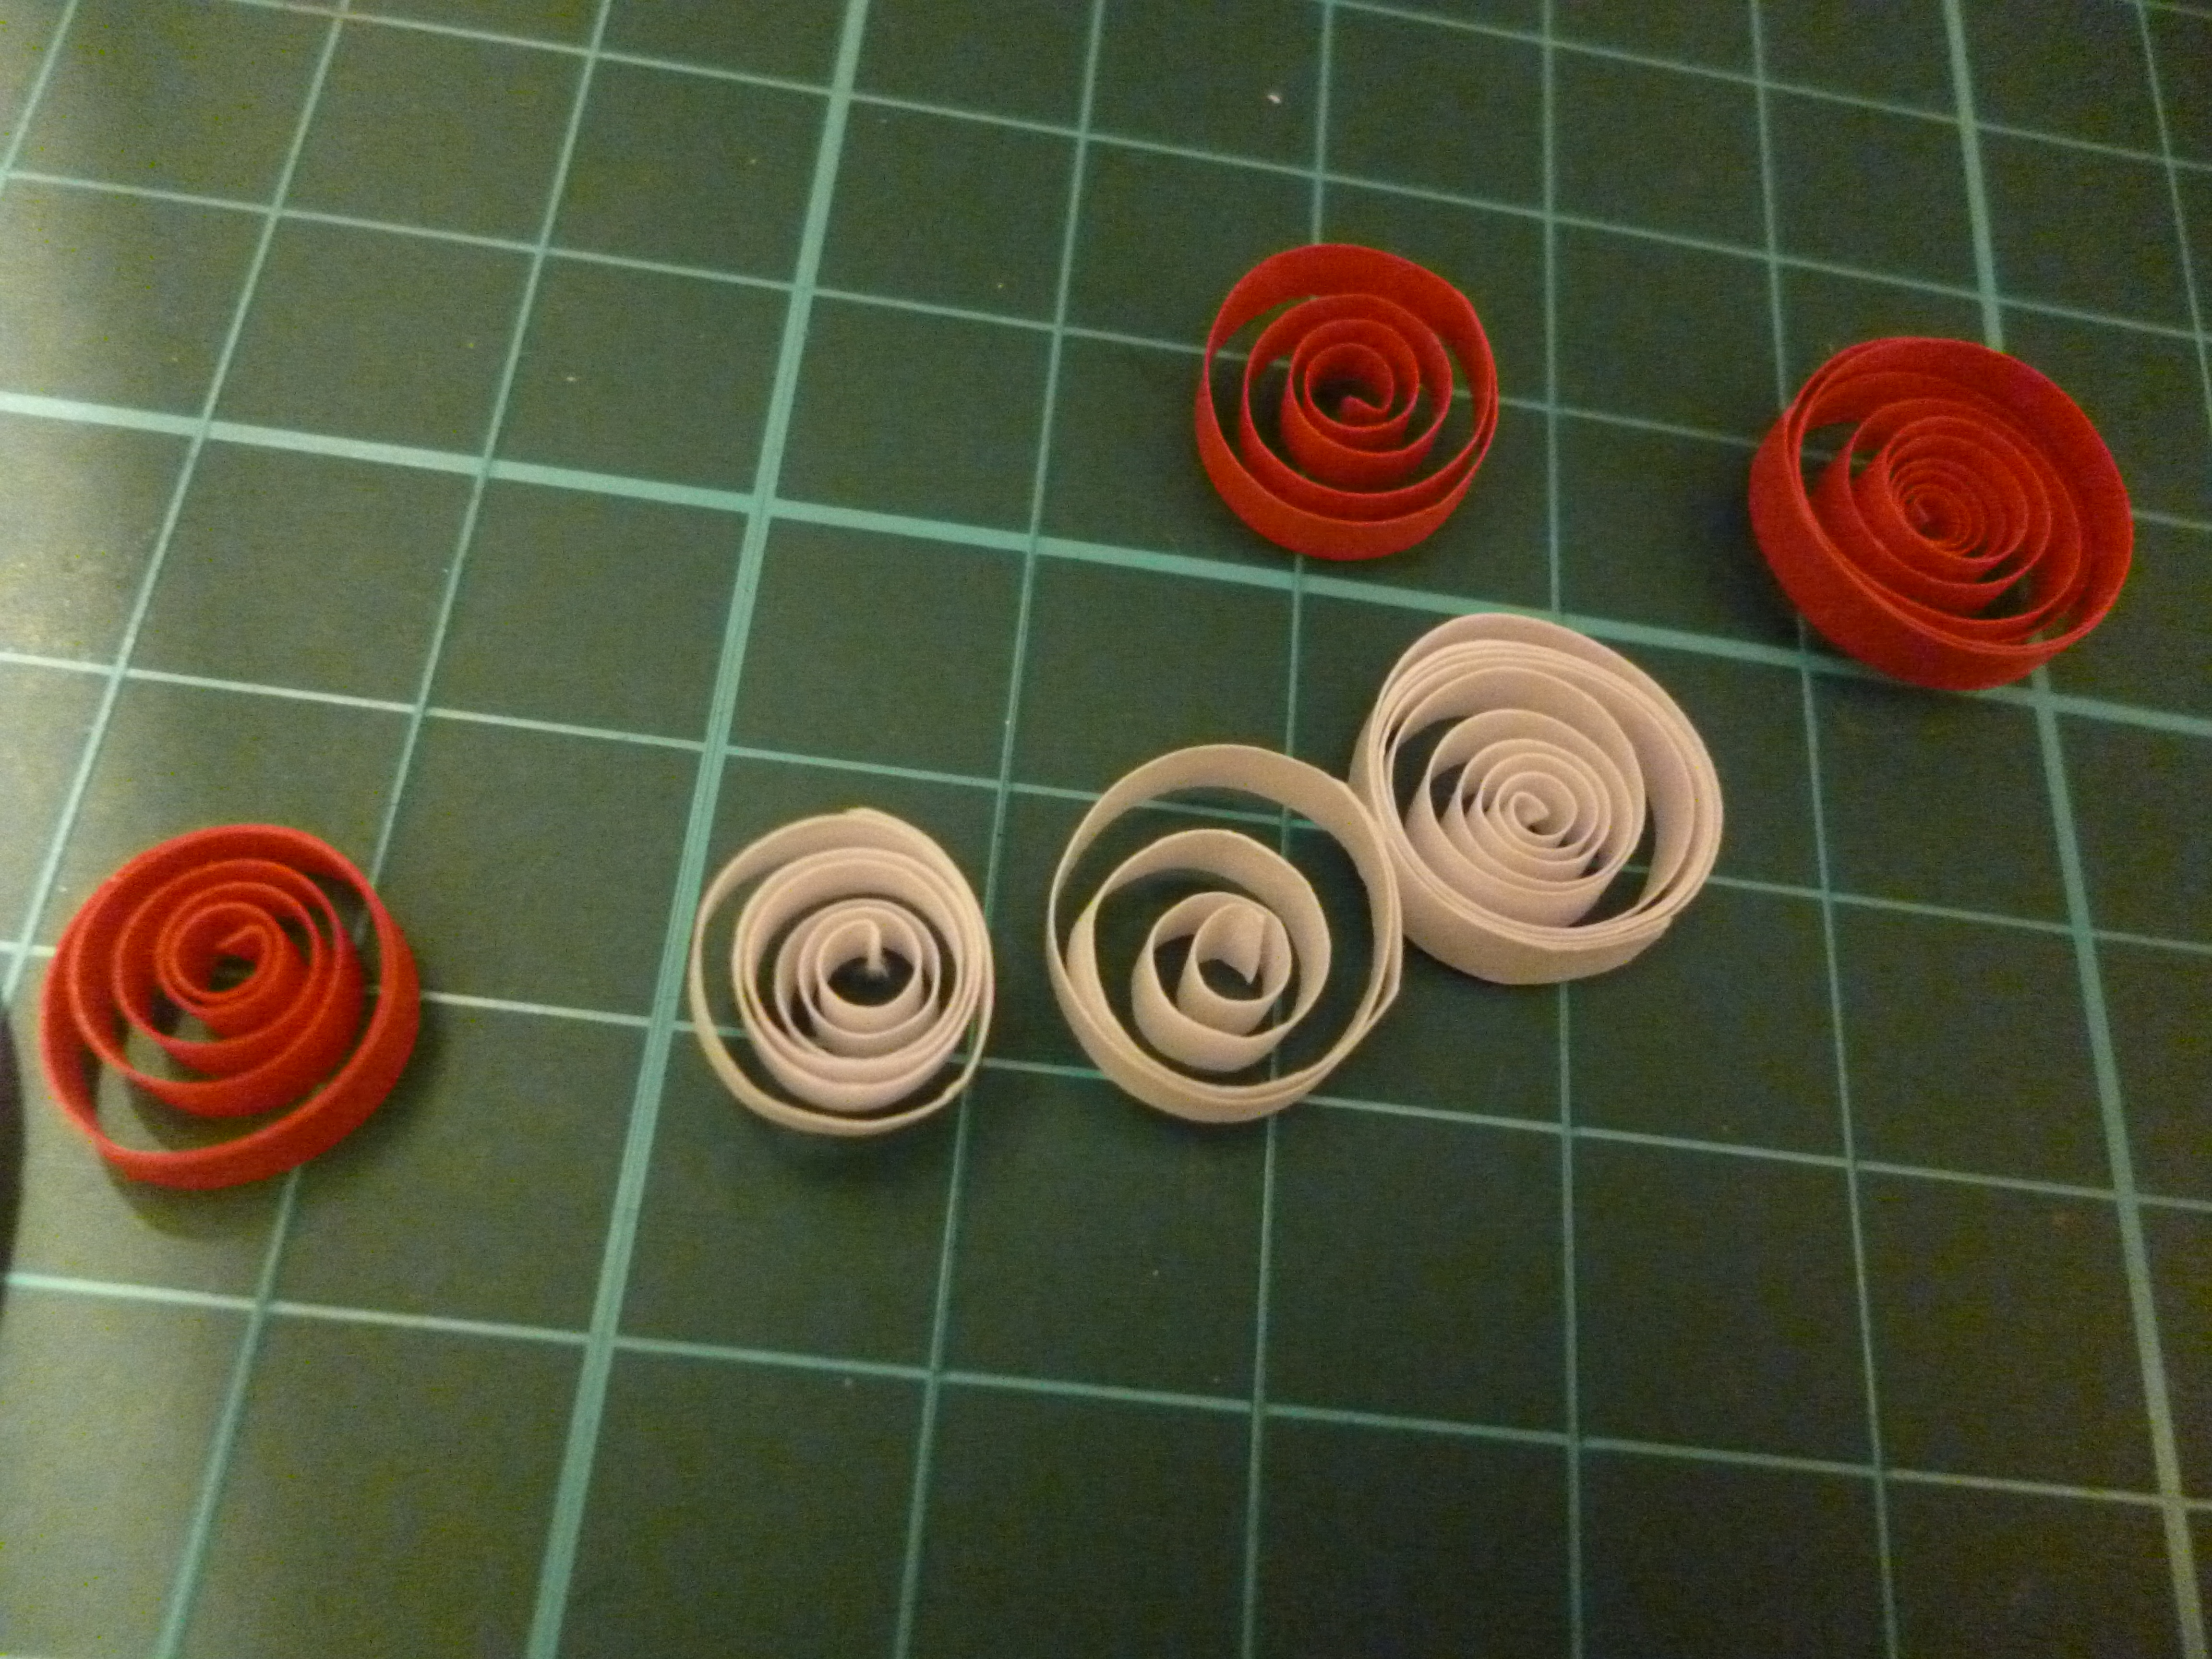
So the paper that gets rolled up is really thin, about 5mm wide, but very long, about 70cm long. The paper comes in strips all stuck together. It’s really pretty looking at it up close!
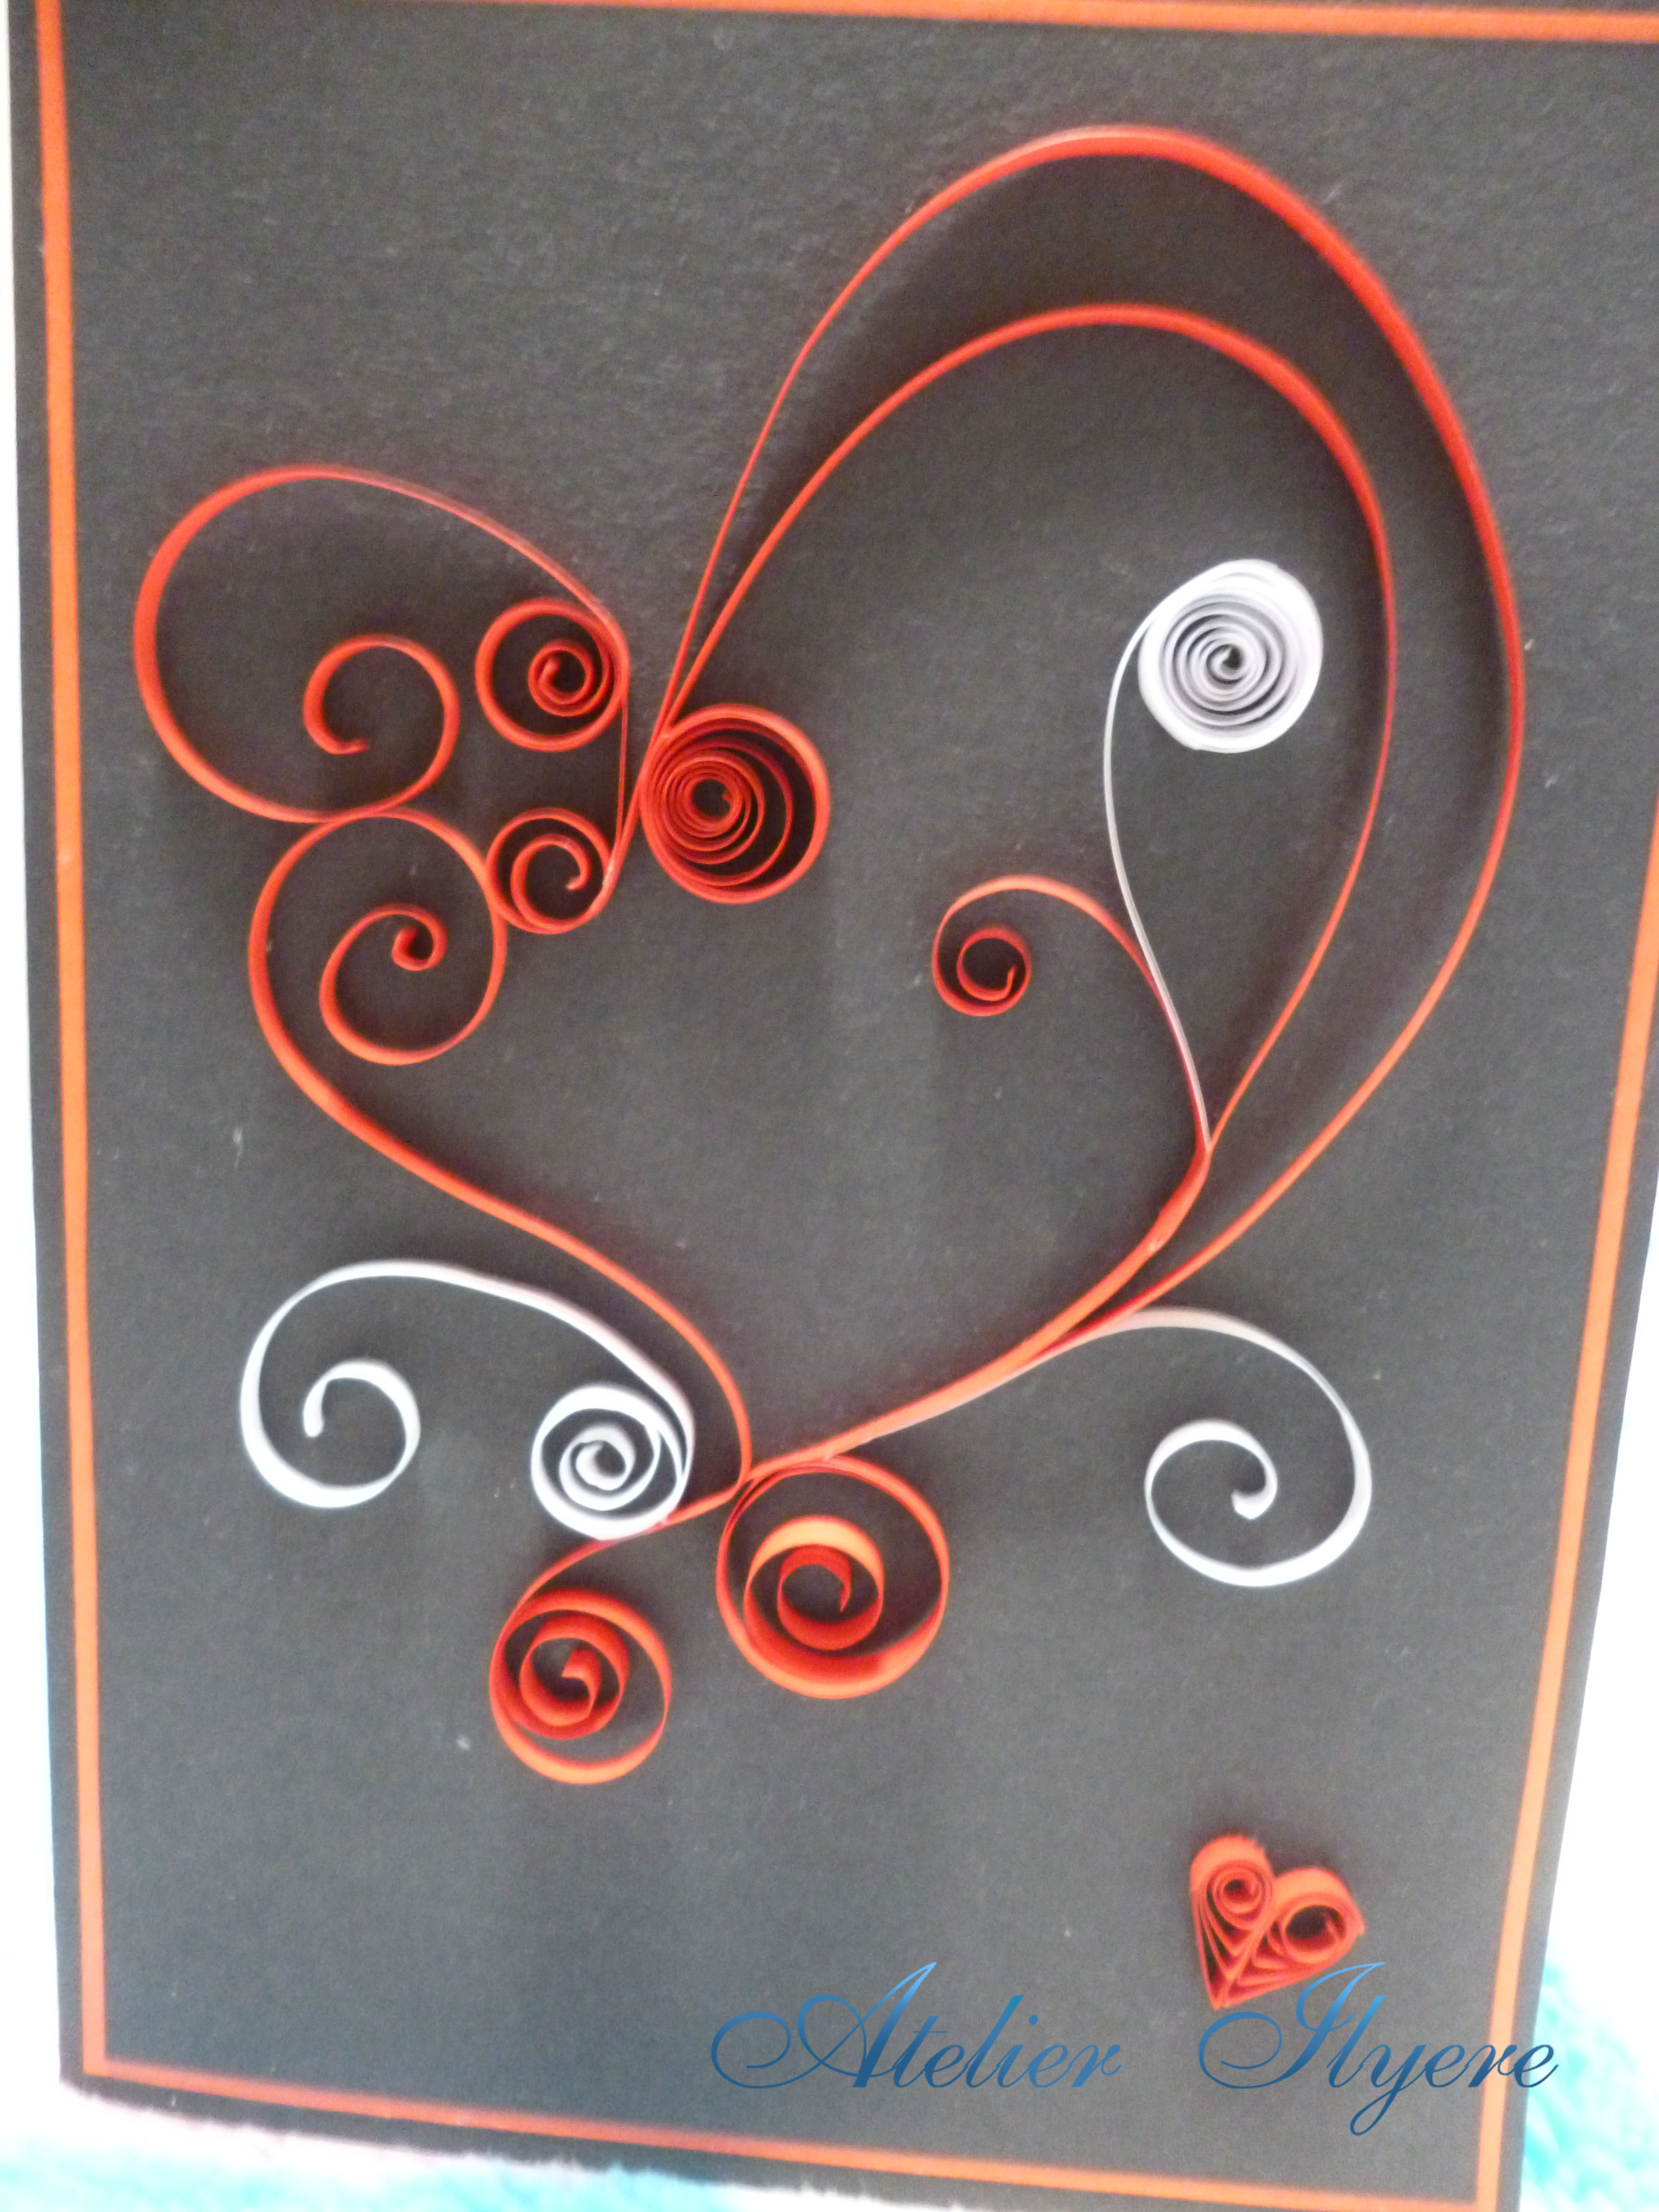
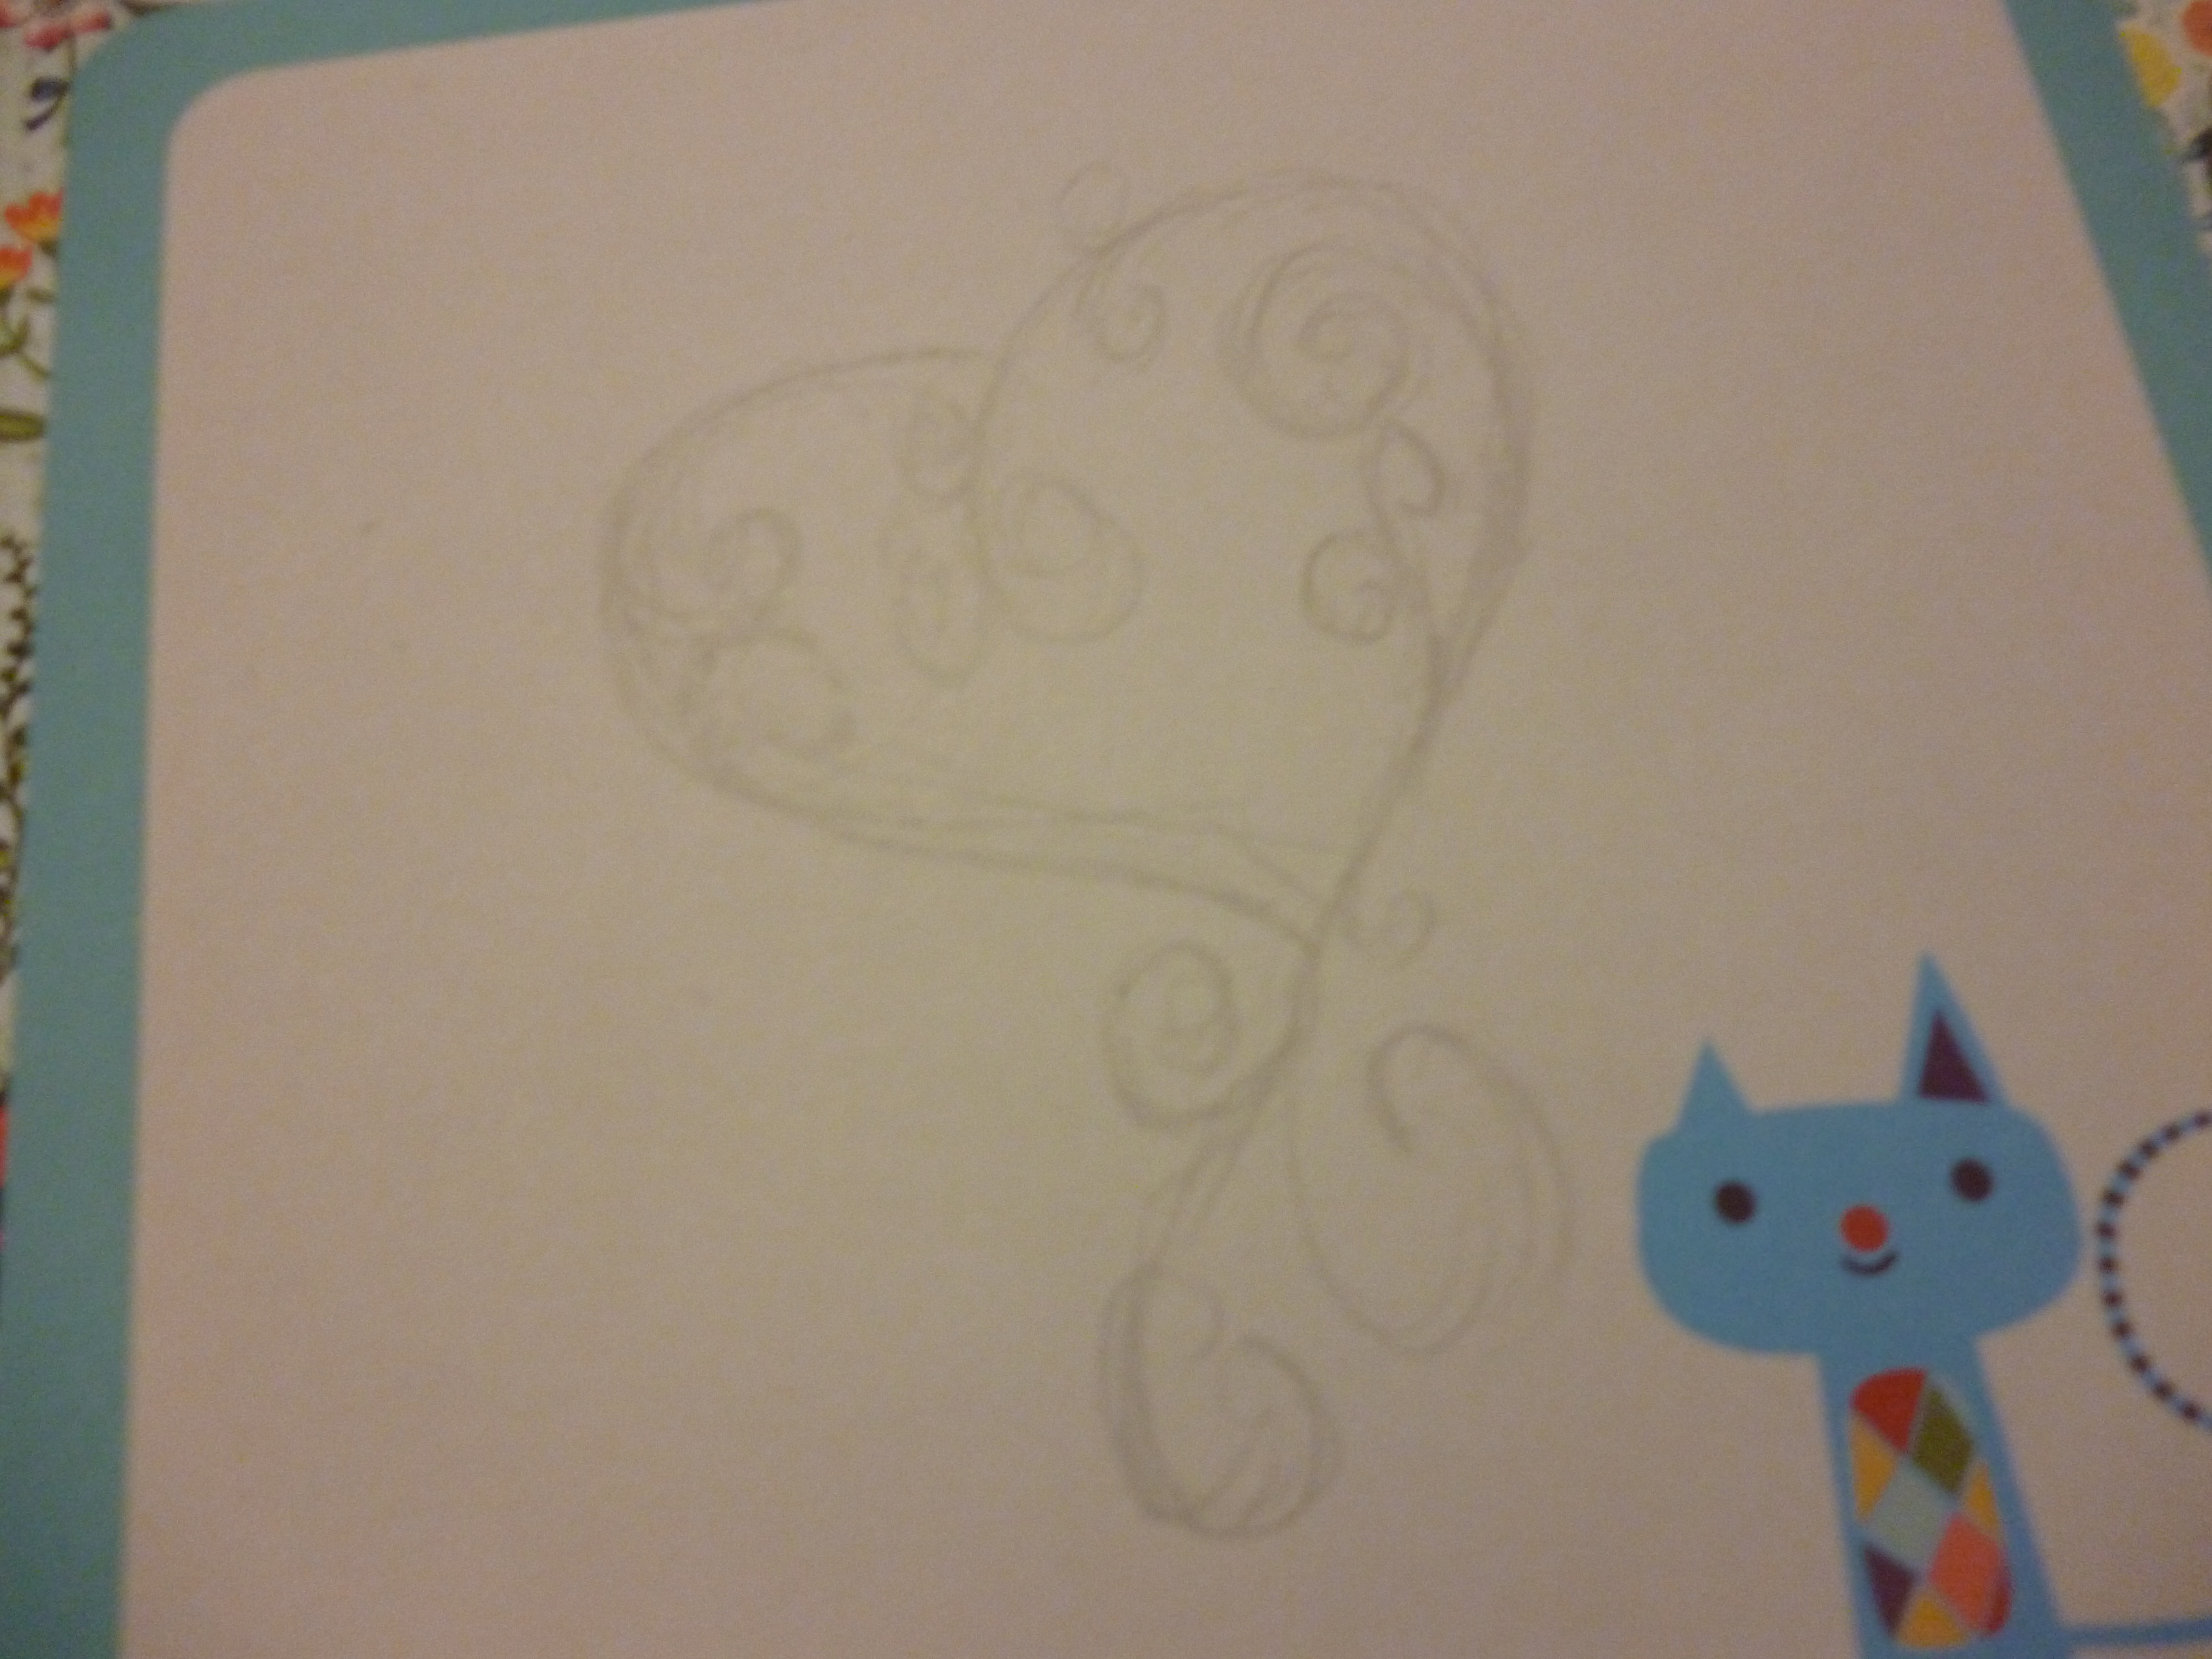
Firstly, I did some research on existing creations, and then got to work on designing my own. I opted for a fancy heart. You don’t have to make the entire picture out of paper, you can also stick the strips down as lines.
It is recommended to try out some practice circles before you stick anything down. The idea is to get a strip of paper, then wrap it around the needle tool. Then you drop the circle into an appropriately-sized circle stencil and let the paper gradually expand. The circle must then be sealed, and now it’s ready to be used! Here were my first attempts.
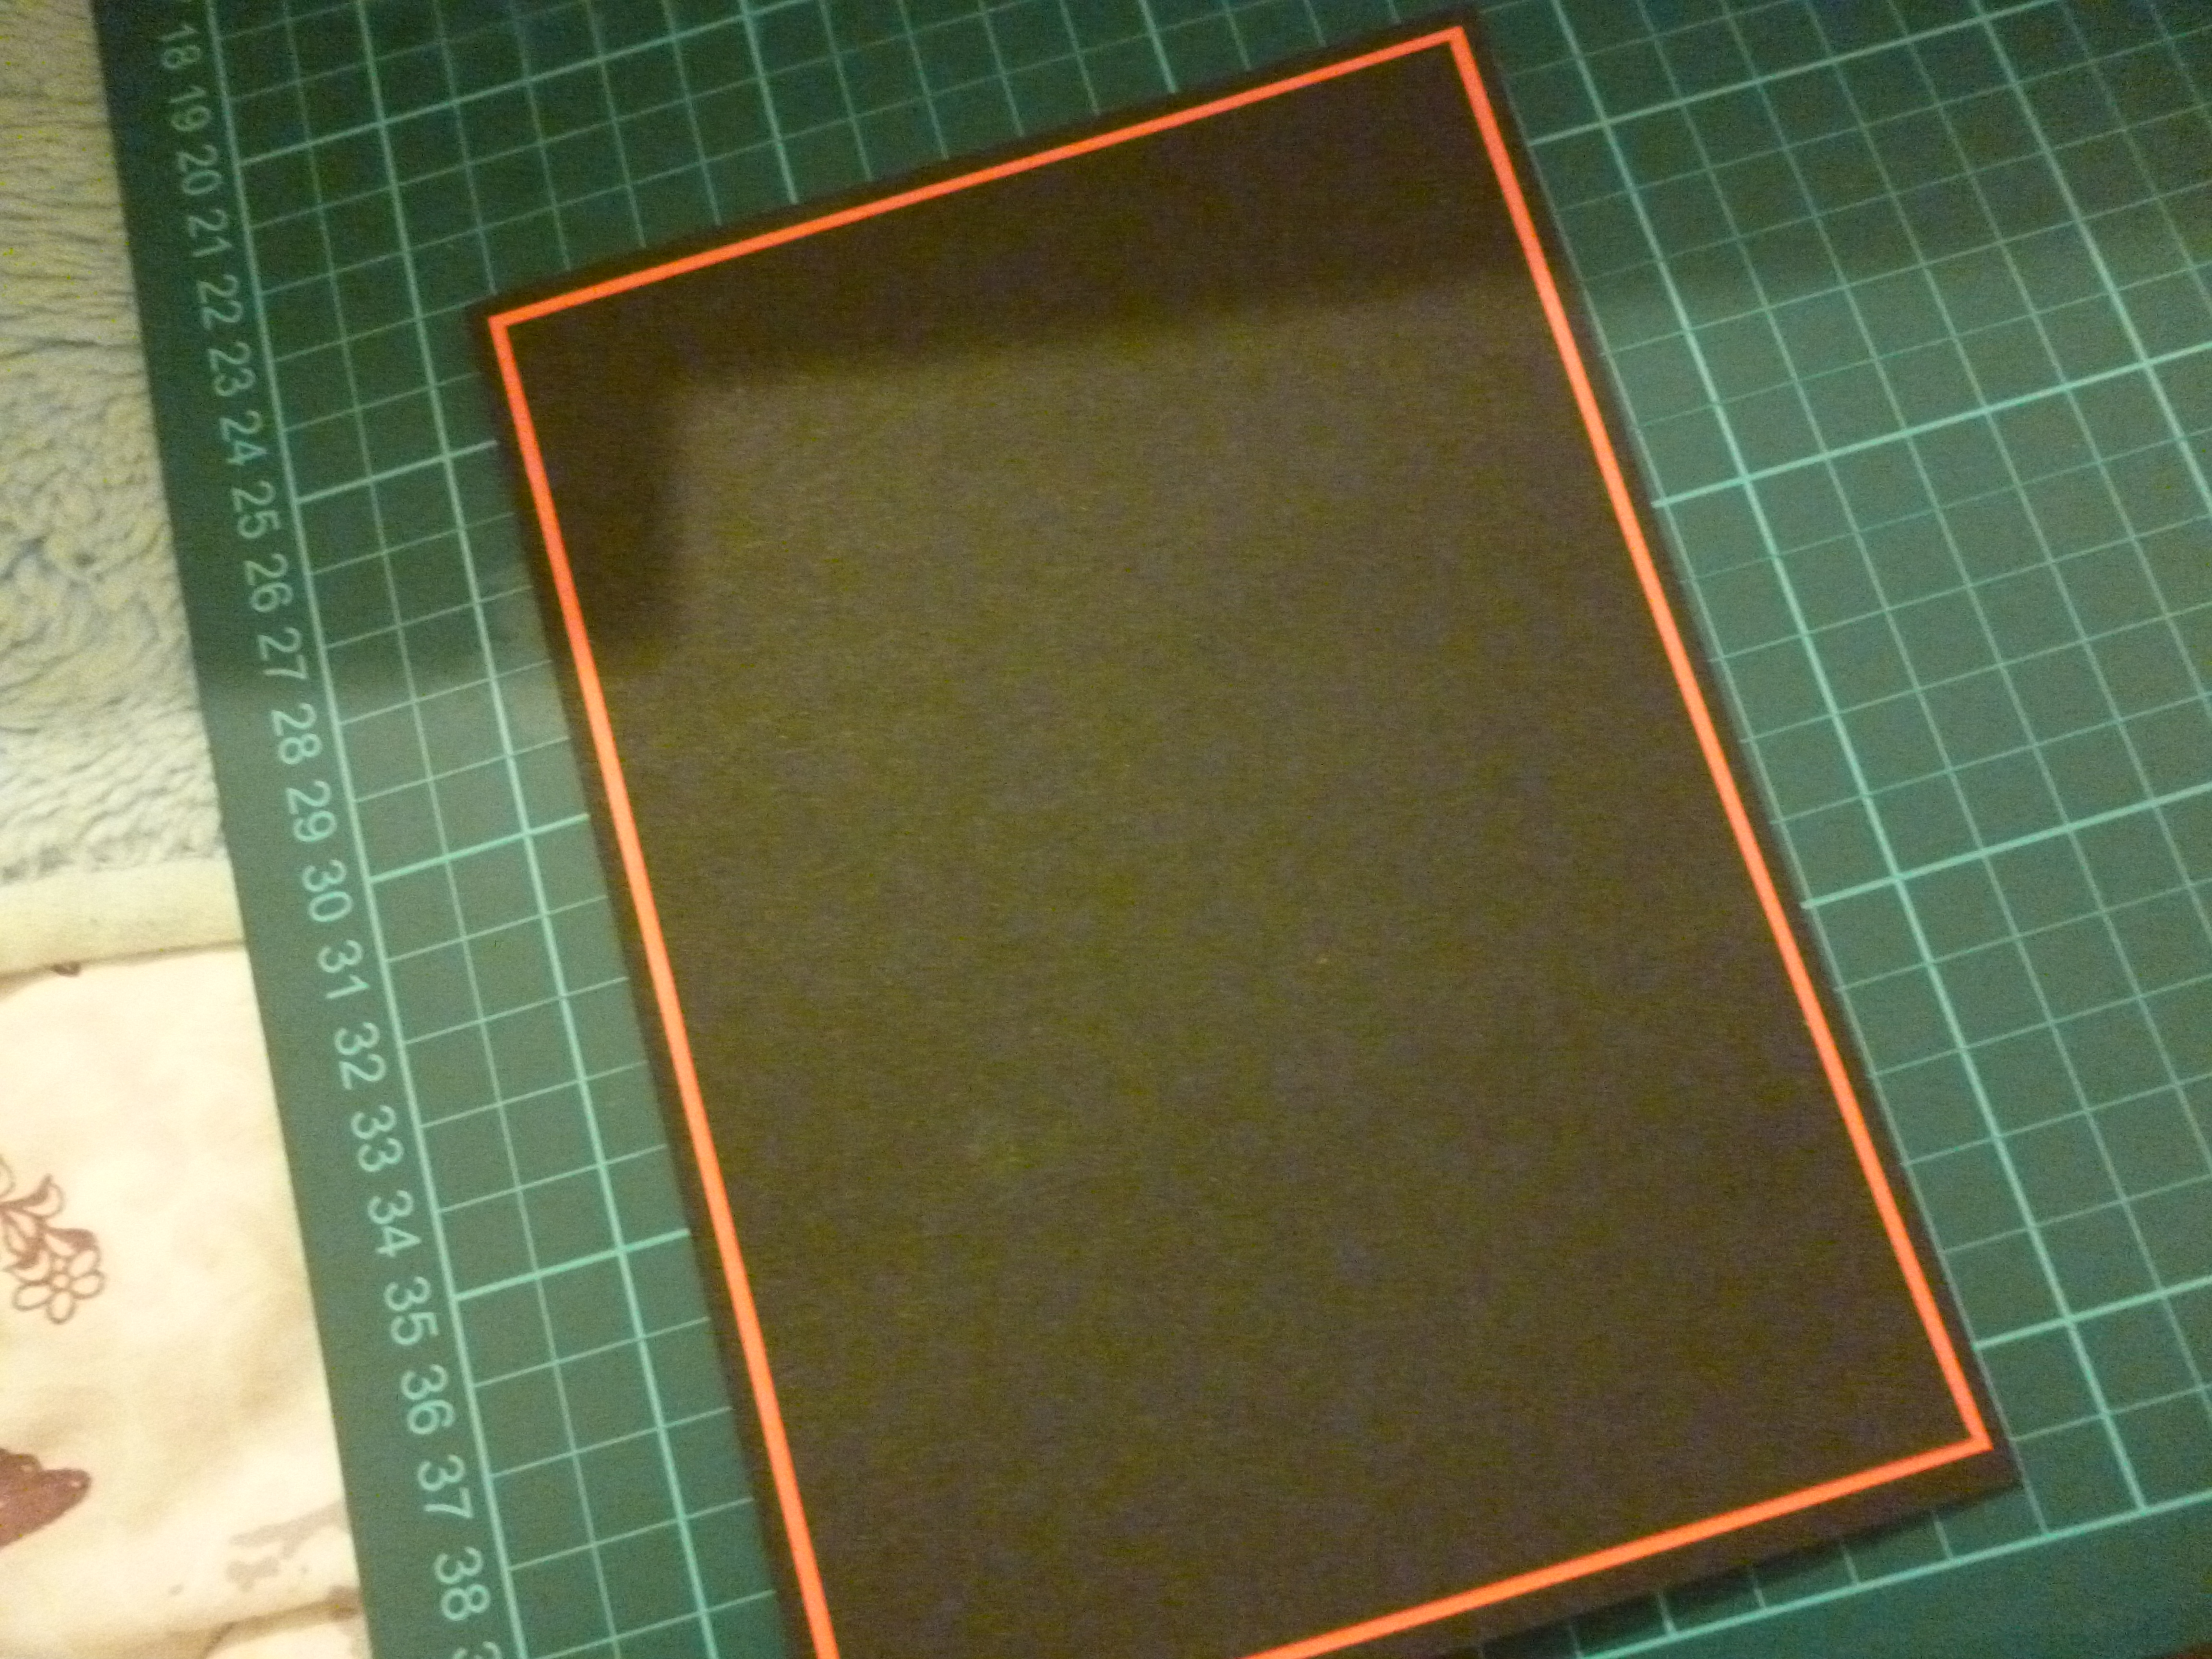
Once I had made enough circles, I started creating the card base. Seeing as it’s Valentine’s Day, red and black are appropriate colours. I stuck down black paper on red paper, and then stuck that onto a black card base.
Then I stuck down circles in roughly the correct areas. The paper needs clear-drying PVA glue or something similar for best effect. After the circles were in place, I found it much easier to position the extra swirly lines. I even stuck down a smaller heart in the corner, made by squeezing two circles into tear drop shapes.
A little bit derivative from the original design, but gets the message across still! The individual lines were really hard to stick down and position, so something to work on for next time.