
For the past month or so, I’ve been learning the art form of the Naomiki Sato rose. No kidding! It’s a very difficult flower to make. Photo tutorials never did it for me, but I finally came across this video (part 1) which shows how to make a rose with as few creases as possible; it’s very good, I recommend trying it for yourself! It is recommended to try a few (or even a lot, haha) practice ones before you really try it with the nice pretty paper like I use it today’s tutorial. 🙂
For today’s bouquet, I have a pack of red and pink Tant paper in twelve different colours and size 15cm squares, similar to the blue pack that I used in the kusudama tutorial. Red is made for a rose!
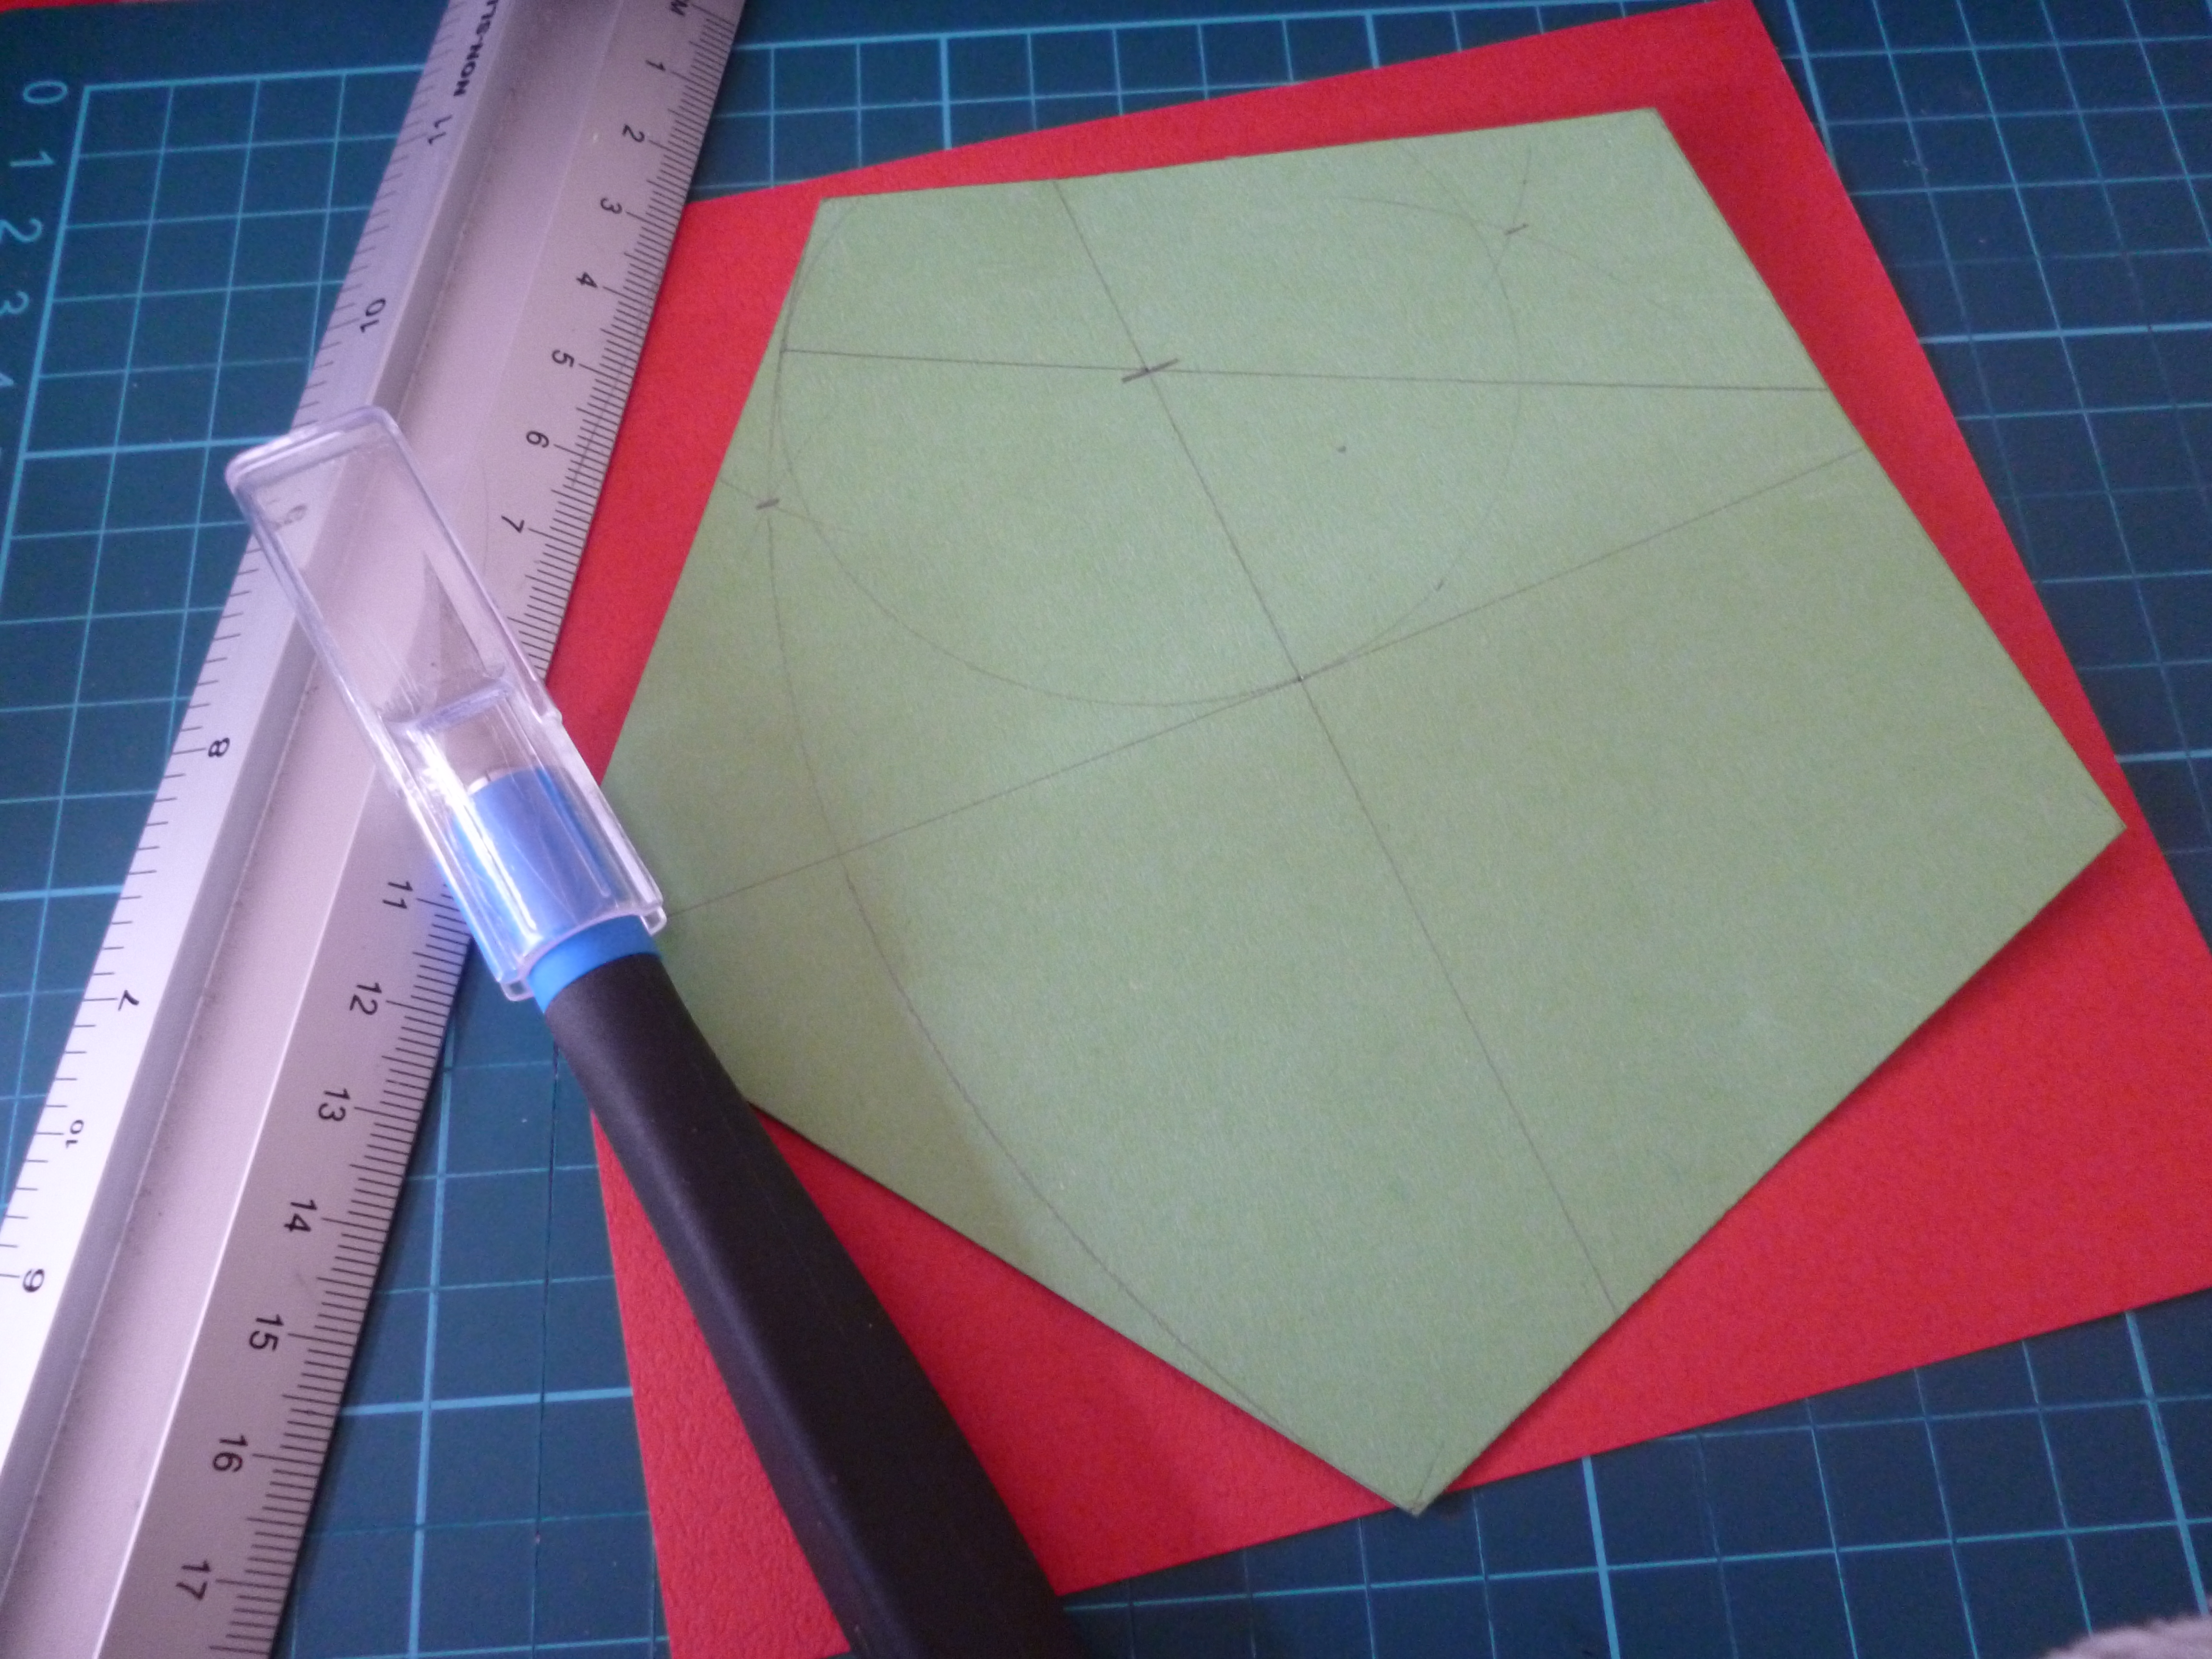
To make the proper Sato rose, you need to start with a pentagon. I drew out the largest pentagon that could fit on a 15cm square by using a compass and pencil on card, then cut it out to use as a stencil for the red paper.
Once you have your pentagons cut out, start making your roses! It turns out a pentagon cut from a 15cm square actually makes a fairly small rose. For future reference, it would be nicer to make roses out of larger paper, but this will have to do for now.

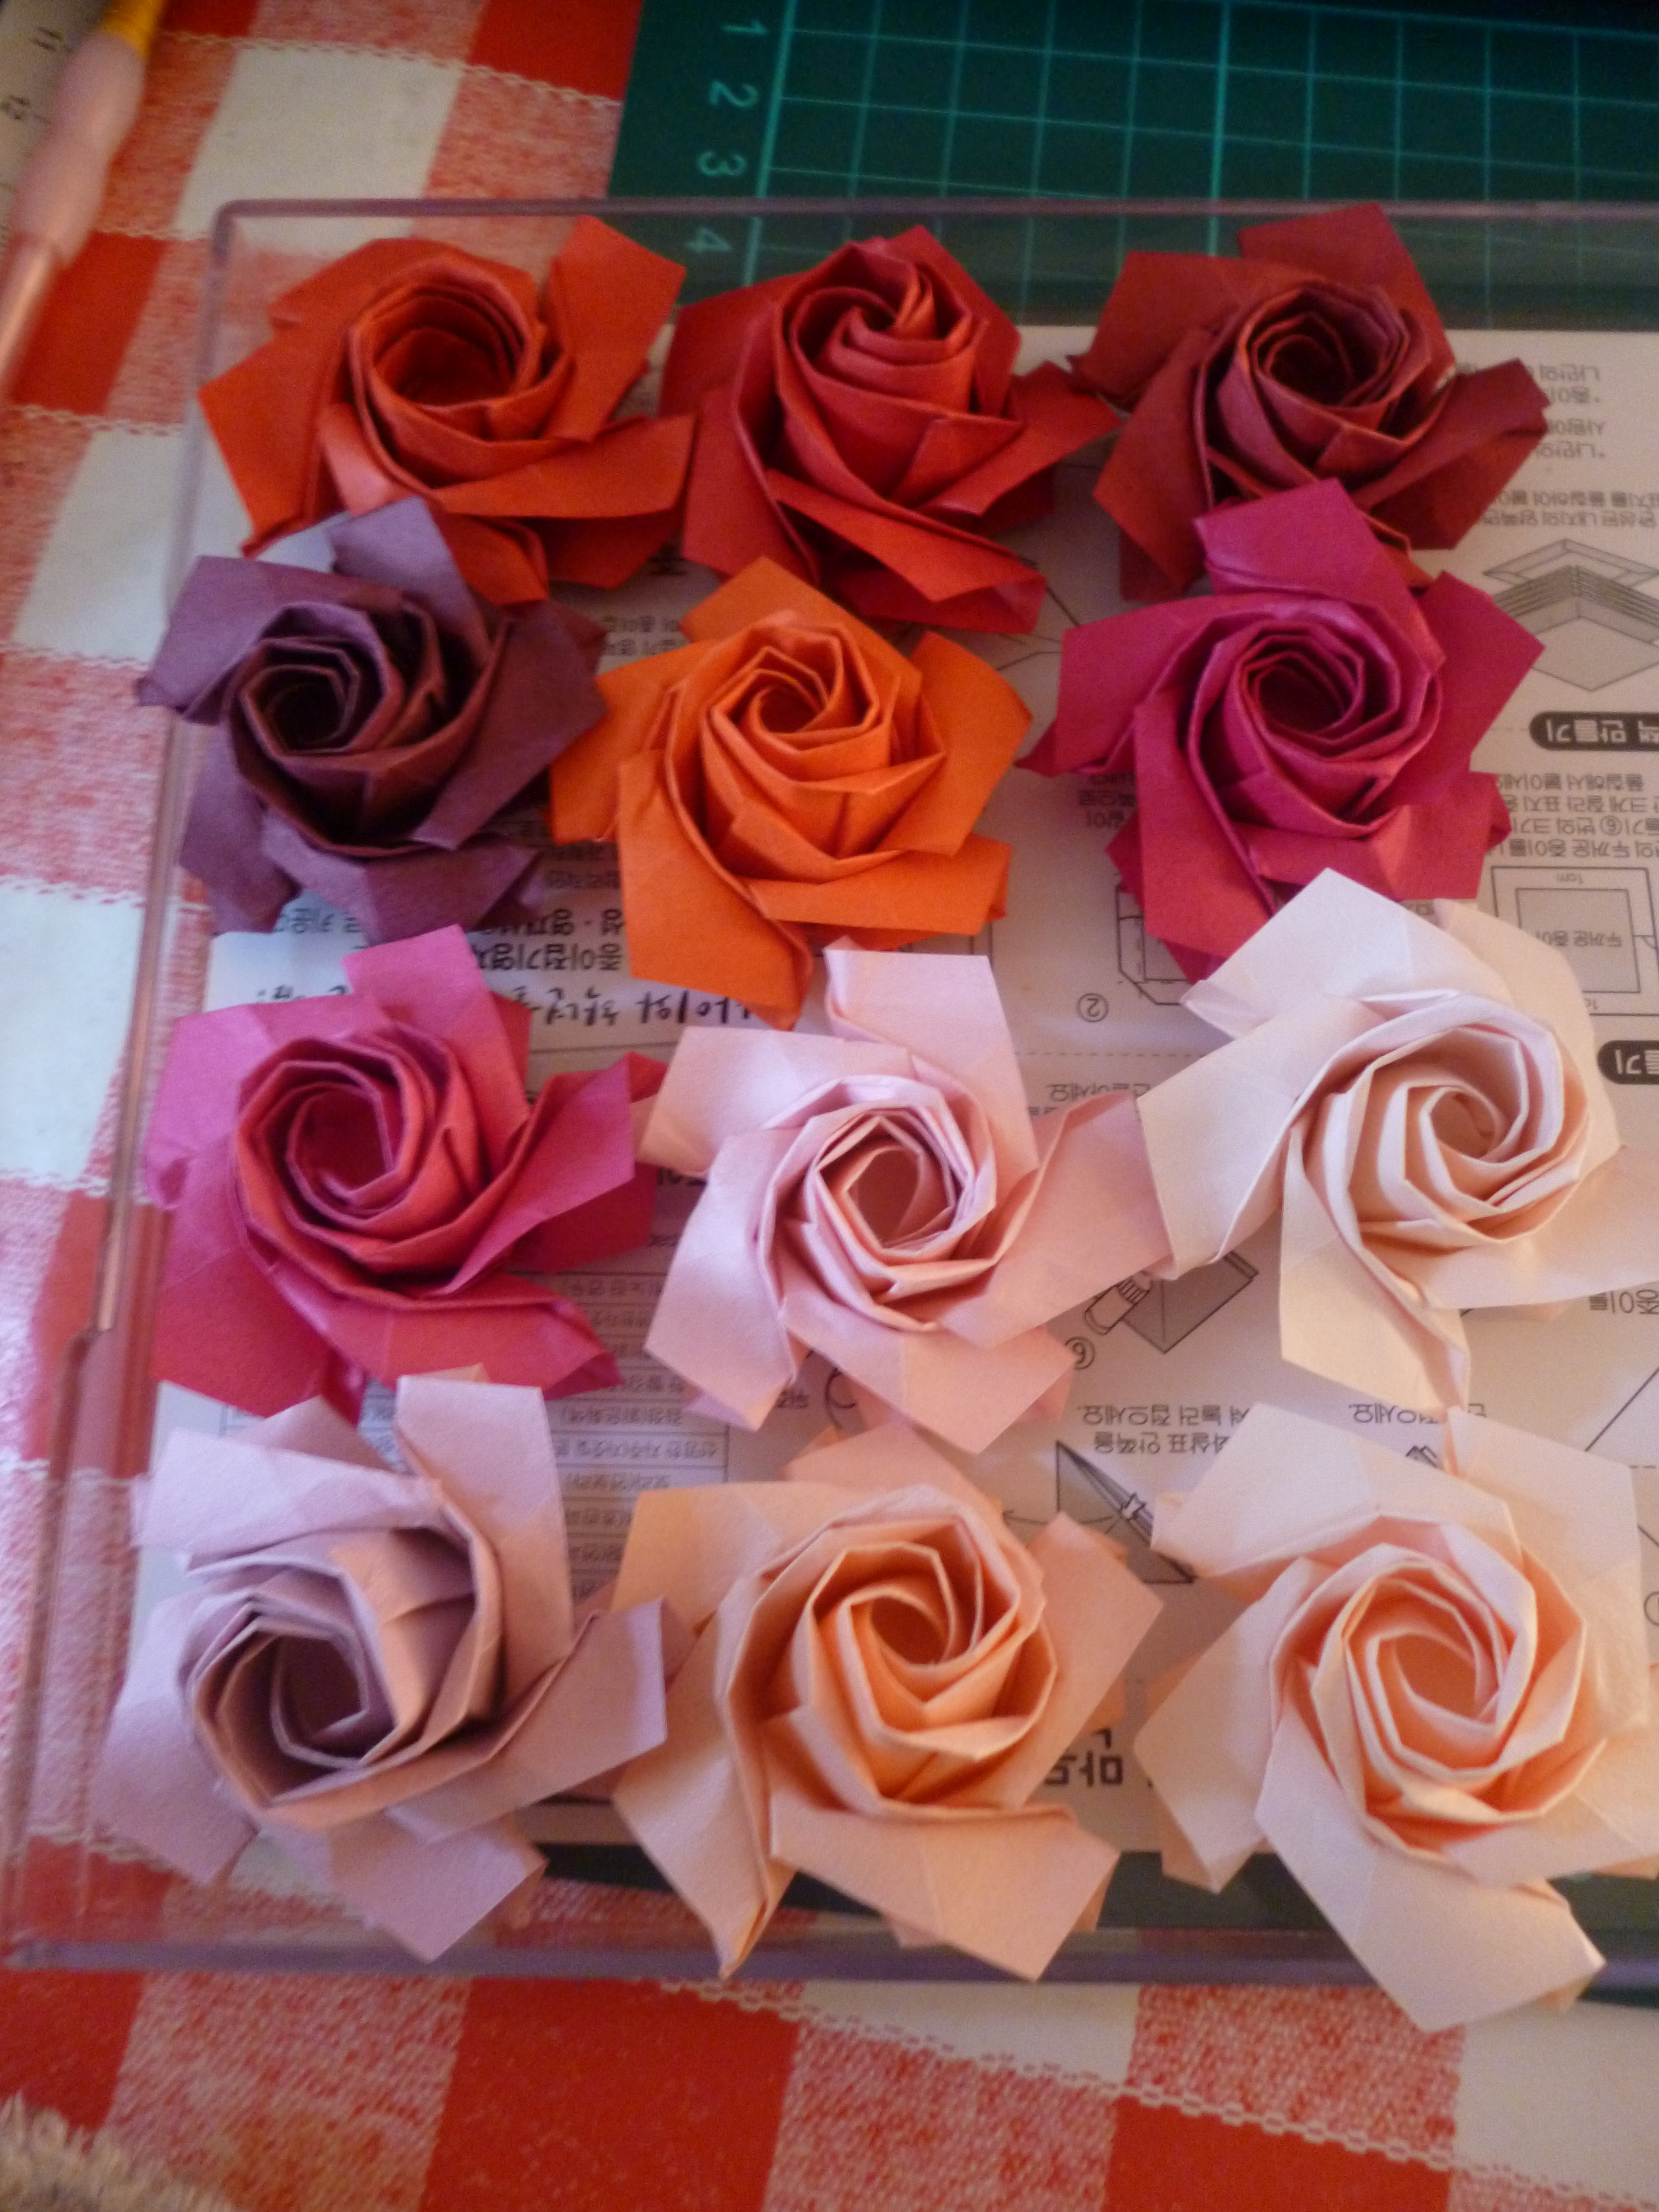
Very interesting thing about the method that I used to make these though; I found that I was unable to make identical-looking roses! It’s very hard to have consistency. I hope it doesn’t affect the end product too much.

Here’s a picture of all twelve roses in their lovely different colours and styles that I ended up making, haha. Look how small the bunch are! That case underneath them is for 15cm paper.
With roses, to attach them to stems, you have to make calyxes to connect the two together. Sato roses have a hollow section underneath them, it’s not as simple as putting them on top of wire stems.
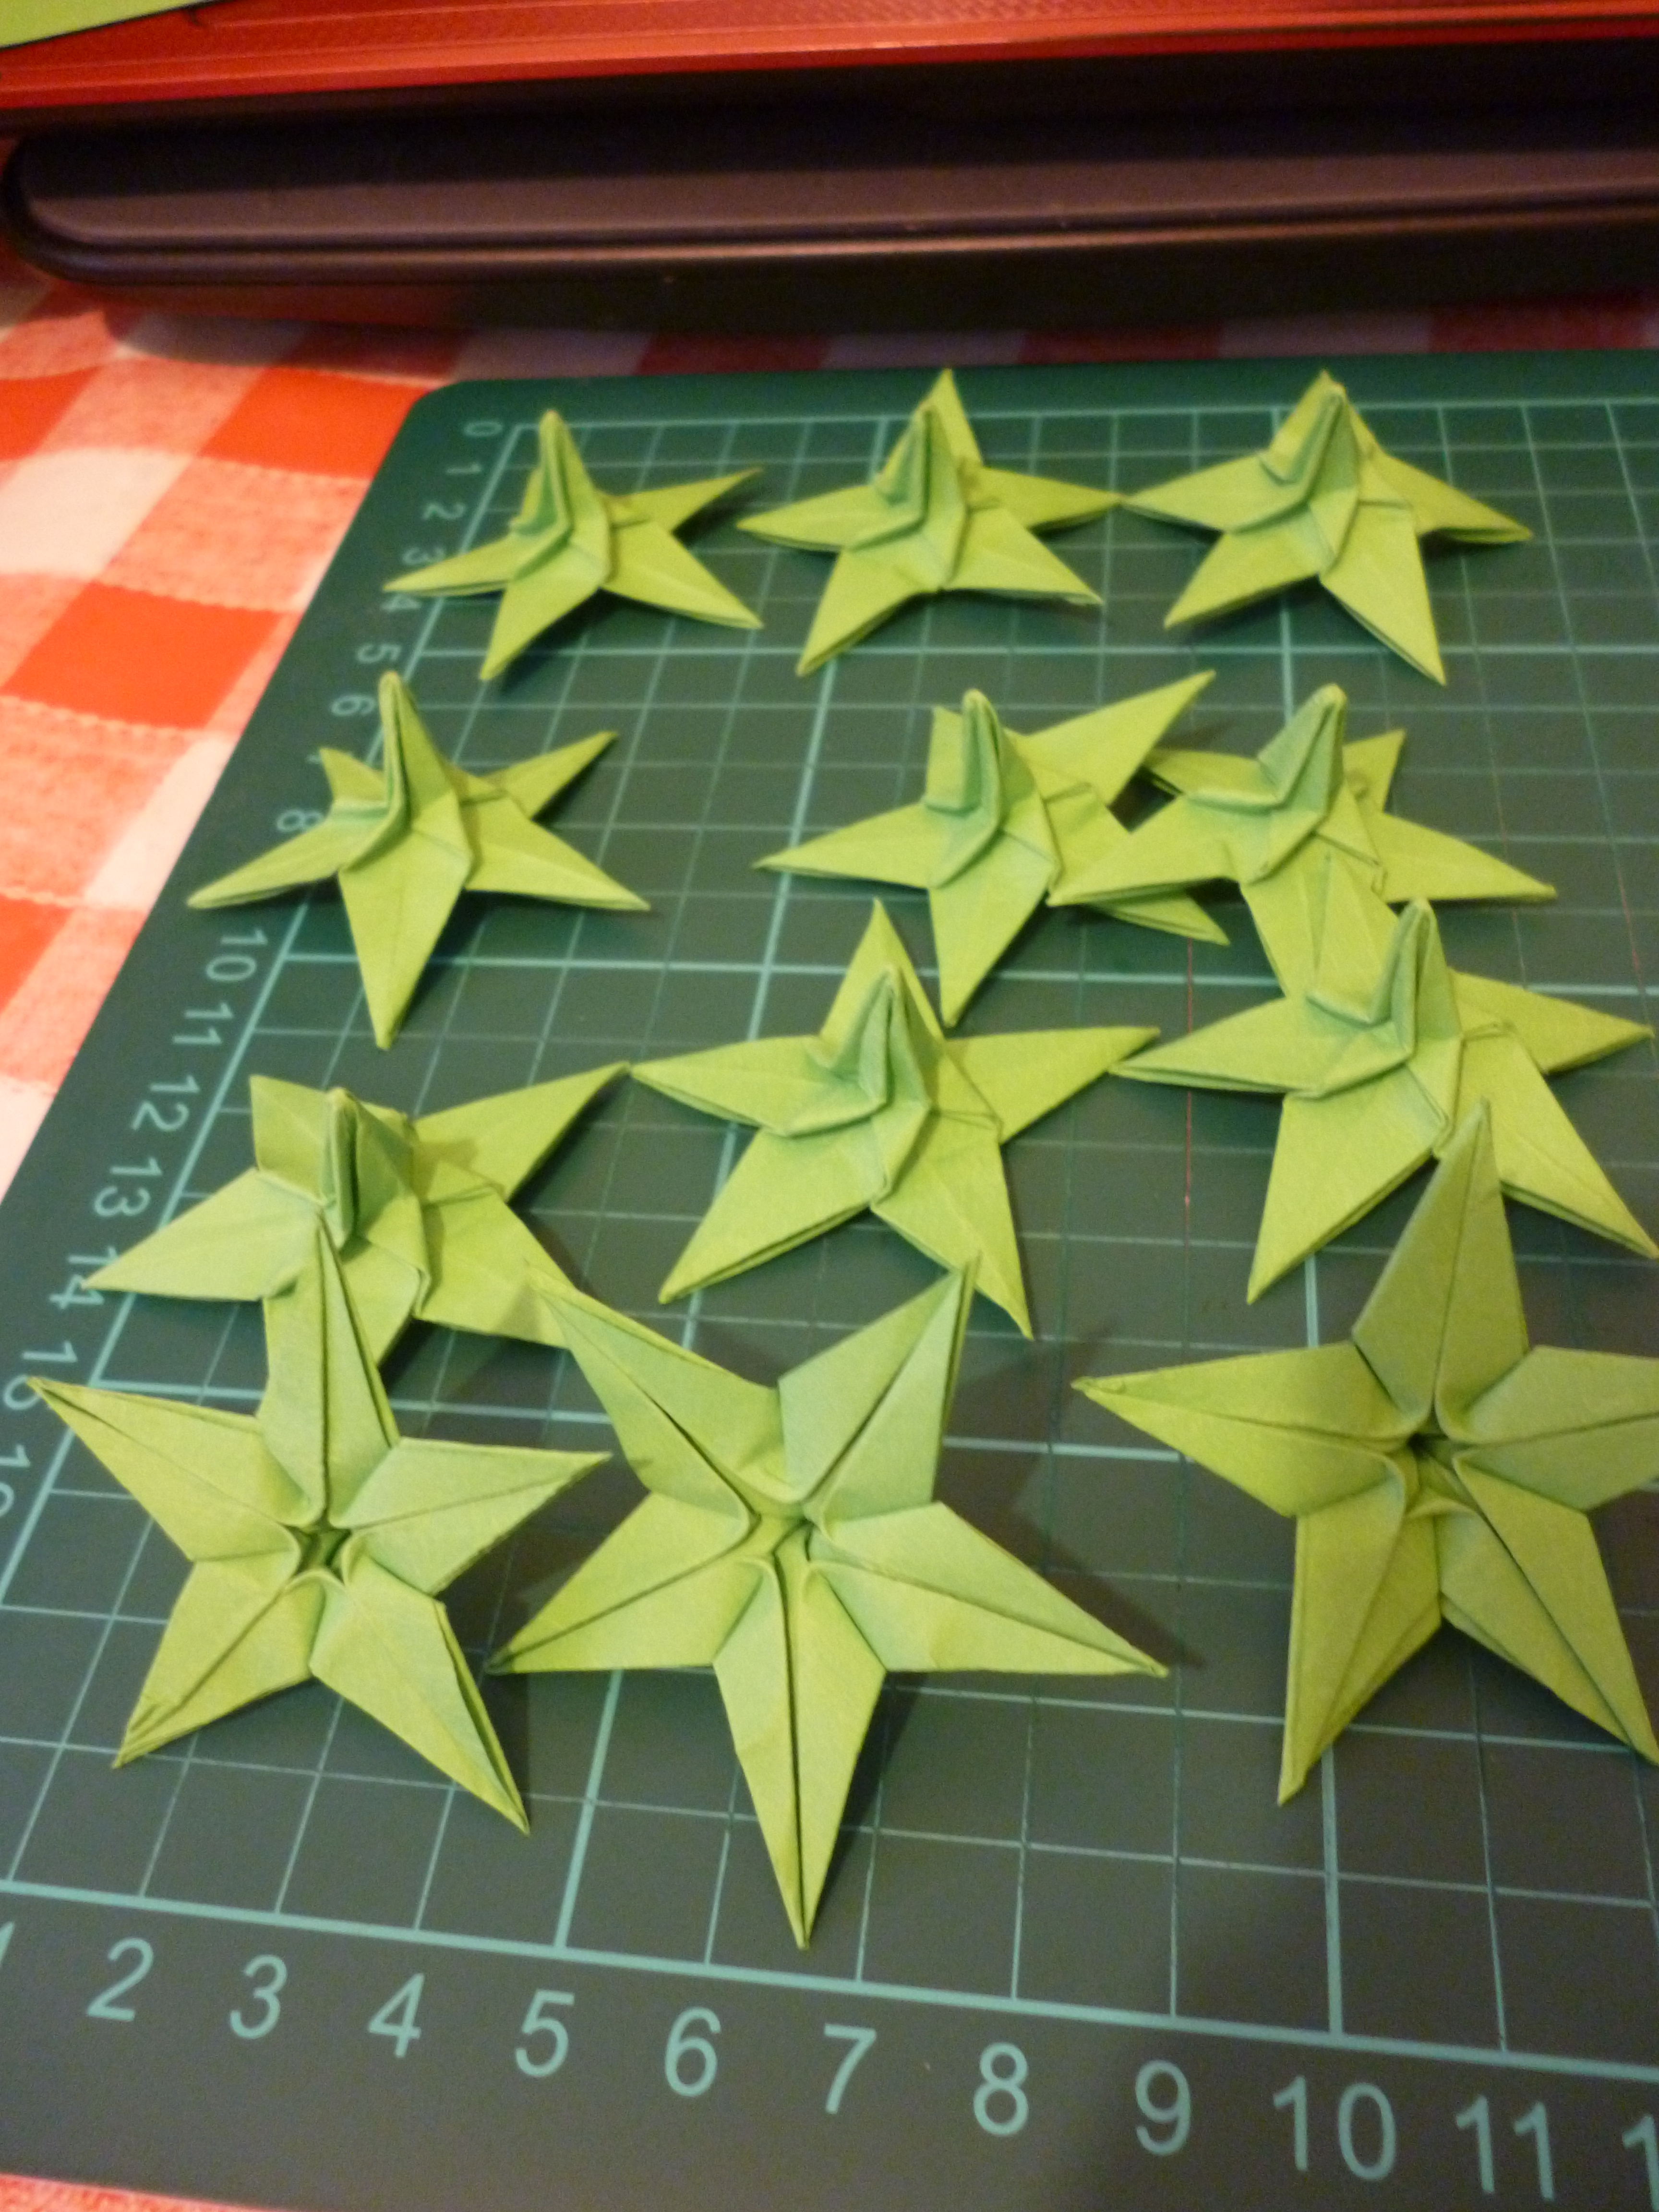
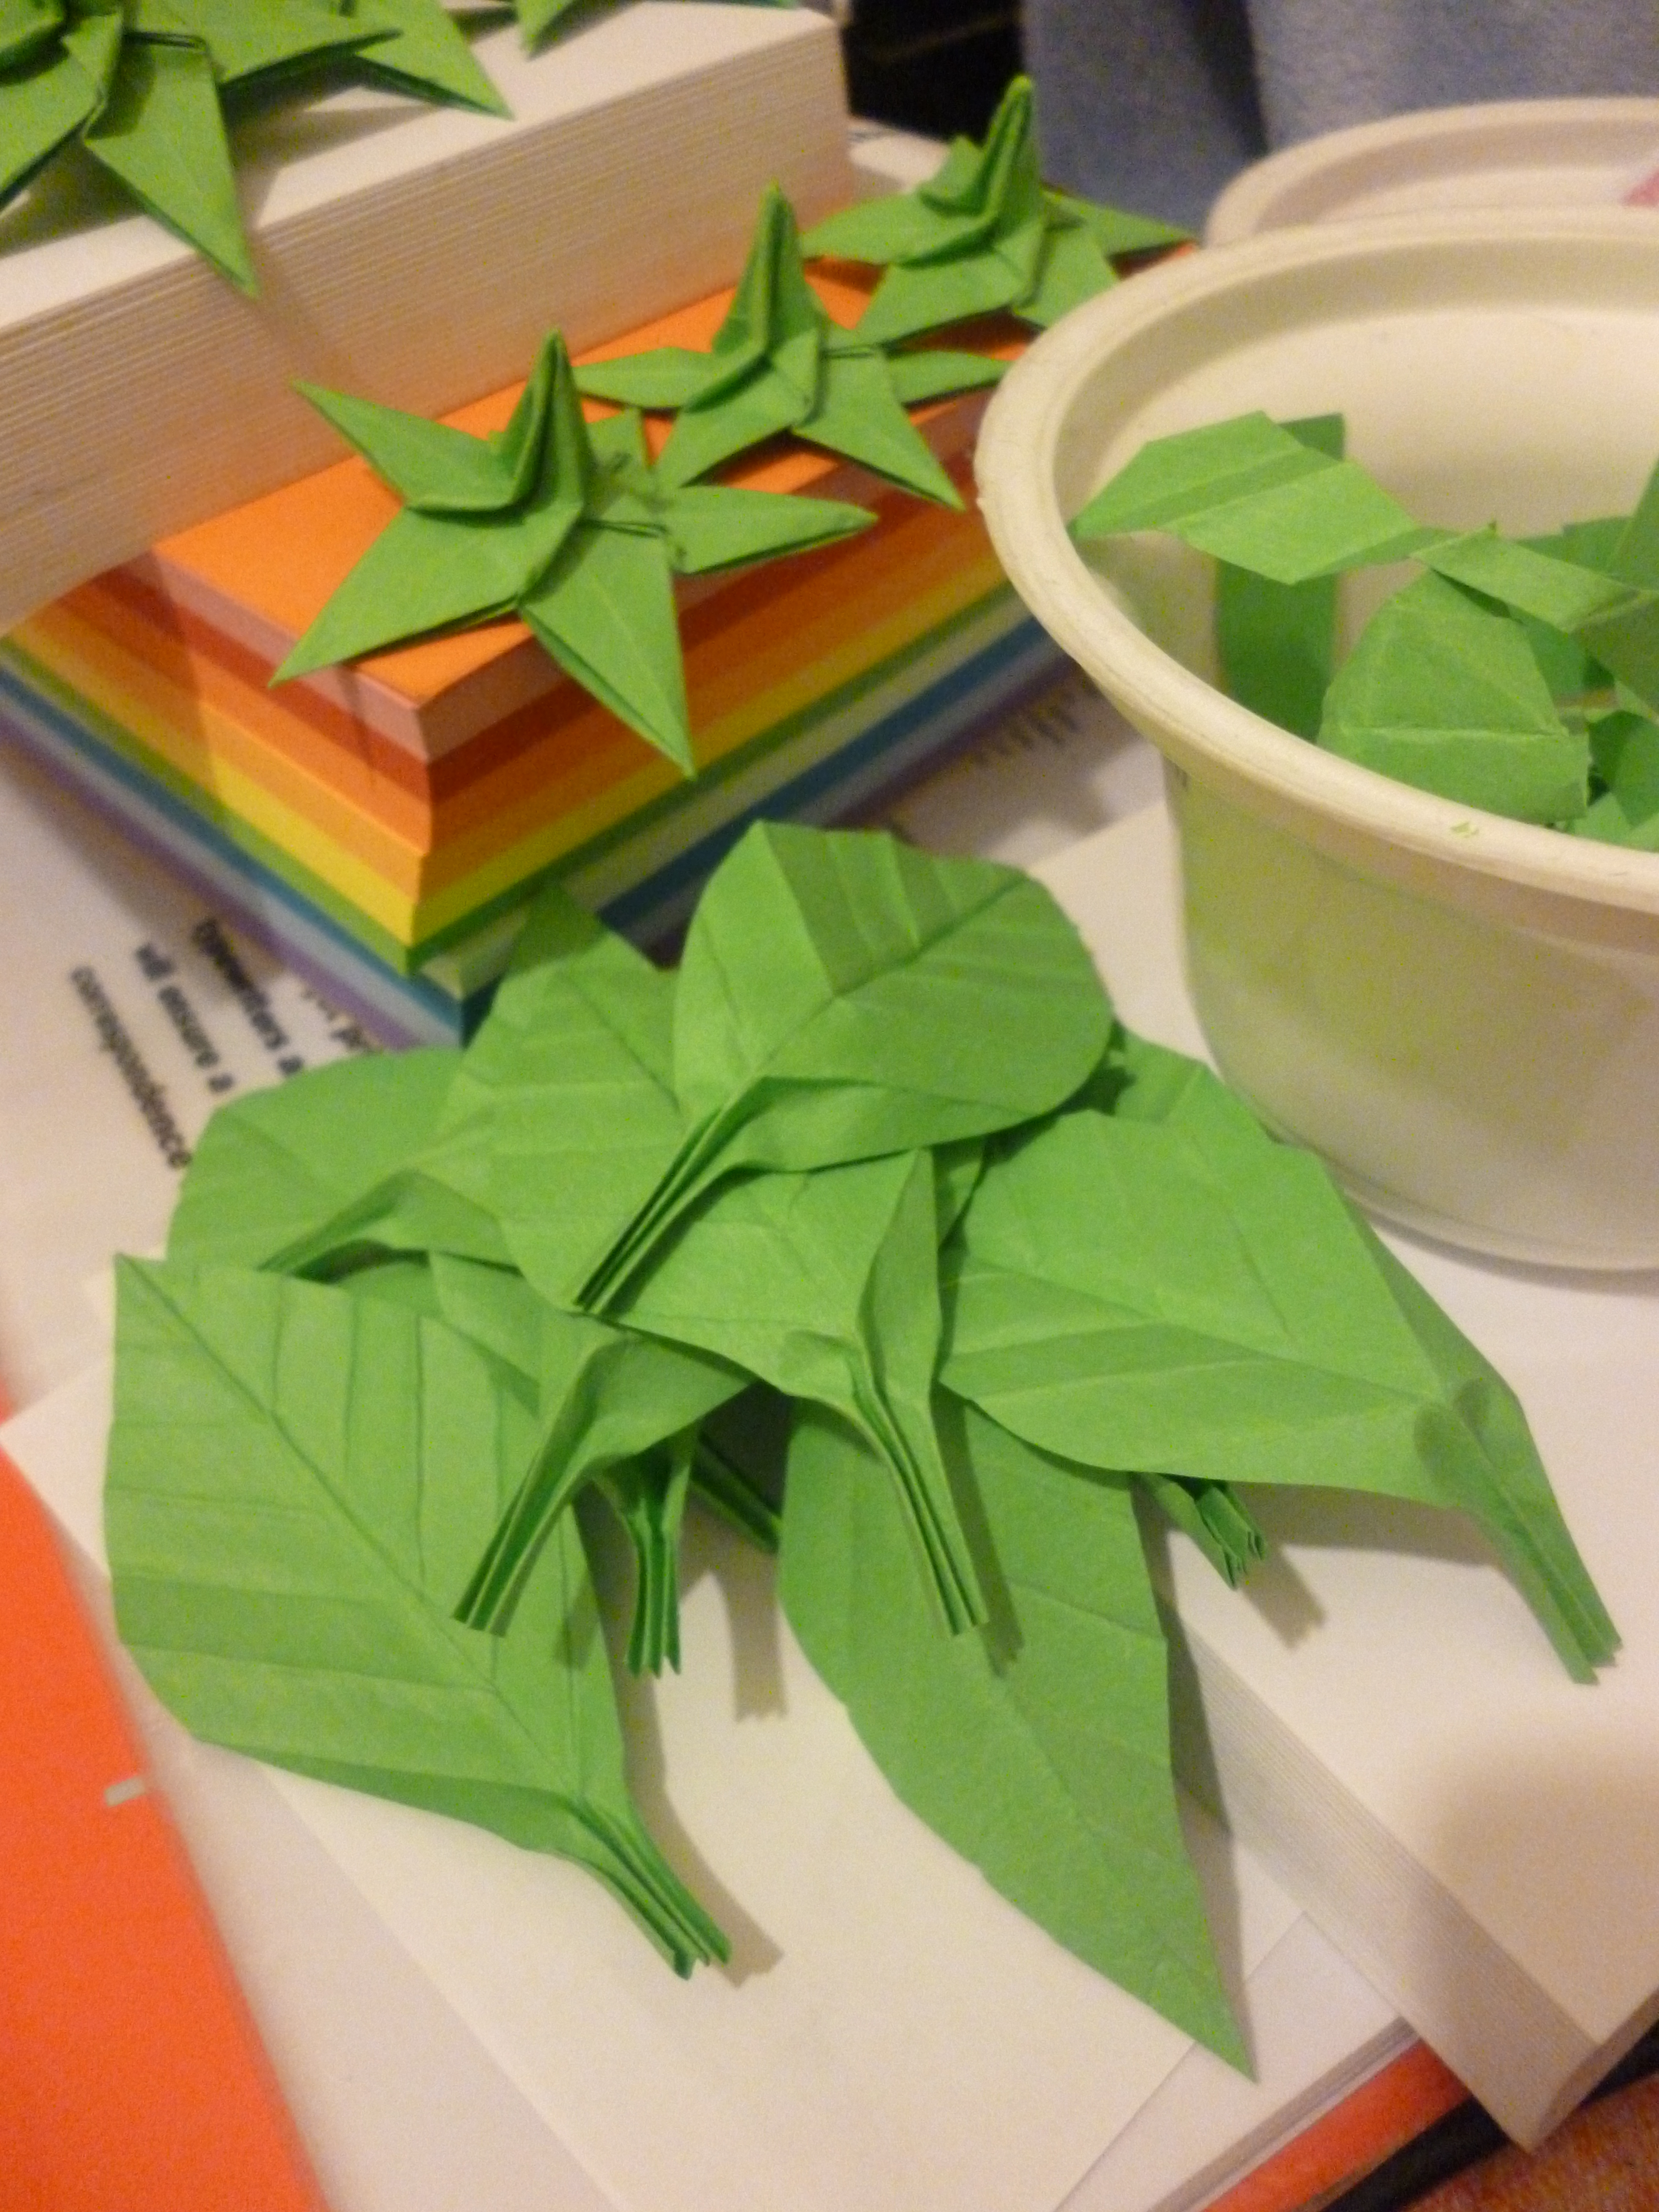
I also made a few leaves just in case, in the same colour as the calyxes. Turns out I made too many…
Take a wire stem and curled the top part to make a loop with round-nose pliers. Then insert the bottom on the stem into the top of the calyx. Add a dab of superglue to the loop just before you push it all the way into the calyx.

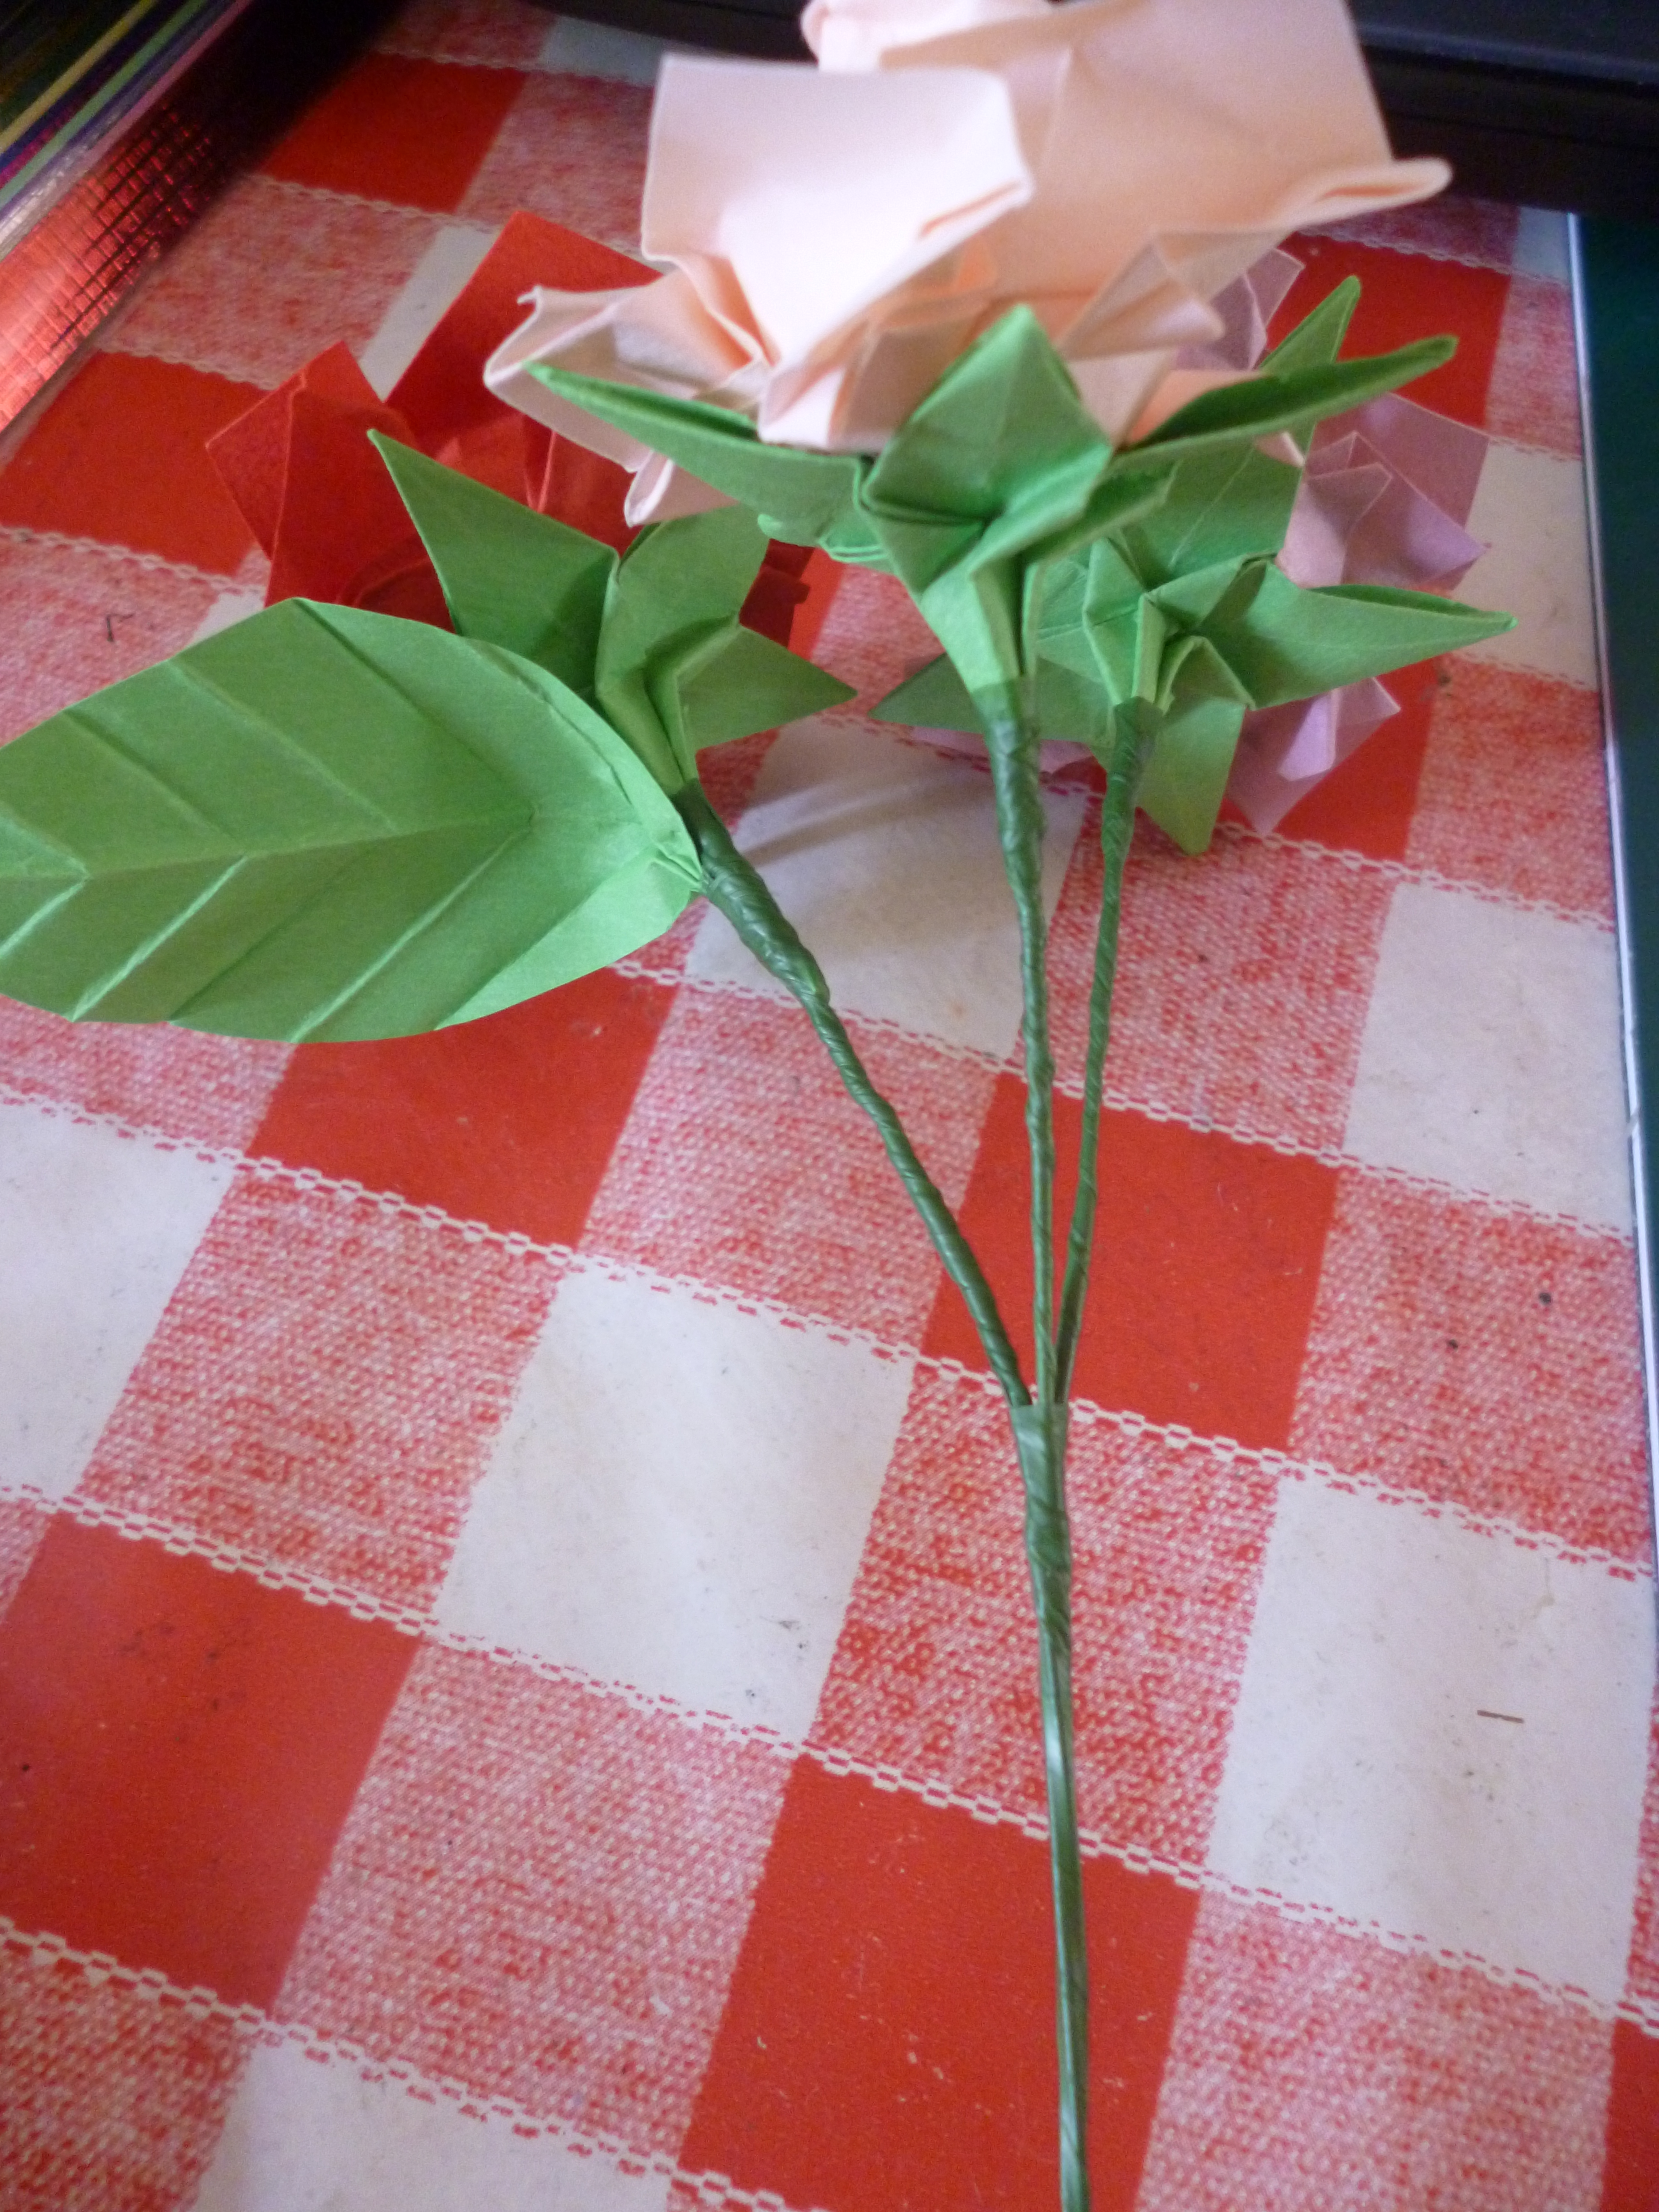
Once the superglue dries, apply PVA glue to the base of the Sato rose and hold it against the calyx until it dries. Then wrap the calyx base with green tape and wind down the stem a short distance. It isn’t necessary to wrap the entire length of the stem since it will be covered up eventually.

I added a leaf for every third rose. At this stage I realised that adding a leaf onto every rose would clutter the bouquet since the leaves are quite large.

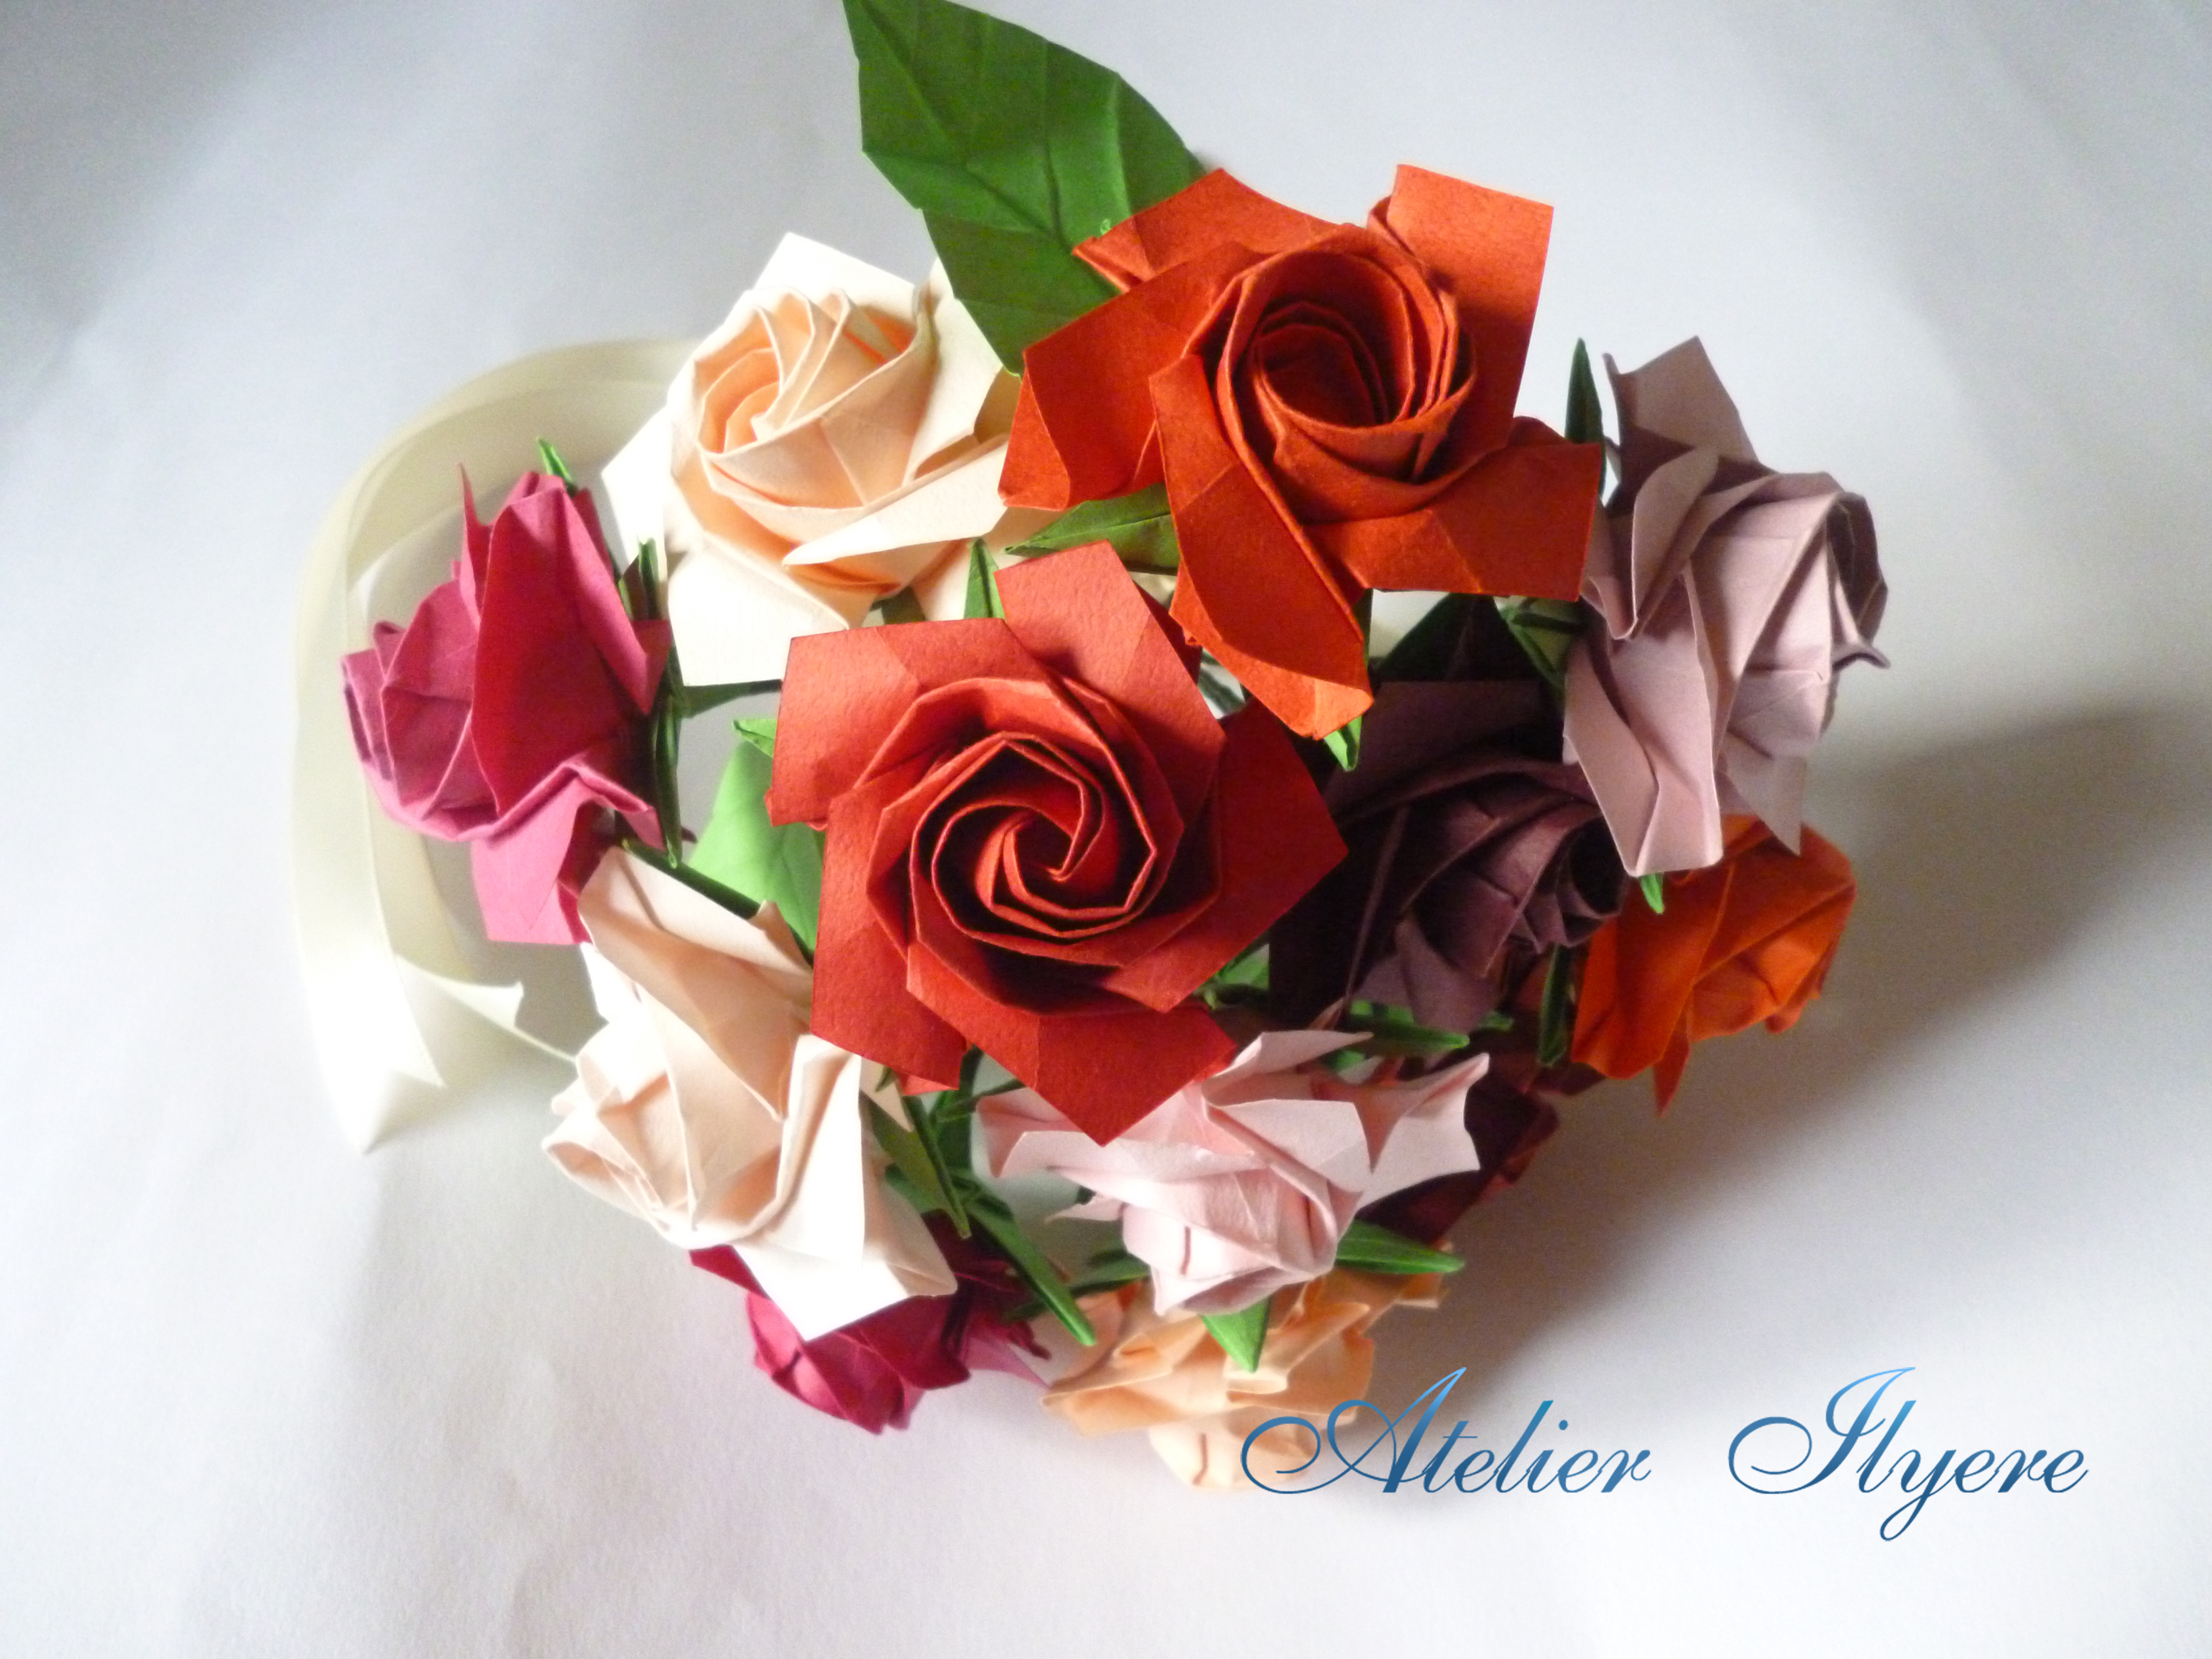
After a short while, all twelve roses are stemmed! Twelve seemed like enough for me, since twenty four might have cluttered the bouquet.

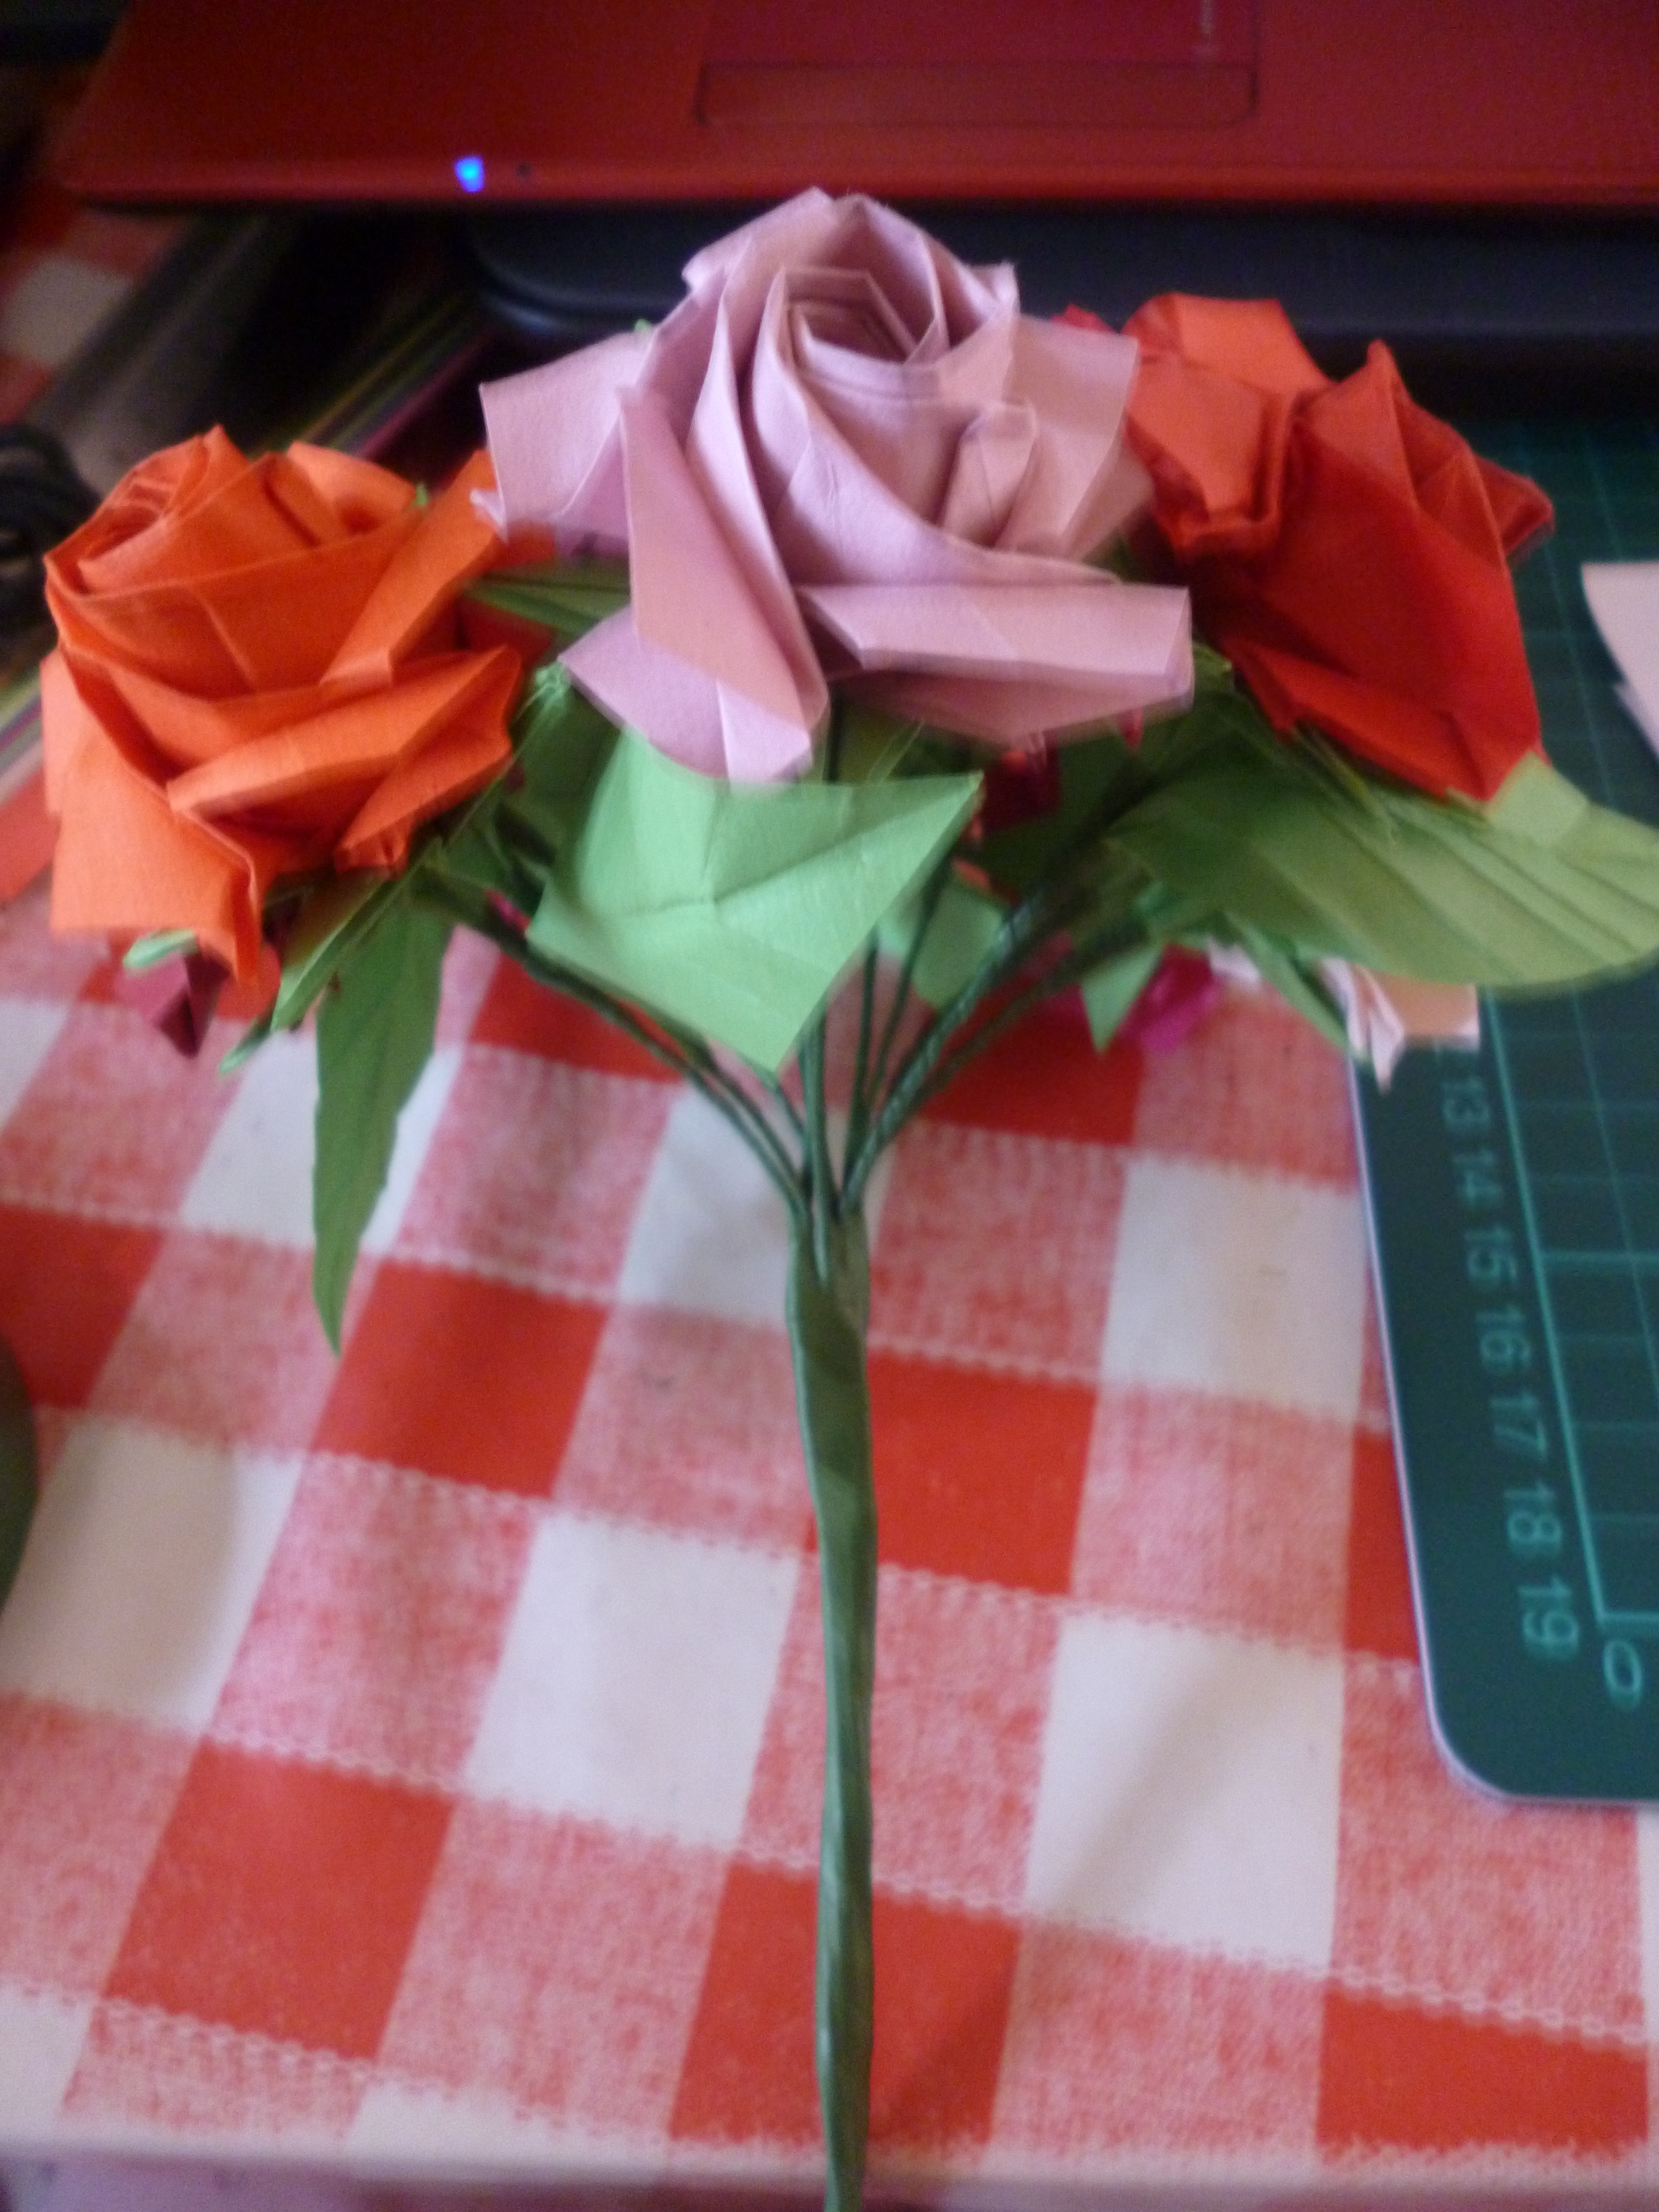
The bouquet assembling part is exactly identical to the kusudama flower bouquet. First I group roses into groups of three, and wrap them together.
Then wrap two groups of three together, and finally wrap the whole thing together. Now I wind green tape all the way to the bottom of the stem. (Ugh, this photo is a bit blurry…)
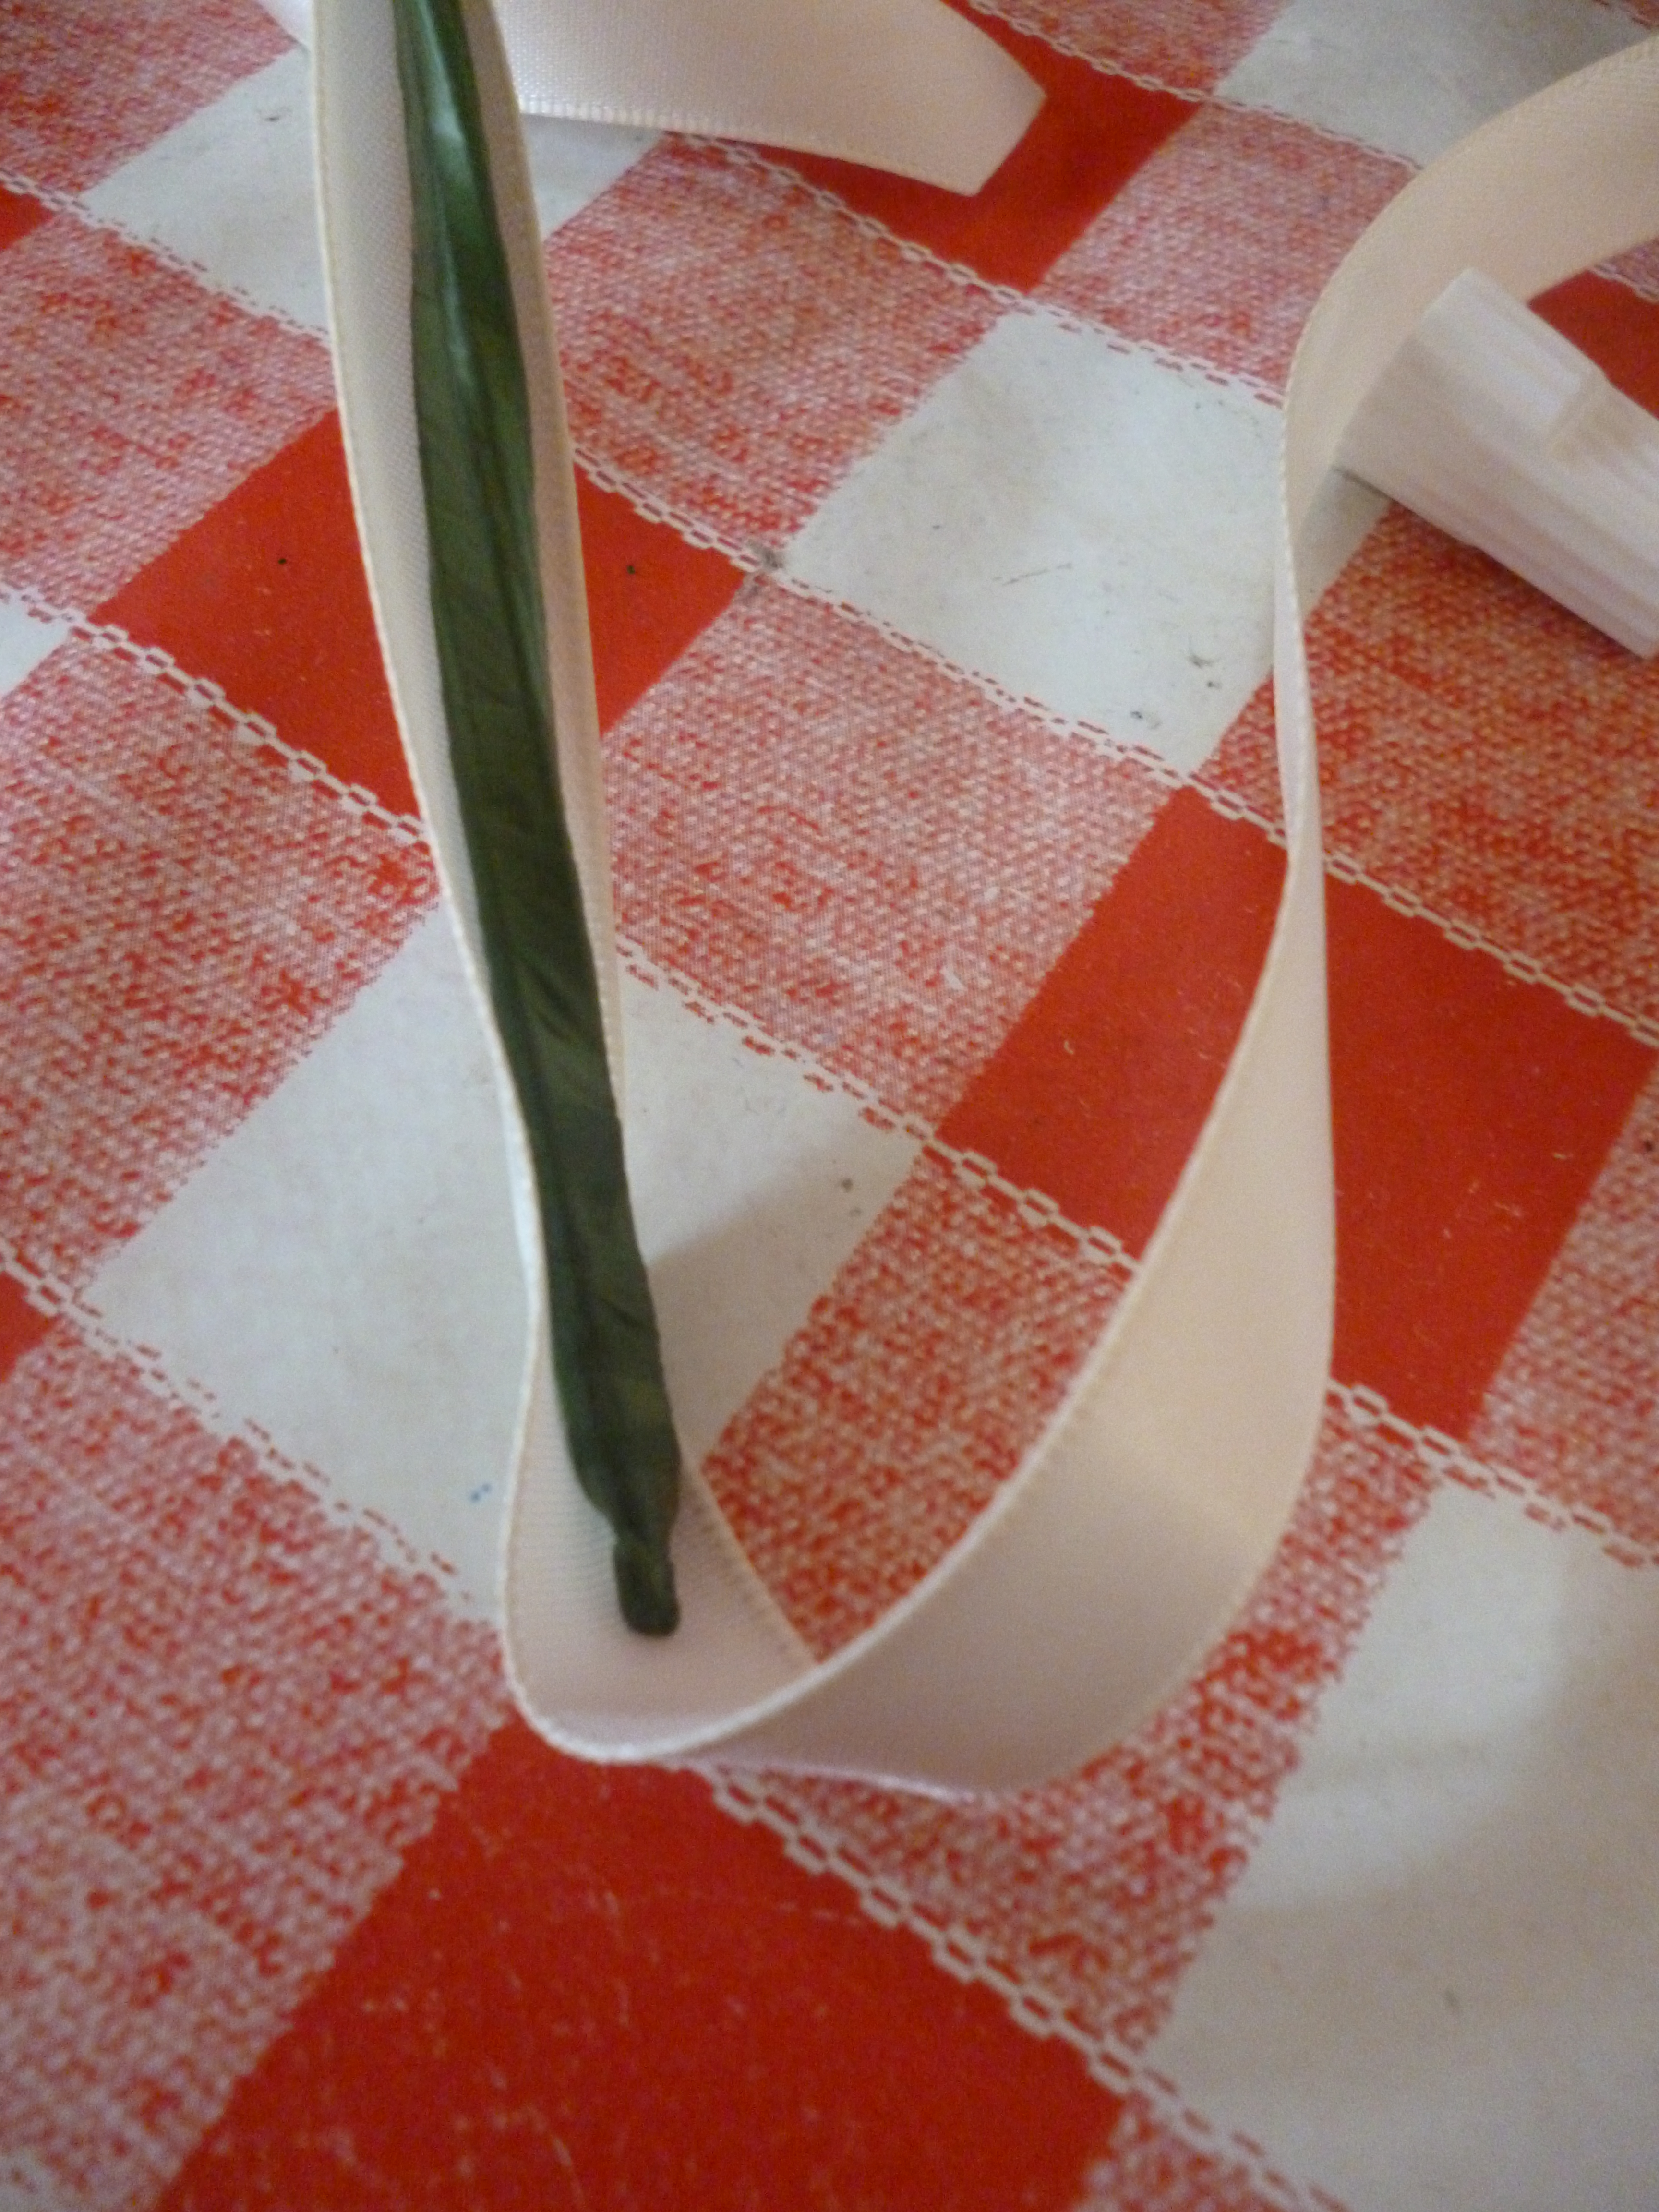
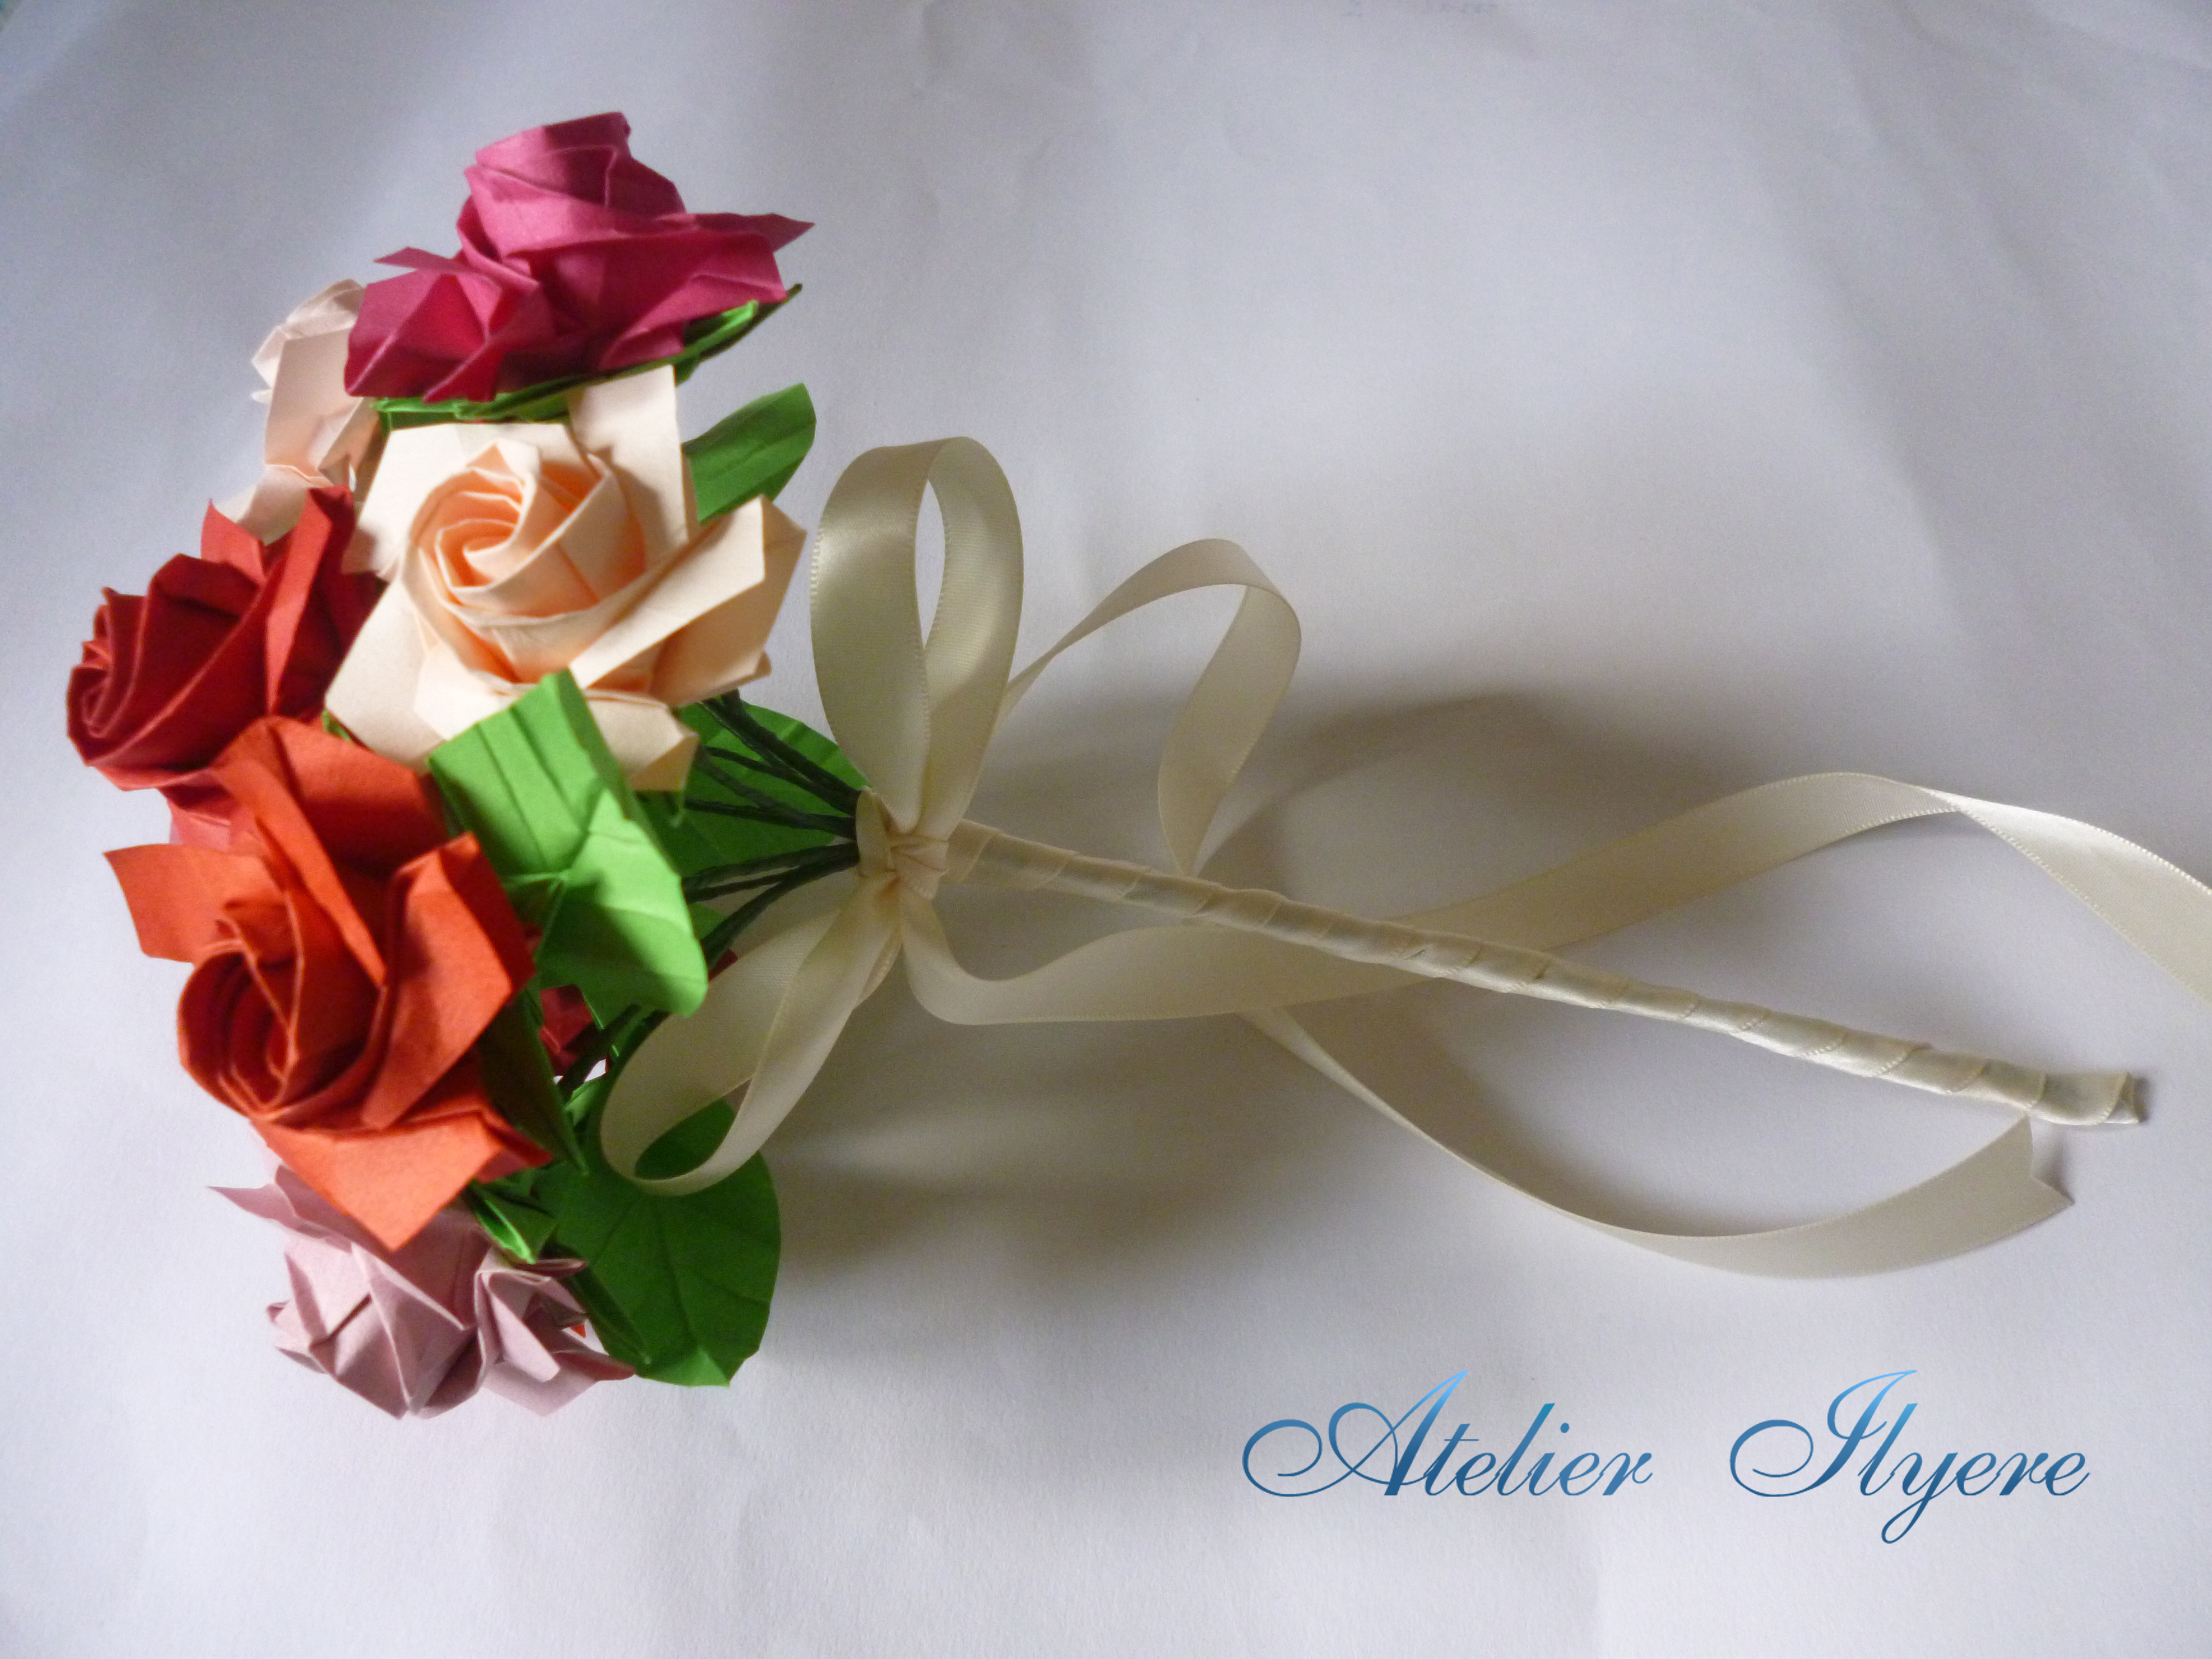
To start the ribbon wrapping, half the ribbon and hold one half against the stem. Apply superglue to keep it in place. Then the other half is used to wrap around the stem, adding superglue along parts of the ribbon to keep the ribbon secure. And make sure to choose a ribbon colour that will compliment the bouquet!
Once the wrapped ribbon winds all the way up to just above where the green tape for large stem begins, tie a neat knot and finish with a bow.

The ribbon length and finish is up to you. I cut the ribbon so that it hangs a bit lower than the hand when held, and cut a V-shape to finish. When cutting ribbons, be sure to seal it. I usually add PVA glue since it’s easier.

And the Naomiki Sato rose bouquet is finished! I’m just happy that I finally learnt how to make such a pretty rose. And it does make quite the lovely bouquet. ^_^
Materials: Twelve 15cm squares of Tant paper in different red/pink colours, fourteen 7.5cm squares of green paper (twelve for calyxes, two for leaves), twelve florist’s wires, florist’s tape, 1.5m of cream ribbon, PVA glue, superglue, scissors, card pentagon stencil, cutting mat and craft knife, round-nose pliers and cutting pliers

Wow! amazing! i love your work! ❤
Thank you for your kind words! Any support is great. ^_^