
I have a large stash of felt sheets in general. Whenever I bought felt sheets for projects previously, I would buy sets of colours in varying gradients in case I wanted to make a colour-coded project. I did this for my felt succulent planter pot where the colour scheme was mostly white/cream/grey tones with dark greens, but for my felt flower frame I used a lot of different colours all over the spectrum. Both ways are just as good as each other!
I wanted to make a felt flower pot with colours that matched my last red pot, so I pulled out the red and pink sheets and any spare offcuts of felt that could work. I also have some dark green with I could use to make the leaves, but I have seen that it might not work with the generally lighter colour scheme. I also thought maybe I could find some use for yellow but it could clash with the other colours. Sometimes my ideas run a bit crazy and I just get everything out of the drawer to begin with!

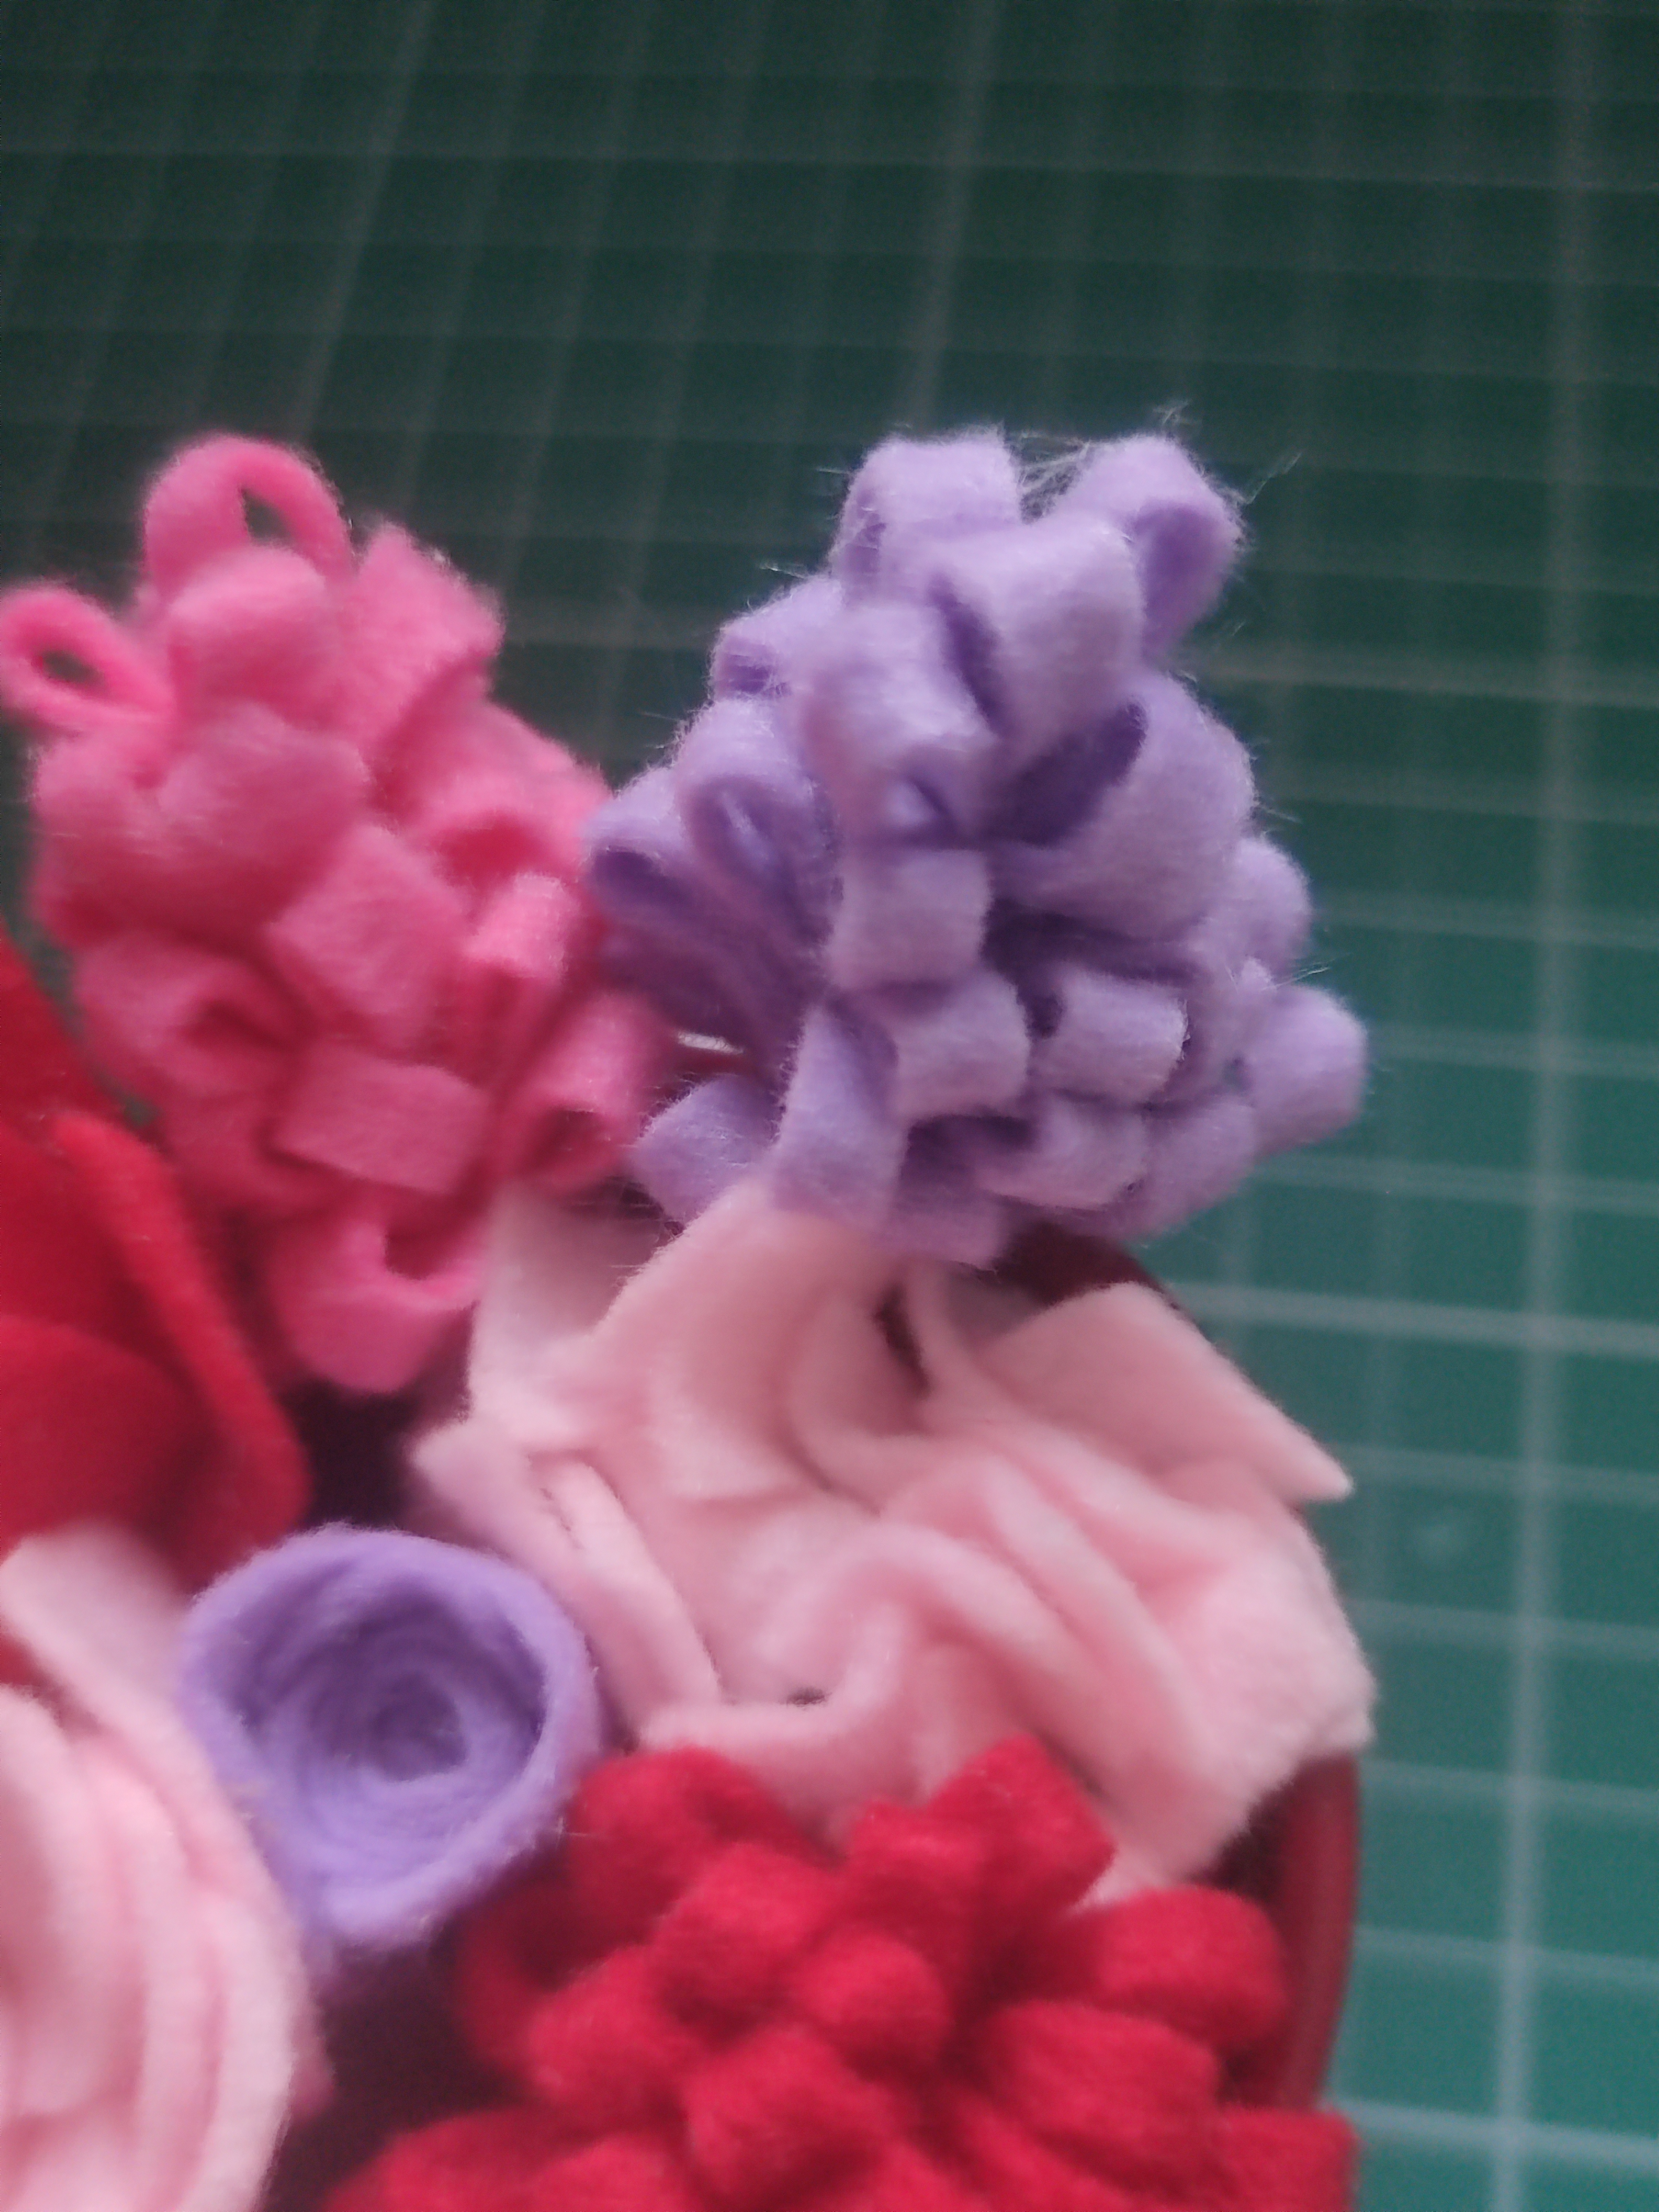
The good thing about making felt flowers is that you can learn one technique and apply it in multiple ways. I was obviously going to use stuff that I previously learnt, but I wanted to add one or two new bits. For example, a felt lavender. There are mainly two ways to create one, and this is a felt lavender tutorial on Make & Fable teaches the simpler way – a continuous strip of folded-over felt with even cuts that you can wrap around a point. It is actually similar to making a felt pom succulent! Here you can see the difference between wrapping it up on a floral wire as opposed to just rolling it up into a ball. I wanted to make both but in different colours! I think I wrapped the lavender up quite tightly so it was shorter, but that was okay because my pot is not that tall.


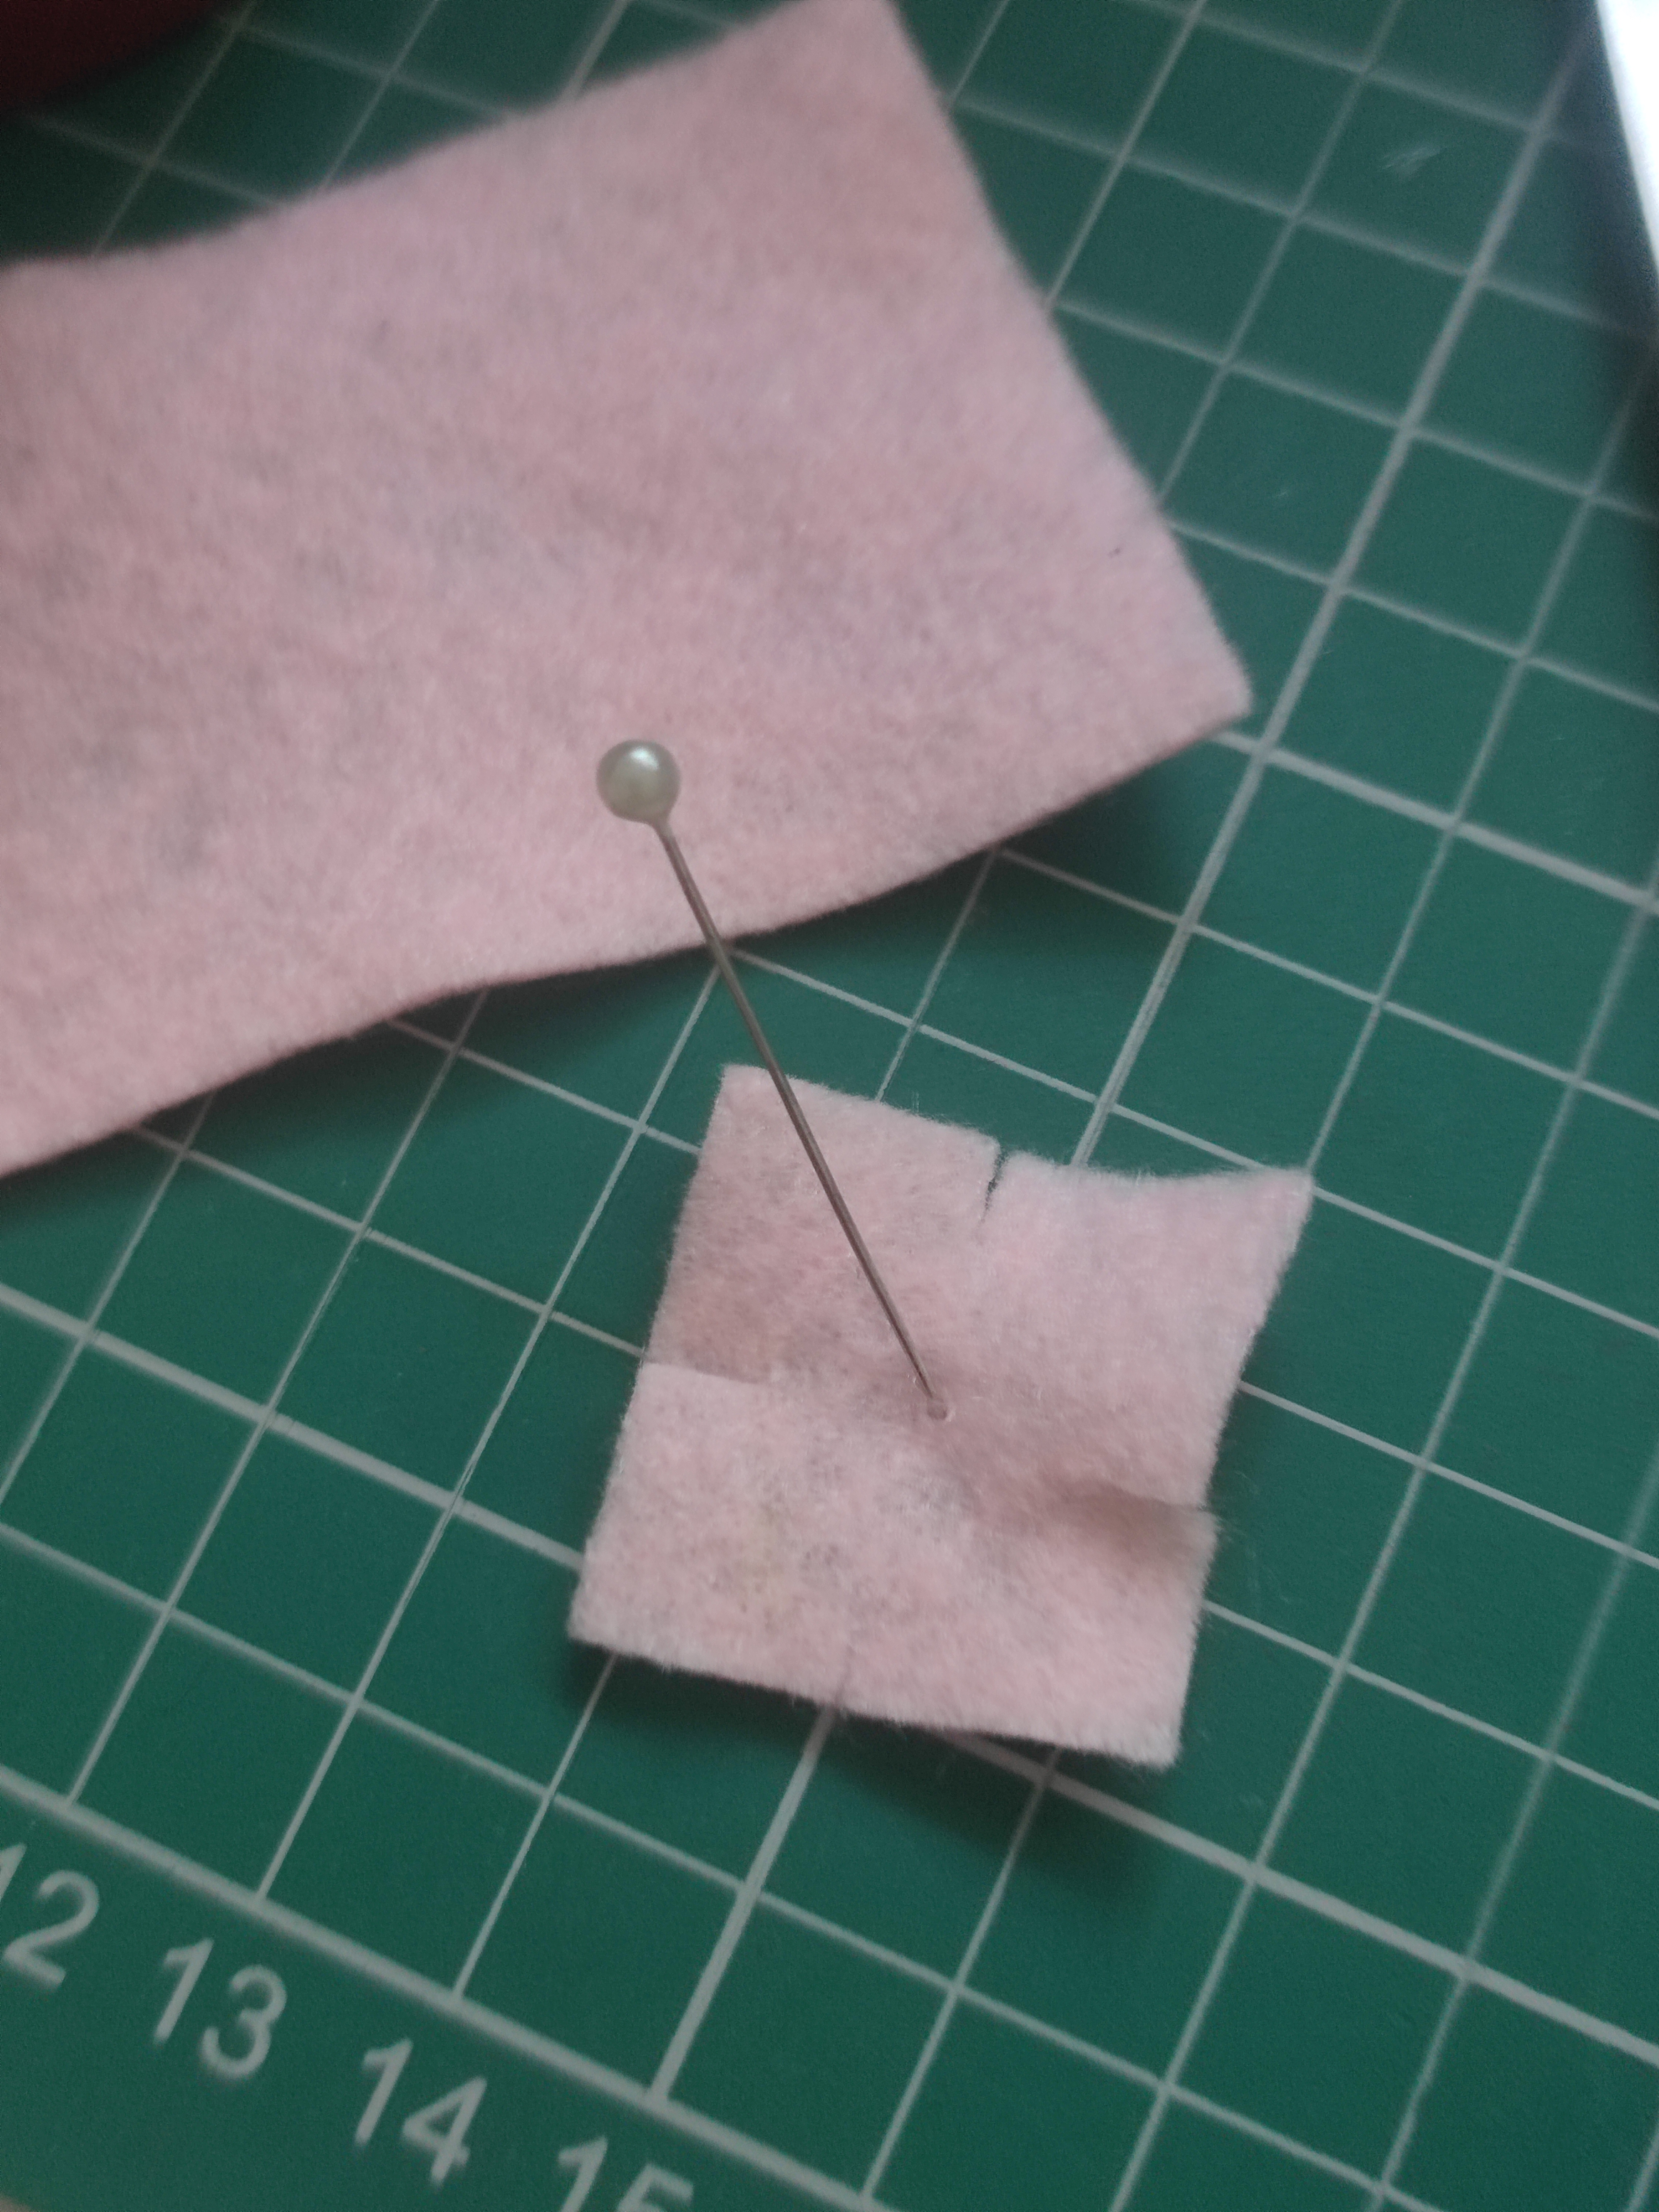
Next, I was reading this felt flower tutorial on wikiHow and idea #5 show how to make a hydrangea. When I look at hydrangeas, they are a bit more square-shaped, so I cut out squares and made little cuts for the petals. I poked a hole using a sewing pin and put a wire through, then I applied hot glue to the centre and pressed the felt against the centre. Individually it may not look impressive, so I made five stems total to represent a hydrangea a bit more closely.

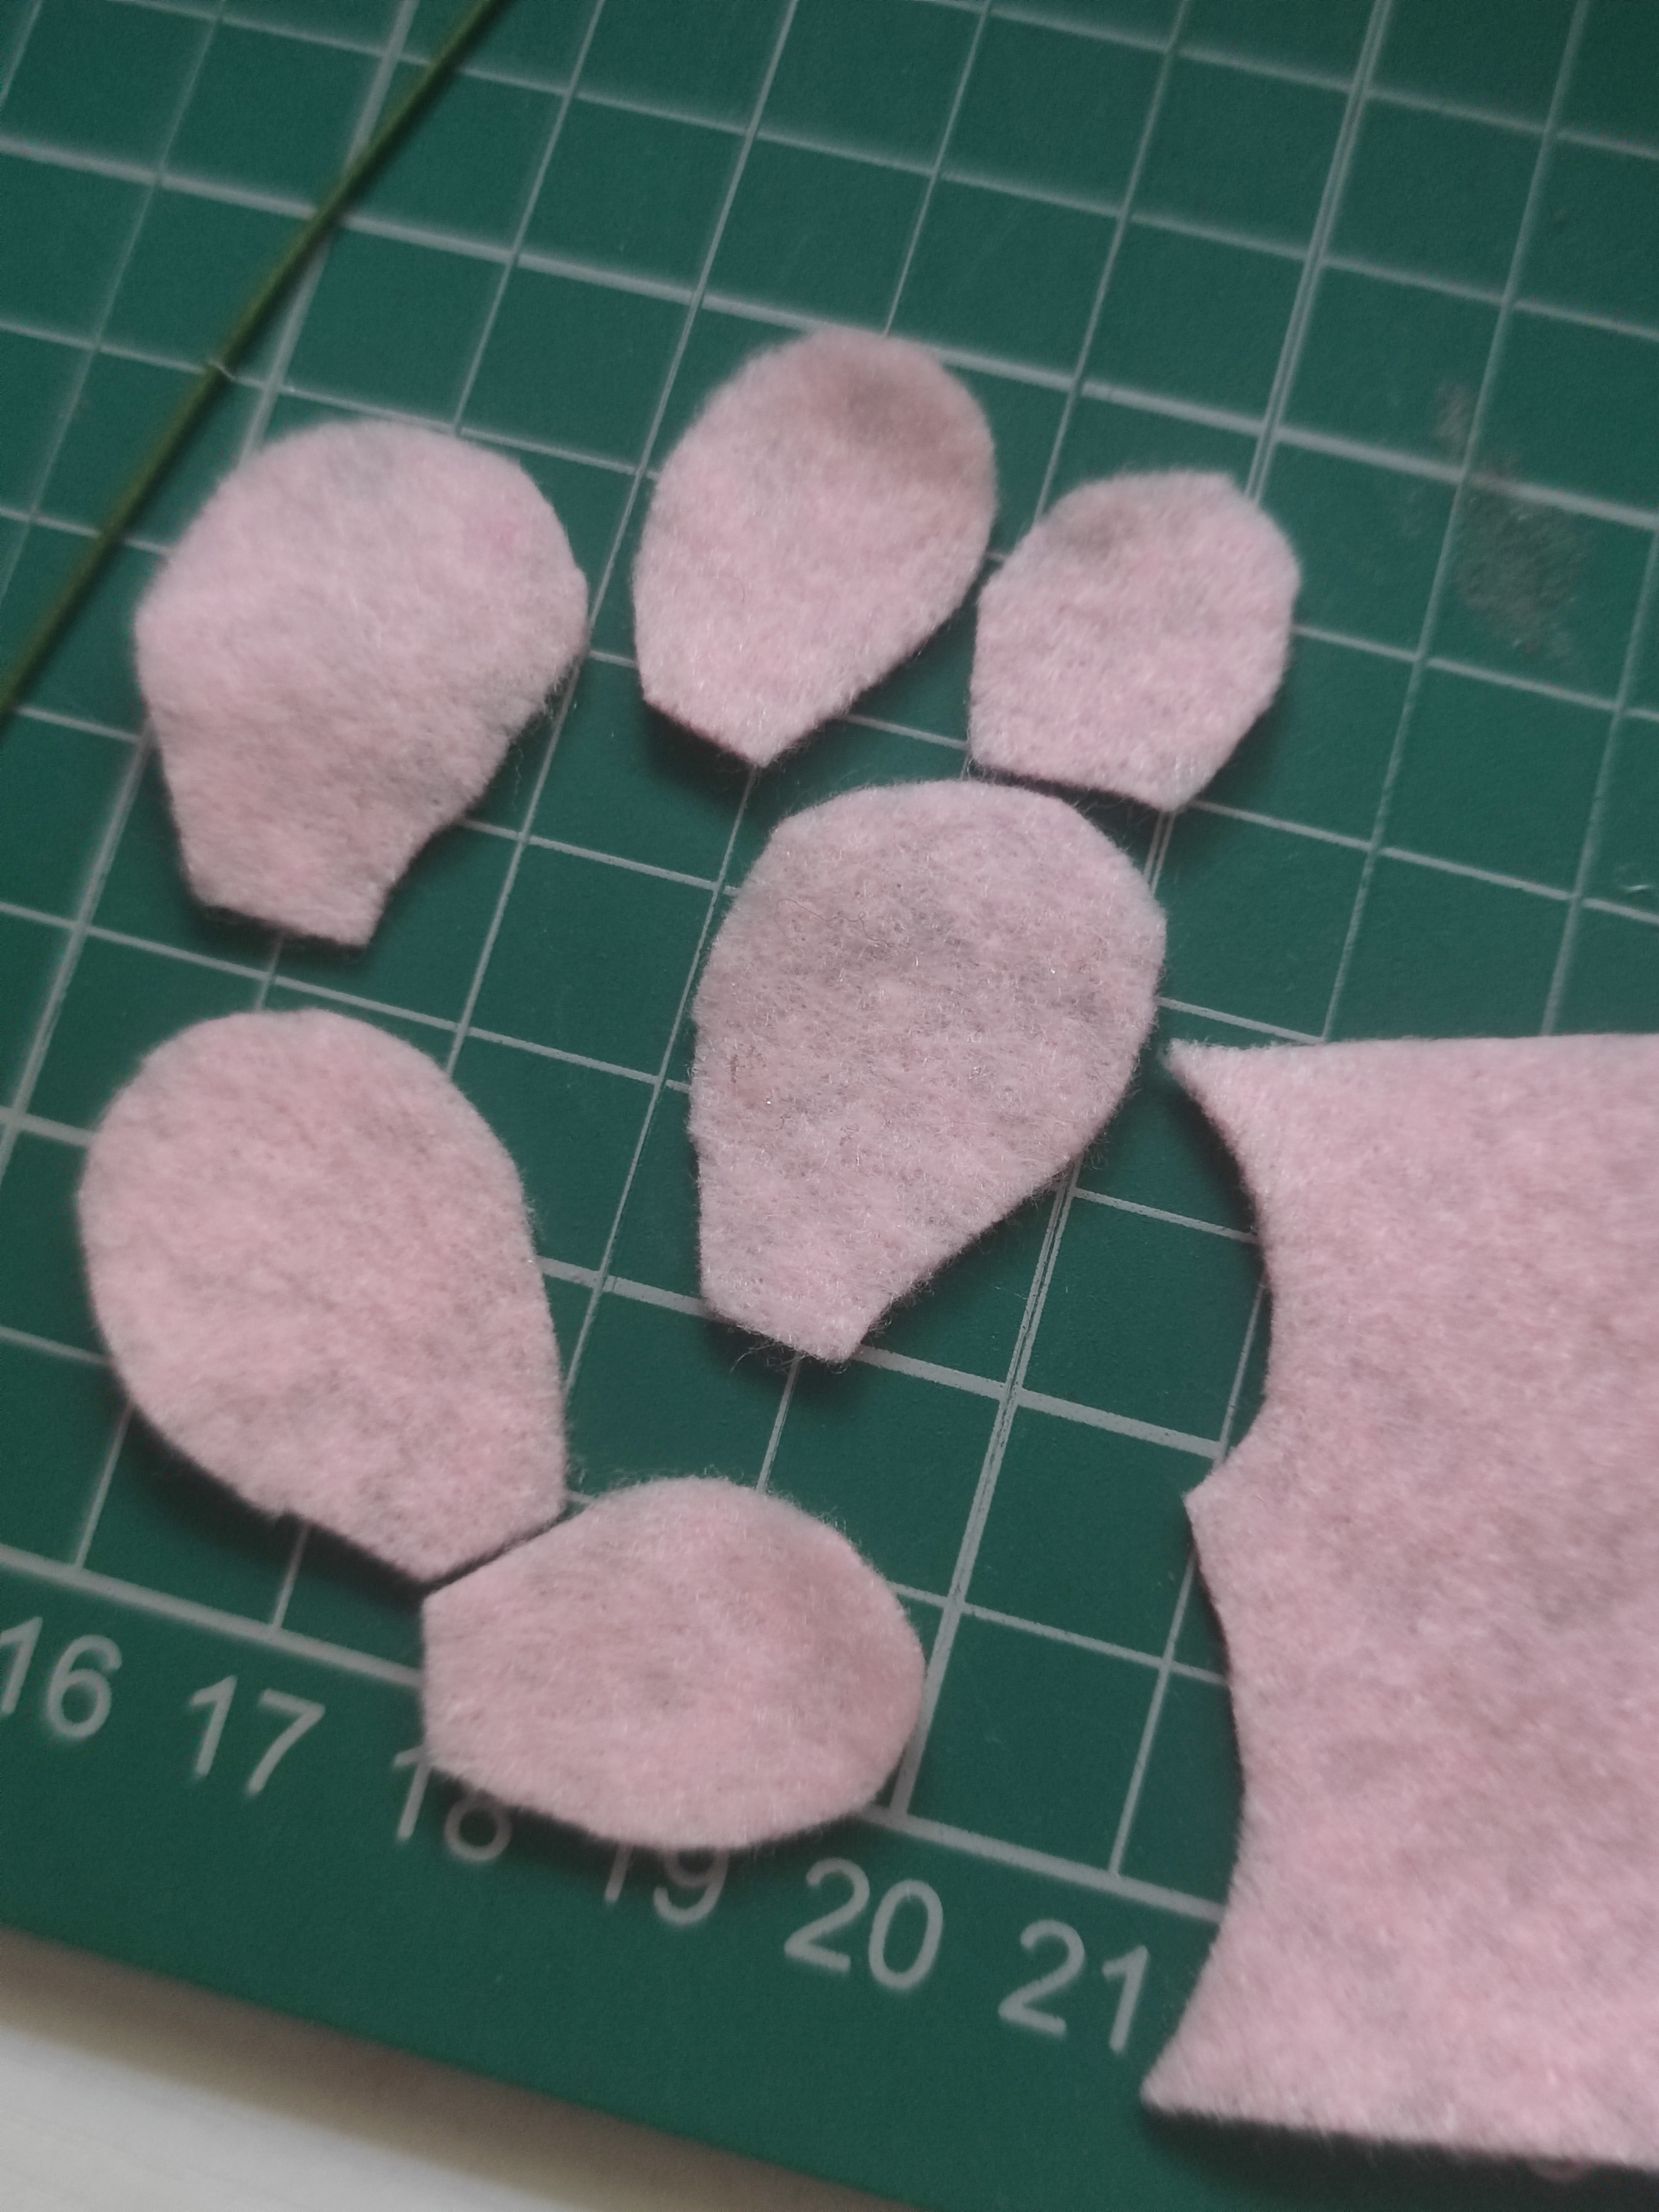
For one flower, I did some freehand petal cutting and made two layers to stick together. Unfortunately pencil does not work well on felt so you have to use an ink pen if you want to draw a template, and you definitely want to draw a larger shape than you need so that you can cut away the pen lines. I also rolled up a small bit of yellow felt to hide the floral wire, although I cut it quite big for the size of the flower!


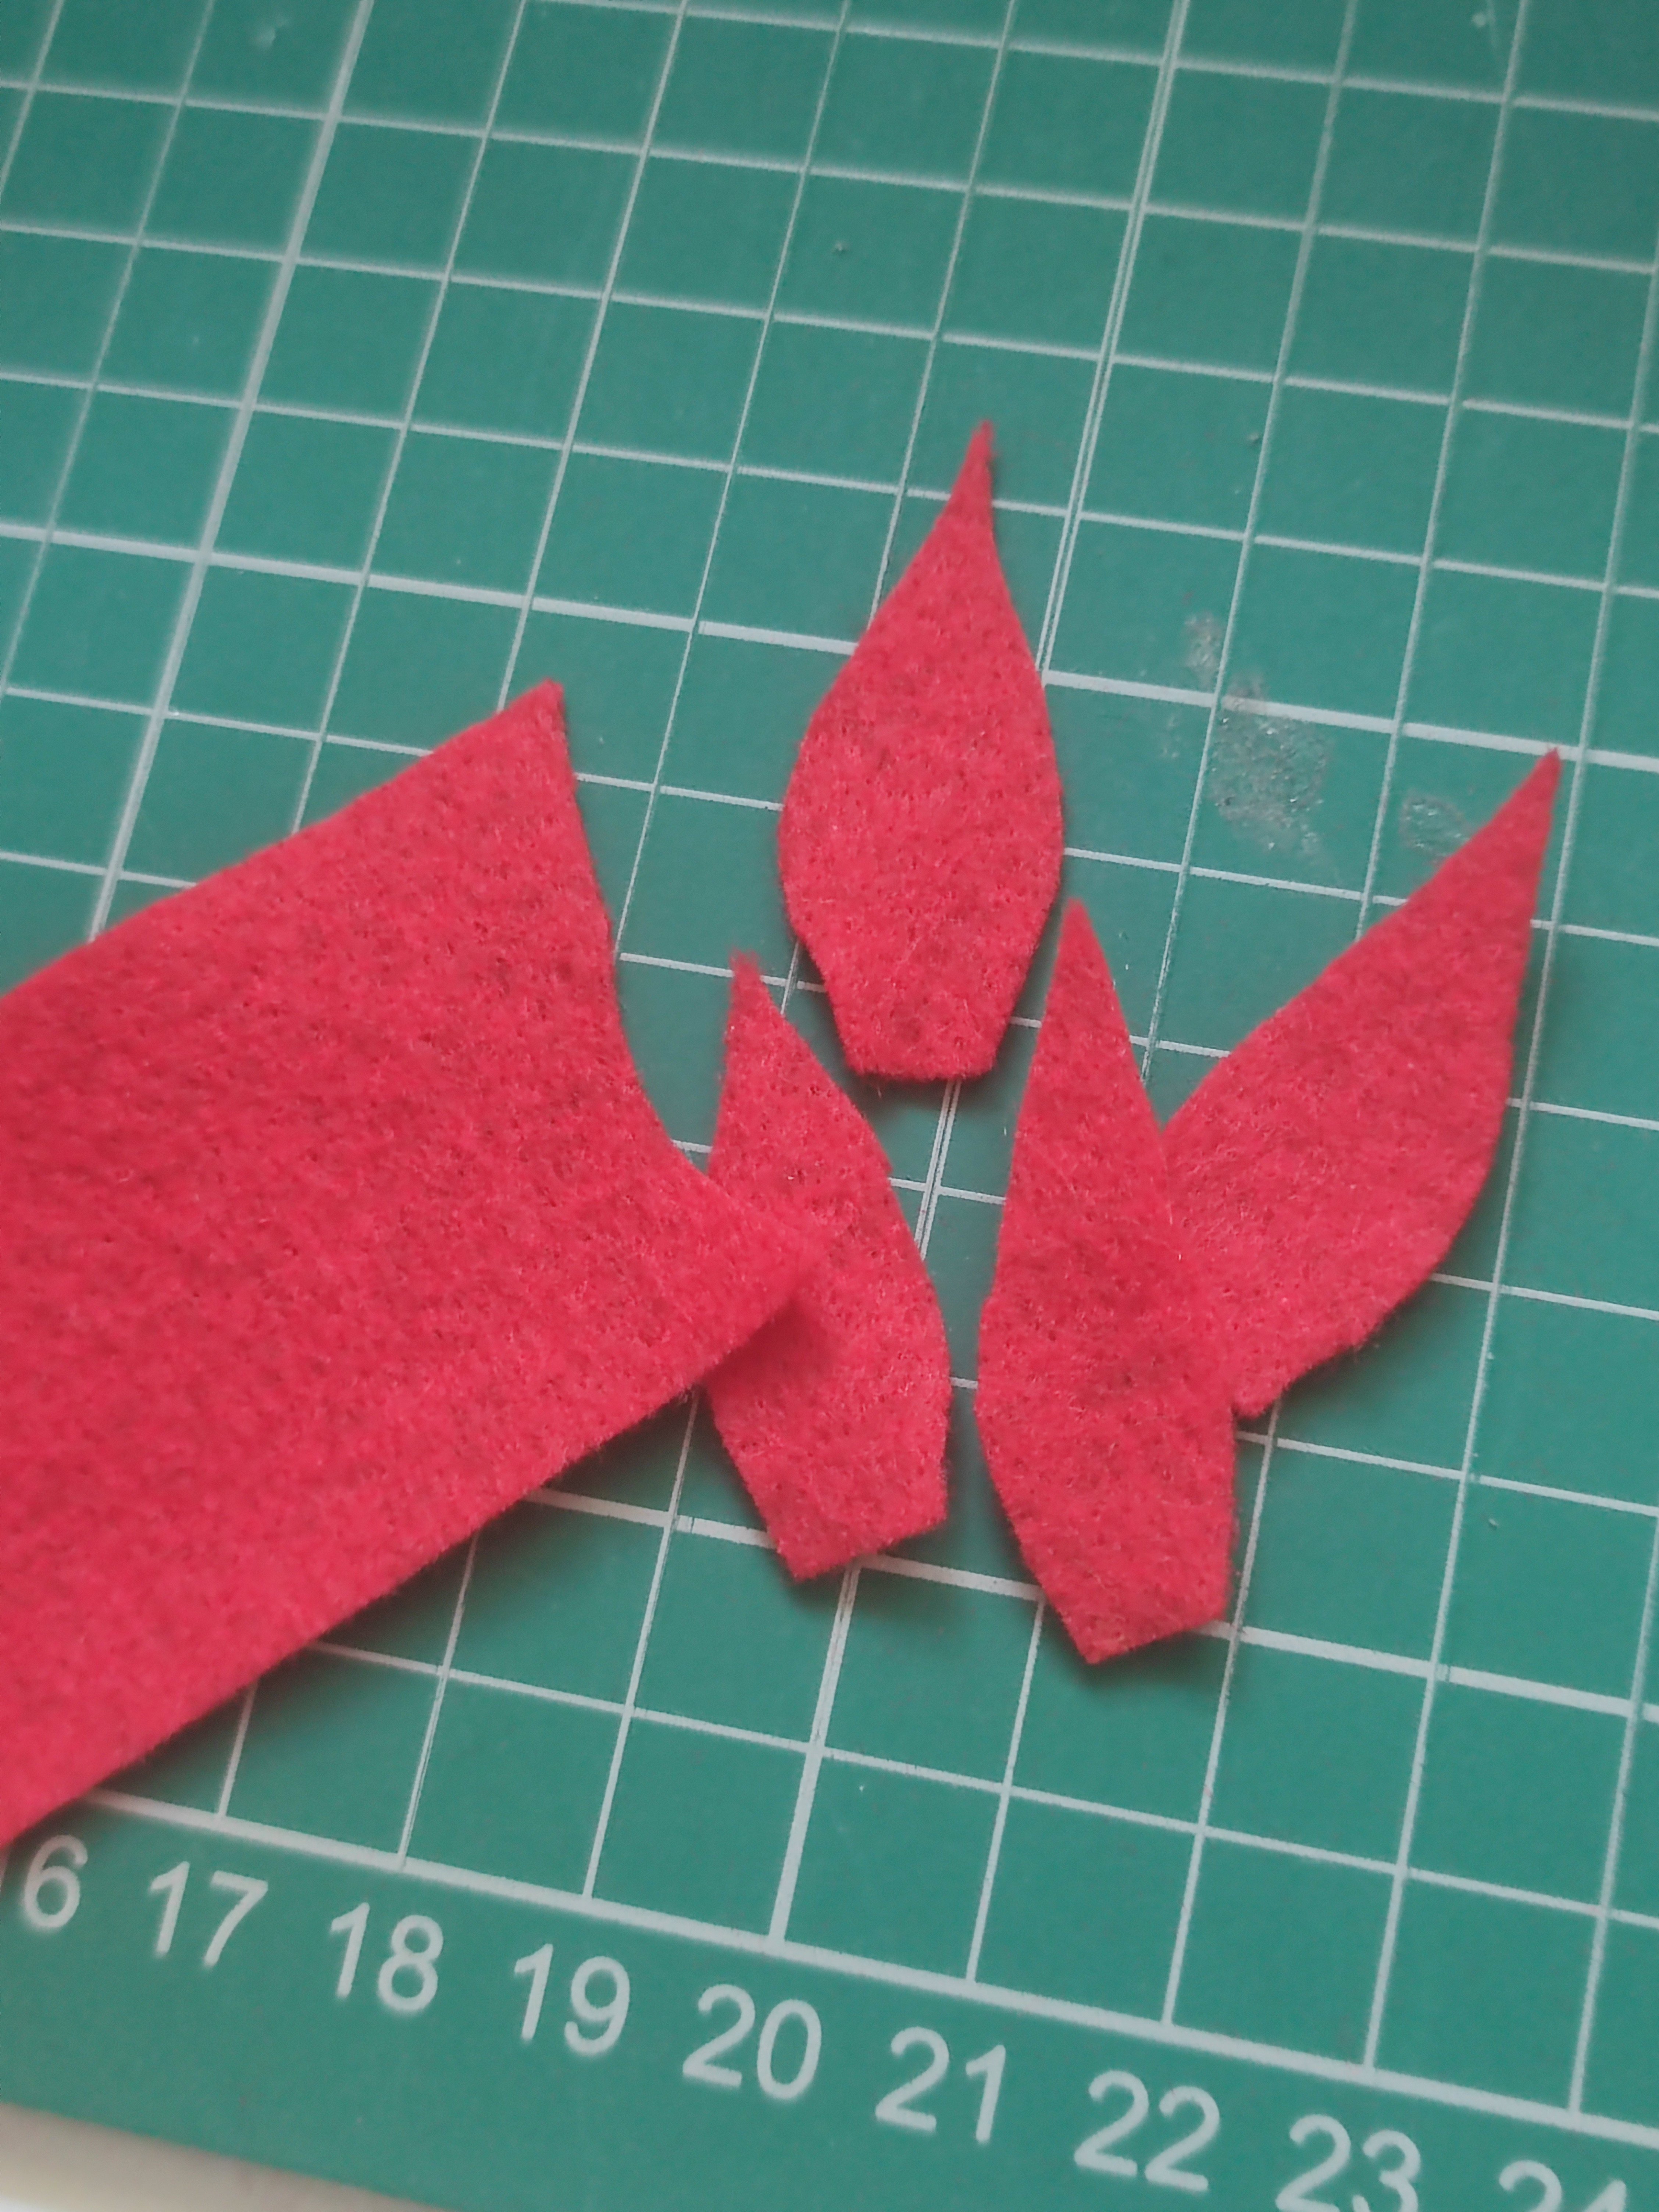
This part below was something I’ve done before, but I used dark red so it looked a little like a poinsettia. You can actually cut out various shapes for petals/leaves and then just hot glue it together in a circular fashion to create a lot of different types of flowers!

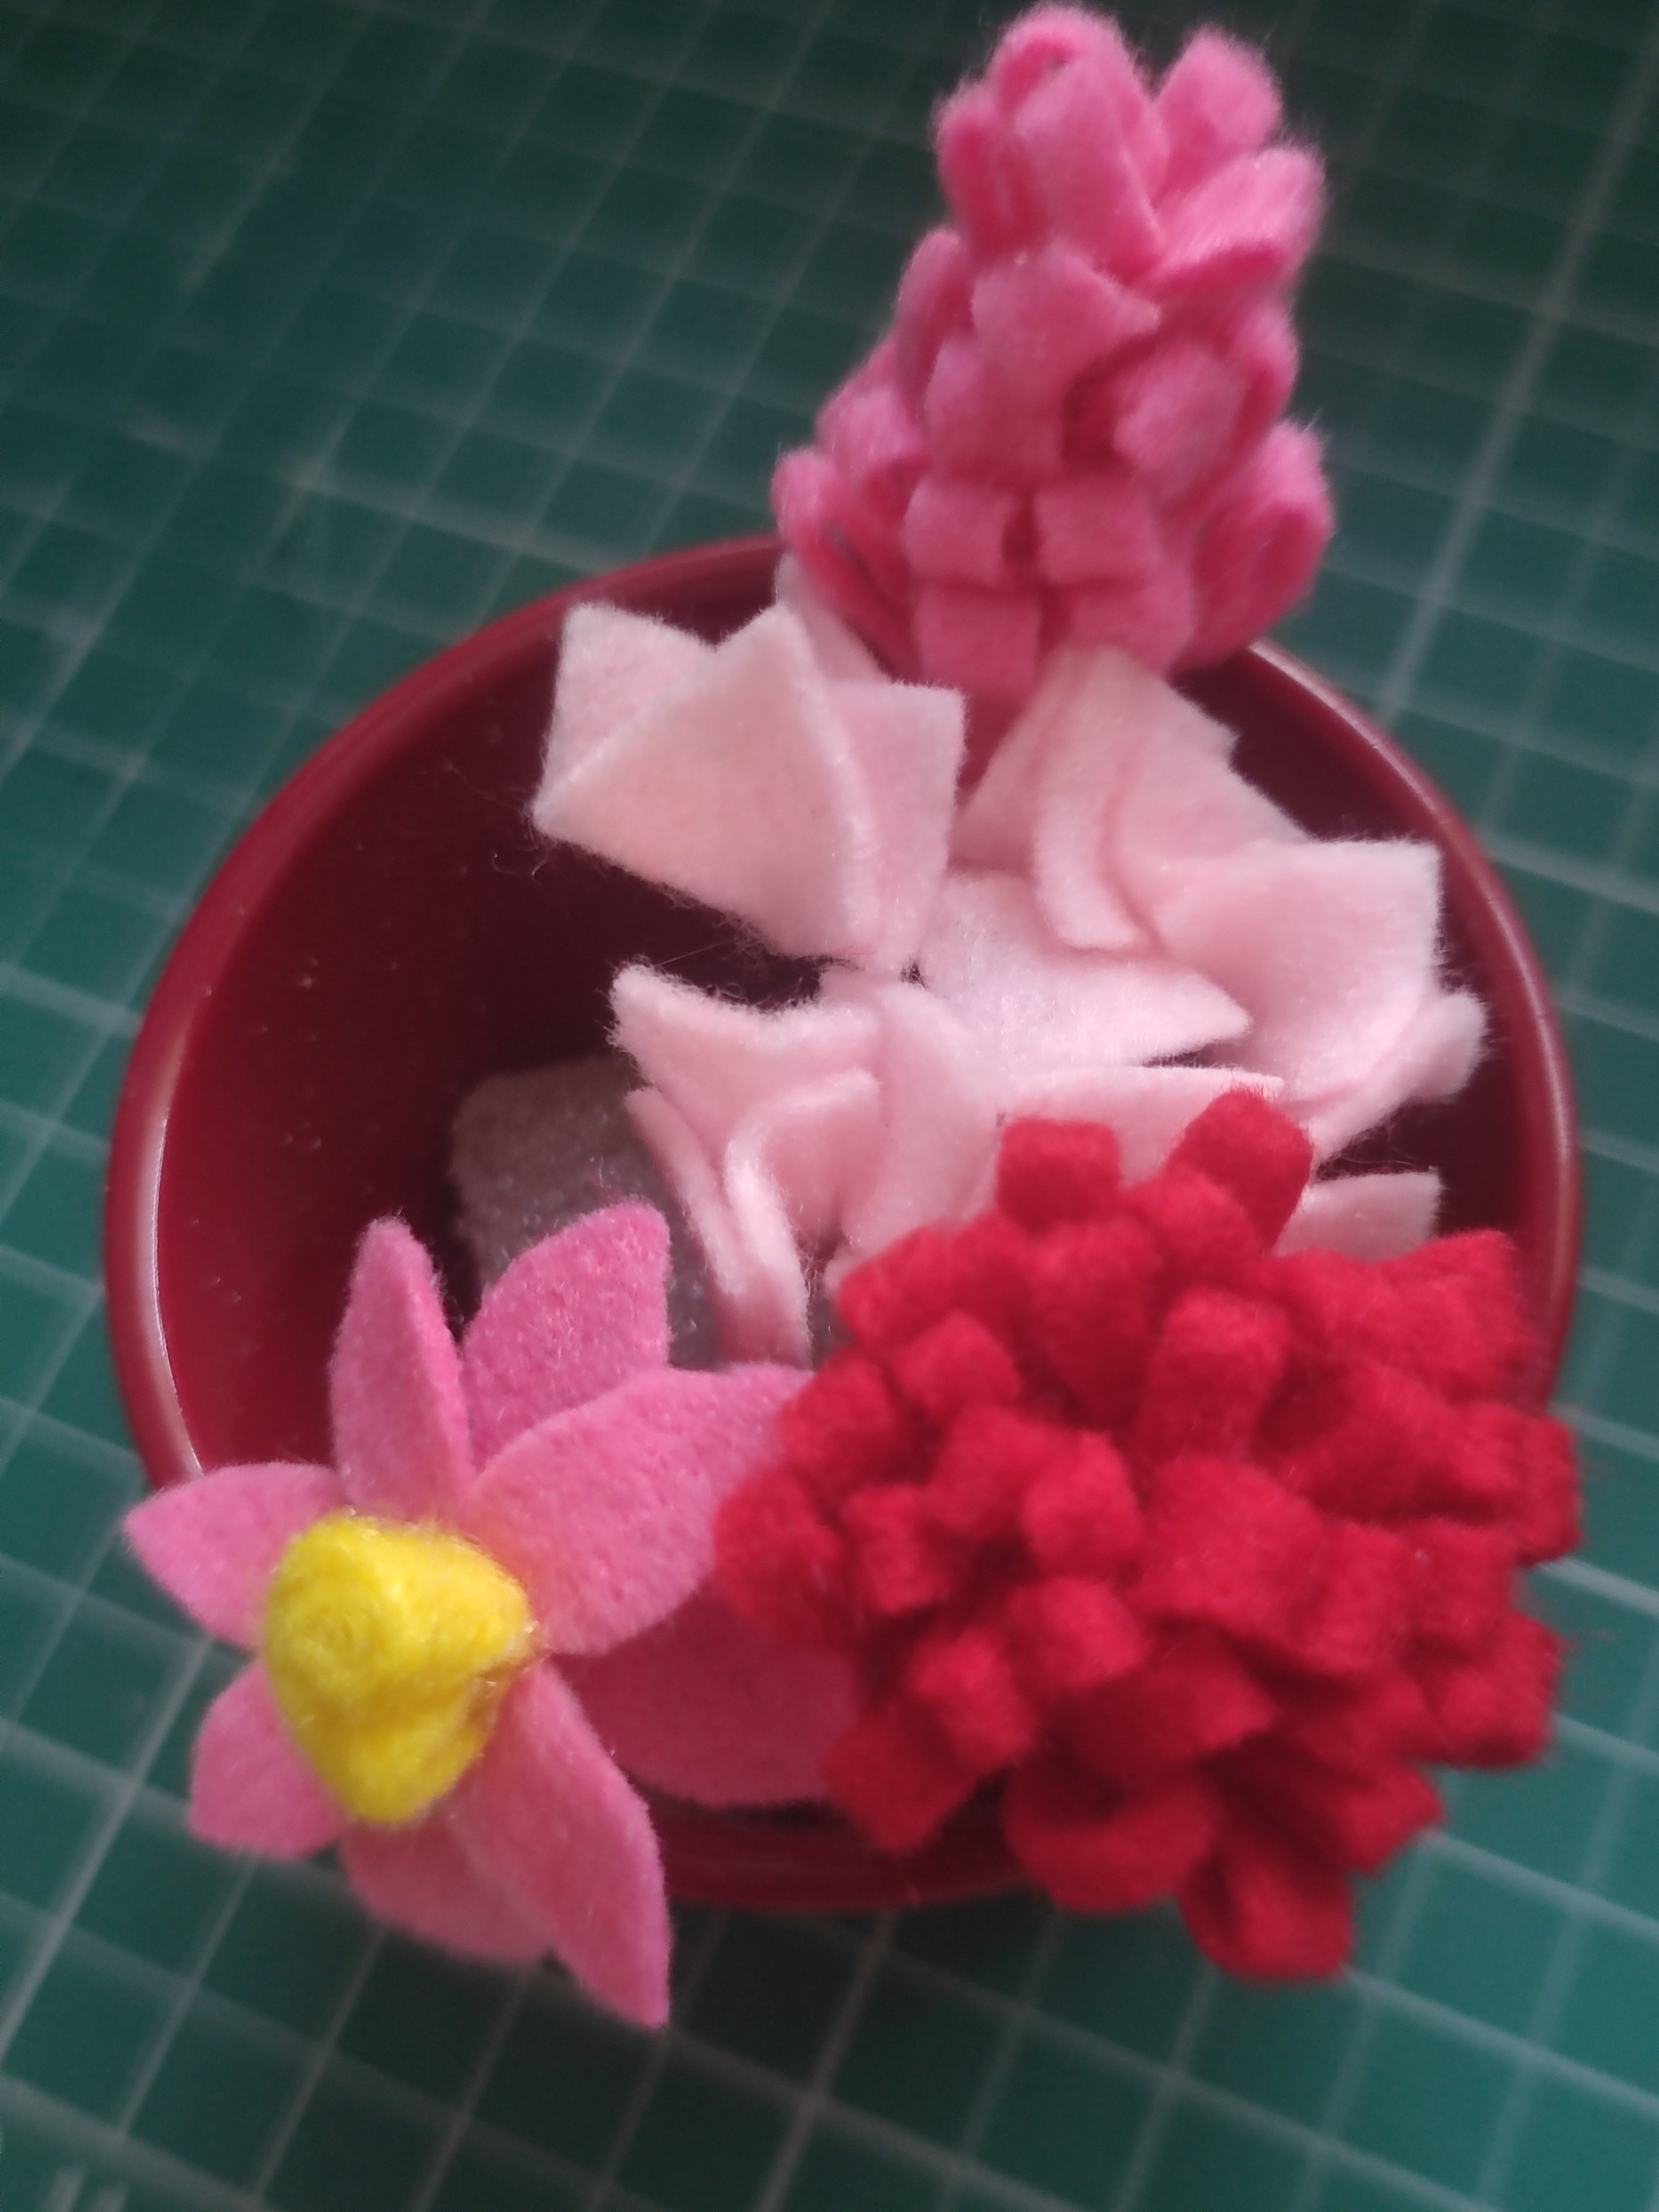
I planned to use a block of dry Oasis foam in the pot but I did not want to cover it with small rocks or shredded tissue paper again. When I arranged the flowers I had currently made so far, I knew I needed to make a lot more to plug in the gaps and hide it better. I still stuck the wires into the foam to do some flower arrangement planning.
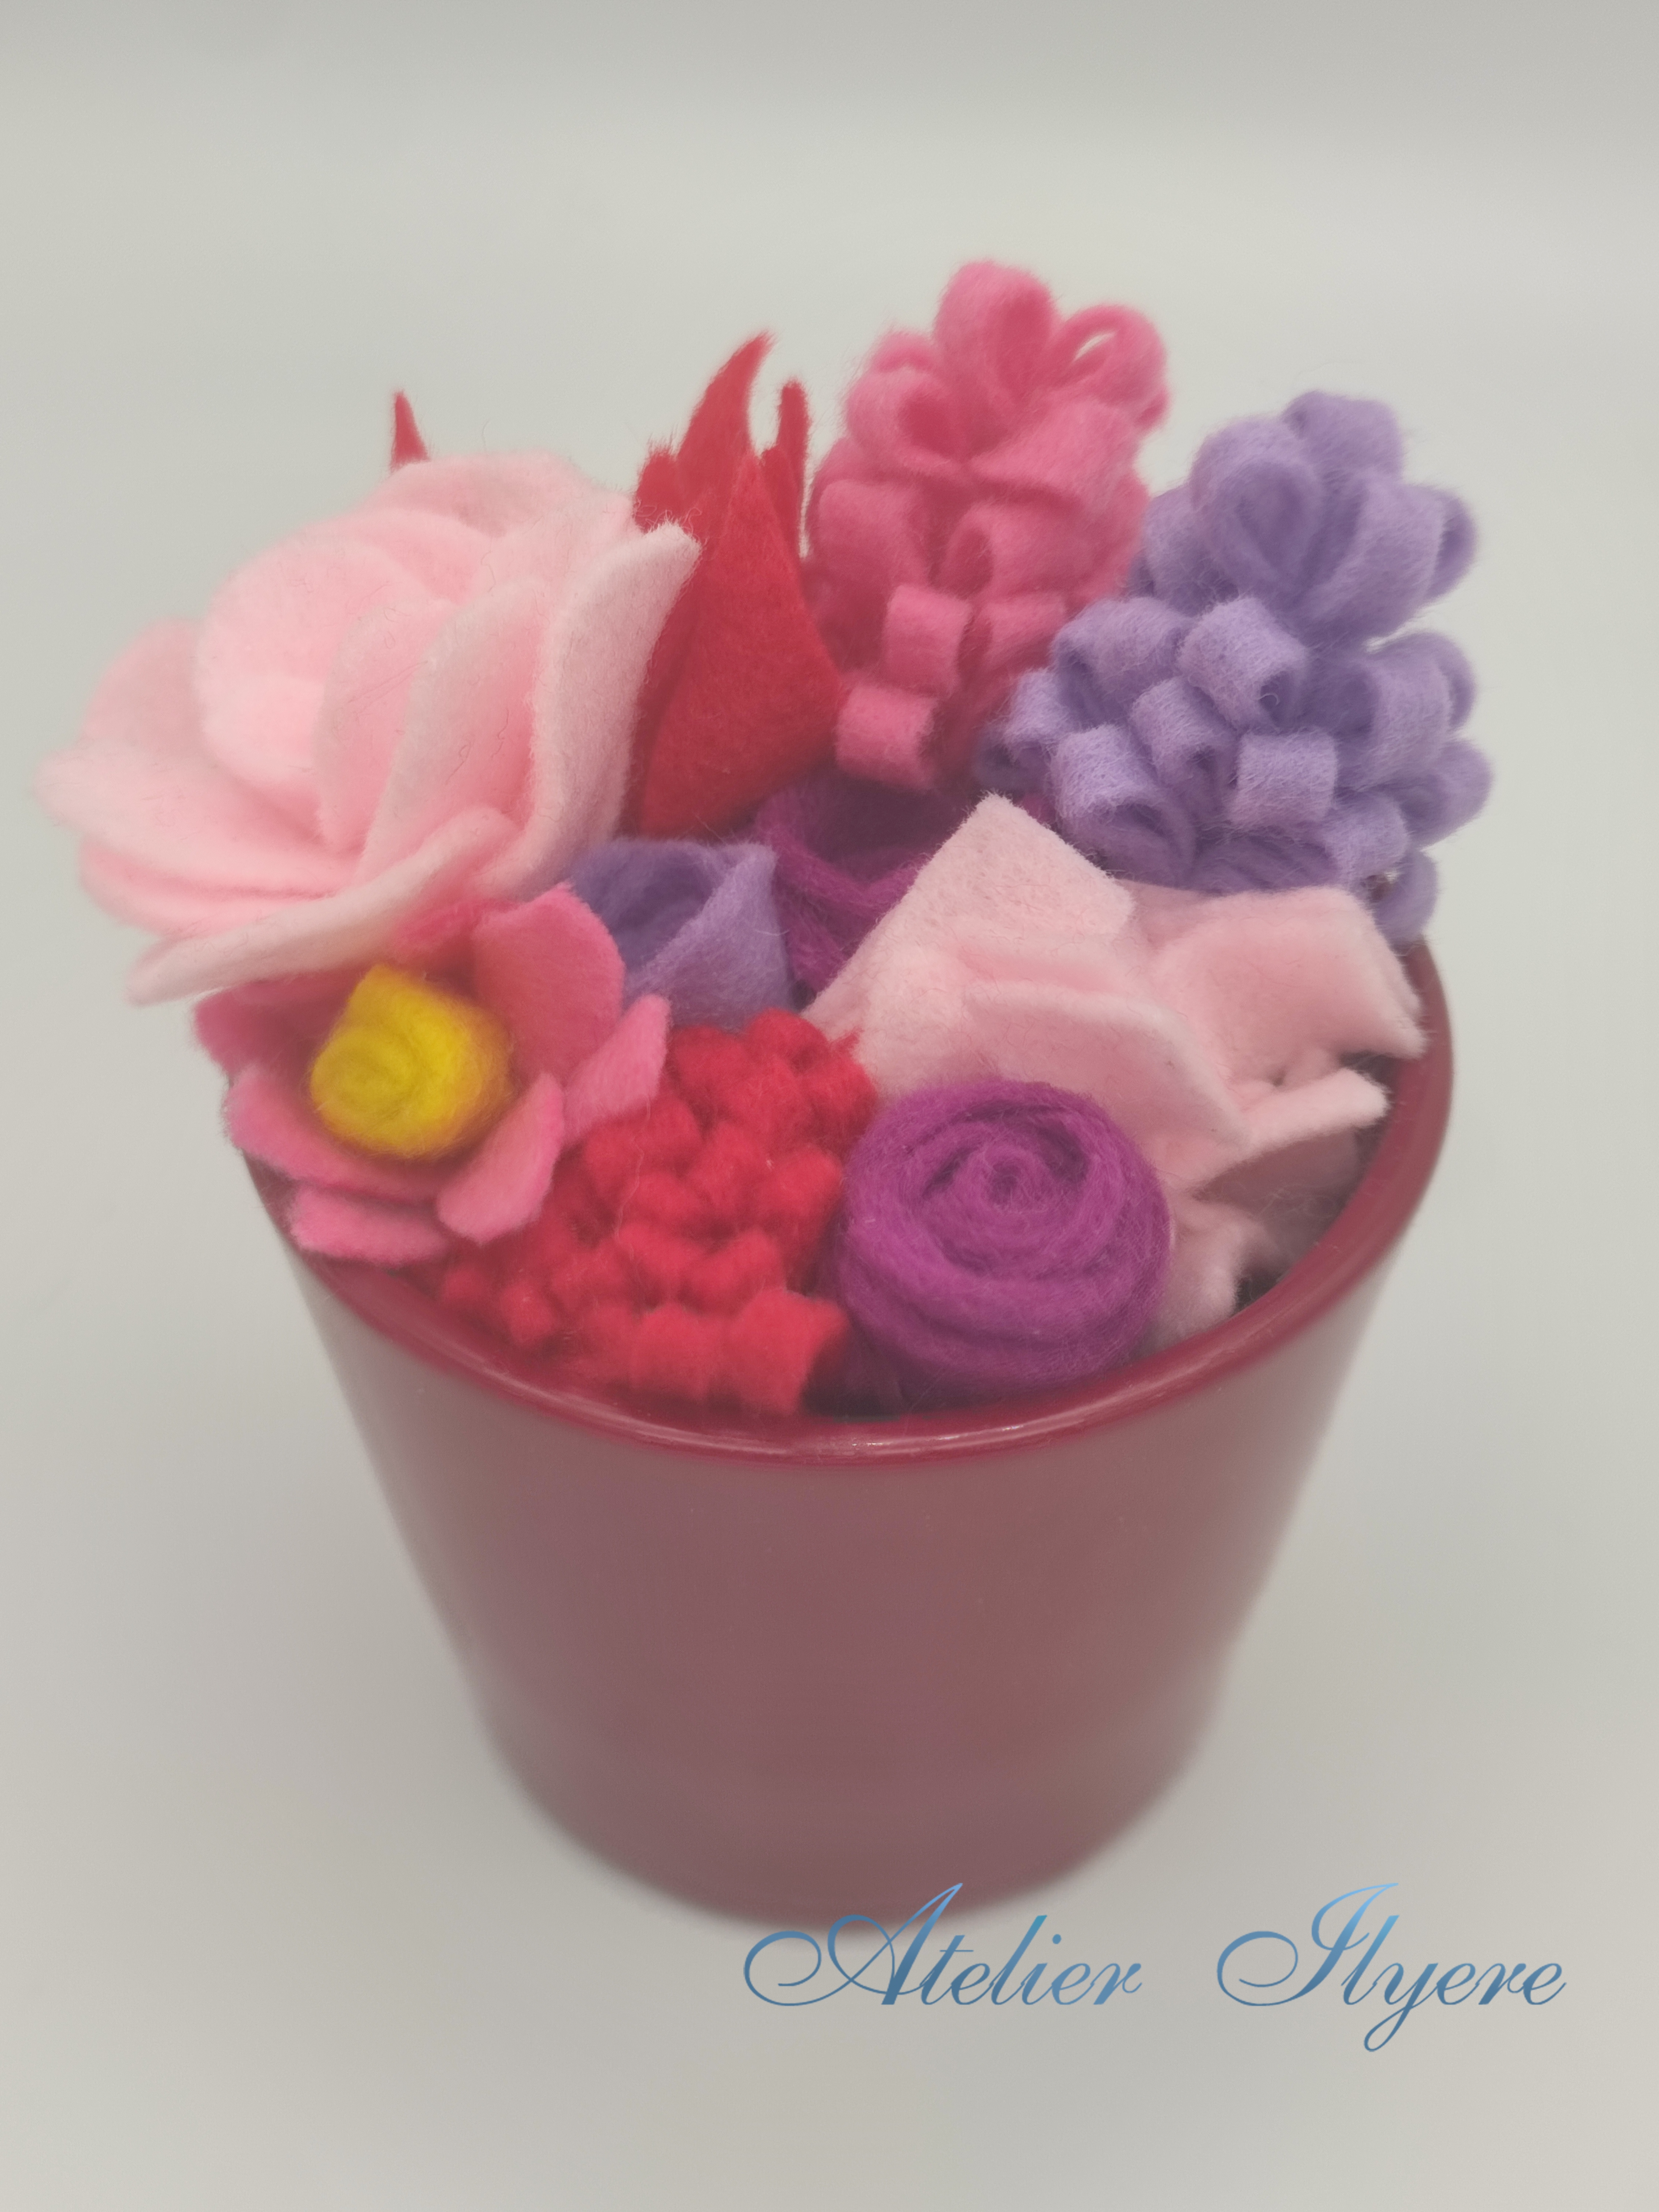
At this point I started to go a bit more freeform and created a lot more flowers. I made a light pink flower from doing the same thing I did with the poinsettia, but with rounded petals to make it look more rose-like. I grabbed some extra purple felt sheets to add some more colour to the pot and made another lavender stem. Then I cut off some strips of felt and just rolled them up to make rosebuds for the smaller gaps.
You can actually hot glue dry foam to the pot, so that won’t be moving any time soon, but the wires will still be able to move in an out so I hope someone doesn’t try to mess with it. One day I will look at exploring using epoxy resin or something similar for extra security!
Until then, that’s mini planter #4 done. The planter collection is finally finished! It only took five months somehow. I will spend a bit of time looking for a suitable home for the lot as my computer desk is getting so crowded with all the different devices I use, and I certainly would not want to separate the collection now!
I enjoyed flexing my creativity a little with this mini project. It reminds me of when I would spend a week learning a new thing like my origami corner bookmarks week, which remains one of my more popular blog posts! Thank you for checking out my older stuff.

Materials used:
– felt sheets (I used light pink/dark pink/light purple/dark magenta/red/yellow)
– sugarcraft stems
– dry Oasis foam block
Tools used:
– scissors
– hot glue gun
– wire cutters
