
In 2013, I stumbled upon the pentagon rose by Naomiki Sato and attempted to make a bouquet of these flowers… Some of you eagle-eyed readers might realise that it wasn’t quite right and I’m willing to put my hands up for it. I made twelve different roses and they all came out differently somehow. I also think I missed one of the steps when following the crease pattern which made them look a little weird in the central part. Surely 10 years on, I should be able to do better?
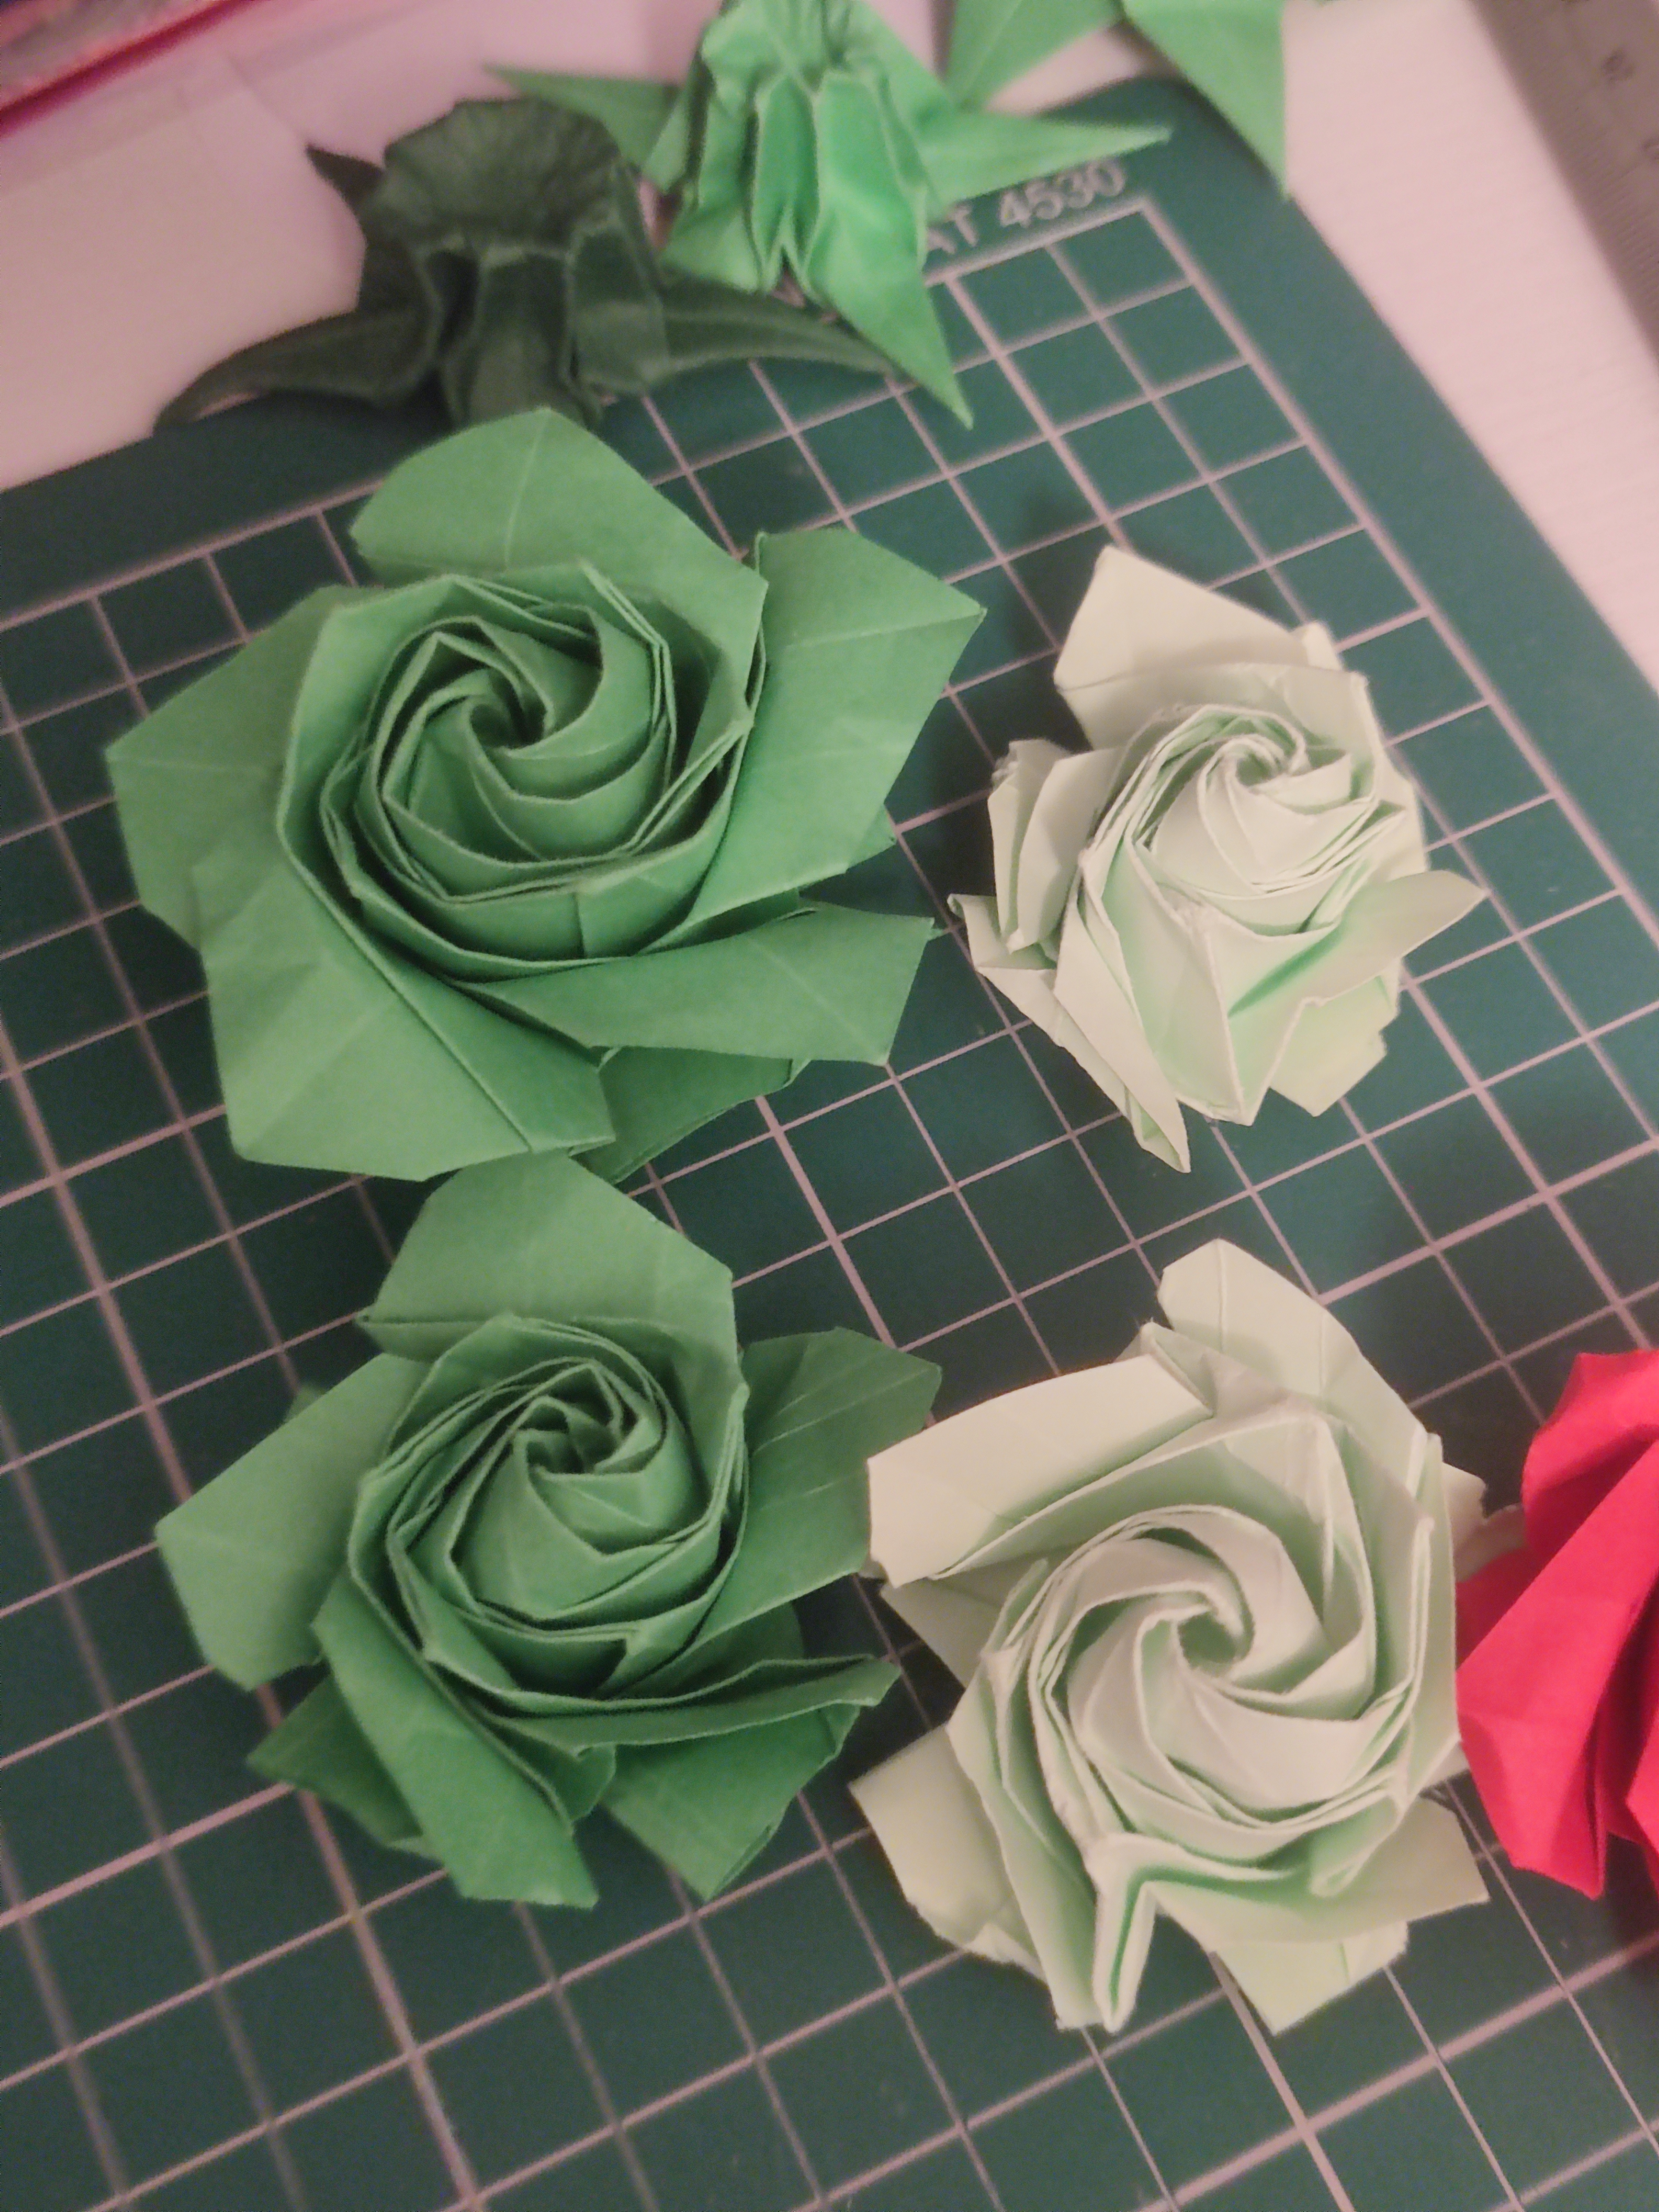
This time I followed the video tutorial on YouTube by Tadashi Mori. I linked a different tutorial in that post but I did some searching for a more up-to-date tutorial and the quality of this video is much more clearer, so I would recommend following this one if you want to learn! It is a bit difficult so only attempt it if you are intermediate-level in your folding skills. I am certainly more skilled now, but since I was a bit rusty, I practiced on some spare green paper. I always have a lot of it – it is not a popular colour for flowers, as you can imagine! I’m glad I did a few test runs because the quality of each one really did vary. I also cut out my own squares/pentagons to test different sizes for my desk pot.
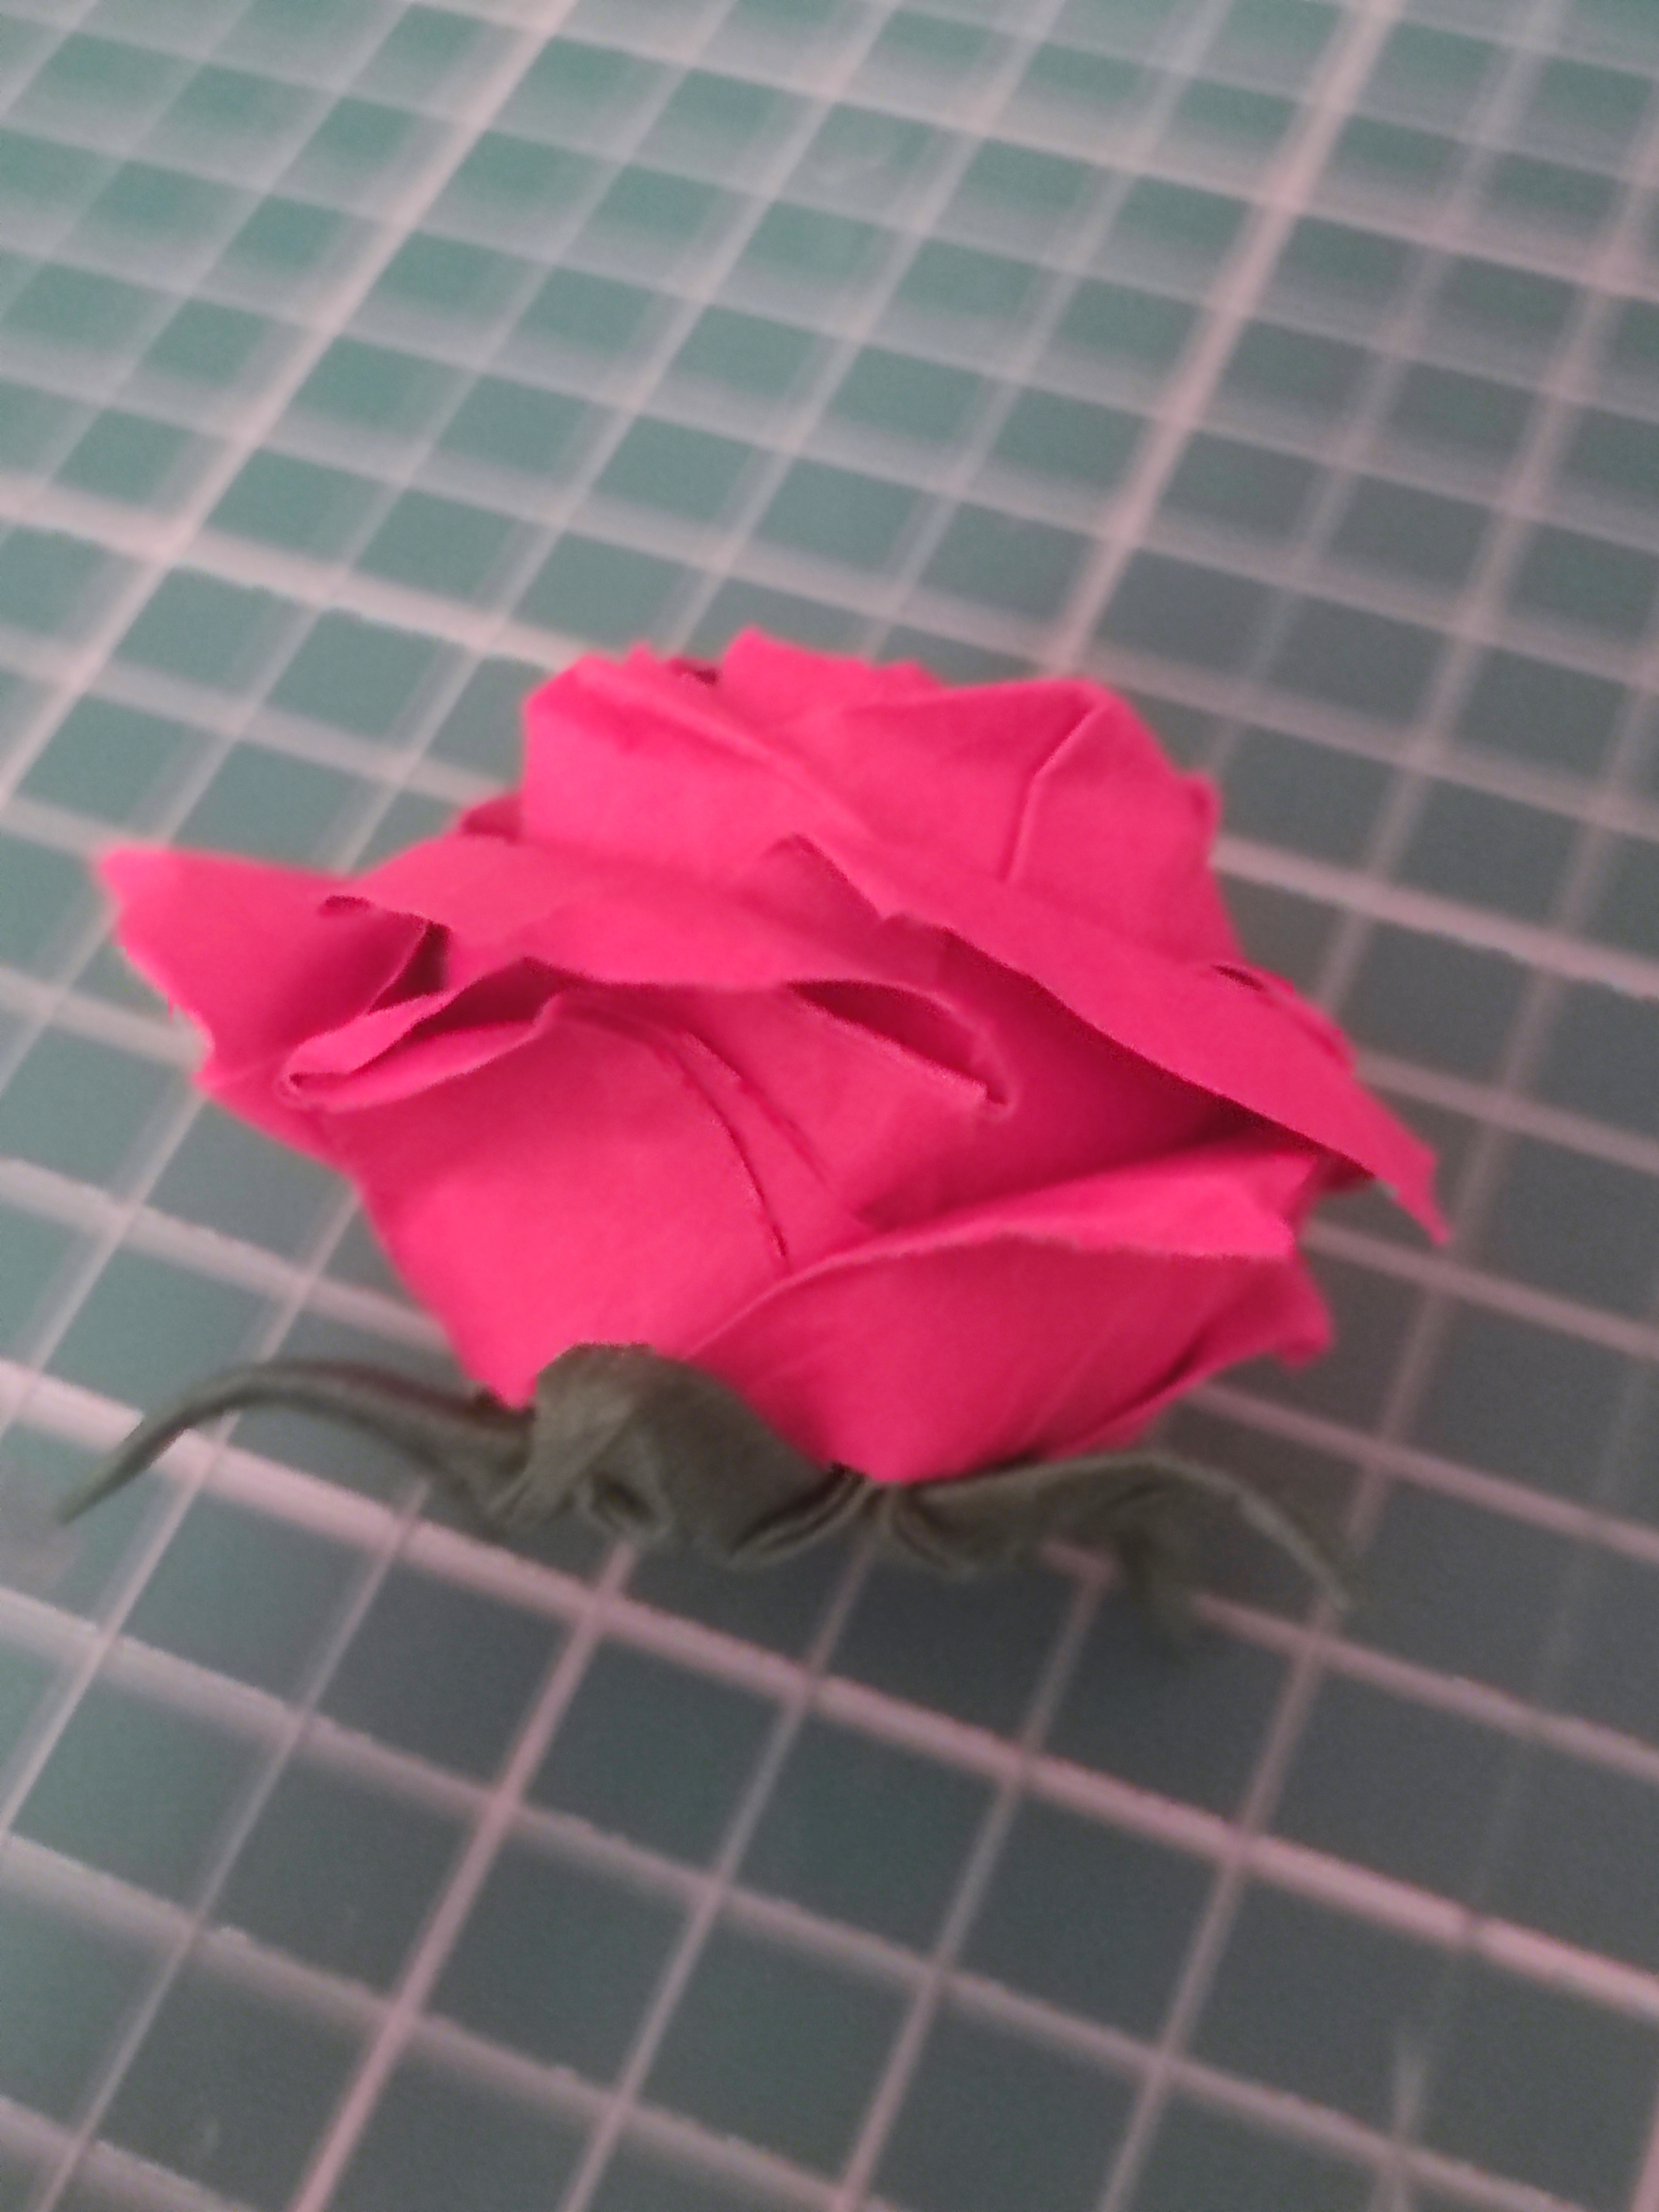
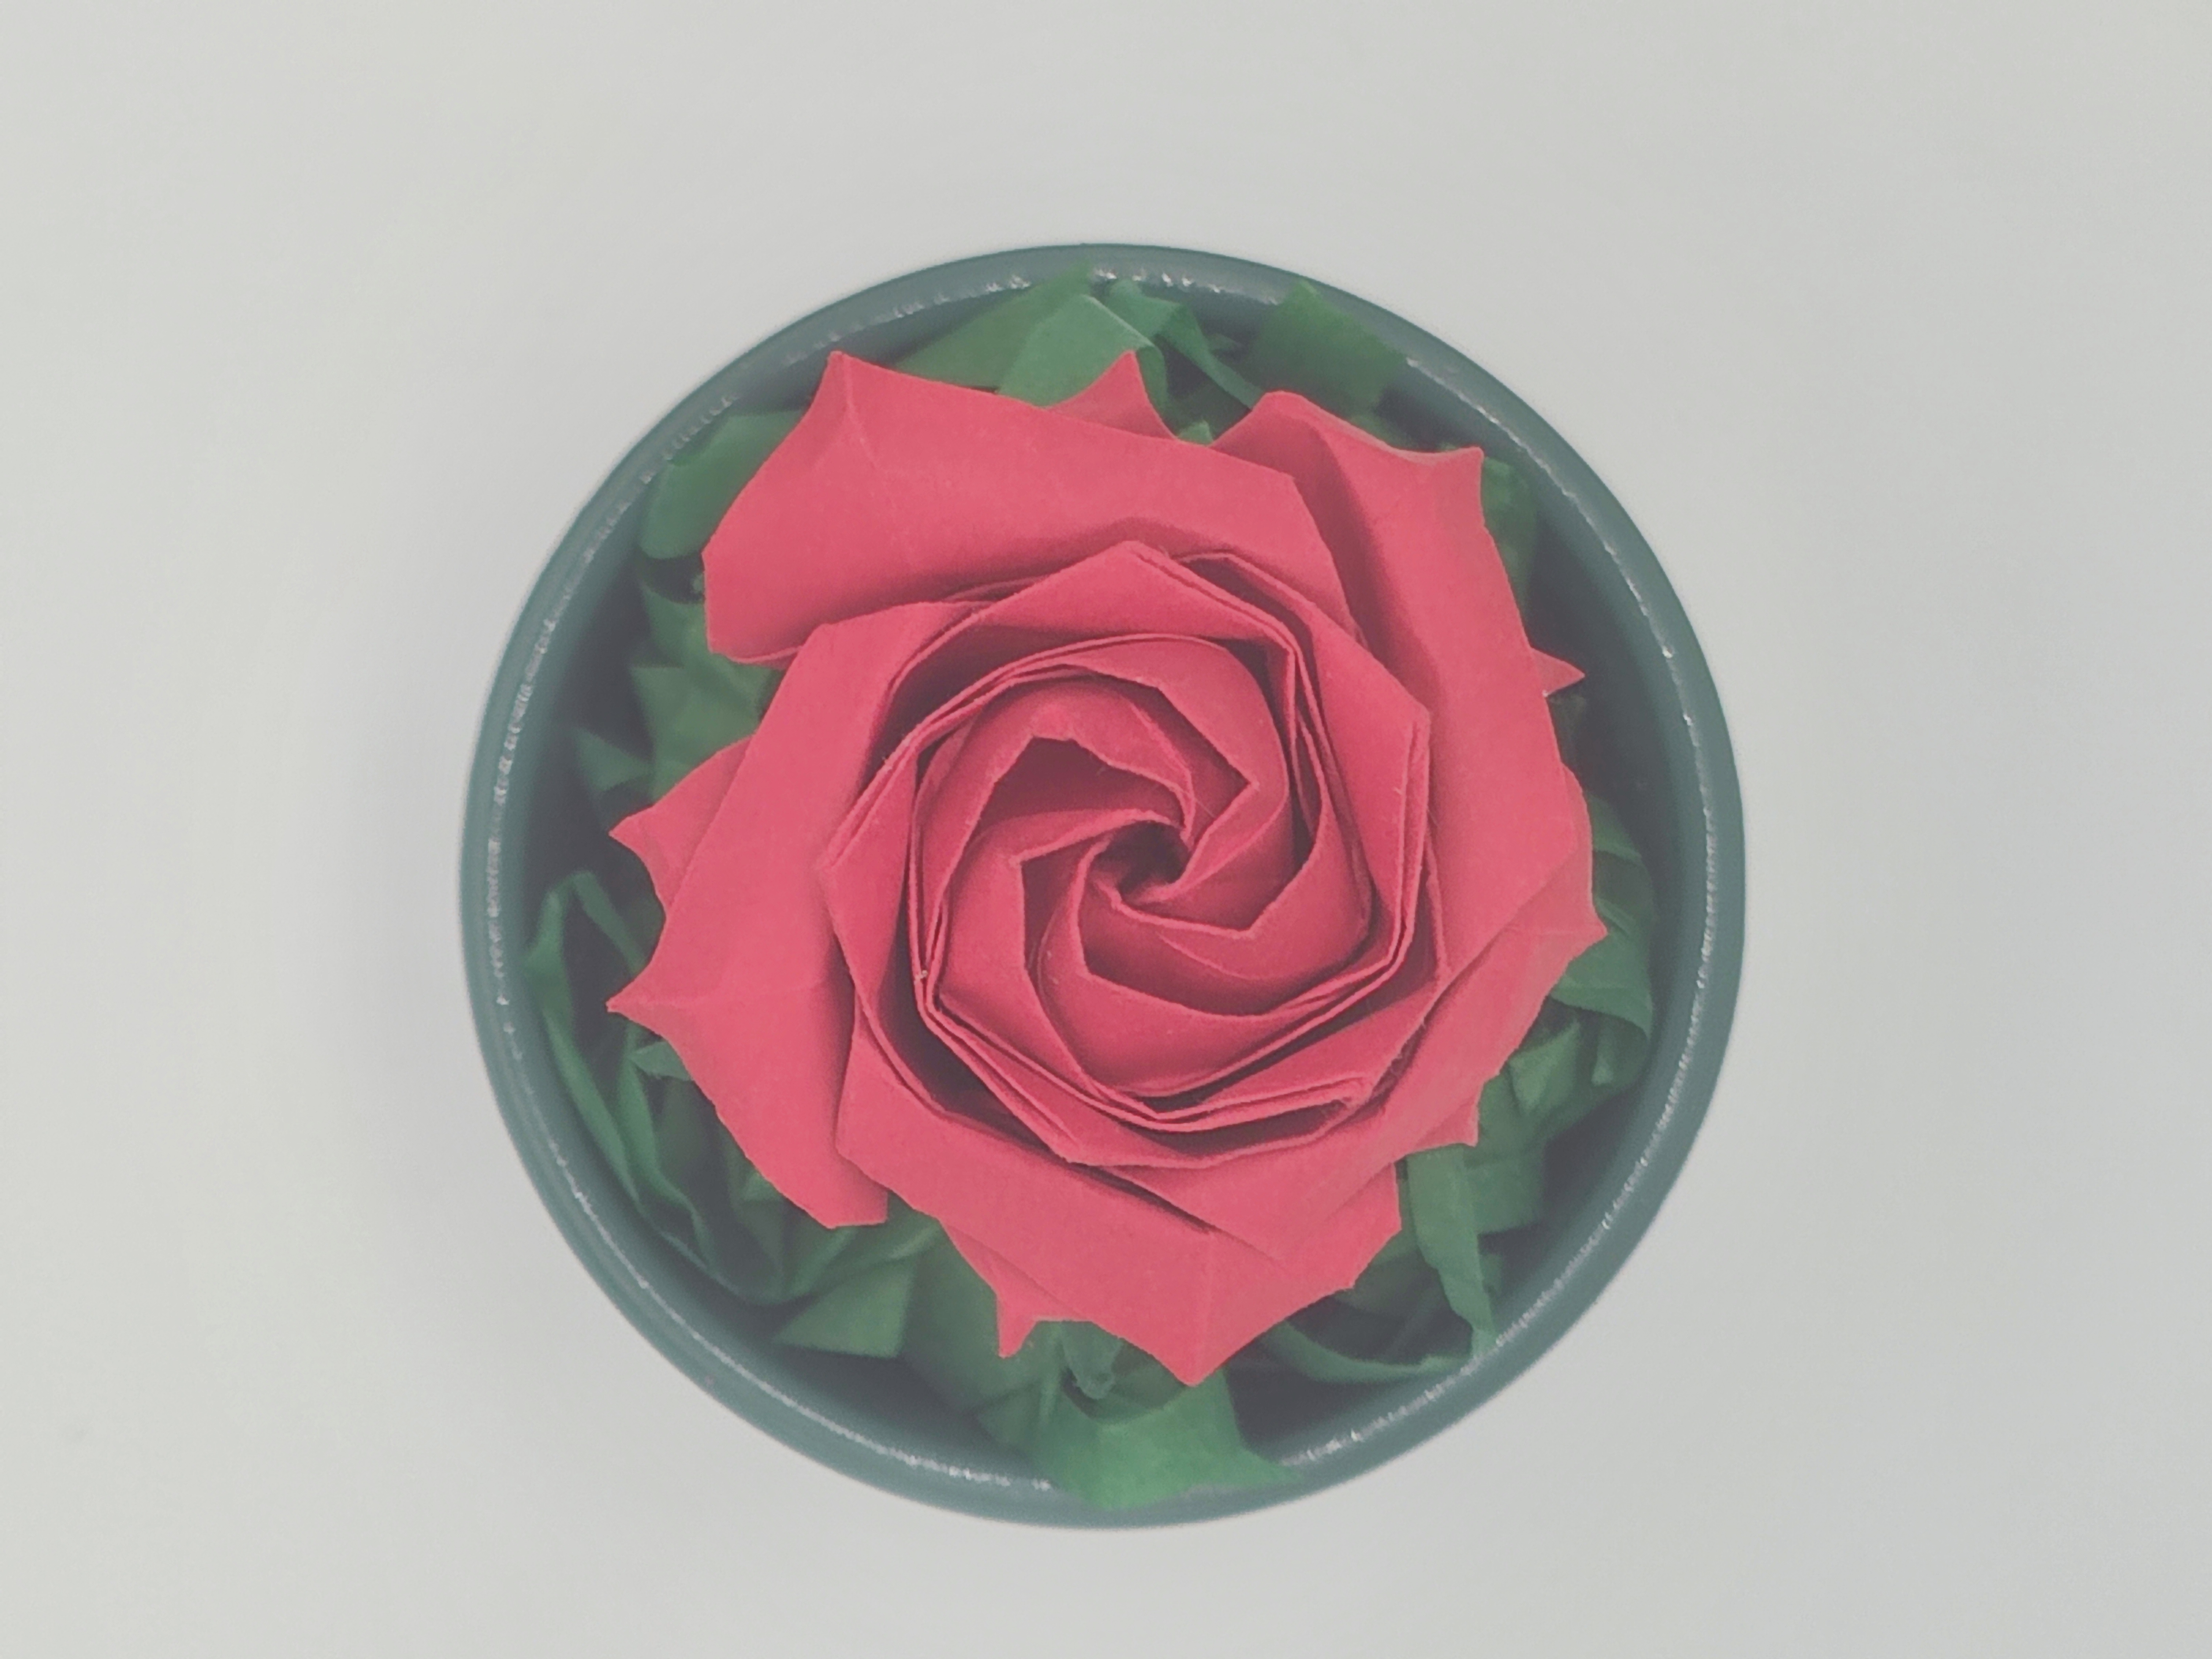
In the end, I went with a 20cm square of red paper as it was the biggest square you can cut from A4 paper, which was then cut down to a pentagon.
You also have the option to add a calyx to the rose, if desired. I was planning on making a single rose for my planter pot, so I thought it should have one. There is a follow-up tutorial to make a calyx, also by Tadashi Mori which fits the rose perfectly. I did try making this a couple of times too, as I wasn’t sure if I should use the light green thinner paper, or the darker green thicker paper. Again the outcome varied in quality as it is so easy to make mistakes.

When cut to the right size (I used a 10cm square, half the size of my rose) and folded precisely, it is a perfect fit! The dark green paper that I used in the end was of a higher gsm (normal A4 tends to be around 70-80gsm), which did make the folding more difficult. I always seem to have difficulty finding dark green paper in stores so I didn’t have much choice in this matter, but I’m glad it worked out.
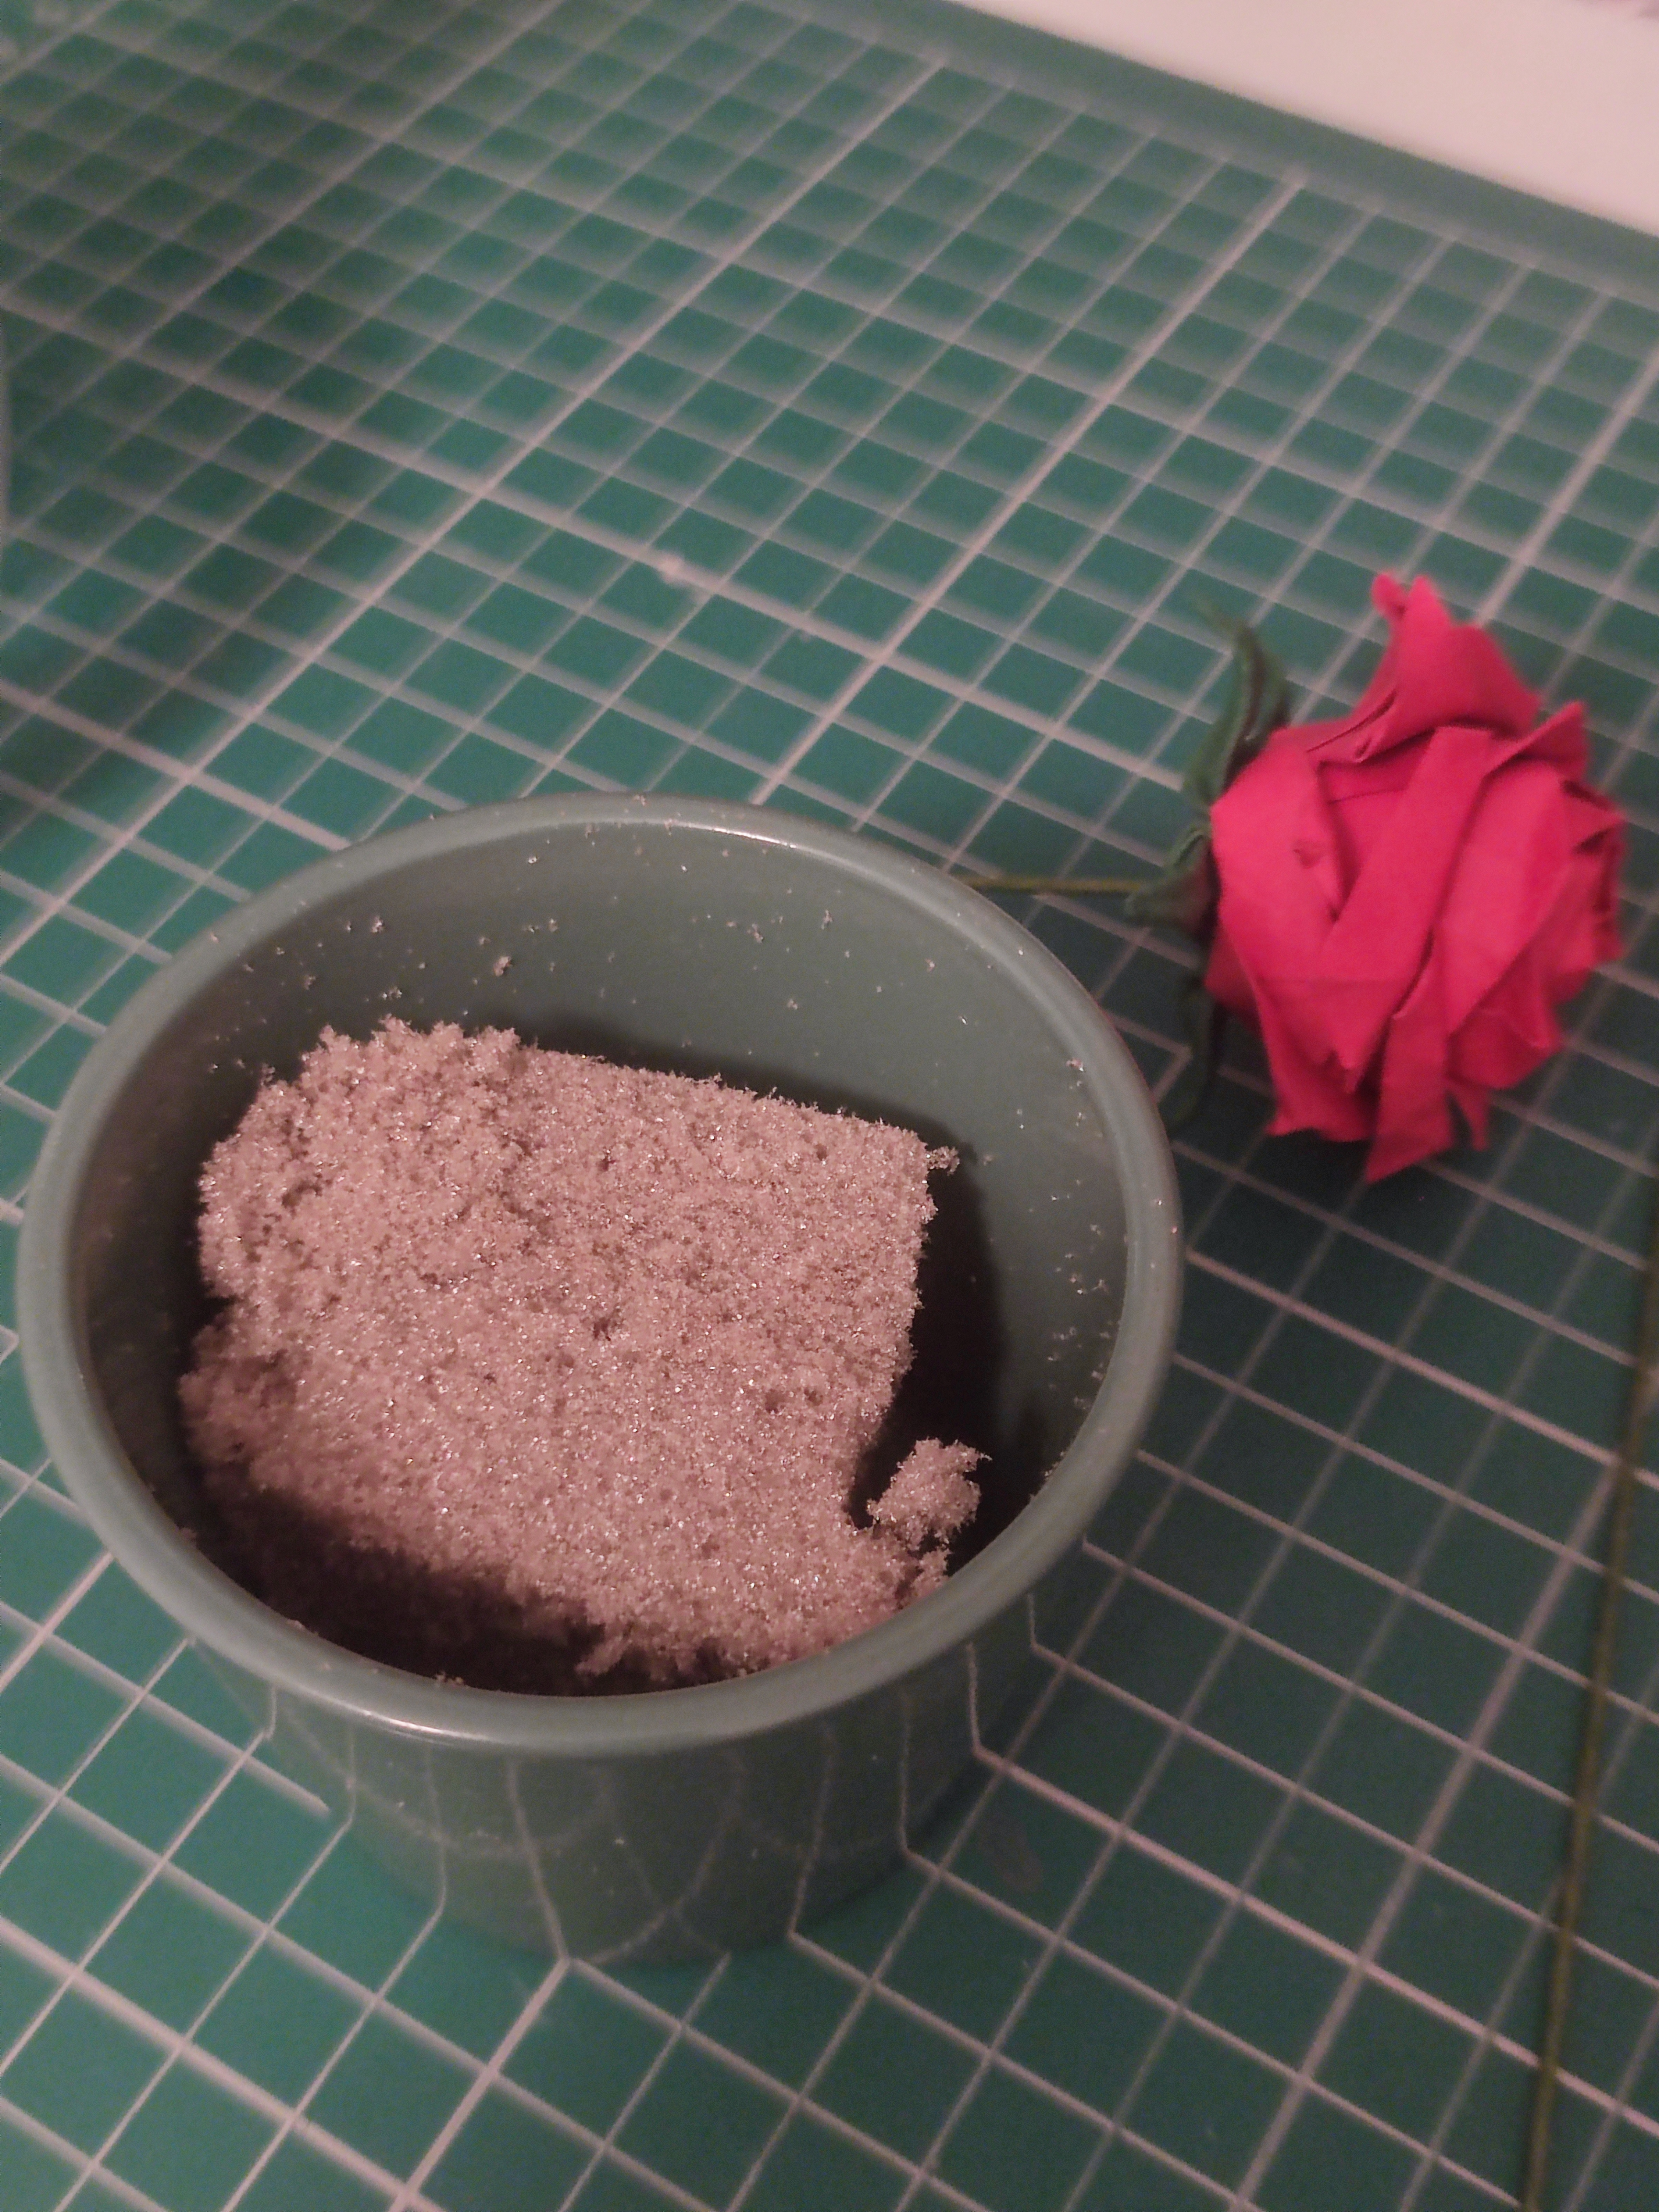
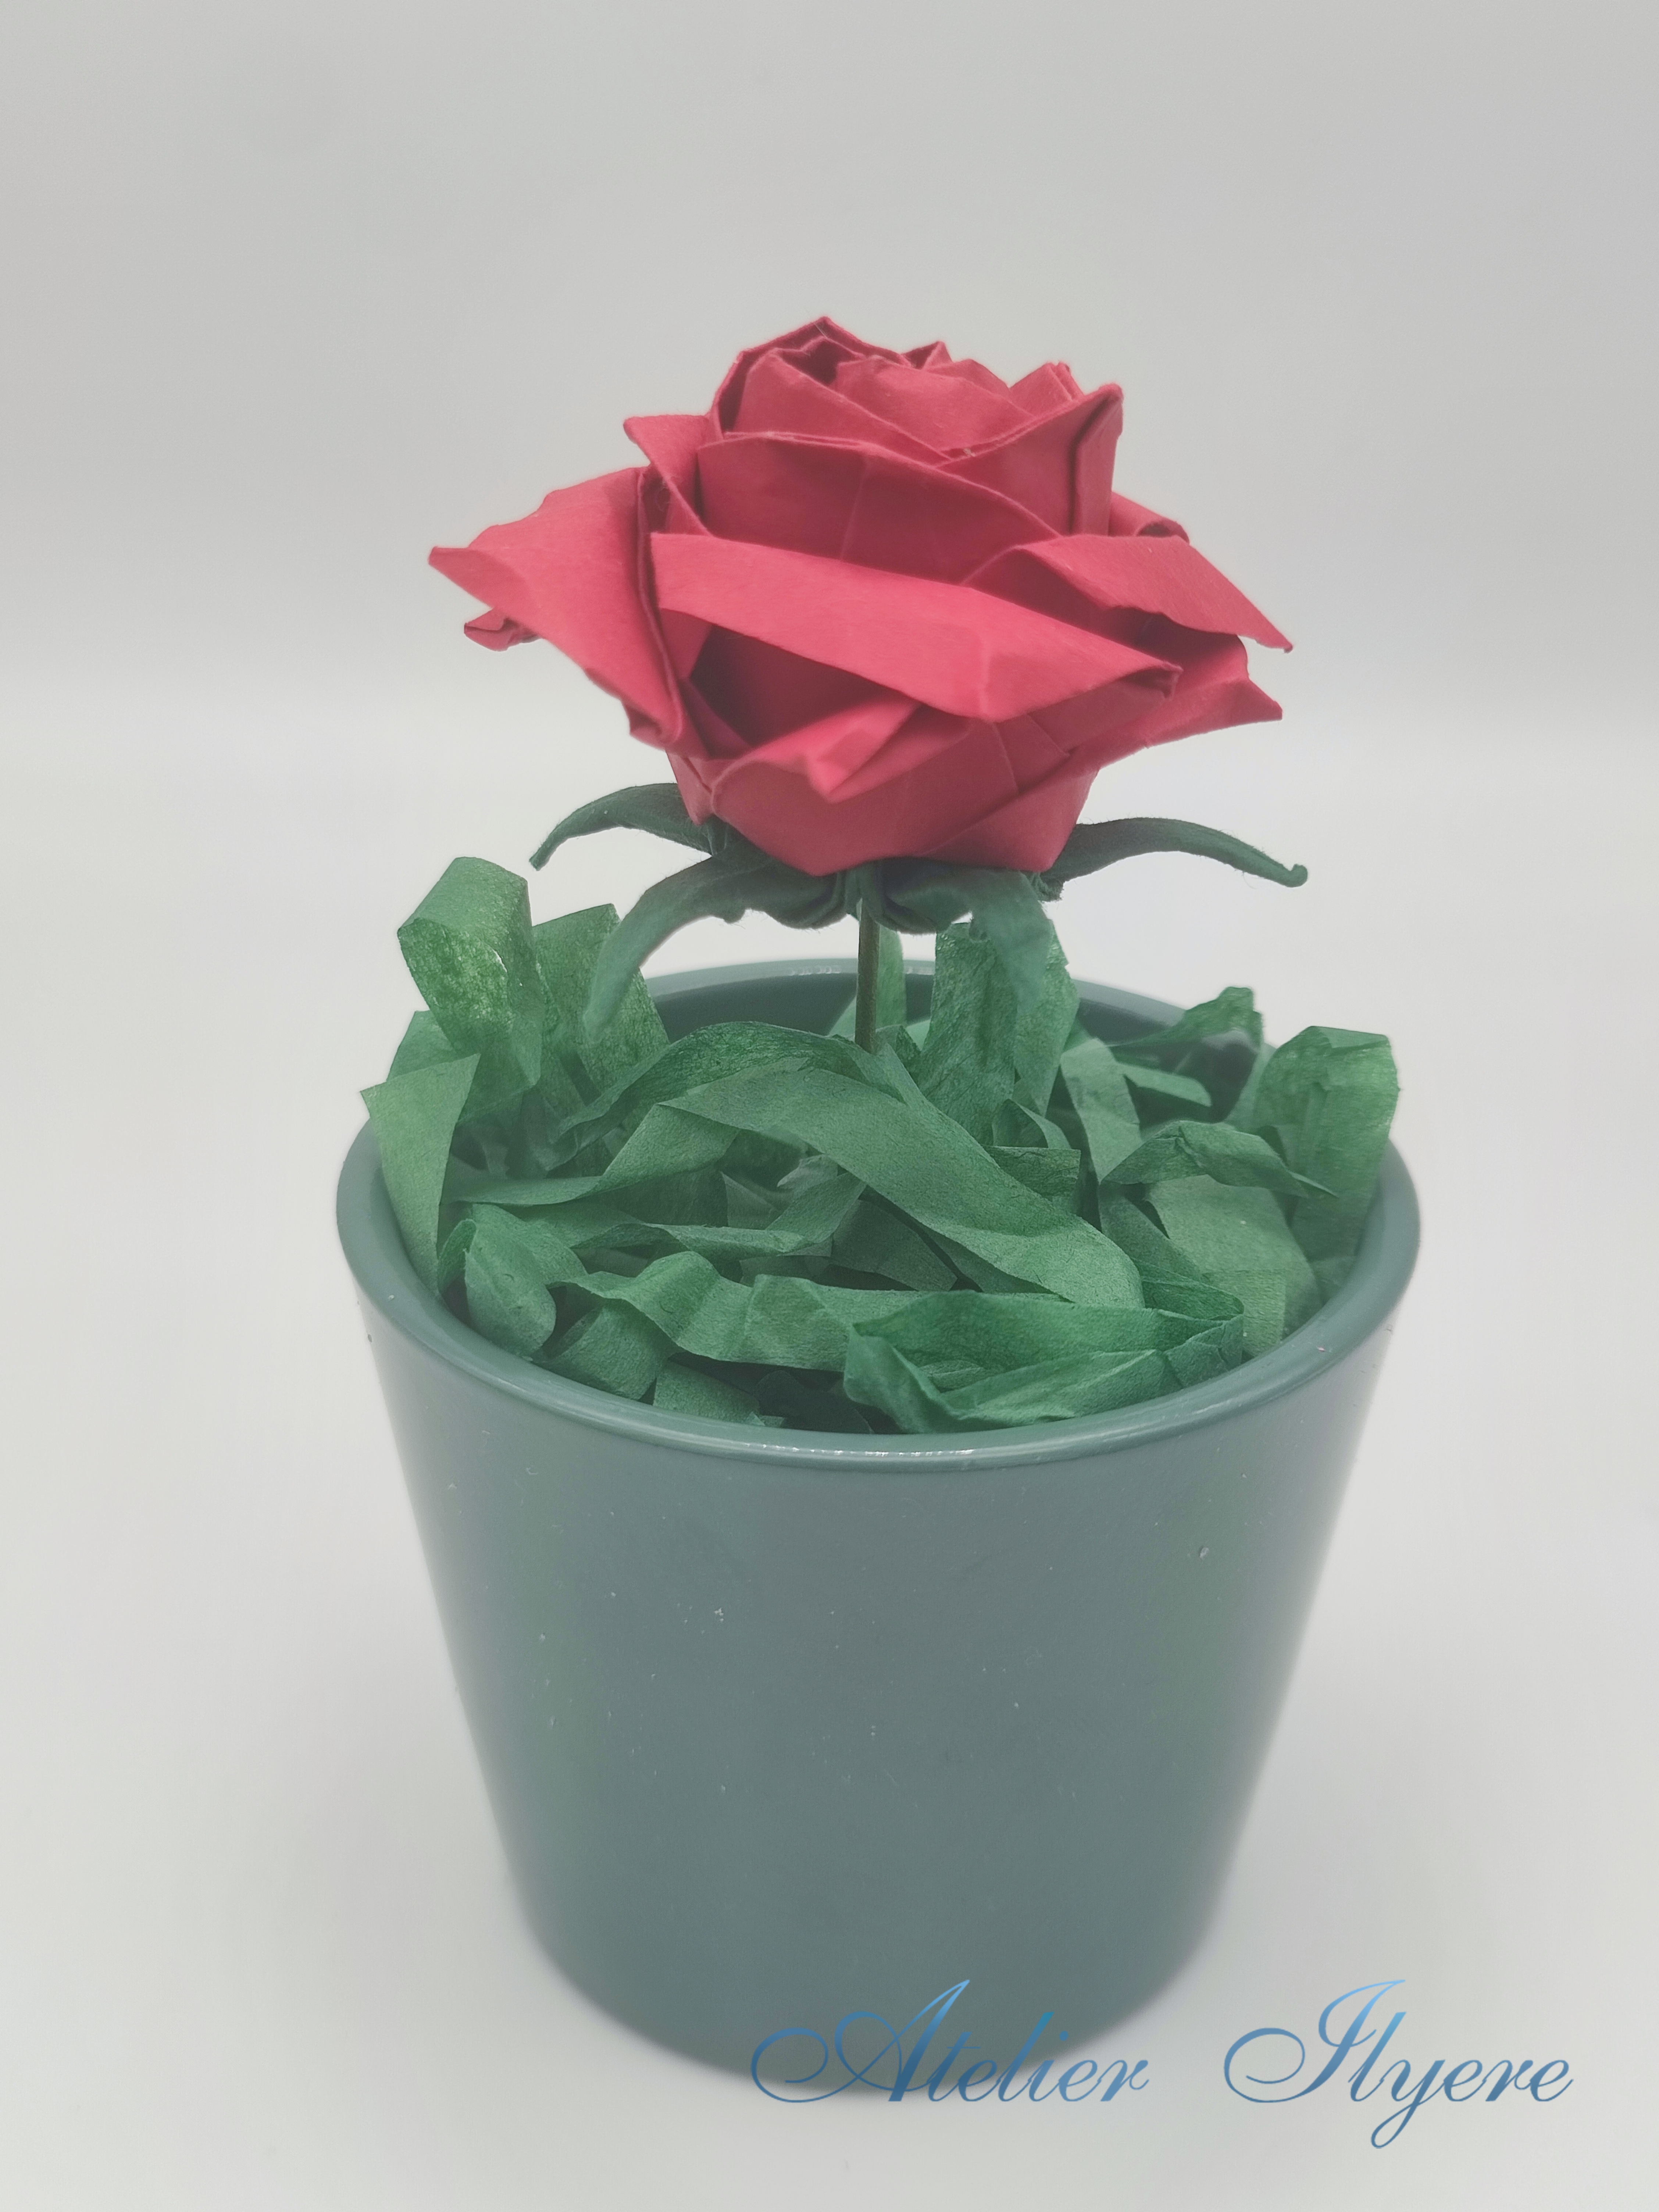
Now, the matter of displaying the rose in the pot. I cut a small block of oasis foam and placed it freely in the pot. It doesn’t matter how it looked because I planned to cover it up, but it won’t be secure. I then hot glued a sugarcraft stem to the centre of the rose to hold it up and secure it in the block.
I had some dark green tissue paper and shredded it by hand with a pair of scissors. It’s a quick way to cover up the mess but it’s not very practical as the tissue paper sticks out and the pot can spill if knocked over. But since it’s only meant to be sitting on my desk, I’m okay with it.
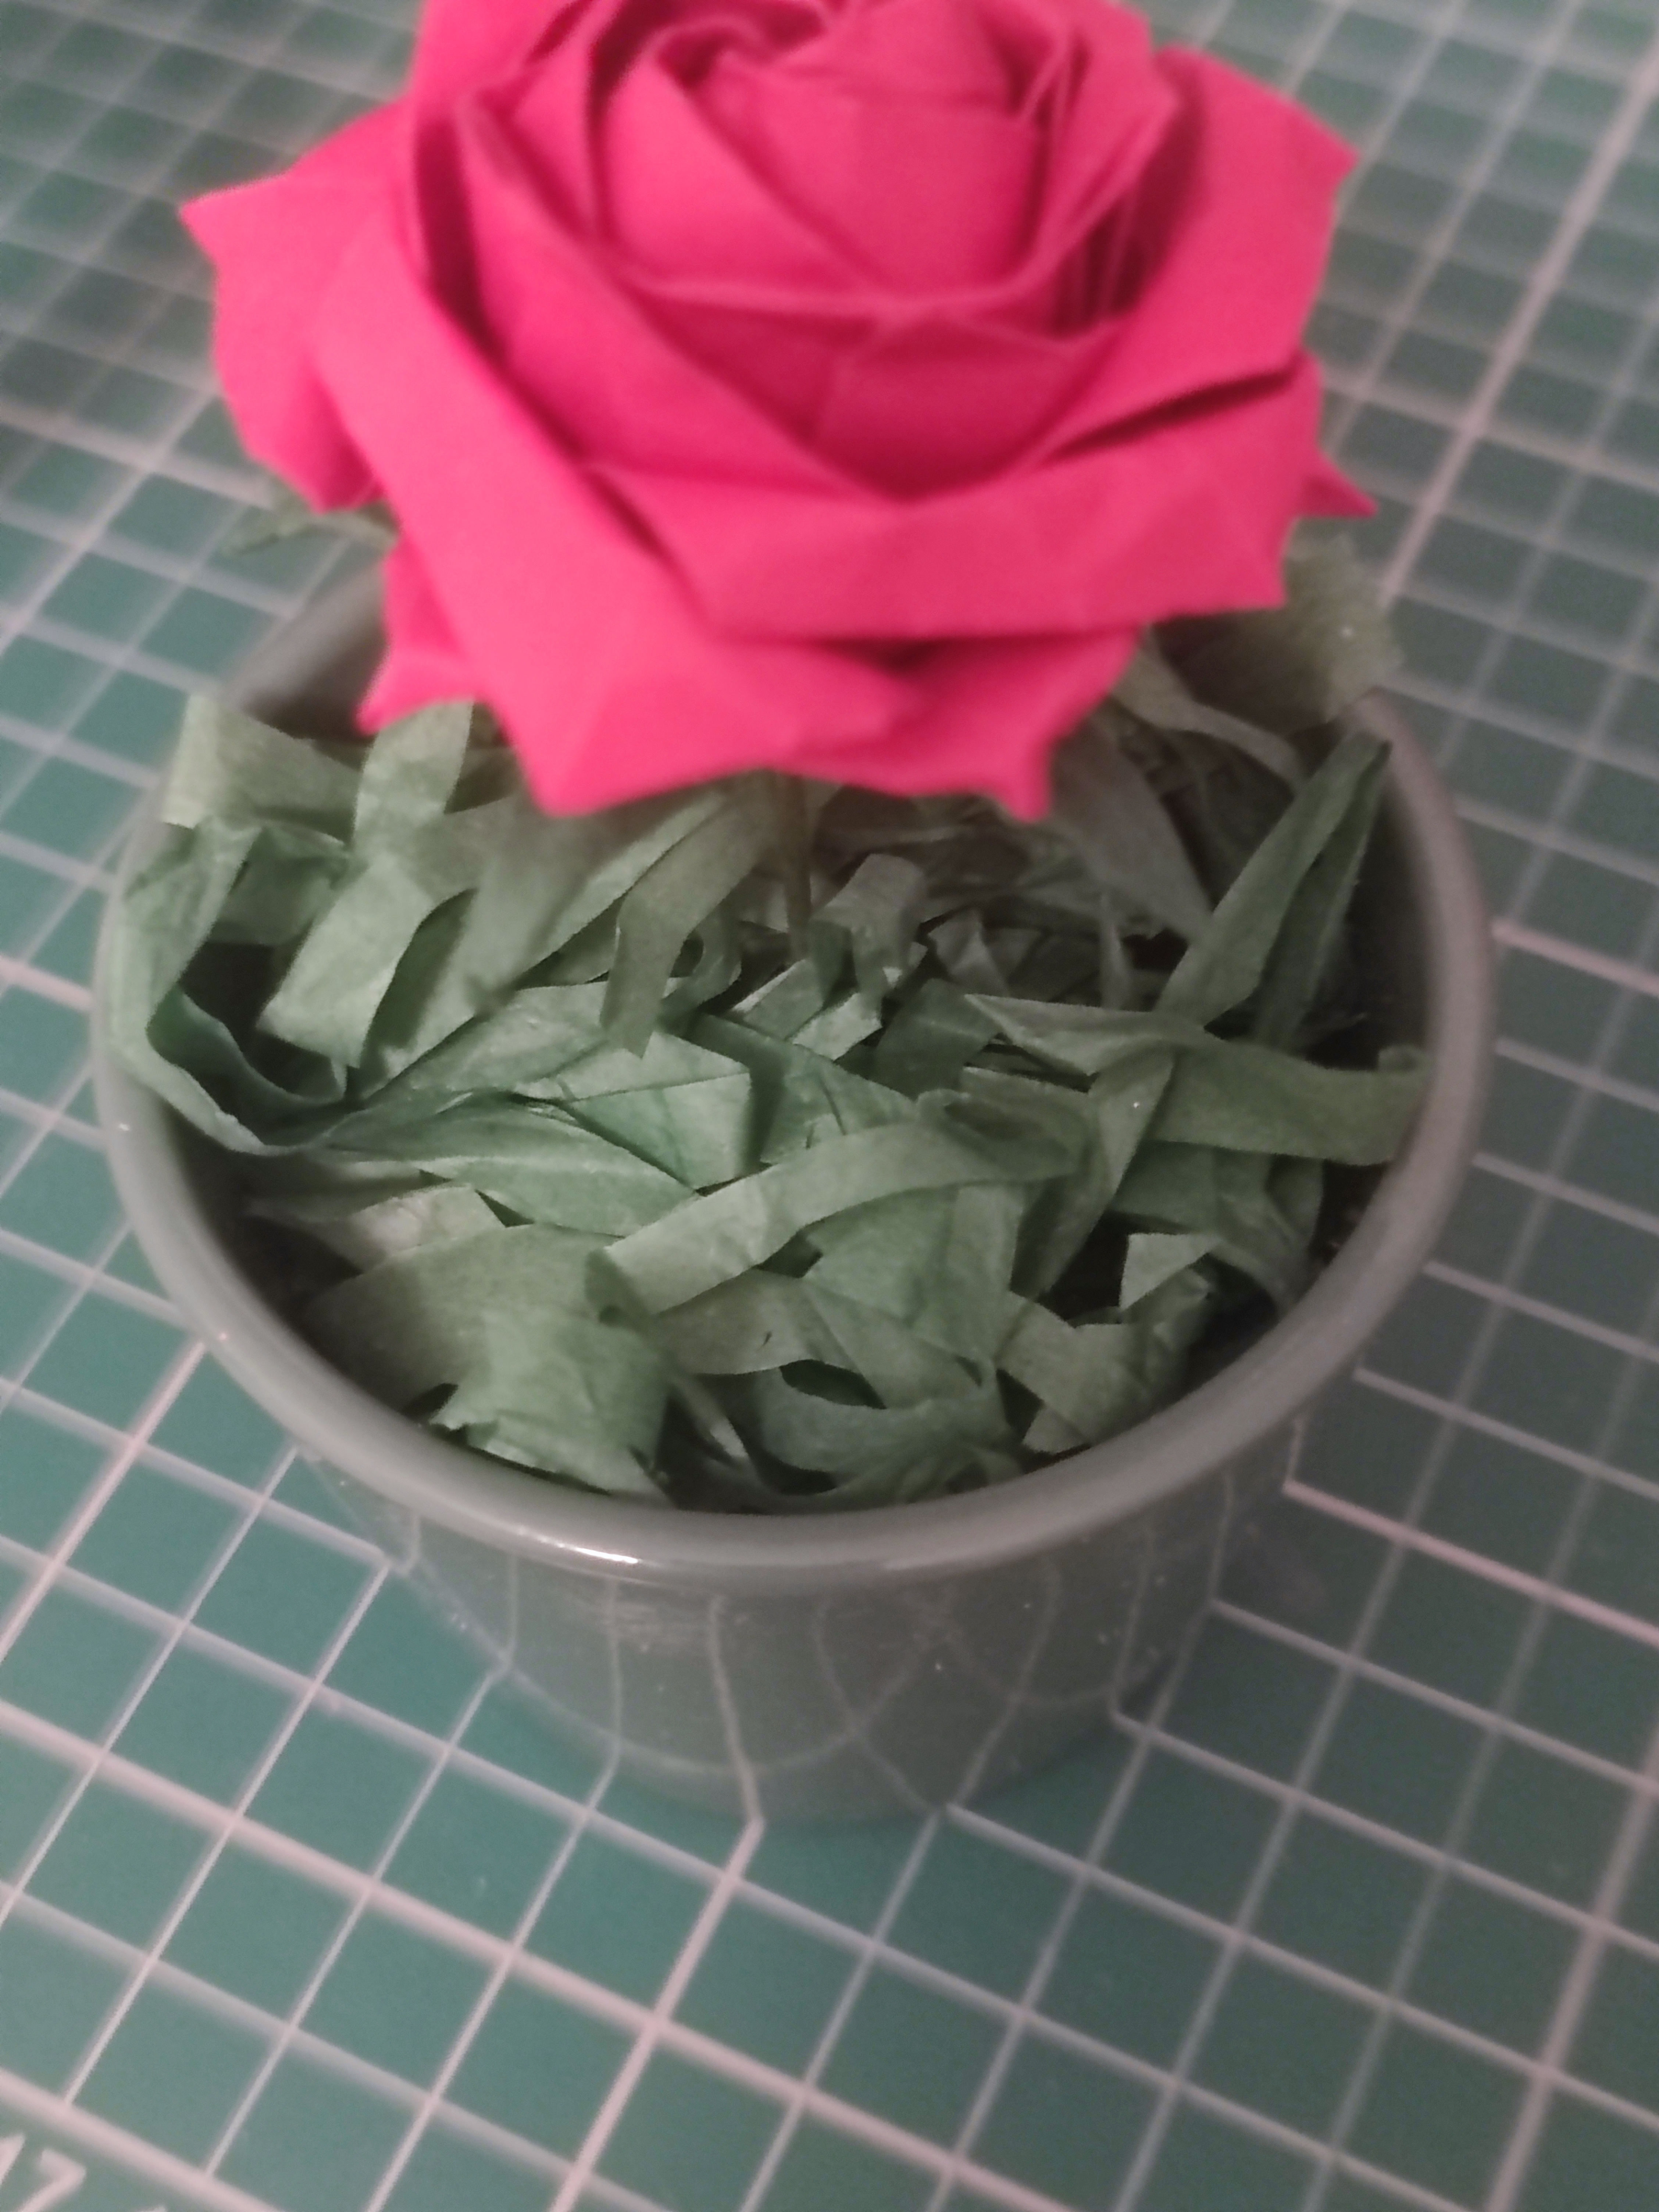
#2 of the mini planter collection, done! I have a line forming on my desk of these pots, hopefully they are a great way to showcase my creativity and personalisation.
#3 will be hopefully coming next month, but the last two ideas I had require a lot of little parts to make.
Materials needed:
– 20cm red square of paper
– 10cm dark green square of paper
– dark green tissue paper
– small pot
Tools needed:
– hot glue gun
– craft knife and cutting mat
– scissors
