
I bought this book The Paper Florist by Suzi Mclaughlin to learn how to make flower decorations that origami cannot. I do like folding paper, but it does have its limits on what can be represented. I have tried making roses before like this attempt at a Sato rose bouquet and the full bloom Kawasaki Rose model. But it’s hard to avoid that angular look of folded paper!
This book provides you with template shapes for the petals and the instructions for how to put the flowers together. And then you’ll need standard materials like a hot glue gun, florist’s wire, and florist tape to make stuff from this book. (Be aware that almost everything in this book is glued together, it is not an origami book!) It suggests photocopying the templates and printing them out, but I own neither, so… I traced the template out and cut my own shapes from that. I used up a lot of pink and red paper for this when I was practicing! You could use nicer paper with texture, but I did not have any on hand.

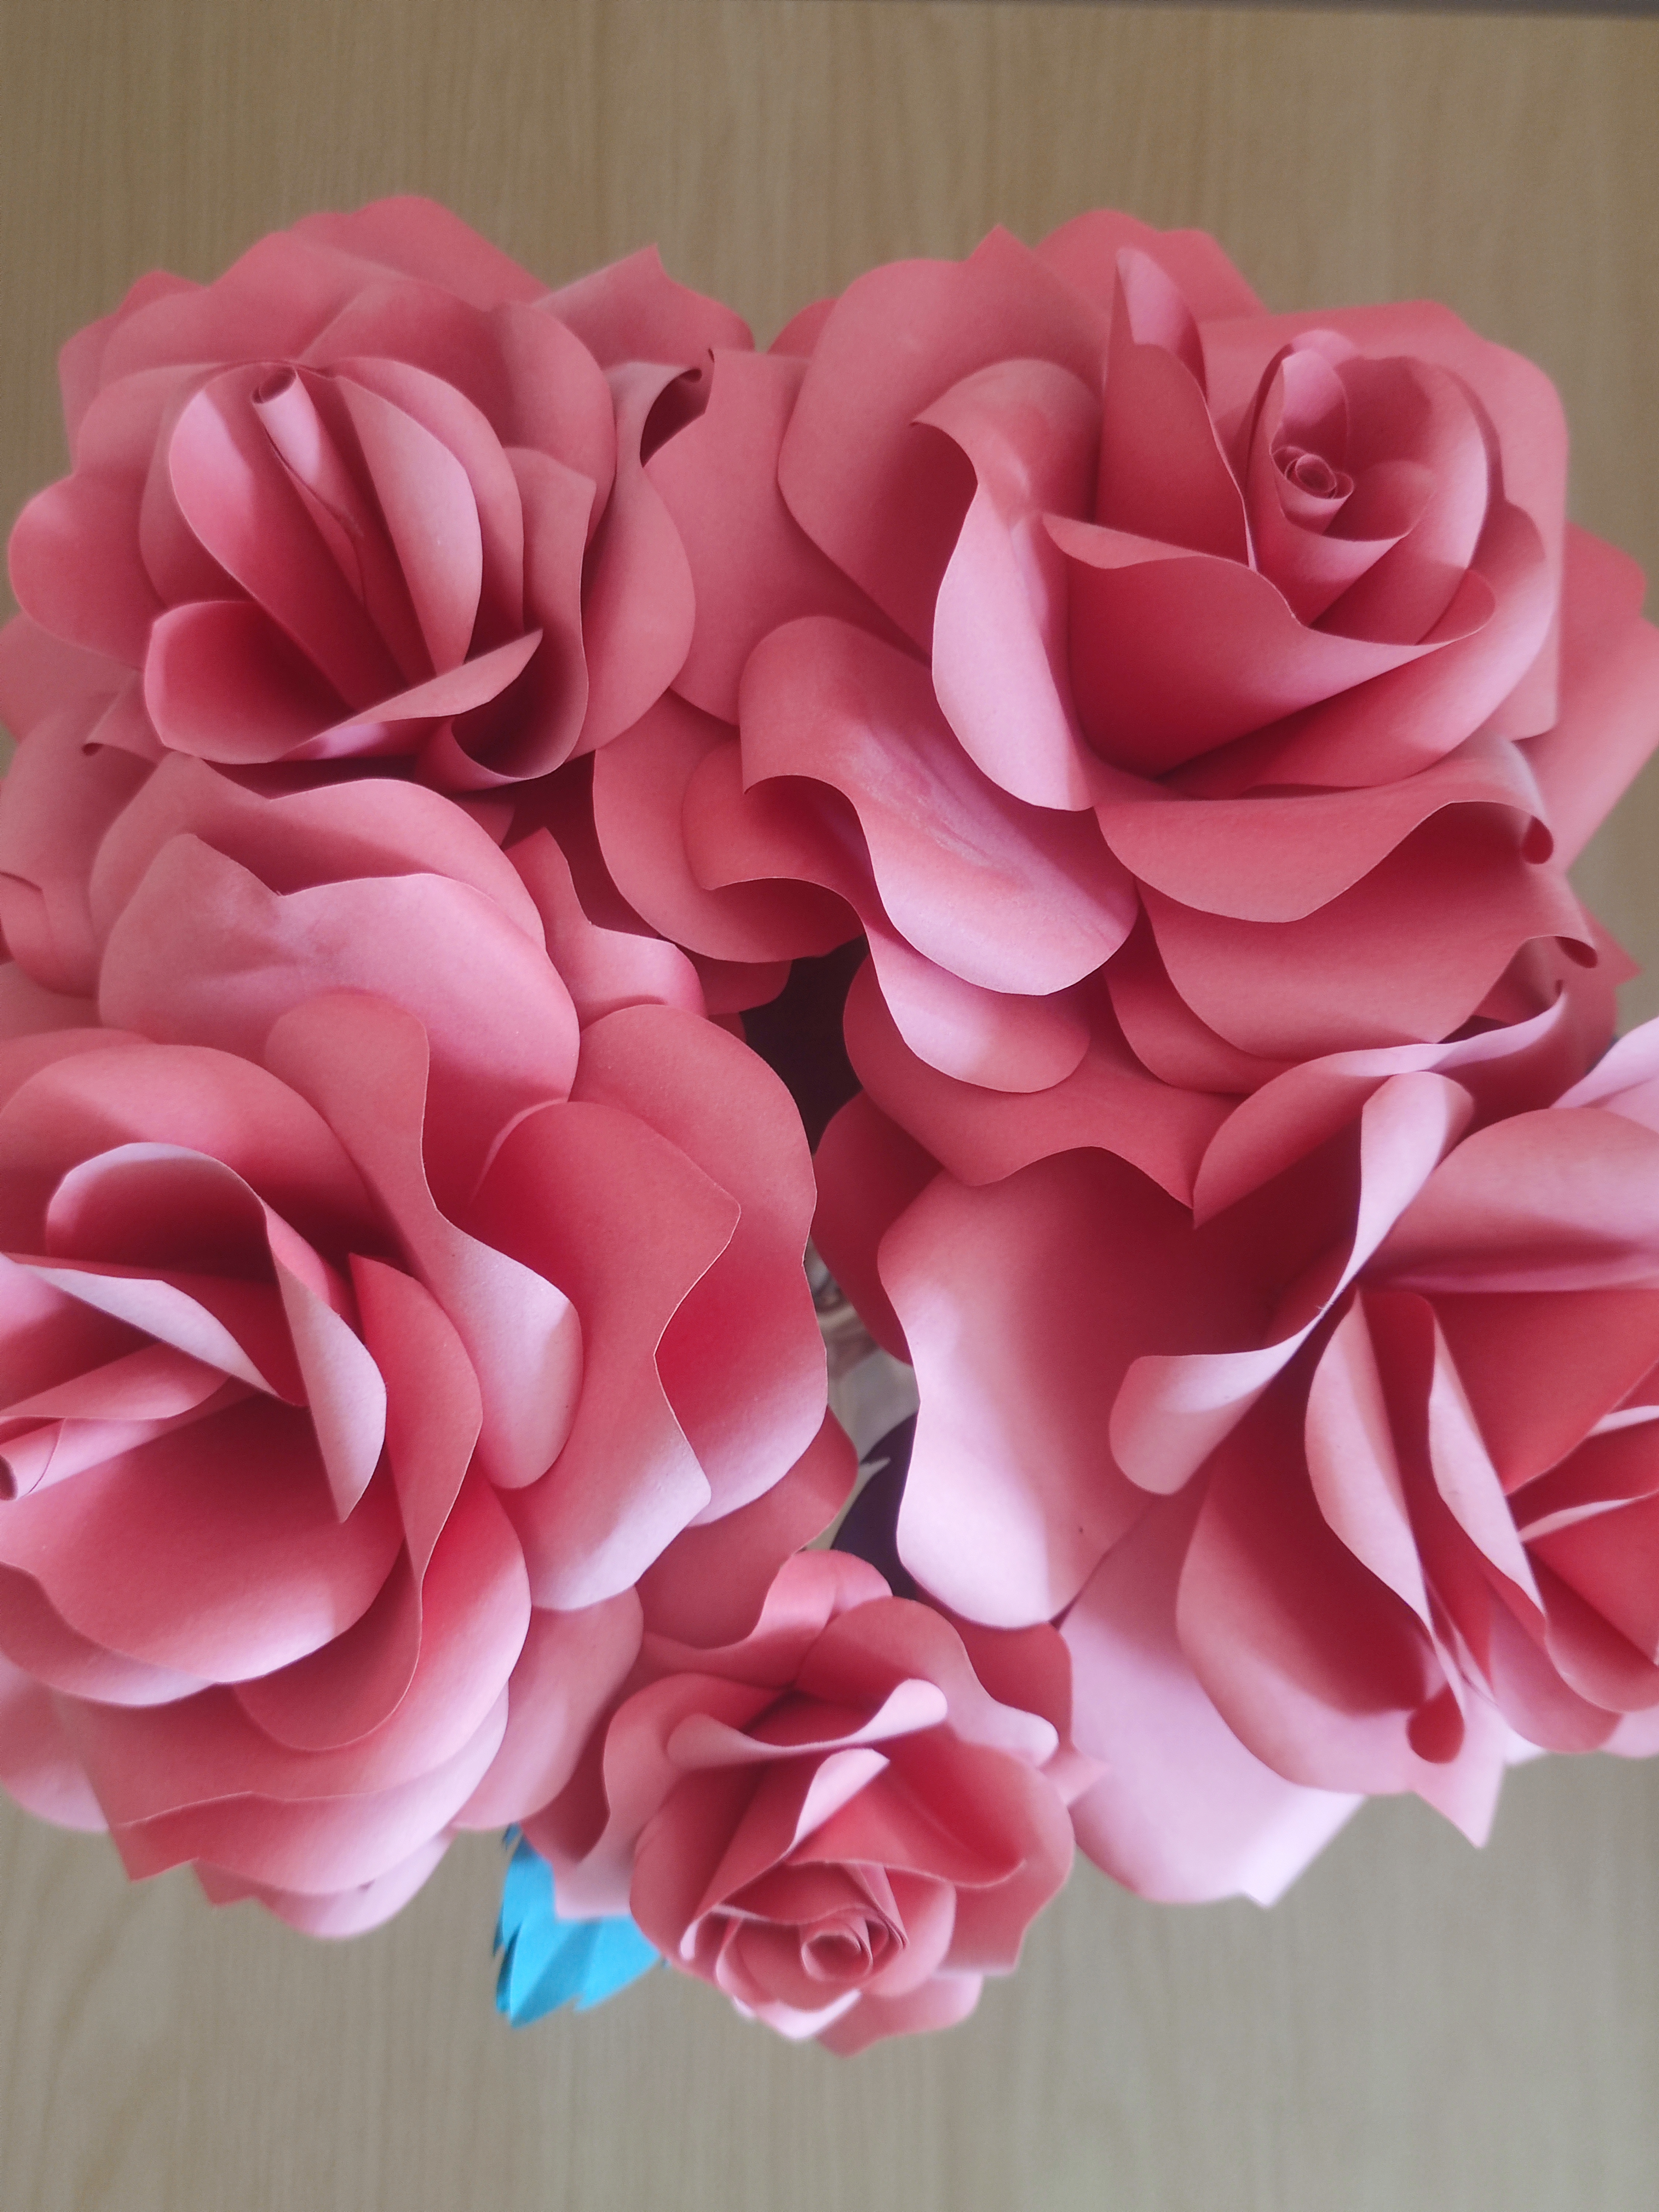
Of course I would make my first vase from red paper, but pink roses are nice too. You also need paper with a nice shade of dark green to form the leaves. I won’t go through the instructions (as you could just buy the book instead!) but the basic process is to roll the single petals together and layer them with the larger petals by size order. Since I fire up the glue gun very infrequently, I try to make up a lot of these in one go!
I actually made these a while ago but I forgot to upload a picture of them… You can see that they are a little sun-bleached and dusty. Who knew flowers could be so dusty? But they have lasted a good few months and the roses still look fresh. The book has shapes for large five-petal roses and smaller three-petal roses, so you could make a bouquet from small roses too, they would look just as nice! The book suggests that you can tape the small rose to the larger one on the same stem, but that could be up to preference.
I added a couple of wired leaves to each stem and wrapped them in dark green tape. I did not add more as they would sit below the vase opening. The leaves are creased carefully and doubled up to add depth. Again all glued to the wires! You have to work fast as the hot glue dries fast.

This is a really beautiful centrepiece that could go anywhere. I have it in my living room front window so a lot of people can easily see it if they pass my house. I’m proud to show it off!
I’m currently in the process of learning to make another type of posy bouquet from the book, but I have to learn how to make flowers that aren’t roses!

Materials needed:
– red A4 paper
– dark green paper
– florist’s wire
– florist tape
– glass vase
– assorted pebbles
Tools needed:
– hot glue gun
References used:
– The Paper Florist by Suzi Mclaughlin
