
Does anyone like physical media as much as me? When I really get into a new hobby, I like to buy a tutorial book or three for the diagrams on hand. You might end up working through all the project ideas at some point, but the reference pages are really nice! In origami books, there will be reference pages for the icons for each folding method. In jewellery, it’s usually a guide of where to buy materials from. Sure, you could get the same tutorials online, but sometimes I don’t know what to search for initially!
As I have been getting really into macramé and learning about the versatility, ranging from hanging plant pots to Christmas baubles, I kept an eye out for project books at bookstores when I was out and about, and I finally came across a copy of Macramé by Sian Hamilton and Tansy Wilson. The front cover even shows three different types of hanging plant holders so it got my attention!
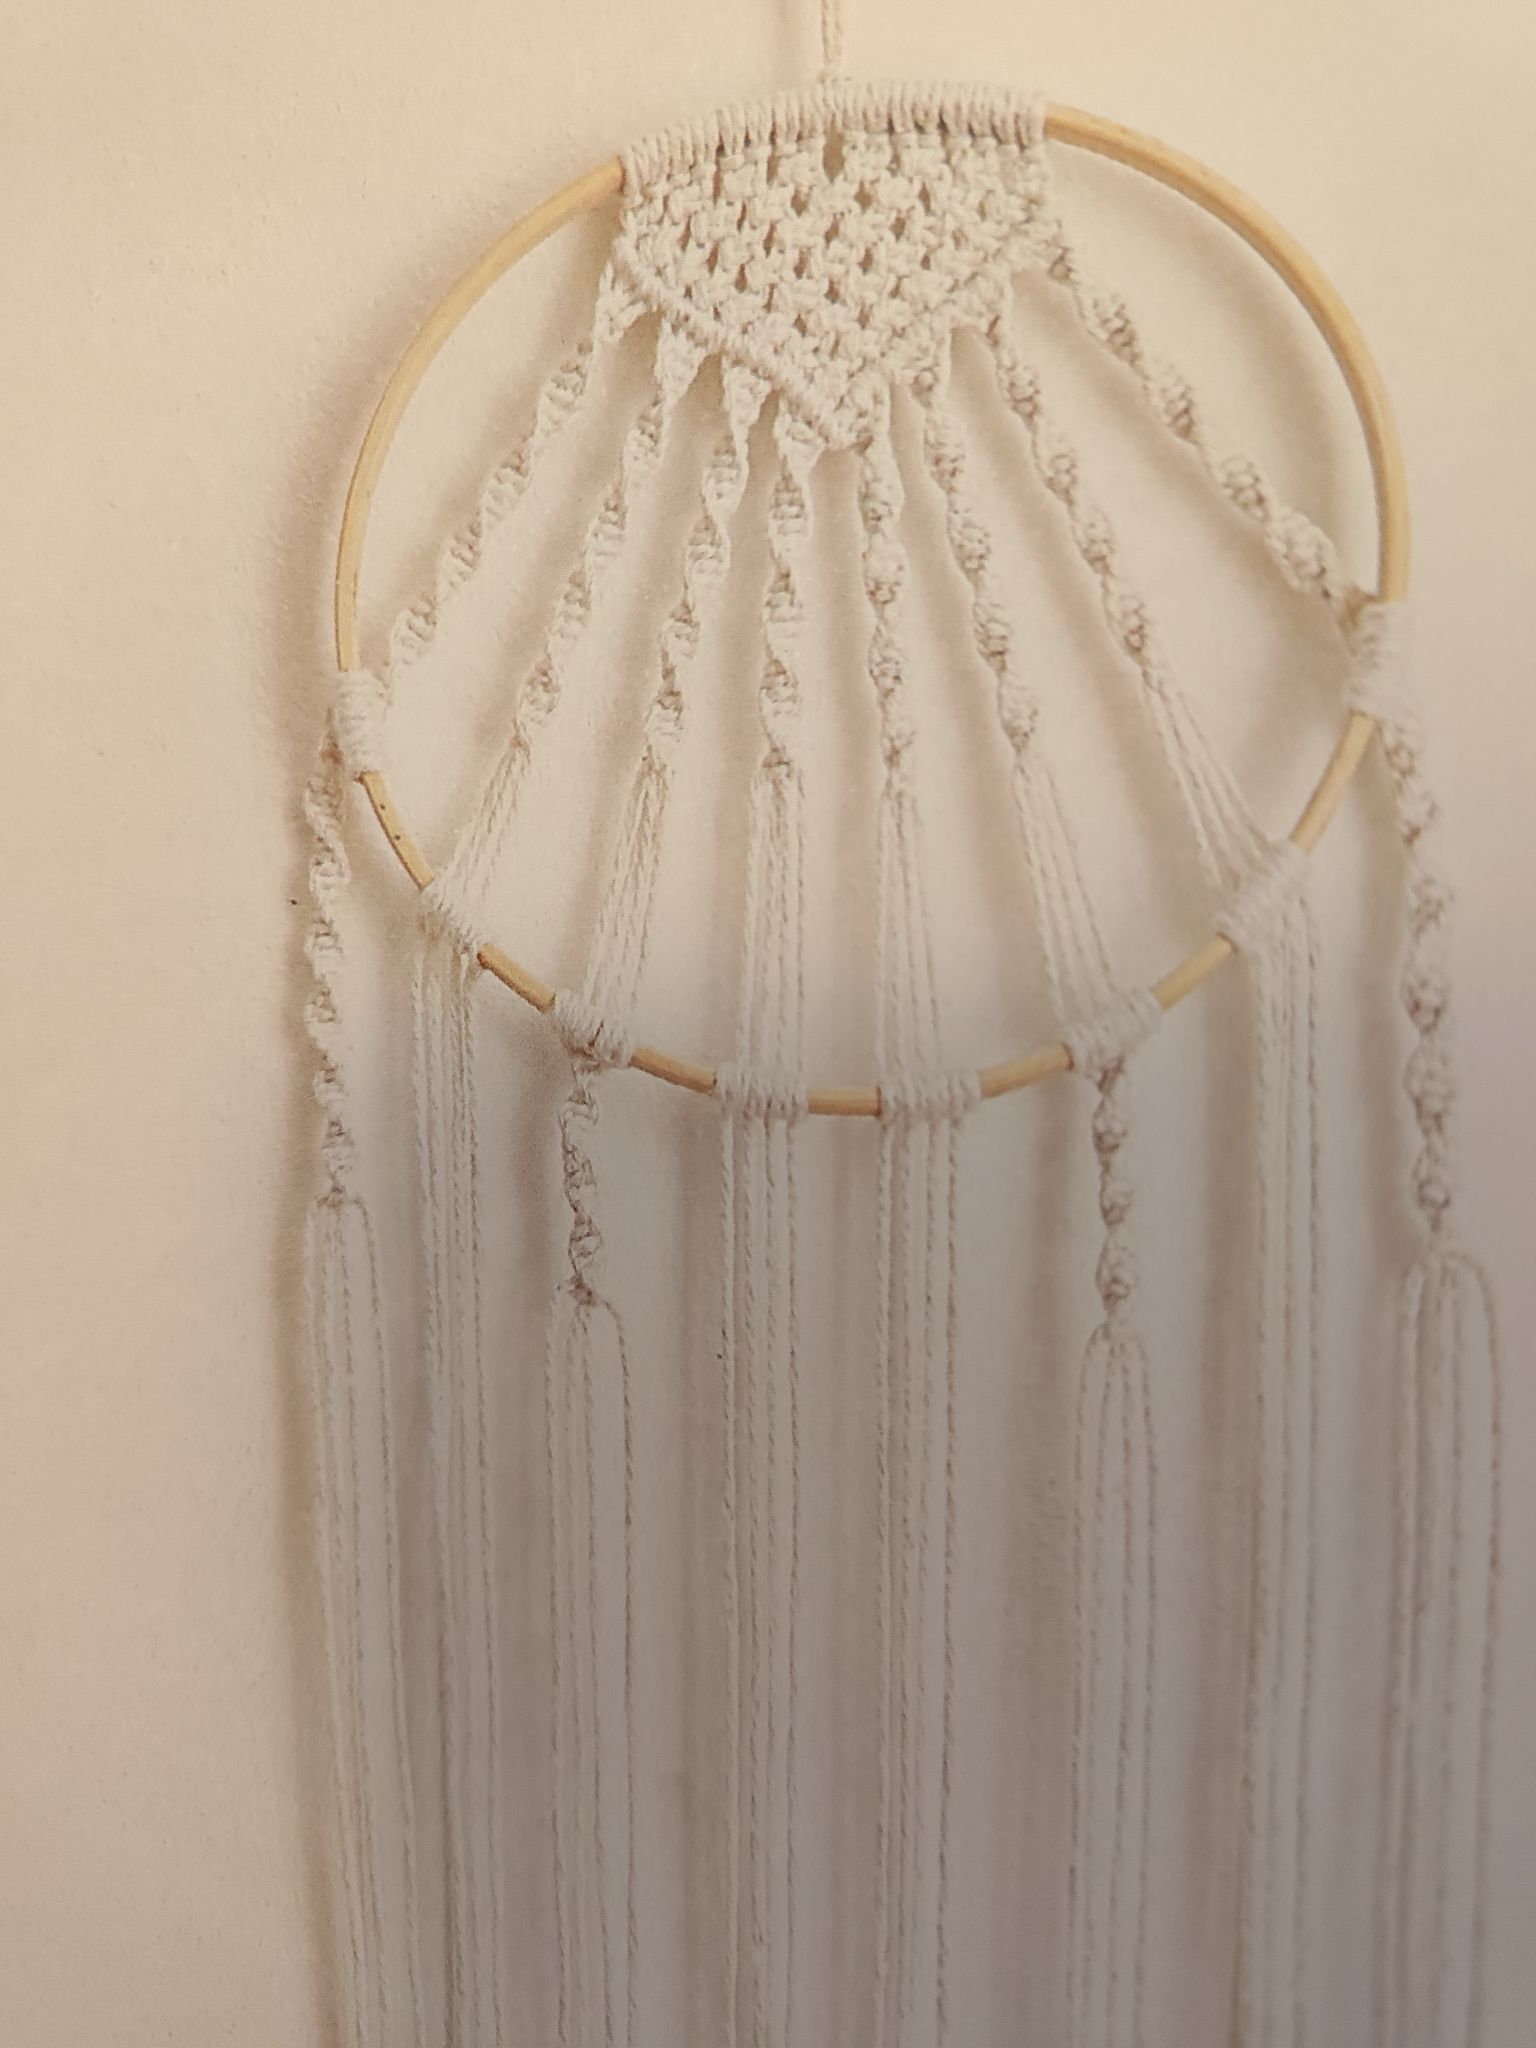
I really like the images in this book and the first project I was planning on tackling was this simple and stylish dreamcatcher. The finished project measured very long for dramatic effect, but I was not sure I could go so big on my first attempt. To be a bit conservative, I was going to cut slightly less than needed.
I had a stack of bamboo hoops from when I made an origami wreath which I was planning on using for my frame. If you do not know where to find something like this, you can always use the inner ring from an embroidery hoop. In the macramé world, you definitely want to have lots of wooden rings of all sizes in stock!

Just like the last time I did a big macramé project, I had to rig up a drying rack to hang my project off from. Macramé works best when you let gravity help you, so I used some spare cords to hang the hoop. I had to work in the kitchen for this one! Right in front of my cat cafe station.
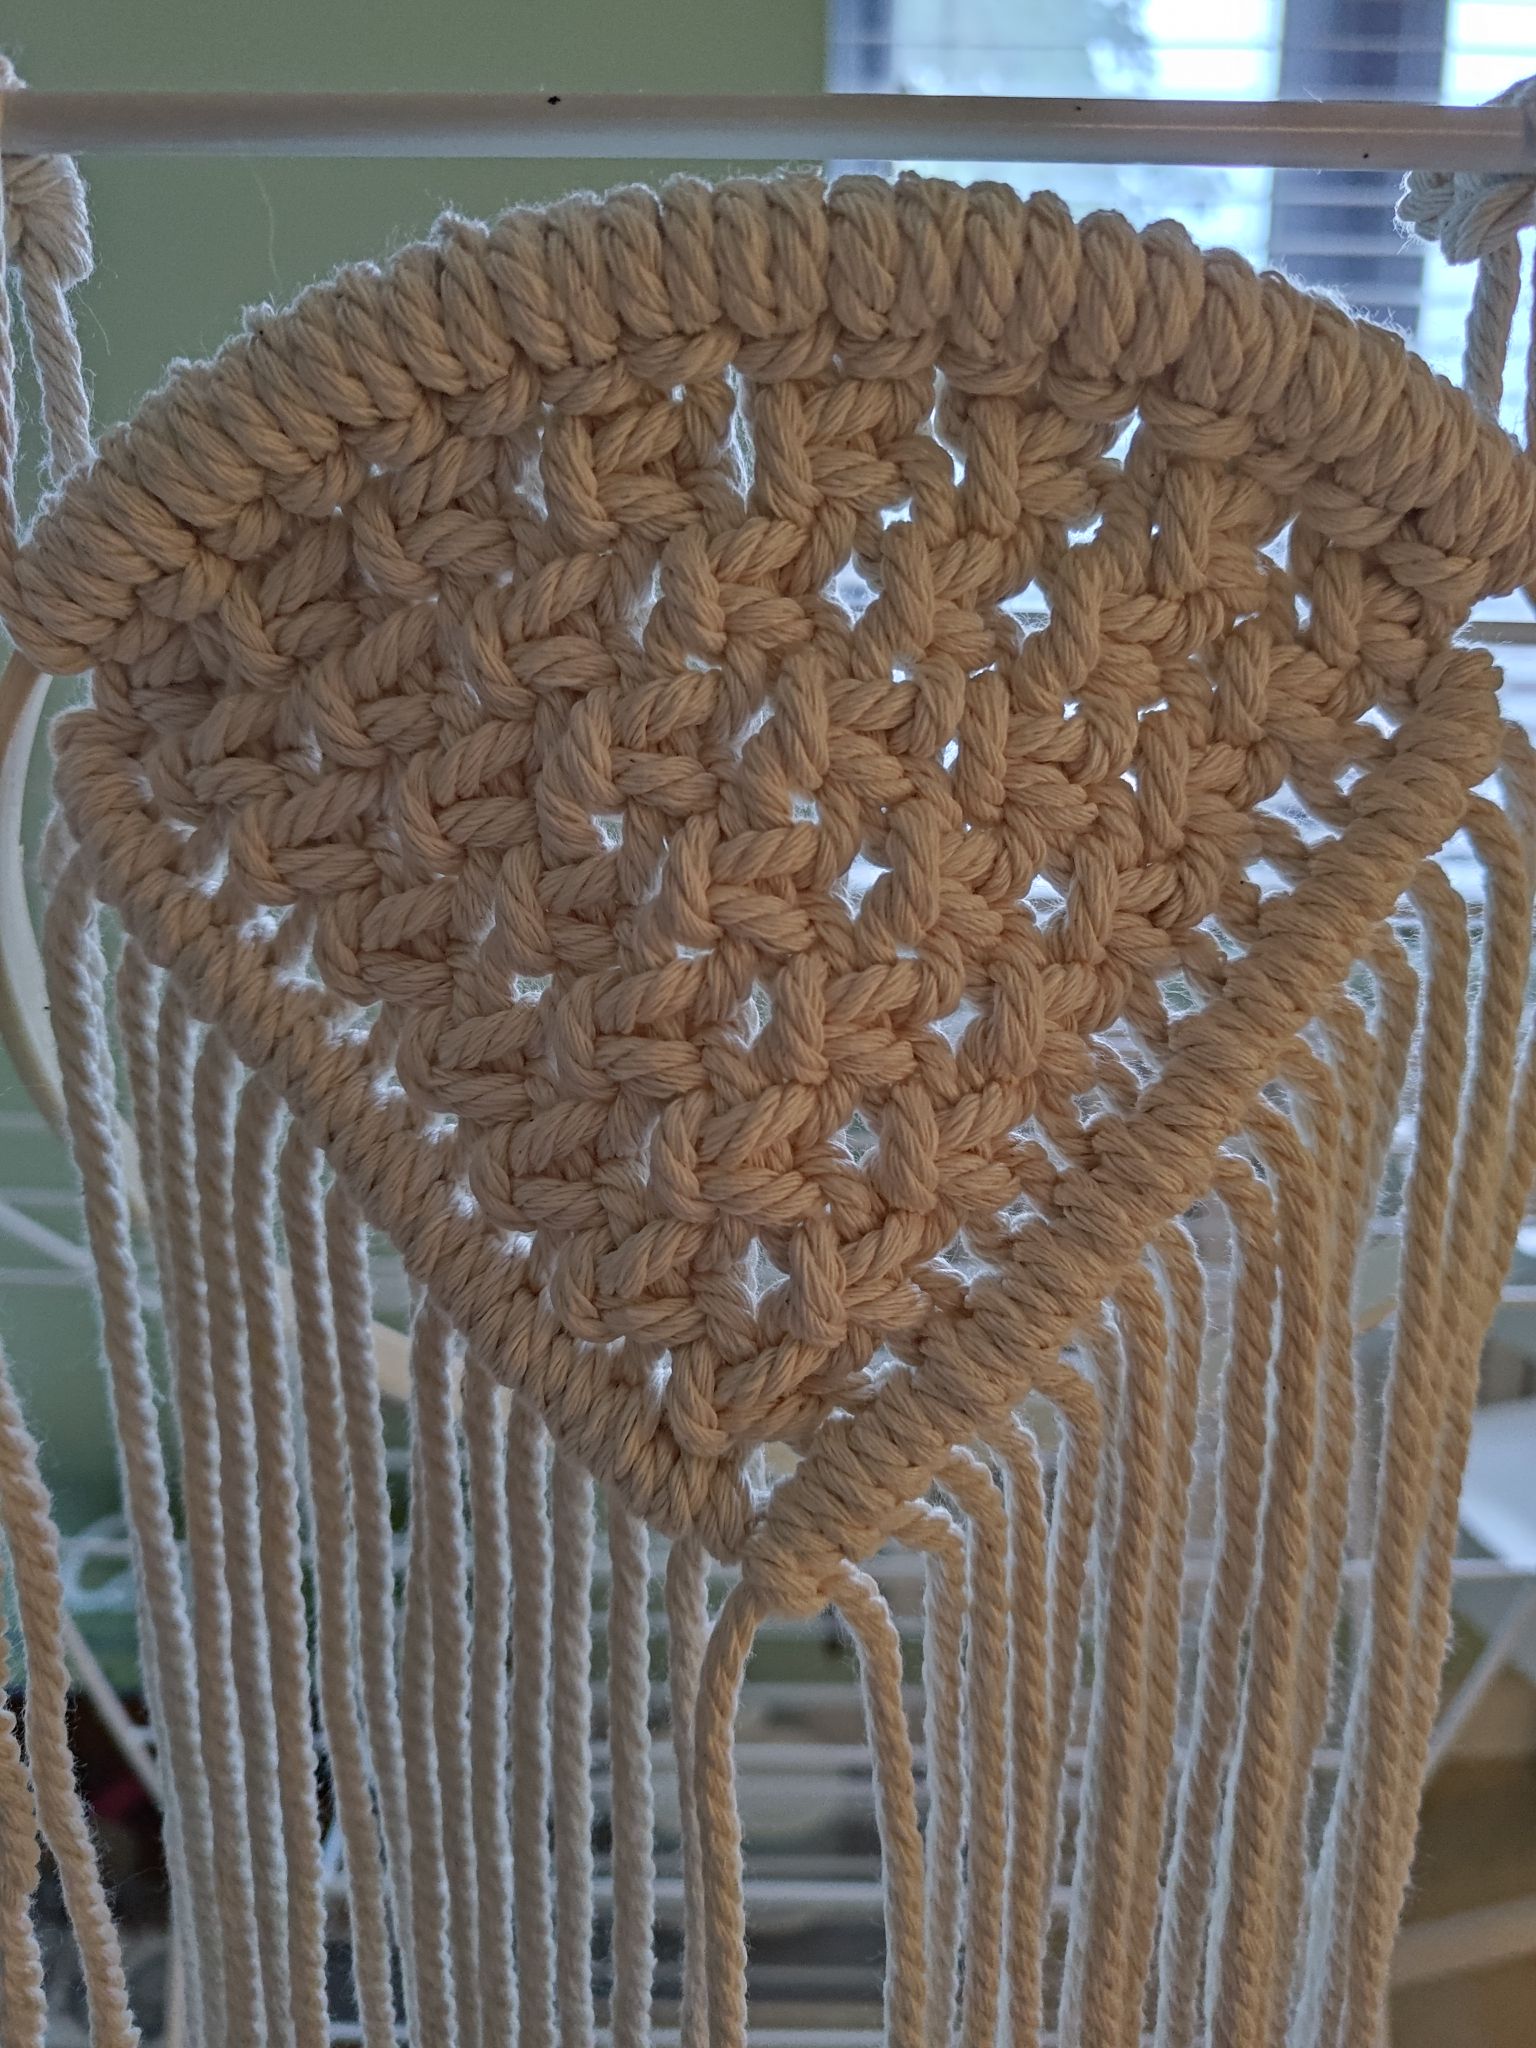
The only knots you need to know to make this are the lark’s head knot to attach the cords, the square knot for the inner part, and the half-hitch knot to tidy up the edges.
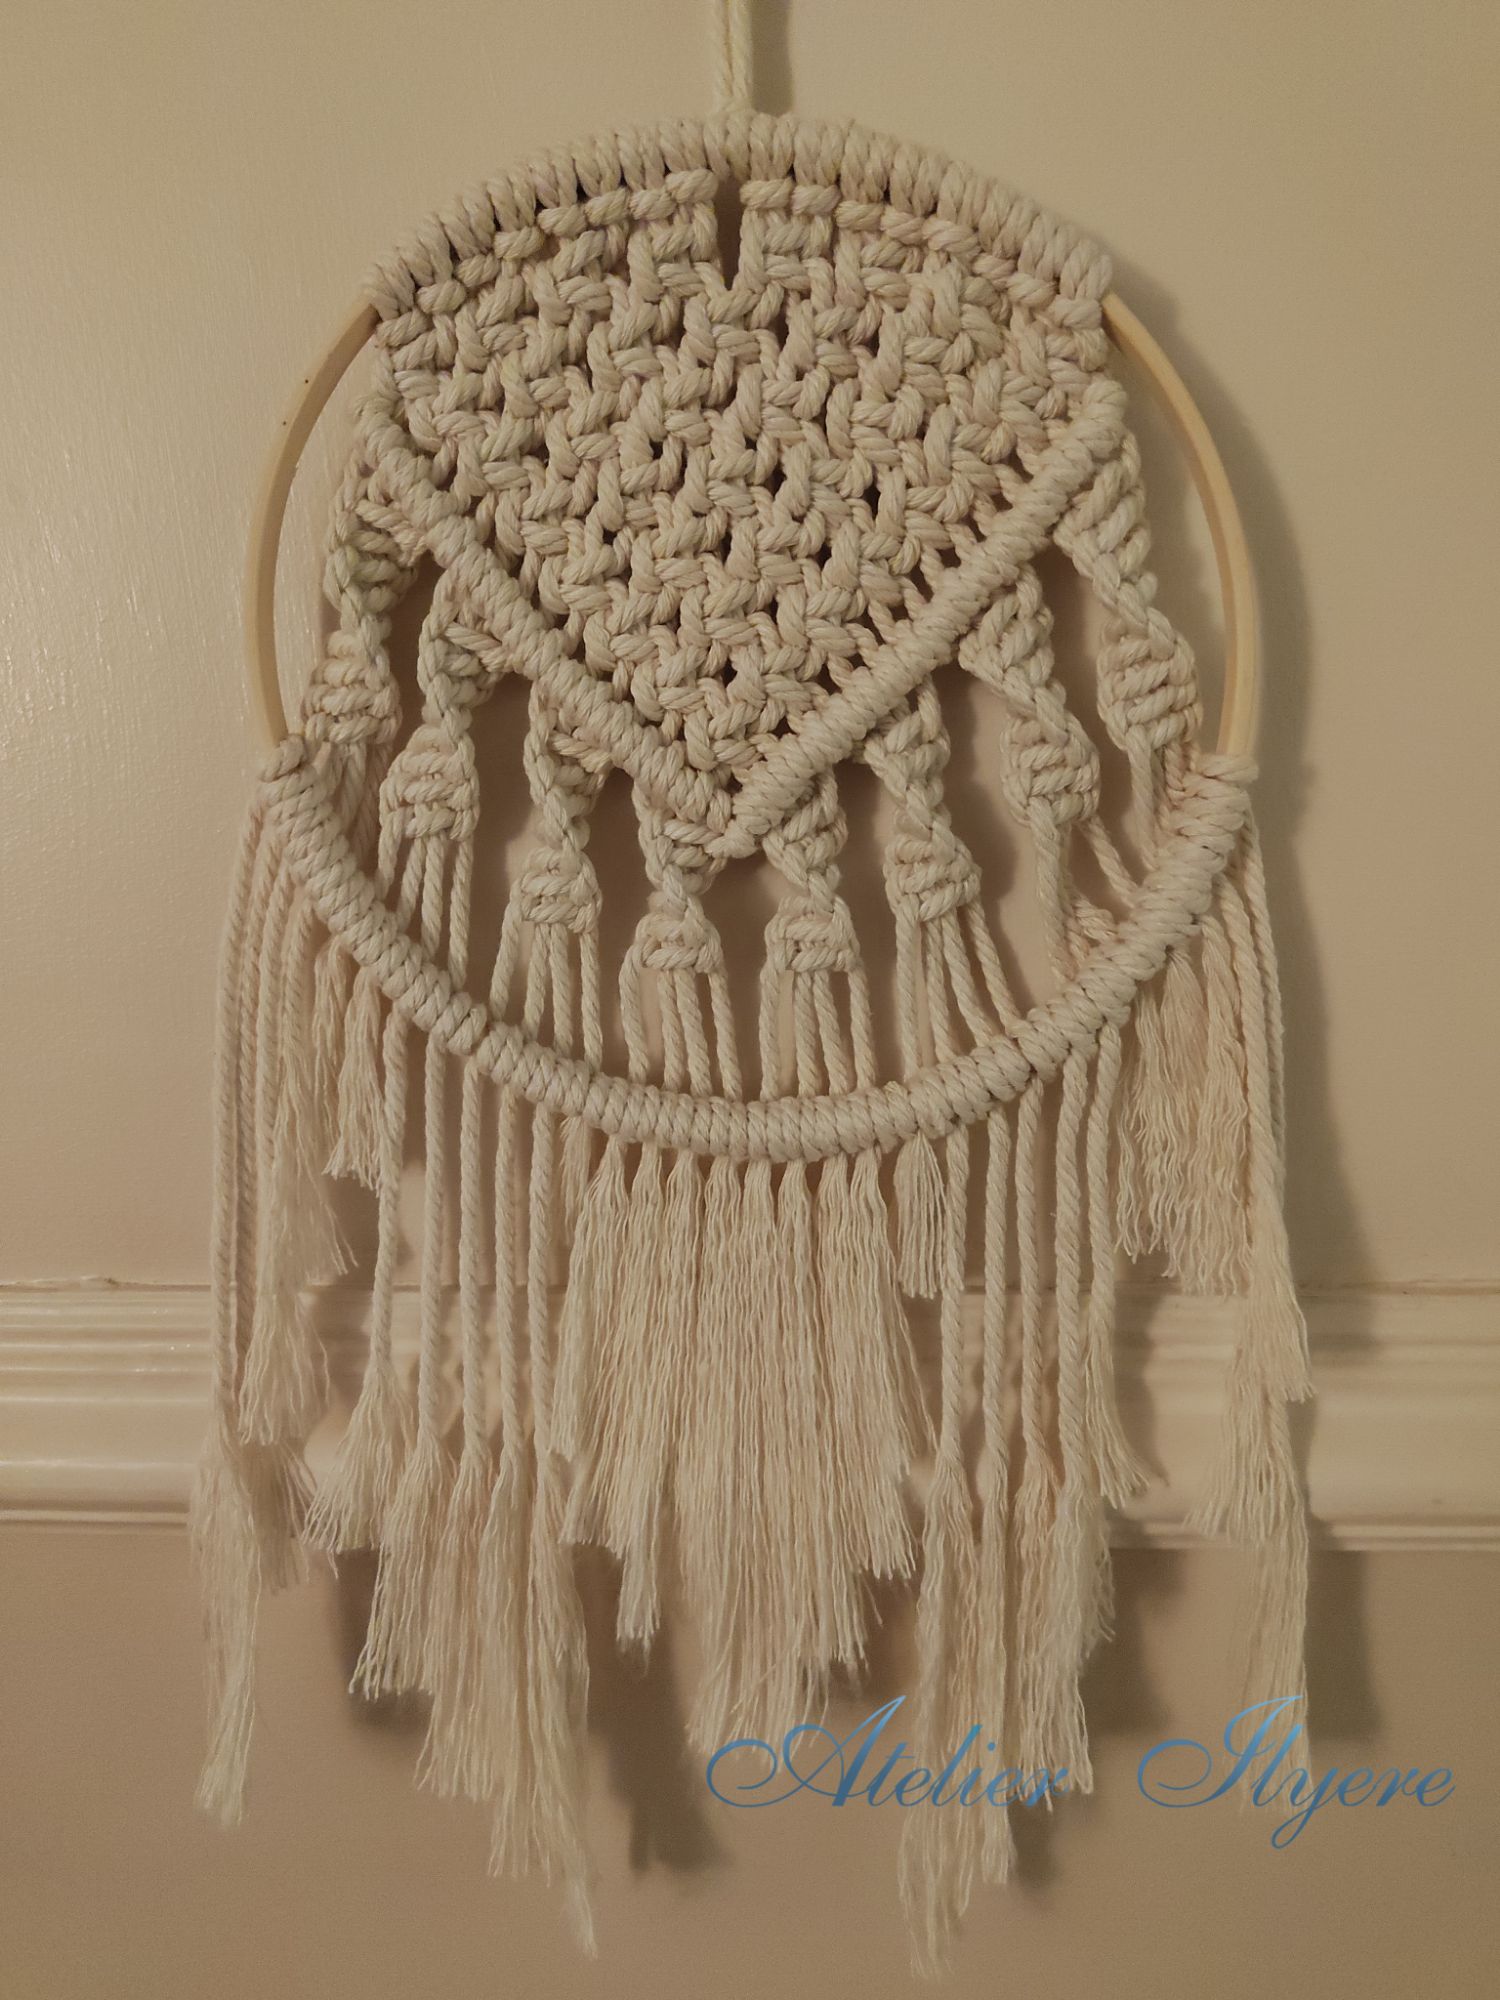
You may notice that my hoop looks nothing like the pictured project. First of all, it turns out that the book required 0.2mm cord, and I used 0.5mm, so it looked like it took up more space on my attempt. Secondly, I cut my cords to 1.5m rather than the required 2m, so it will not look the same by the end, including the bigger knots.

Despite the slight mix-up in materials, I had already cut all my cords at this point so I soldiered on to see what the outcome would be. It would still look quite nice I imagine, but without the dramatic length!
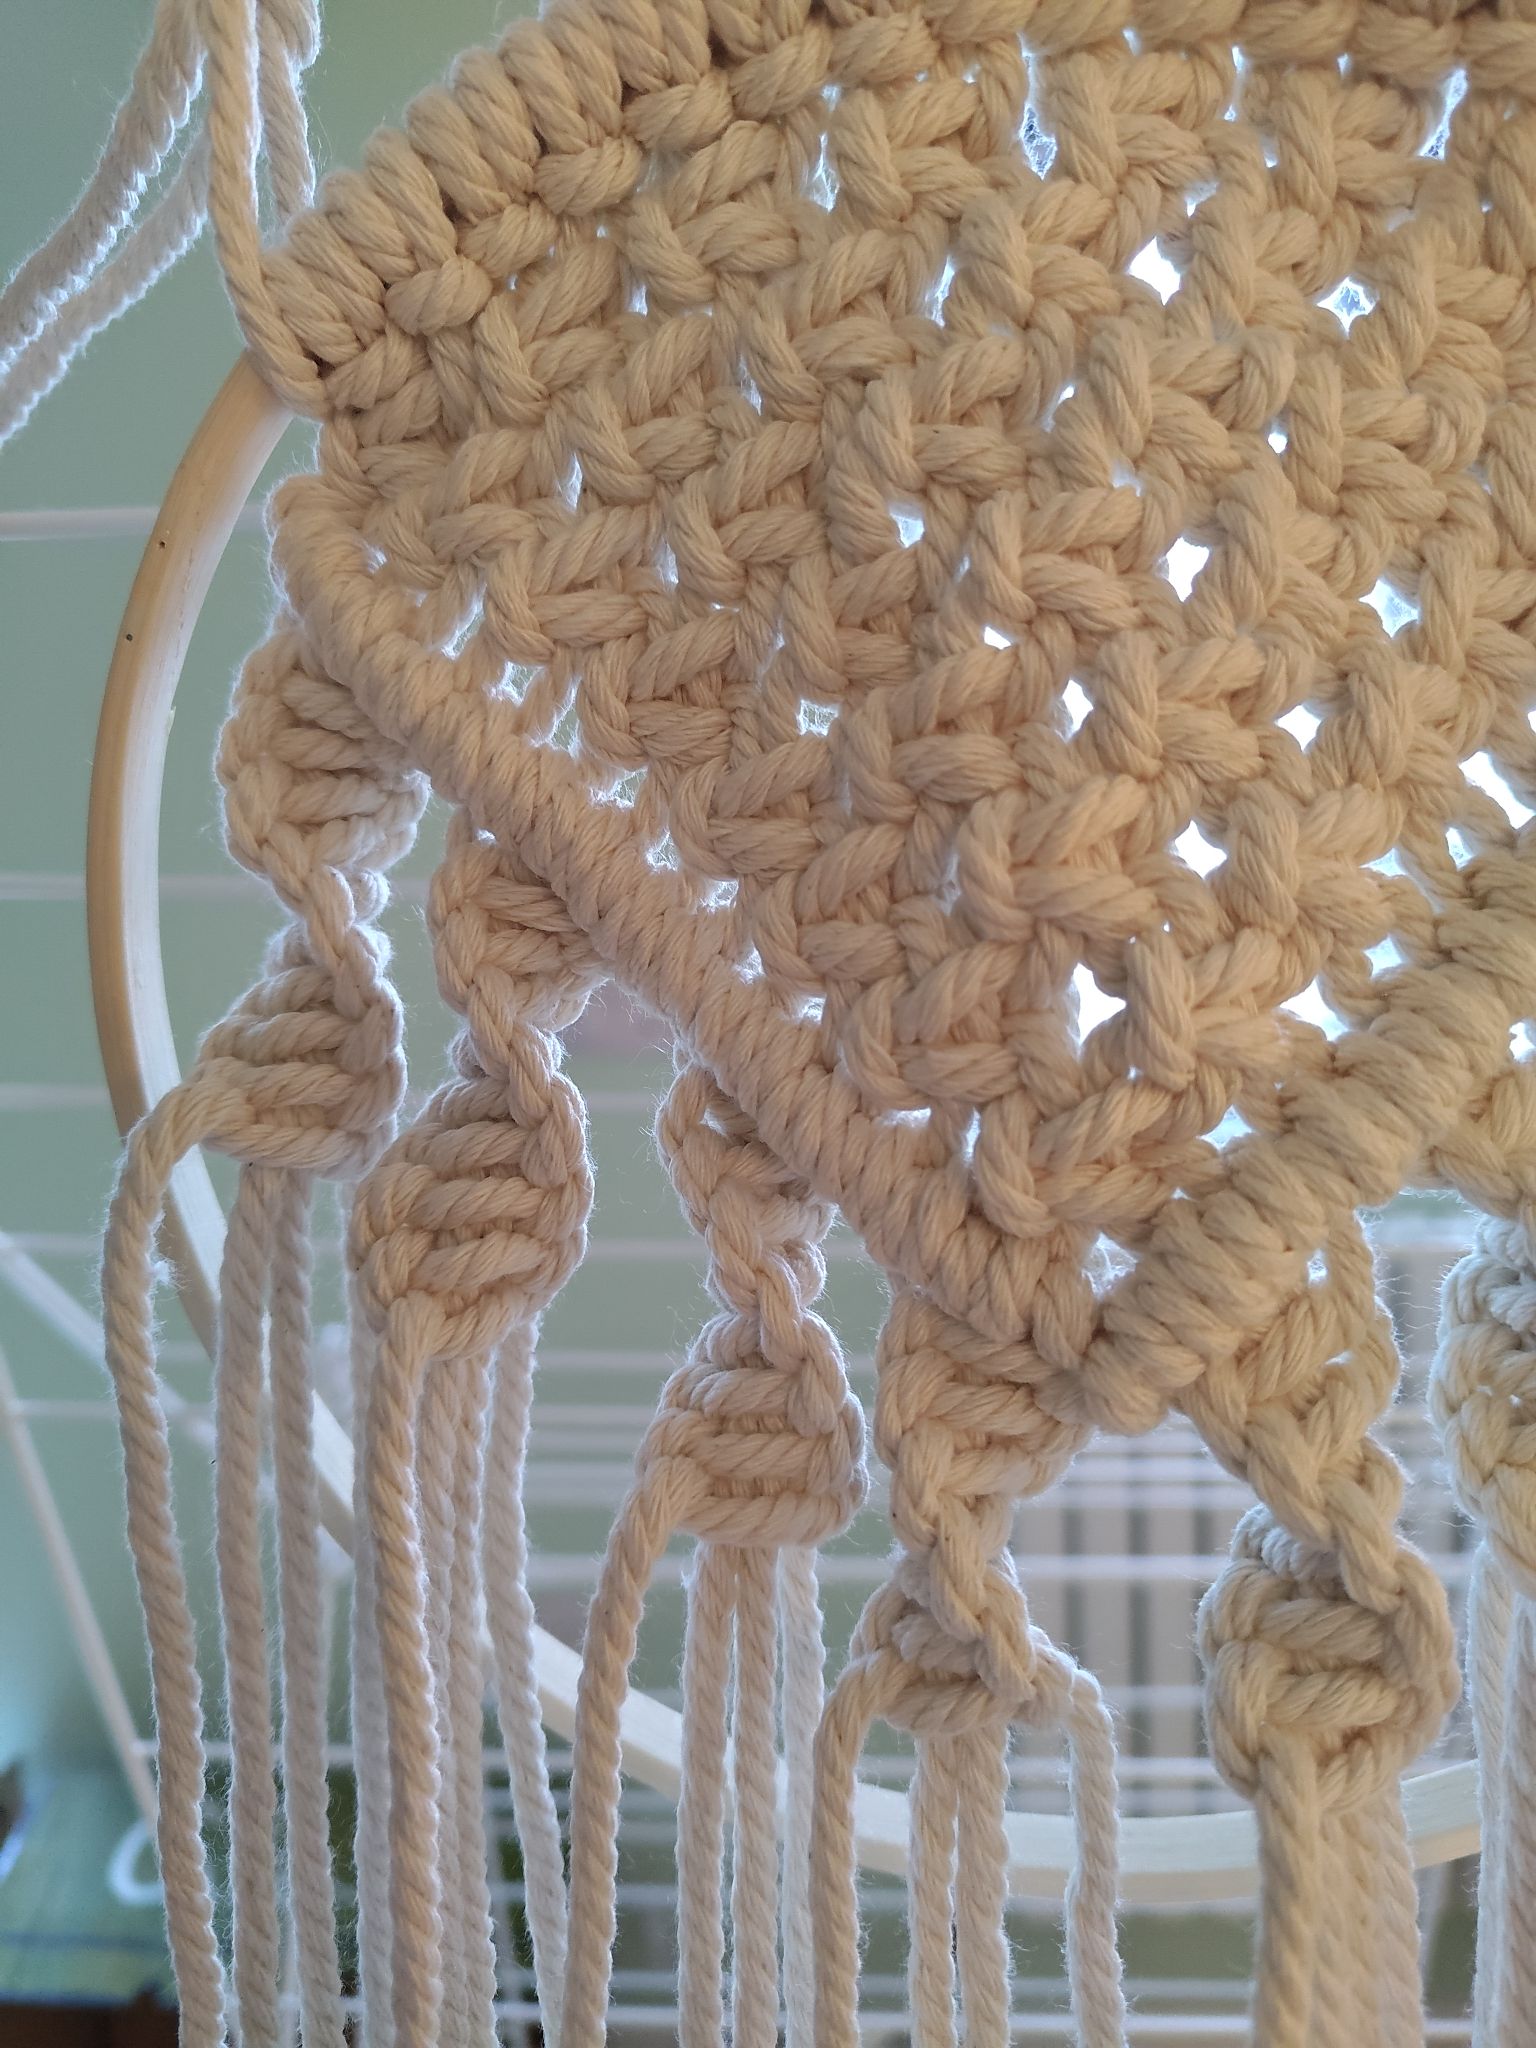
I made a series of square knots decreasing in the number of cords used by level, until I reached one knot with the central cords. Then I made a series of double half-hitch knots on the diagonals to neaten the pattern. You could make a love heart shape if you knew how to at this step.

After I made half square knots to make the cord spiral. I only did a few knots at this point because some of my cords were starting to become very short and I wanted to be able to attach the cords to the other side of the hoop.
After I attached the cords with double half-hitch knots, I noticed some of them were barely hanging on by the frayed part of the cord! Unfortunately this somewhat limited my plans for having a decorative part under the hoop, but this did give me an idea.
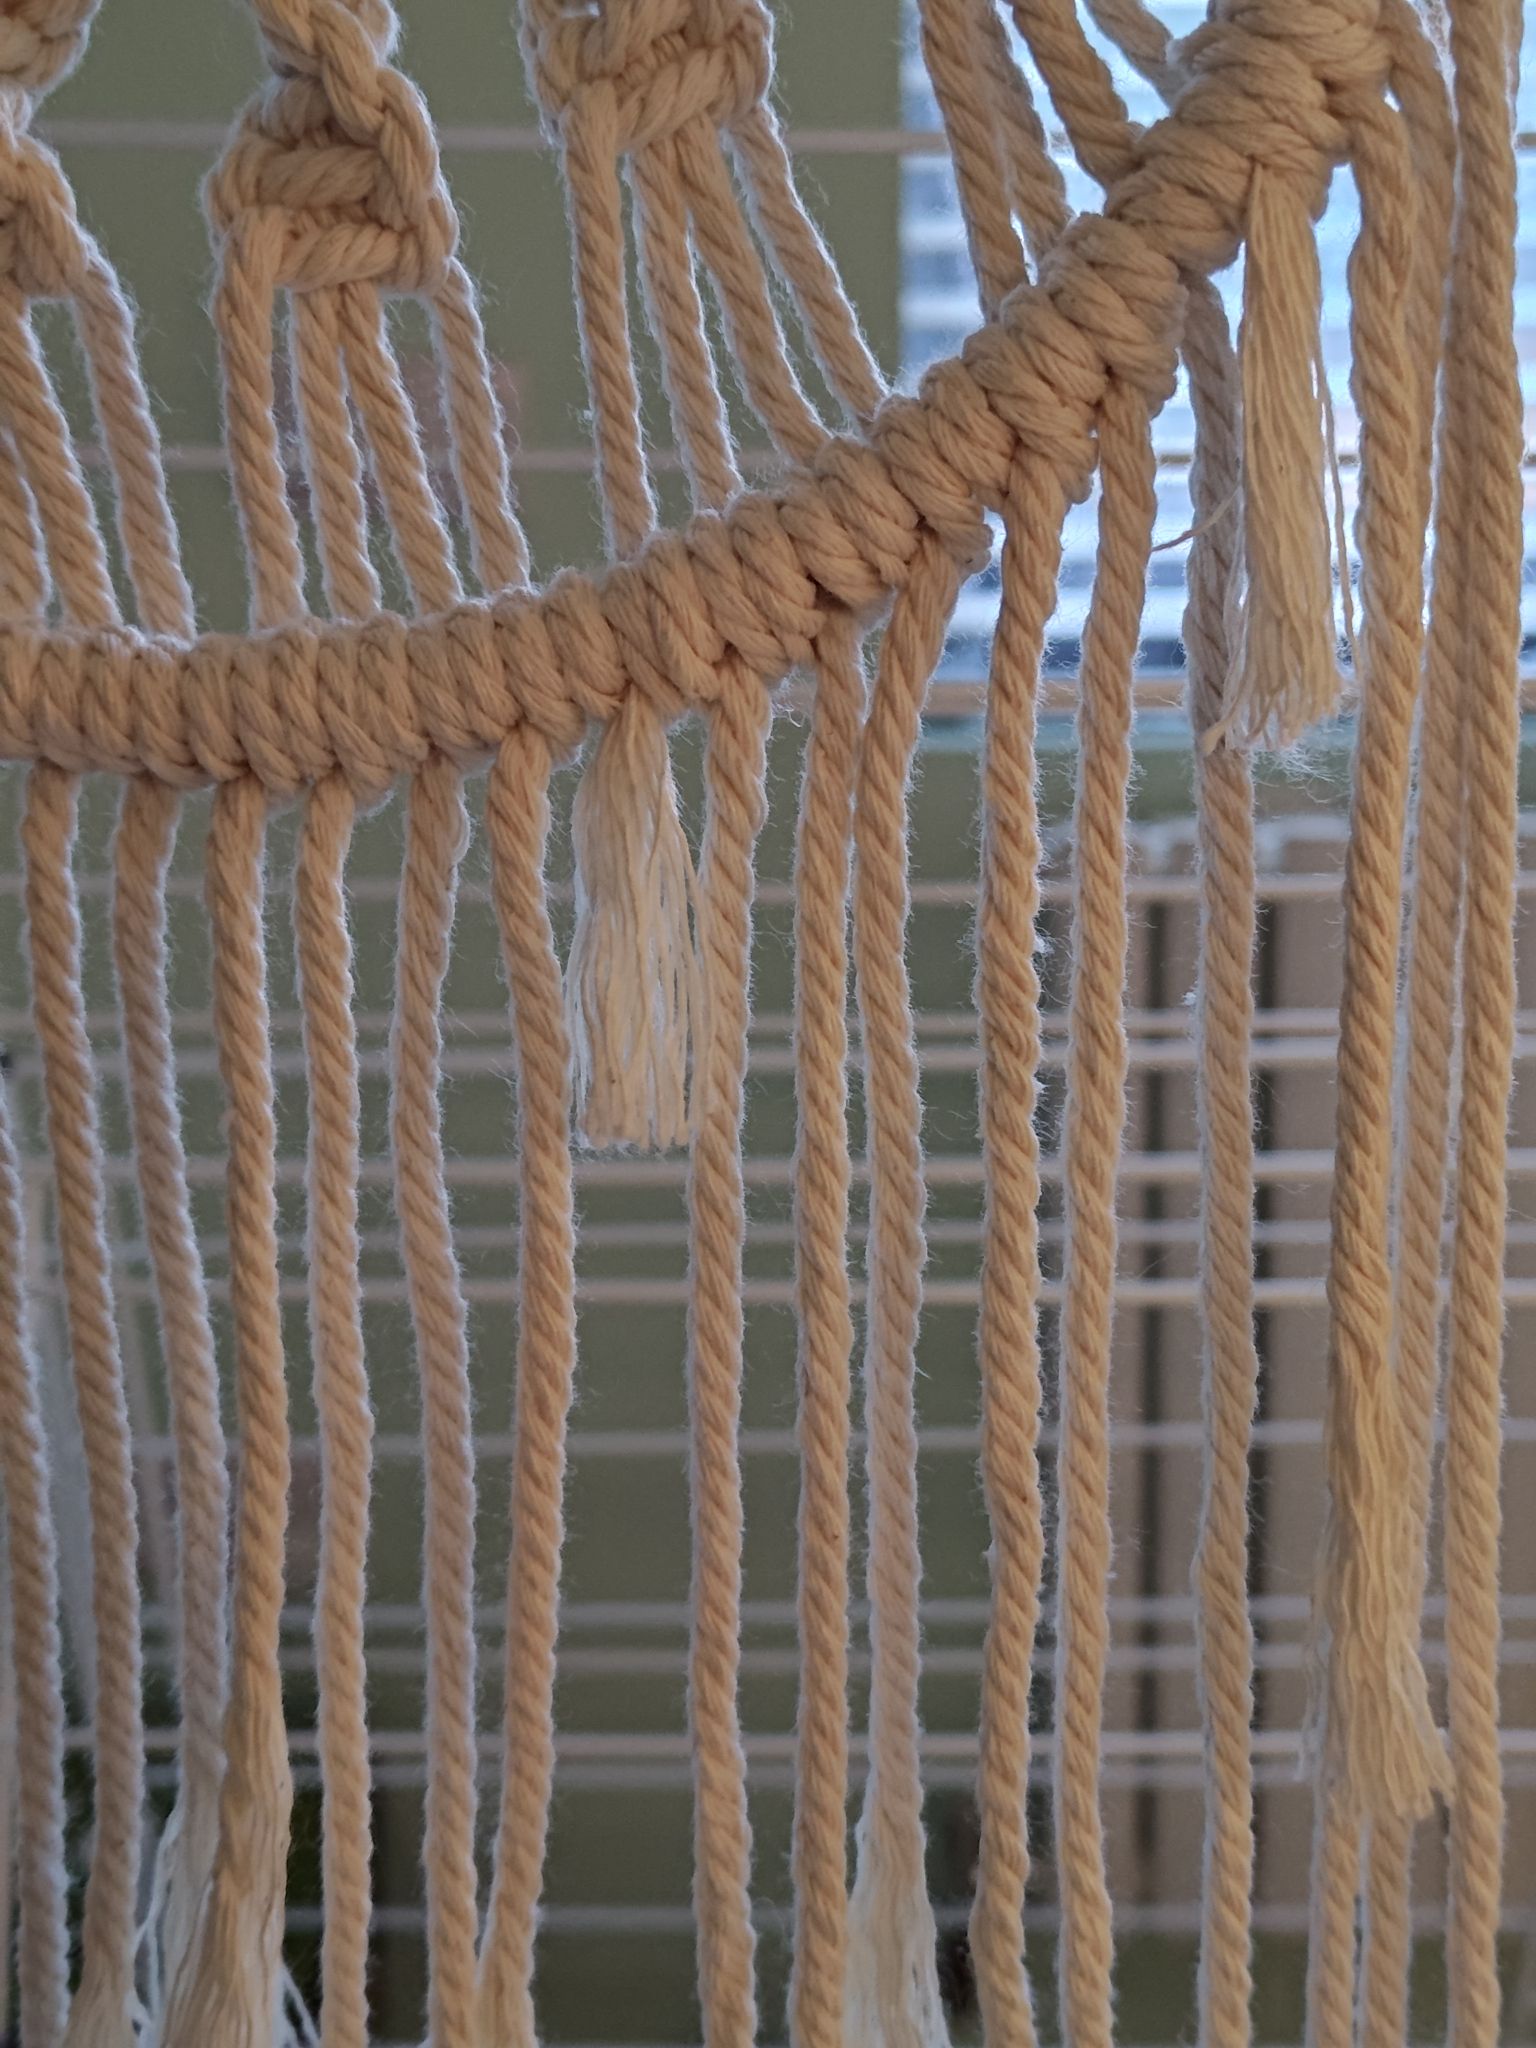
Some people like to attach feathers to a standard dreamcatcher, but didn’t the frayed parts already look like feathers? To improvise, I cut the cords to be symmetrical on both sides, then I used a fine toothed comb to brush the cords into becoming frayed. The central part was completely brushed out, but I left a bit of the cord on the outer parts.

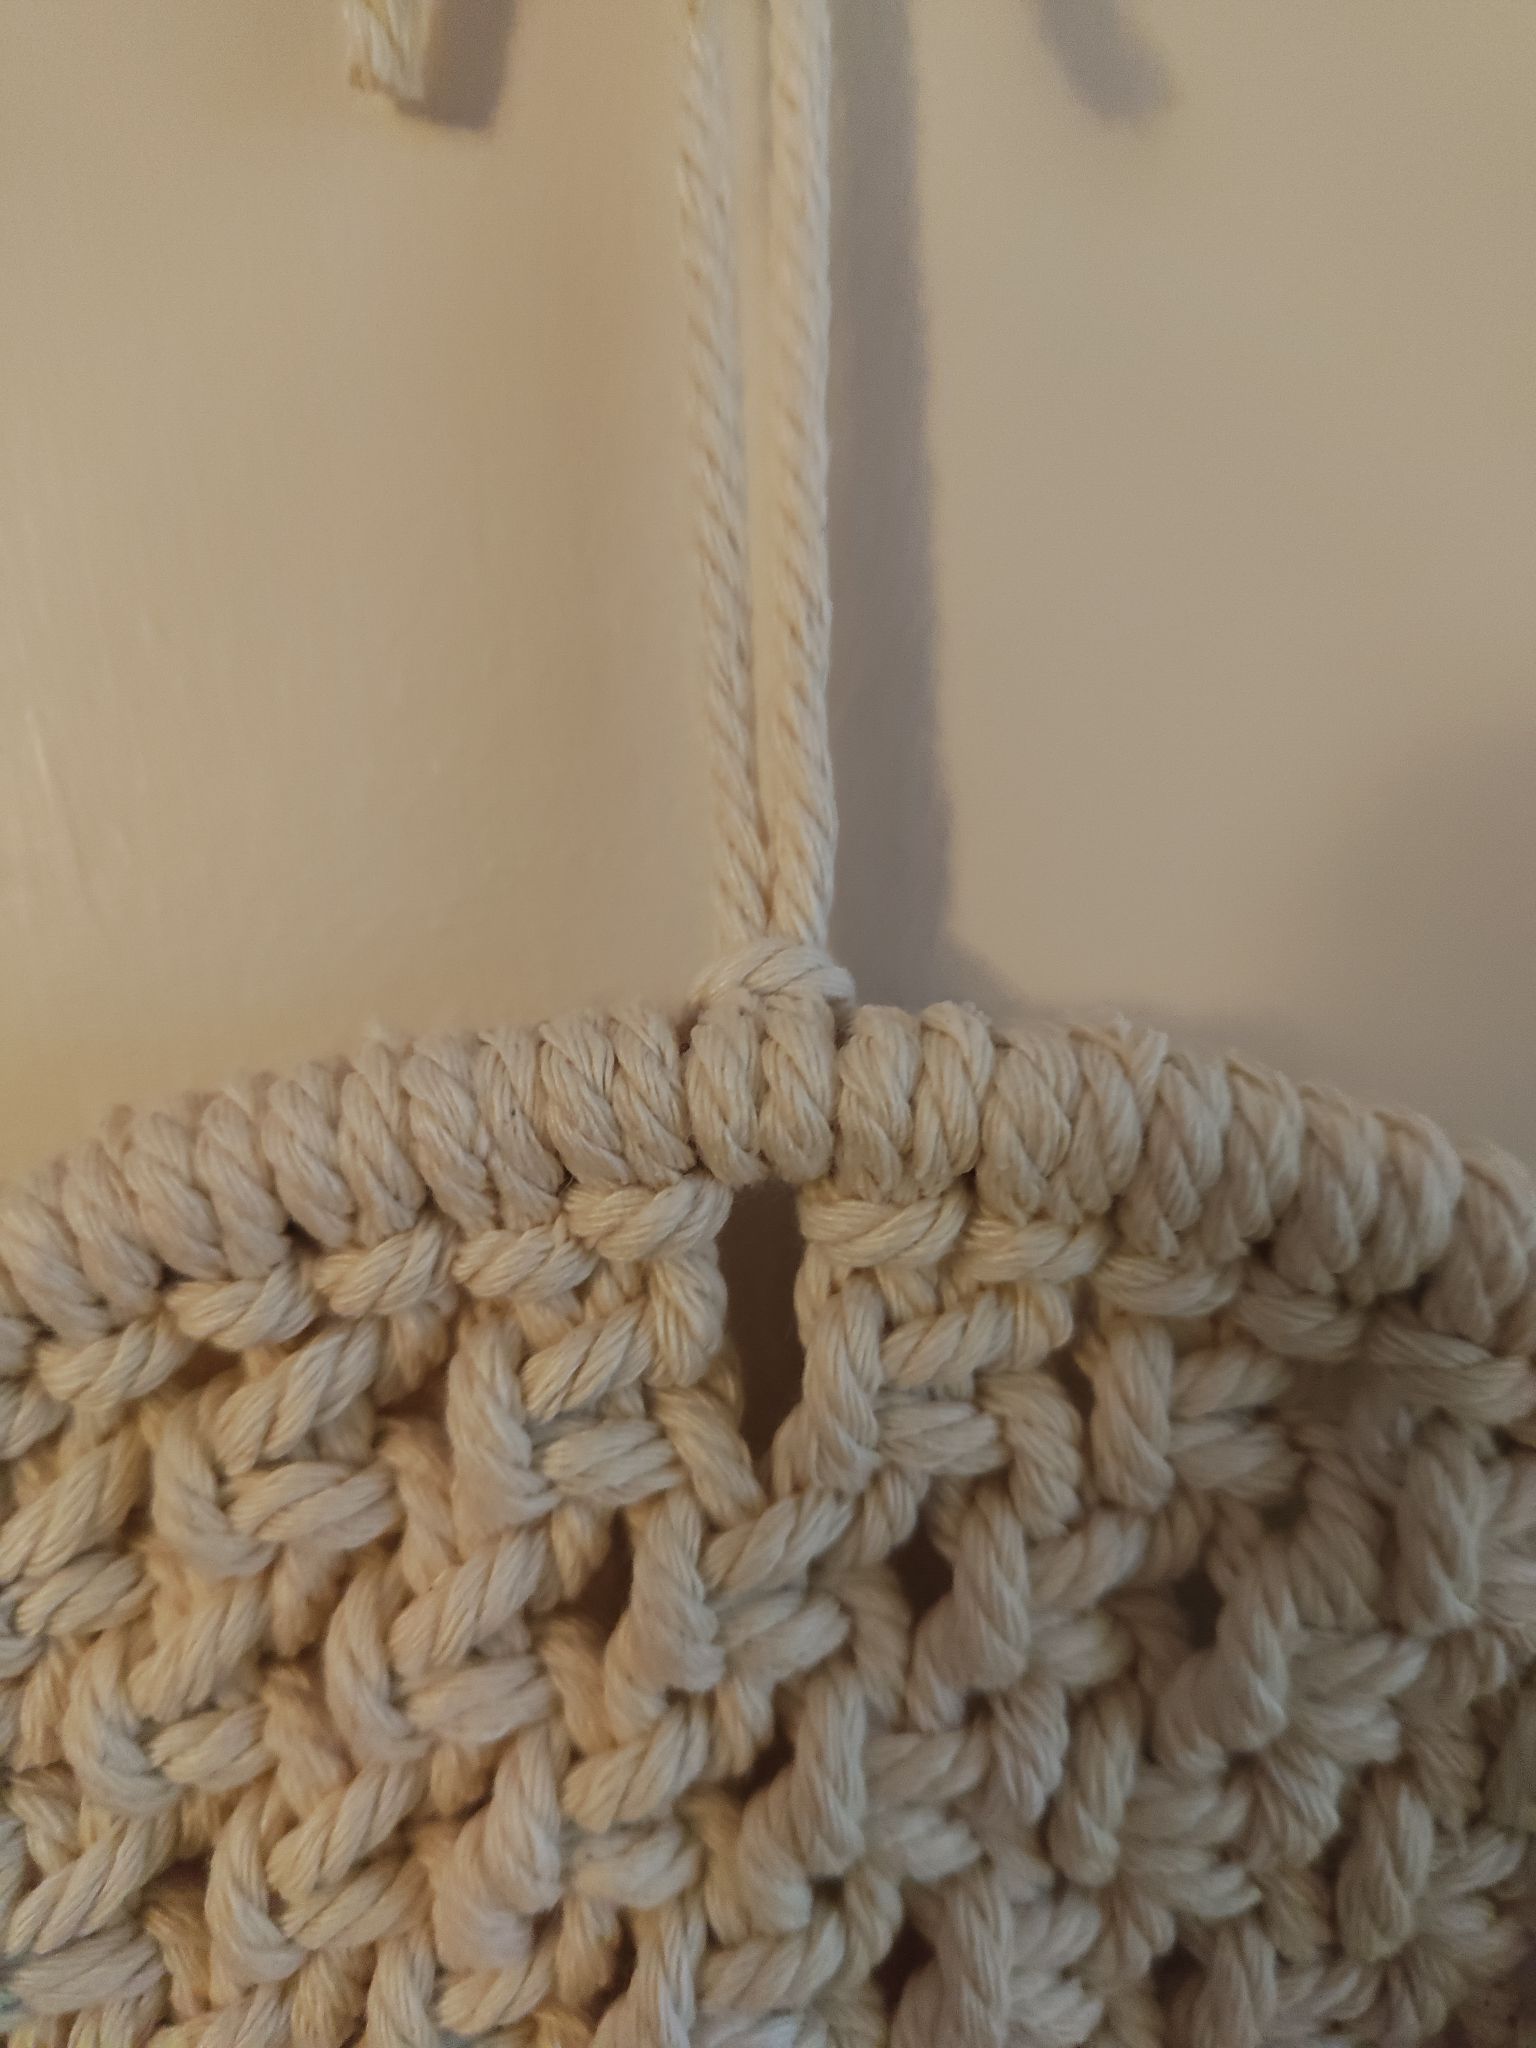
To make a hanging cord to hang the dreamcatcher up, simply take a spare length of cord and attach it via a lark’s head knot going the other way. This becomes a free cord that you can knot to make a loop.
I’m happy with the improvisation I had to come up with, but I would have liked my dreamcatcher to be a bit longer as I wanted to hang it on the wall between my living room and the dining room. Next time, I will source some 0.2mm cord and reattempt this project, hence the version one in the name. I also want to try adding some colourful beads to make it look a lot more eye-catching!
Materials used:
– 0.5mm cream cord
– 20cm wooden hoop
Tools used:
– Scissors
– Measuring tape
