First off, let me say – Merry Christmas and Happy Holidays!
This year my Christmas-themed craft of choice is the humble poinsettia. It is a red and green plant that is otherwise known as the ‘Christmas Star’ flower. It is commonly available to buy as a potted plant in the supermarkets, especially for the festive season, but does anyone continue look after them when Christmas is over, or are they just a seasonal fad? They are also native to Mexico so they must fly far to get to the UK. Hopefully my paper replication is a bit more eco-friendly!
The tutorial that I based most of my ideas on is the Giant Poinsettias by OGCrafts – there is a video link and some images of how to display them. Although they do look great as wall decor, I wanted to make a wall hanging/wreath of sorts so that I can put it away more easily.
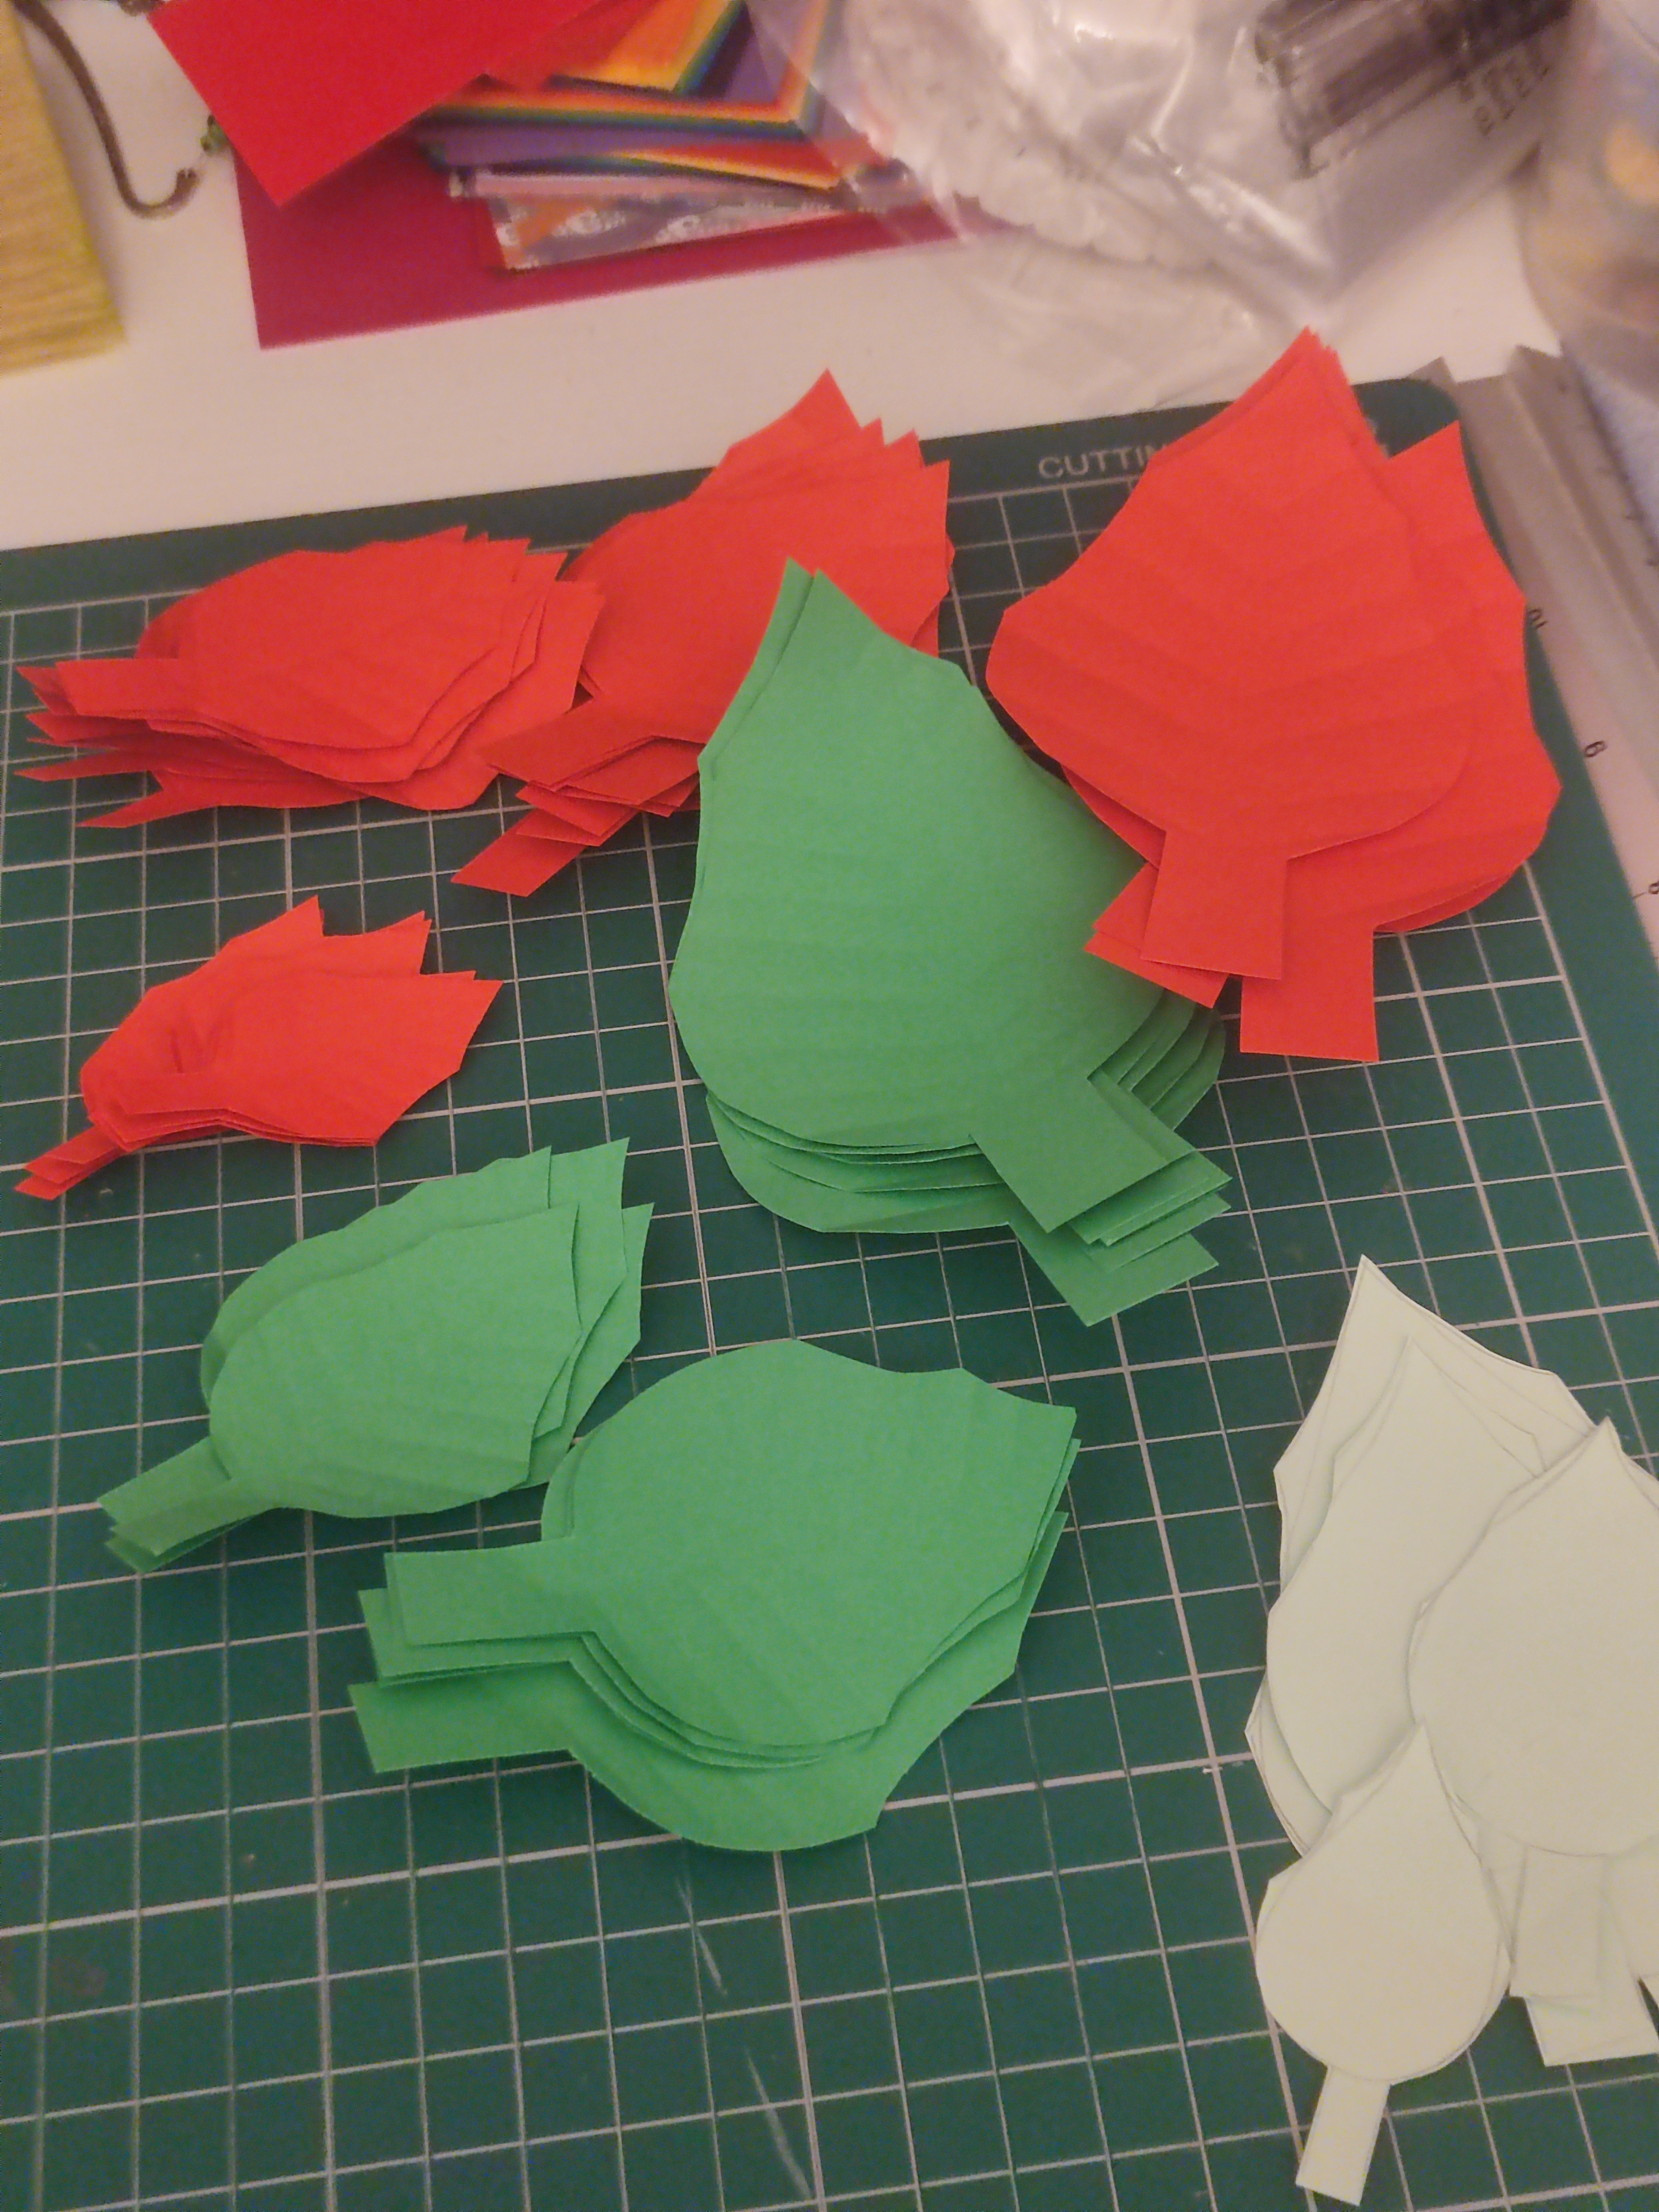
The first step is making templates. I don’t own a printer or a die cutter so I generally have to freehand draw my templates and cut them out afterwards. Fortunately for poinsettia, the foliage is just a leaf shape so I can use the same template on different paper. I cut out a couple of shapes of varying sizes until I was happy.

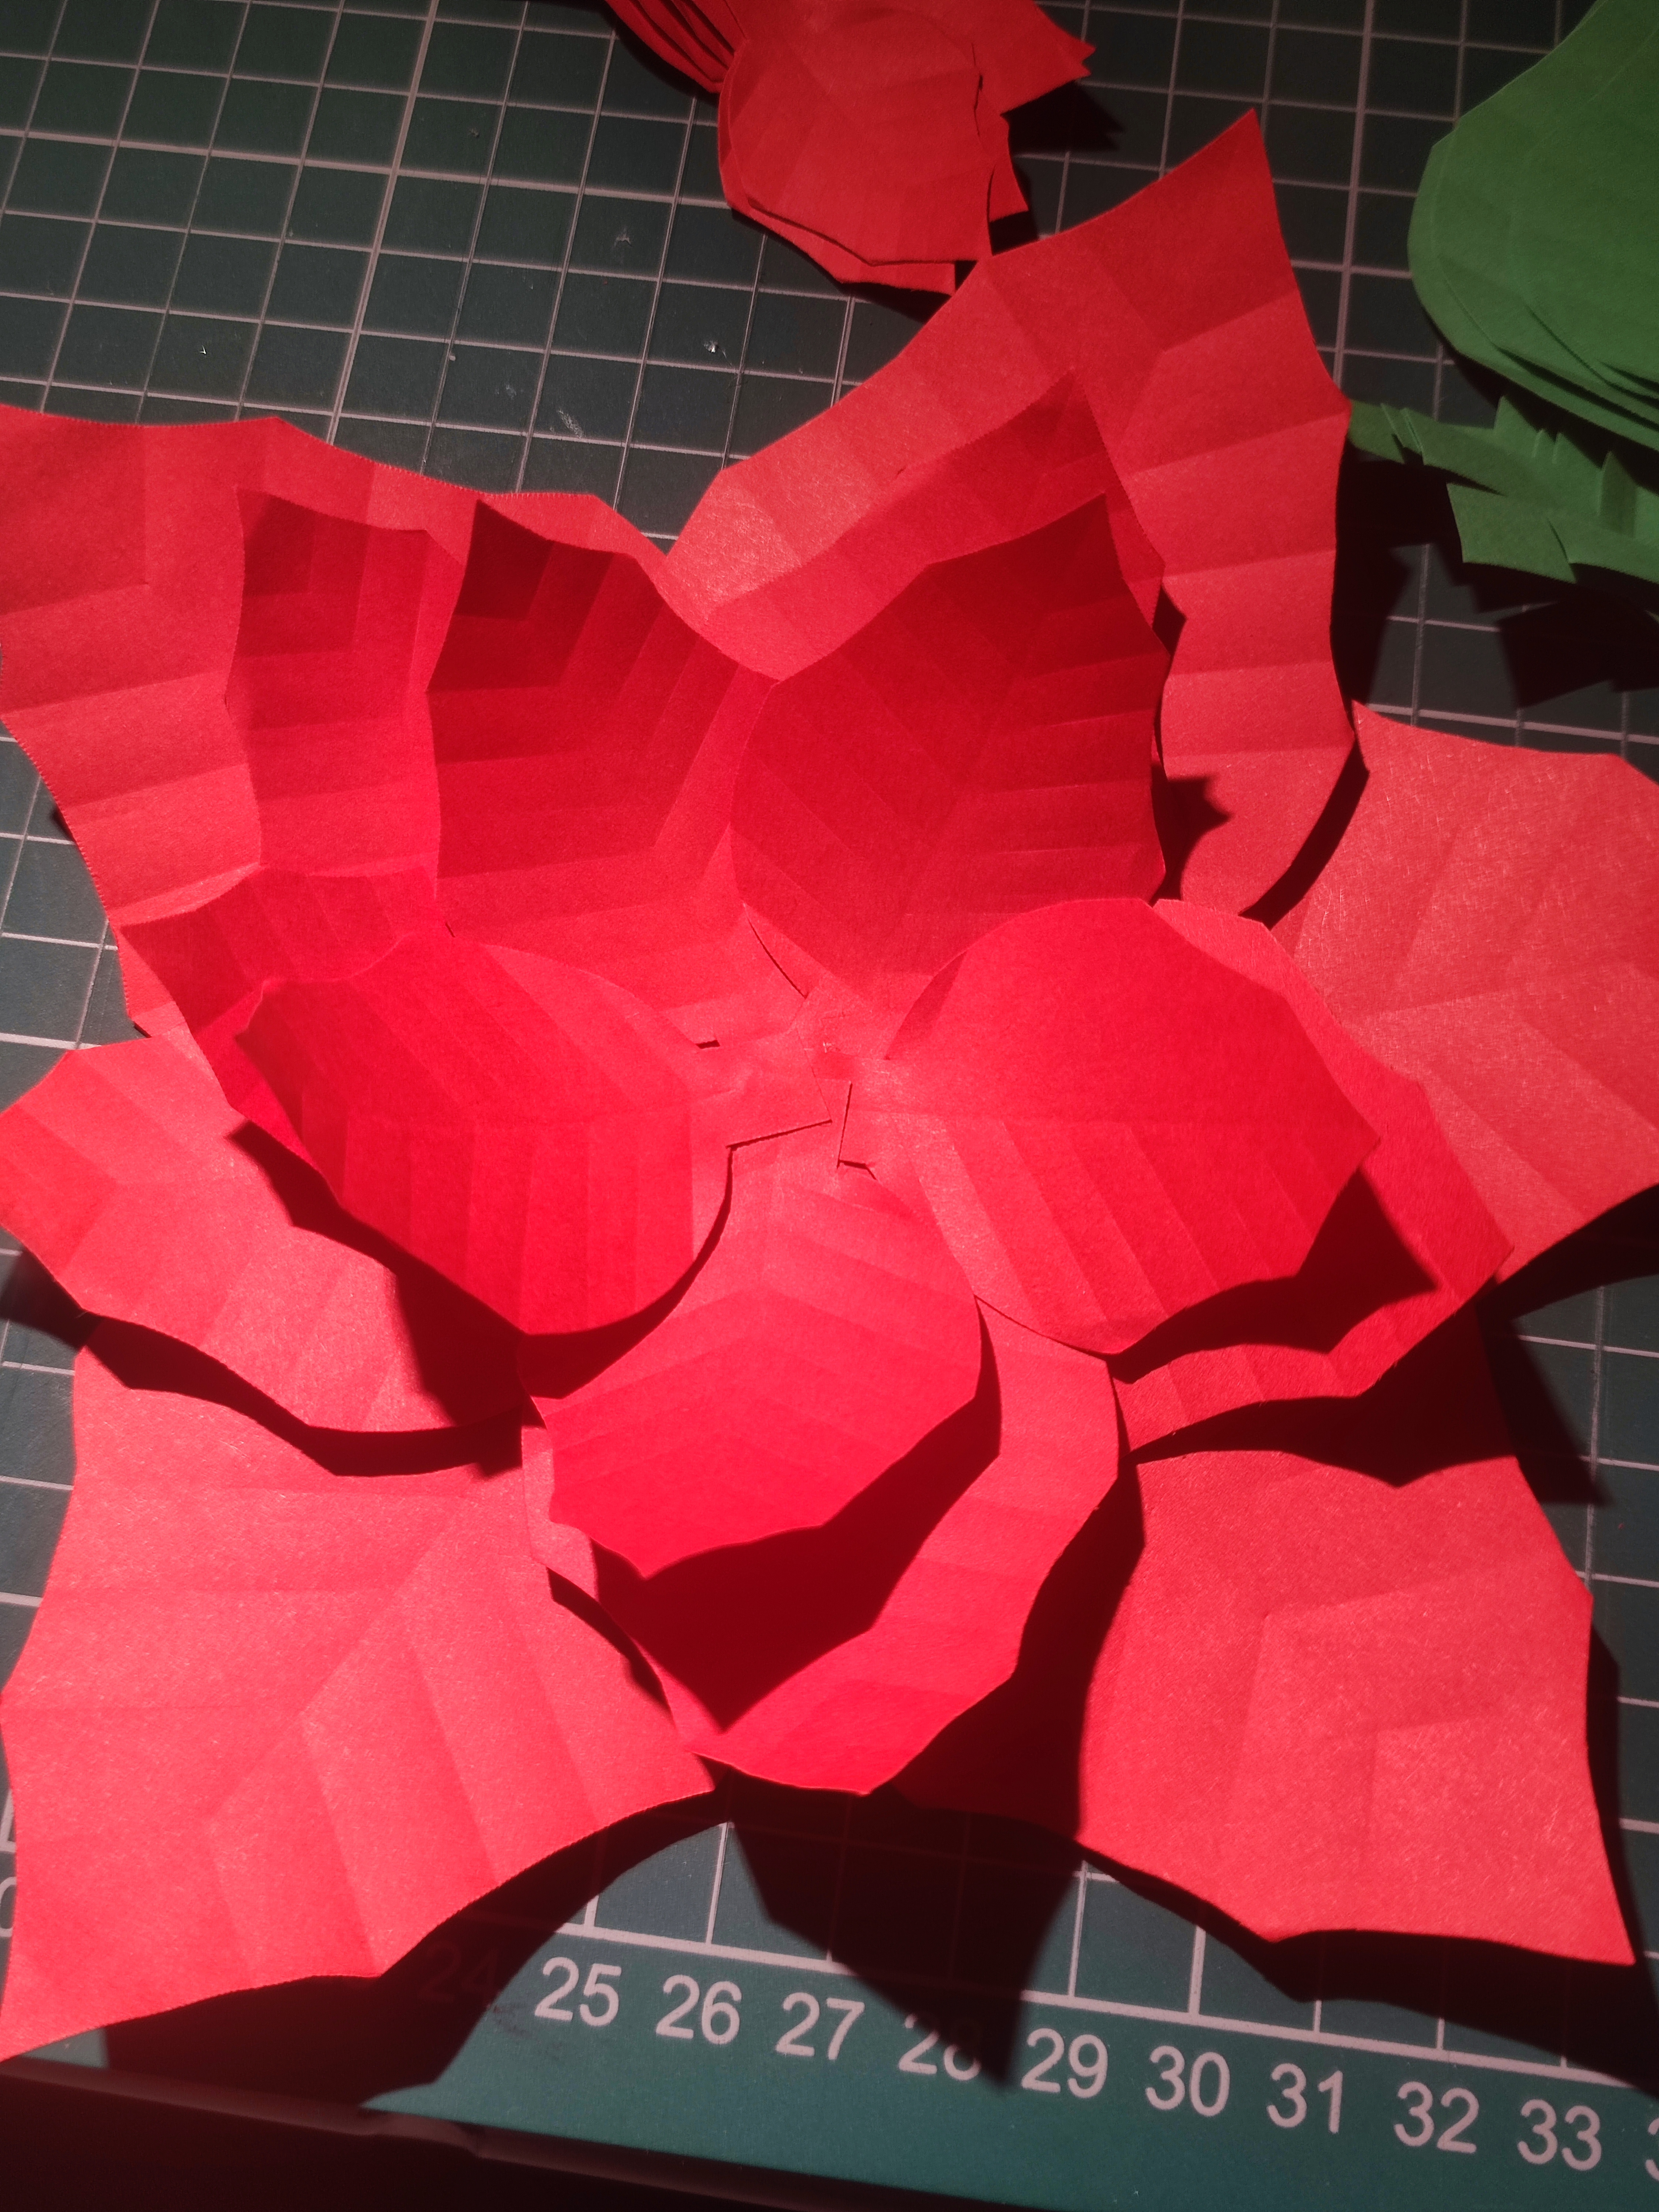
Then I cut out a lot of red and green shapes. Since it’s a star flower, you want five leaves per layer so make sure you cut them out in groups of five, plus spares if you need it. You can add the leaf veins by pressing the edge of a scissor blade into the paper. It can be quite time consuming doing the cutting and pressing but that’s about 80% of the work really!
I bought some bamboo hoops to make wreaths with after my spring flower wreath where I used garden wire as the base. Here I attached two hoops of different sizes with brown twine, so I could display two floral arrangements. The twine does not need to be glued down if you tie it up tightly, but you can opt to do that if you want. I just wrapped it around a number of times and tied it with a knot.

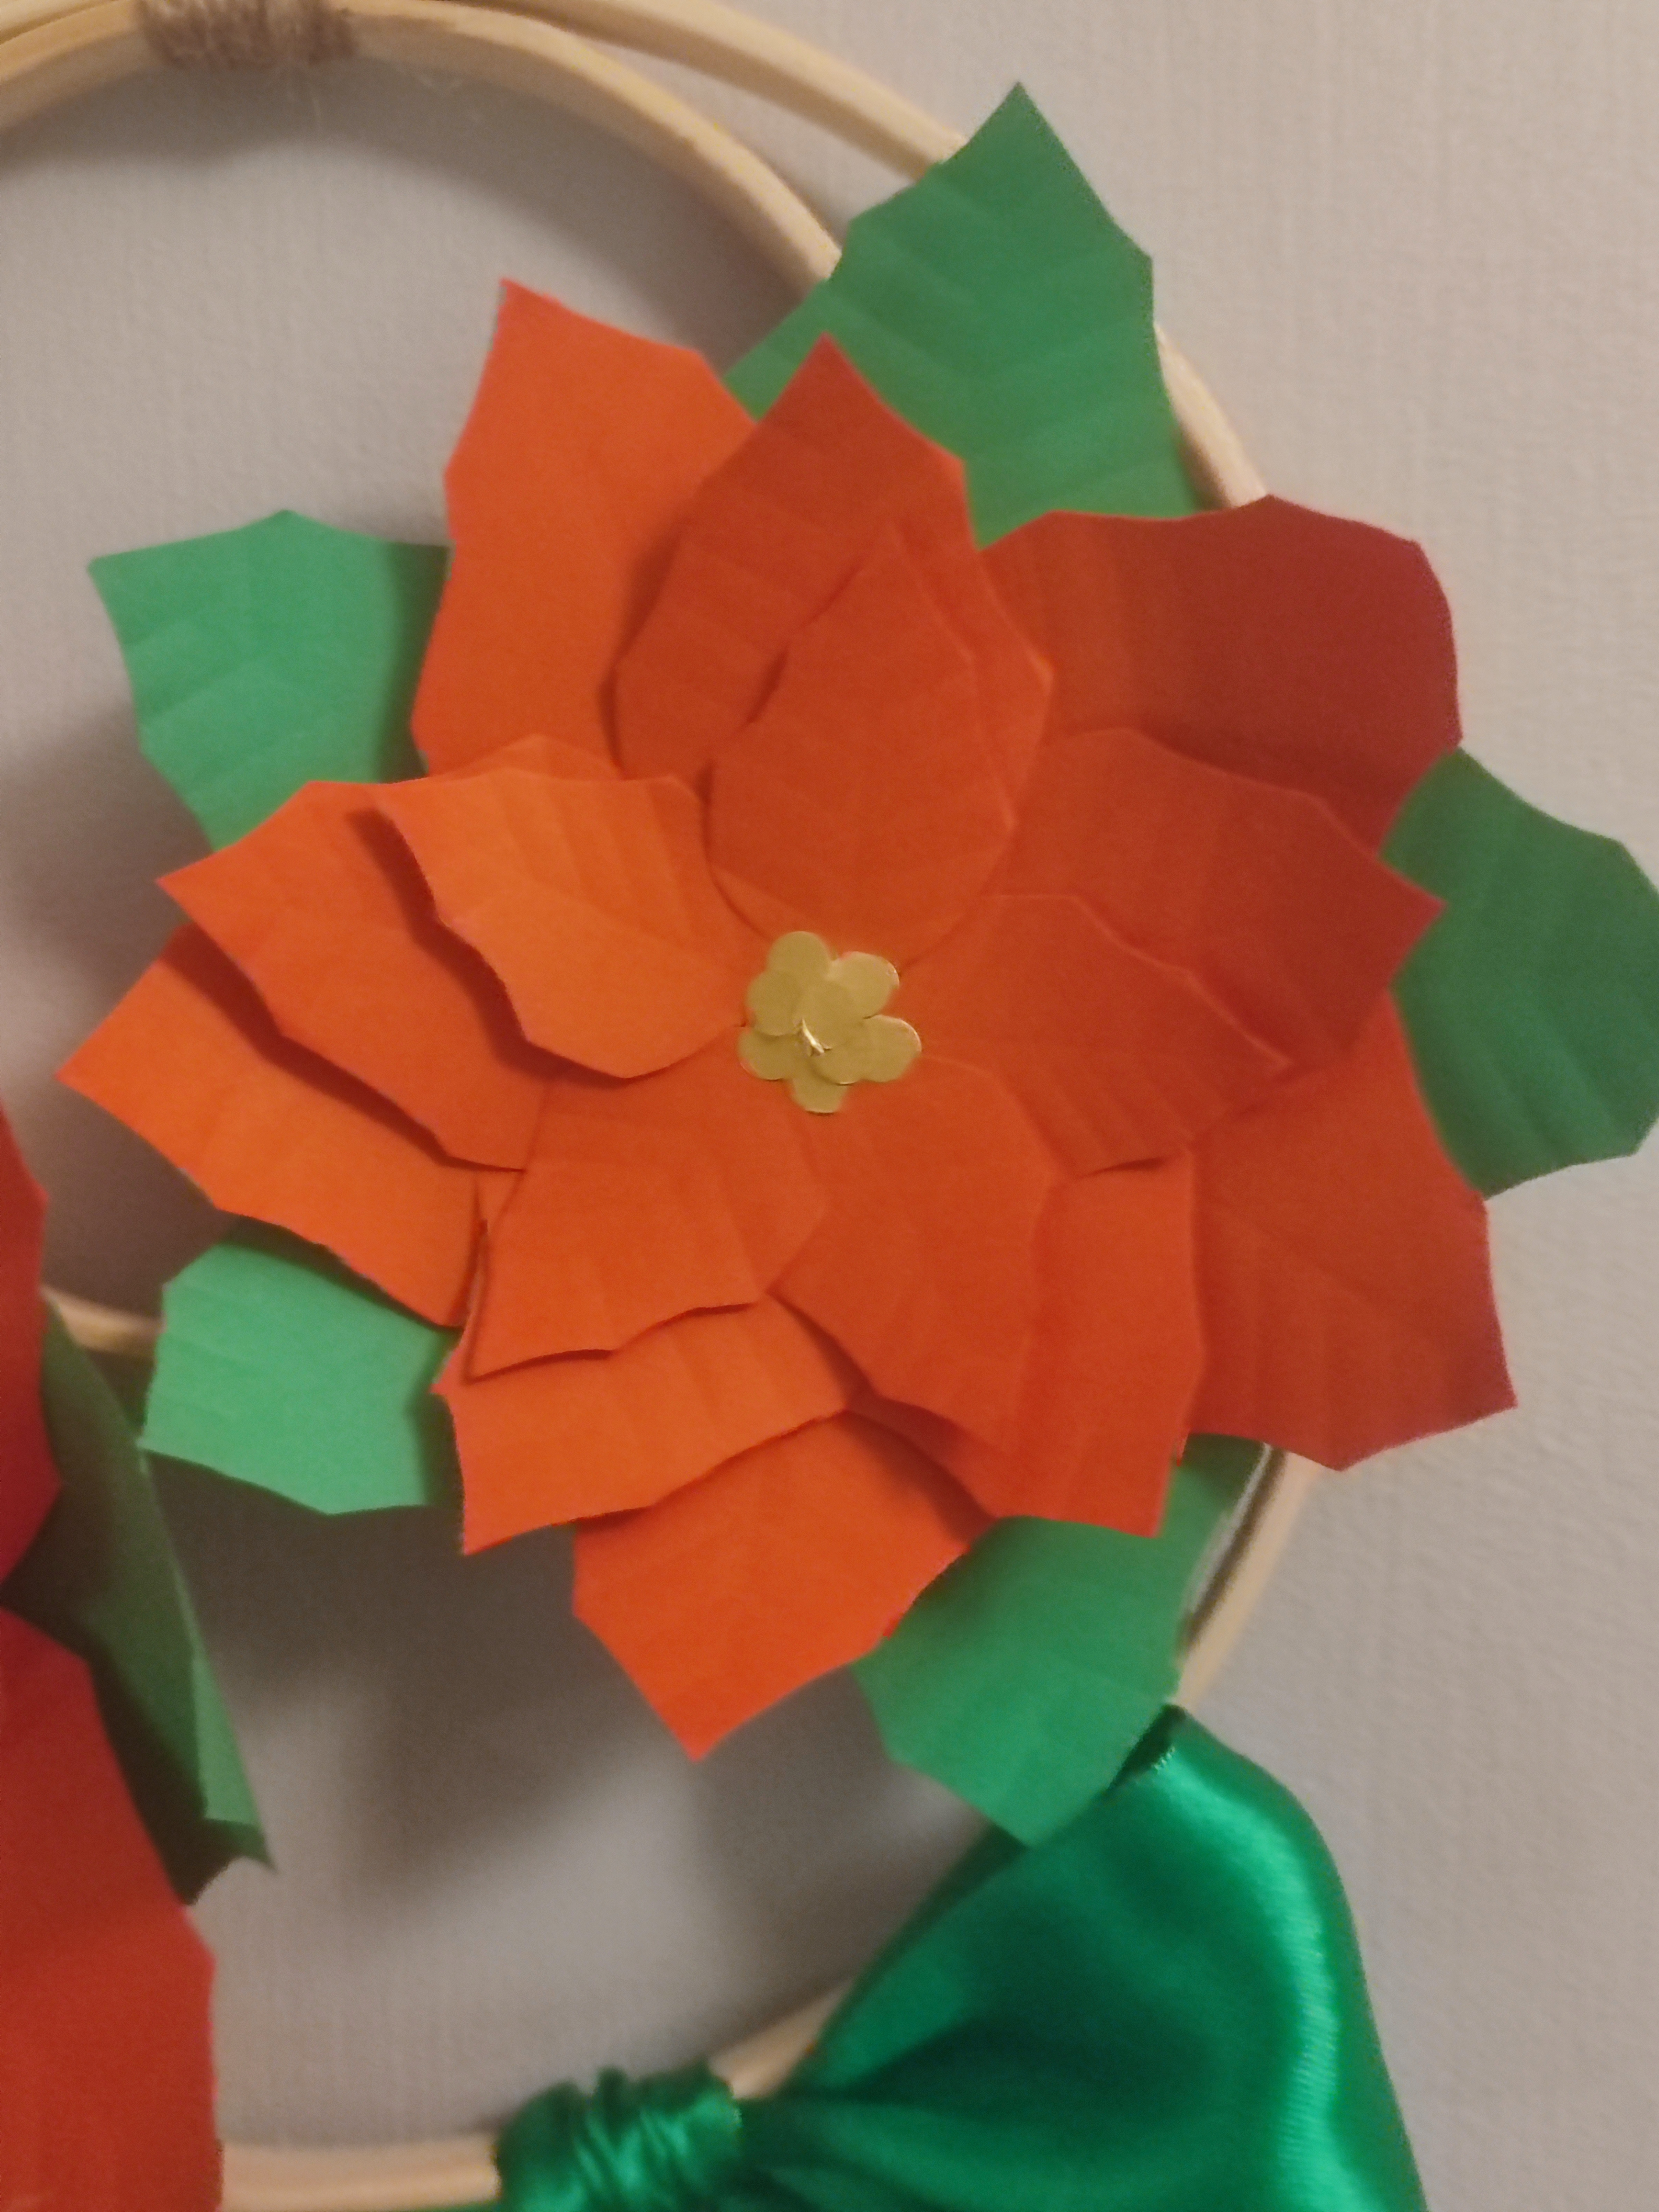
Layering the flowers is straight-forward as you want to make a star shape on each layer. Start with the largest leaves first and work down to the smallest. You may use PVA glue if you want to, but I prefer a hot glue gun as it will adhere better, as long as you line things up well. My first attempt was with the largest arrangement and I sort of made the layers not line up very well. unfortunately…
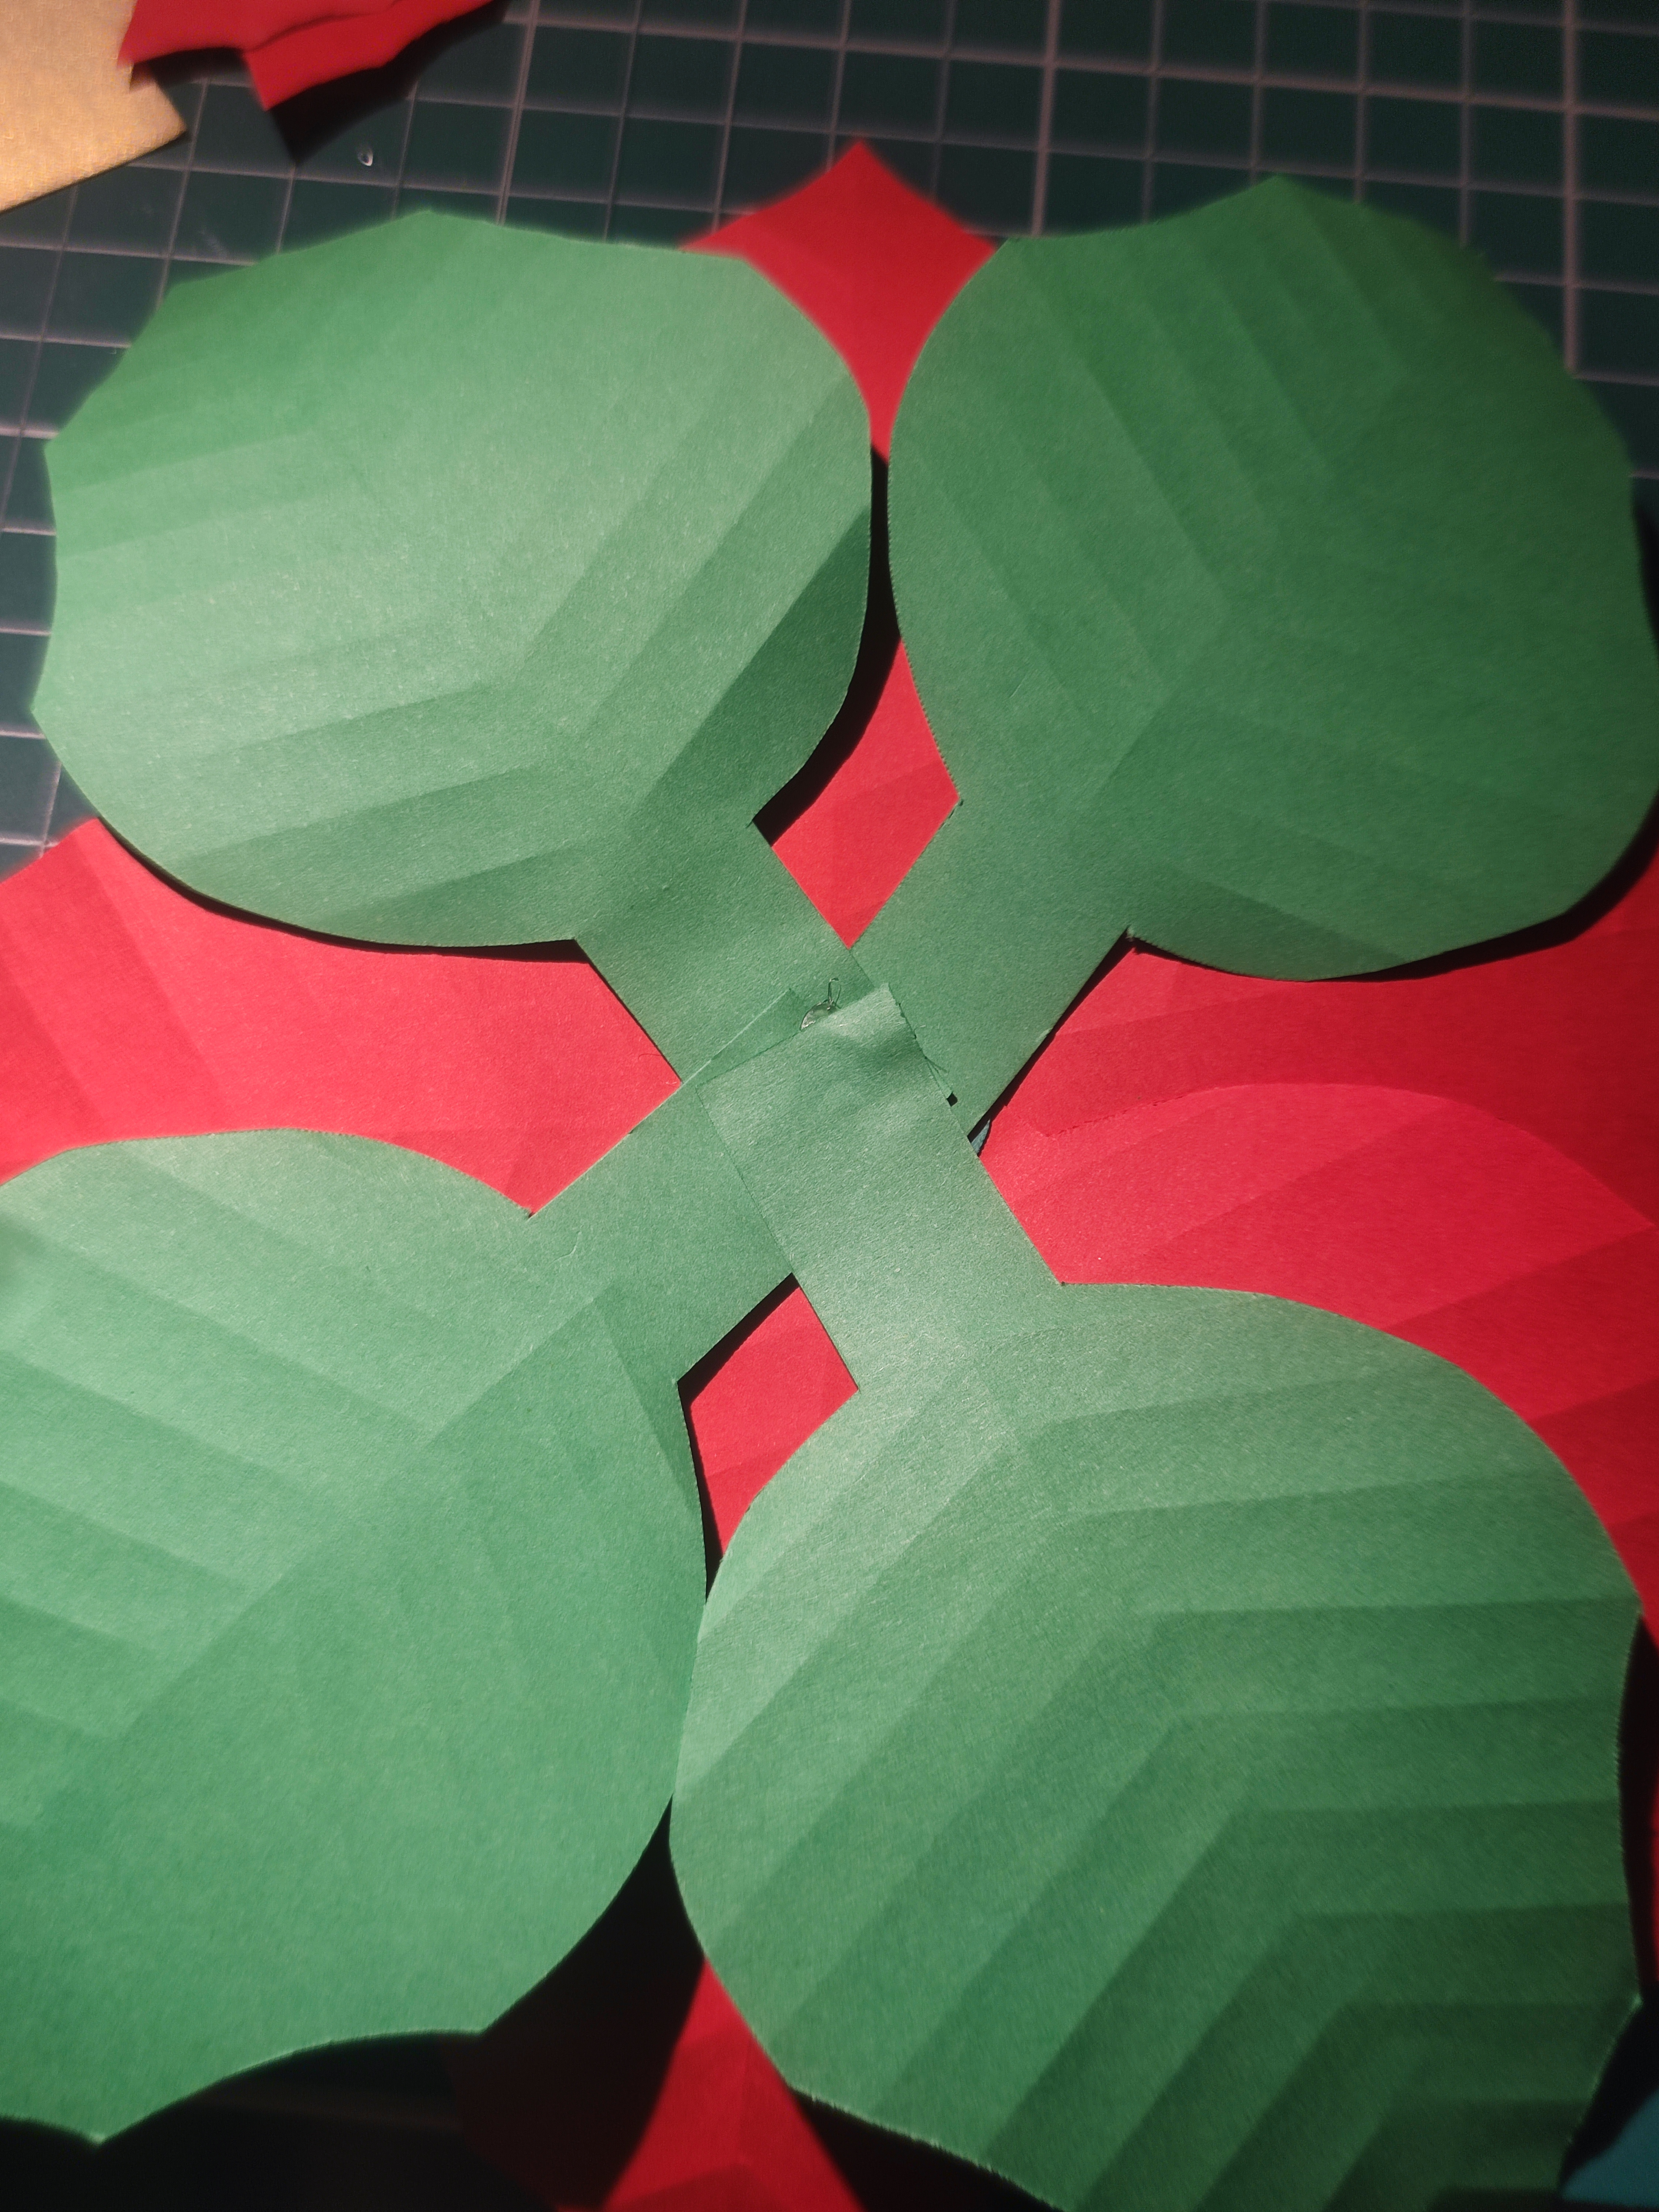
The green leaves can be stuck on afterwards on the back, it doesn’t have to be star-shaped so just add the leaves as you need it or if you need more greenery. Technically I am relying on it not being visible from the back, but there are ways to make this look neater.
I had a cut of spare double-sided gold paper lying around, so I used an office hole puncher to punch out some holes. This is for the tiny yellow flowers that sit in the centre of the plant, as well as hiding any untidy parts from the red leaf layering earlier. I glued down as many as I liked in the centre, in a radial shape until the leave stems were hidden.

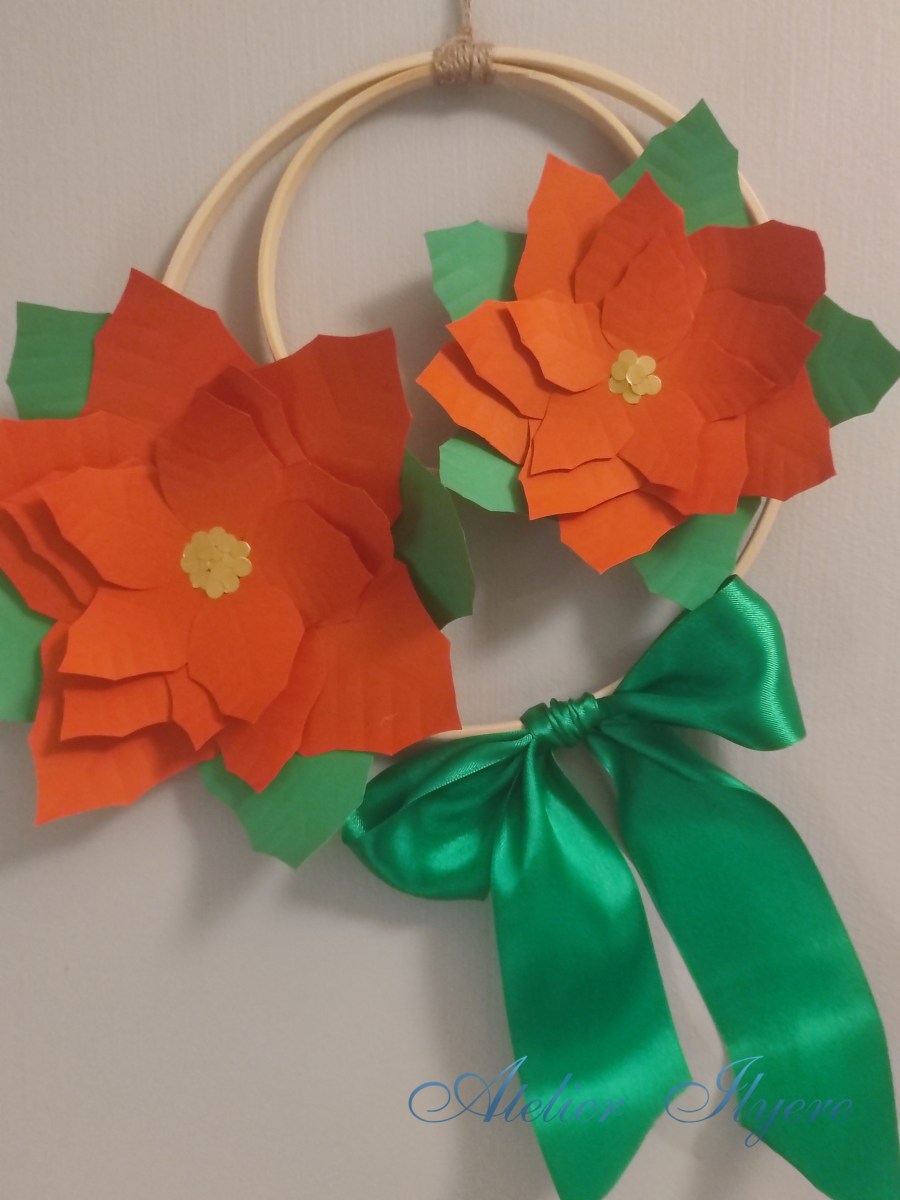
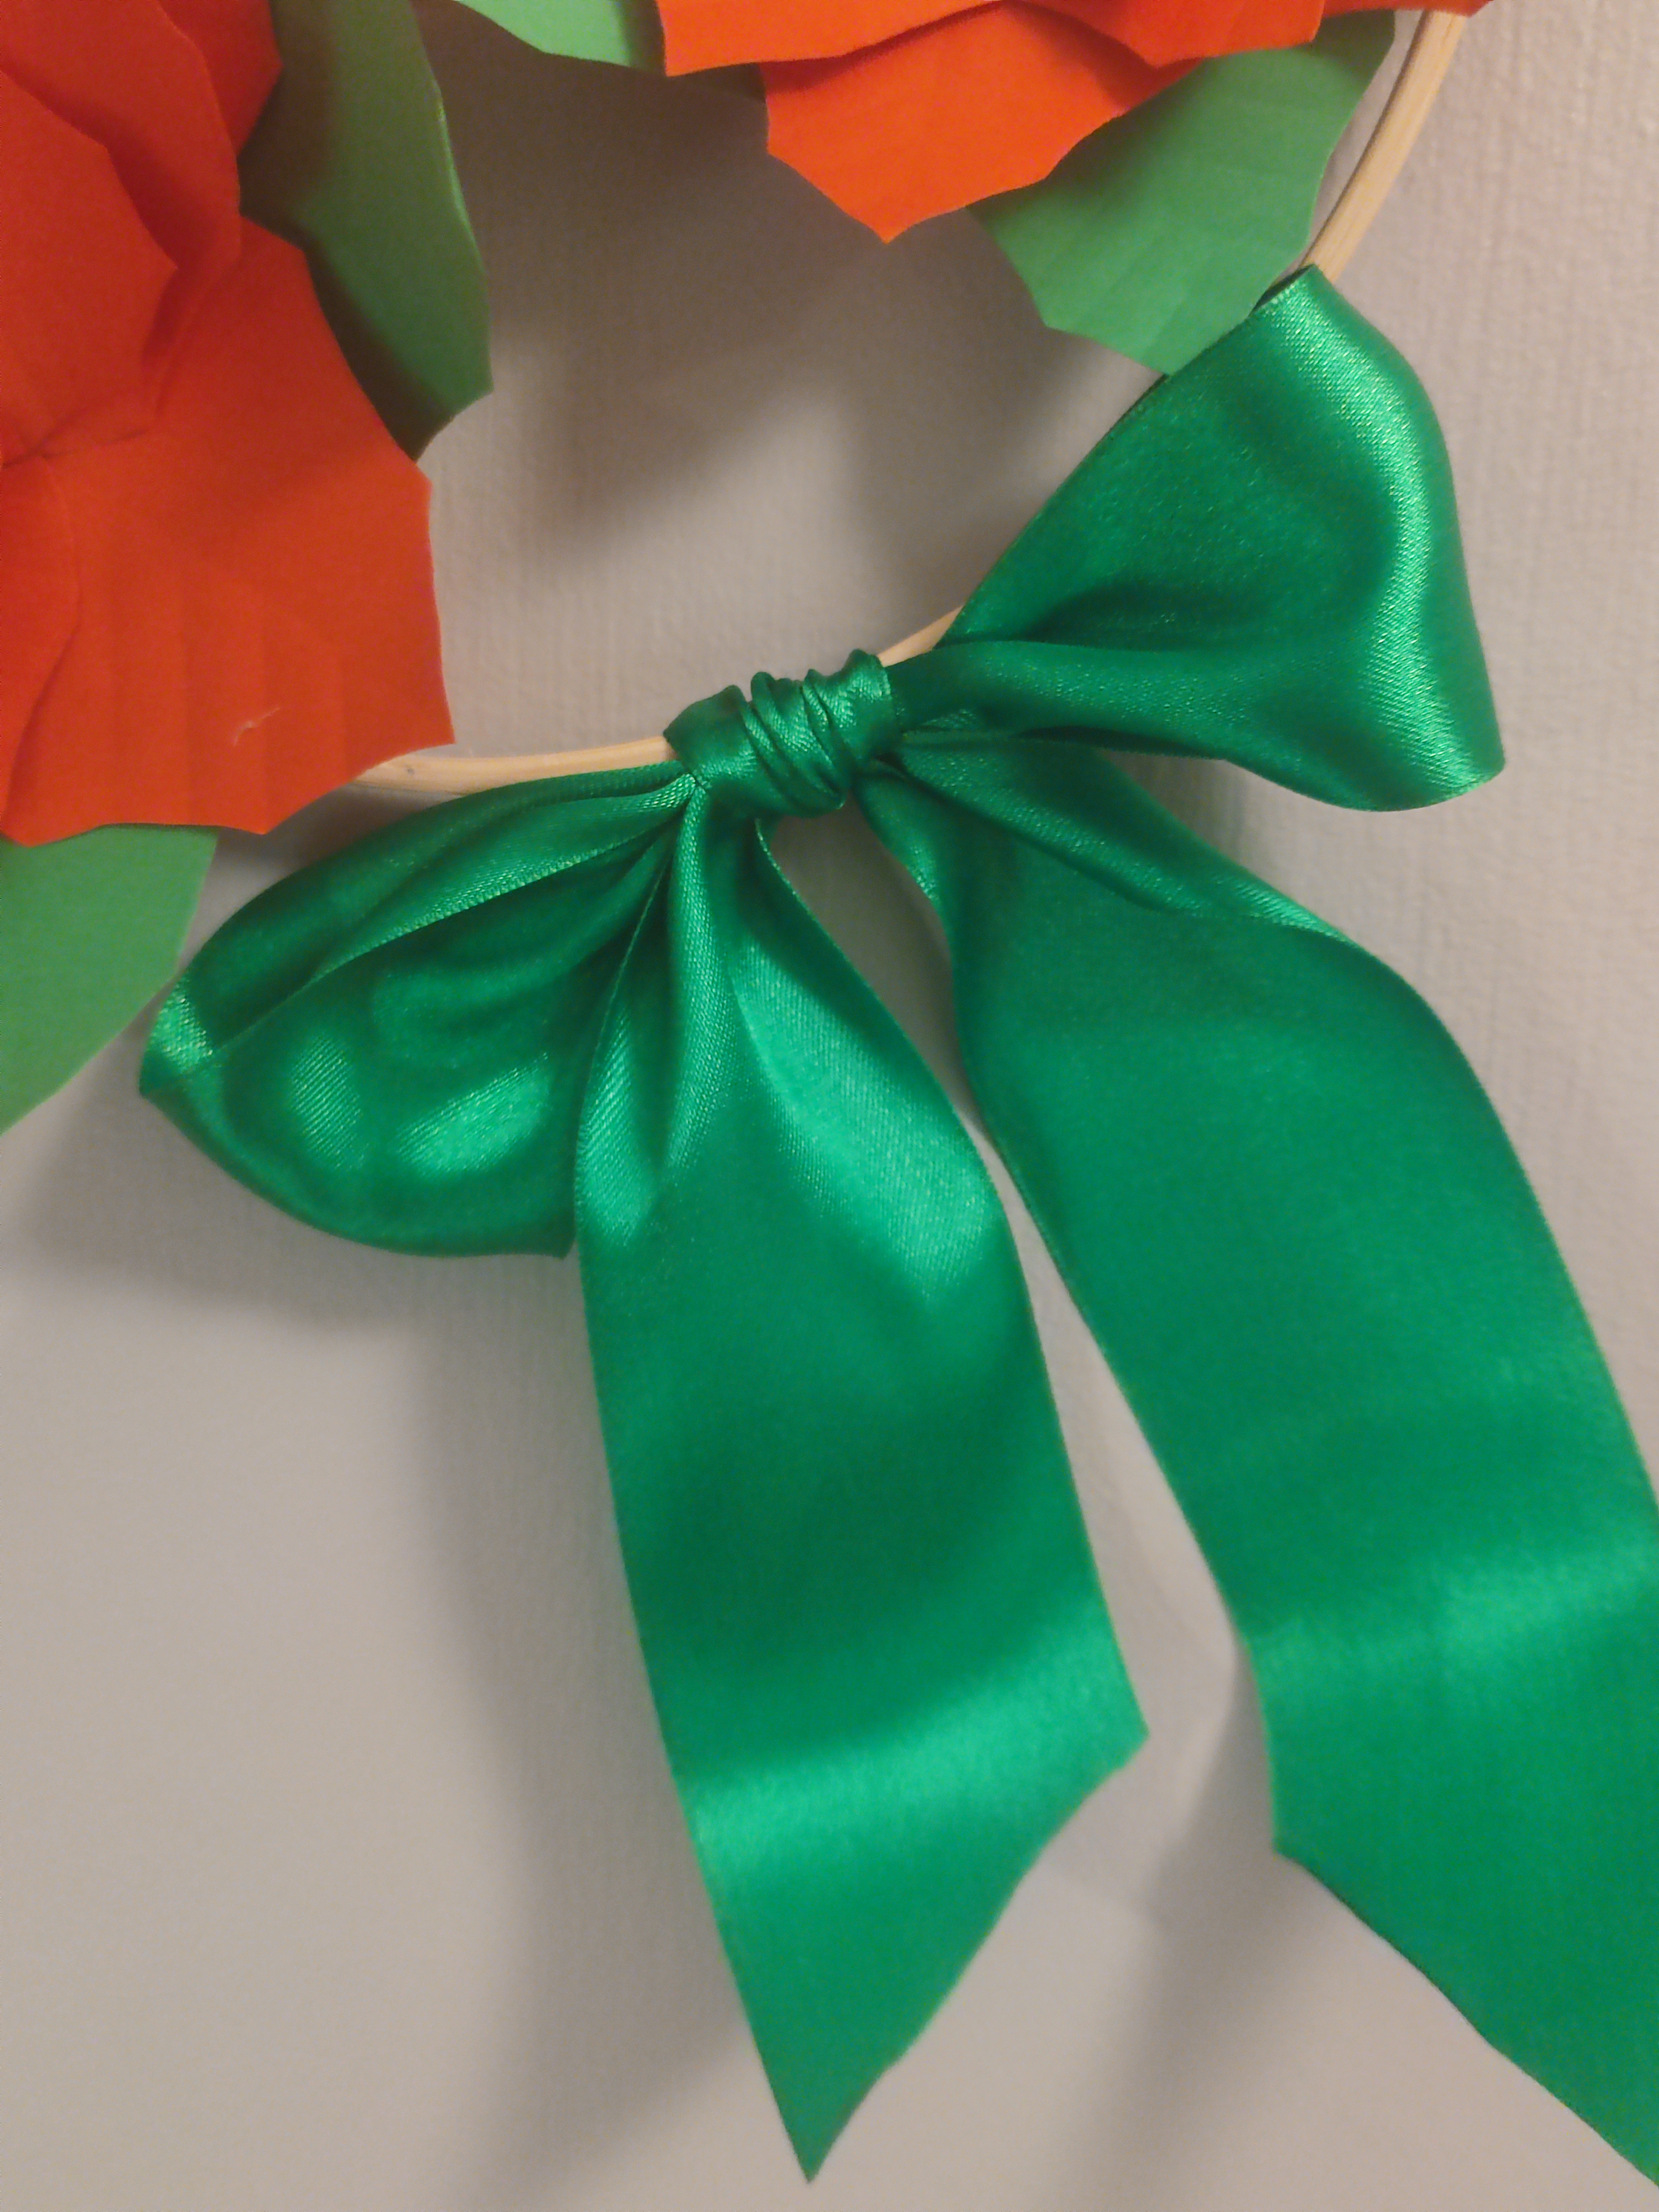
After producing a second smaller floral arrangement, I hot glued the plants to the hoops, on opposite sides of the hoops. There will be a bit of extra space on the hoop, and you can cover this by doing more small arrangements, or just individual leaves lining the hoop like a more traditional wreath where the whole thing is covered up. Instead, I tied an extra large dark green ribbon to it to add another eye-catching part and to make the wreath more balanced.
I have plenty of hoops to start new projects with, so expect some more seasonal arrangements!

Some close-ups of the parts:

Materials needed:
– red/green/gold paper
– two bamboo hoops of different sizes (I used 20.5cm and 13cm)
– large green satin ribbon
– brown twine
Tools needed:
– hot glue gun
– scissors
