
I visited a local garden centre a while back to get some gardening supplies (some bird feed and fish food!) and I spotted a shelf of small ceramic planter pots, of varying sizes. The sizes ranged from a small 3cm diameter to a larger 10cm, so it seems like these pots were intended for indoor use mainly. I ended up buying four 5cm pots as they were only £2.50 each! And they were also the only ones left which happened to be in different colours.
They have been sitting on my craft desk for over a month whilst I was waiting for inspiration to hit. Now I plan on using these pots to decorate my computer desk, as my craft desk is already far too crowded and doesn’t need any more stuff in the way. I’ve drawn up the idea that each pot will have a different type of plant and that each plant will be made of different materials and made in a different way.

The first plant that I wanted to make was a gemstone chip wire tree. I have tried making some before (see the 2014 Citrine tree and the 2015 Moonstone tree) but I always felt that I could do better on the ‘tree’ front. When I made those trees, I was sparing in my use of wire and twisted multiple chips onto the same piece of wire, and you could see that the trunks of the tree lacked substance.
I found that this tutorial by Ele on Cut Out + Keep is an excellent one to follow. The size of the final product is a bit bigger than what I needed so I adjusted the sizes and quantities as needed.
As for the colour combination, I used 0.4mm copper wire as I had the most of it lying around. For the gemstone, I selected rose quartz as it pairs well with copper. In general rose quartz works with most types of wire! If I had more gemstone chips of different colours, I would have tried making a rainbow chakra gem tree but I was missing red and blue chips. An idea for the future!

So as I mentioned before, I was following the tutorial but adjusting the size and quantities. I cut lengths of 40cm copper wire and twisted on about 30 gemstone chips. 40cm is a lot more wire than I needed, but it is better to measure over and then trim as required. I also learnt that using one wire per chip is ideal as it will help form thicker branches and a sturdy trunk.
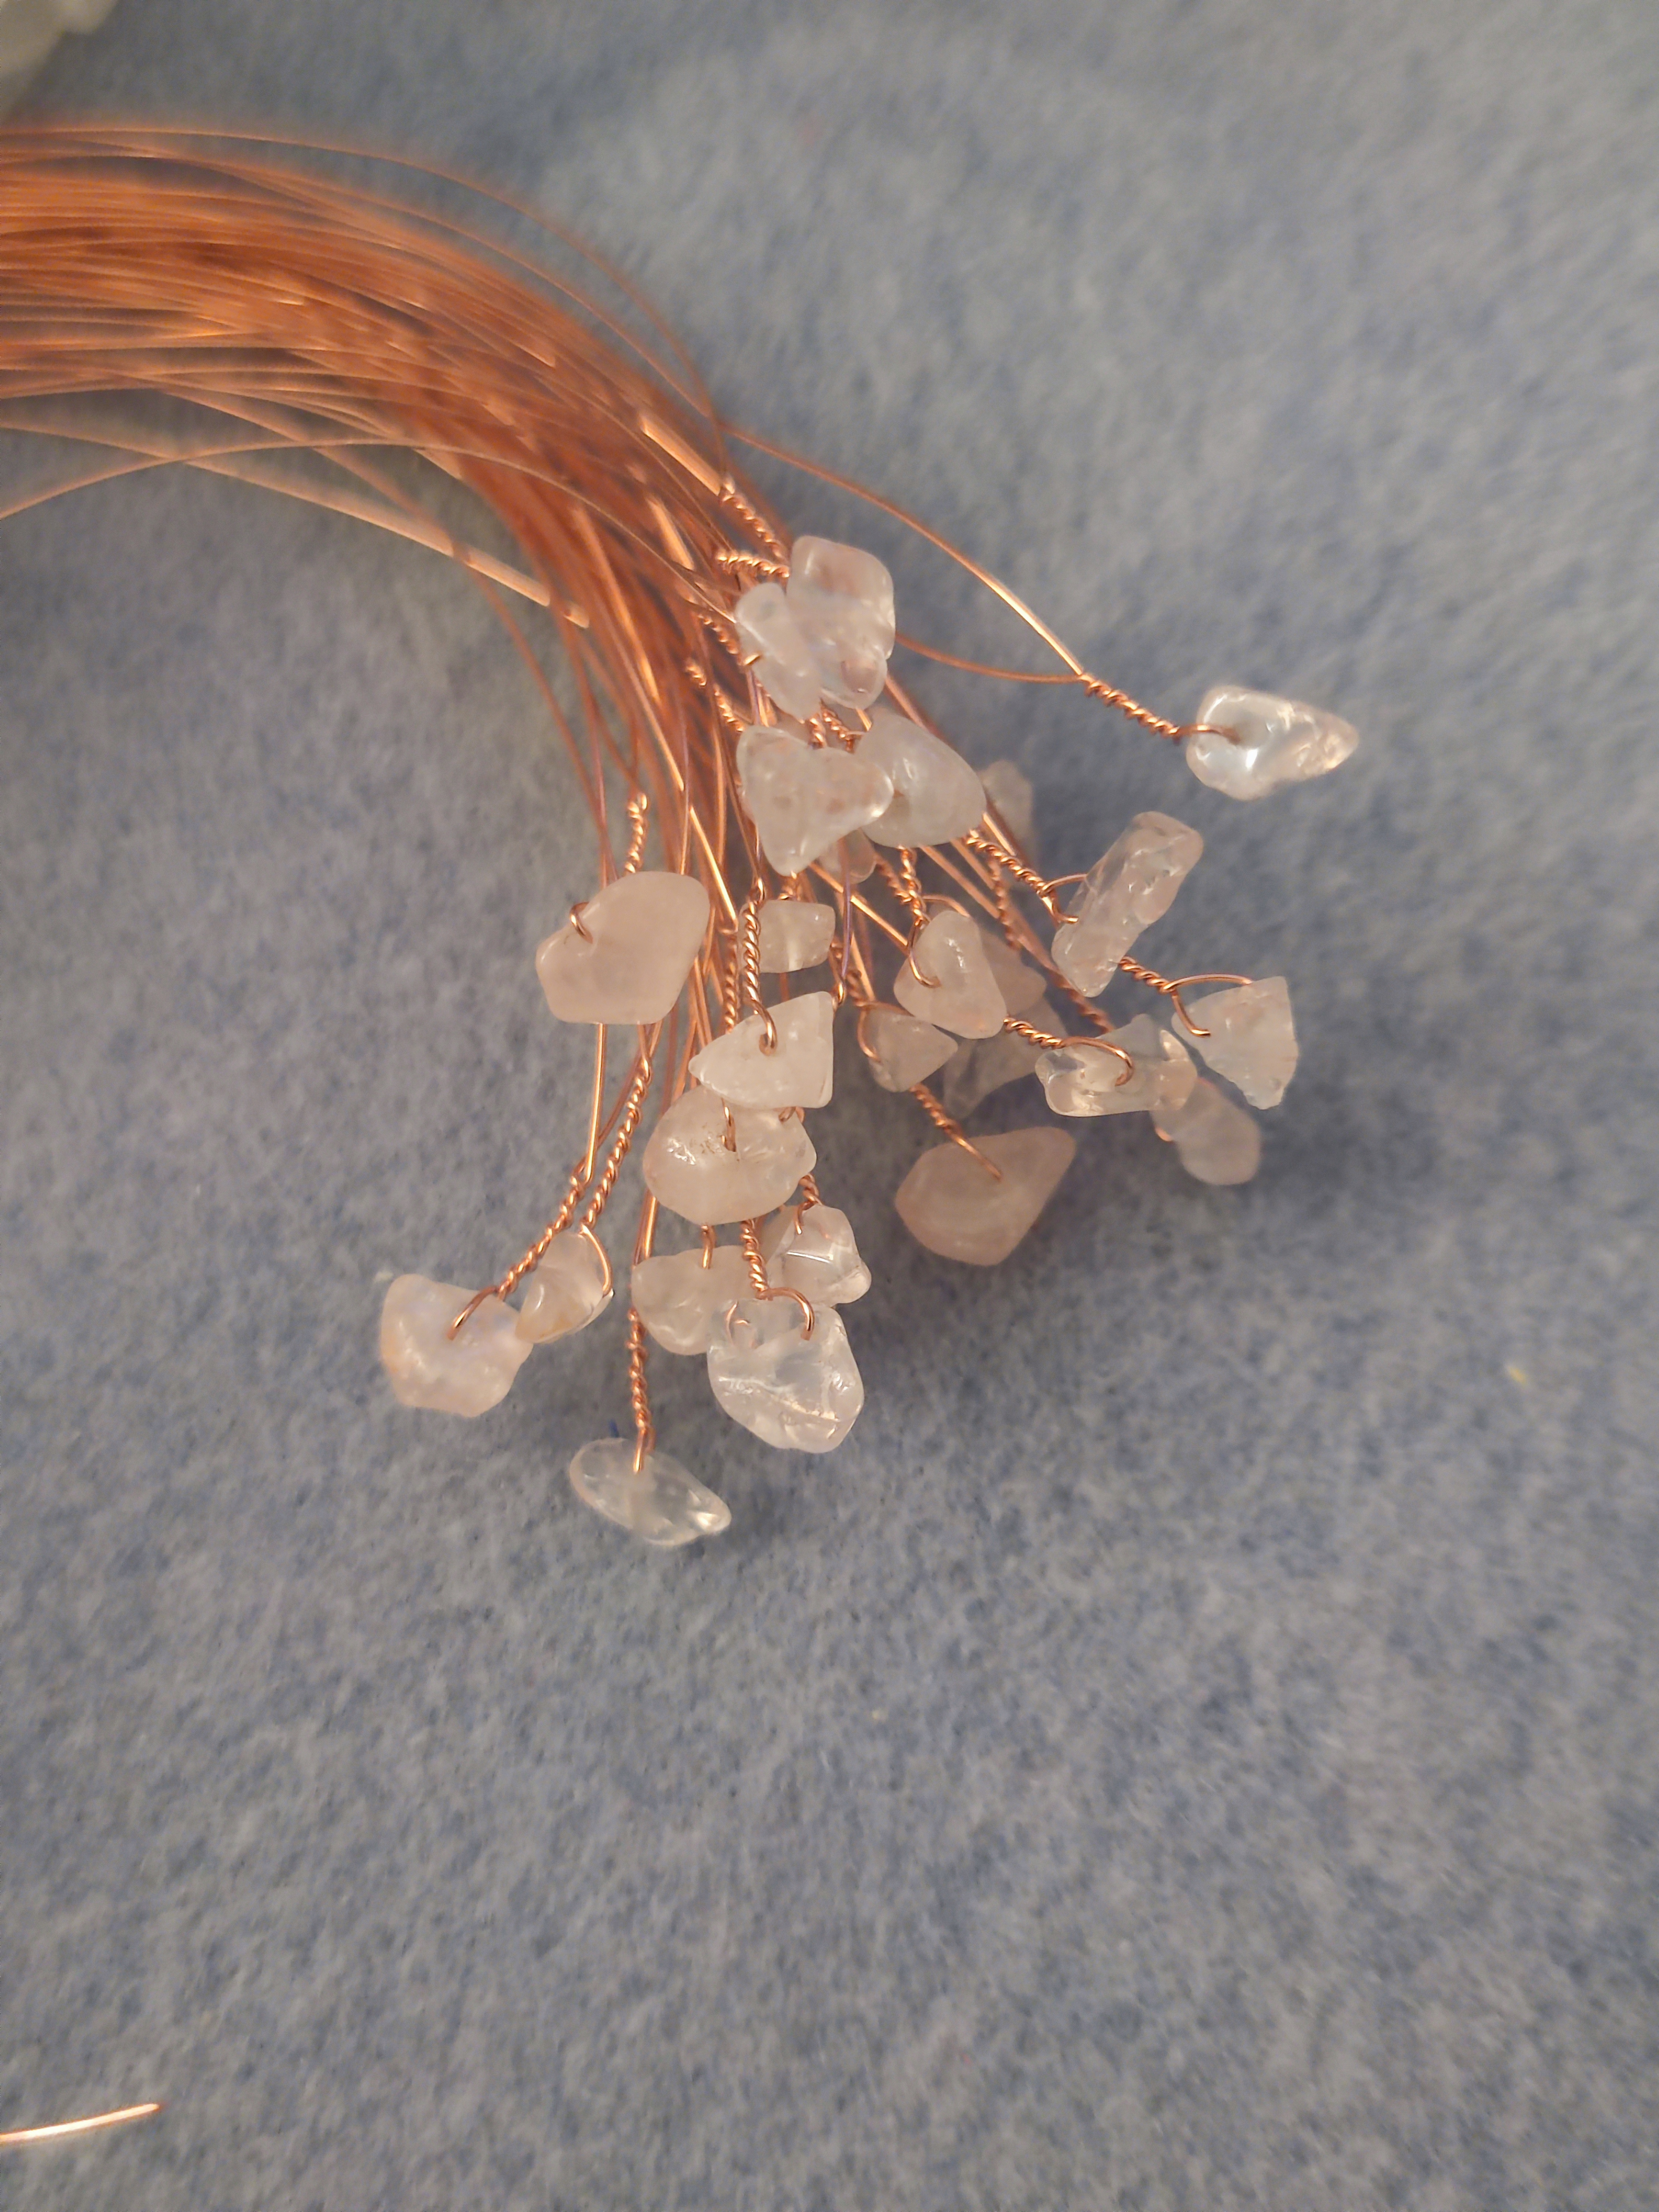
I started twisting the wires together in bundles of two and three to form branches and then the whole tree. After doing a preliminary check on how the tree would look, I think I ended up adding another bundle of 10 wires after this picture to make the tree look a bit better. You can untwist some steps if you make a mistake but it does get harder to do as the volume increases and the wires get bent more. I mainly used my hands to twist but jewellery pliers can also help relieve the pain.
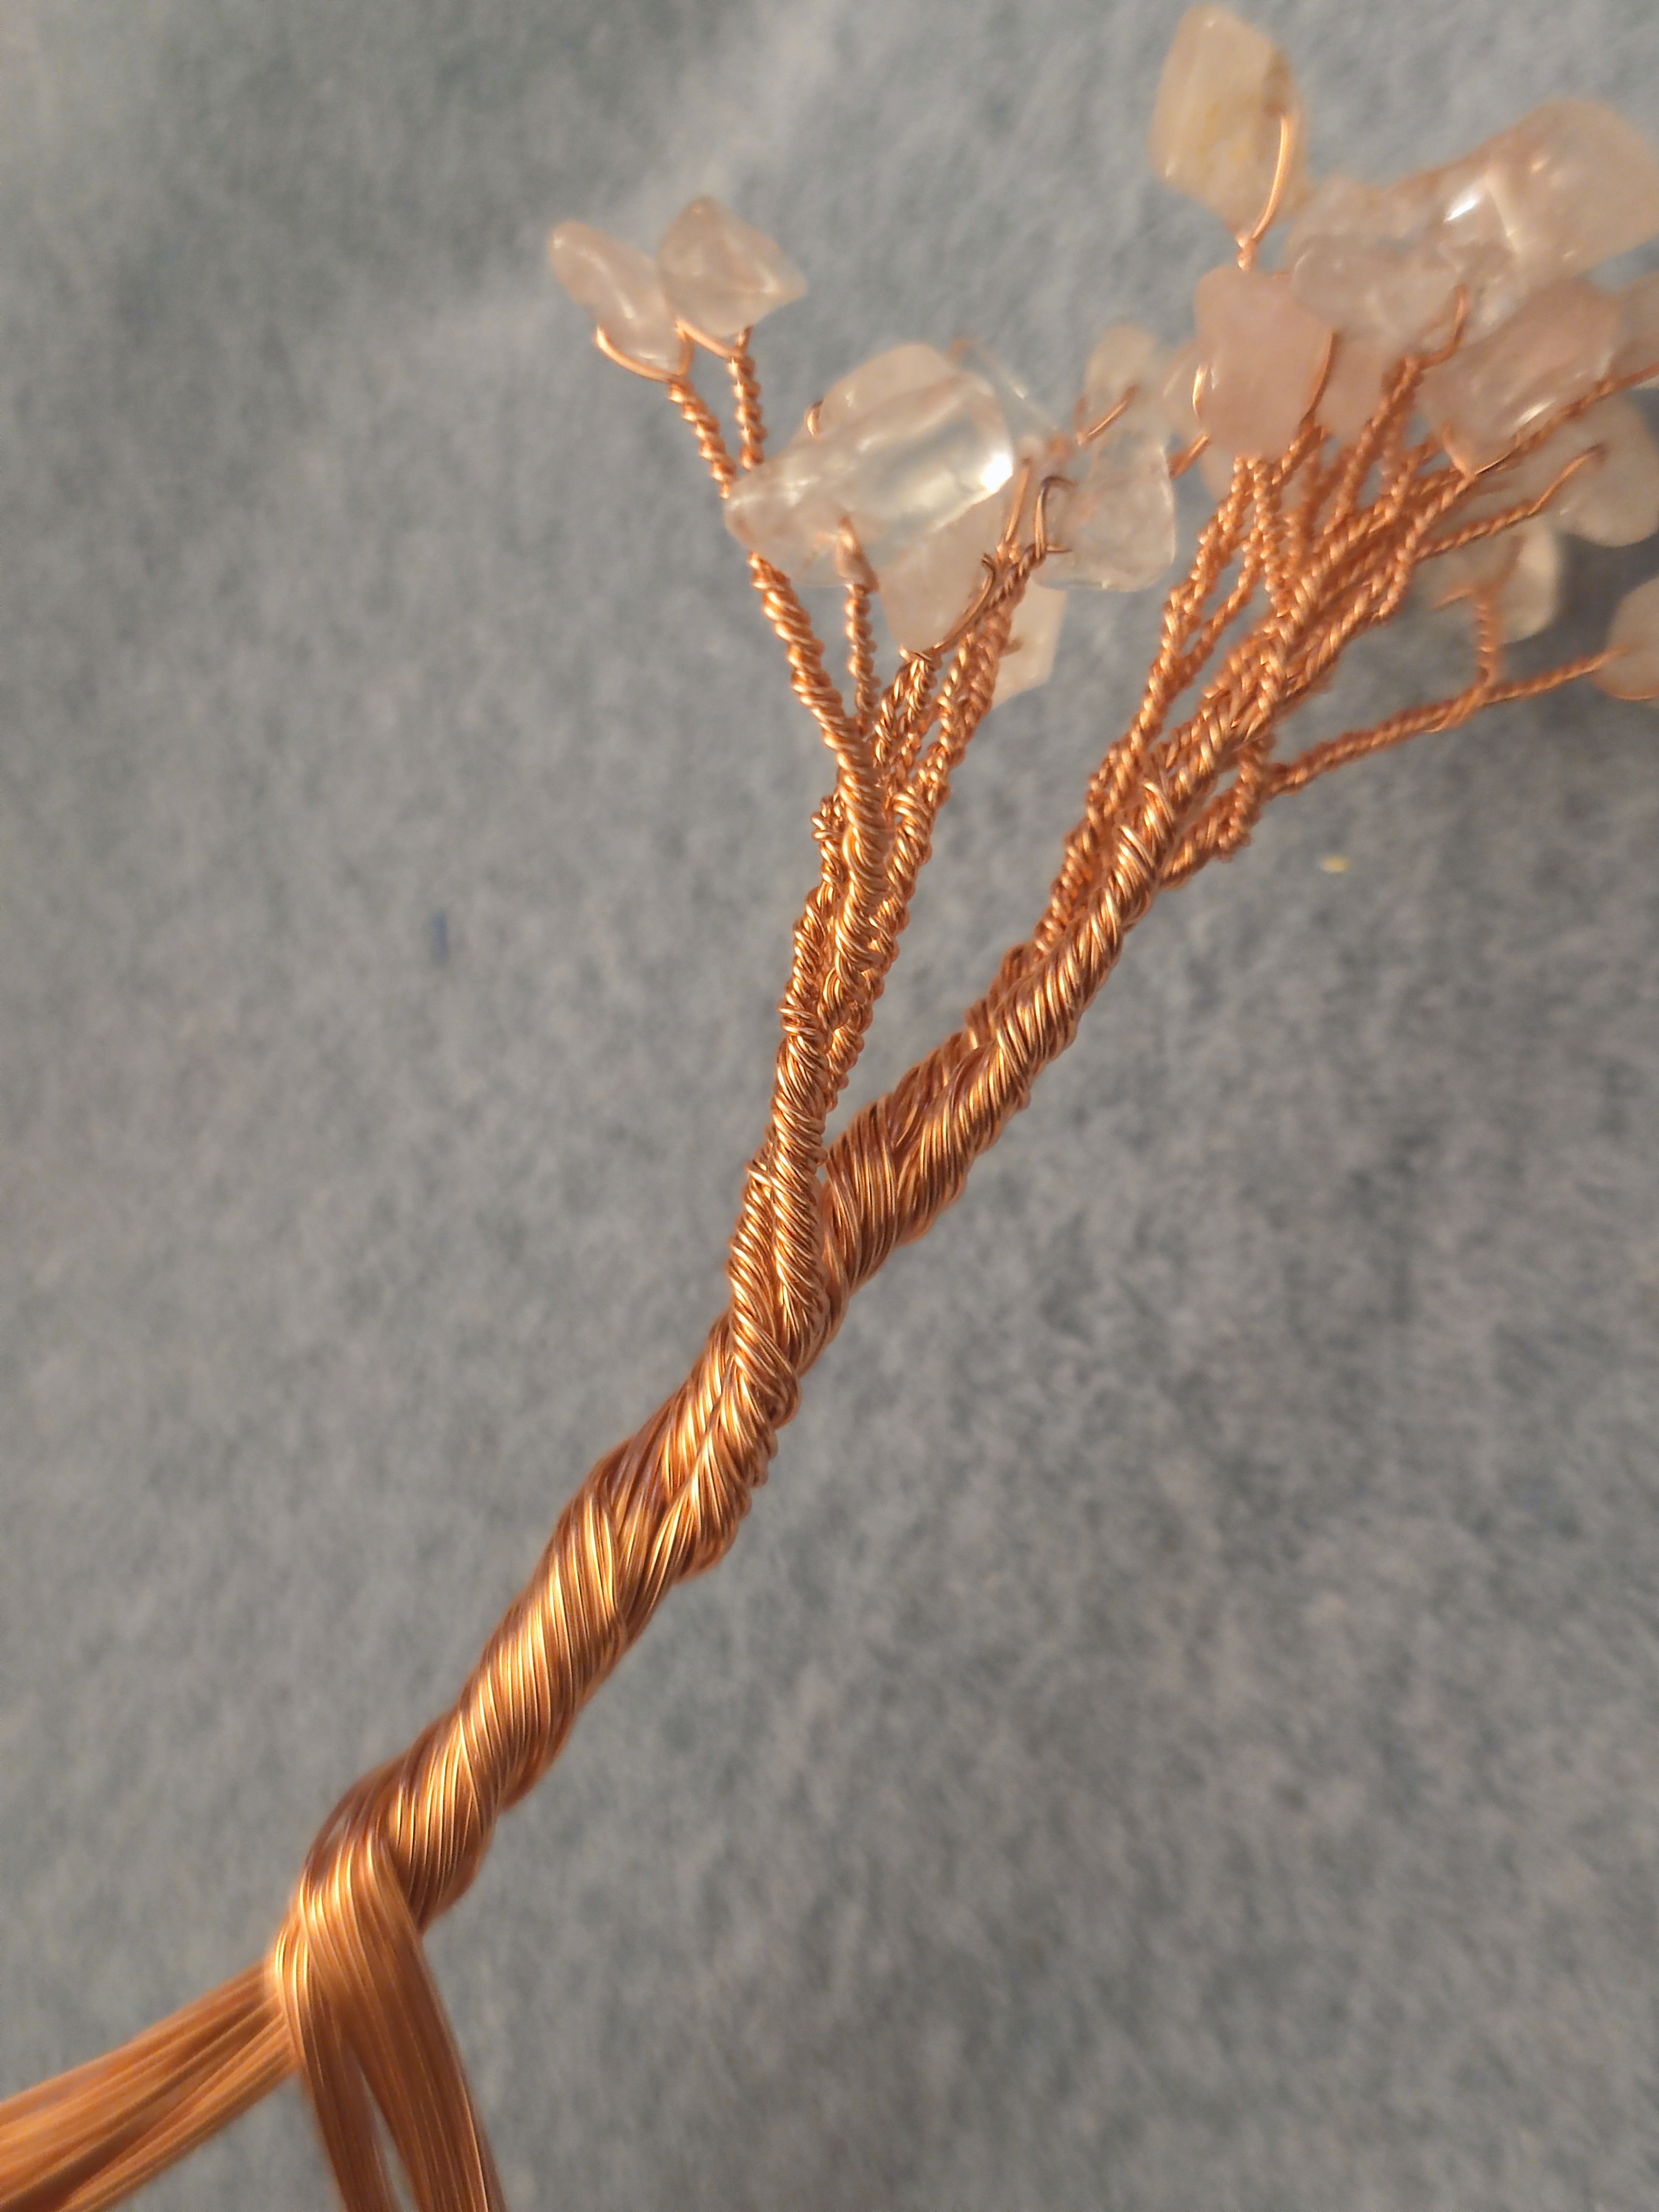
Once I was happy with the height of the tree, I then started separating out the wires and twisting them into roots. This part was a little dicey because the wire ends kept poking me whilst I was doing this step! I didn’t want to trim it quite yet. Actually, my tree wasn’t going to be tall enough to sit in the pot by itself, but I needed an anchor for the tree as I didn’t want to stick the tree directly to the pot. I checked outside for a stone to use and I found a really nice smooth flat pebble to use.

I trimmed the ends and then used Gorilla glue to stick the tree down. There are other sticky things you can use to better effect like epoxy resin but Gorilla glue is the most accessible for me. I actually found that it didn’t work straight away, and I tried reapplying it a lot, which can weaken the bonding process. In the end, I settled for putting a large amount of glue under the centre of the tree and a bit of the roots, then taping the roots with clear Sellotape and leaving it to work overnight (it says it can stick with minutes but also that it can take up to 24 hours). That seemed to really stick it down! You can see that I left a couple of marks on the pebble and that the roots are not fully glued down, but fortunately this will not be visible after I put it into the pot.

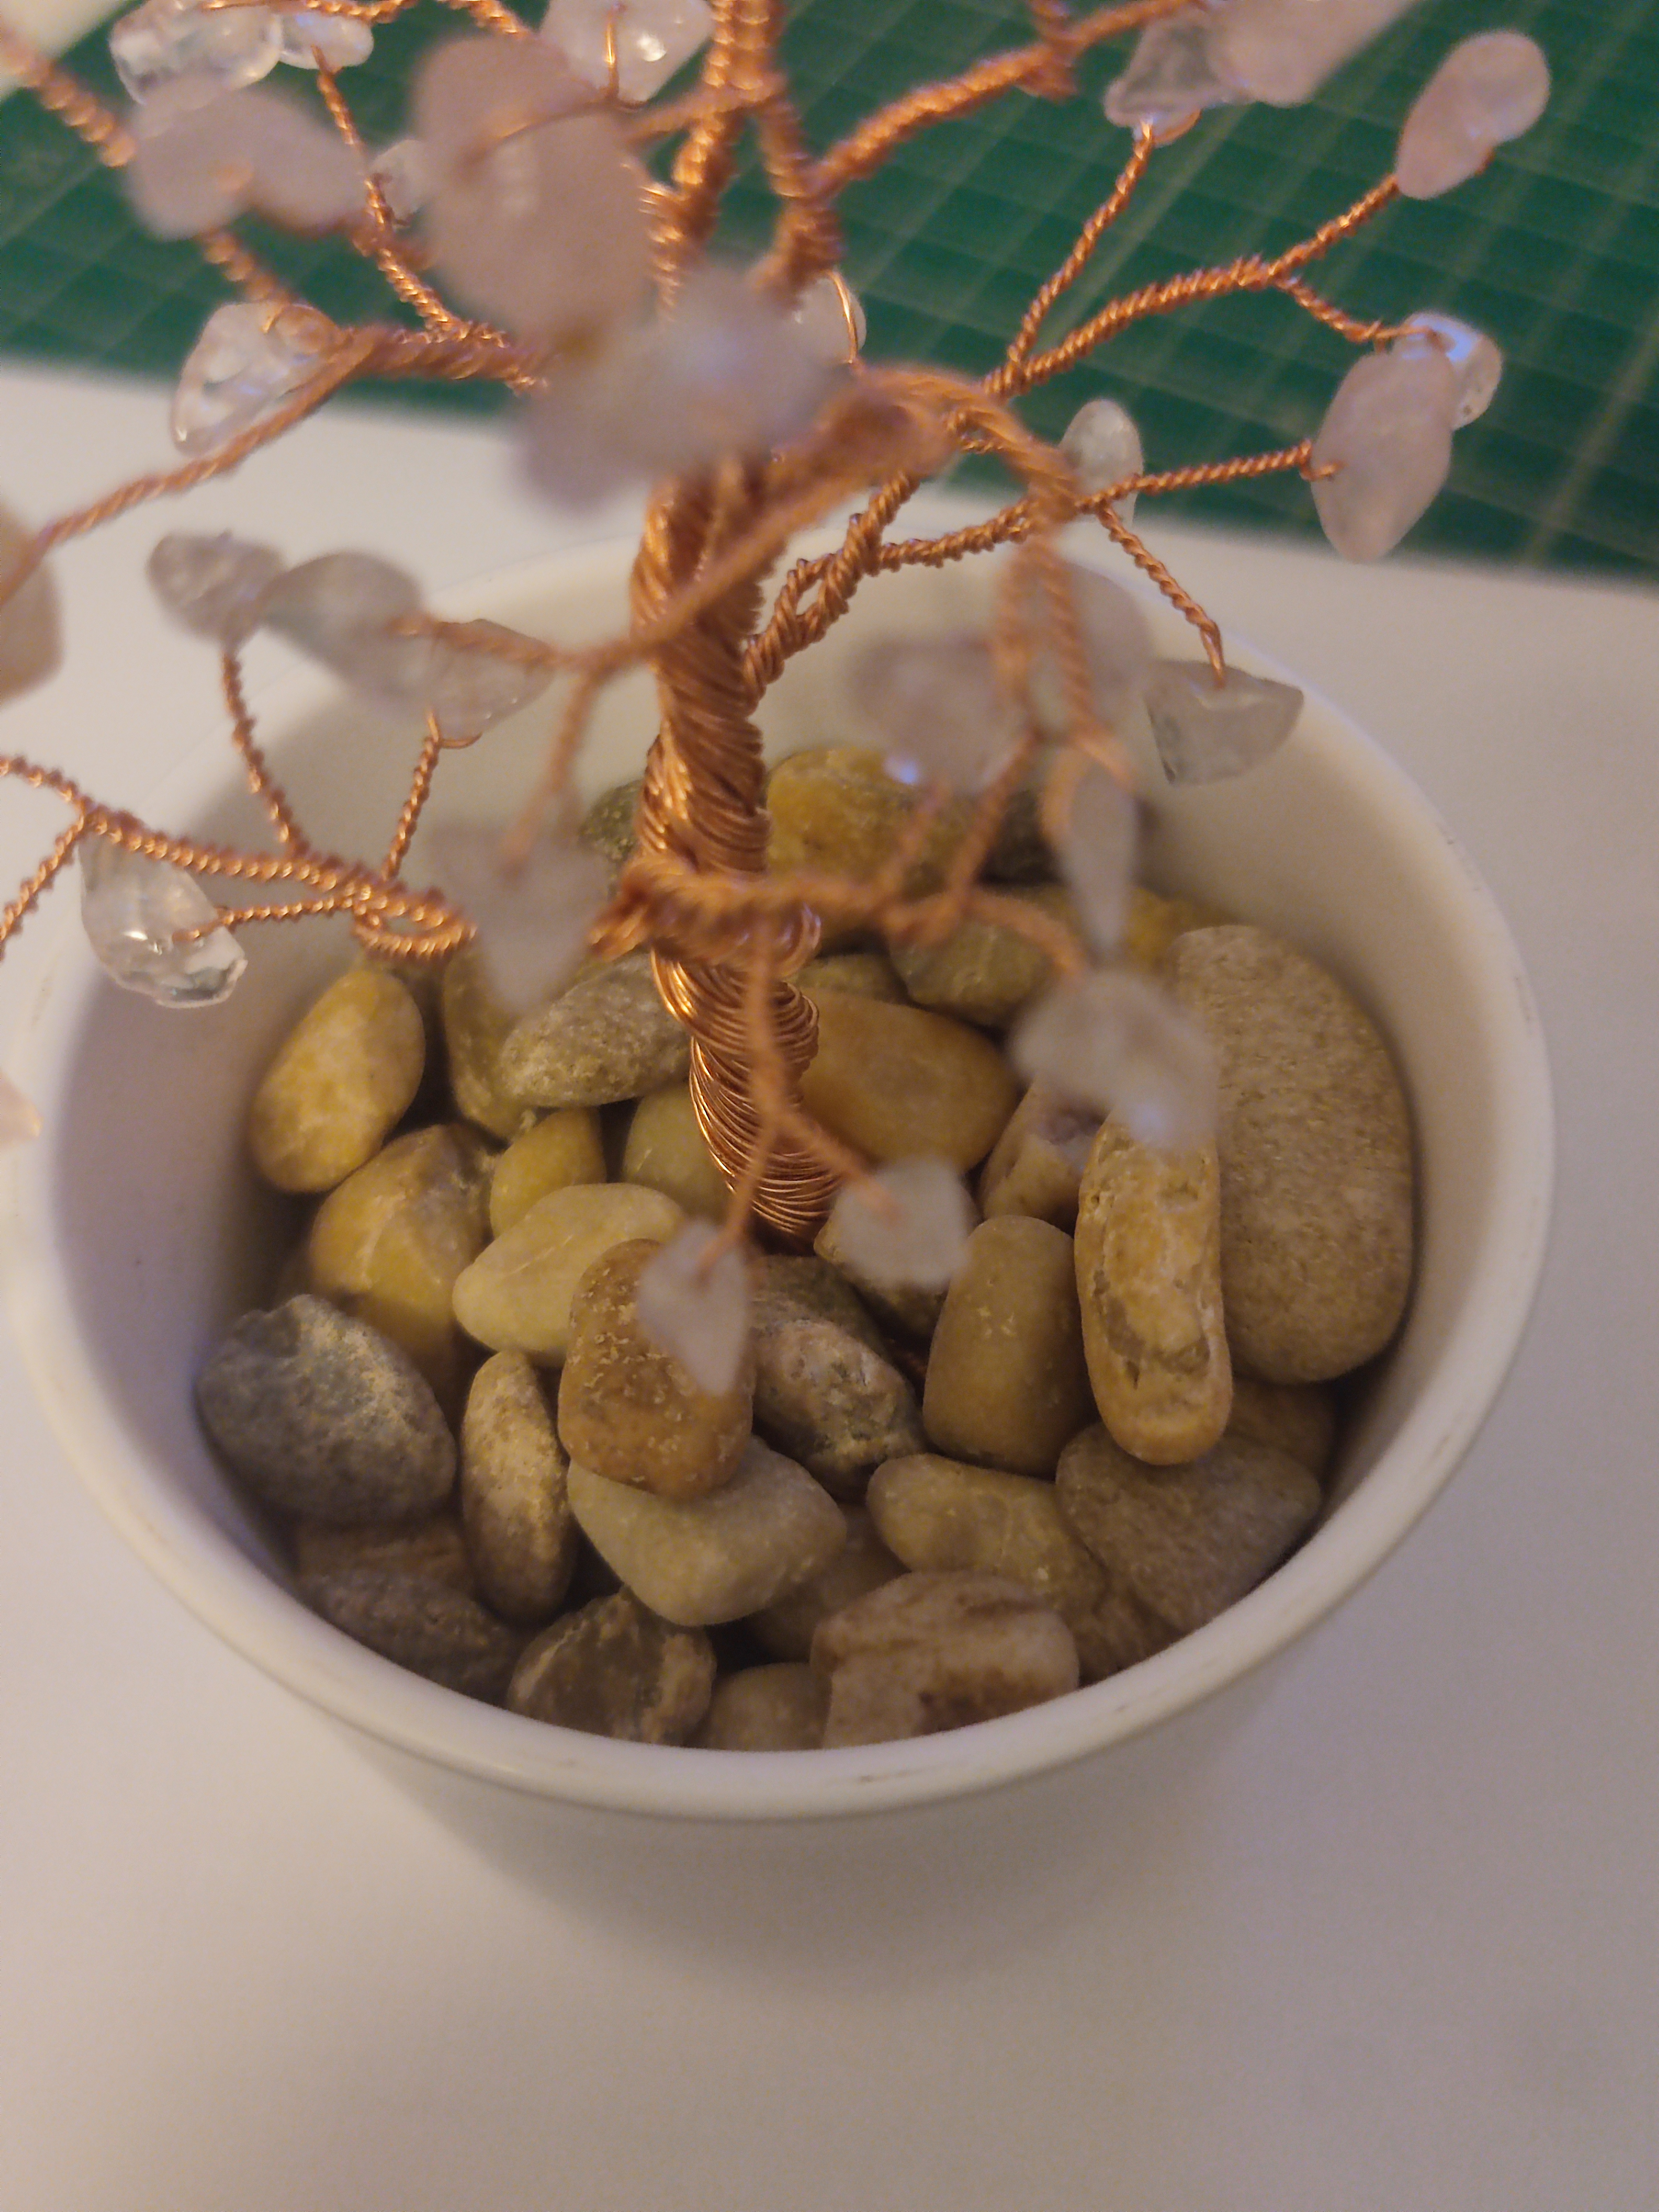
A perfect fit for the pot! It also adds a little extra height to make sure that the tree branches go past the top of the pot. I had a tub of polished rocks left over from previous projects (super handy for people like me who like making indoor plants!) and filled the pot up until the large pebble and the roots were no longer visible.
To really secure the plant down, you can use epoxy resin to glue the small rocks together and make sure that it doesn’t spill out when it gets knocked over. You could use superglue or Gorilla glue but it would take an extremely long time for me just to secure this small quantity. I just have to be careful not to knock it over for now…

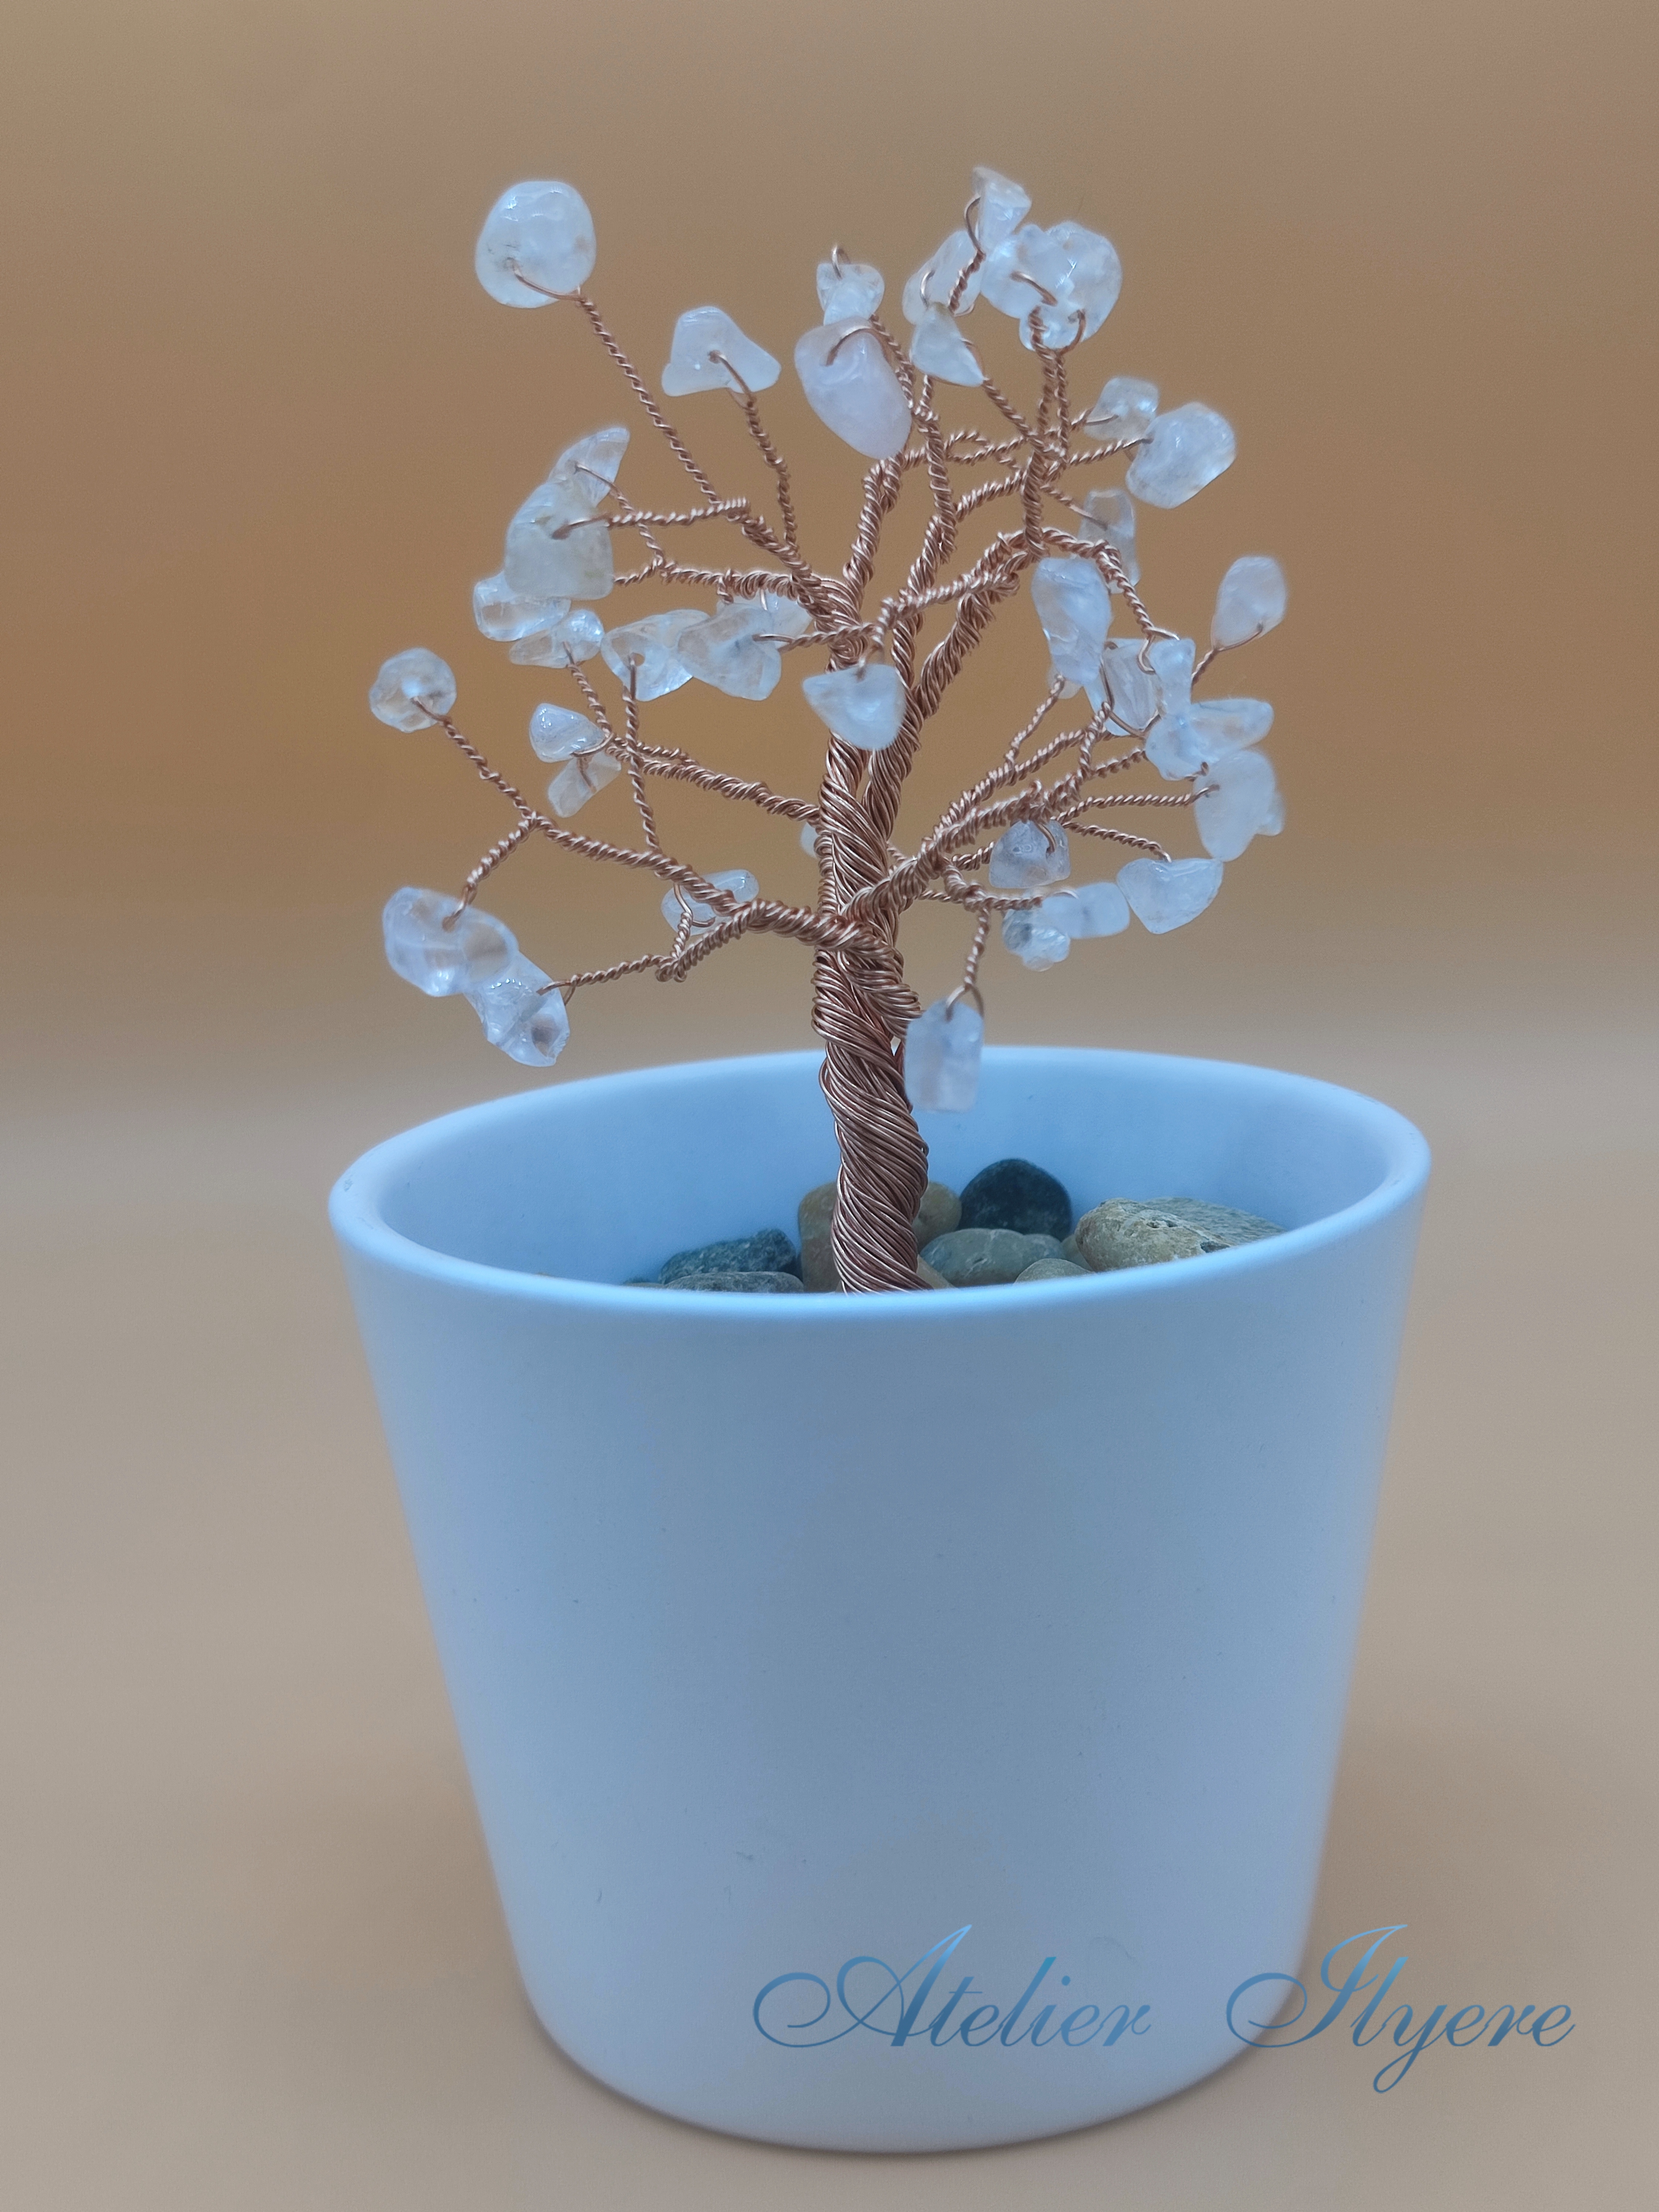
I think I’ve done so much better with this gem tree attempt compared to my previous two attempts. If I needed an area to improve on, I could have added more leaves to the tree and make it more rounded out, but I really think it is a minor nit-pick. Overall, I’m extremely happy and it will look great sat under my computer monitor.
Mini pot #1 done! I have ideas written out for the other three pots, I just need to check if I have the materials lying around.

Materials needed:
– 0.4mm copper wire
– rose quartz gemstone chips (~40)
– assorted pebbles
– small pot
– Gorilla glue
Tools needed:
– jewellery pliers
– wire cutters
