
Happy start of autumn! Sorry for the late update but this post will be a little different to the usual stuff – I became horrendously sick in the middle of September and was not able to focus on work or hobbies for a while, so my plans have been slightly derailed.
My original idea was to come up with a plan or a test-run of an origami piece to hang up as a centrepiece for an event. I have been folding a lot of origami cranes recently for an upcoming project so I figured that I didn’t need another art project using them. I have worked with origami butterflies before (I made this small butterfly curtain and this butterfly frame) and the sight of lots of butterflies hanging off a chandelier sounded like it would be really impressive so I did start folding a few.
When I first learnt how to fold one, the Yoshizawa butterfly was my go-to for most projects. (Here is a link to instructions on Origami-Instructions.com if you’d like to try it for yourself.) Although it was my favourite form, I did find that using smaller-sized paper to fold it would cause issues with the part where you folded the model in half as the little triangular head on the top would either not stay in place or tear down the middle. Sometimes I chose not to fold the head twice to reduce stress.
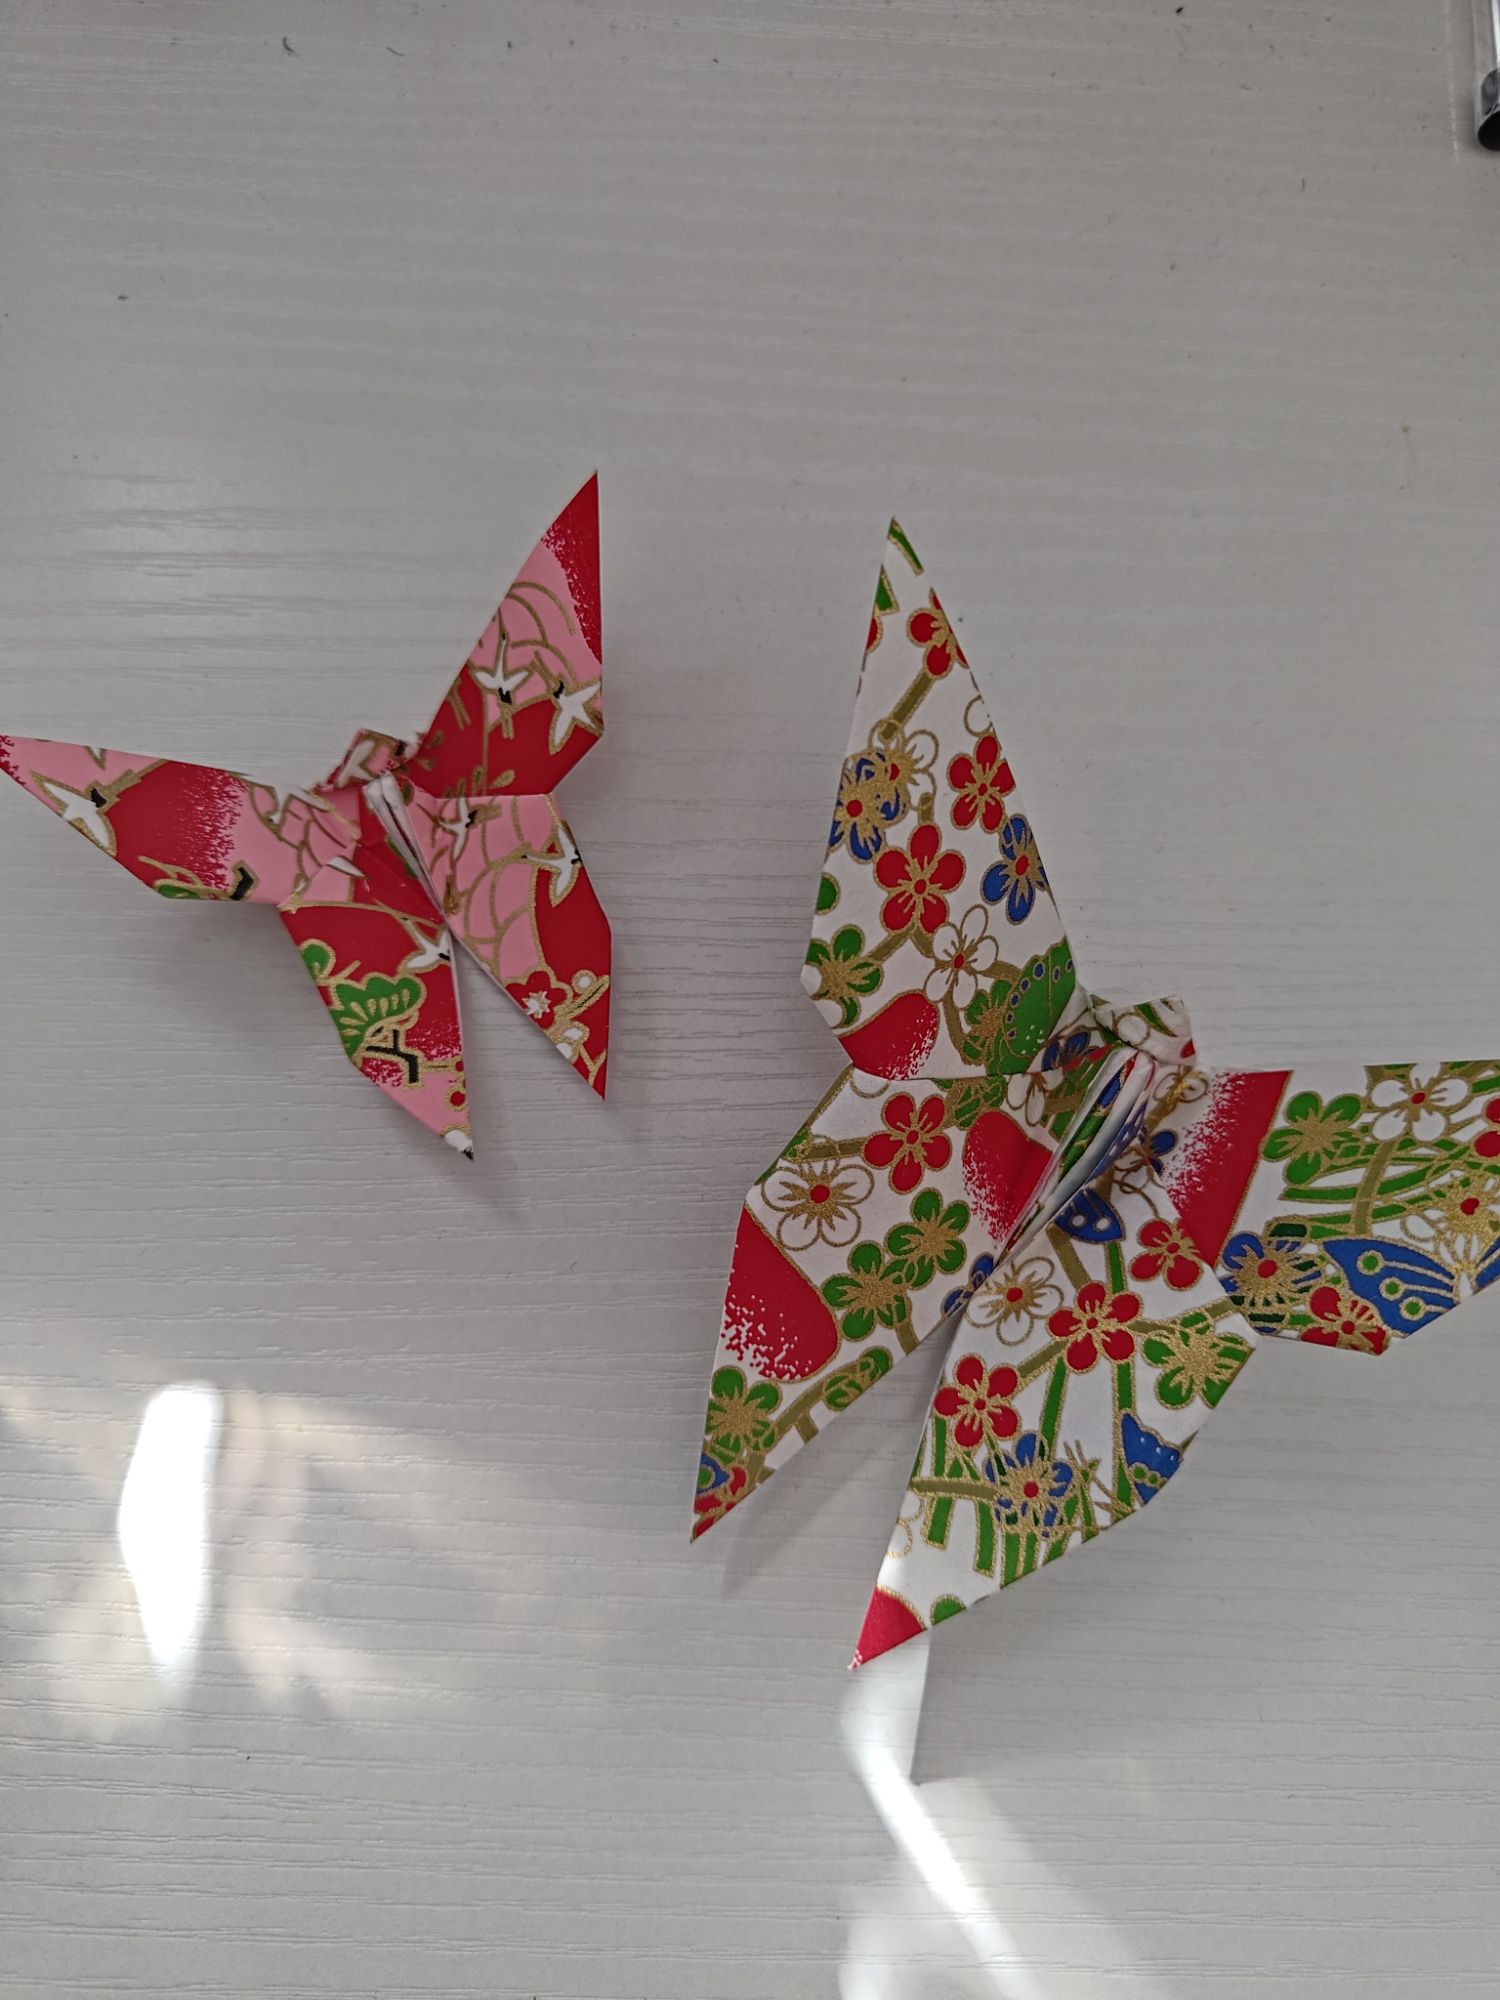
Some people prefer the other Yoshizawa model v2 (again a link to instructions from Origami-Instructions.com) as it creates a butterfly with more rounded wings so it looks more like real life. It is a bit harder to fold compared to the previous one as it doesn’t start from a water bomb base, and generally I did not use this form as much because one-sided paper makes the white visible on the other side. However if you were displaying them in a way such that only one side was visible at all times, then I think this does look nicer. It also comes out much smaller than the first form so you may need to use larger paper.

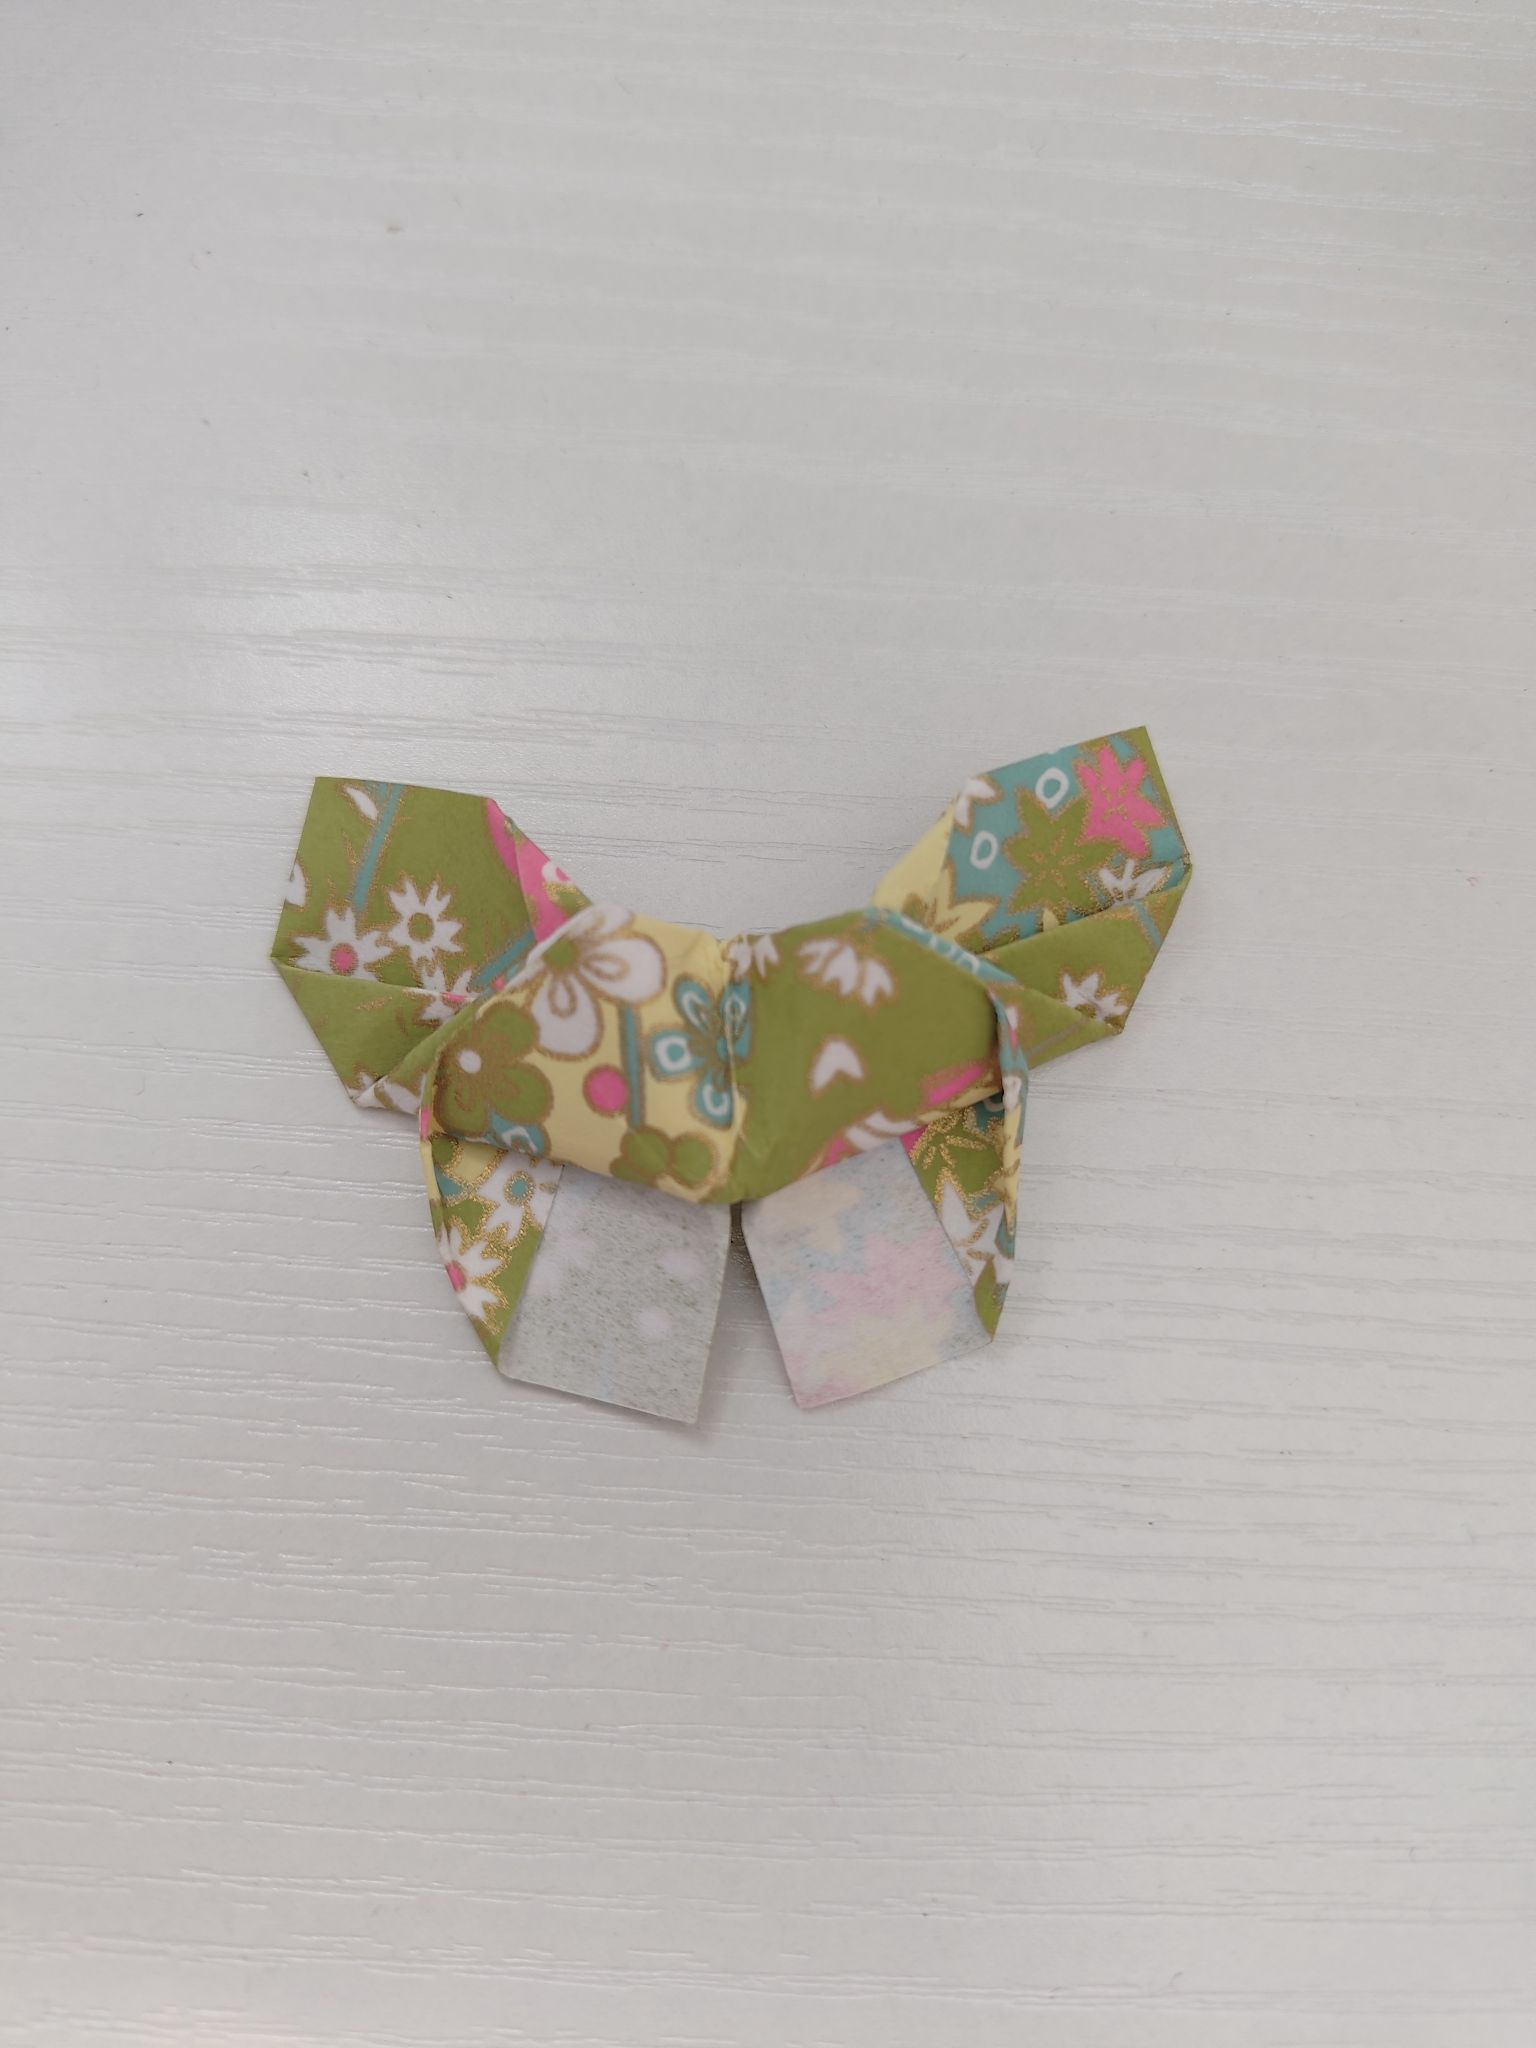
I recently found out that there is a slight variation on the first butterfly (here is a link to instructions on GoOrigami.com) that not only is easier to fold but also adds a bit of 3D depth to the butterfly. It requires not flattening the butterfly and only needing to do one fold for the head instead of two. Here I folded it using plain printed one-sided origami paper.


You can also elect to round the corners off. What I did was fold the corners up to the middle line as usual, then unfolded it and clipped the corners off with a round corner cutting tool for cardmaking. You can use a pair of scissors if you do not have this but you need to be accurate with the symmetry. Then fold the rest of the model. The result is a butterfly with rounded wings, similar to the v2 but it does not have the downside of seeing the white part of the paper. However if the paper is misaligned in any way when cutting the corners off, it can affect how the wings look at the end.


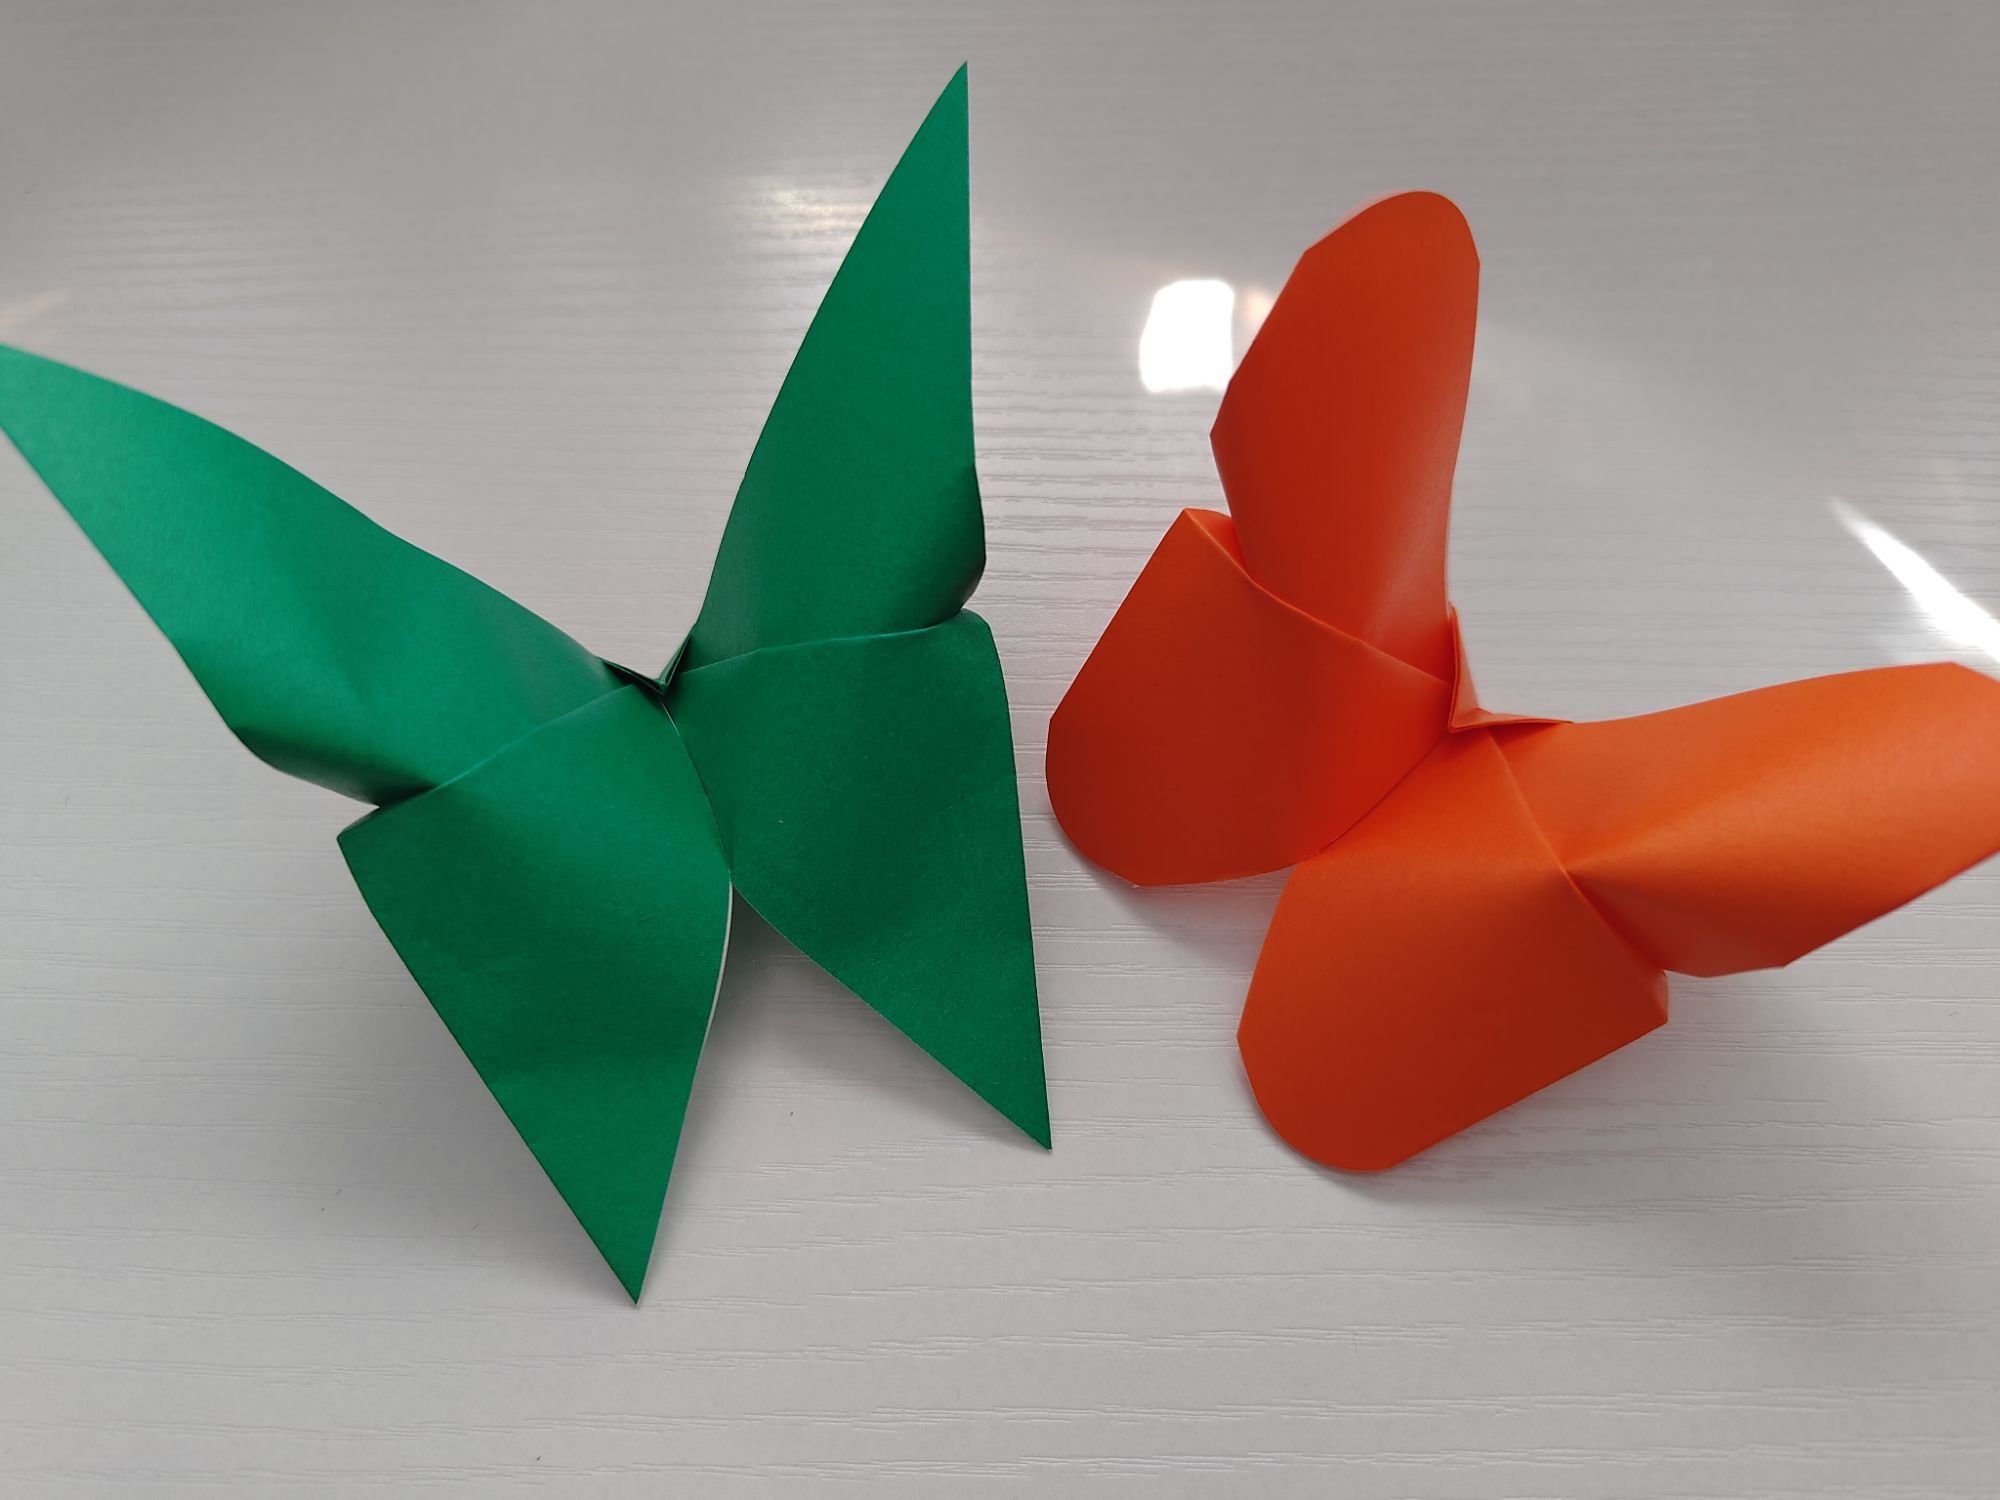
I like this version of the Yoshizawa butterfly a bit more! It’s far simpler to fold as there are less steps and the depth would look really nice hanging from the ceiling. From 15cm square paper though, these butterflies come out huge – I would definitely fold them from smaller paper if I was planning on making a lot.
My original idea was to make a small mobile with origami butterflies. I had the round bamboo hoop, the nylon thread, and the paper to do everything… It turns out that nylon is pretty hard to work with! It may be clear and invisible but it needs to be properly straightened or the kinks in the thread will affect how the thread hangs. I will get a different thread type and try again! But I did fold some butterflies from plain double-sided rainbow paper. I had some 7cm square scraps from my previous project of the rainbow crane frame. This size would be good for a small mobile but not for a larger centrepiece.
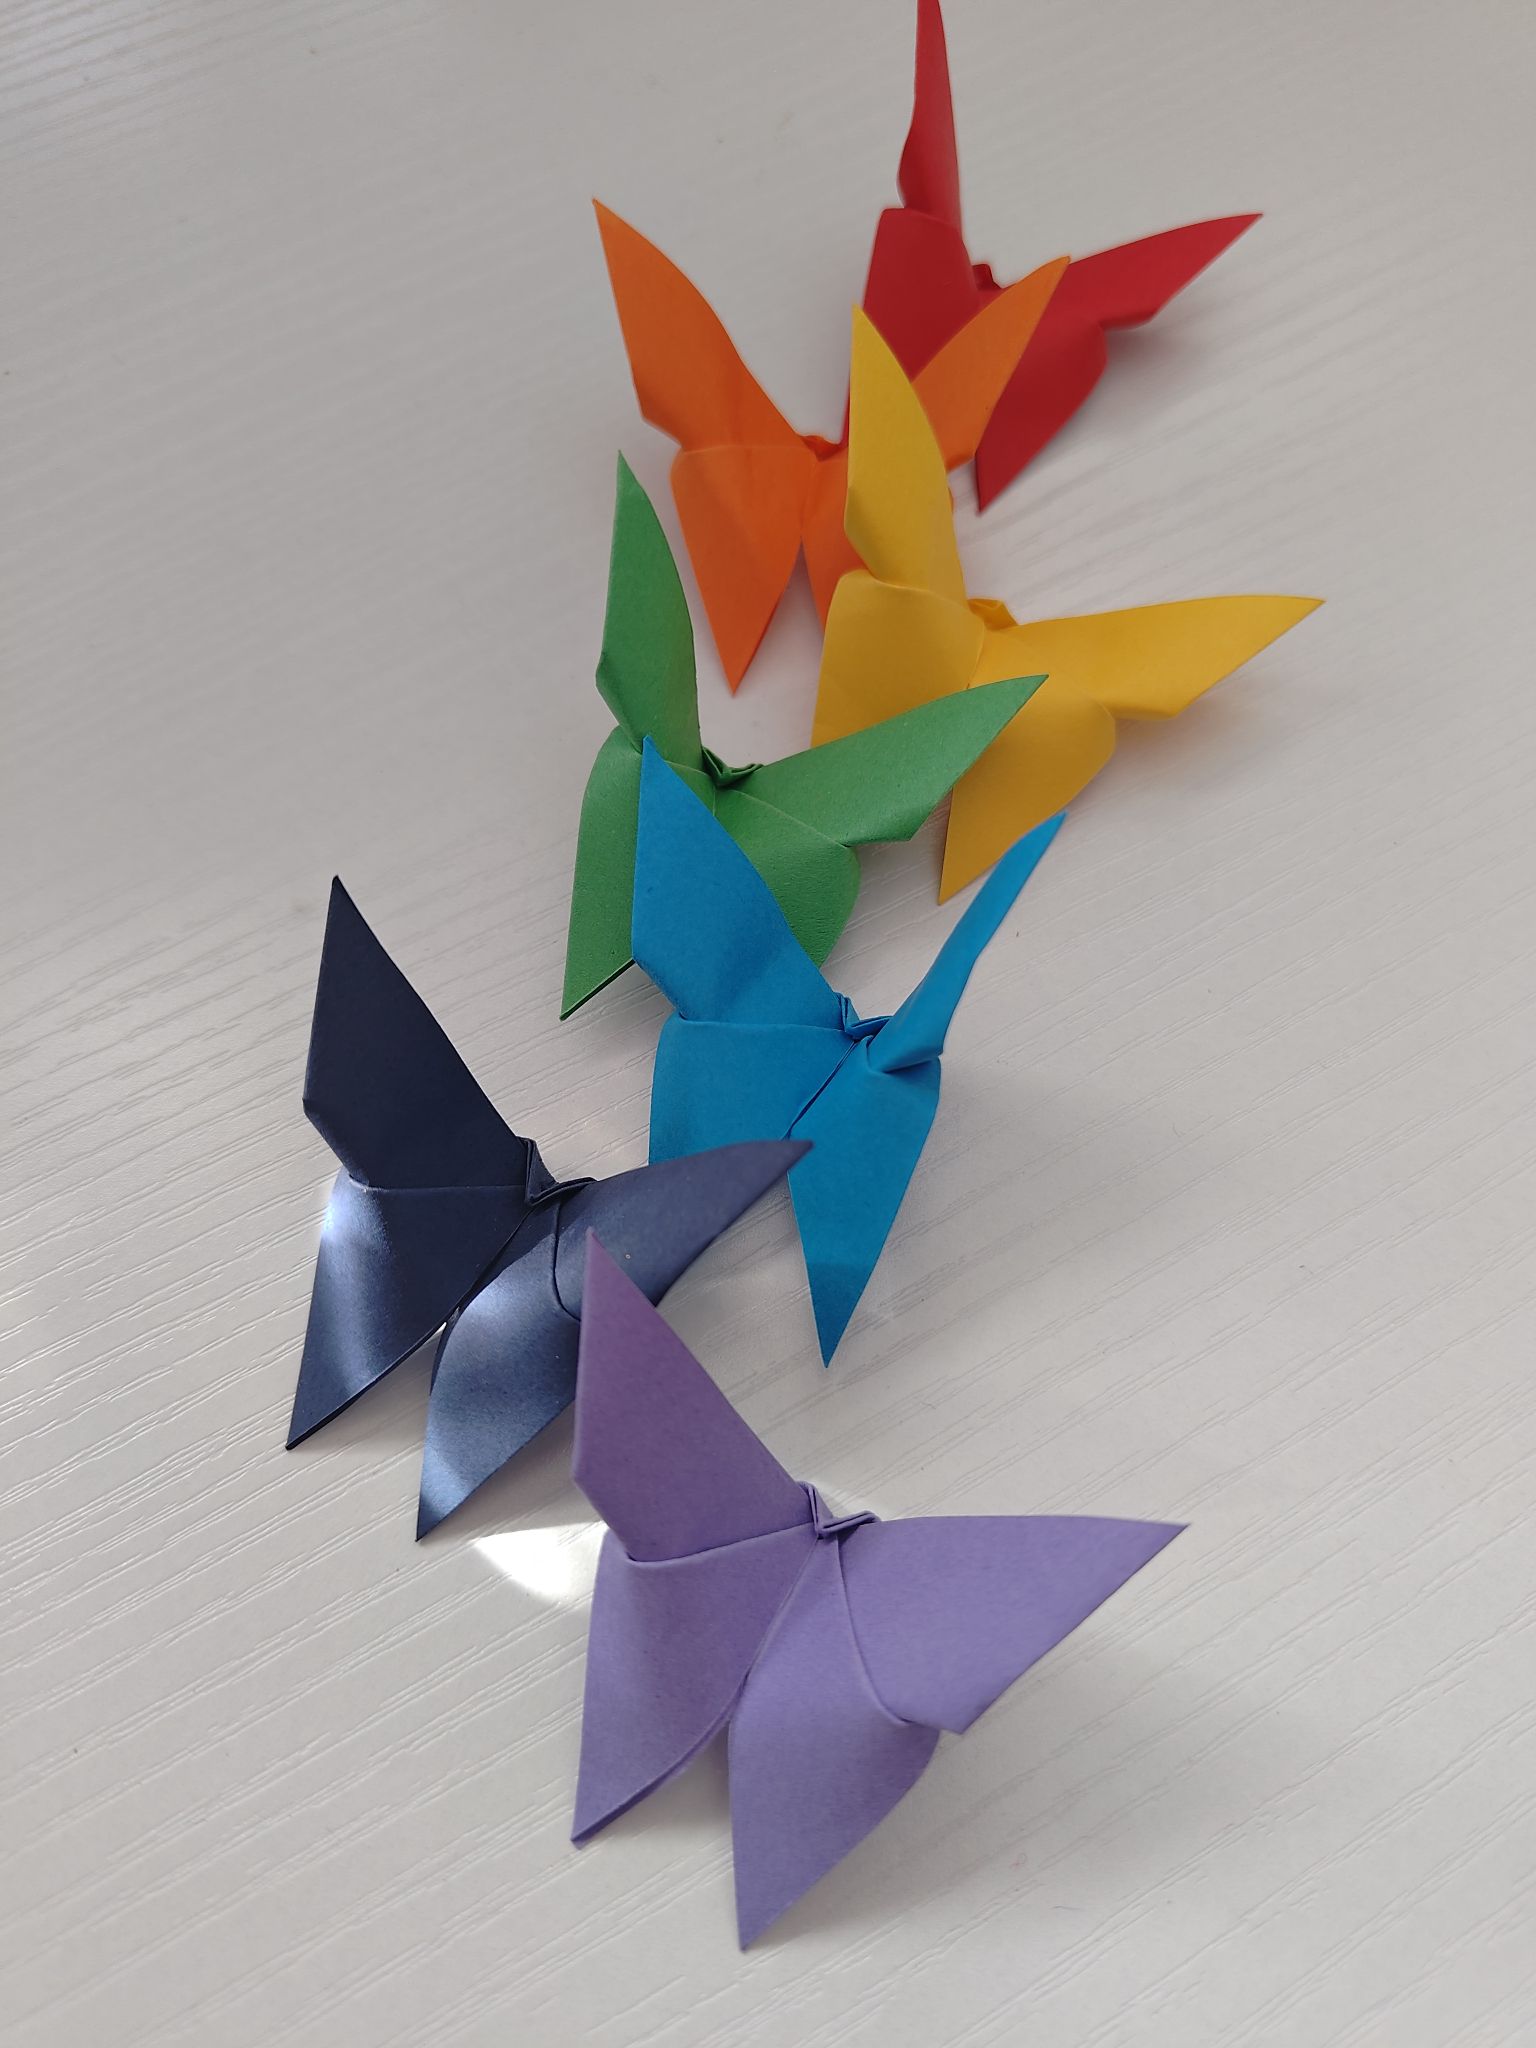
The end result was that I quite like the 3D Yoshizawa butterfly with the rounded corners the most. 7cm was too small and 14cm too large – well fortunately I ordered some packs of 9cm washi so I think I’ll be using this for a future project. I just need to figure out the best way to hang them up. And sorry to be so vague about all these projects I am working on – I am not quite ready to share them as I do not want to be hasty with any announcements!

Materials used:
– washi in various sizes
– plain coloured paper in various sizes
