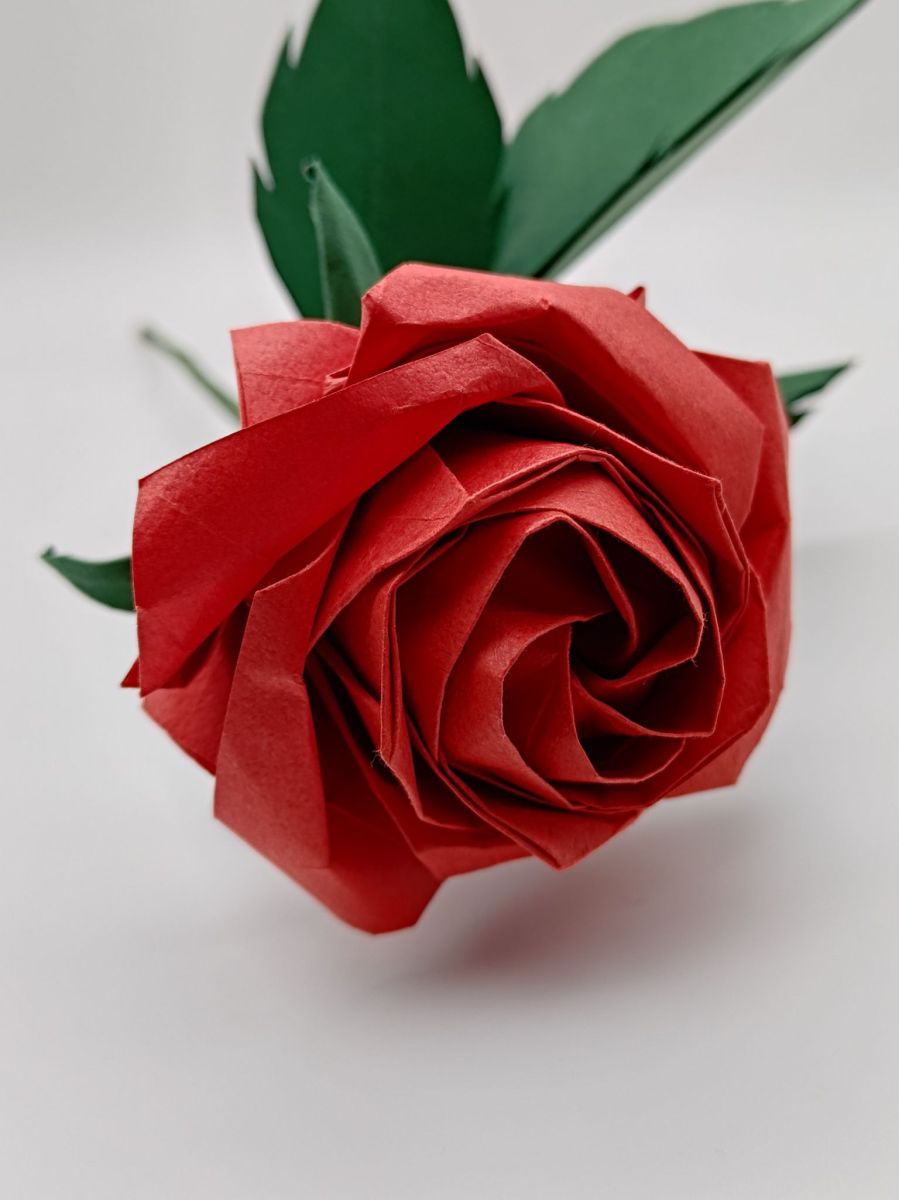
February 14th is Valentine’s Day and no flower represents love as much as the rose does!
A bit of trivia actually; the first rose that I actually learned to fold was the Kawasaki rose, full bloom version. It is an easy-to-intermediate level design that creates a square four-petal rose and you can vary the folds to create different stages of bloom. But since it looked rather angular, I searched for other methods of making a rose and came across a pentagon rose. It is called that because you start with a pentagon (cut from a square), although some people also call it the Sato rose after the designer Naomiki Sato.
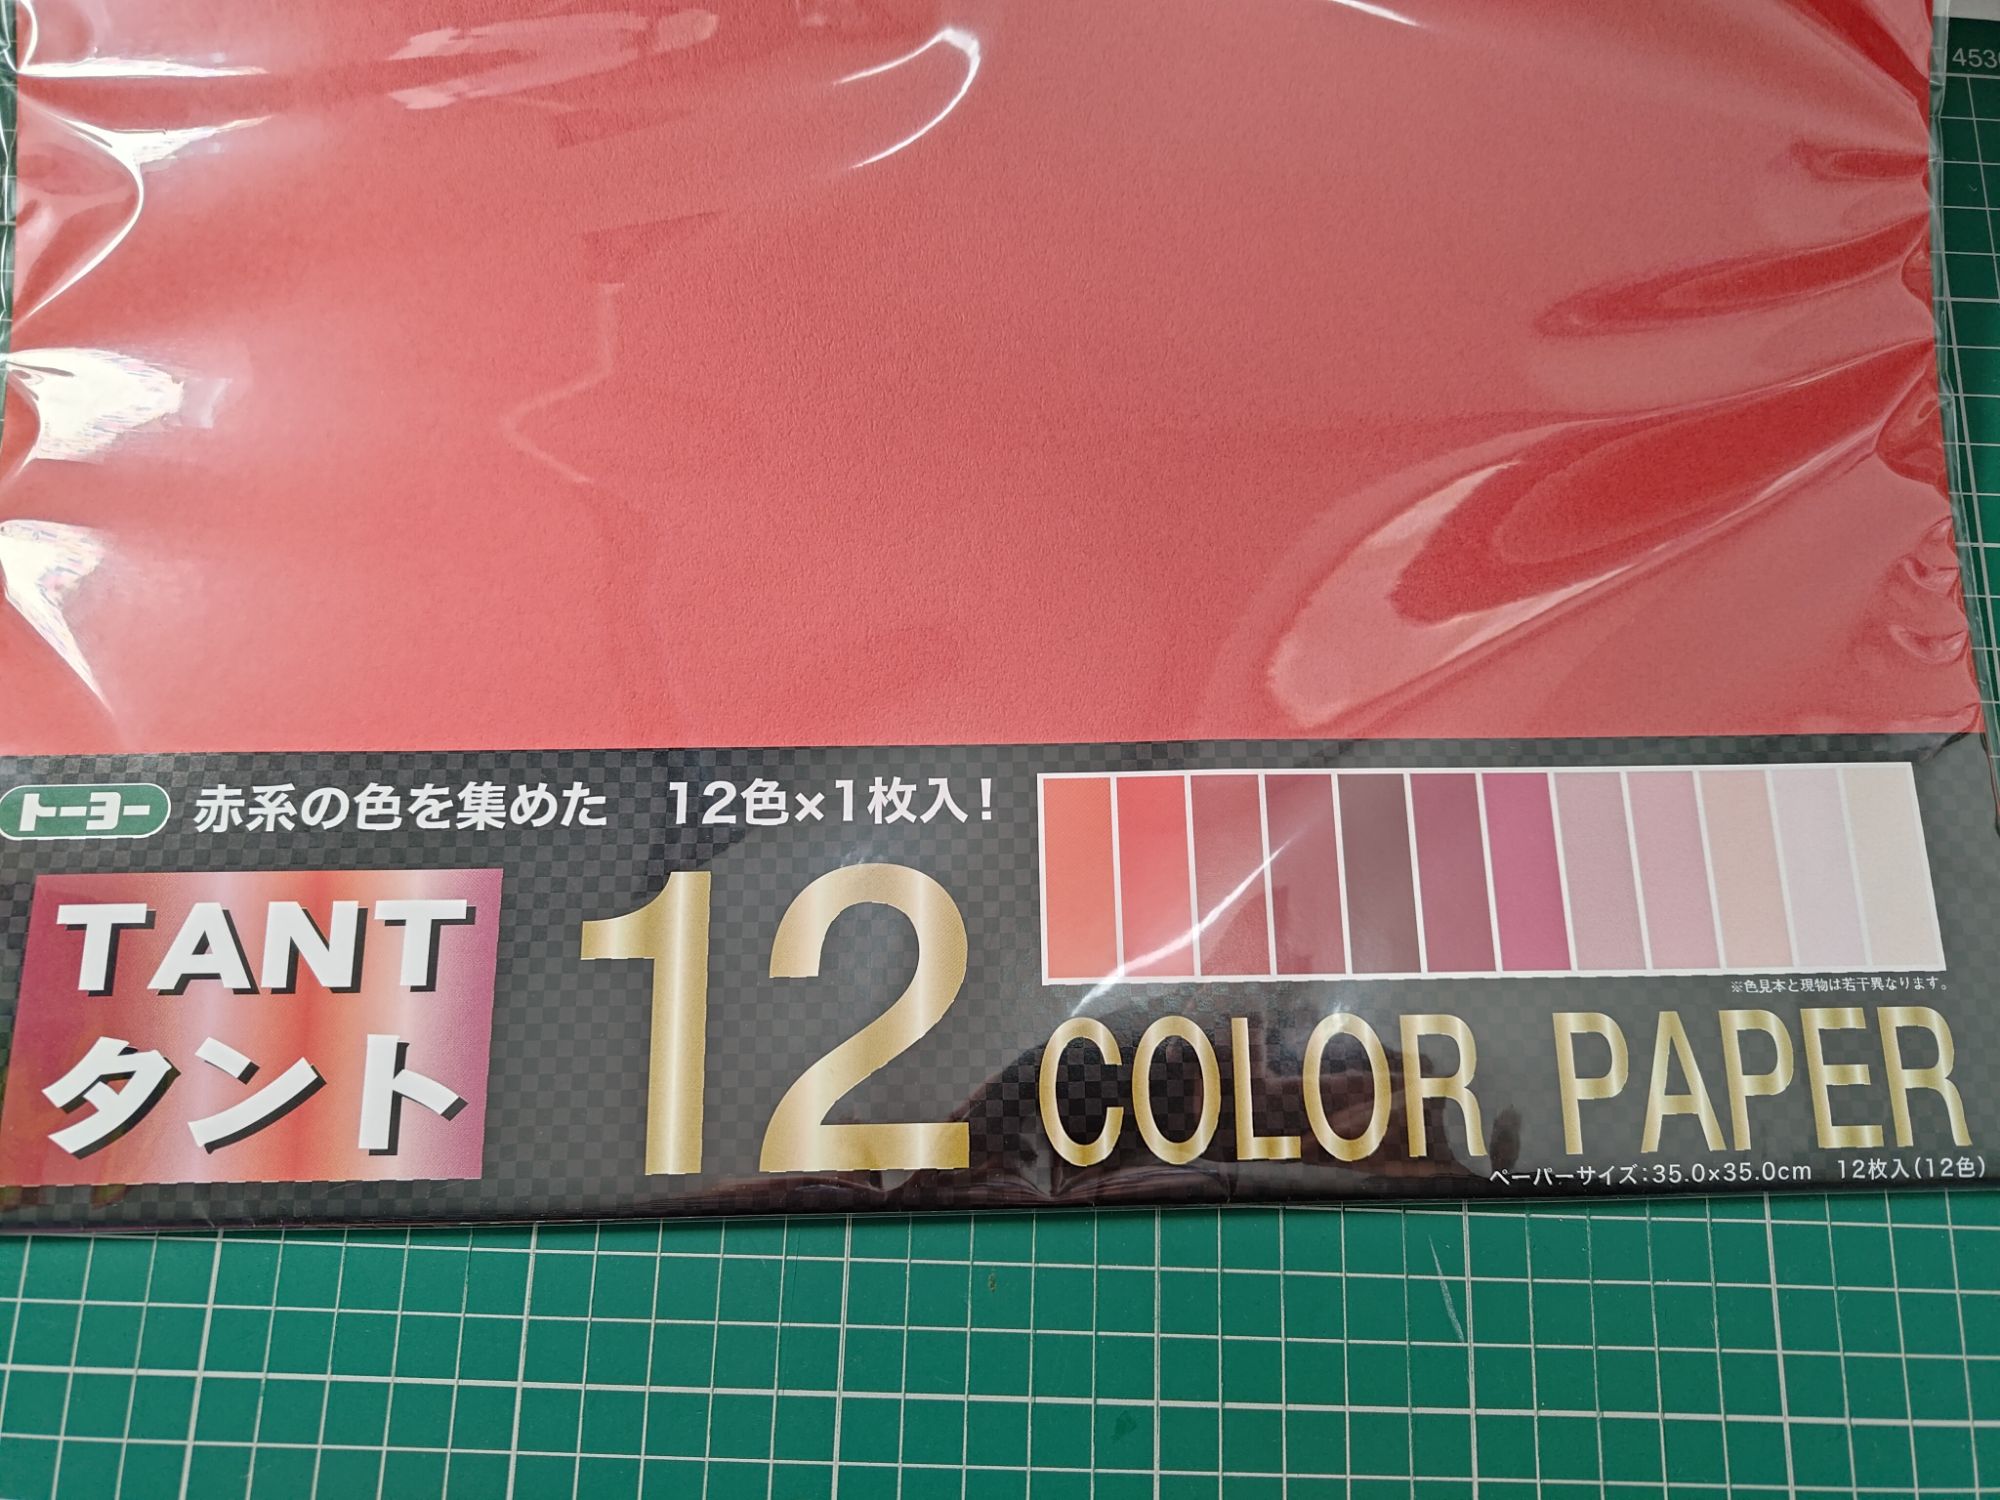
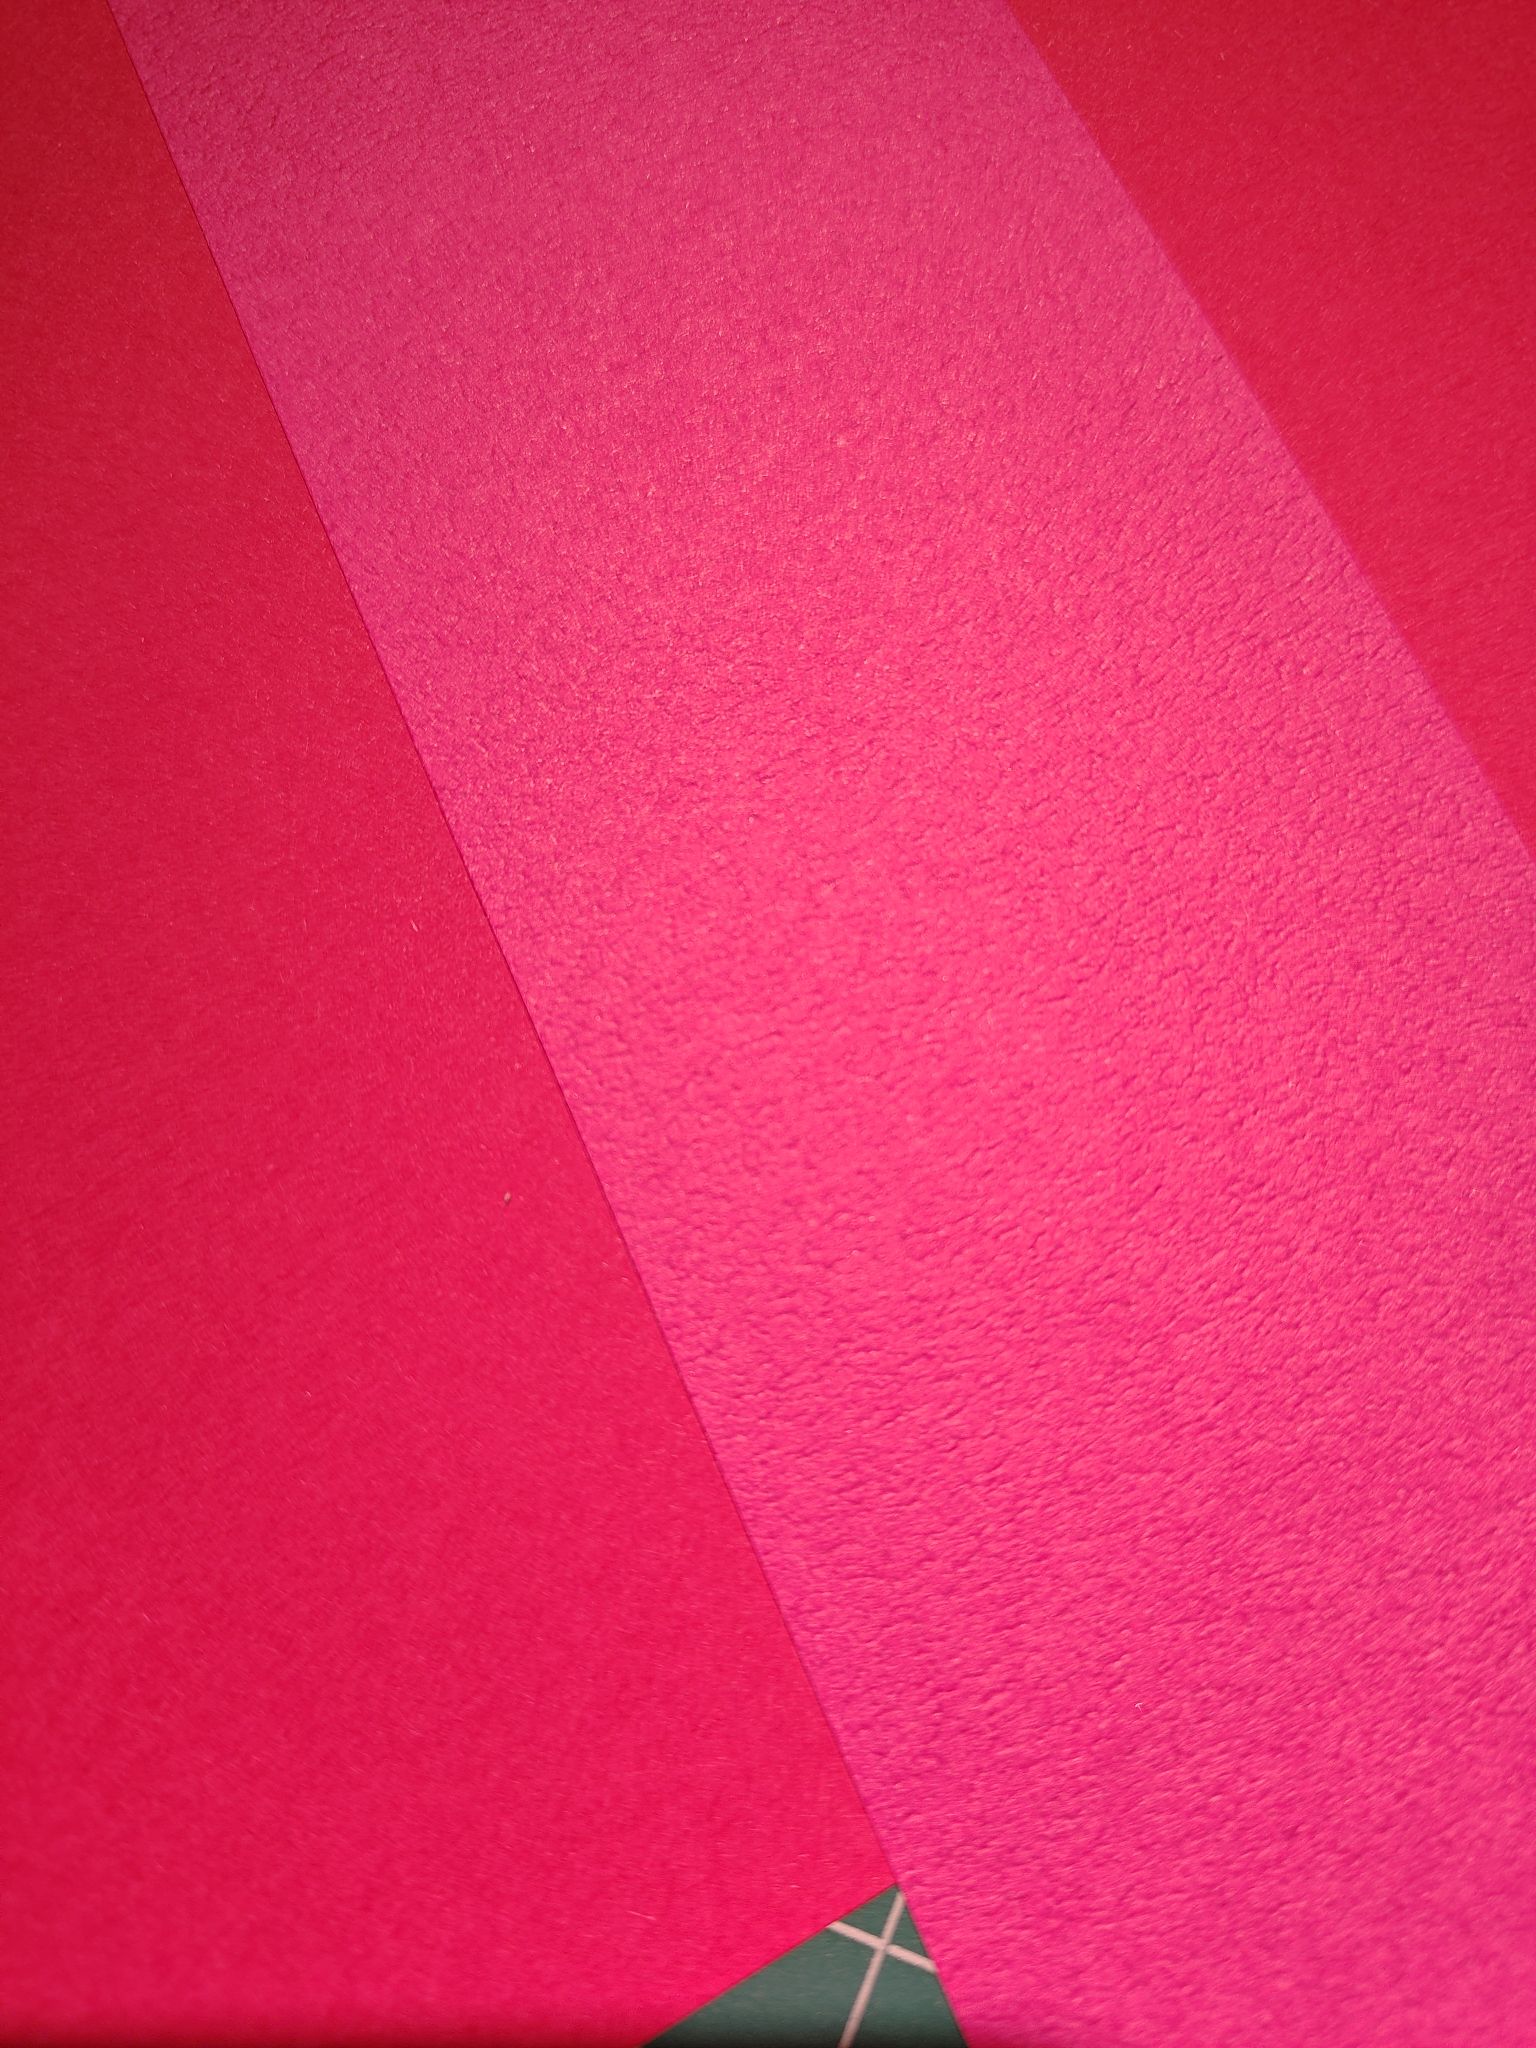
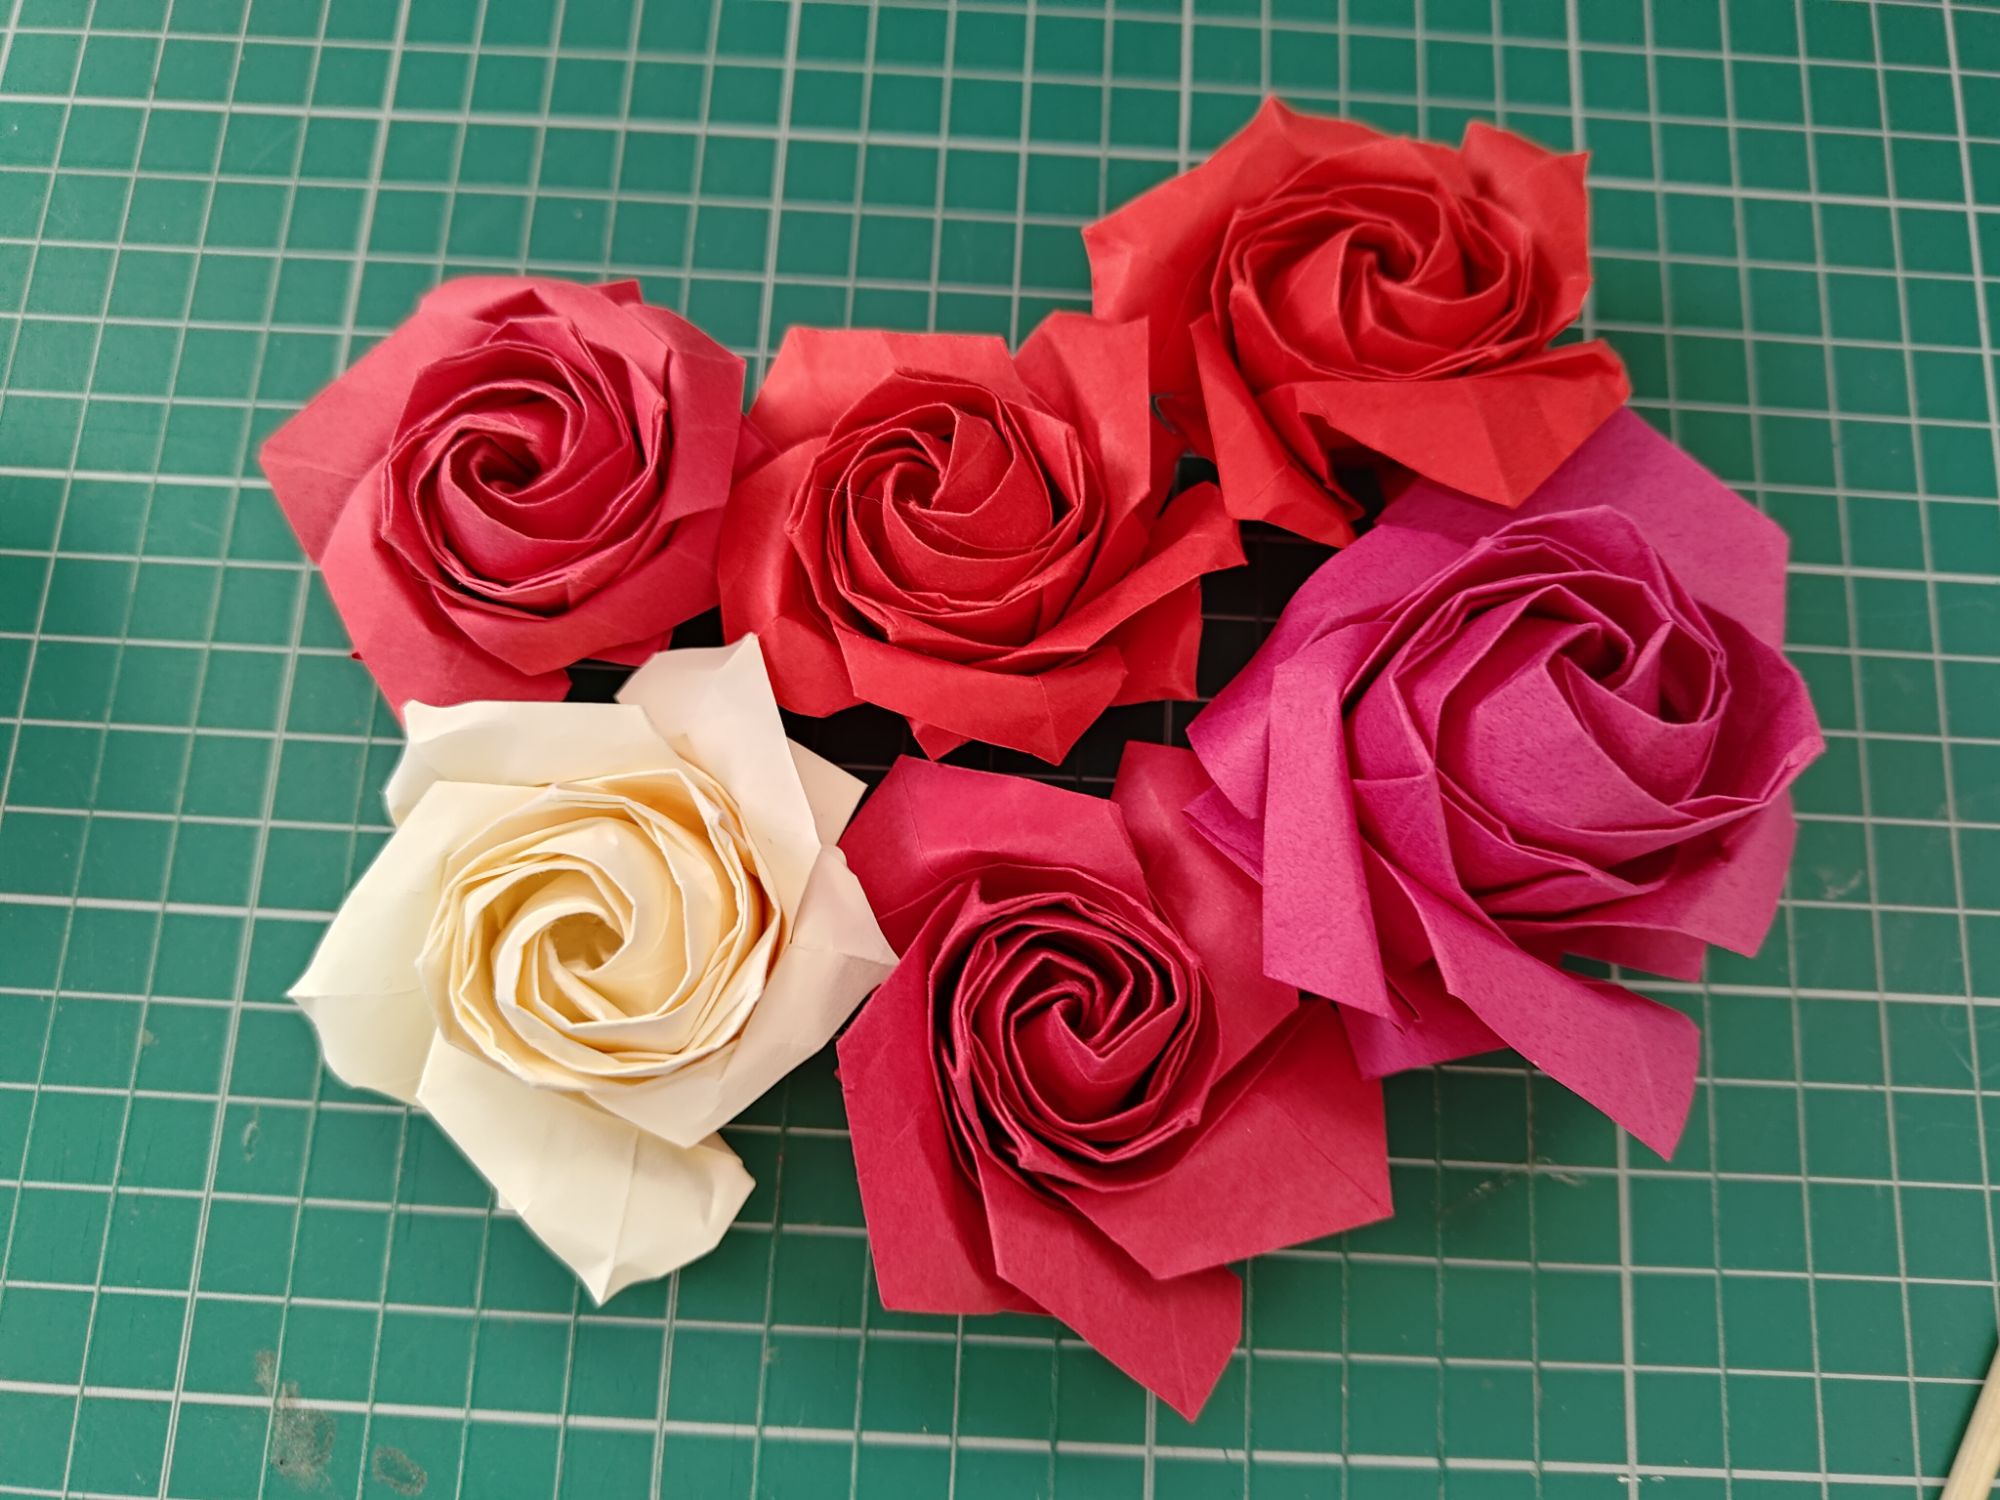
I have folded pentagon roses before, with the rose bouquet (albeit poorly) and the small rose planter pot, but I wanted to make a really nice single rose not made from cheap A4 paper. I ordered some large 35cm Tant paper online – Tant is a type of paper that is holds creases well and has a slight texture to it, but it usually only comes in solid colours.
Link to the rose tutorial and calyx tutorial by Tadashi Mori.
At this point I’ll be a master of cutting a pentagon from a piece of square paper because I keep having to redo it. I keep messing up the final folds when forming the petals and it usually causes the shape to look misshapen. Fortunately I do all the cutting myself, and I usually do a few test models on normal paper.
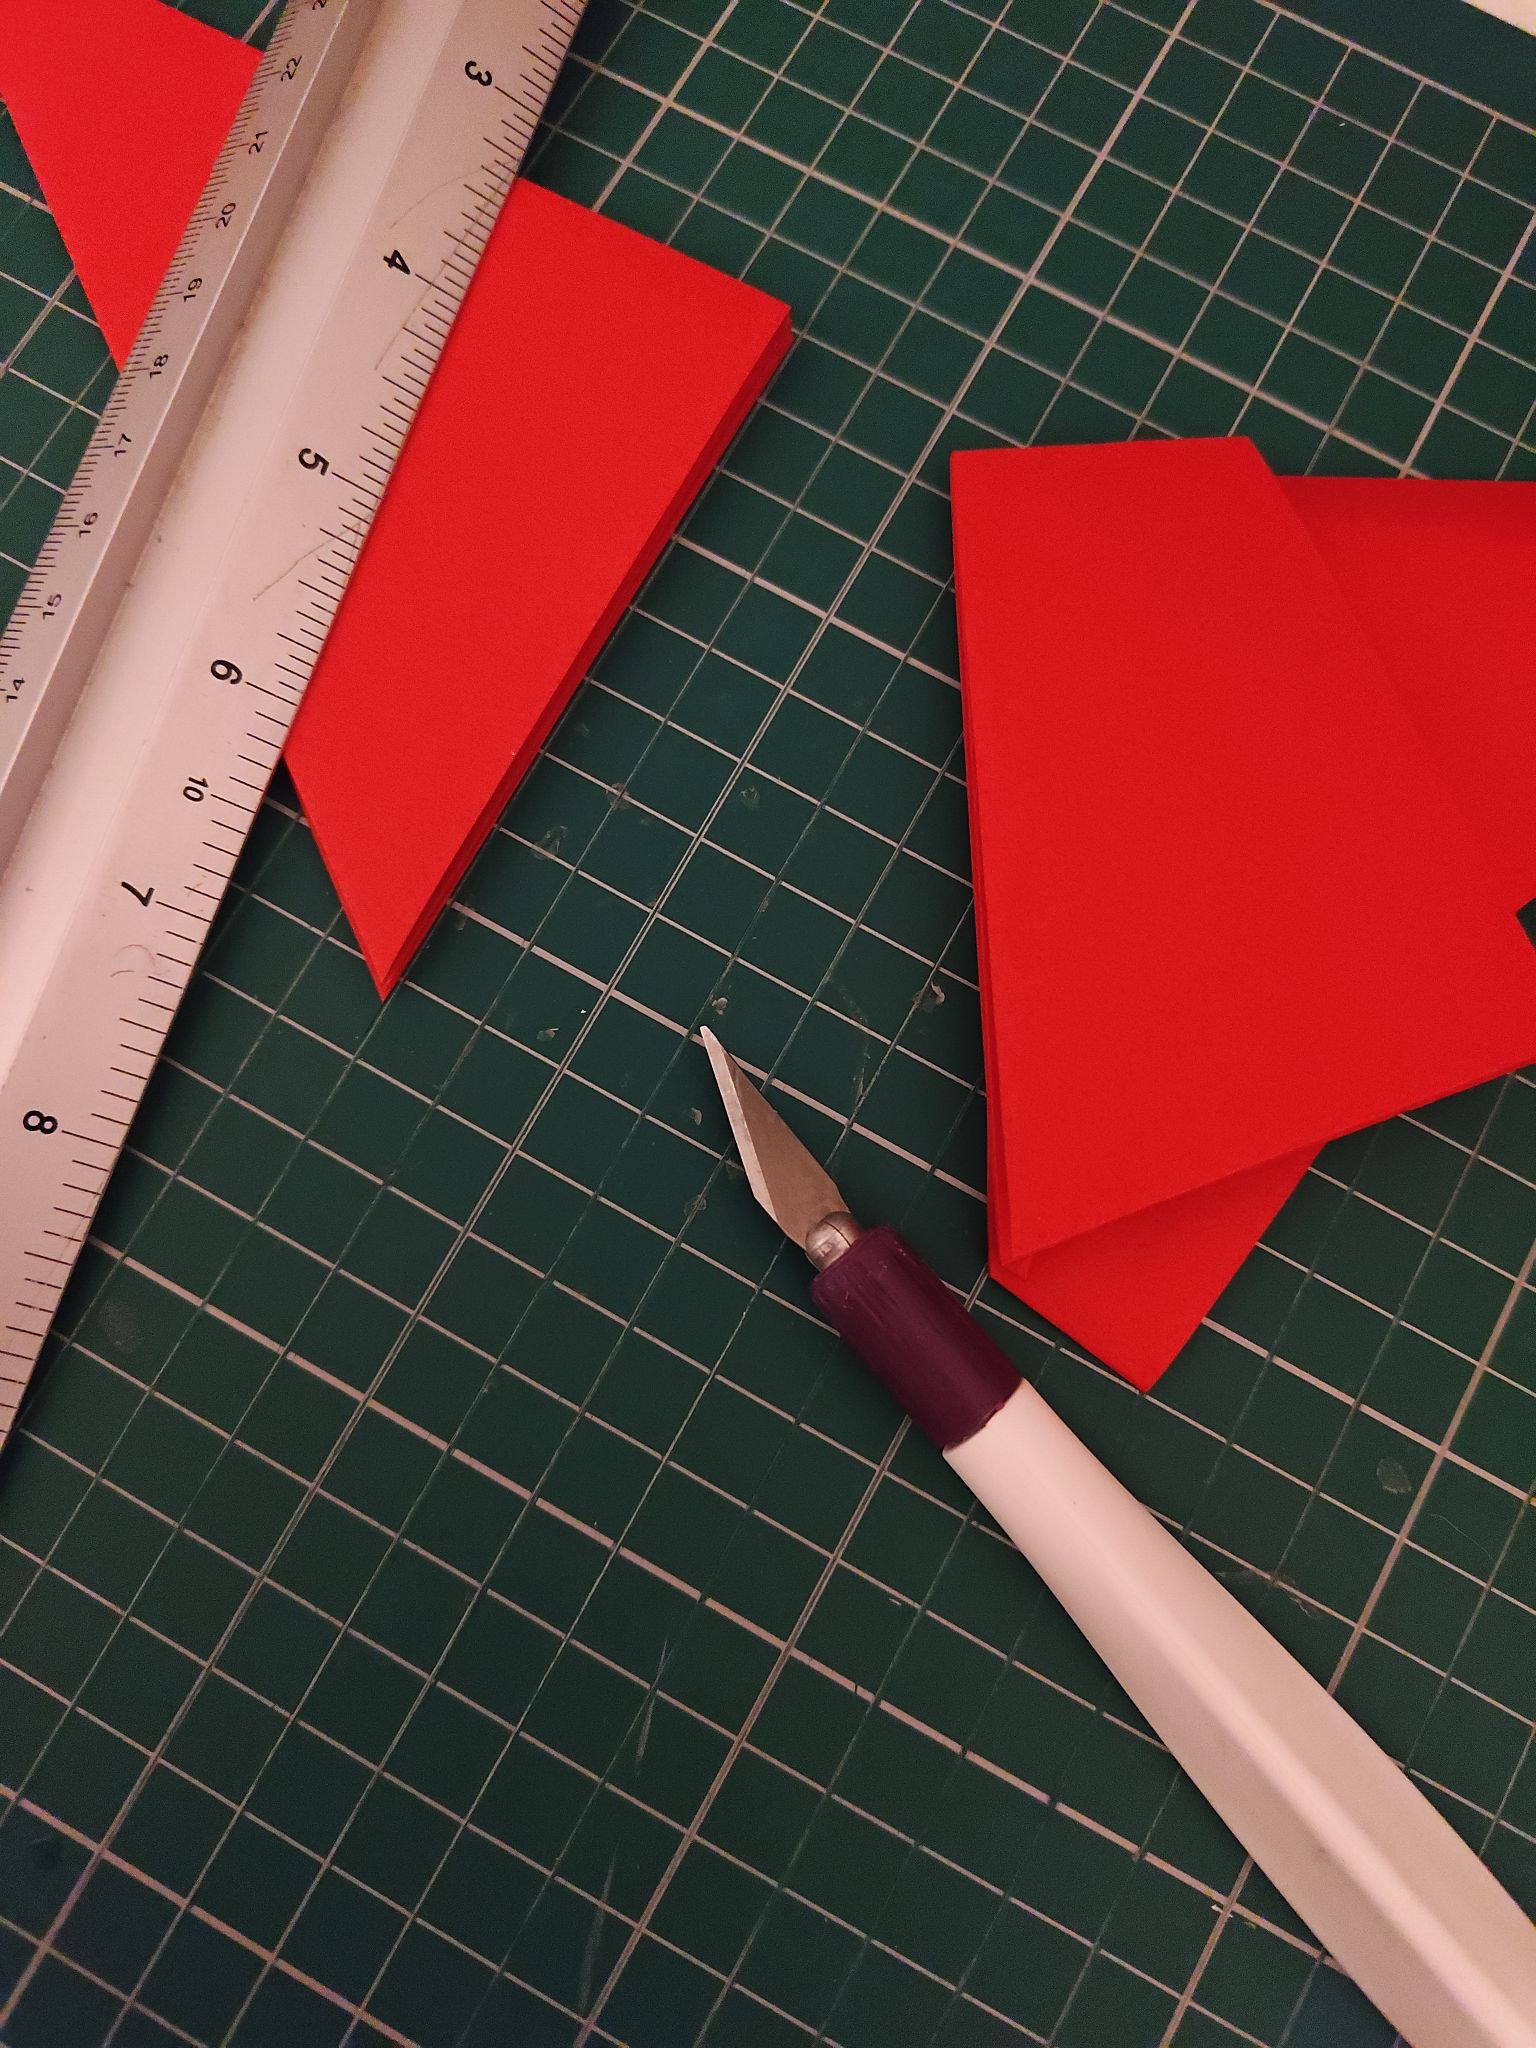
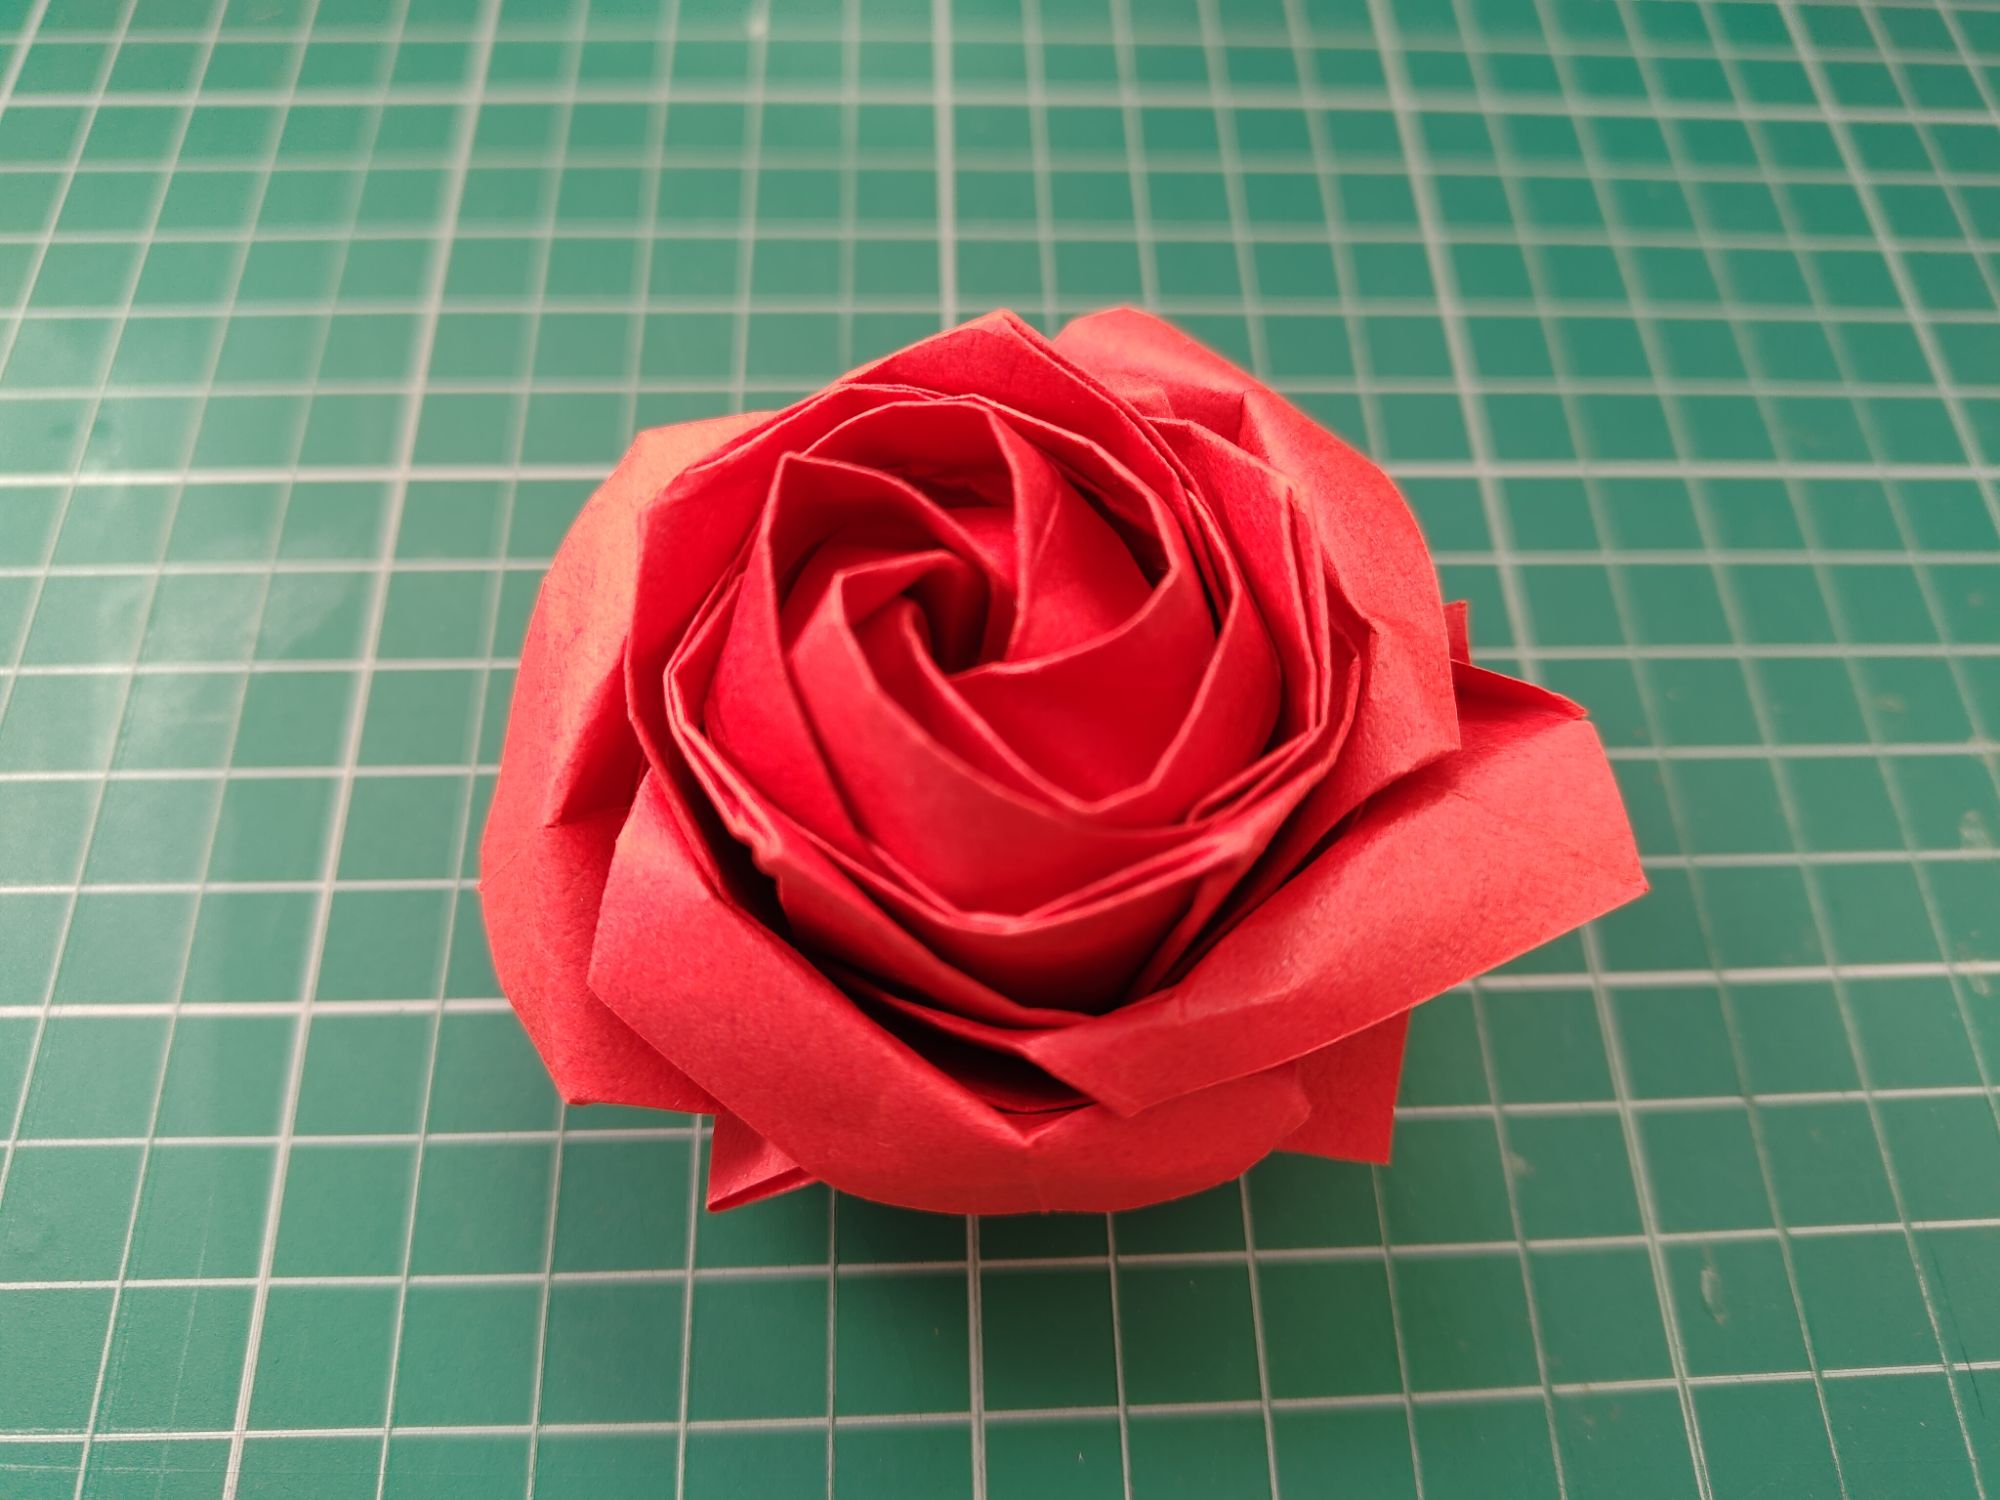
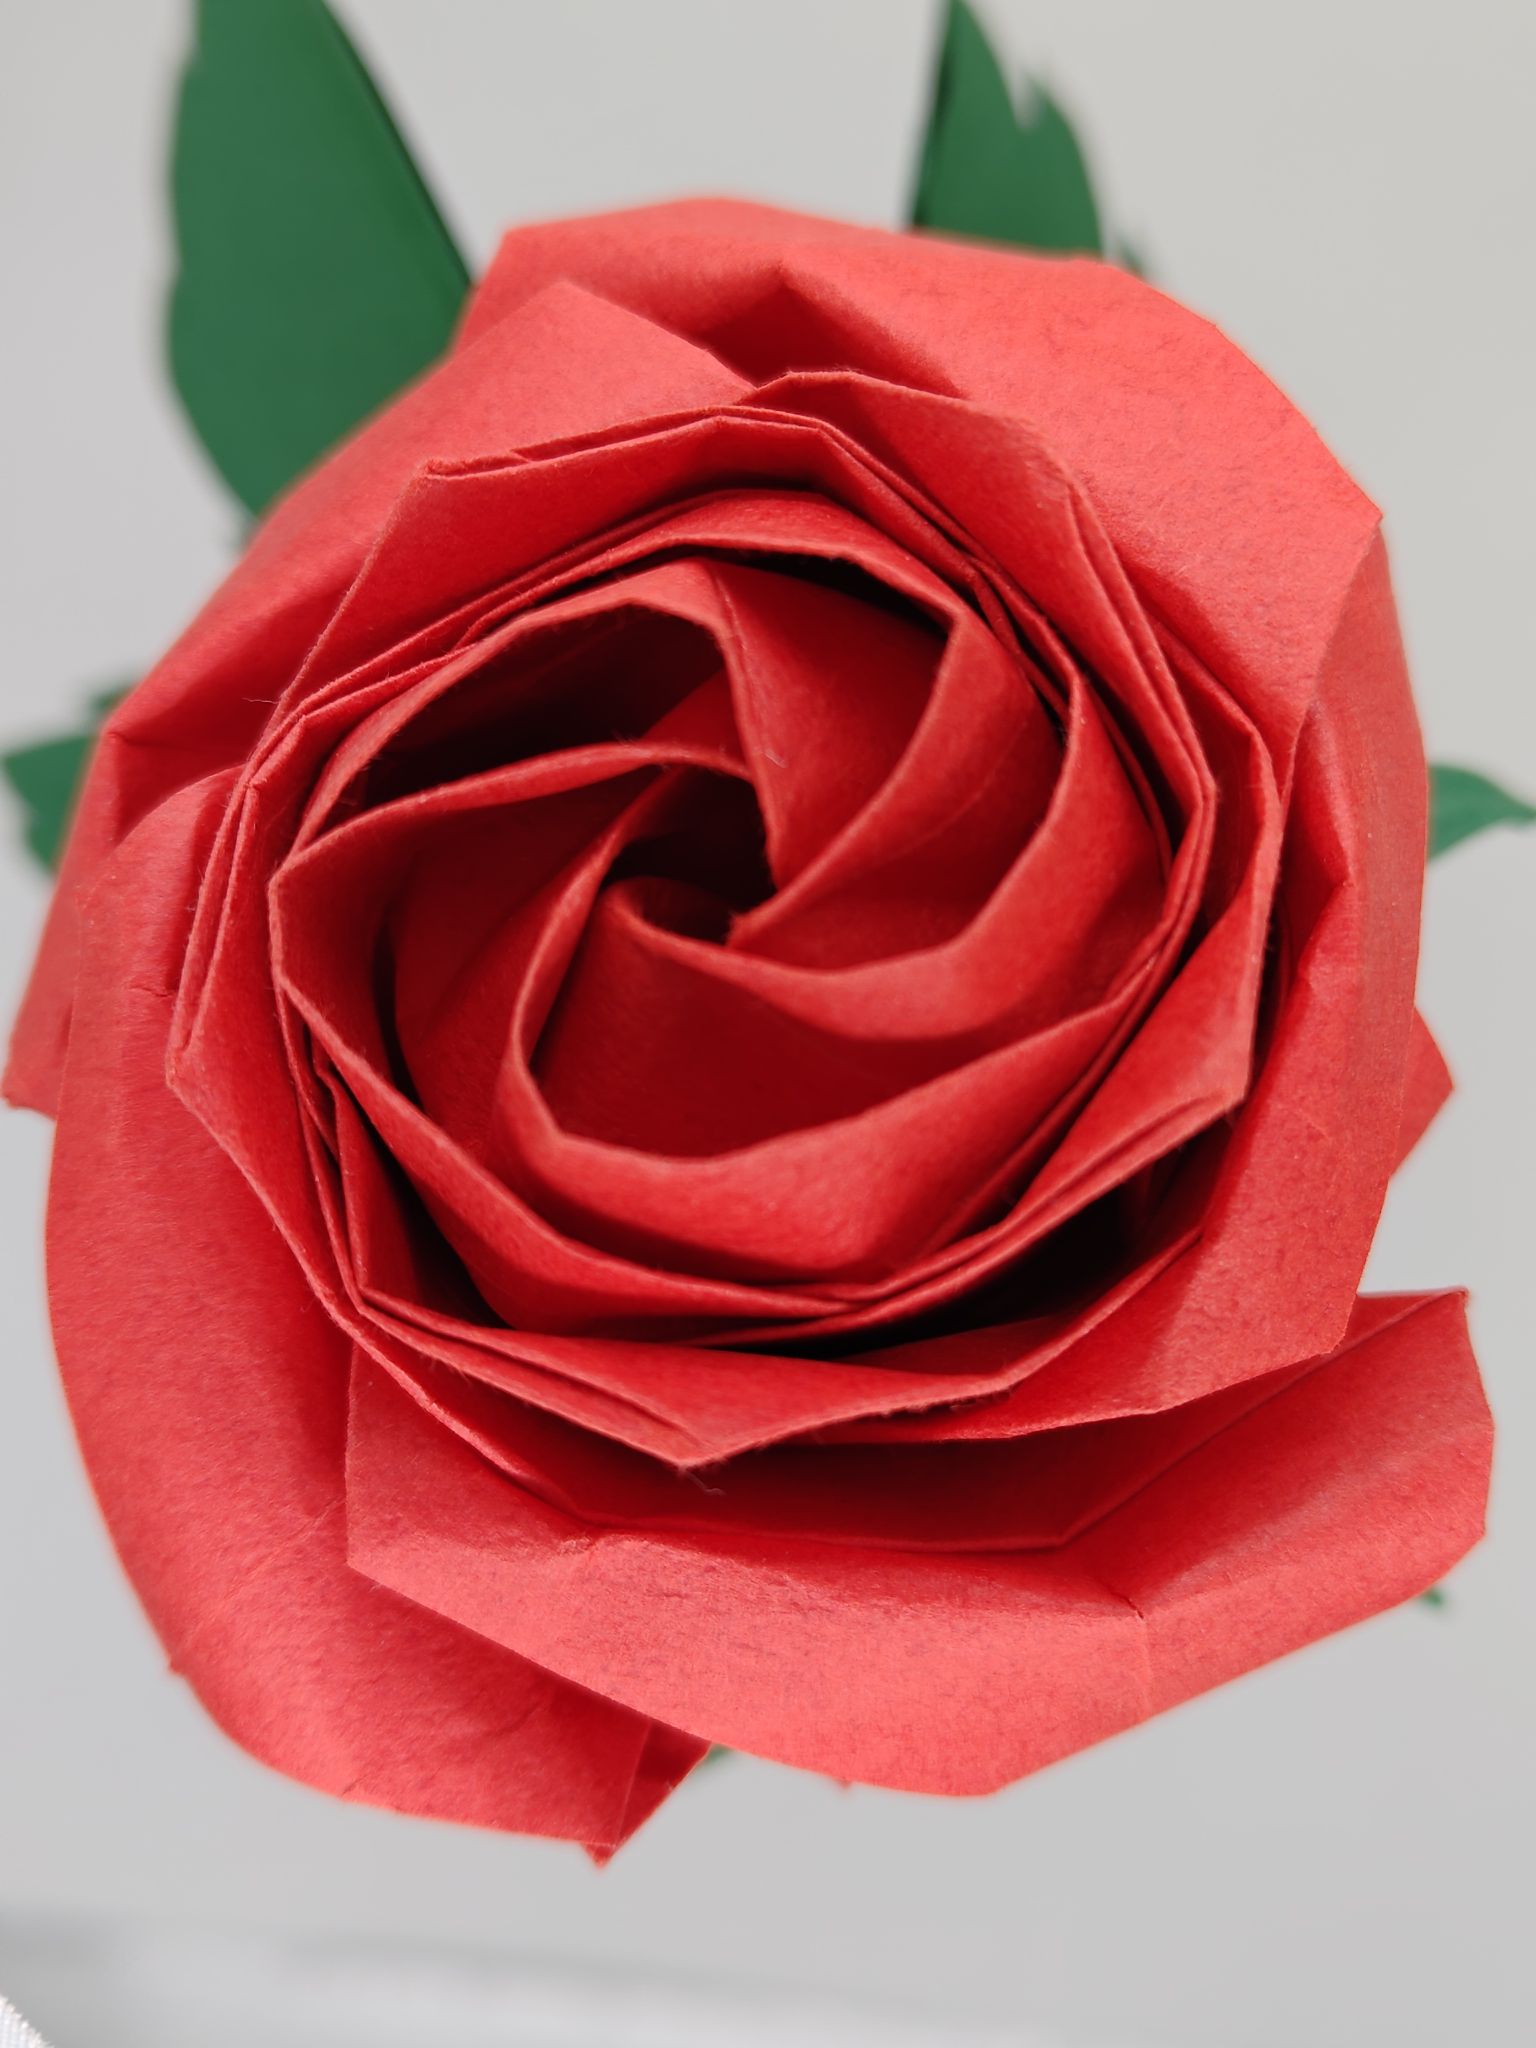
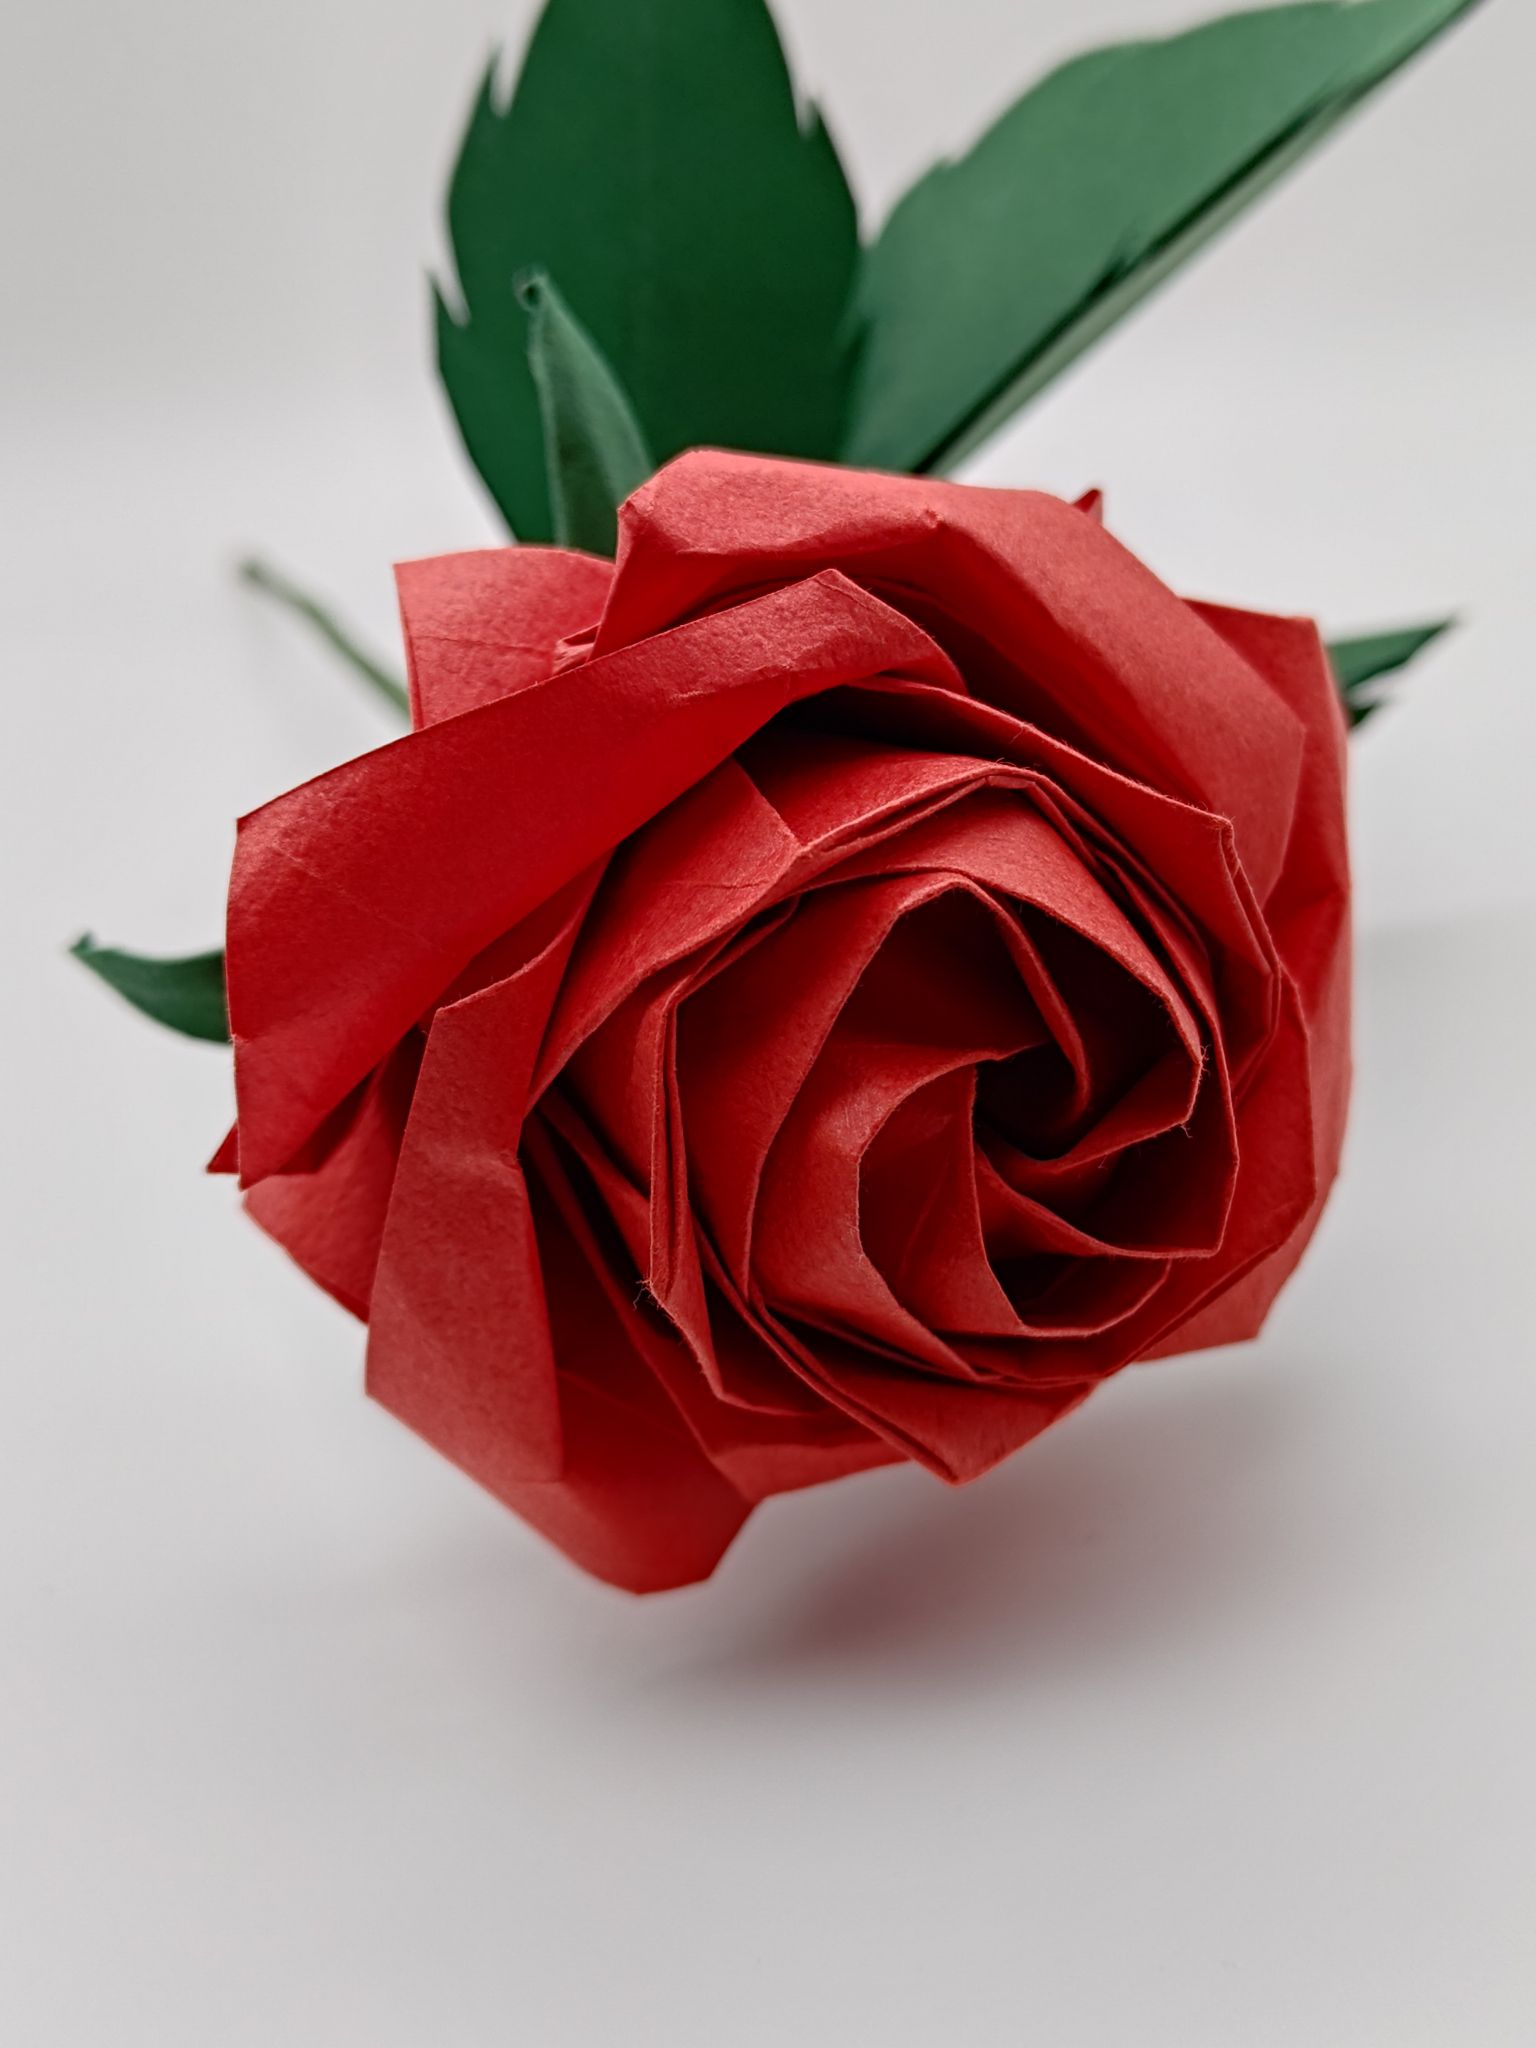
I actually cut the 35cm sheet down to 30cm because I wasn’t sure how big the rose would be at the end. Fortunately, I folded the best rose of my life – The important step is positioning the folds to line up before forming the cylinder! (At about 18:25 in the video) This ensures good height and even spacing.
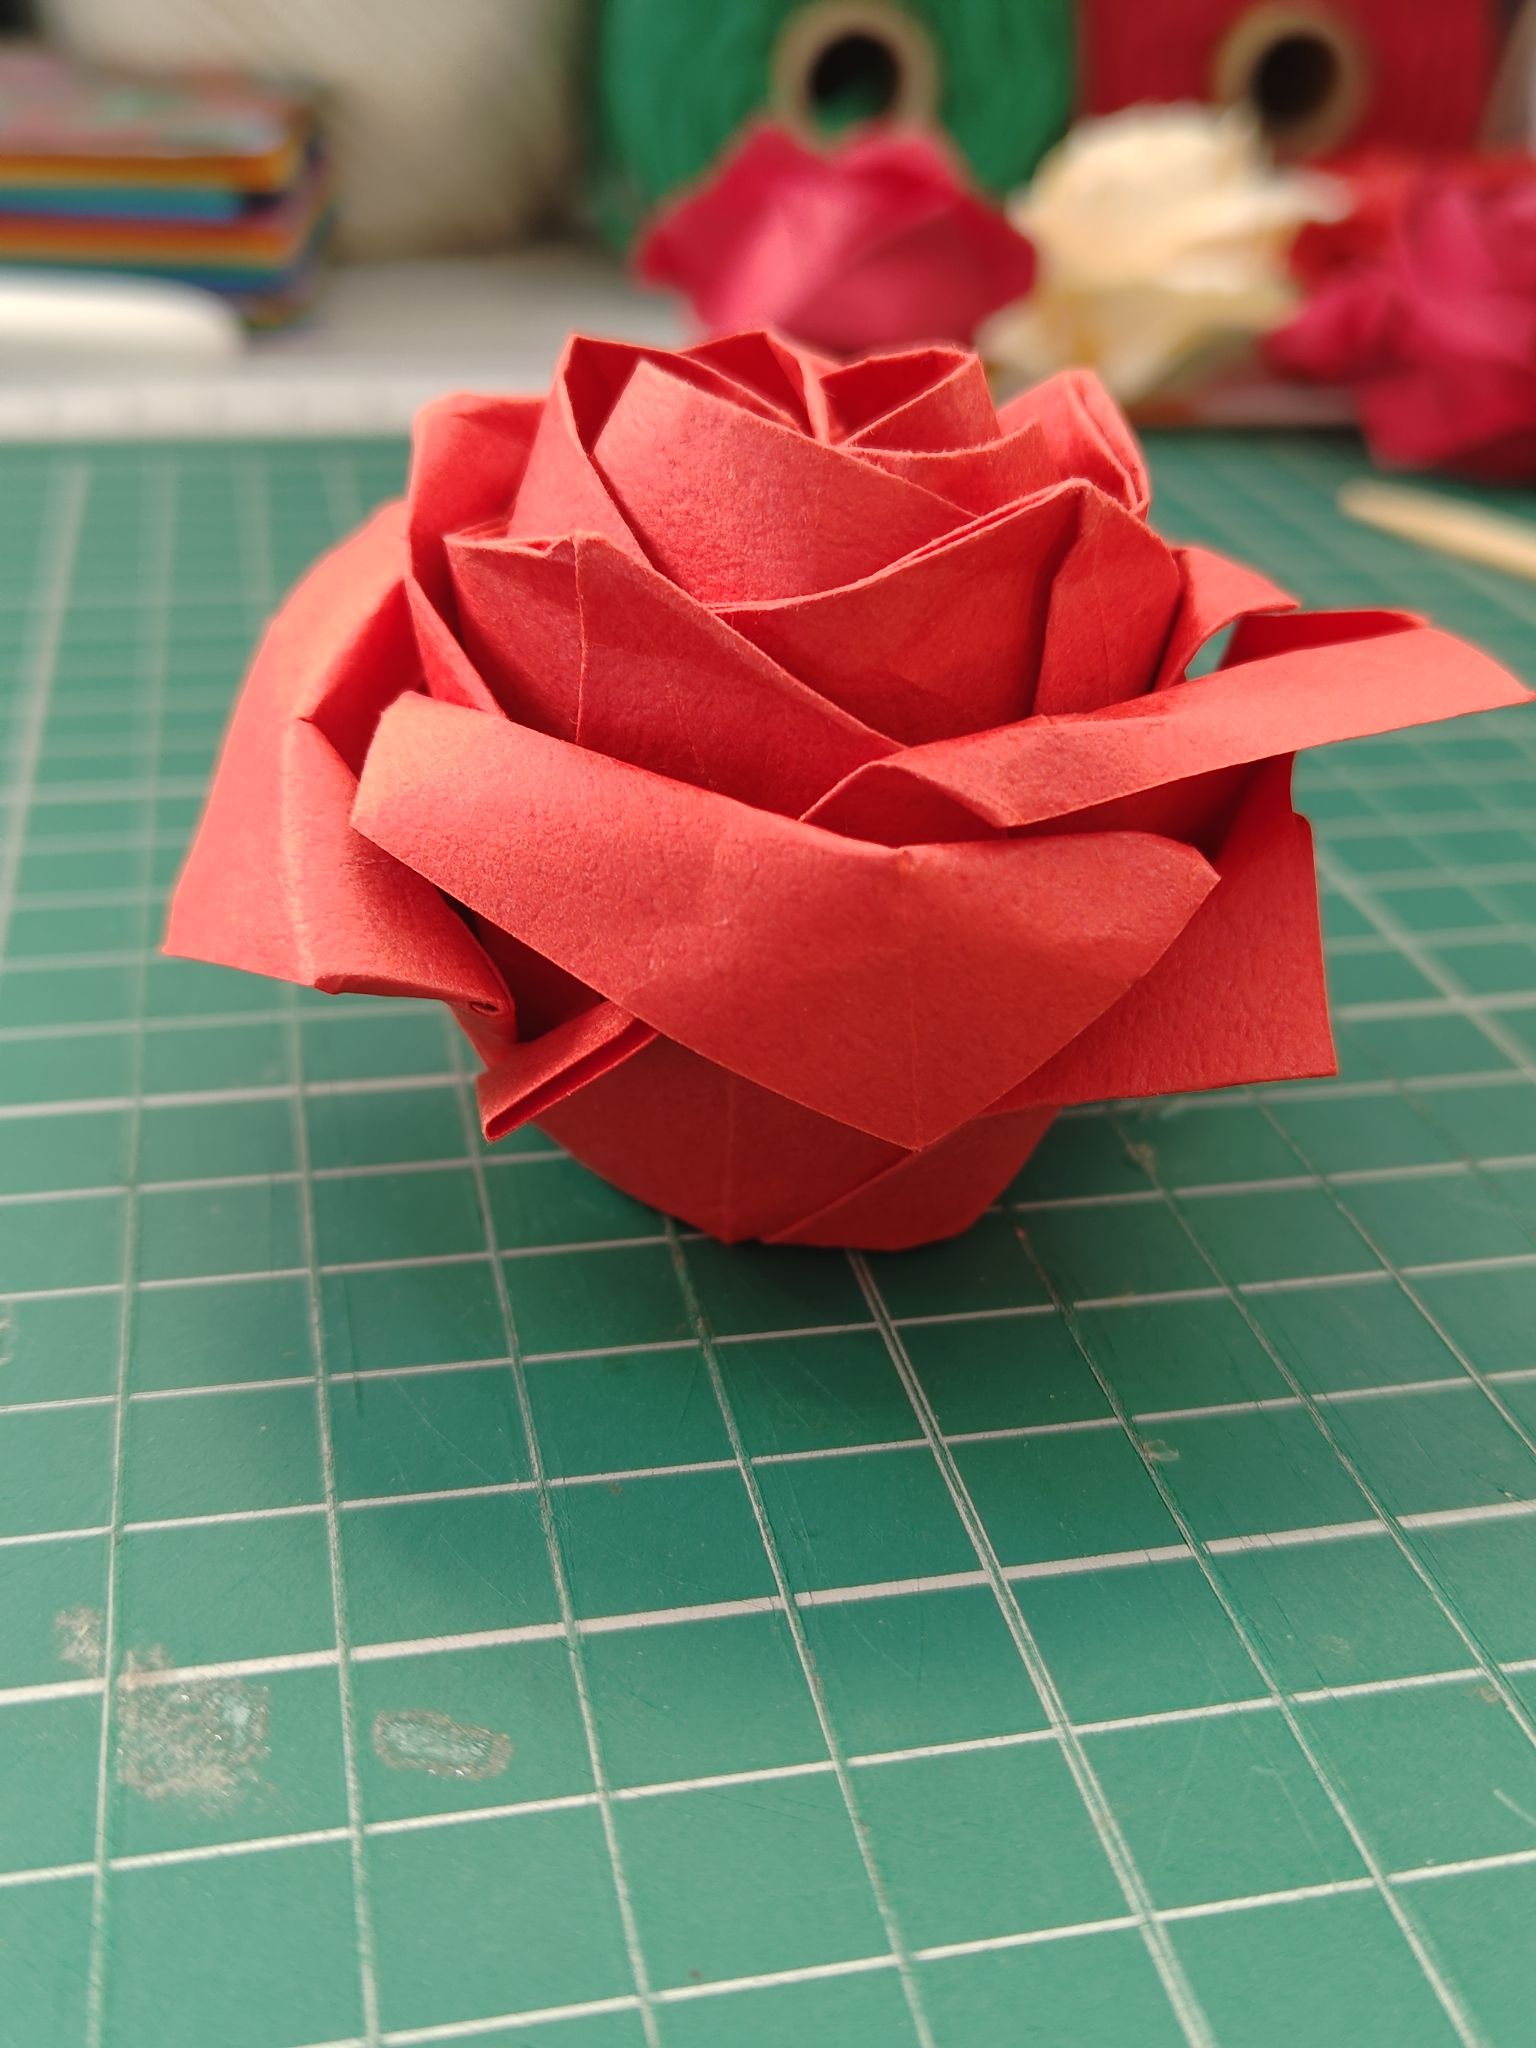
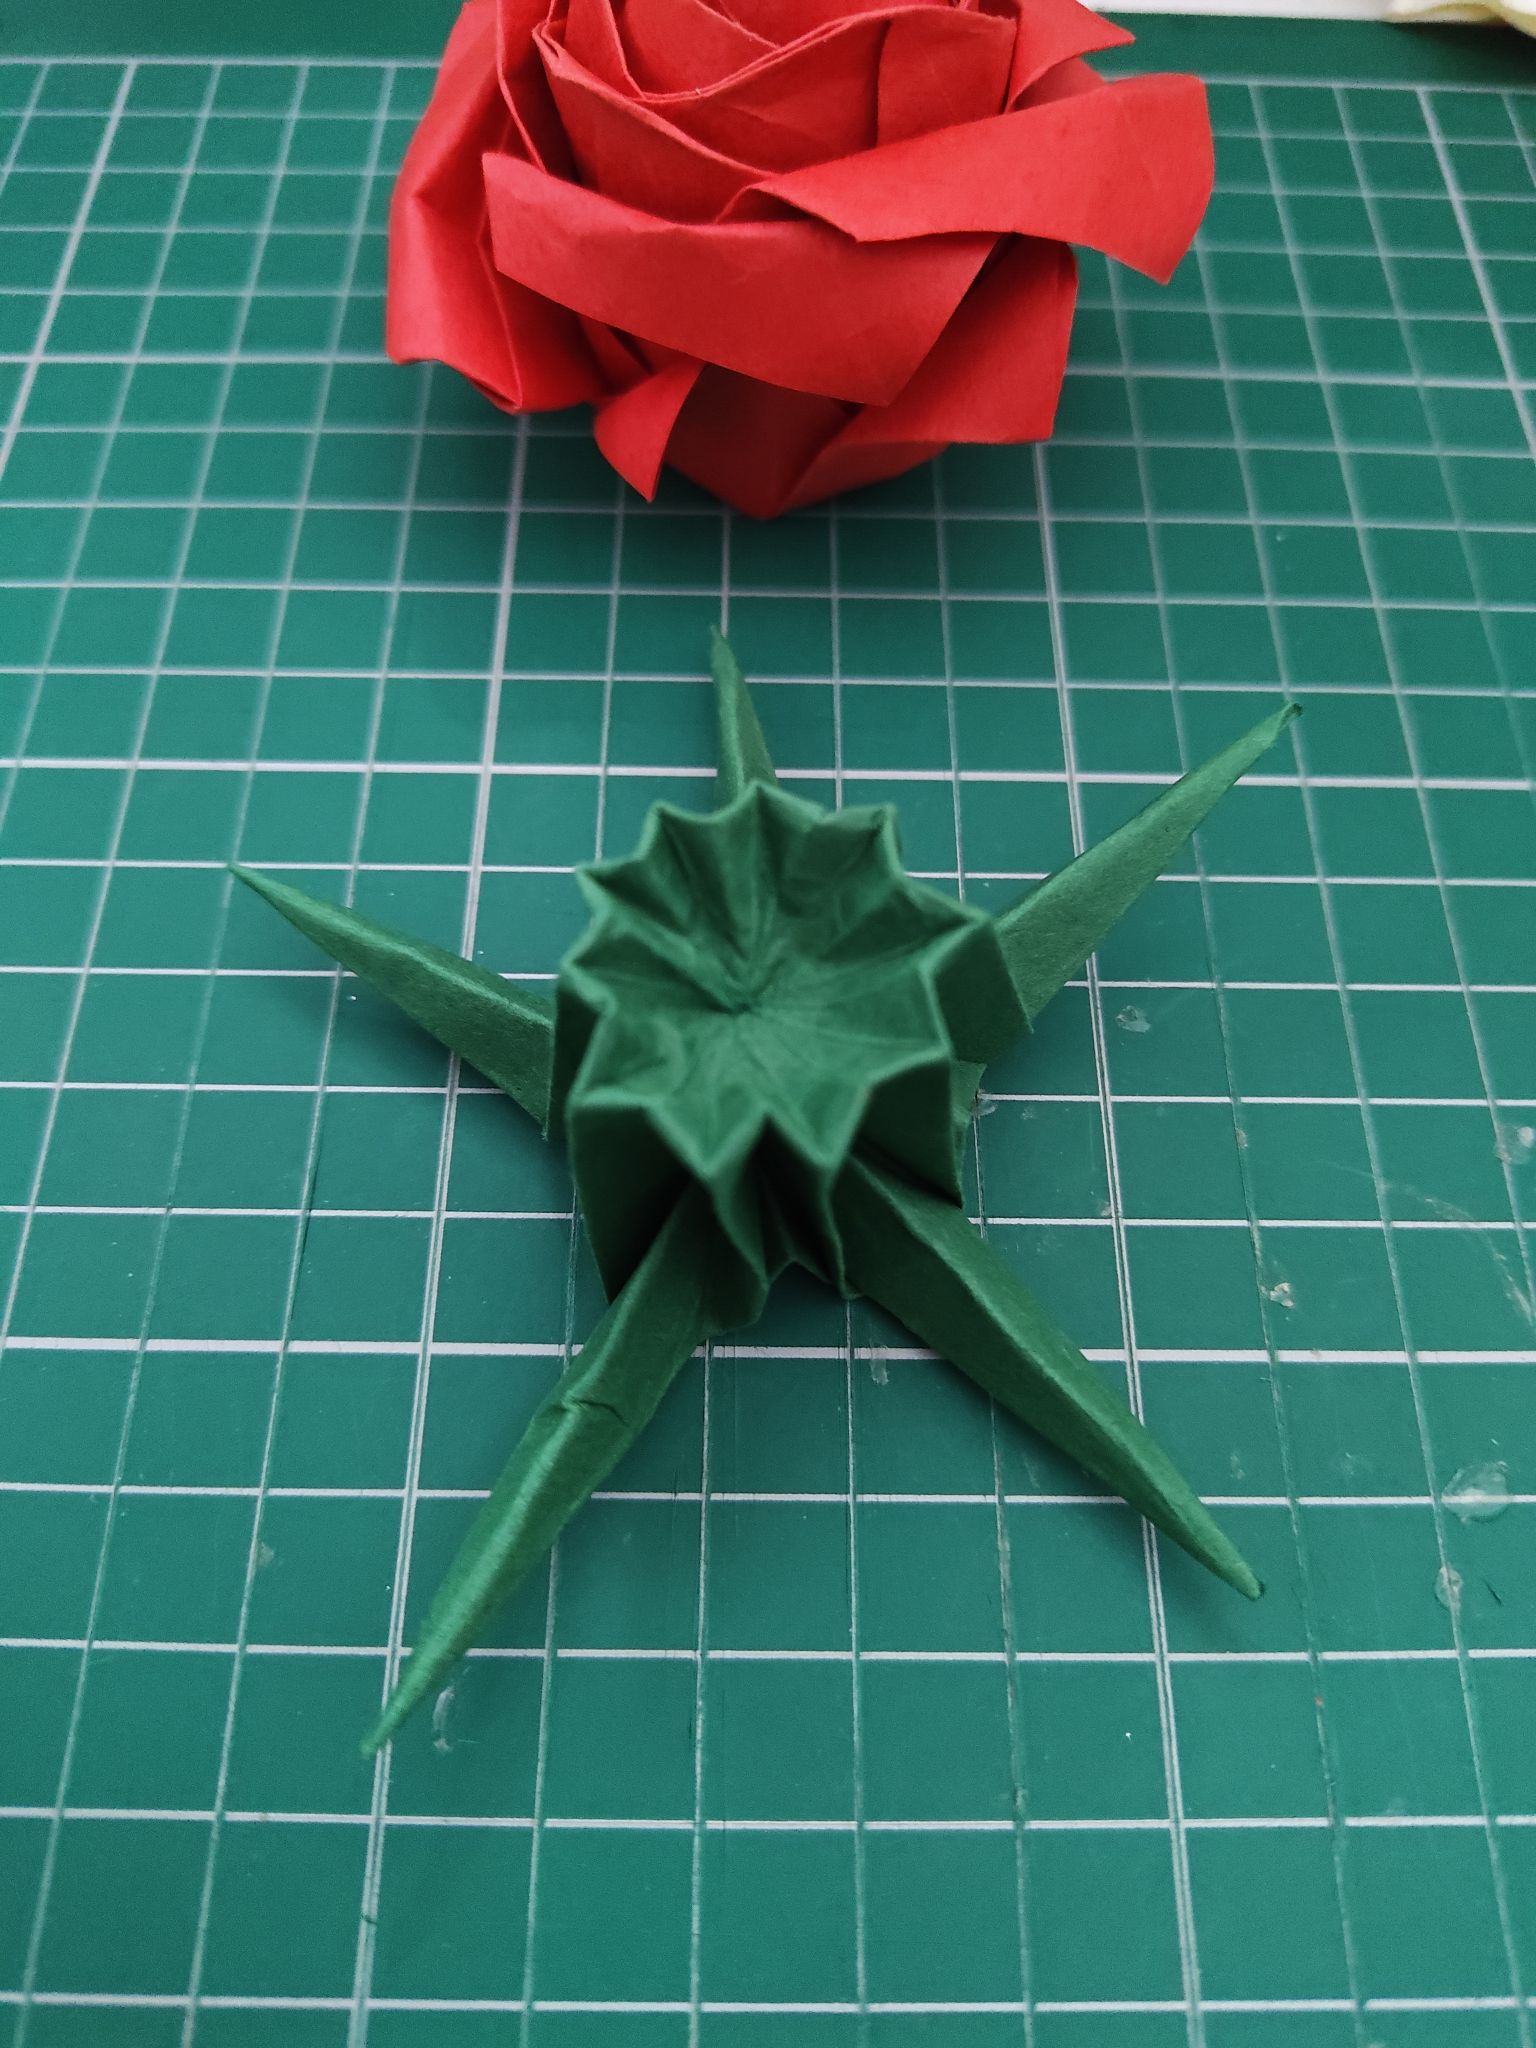
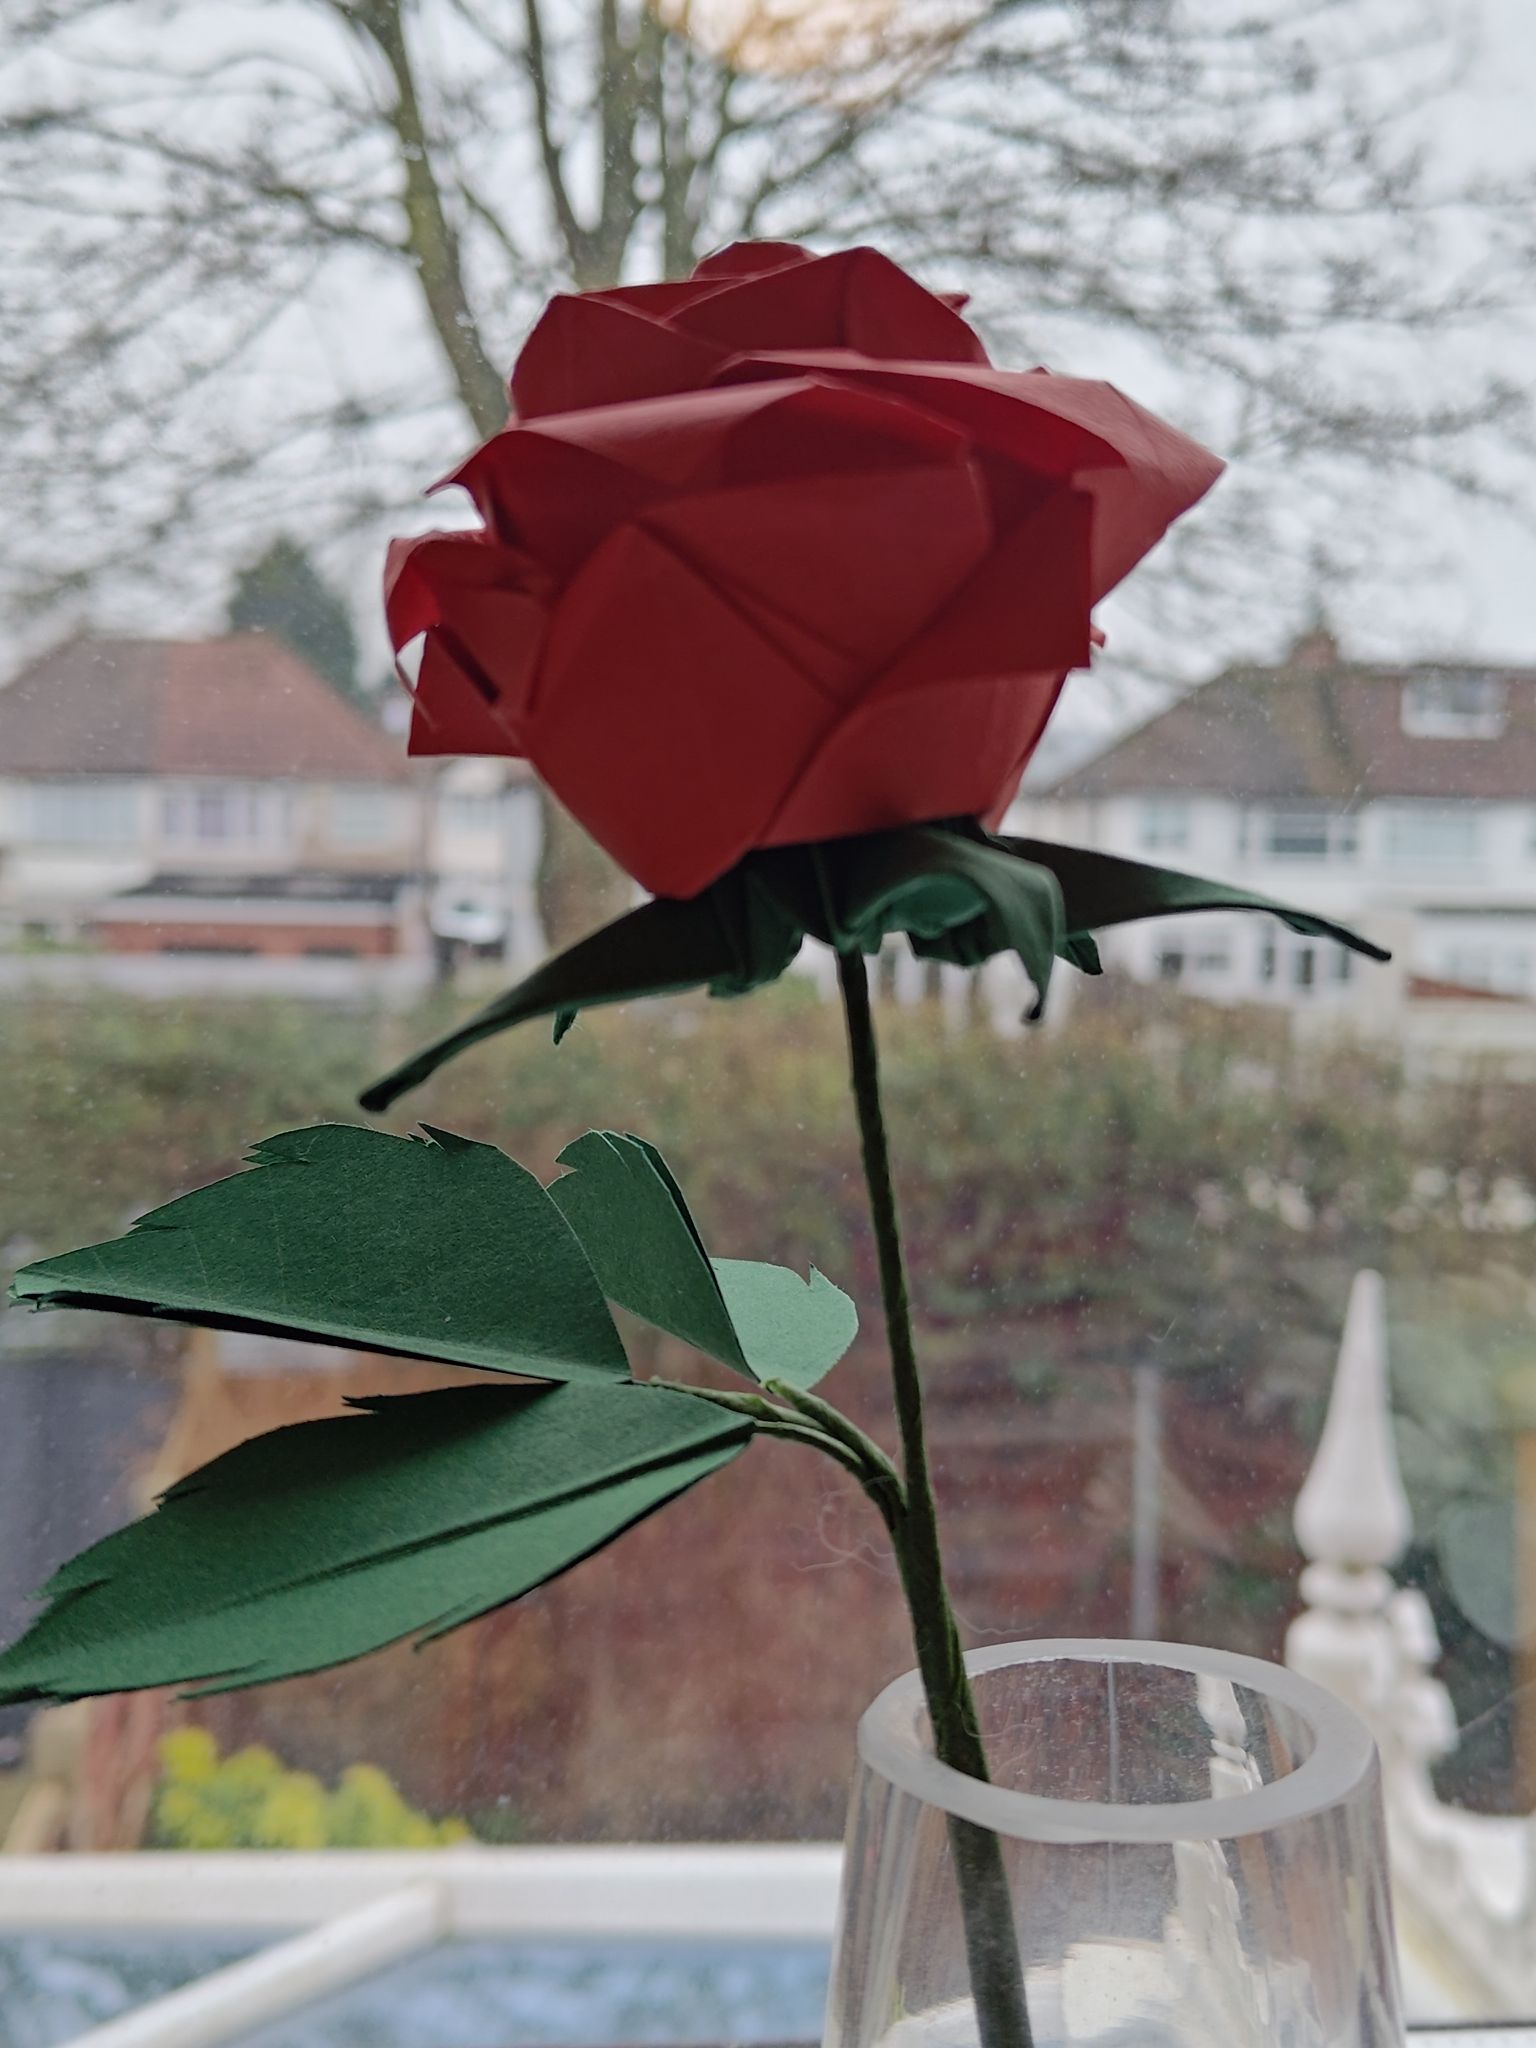
I also had some nice dark green paper to create a calyx. This was my second attempt and it fits perfectly!

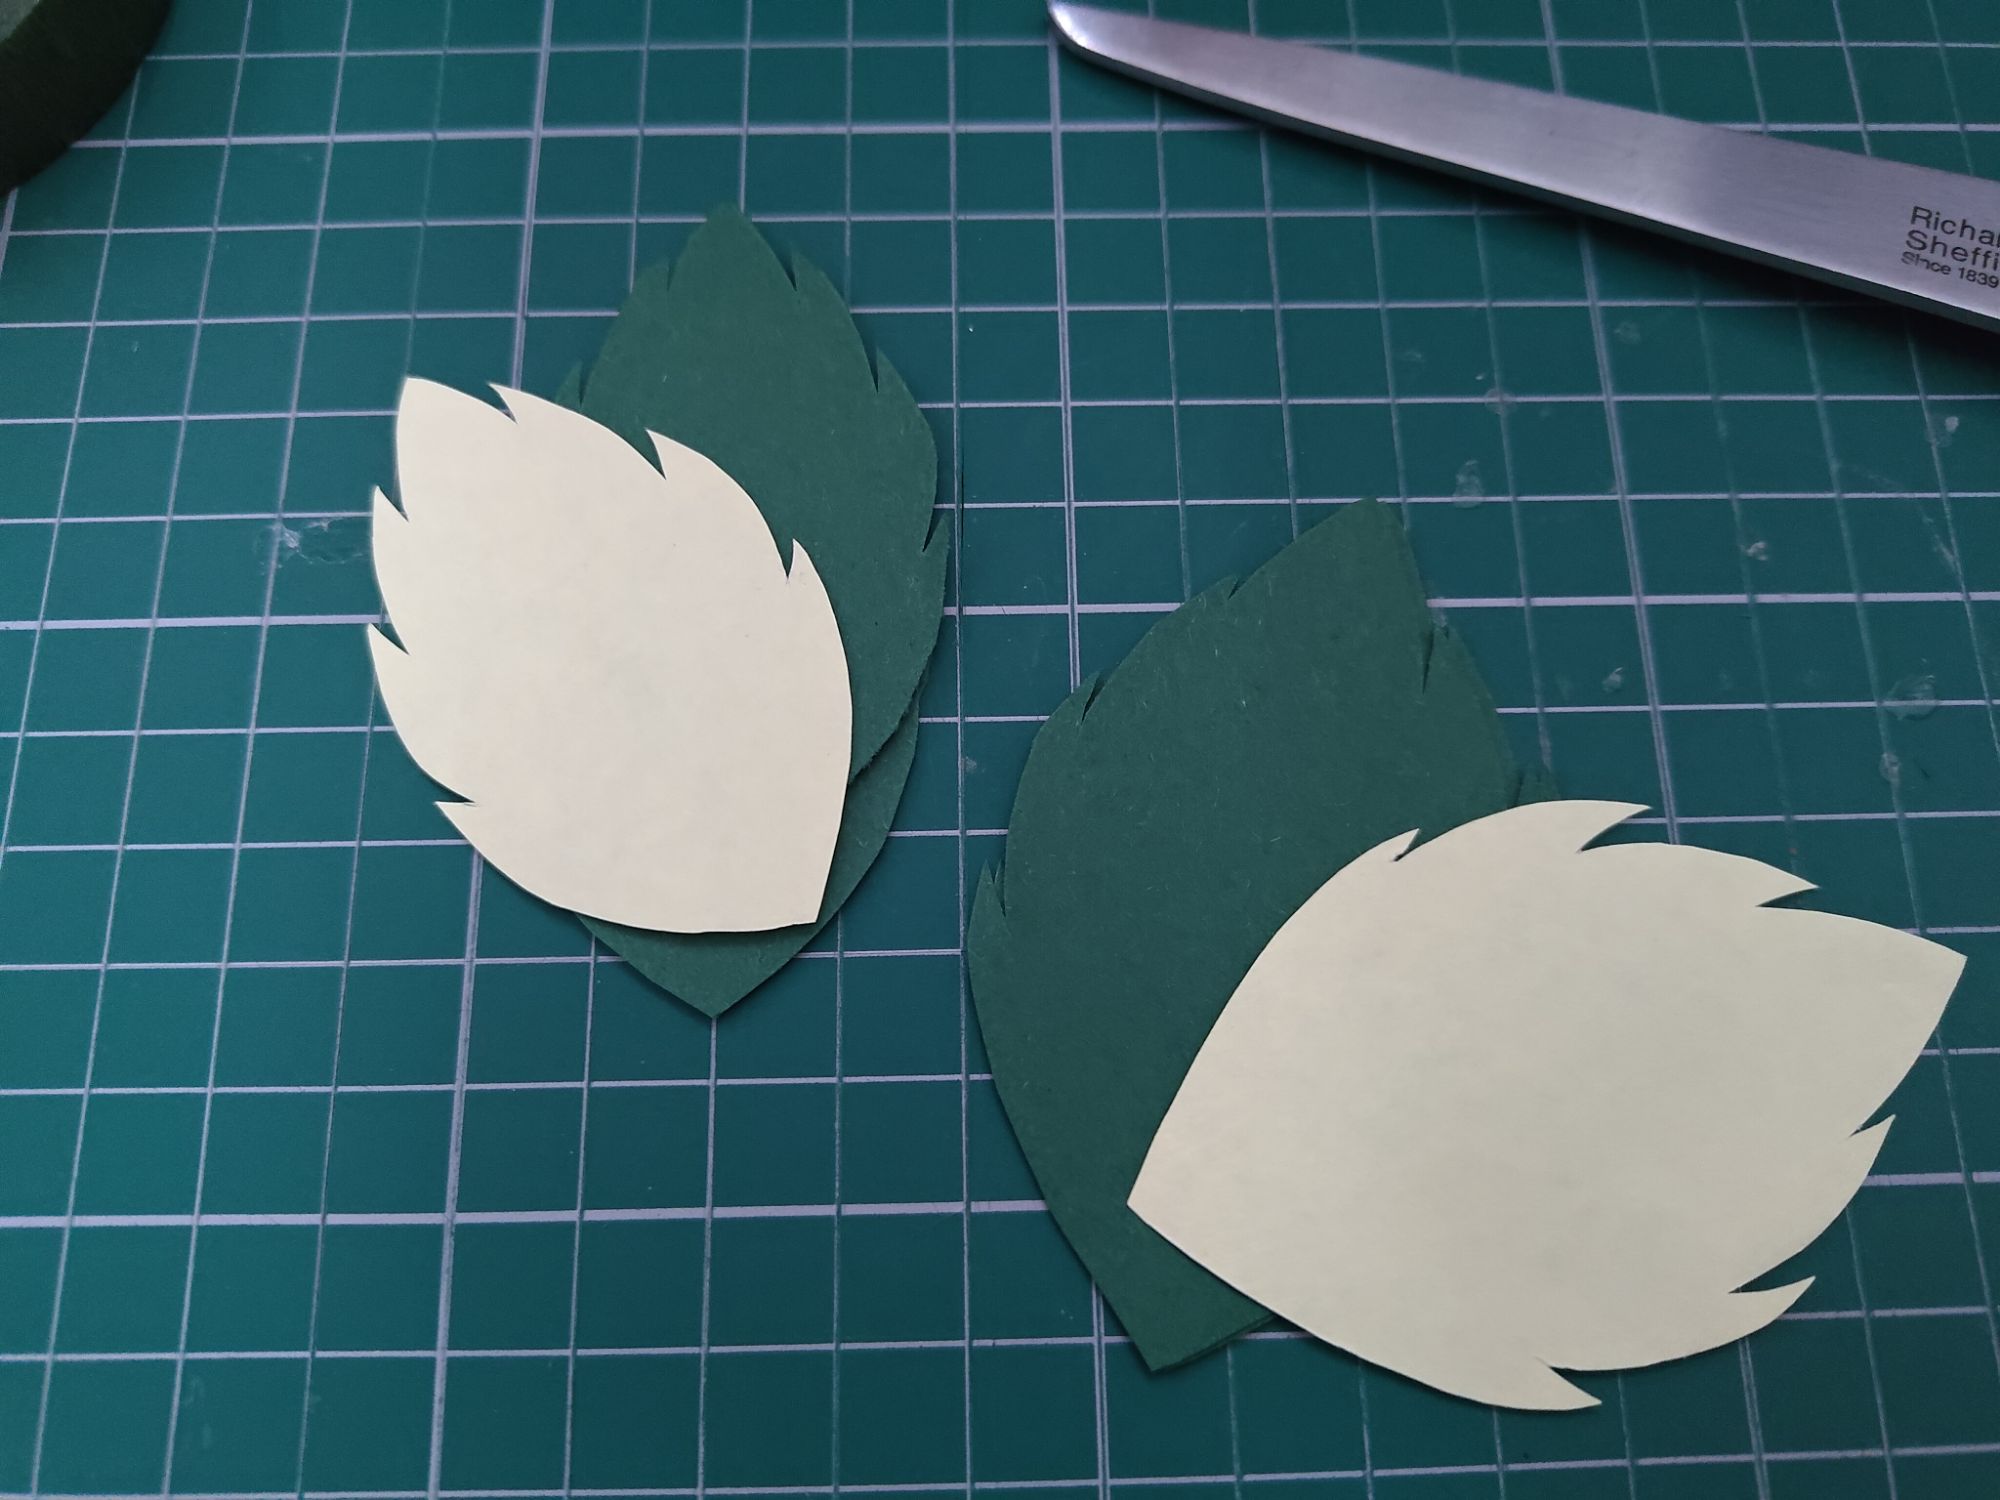
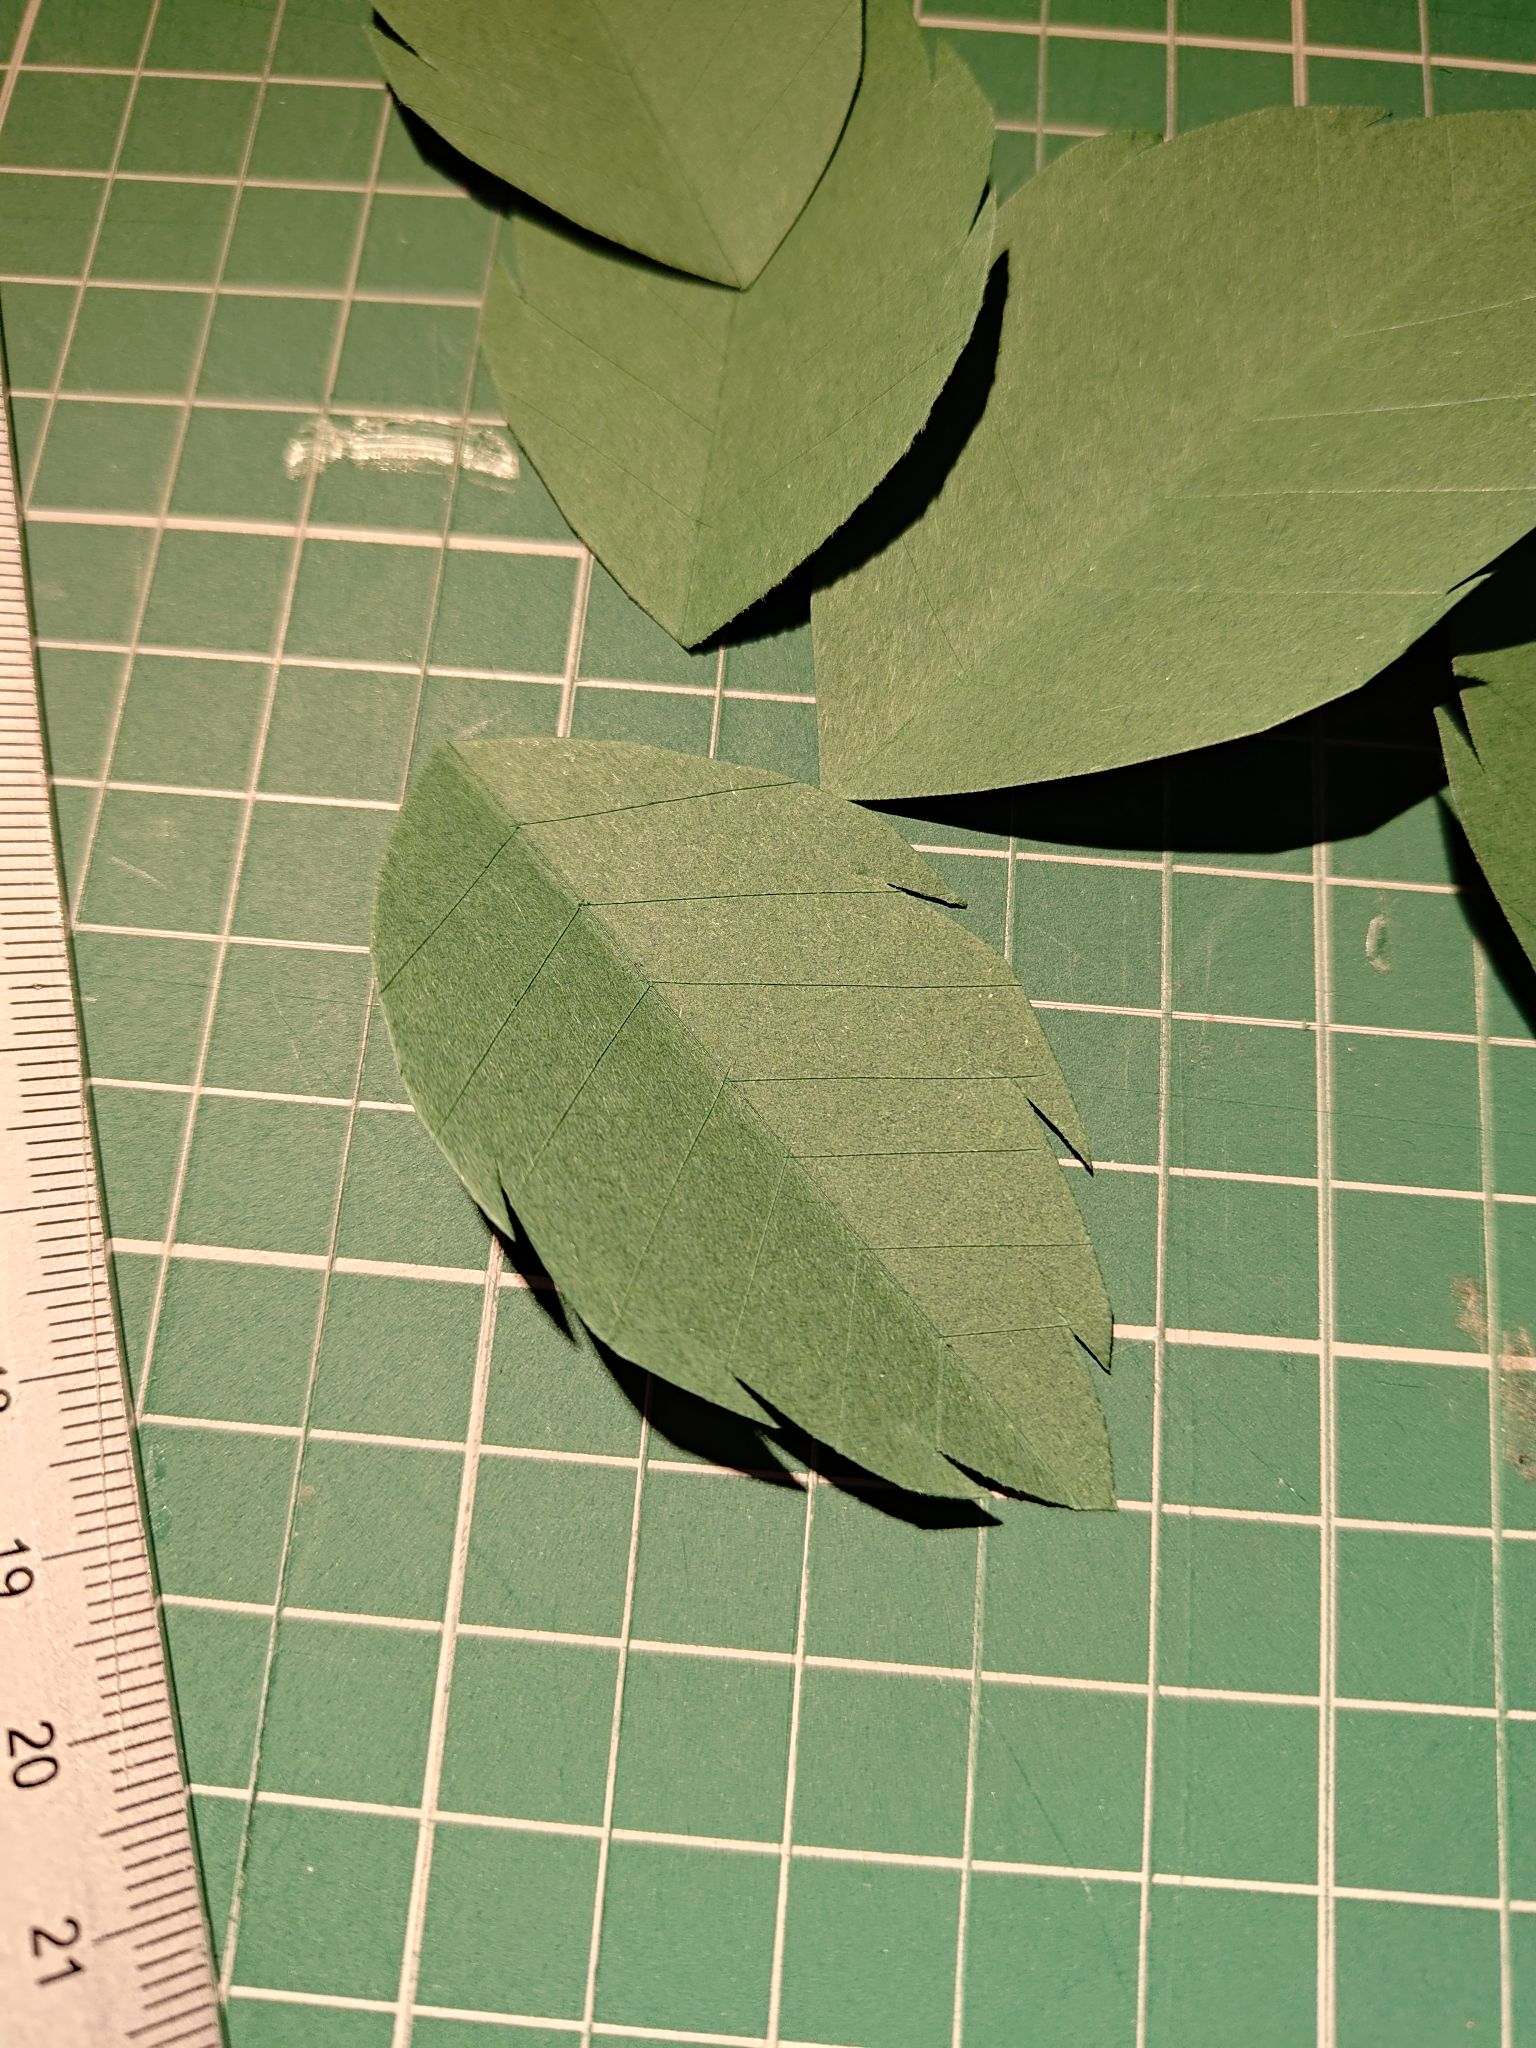
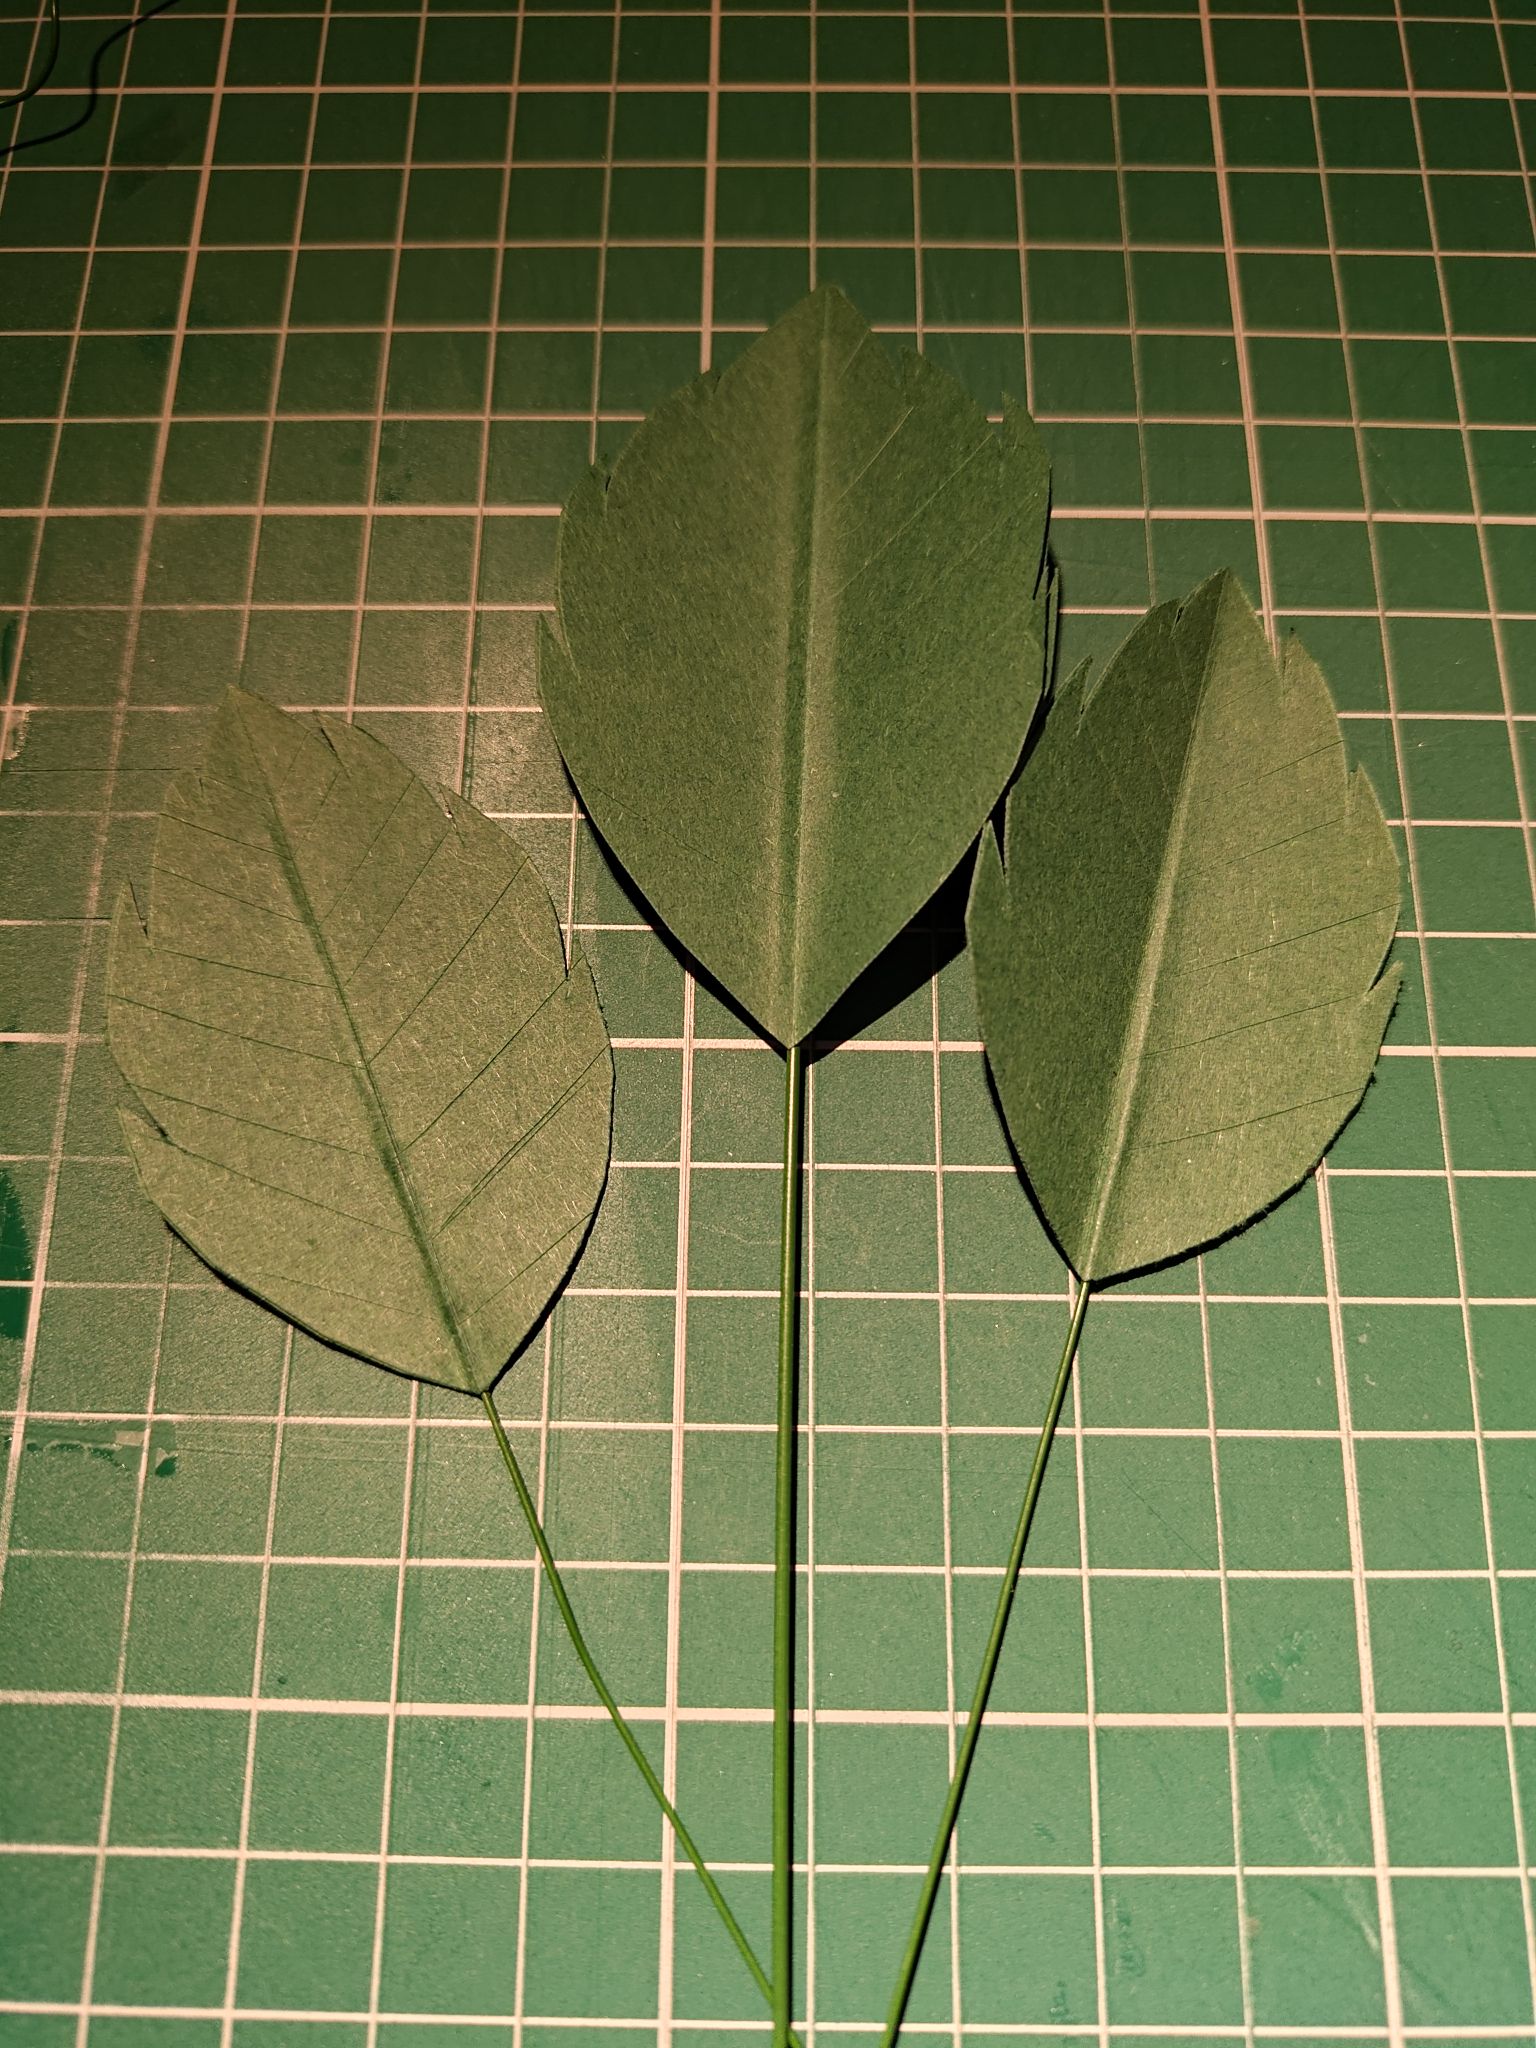
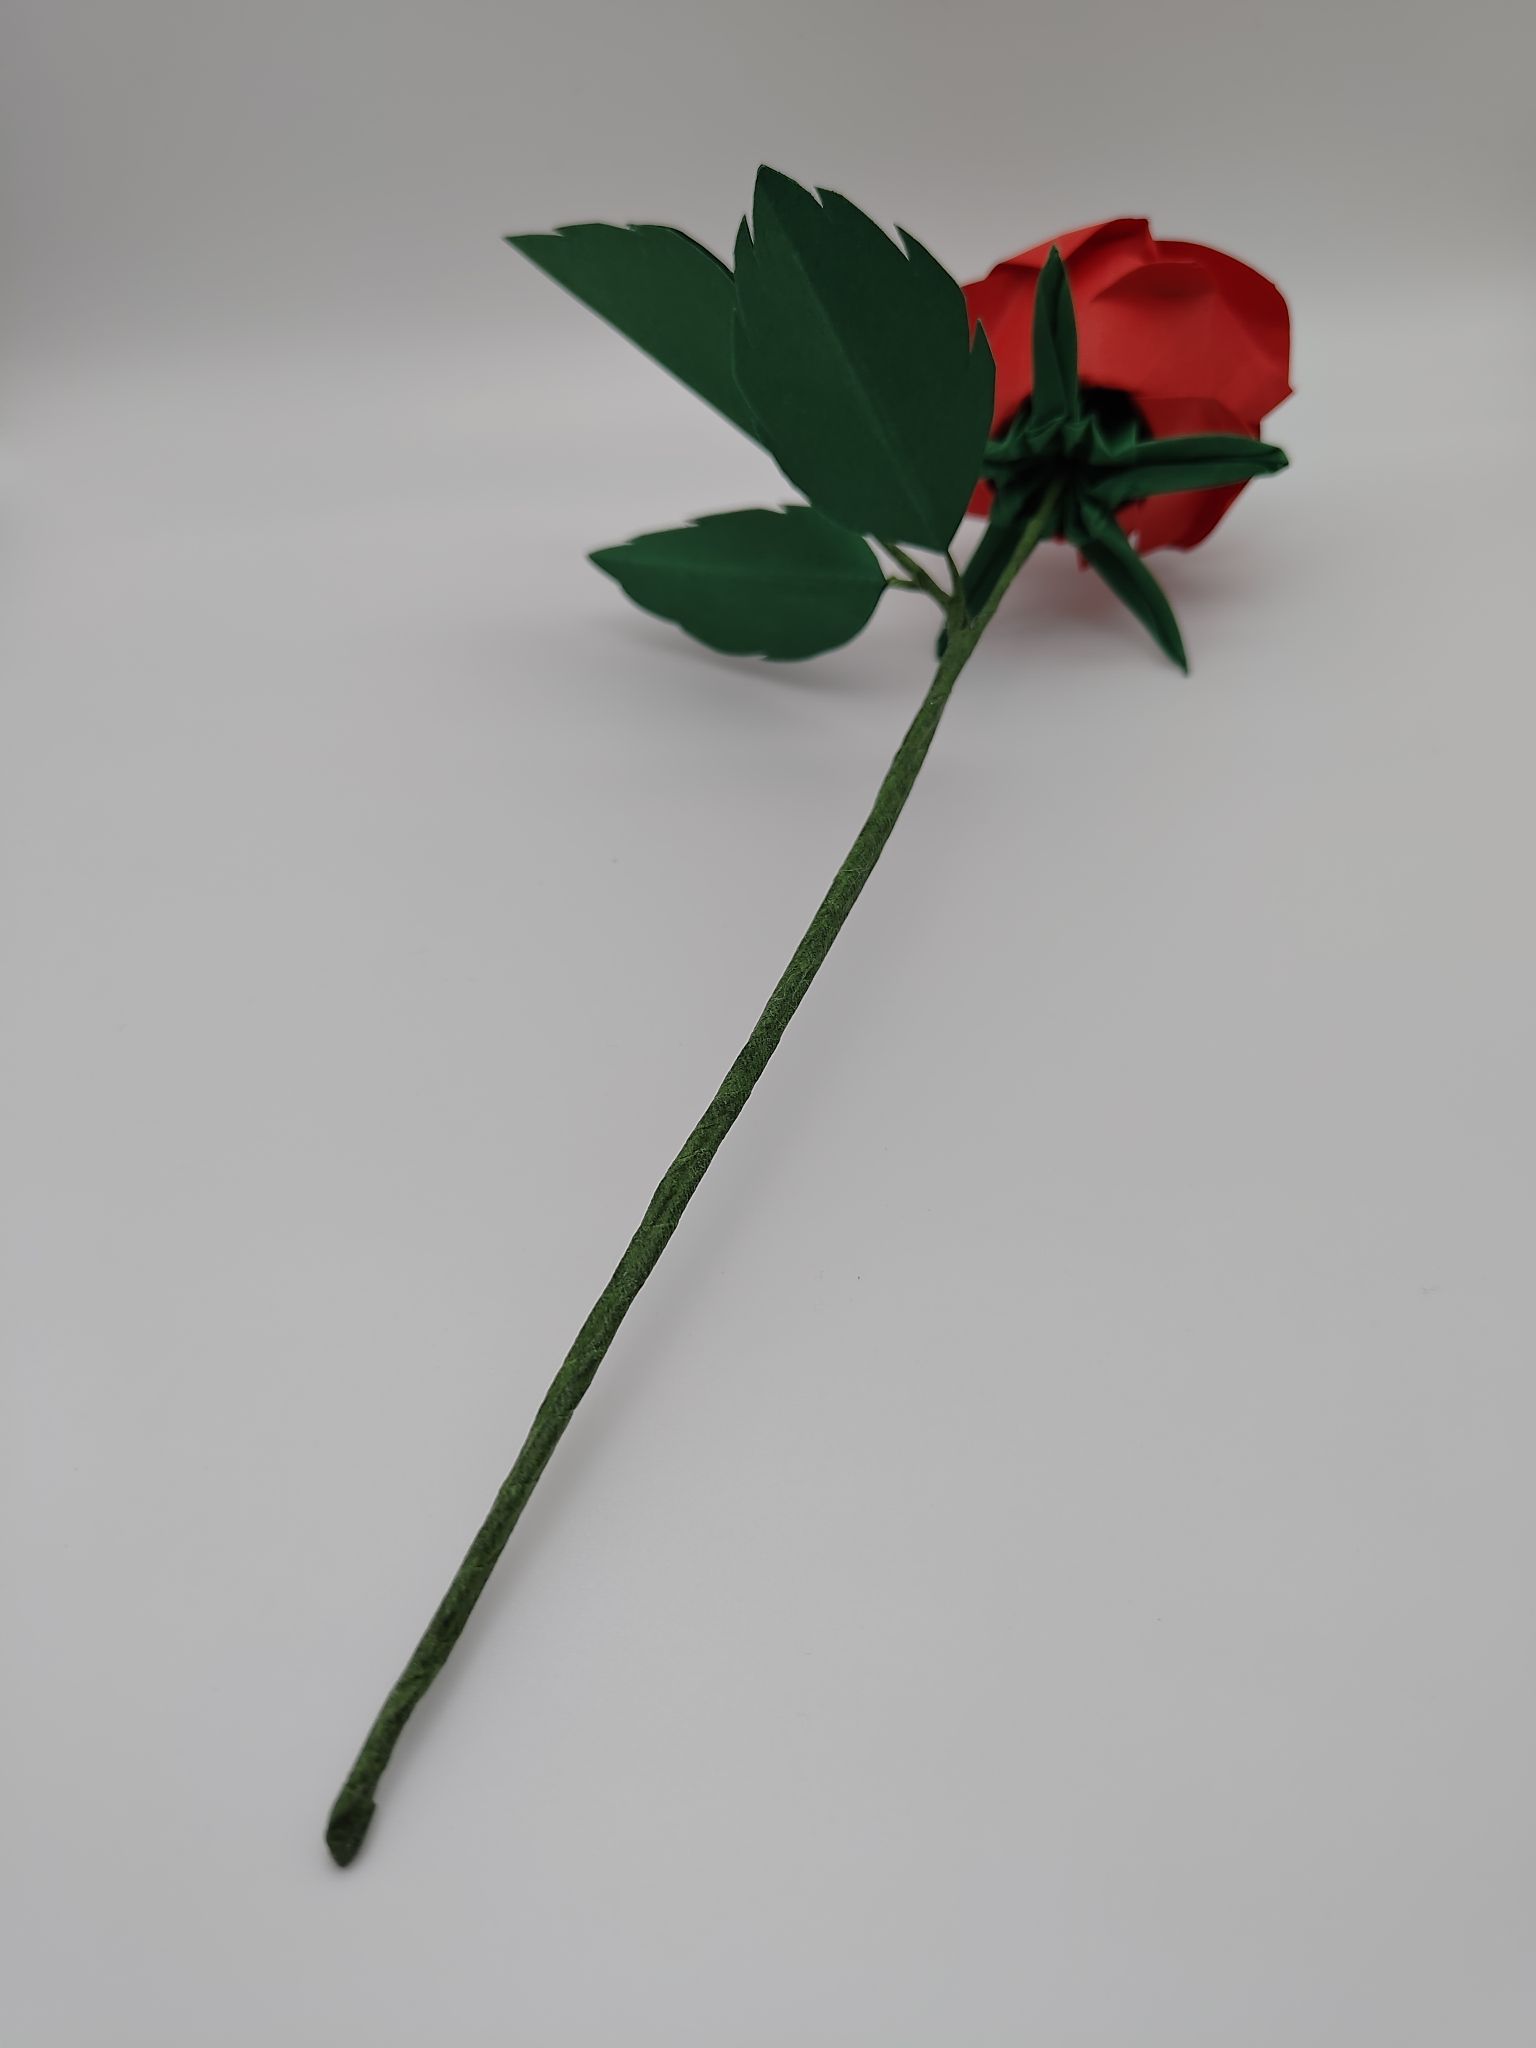
For a single rose, it would be good to make some leaves to go with it. A rose leaf usually looks like three leaves on a single stem, like a clover. I cut out some leaves using templates with a slight serrated edge. I also used my craft knife to lightly score the leaves in the middle and diagonally to look like veins.
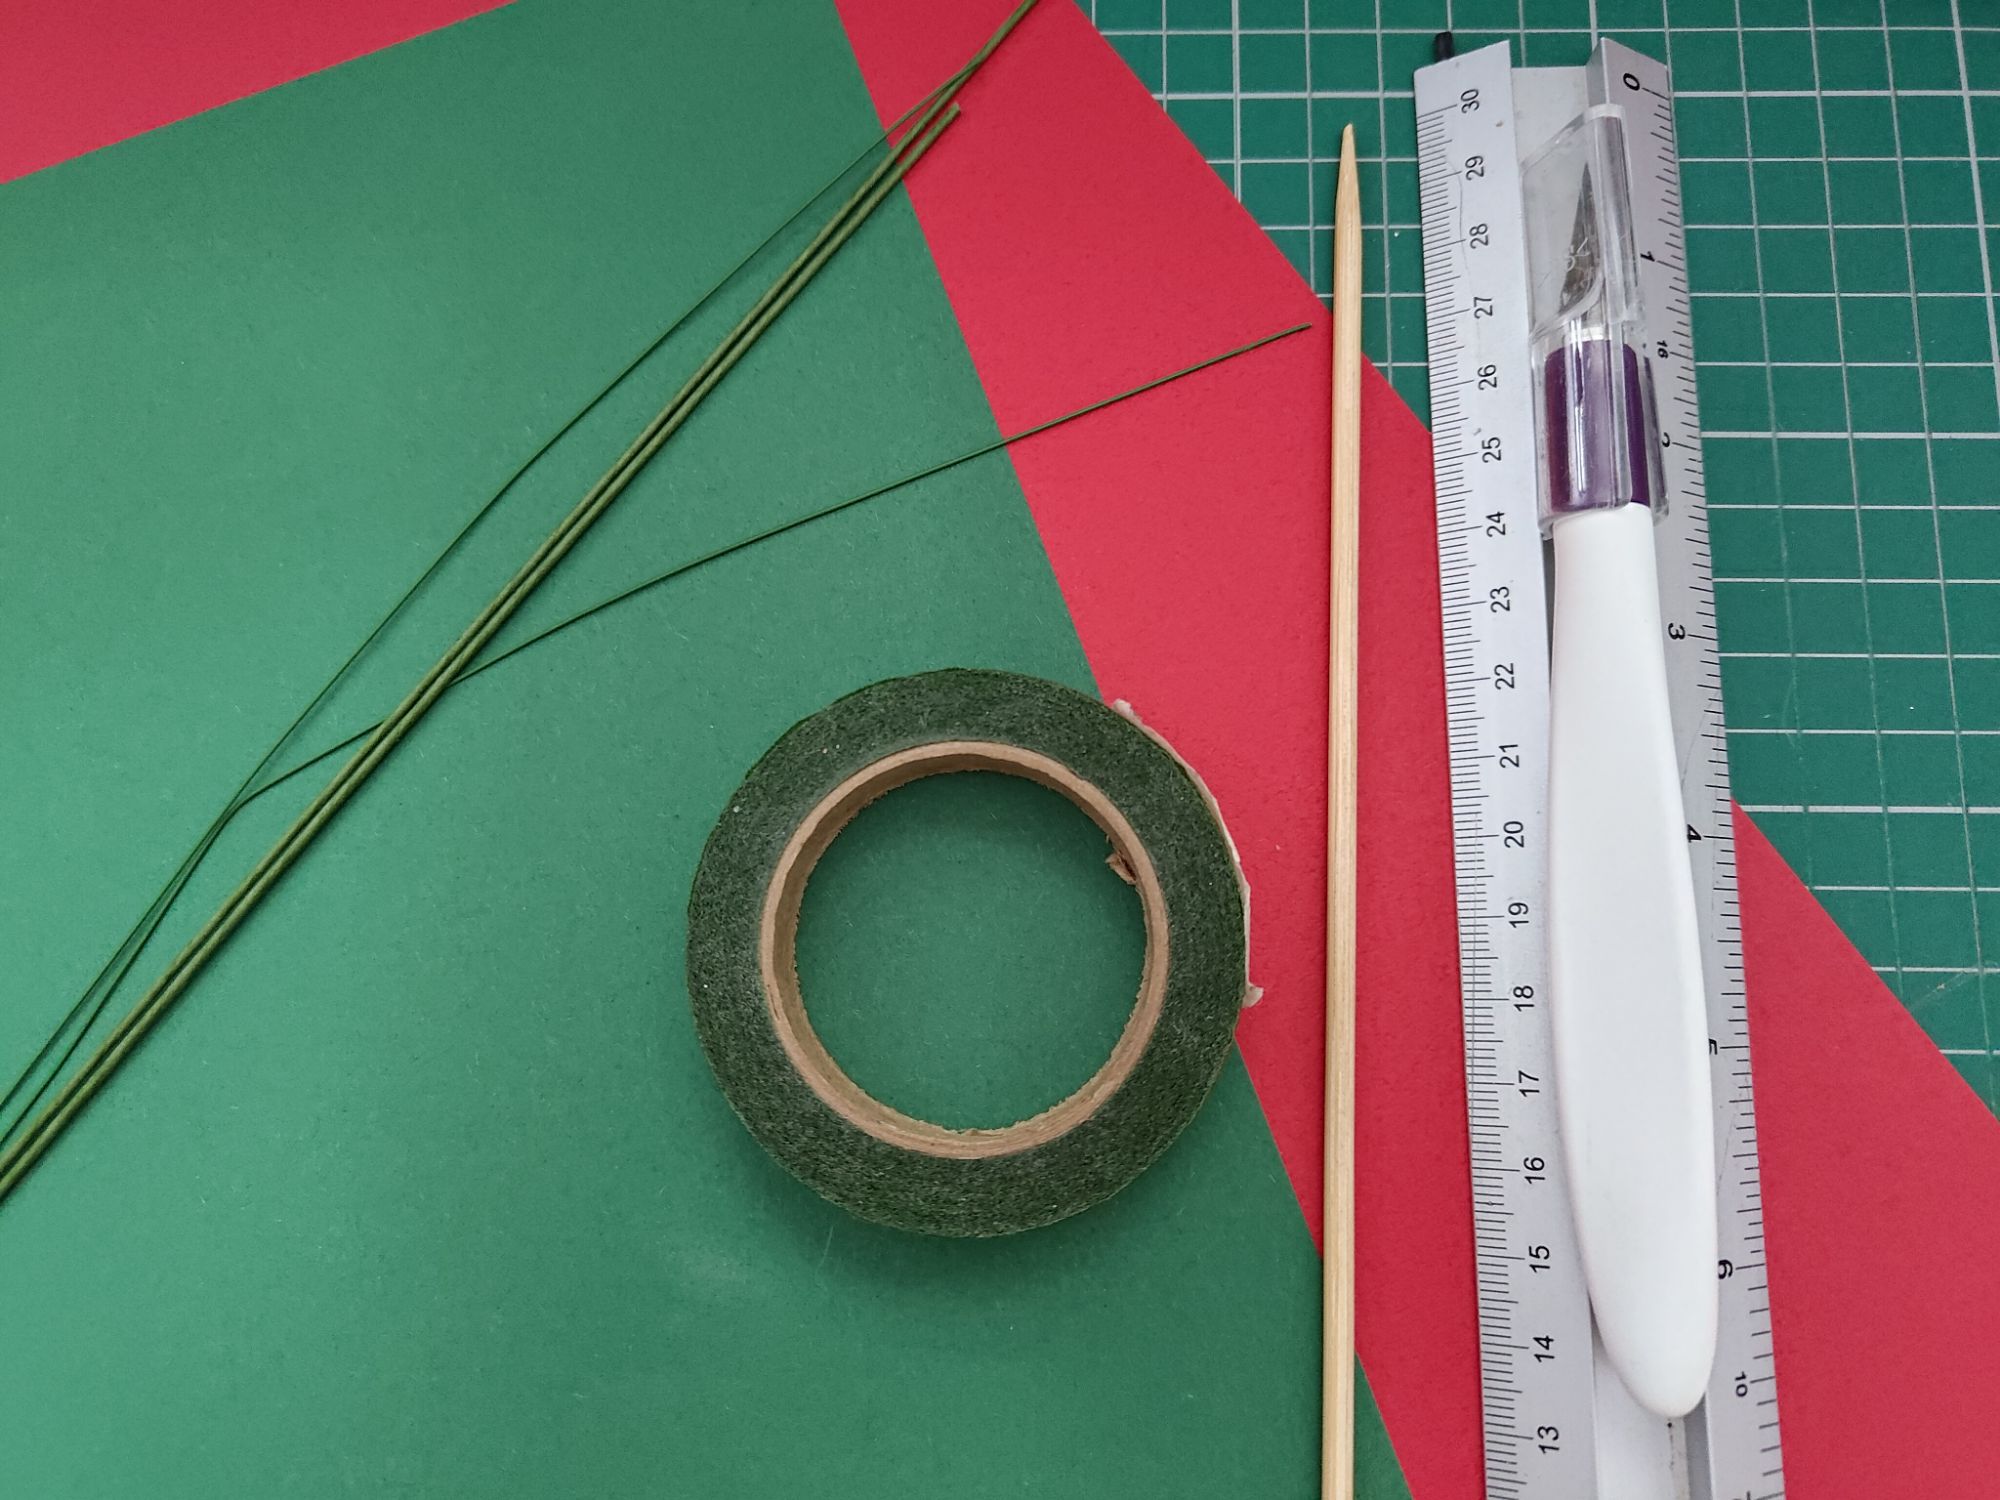
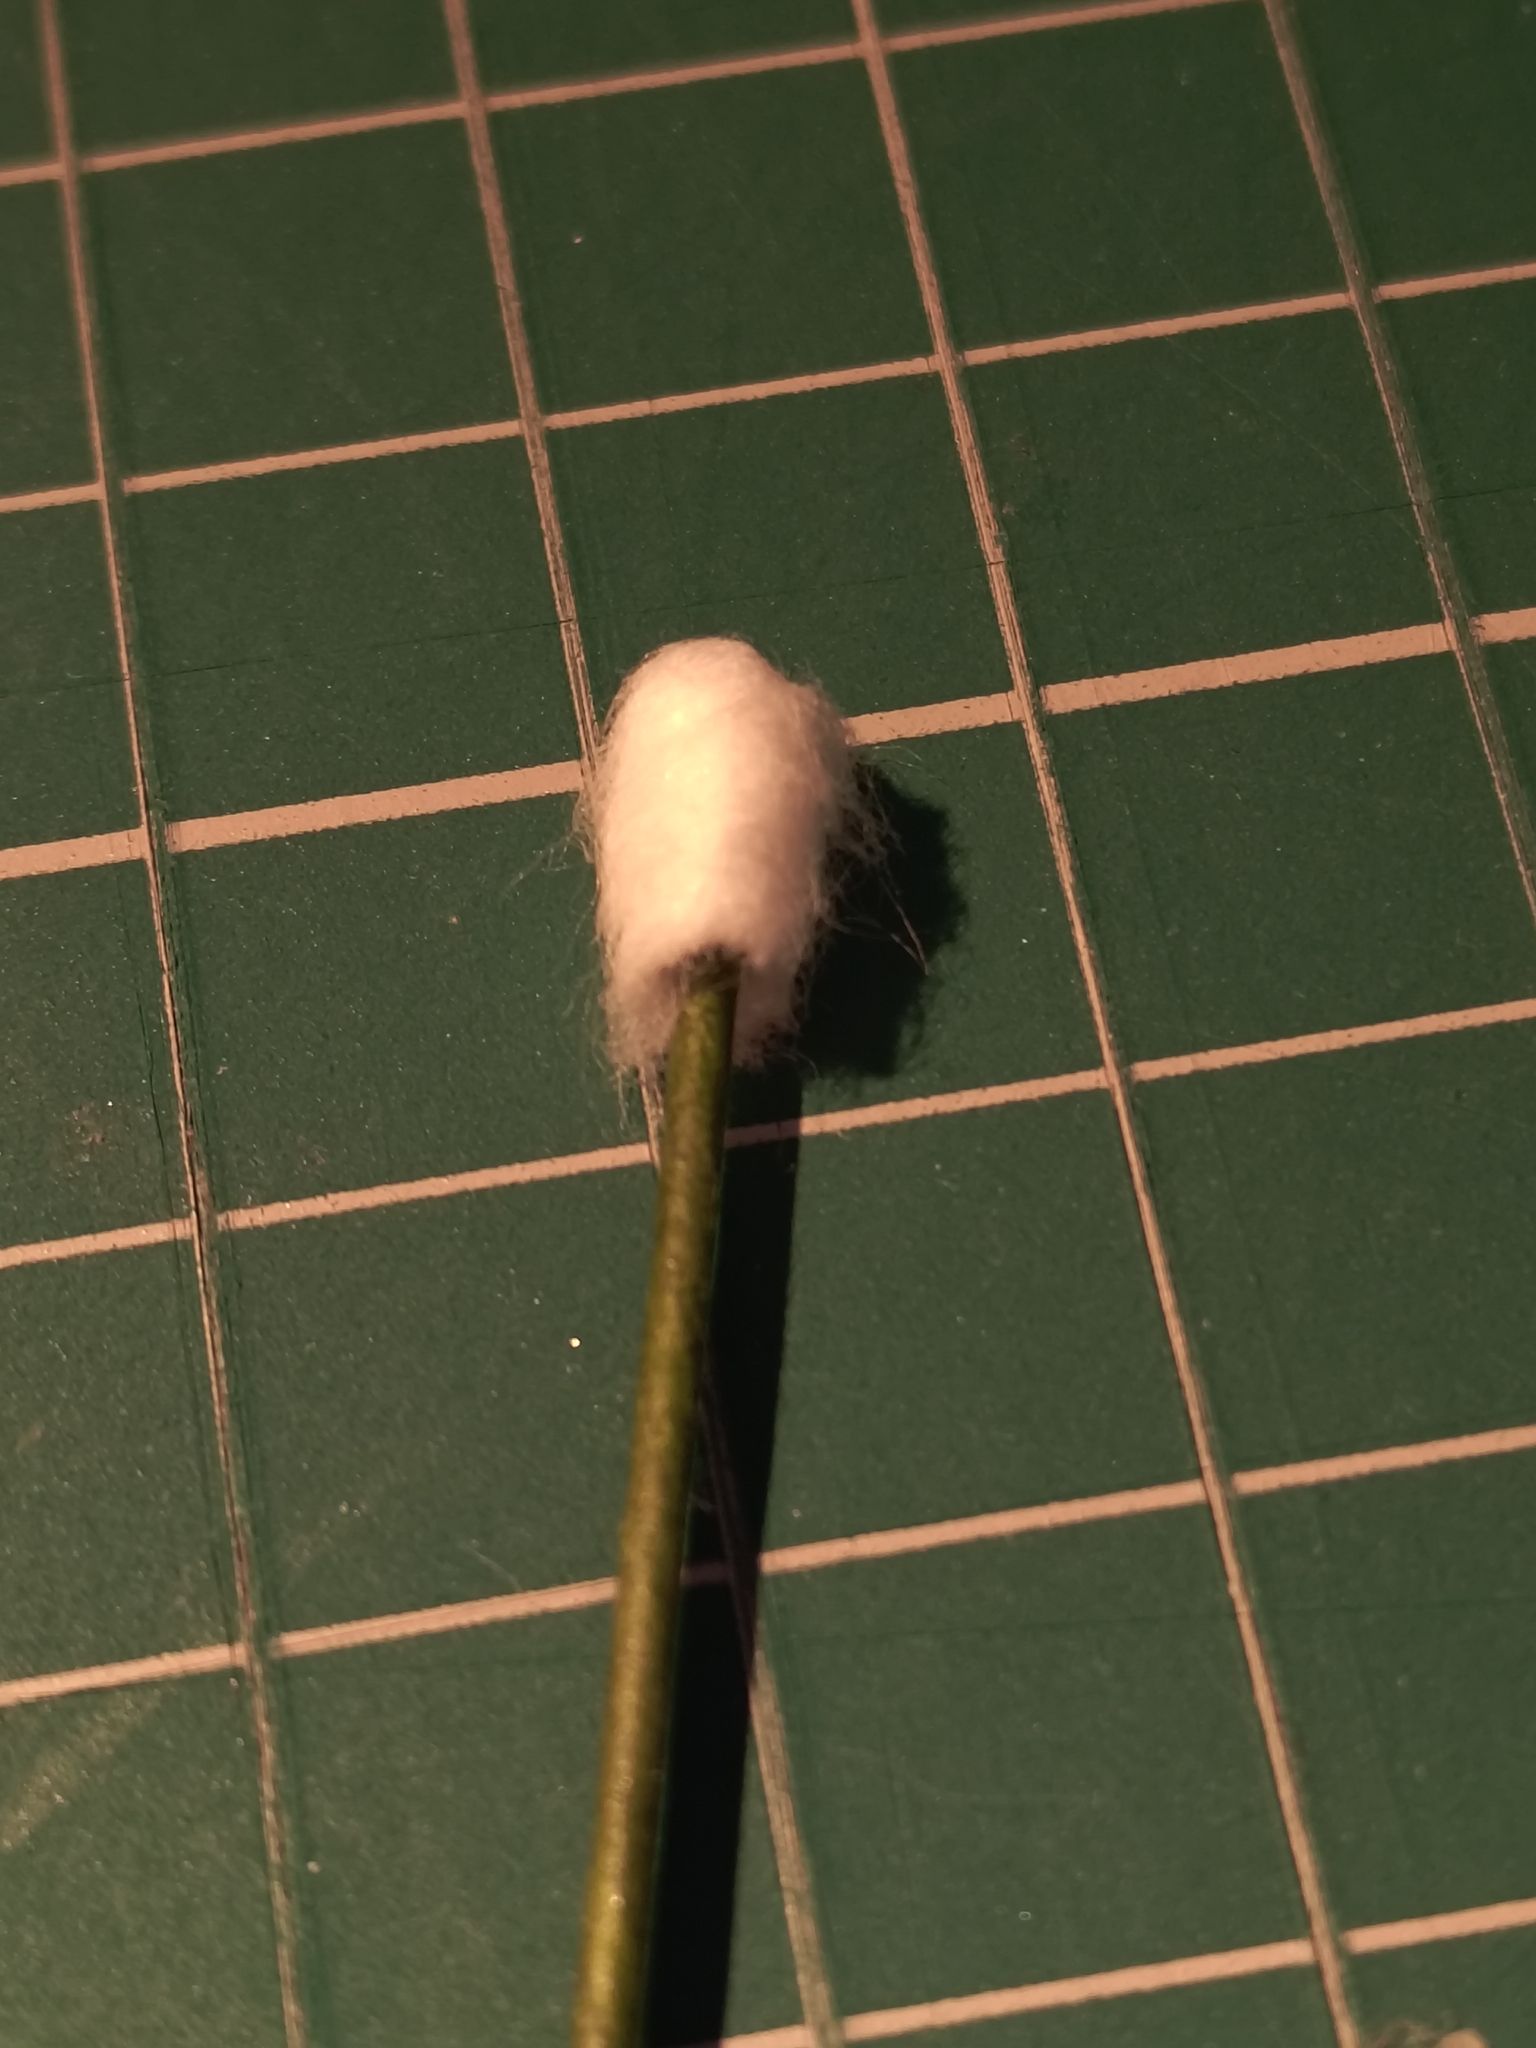
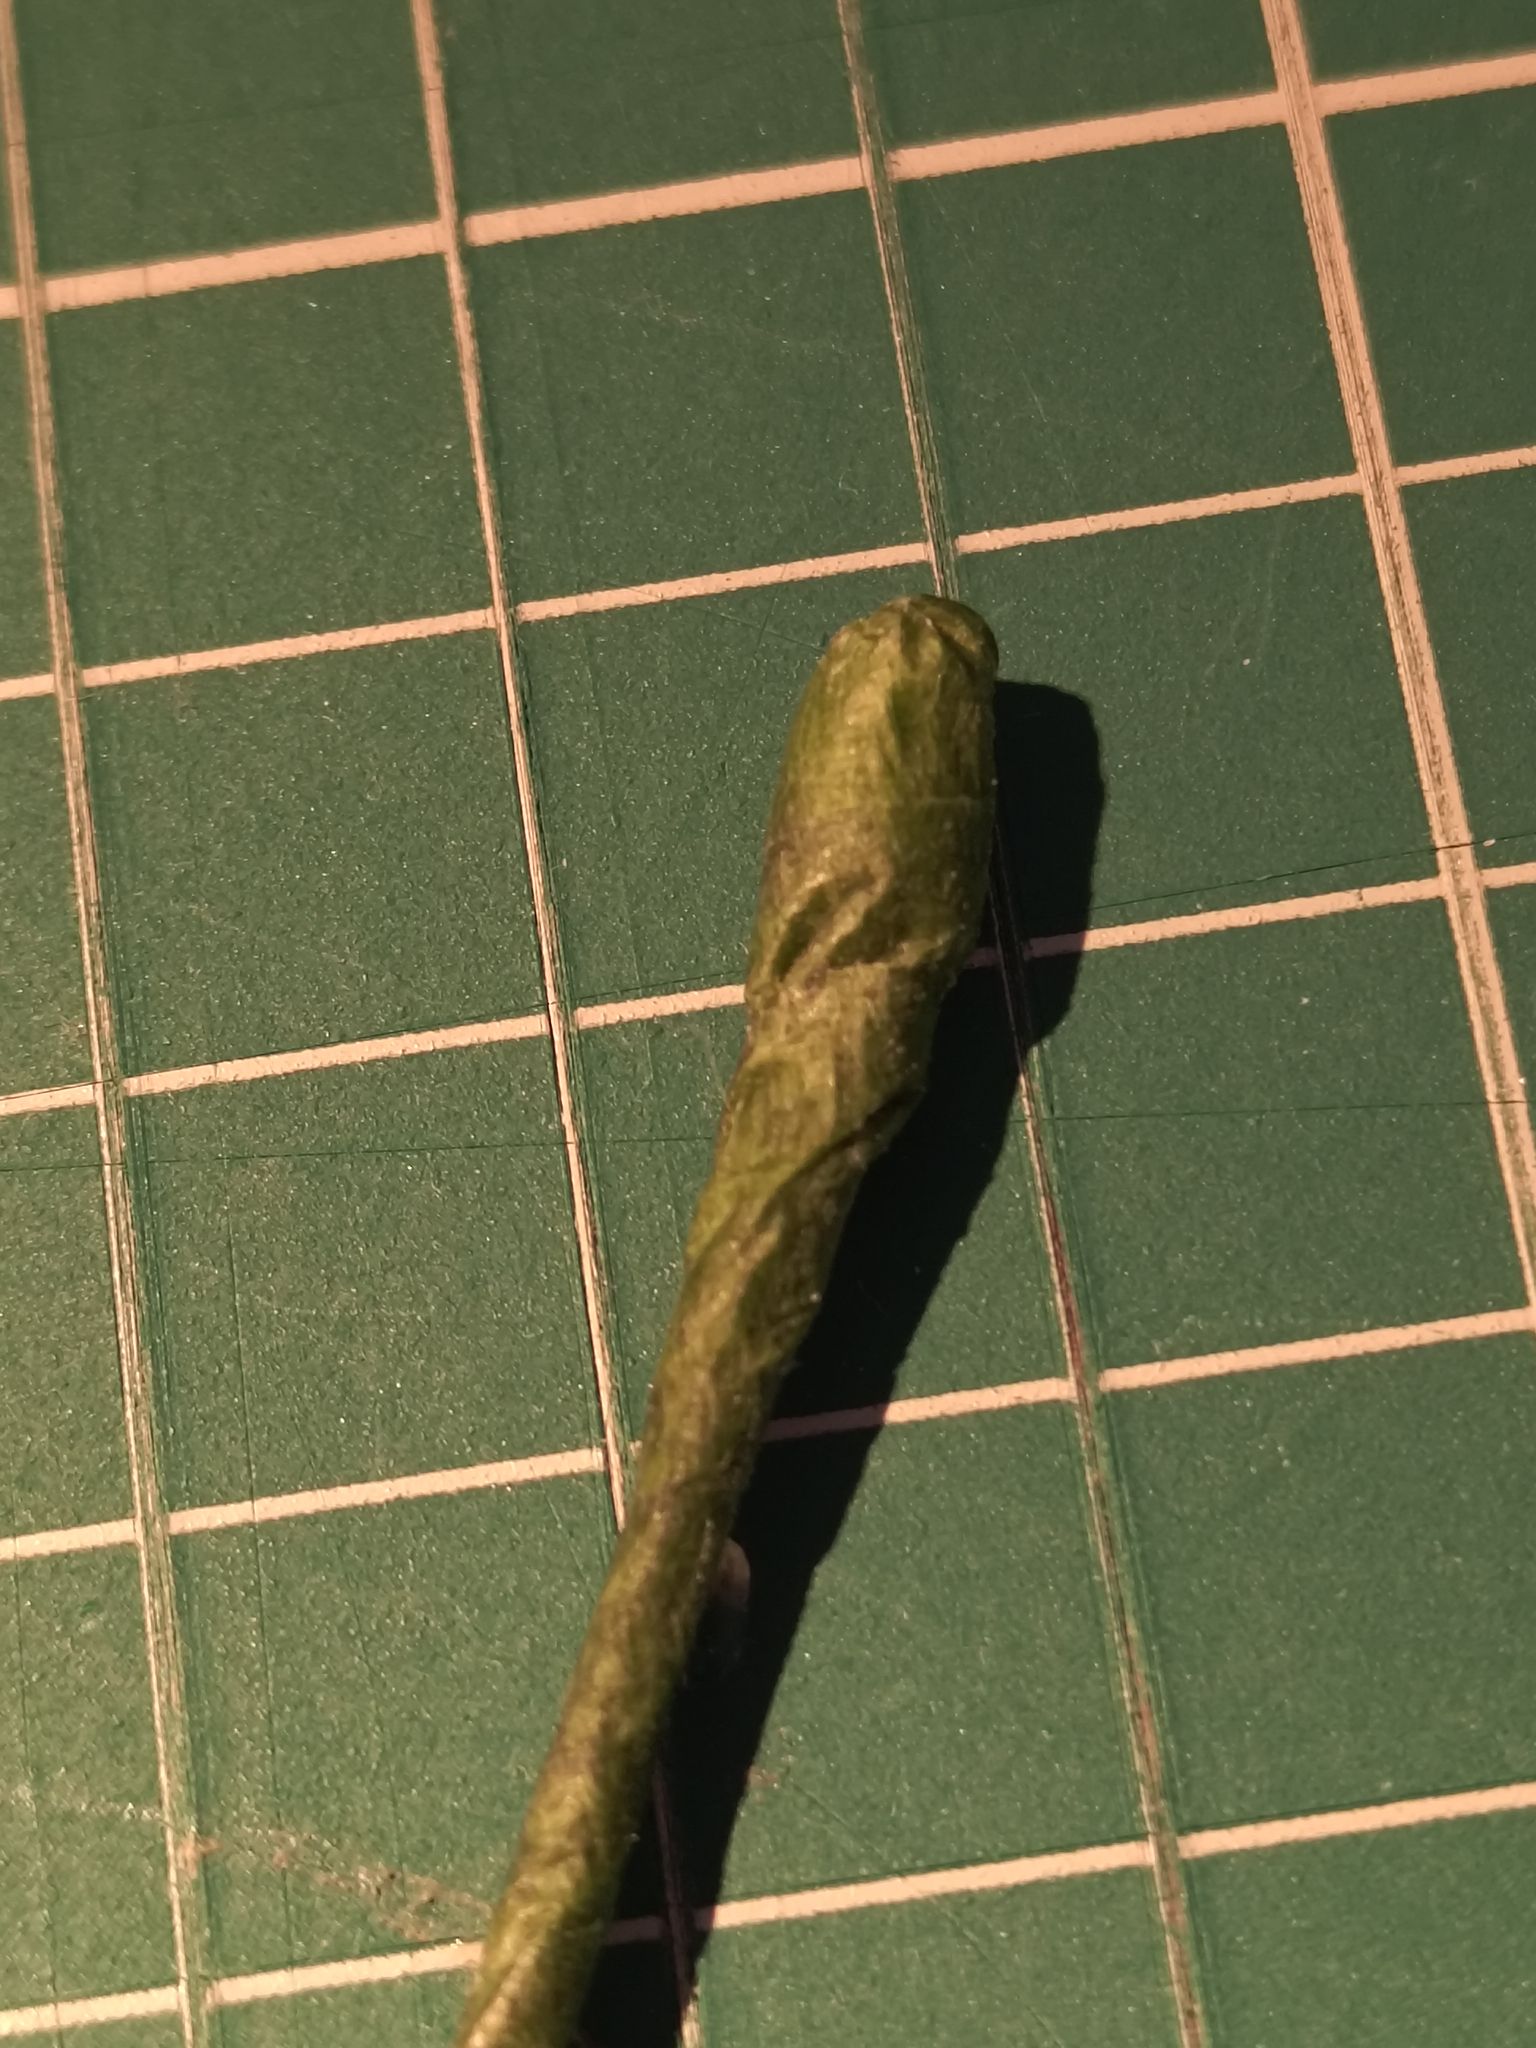
To make the stem for the main part, I cut off the end of a cotton bud and attached it to the tip of a sturdy papercraft stem. Then I wrapped dark green florist tape around the whole stem.
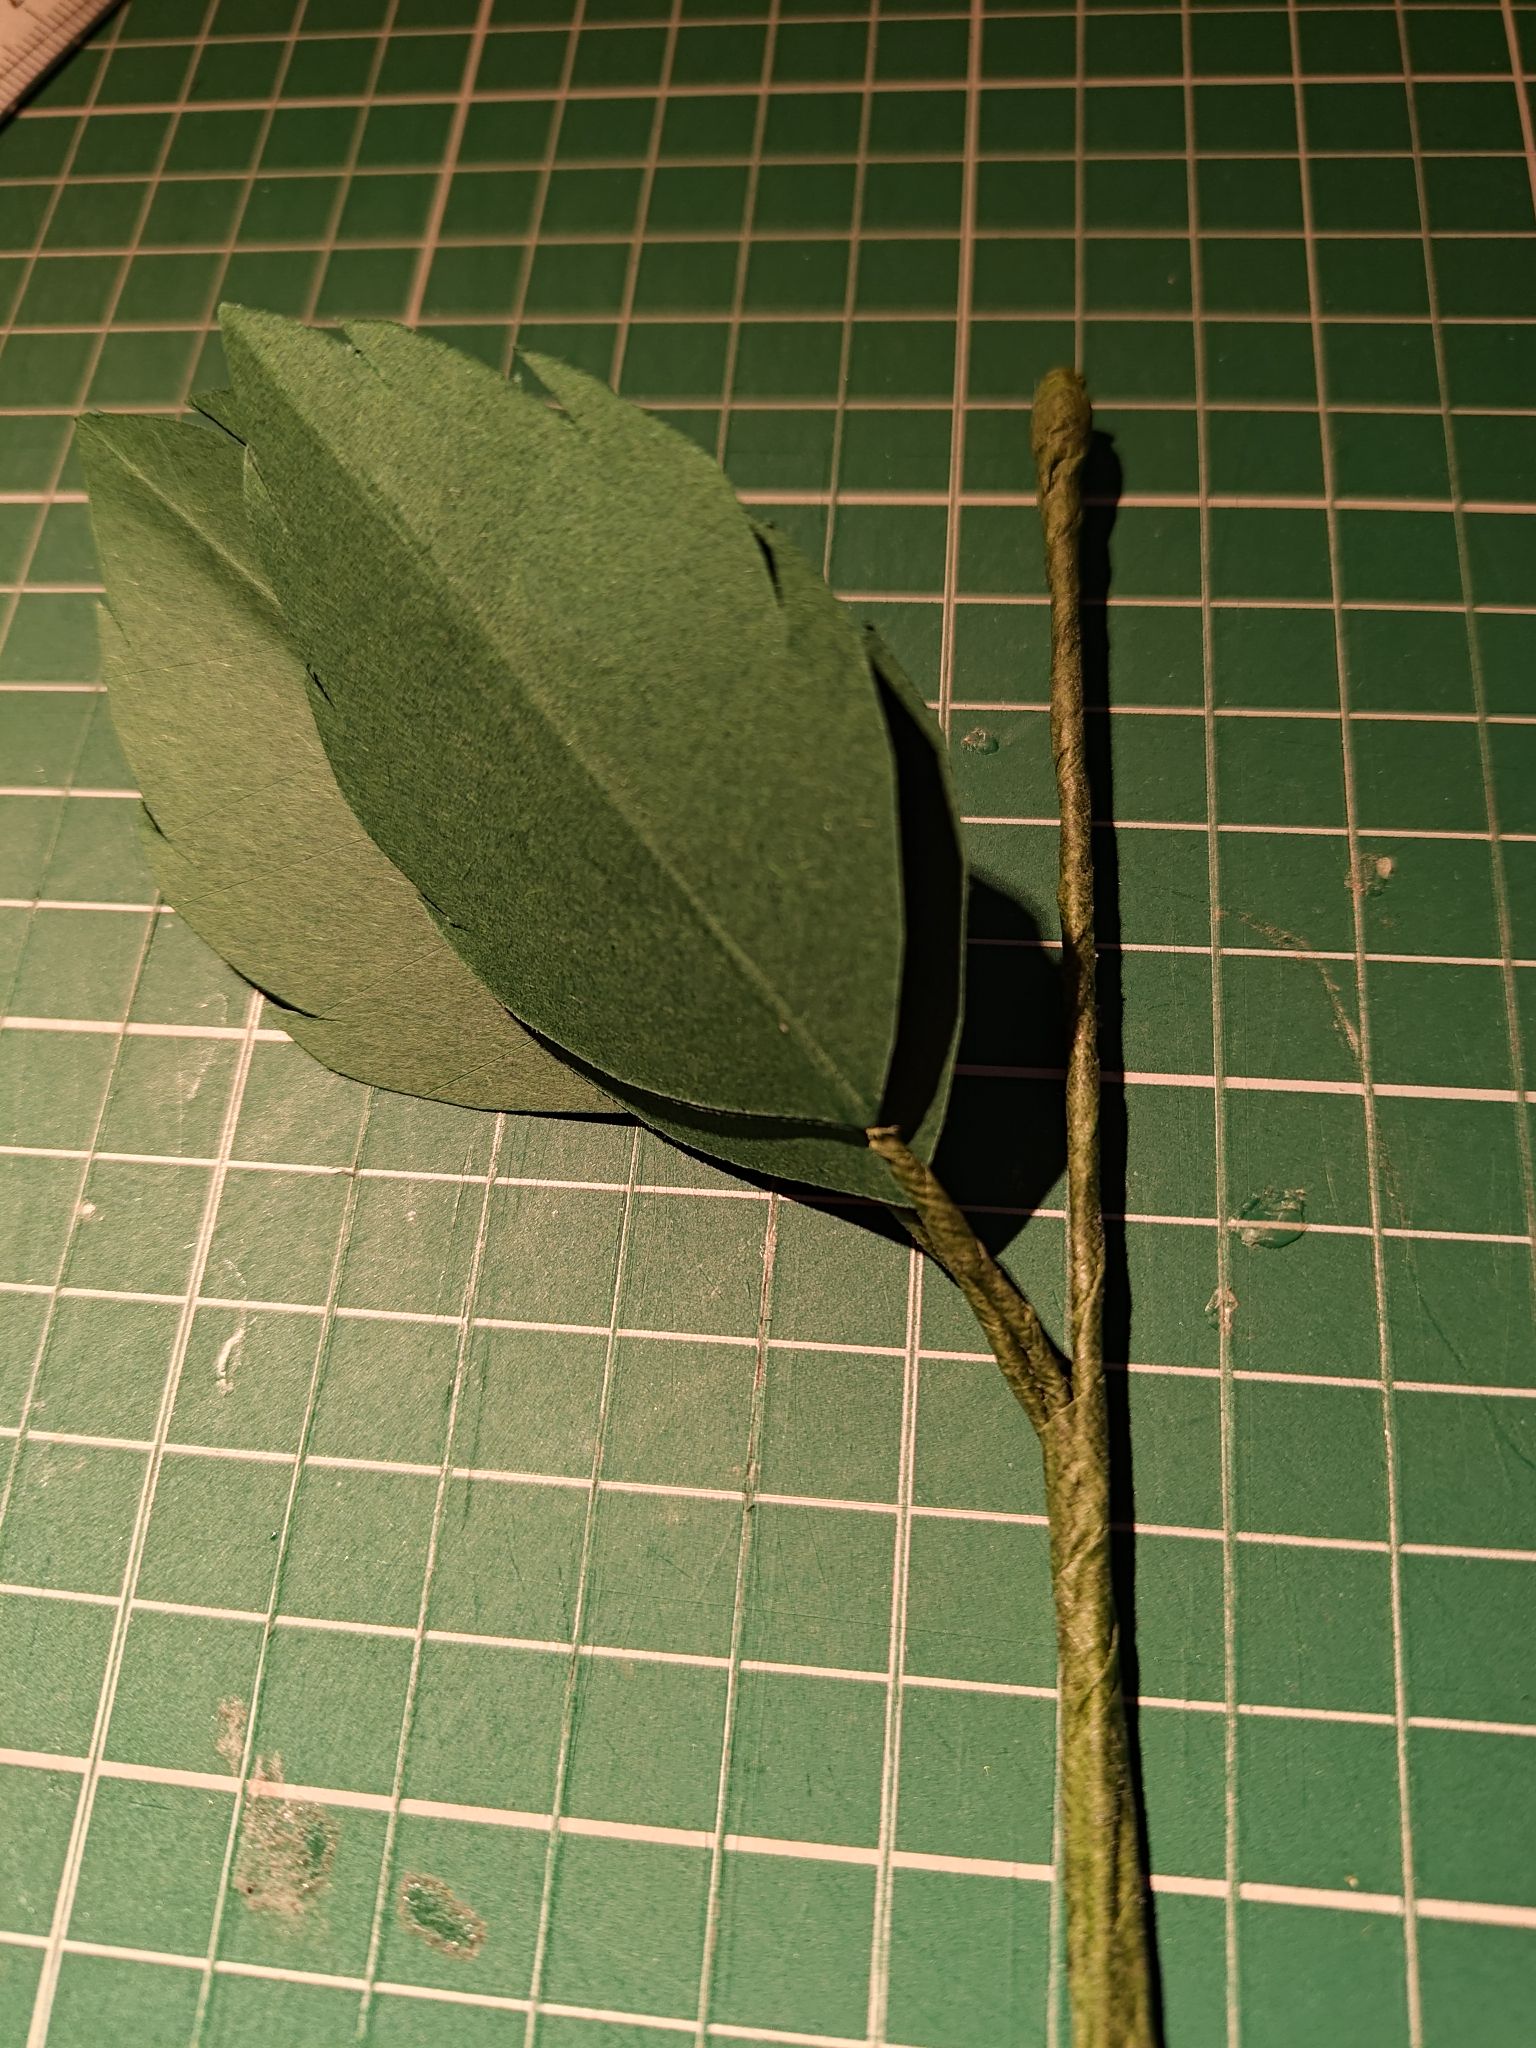
I attached the leaves to wire stems by applying wood glue and sandwiching the wire between two leaves to cover it. When done right, the wire lines up with the central line. I also chose to wrap the wires after attaching the leaves, but this might make the leaves less secure.
The three leaf stems were wrapped at the same time – you could wrap them separately to make it more realistic but it might make the main stem thicker.
I wrapped florist tape all the way down to the bottom and trimmed the wires evenly with a wire cutter.
I applied wood glue to the tip of the stem and attached it to the centre of the calyx. Then I used a wooden skewer to curl the petals.
I didn’t trim much off the stem so I’ll need to find a nice tall thin vase for it to be displayed.
It would be nice to make a whole bouquet! I have so much Tant paper that I could potentially use for this. I just wanted to make one rose for today! Have a nice day!
Materials used:
– 30cm square Tant paper
– 15cm square dark green paper
– dark green paper for the leaves
– florist wires
– florist stems
Tools used:
– craft knife and cutting mat
– scissors
– wood glue
– wooden skewer

wow i’ve never seen that design before, if you want more cool origami instructions follow the link
https://jazzigami.wordpress.com
It’s already the day after that where I am, but still, Happy Valentine’s Day to you too, Ilyere! I’m amazed by how origami artists manage to make paper folds curve that well, and I especially felt that amazement when I saw a glimpse of the Kawasaki rose!