
Back in my home decoration blog post, I showed off my rather barren wall decorations for my bedroom (just two kusudama models, although they are very pretty!) and mentioned that I had a project in mind for that area. I am ready to show off the result after a couple of days’ work on it!
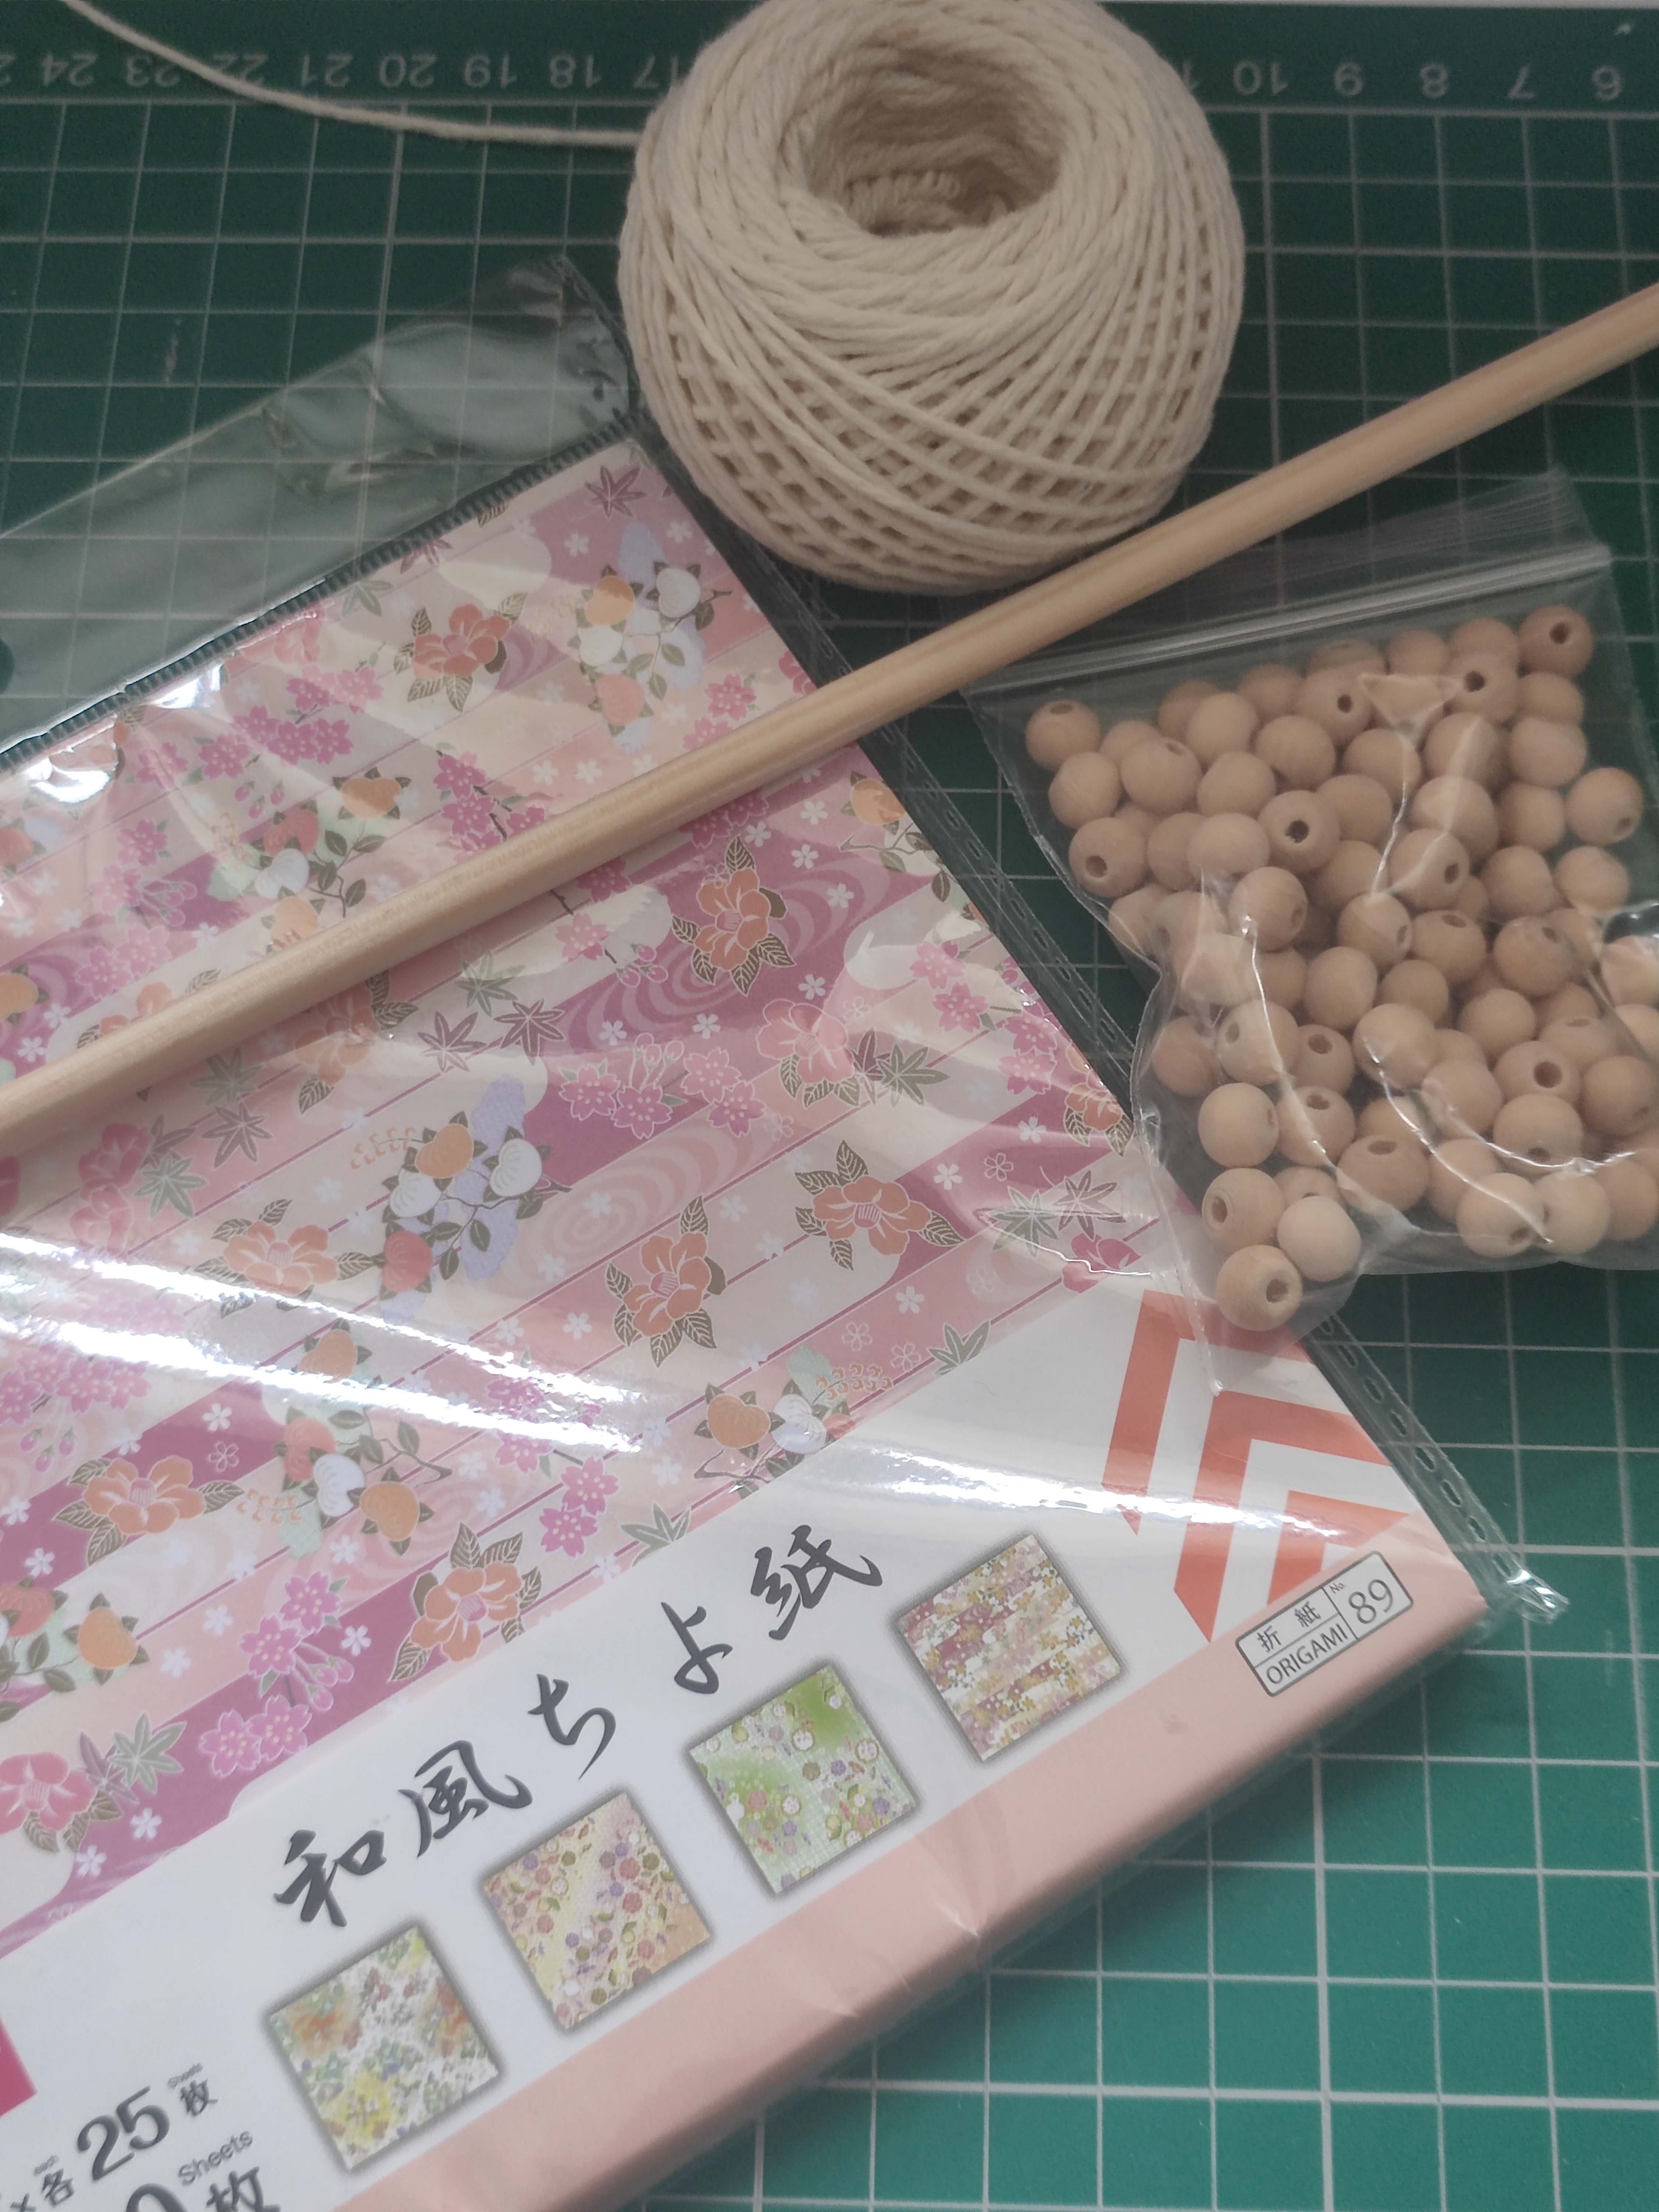
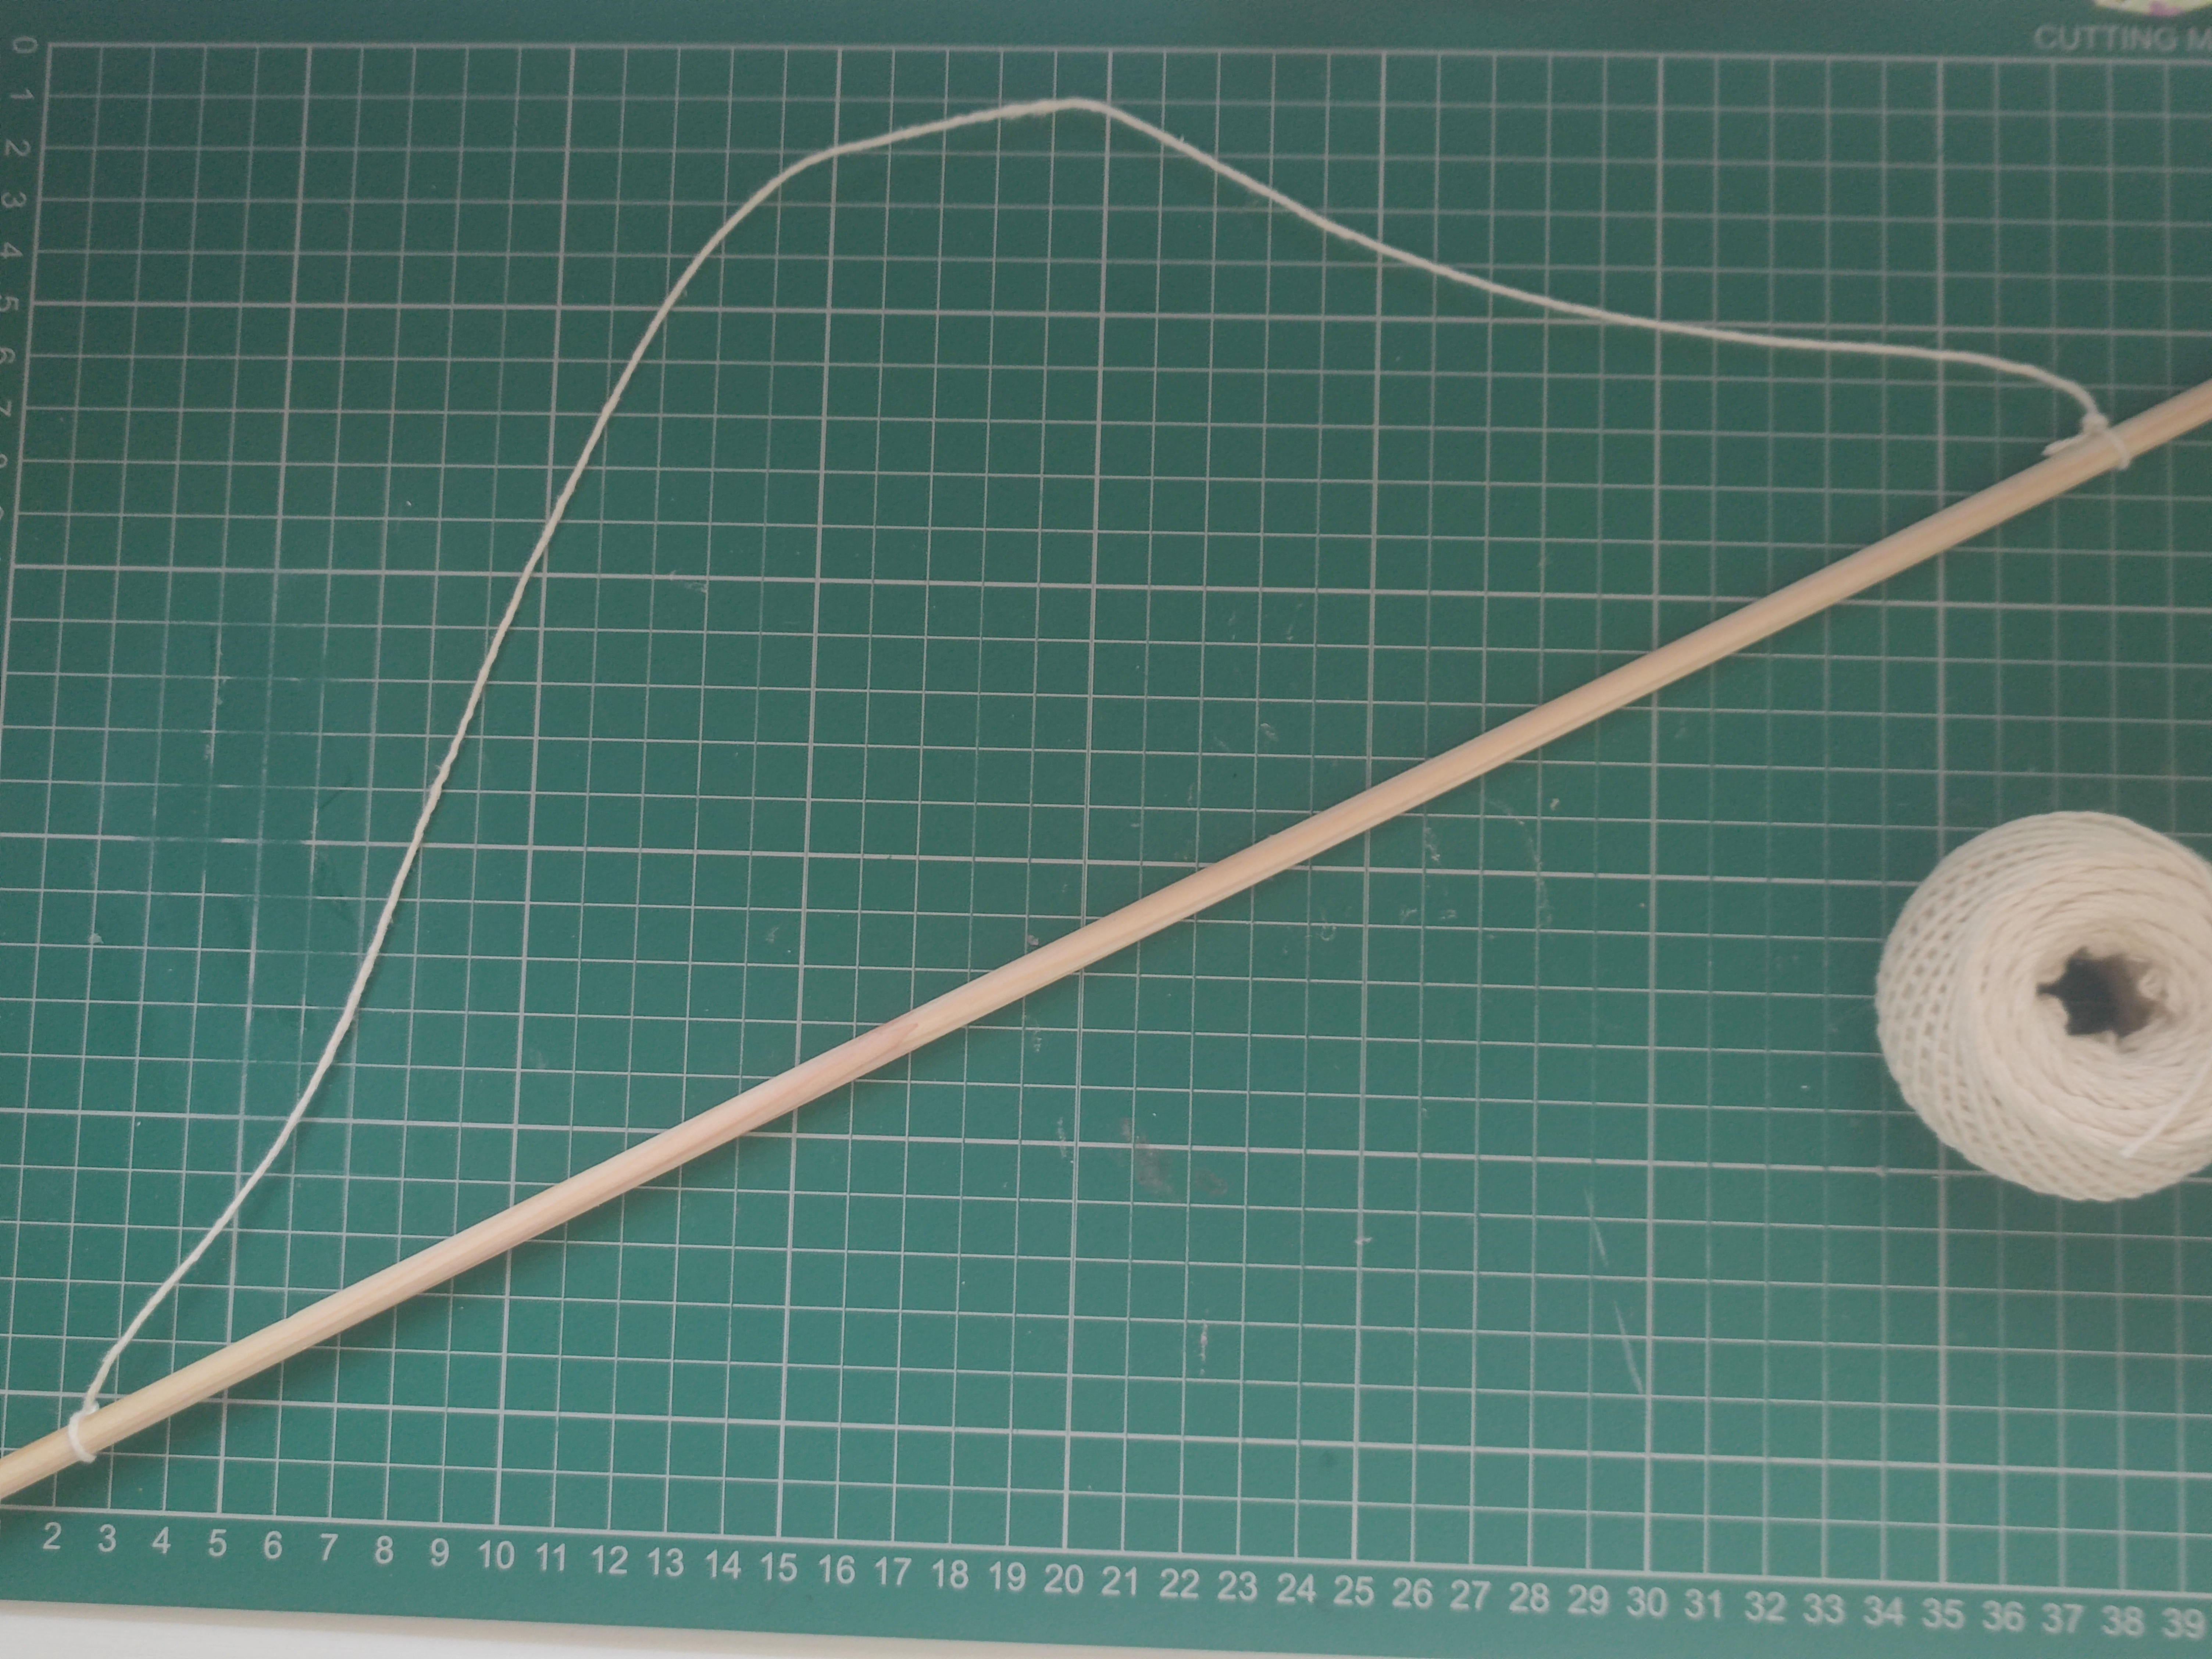
I bought this stack of very pretty festival-style patterned paper a while back at a local Japanese-themed pop-up market and wanted to use it for this project. To go with it, I also bought some 45cm wooden dowels (they are also useful for macramé projects if you wanna buy in bulk!) with the idea of making some sort of curtain – where strings of things hang off the dowel – and some plain wooden beads for decoration. I already had the ball of white twine since these things never seem to end.
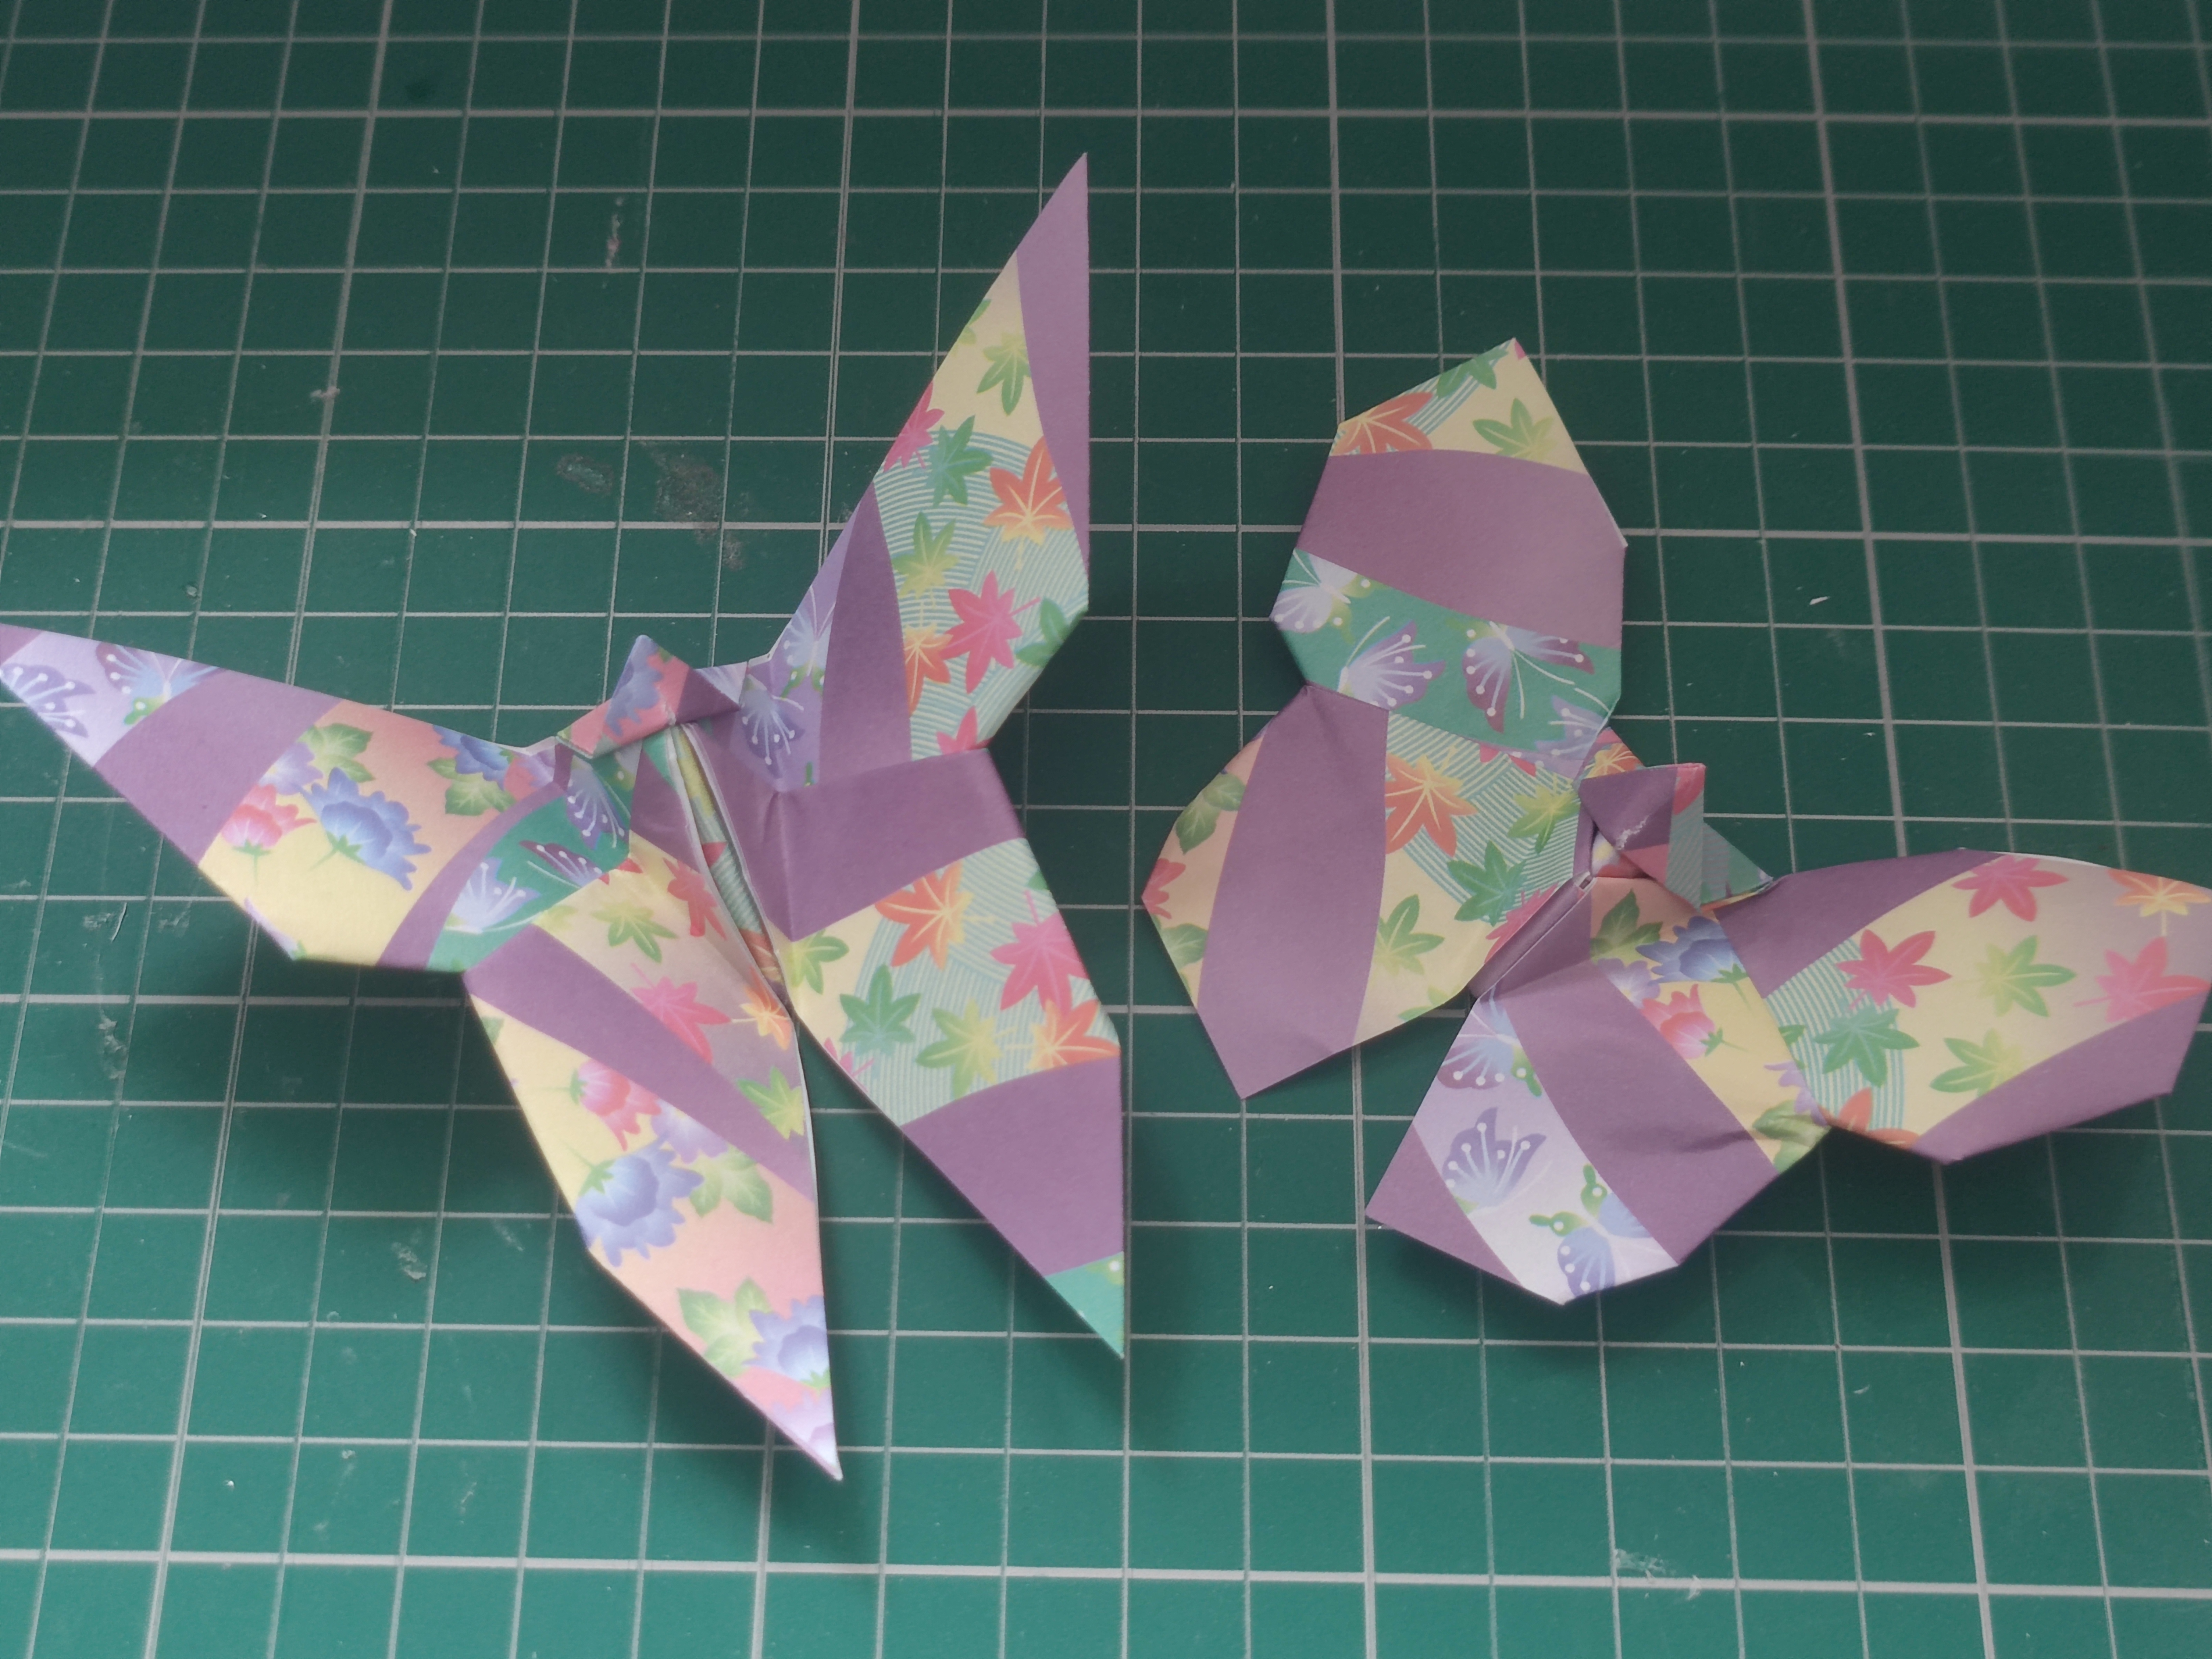
I wanted to hang up strings of origami butterflies – my favourite kind of butterfly to fold is the Yoshizawa butterfly and it has been featured in a couple of my previous projects (like the butterfly box frame). I tend to cut origami square paper down to size as I like to use a lot of butterflies in the same project, but I didn’t want to cut this paper up as the full pattern might be lost.
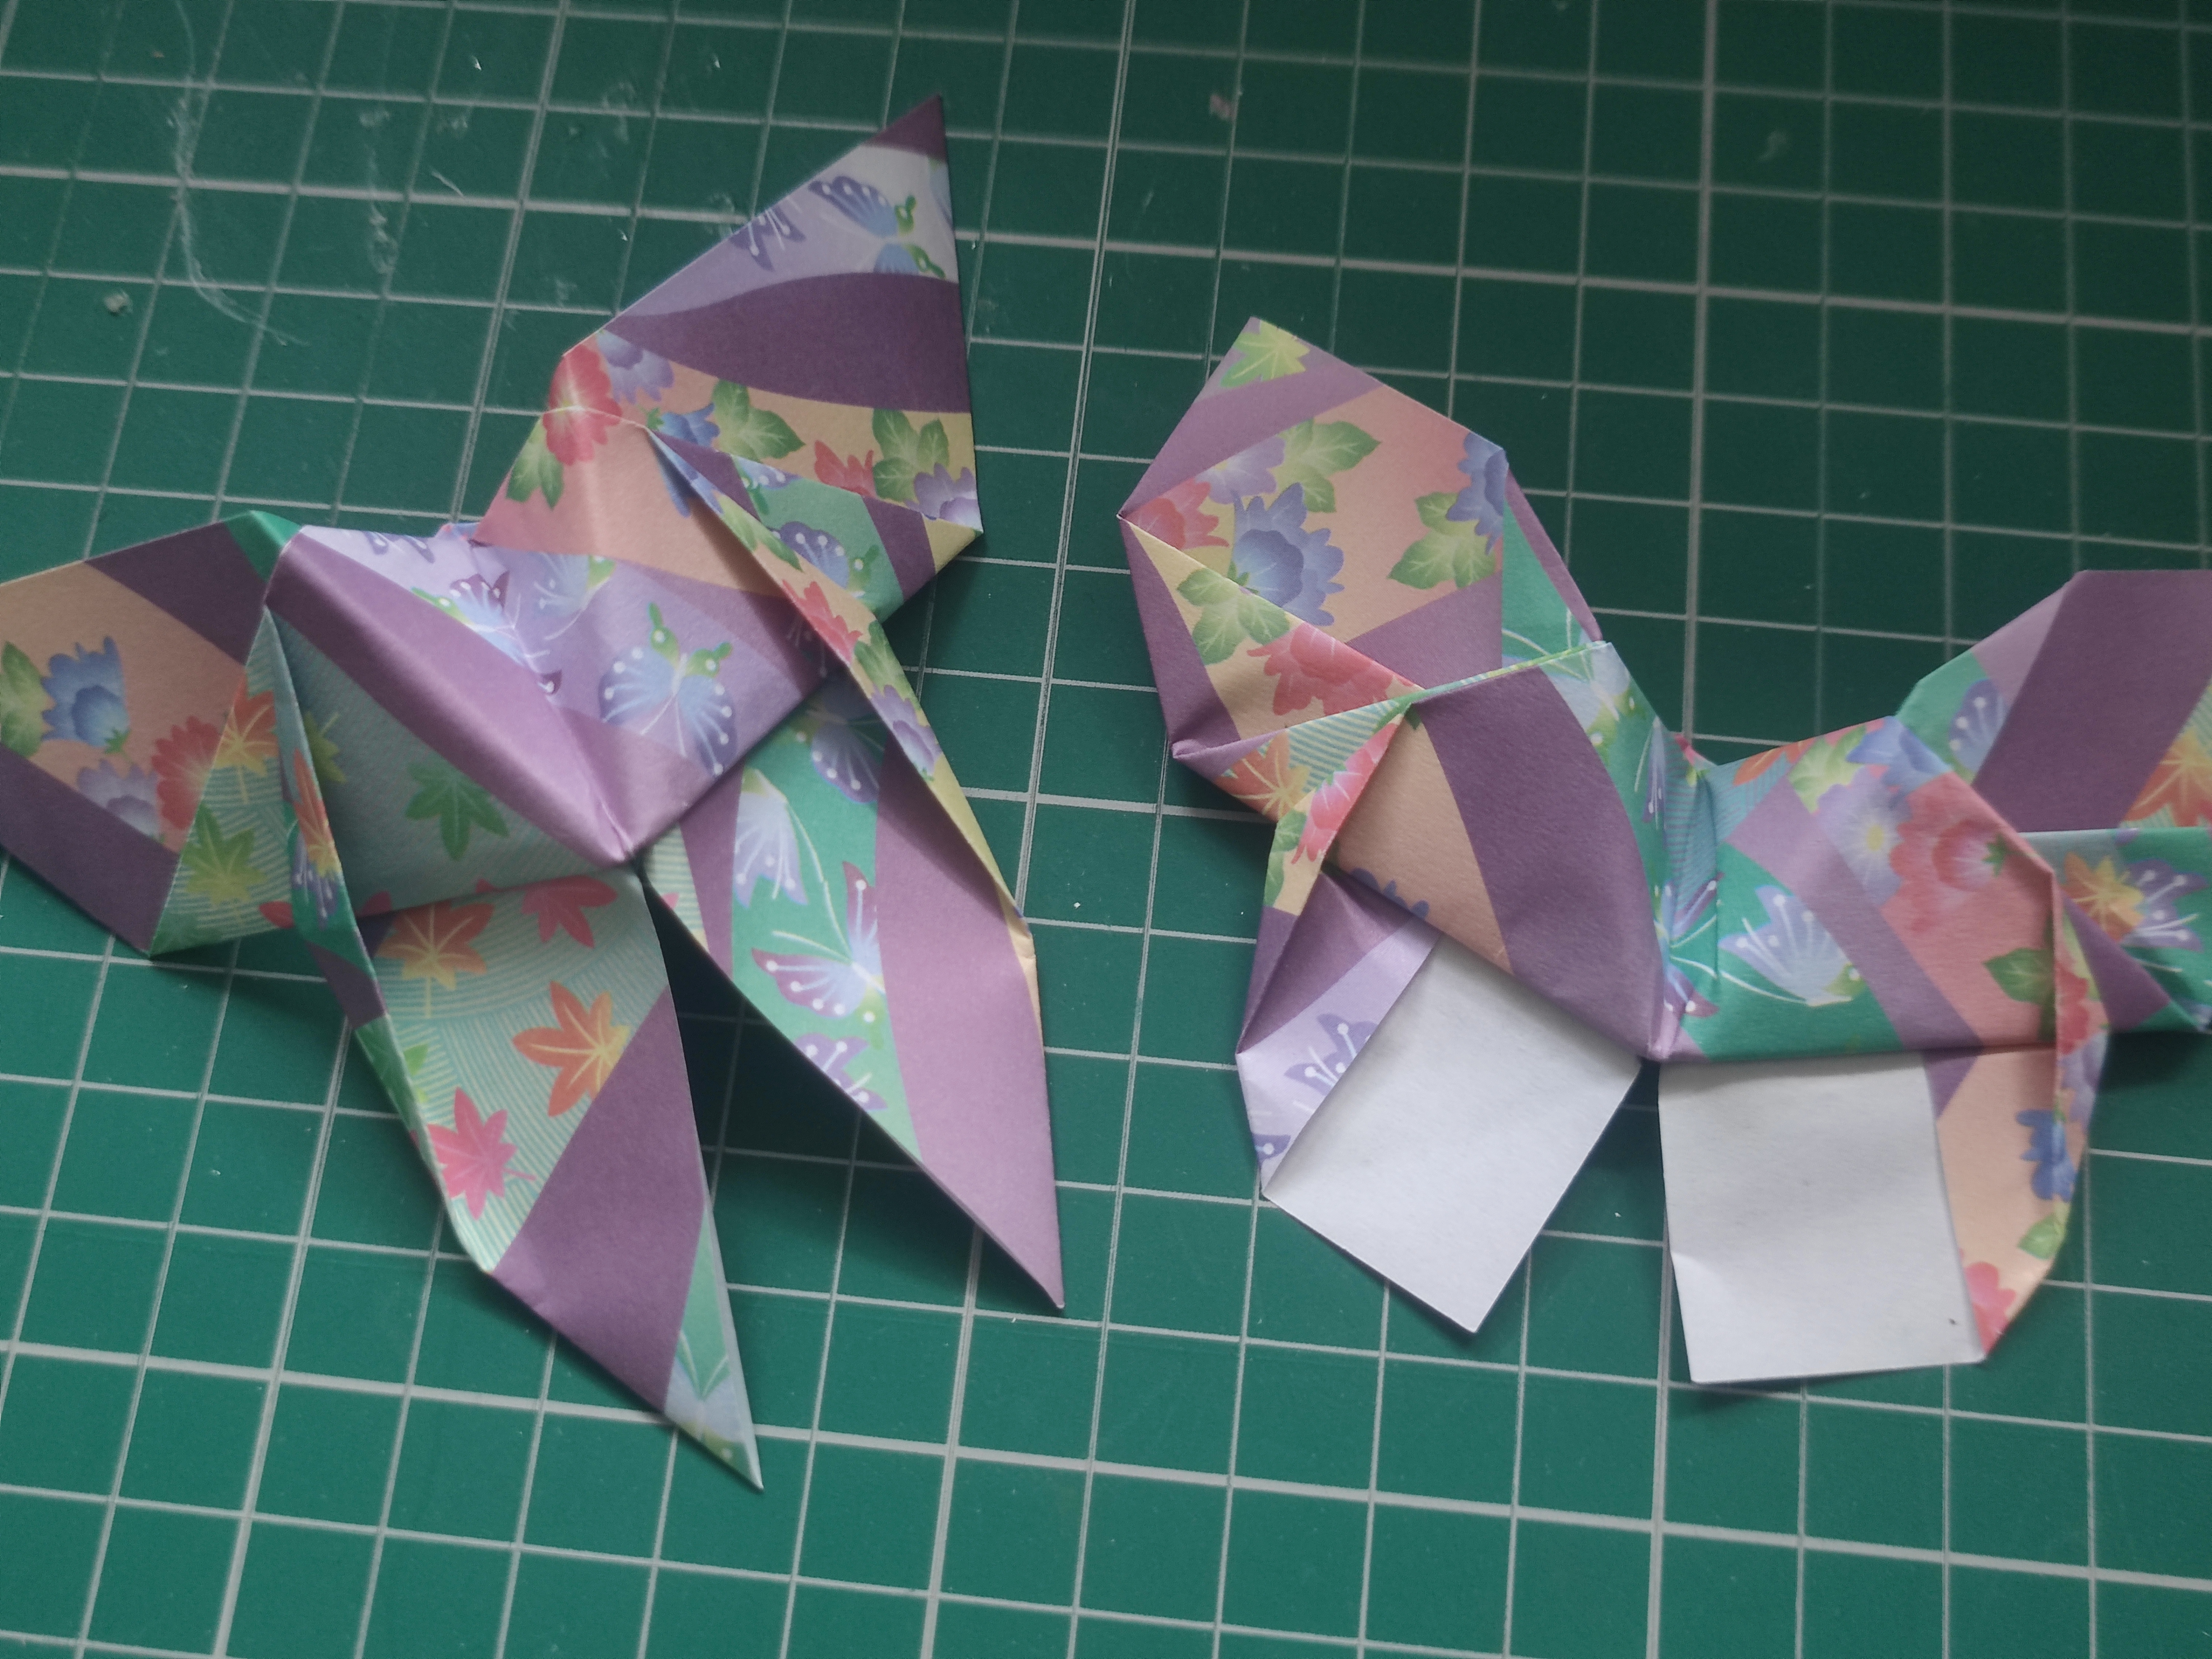
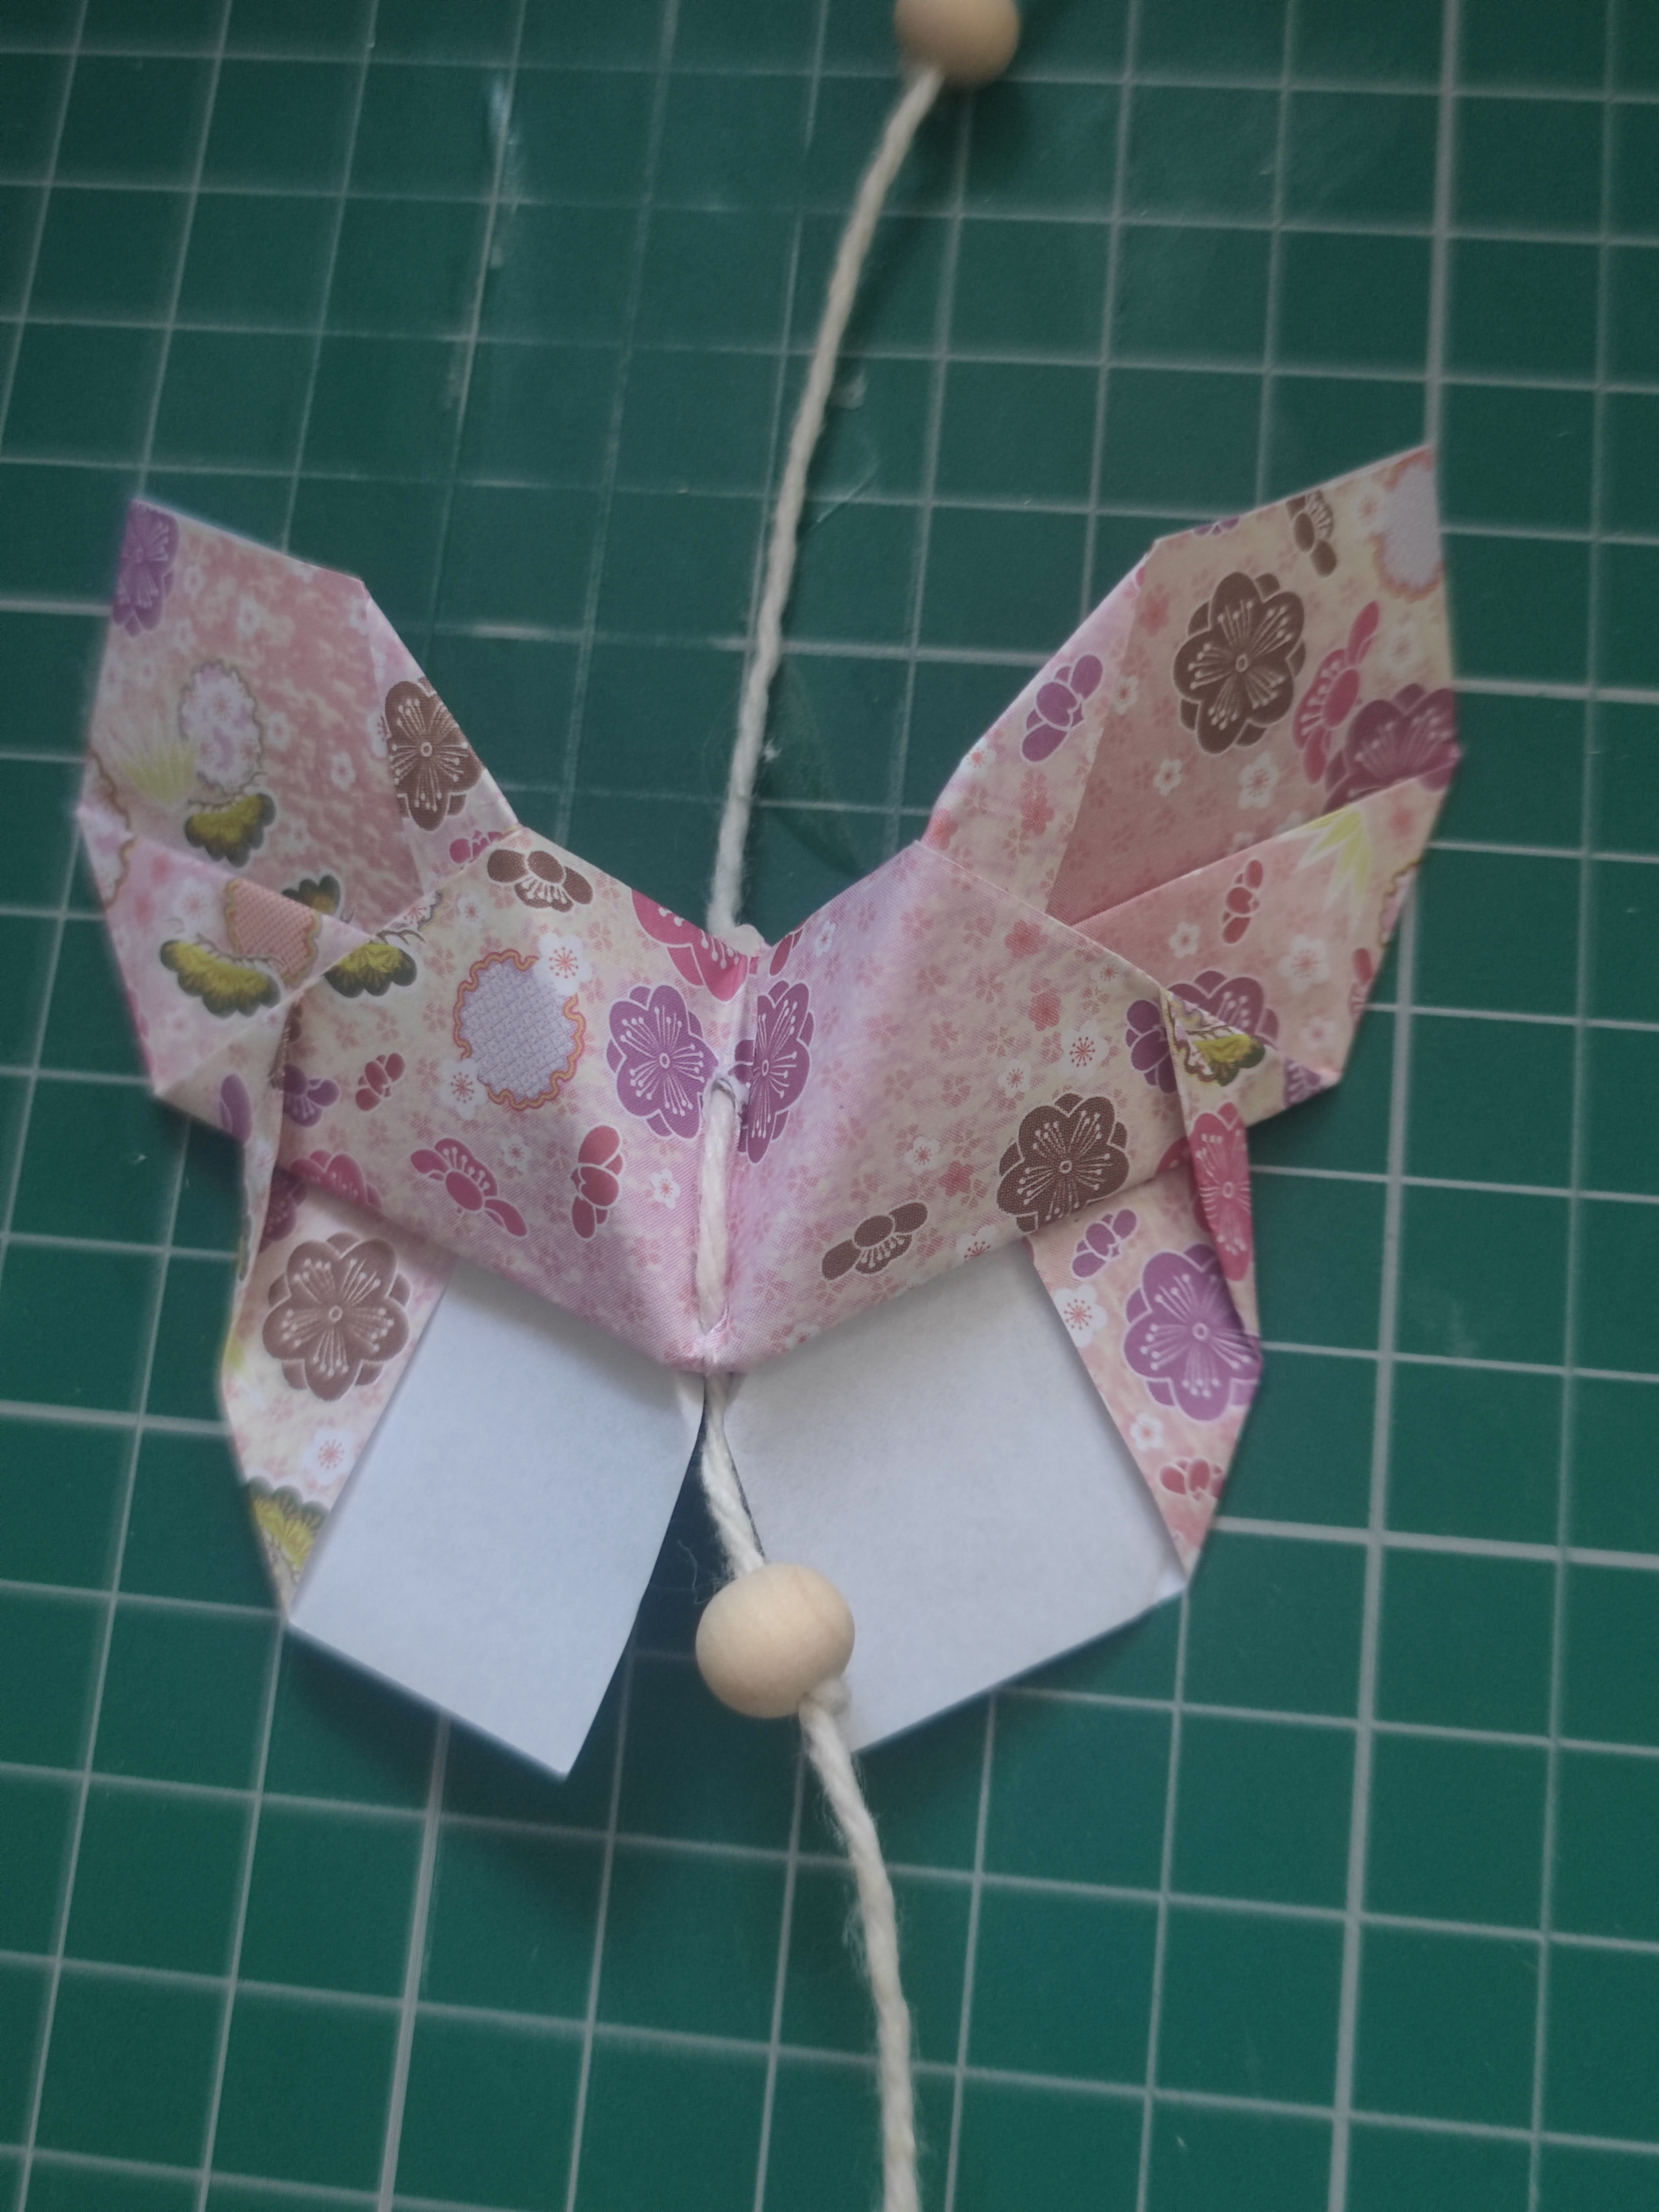
With a 15cm square, the Yoshizawa butterfly does come out quite big! Instead I opted for the Yoshizawa butterfly v2 version – the butterfly comes out a little smaller but it looks a bit rounder and more like a proper butterfly. The only issue with this version is that if your paper is not double-sided, you will see a white part on the other side of the model – this could be an issue for some projects but I will aim to keep it hidden for mine. because it will be hung up against the wall one way.
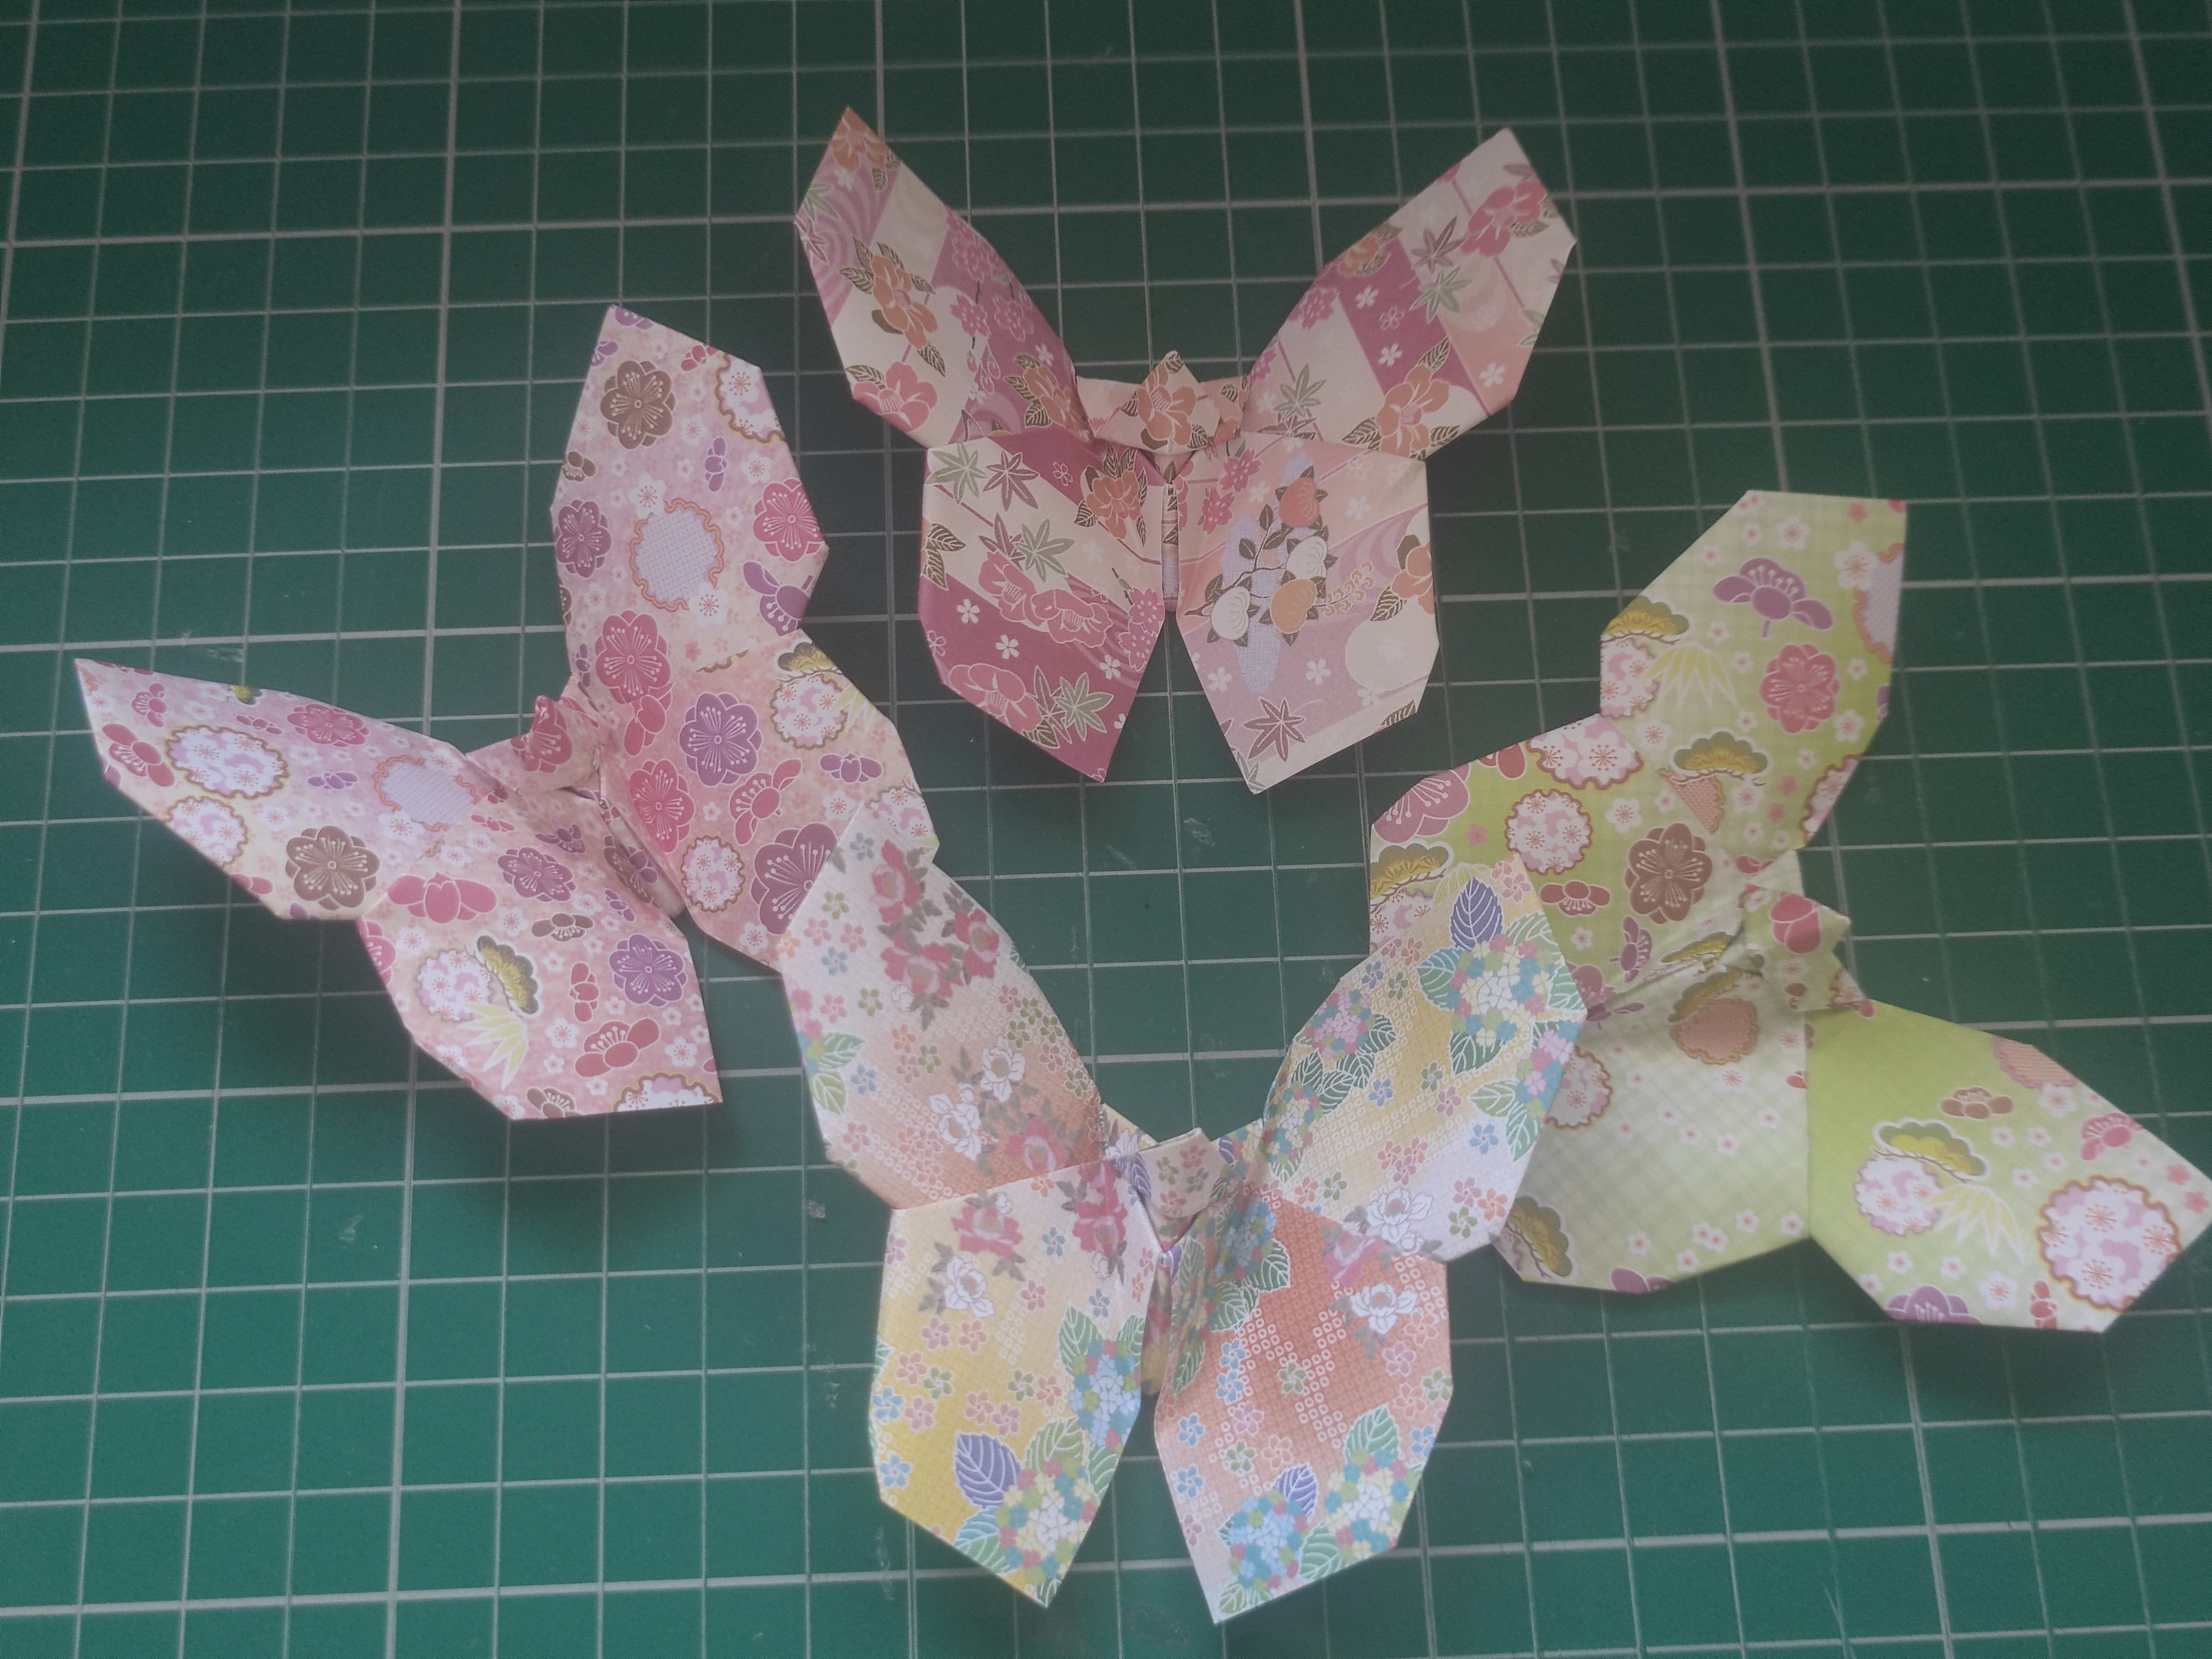
There are four patterns total in this origami pack, and here they are when folded! Two of the patterns are pink, and the other two are distinctive enough. When I string the butterflies up, I will keep the pink patterns separated. If I was very particular, I would have remembered to fold all butterflies in the same way because the patterns are not symmetrical, but I honestly didn’t think about it at the time.
I cut a non-specified length of twine to hang up the project with. I tied the knots at the ends of the dowel – a firm square knot on both sides. You could choose to tie a single knot in the centre if you preferred it that way!

Using a thick sewing needle that can thread the twine through, I poked a hole through two parts of the butterfly’s central fold. Originally I tried only one hole at the top, but the butterfly would hang horizontally and you would not be able to see the pattern at all. Using two holes helps keep the butterfly upright and then you could control which side of the butterfly would be shown better.
I threaded through some wooden beads at some points to add some structure. It works better with the visible white twine – you could choose to do this project with clear or thin thread so that it would look like the butterflies are just floating there instead, but then you probably would not need any wooden beads at all.
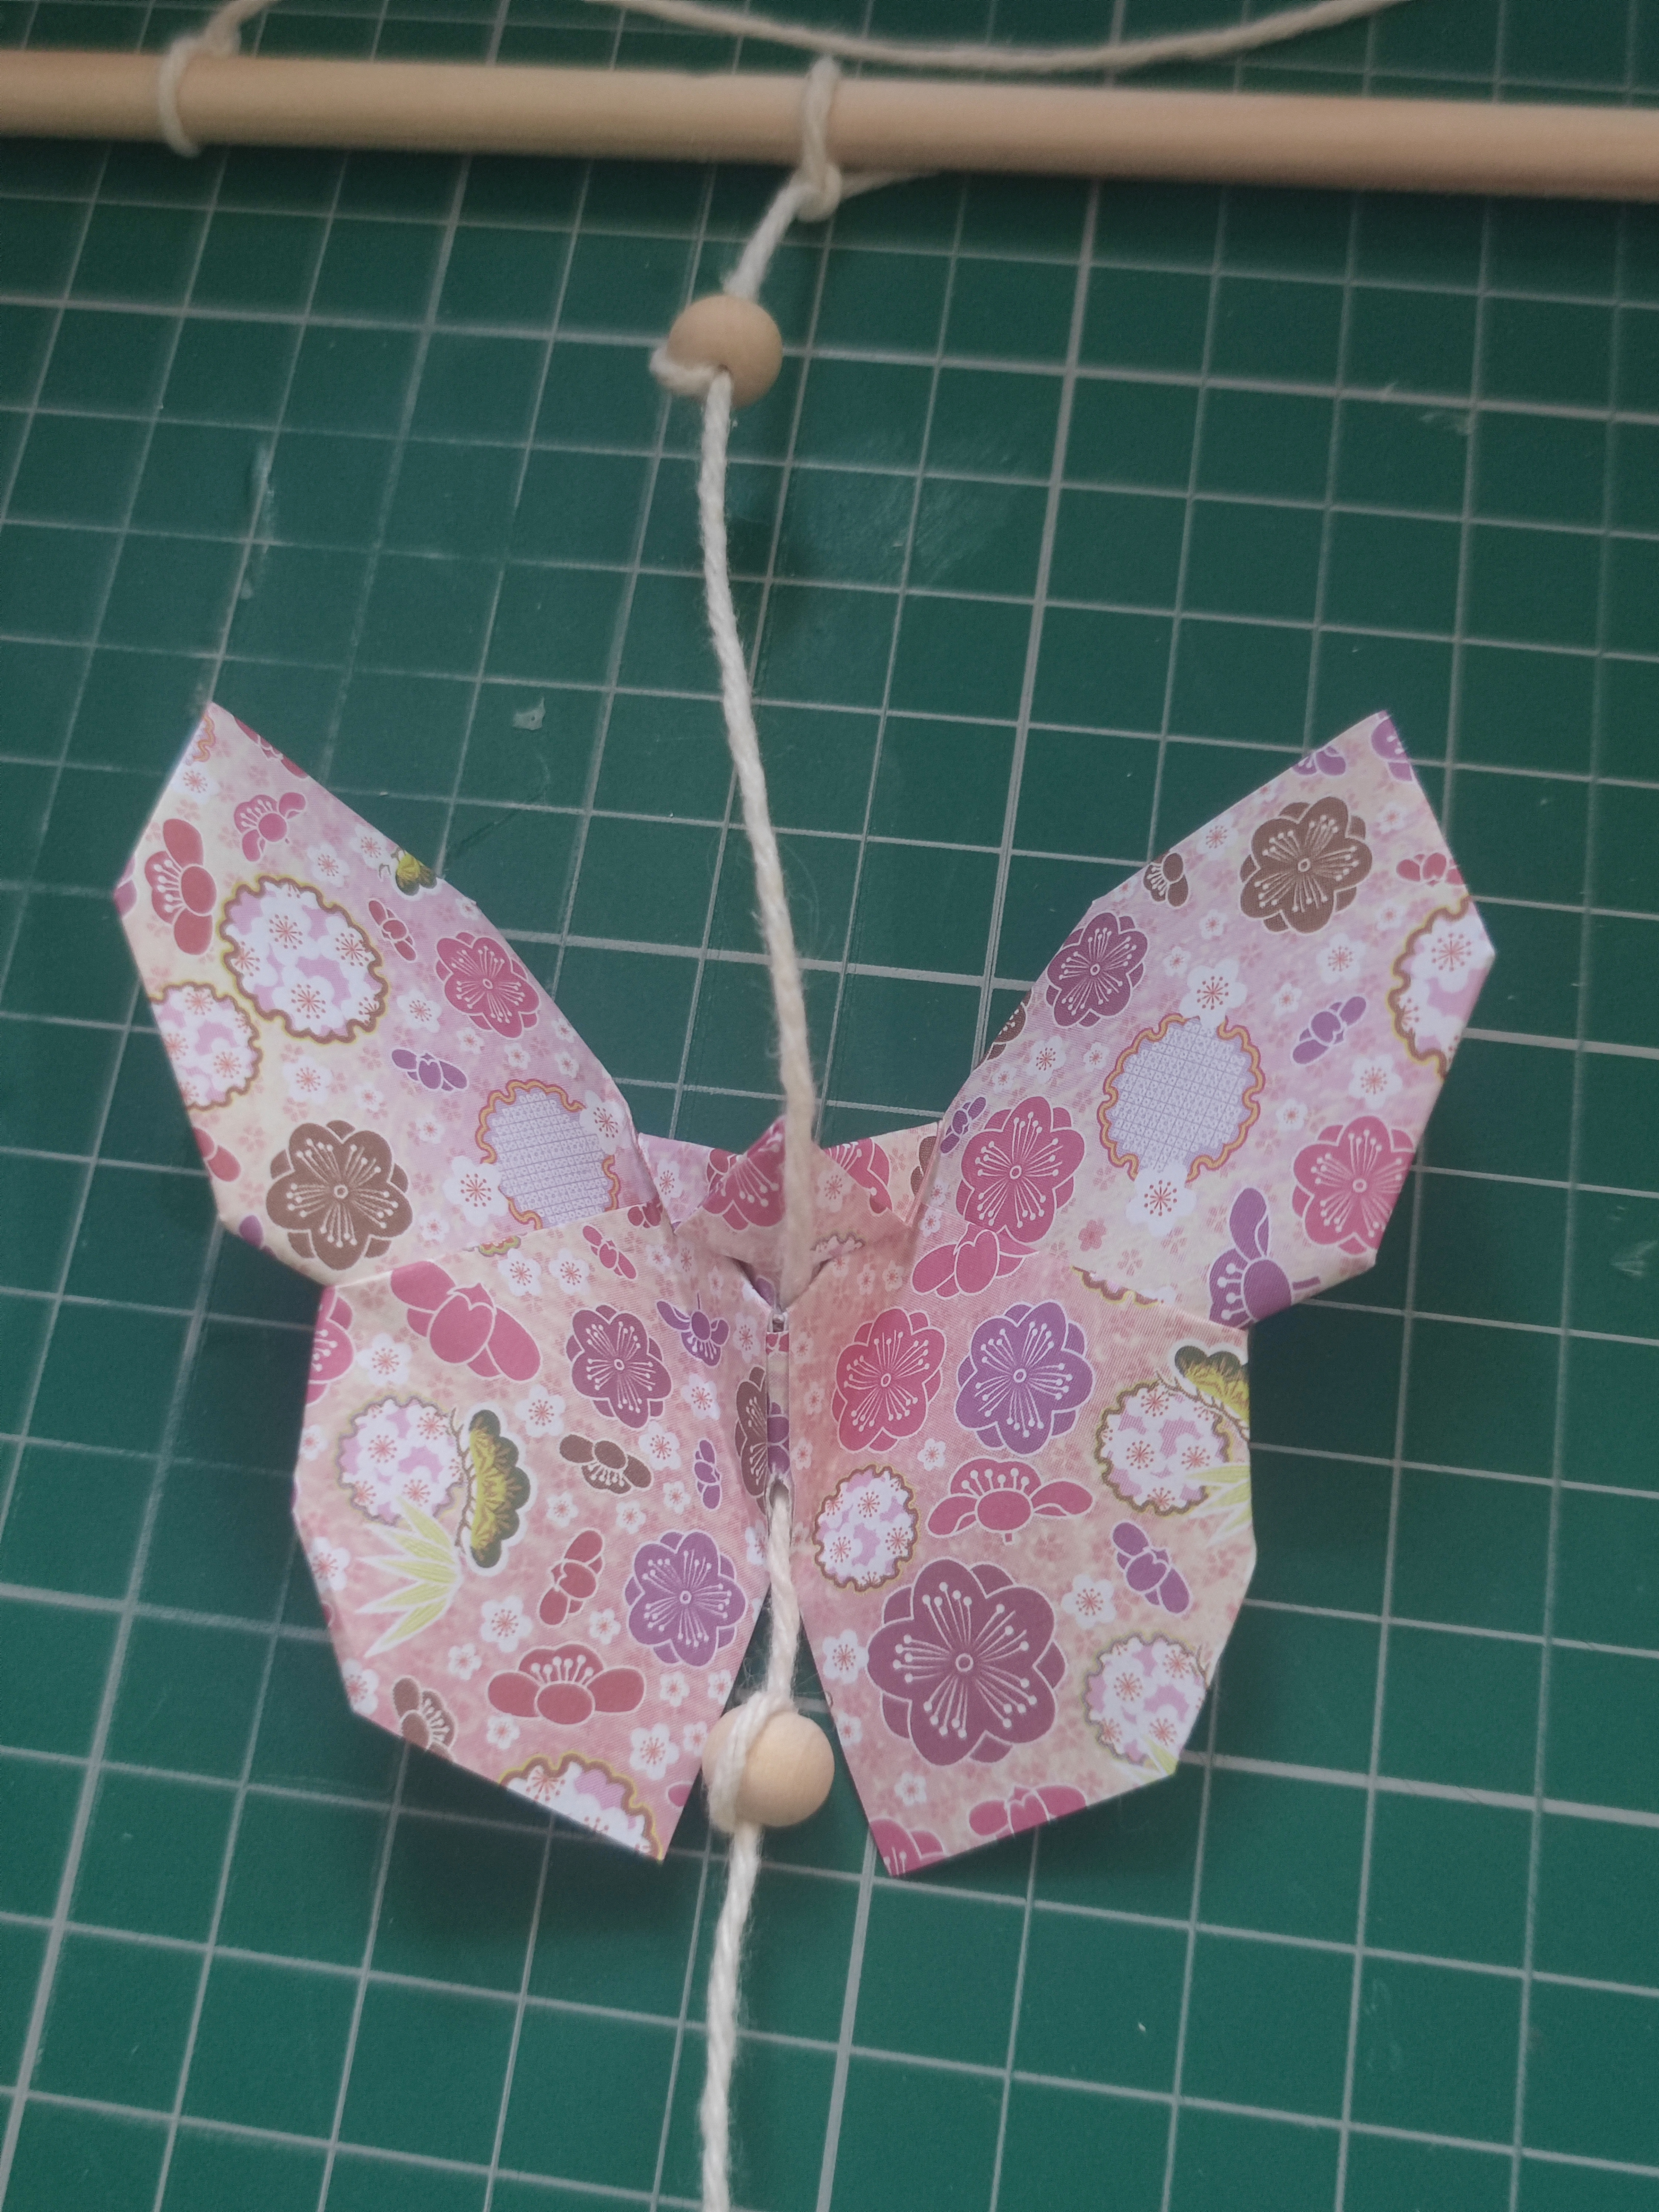
I completed a string of four butterflies and wooden beads. Once I was happy with the spacing, I tied it to the dowel and finished the string off with another wooden bead and a knot. The butterfly was fairly secure when the twine went through it, but the wooden beads helps make sure it stays properly secure.

When I built the other strings, I did not have to keep attaching it to the dowel to know what length I needed, since I did not measure out the initial length. I mostly eyeballed the spacing.
I did choose to vary the spacing on the other strings, and alternated the butterfly patterns to make it look less rigid. A gradient-style pattern would work better with plain colours, like if you were doing a rainbow pattern! And you could also choose to have differing lengths of butterflies too, you don’t have to have the same number on each string for dramatic effect.

Since there were four patterns in the paper pack, I made exactly 16 butterflies and hence four strings on the curtain. I felt that this was the right amount for the dowel and that it would not make the curtain too crowded, especially since the butterflies were so big. I now have this hung up on the wall above my bed!
You could easily string up many things for a curtain-style project like this. I started small, but I think you could probably even do a Senbazuru! I folded one a long time ago, but I’d love to try it again with newer paper patterns. I’m not sure a 45cm dowel is long enough for something like that though, unless you were to make incredibly long strings of cranes!

Materials used:
– 16 15cm patterned origami squares
– 24 8mm wooden beads
– one 45cm wooden dowel, width 6mm
– white twine
Tools used:
– scissors
– sewing needle
