
I don’t always do Halloween decorations every year since paper can’t be displayed outdoors and I don’t always participate – my street is usually very quiet so the kids do not come here for treats sadly! However I was flipping through my Origami + Kirigami For The Home book and there is a small section for seasonal decorations, including an origami bat and a kirigami garland combo for Halloween.

I had a go at the two projects because it would be nice to build up a stack of Halloween decorations for future use. Both projects required square black paper so I cut out 21cm squares from A4 paper, although the garland then requires pentagons to be cut from squares.
I tried the garland first – kirigami is just a word for both folding and cutting paper. Think about those paper snowflakes and how you can fold them and cut patterns into them! After making a pentagon from a square, I took a pair of scissors and made straight cuts into the paper on alternating sides. The cutting is the easy part, the unfolding is the worst part! Depending on how thin the gaps are, you could easily tear it. I carefully unfolded it and flattened it with a heavy weight.
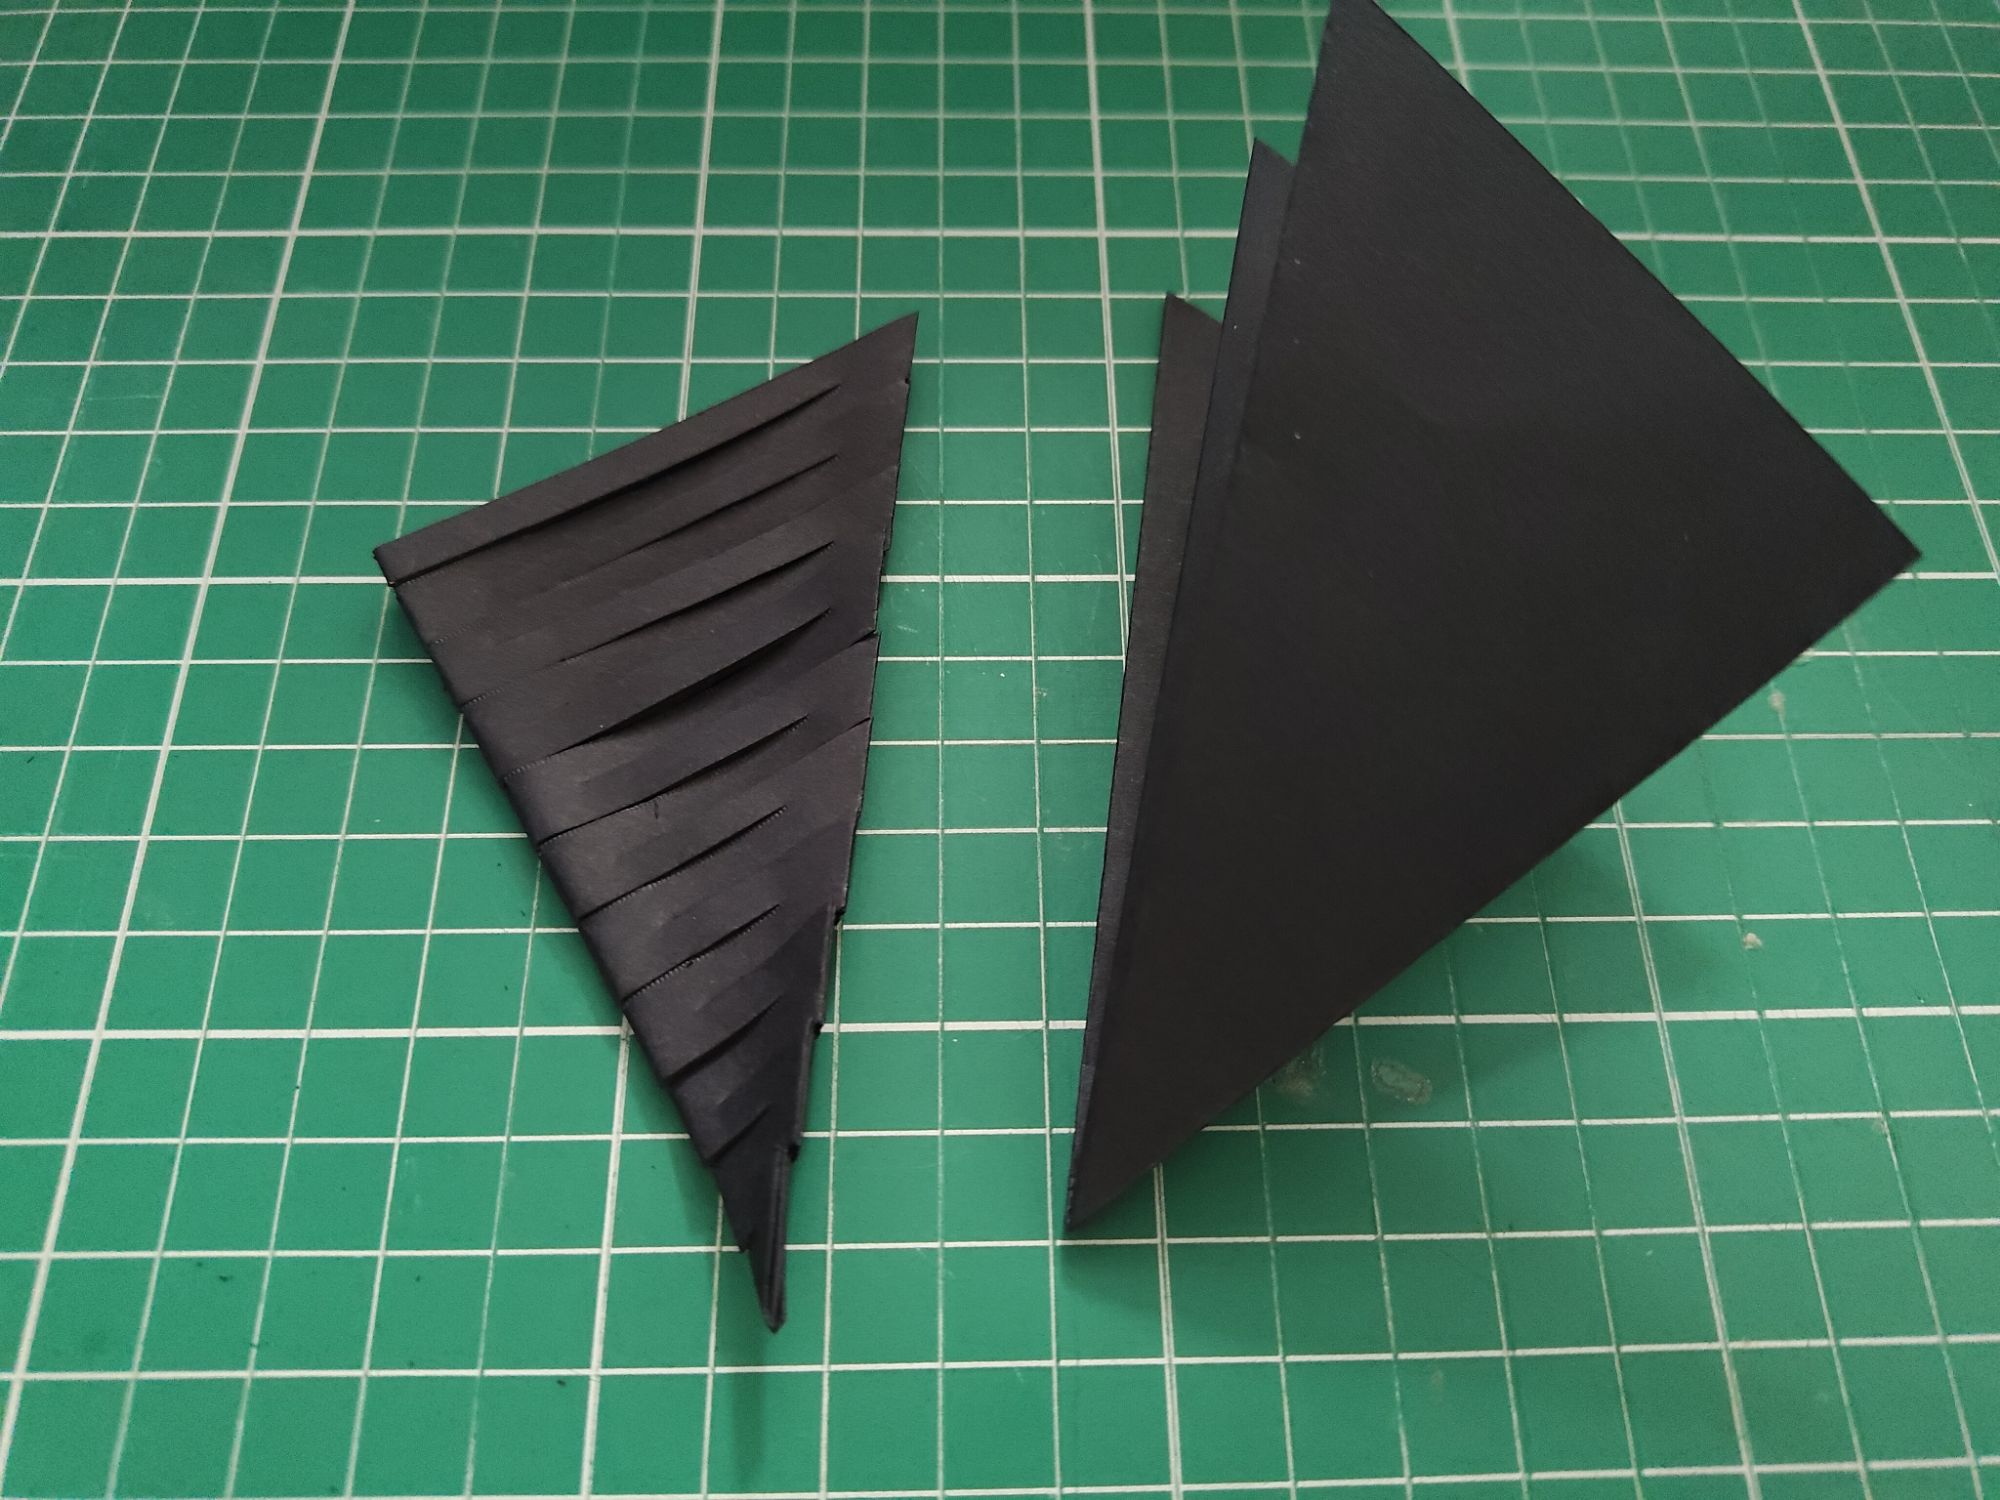

I made three of these pentagons and then glued them together, two at the five corners and two by the centres, and put the weights back on until dried.. Then you can stretch out the garland when no more glue is needed! I only used three pentagons, but I can easily make it longer by adding more in the same way, in groups of threes.

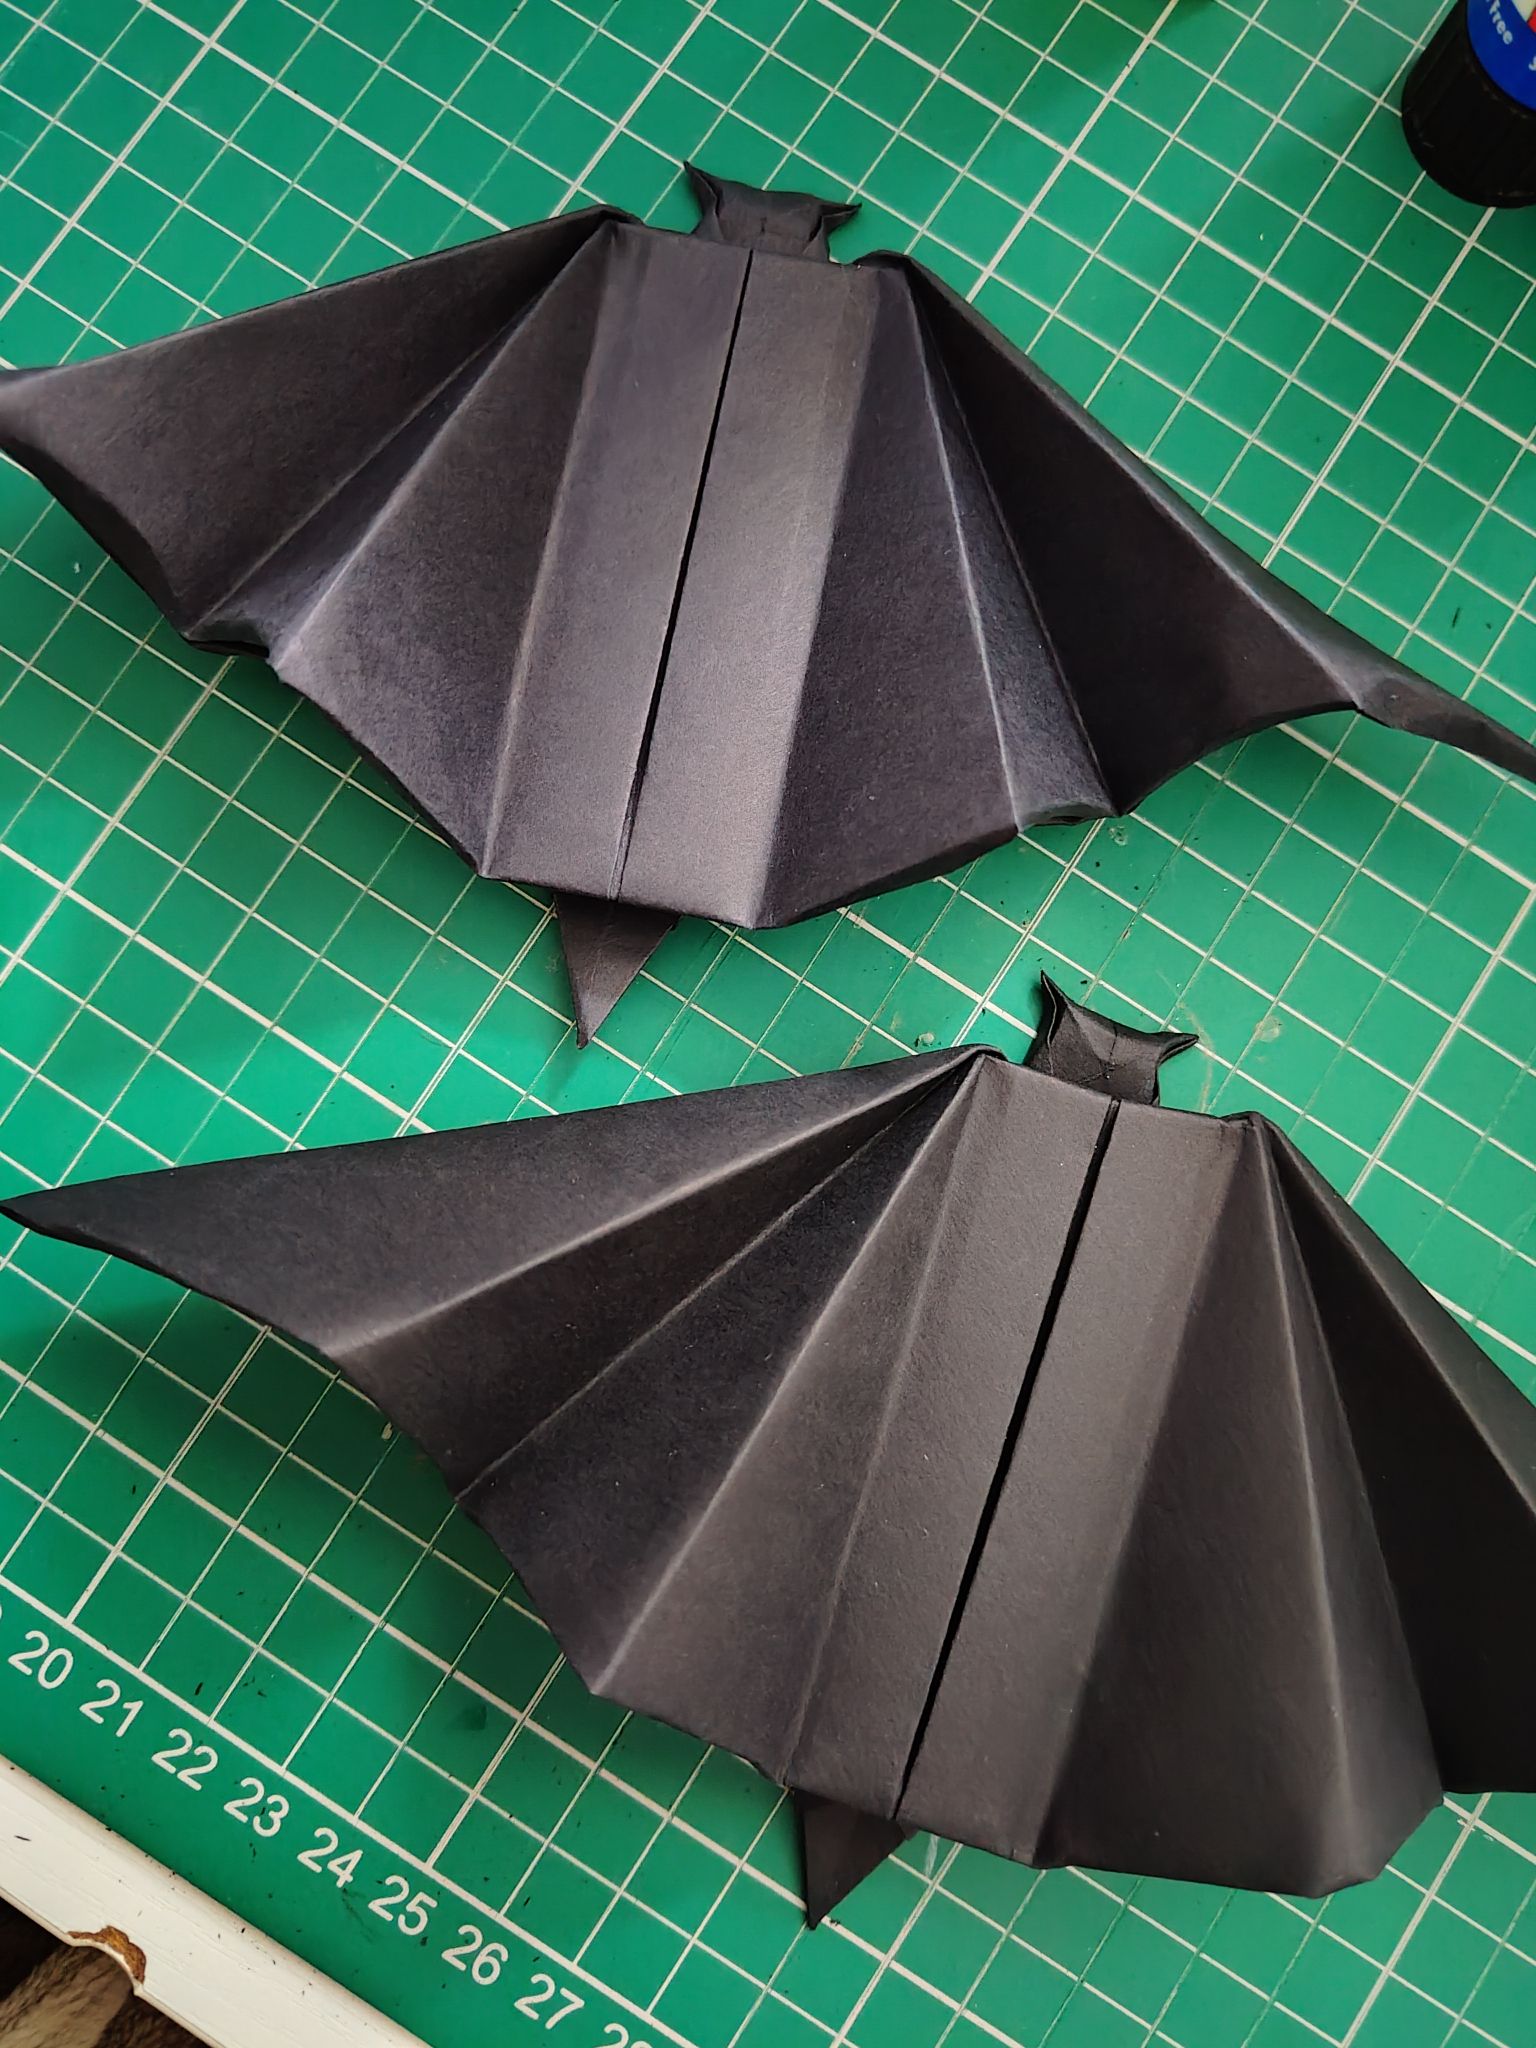
I also made two bats from the square paper. It does convey the bat silhouette quite well, however the instructions were a little confusing and hard to follow in the book. I was able to figure out the intention by trying to match the images, as the explanations were not very good.
I previously mentioned how I usually have Christmas decorations hanging on the wall of my craft room when it’s out of season. Now I have a corner dedicated to Halloween! I used some Blu Tack to stick up the garland and the bats next to each other. As I mentioned before, if I had sweets for the kids then it would be displayed in the front bay window. Maybe next year?

I actually made these paper ghost garlands last year but did not post about them because it was such a quick job – paper ghosts cut out of white paper with faces and outlines drawn from black Sharpie markers. They have now been added to the Halloween corner! Speaking of ghosts, I kind of want to make little ghost dolls out of white cloth, maybe that is for next year…

Materials used:
– A4 black paper, cut down to size
Tools used:
– craft knife and cutting mat
– liquid glue gun
– Blu Tack

Such cutely simple spookiness!