A few days ago, I randomly flipped some pages and picked out a model from the Tomoko Fuse book “Kusudama Origami – Hana Kiriko” and started making bits for it, until I realised that I had already done this model 10 years ago! Even the same month too. The only variation is that the old one was smaller and was a Type C – the window for each cube face has a slightly different design.
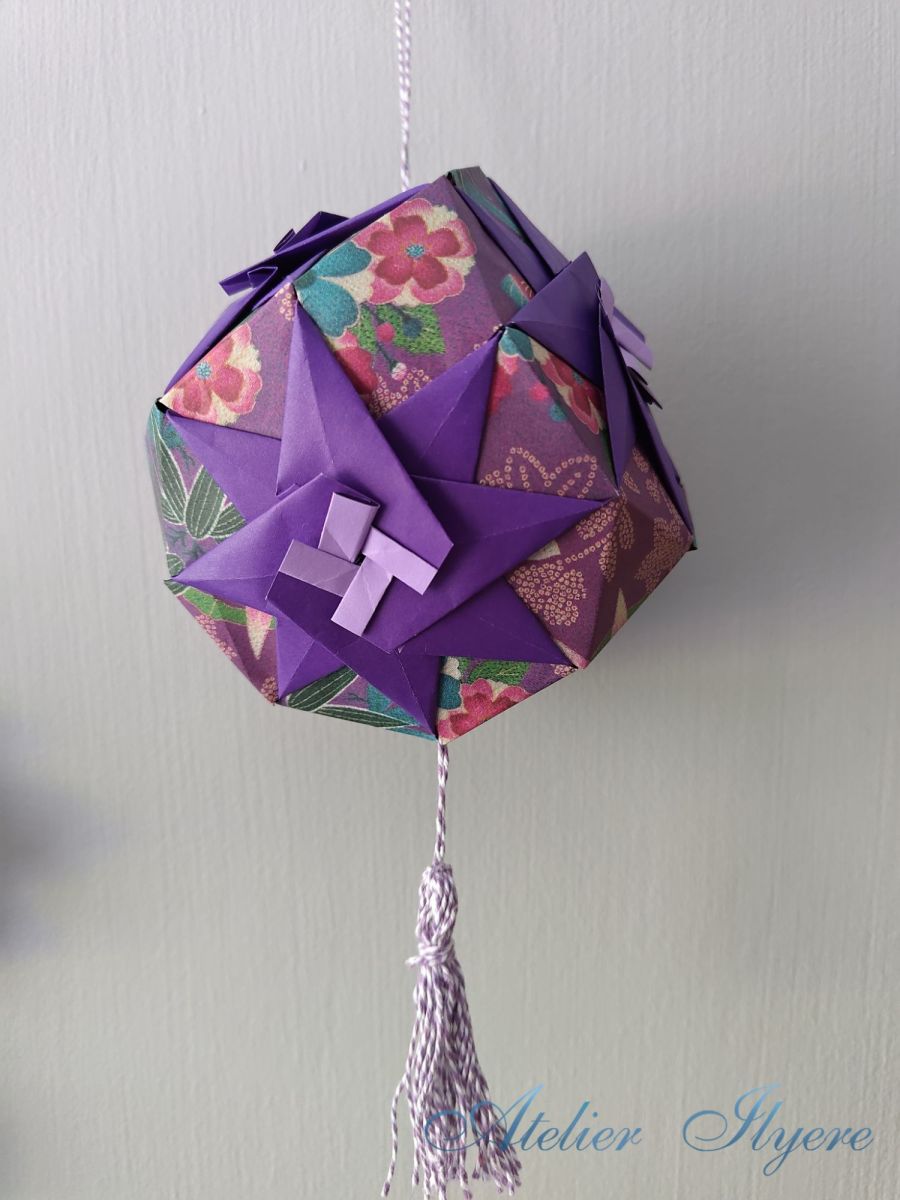
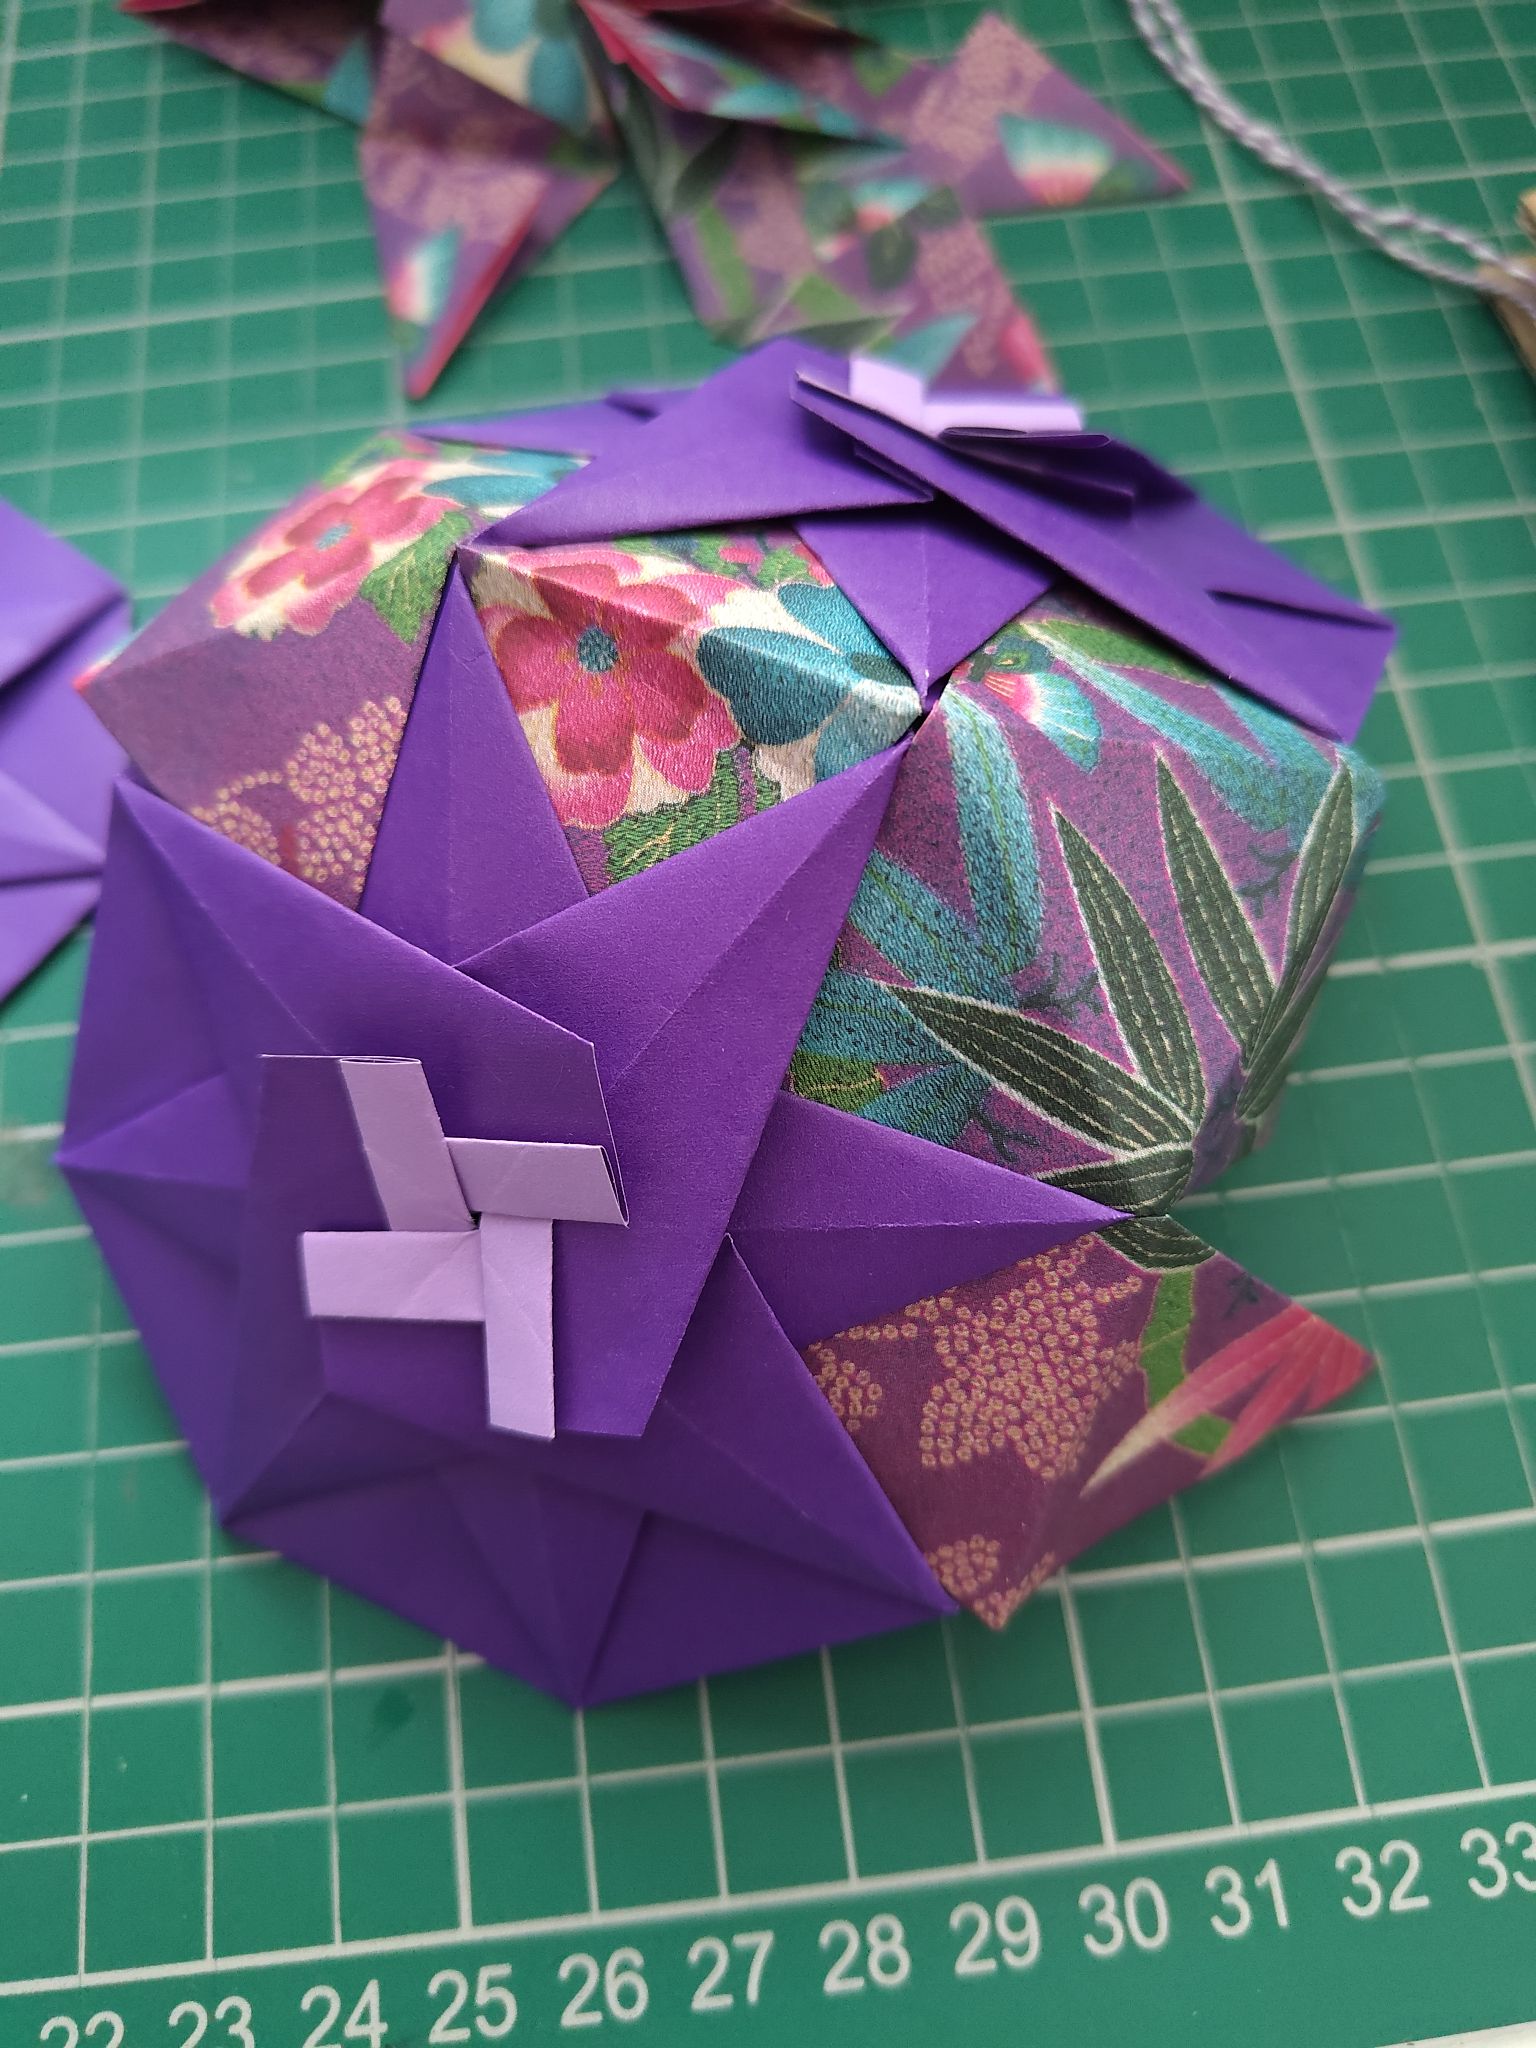
In case you missed it the first time around – This model’s name is “Hanaboshi Hakkaku Kiriko” (花星八角切子). 切子 or “Kiriko” refers to the shape of a cube with the corners cut off, so the models in this book create these shapes with floral designs.
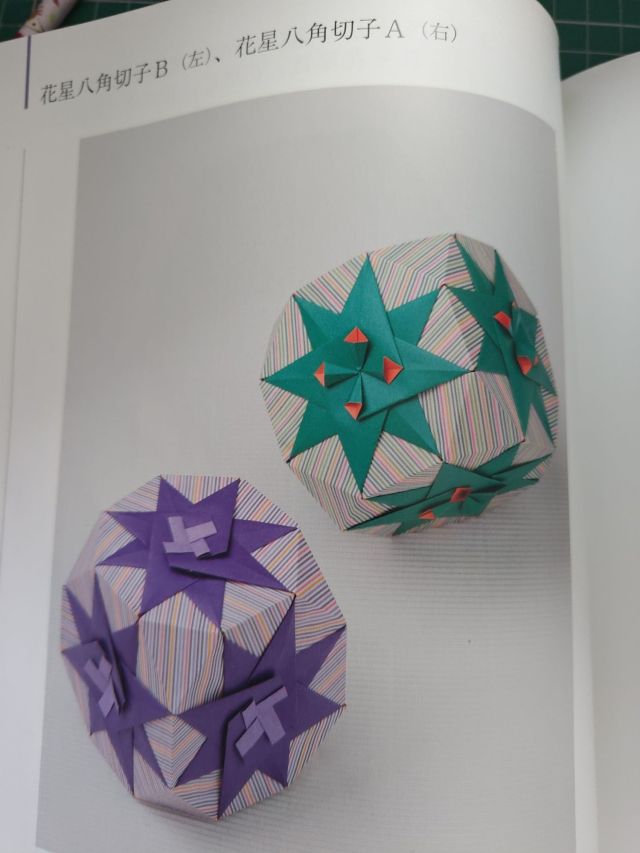
When I was reading over my old blog post, I noticed it was a little scant on the making process, so I’ll provide more info in this one, whilst using different colours and patterns. Type B is pictured on the left, and Type A on the right.
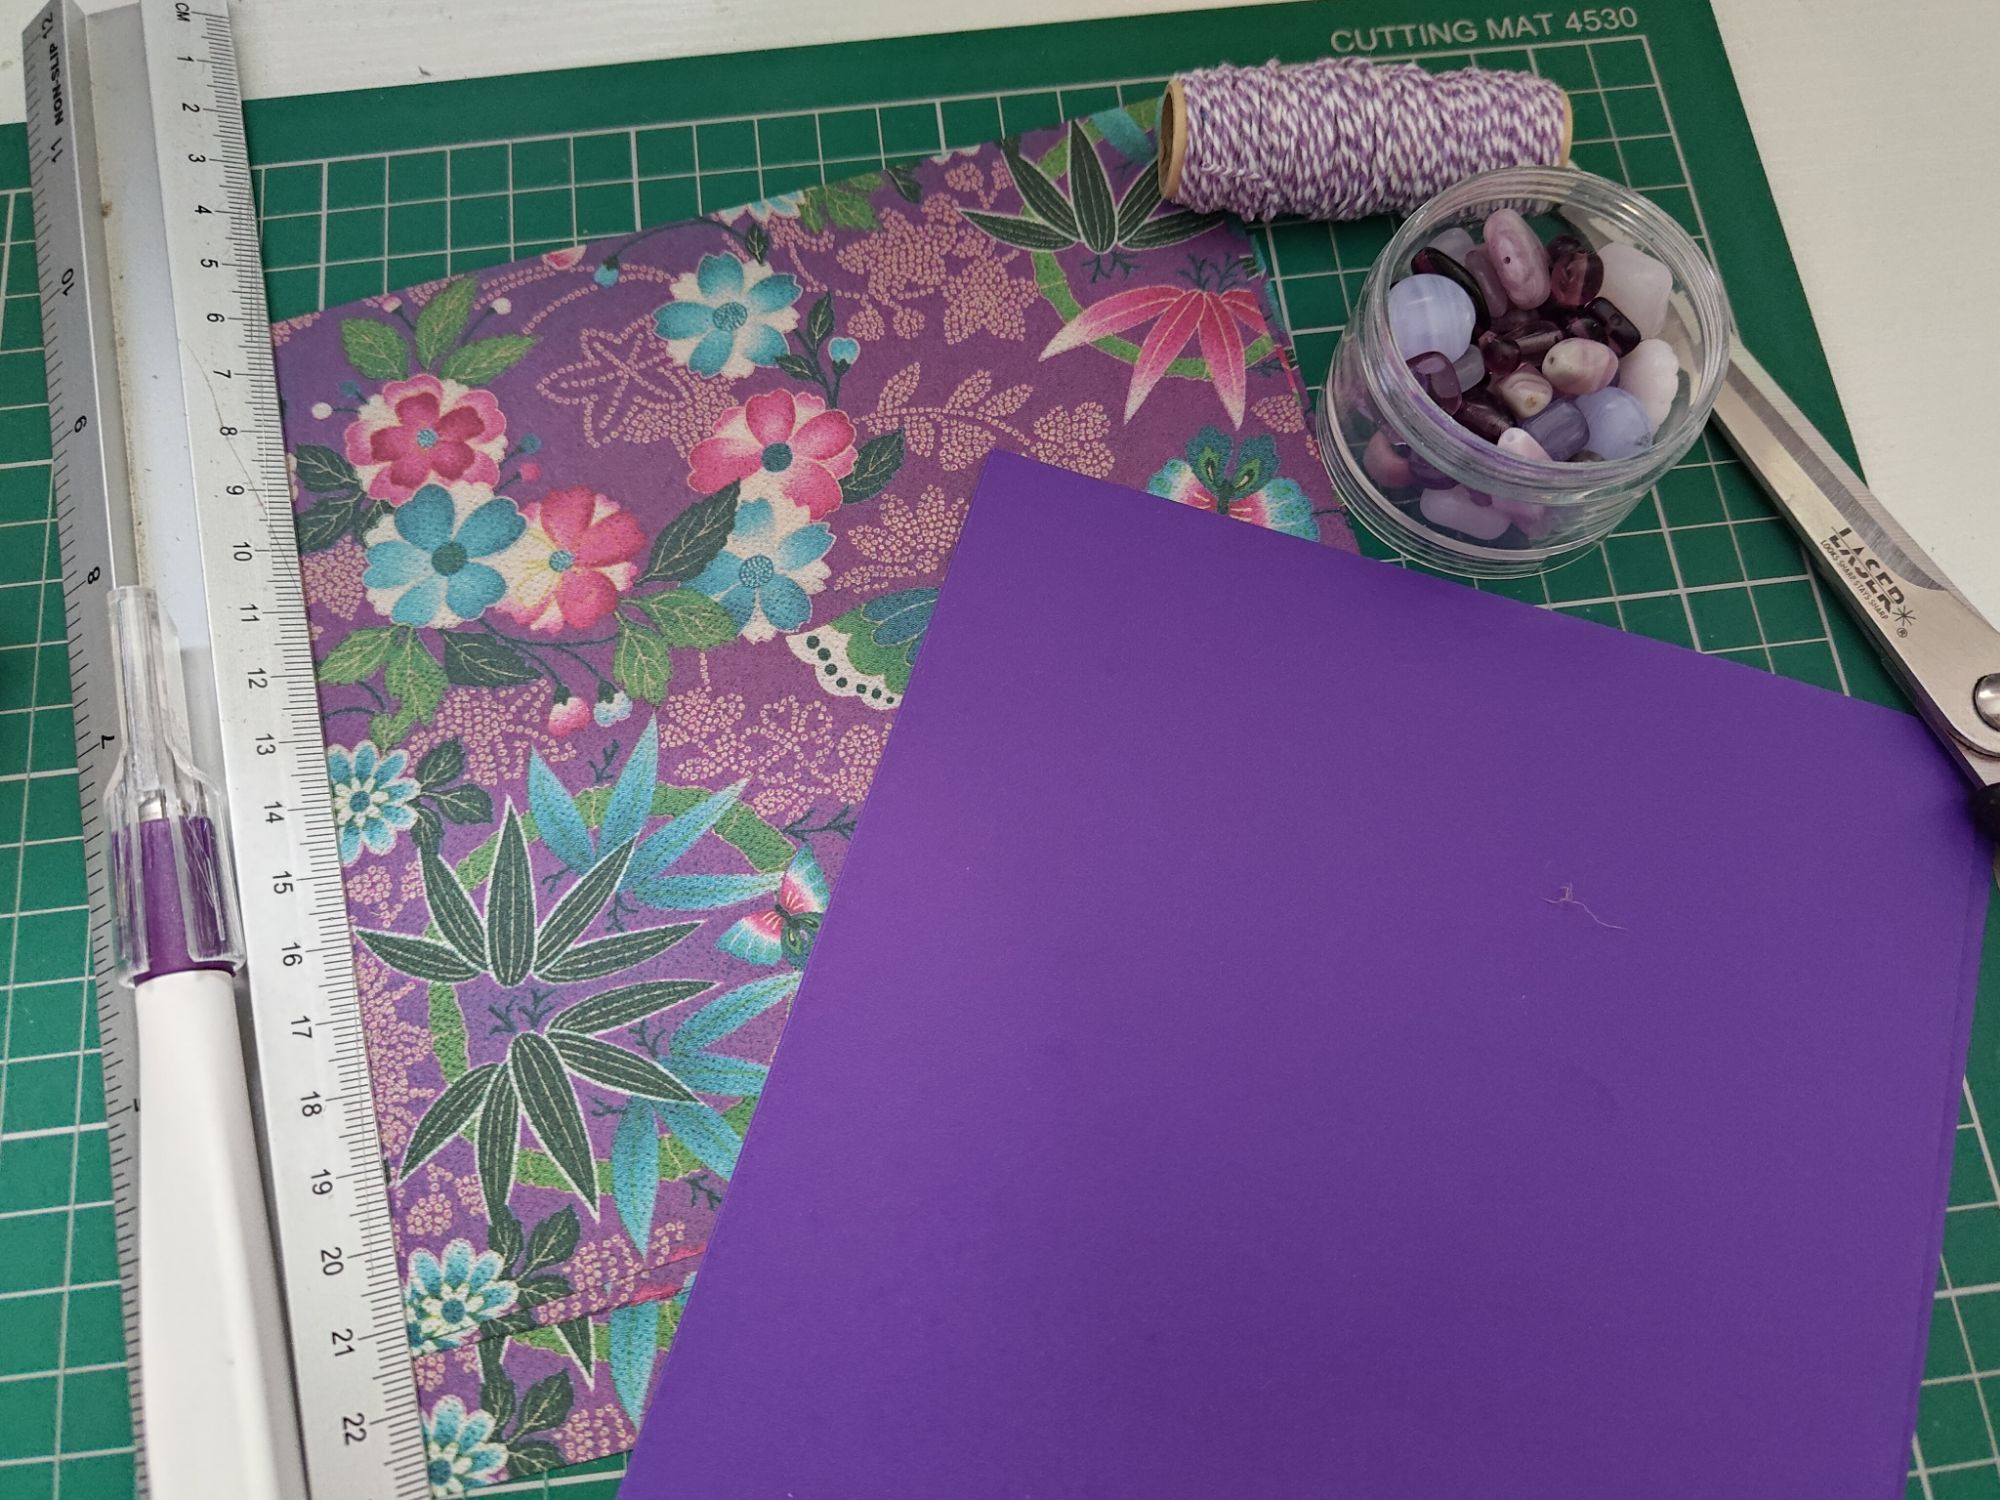
The model uses a mix of solid colours and patterns. I actually had some leftover dual-side purple paper, so I picked out a matching pattern to go with it. The solid colour needs to be 15cm, and the patterns need to be smaller, which I usually cut down to size using a craft knife and cutting mat.
I also looked for some purple twine to hang the model up and some glass beads just in case.
The model uses three units. The 15cm solid colour forms your cube, so you’ll need six of these. Then you need eight triangular connector units to join at the corners – you can get 7.5cm squares from cutting a 15cm square into four. Finally, you need 12 rectangular connectors for the other edges – using some clever geometry, you can easily cut this from 15cm paper. Each one produces four, so you need five 15cm patterned squares total.

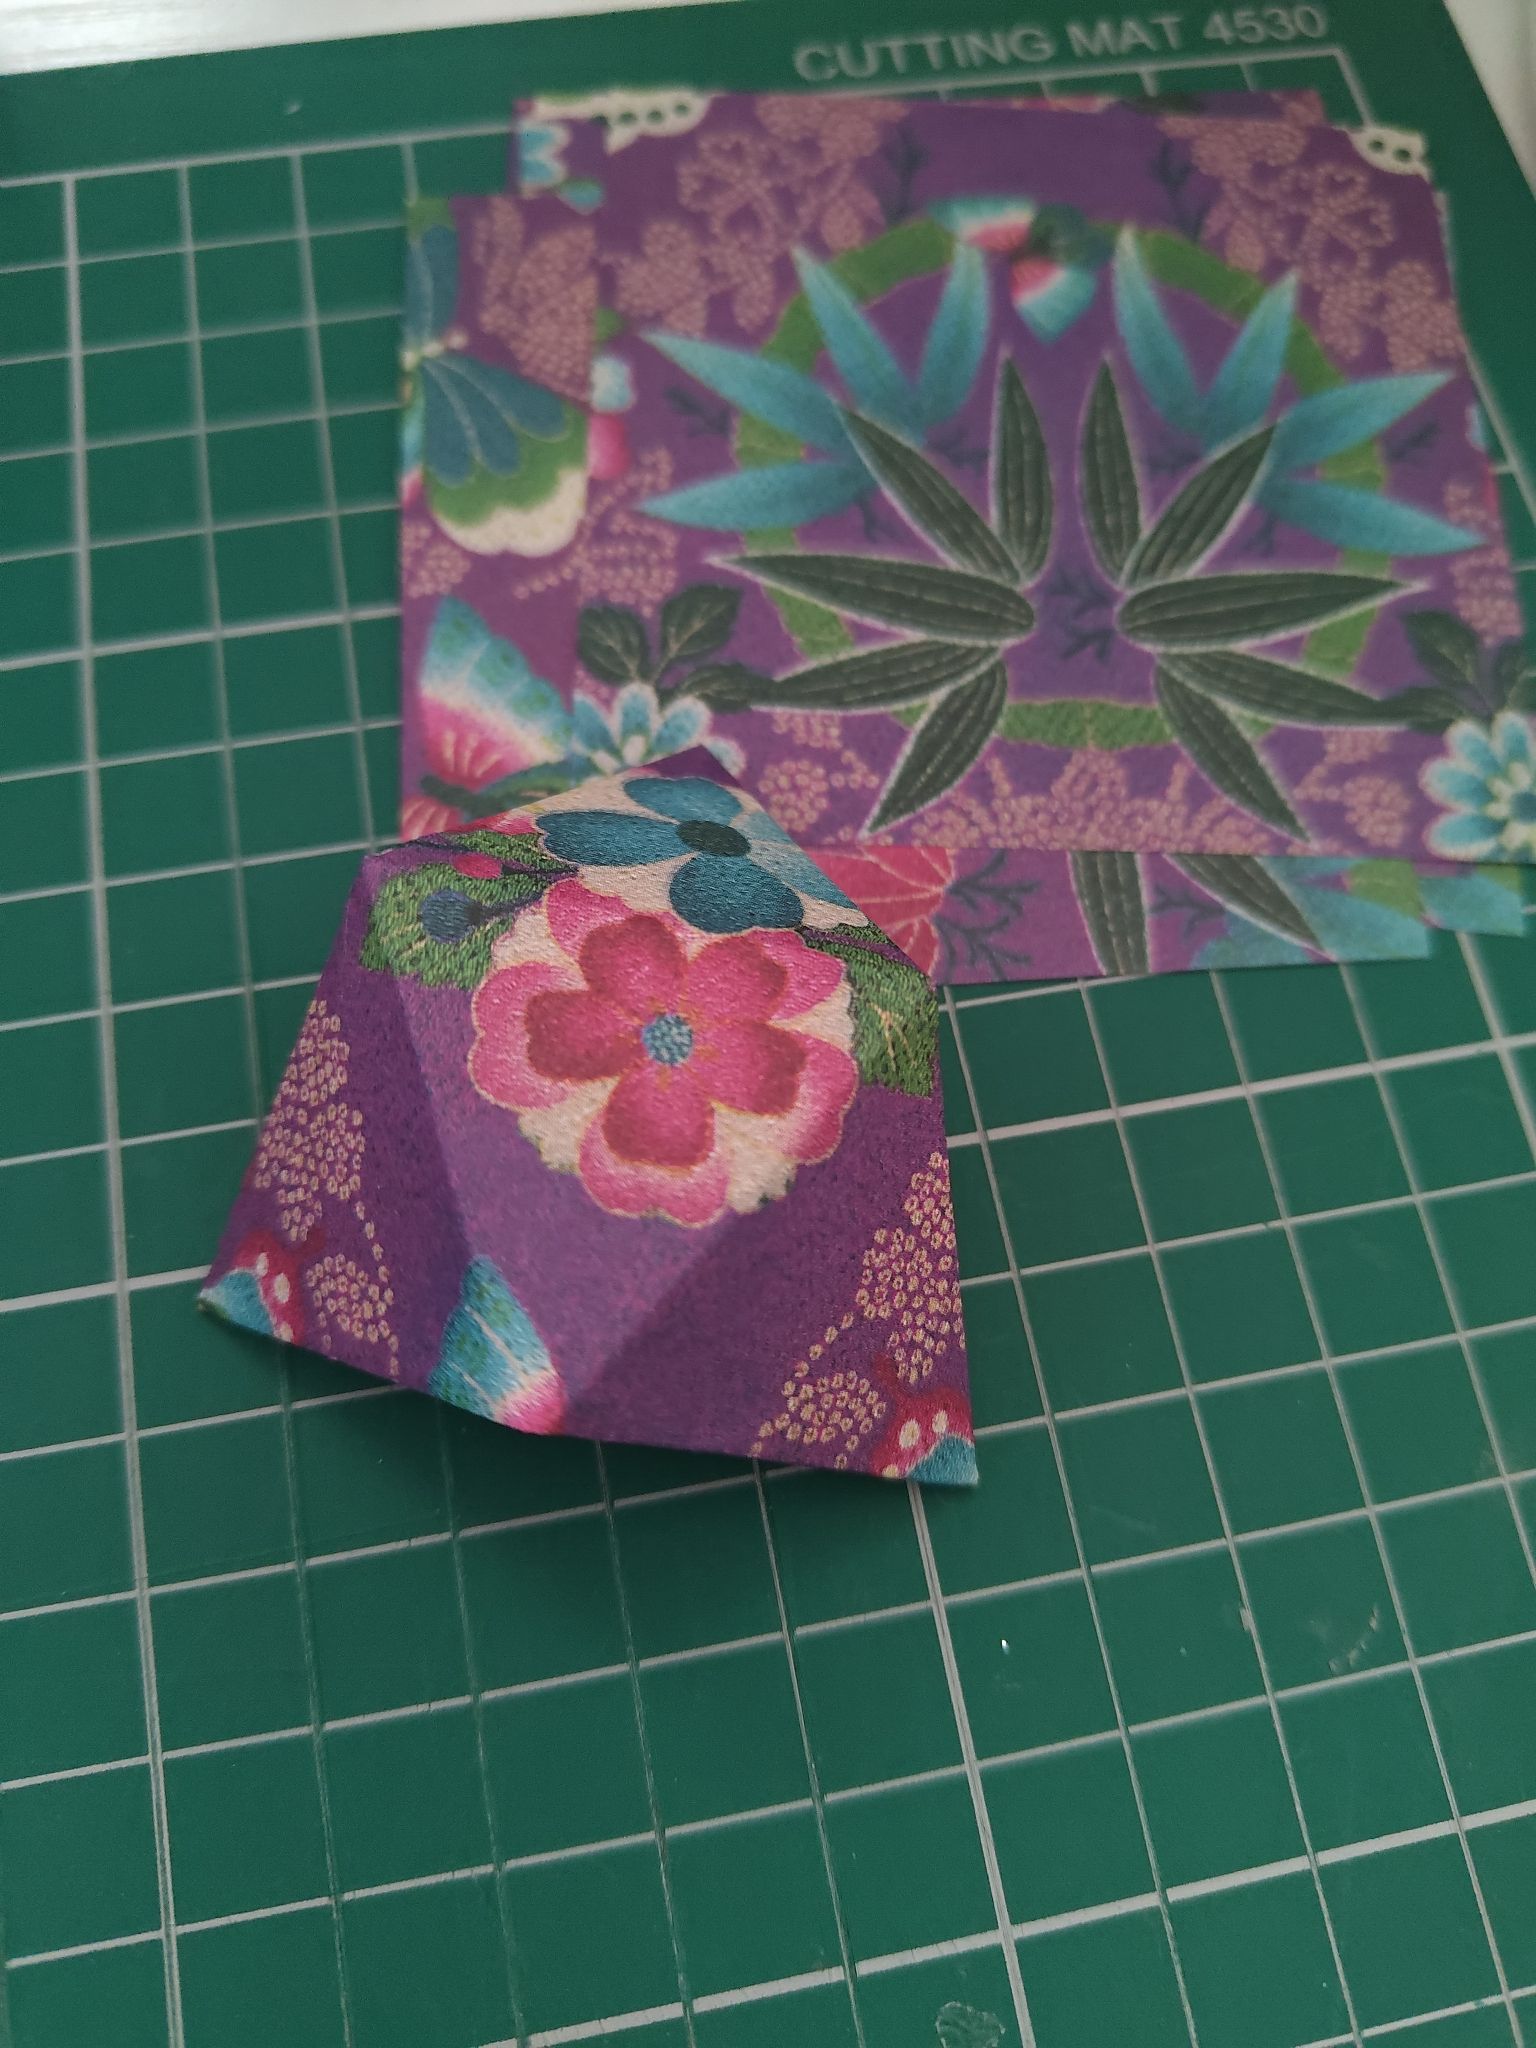

Folding everything is quite simple. At least this time I elected to make the model bigger – the previous one used half the paper size but the form factor is a lot smaller than half!

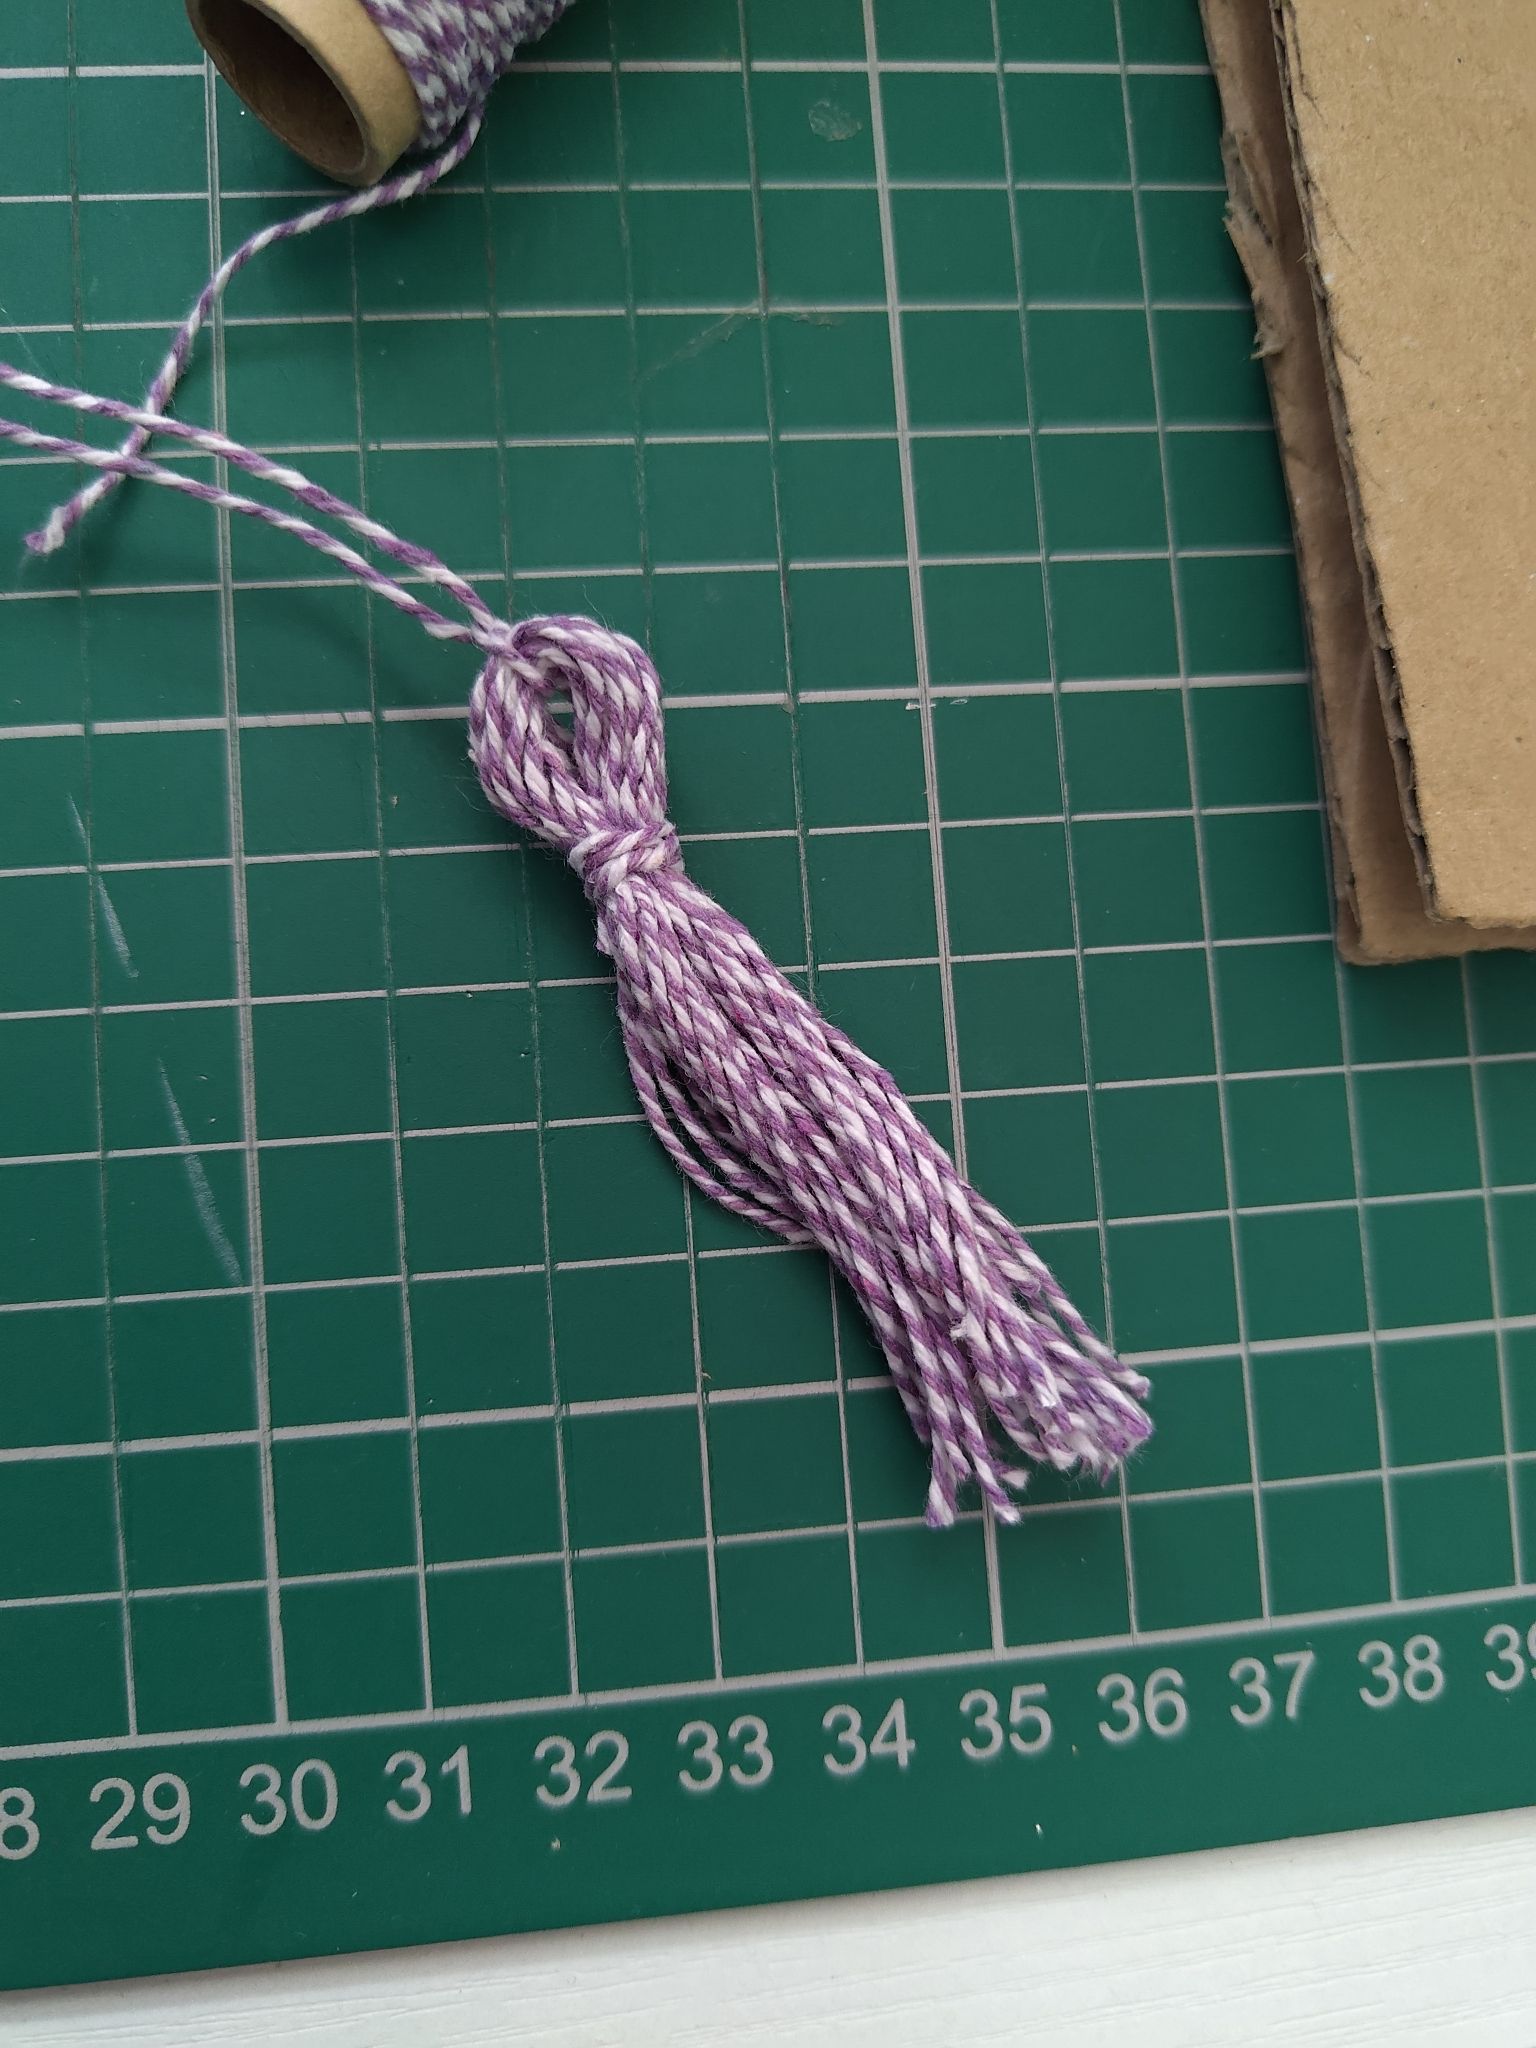
I like to have something hanging below the model. Usually when I do paper cutting, I get leftover squares where I can repurpose them as other units (e.g. Kusudama – Imperial Rose Sonobe had butterflies) but in this one I had the exact amount of paper. I opted for no beads and made a simple tassel instead, as it would nicely accent the model.
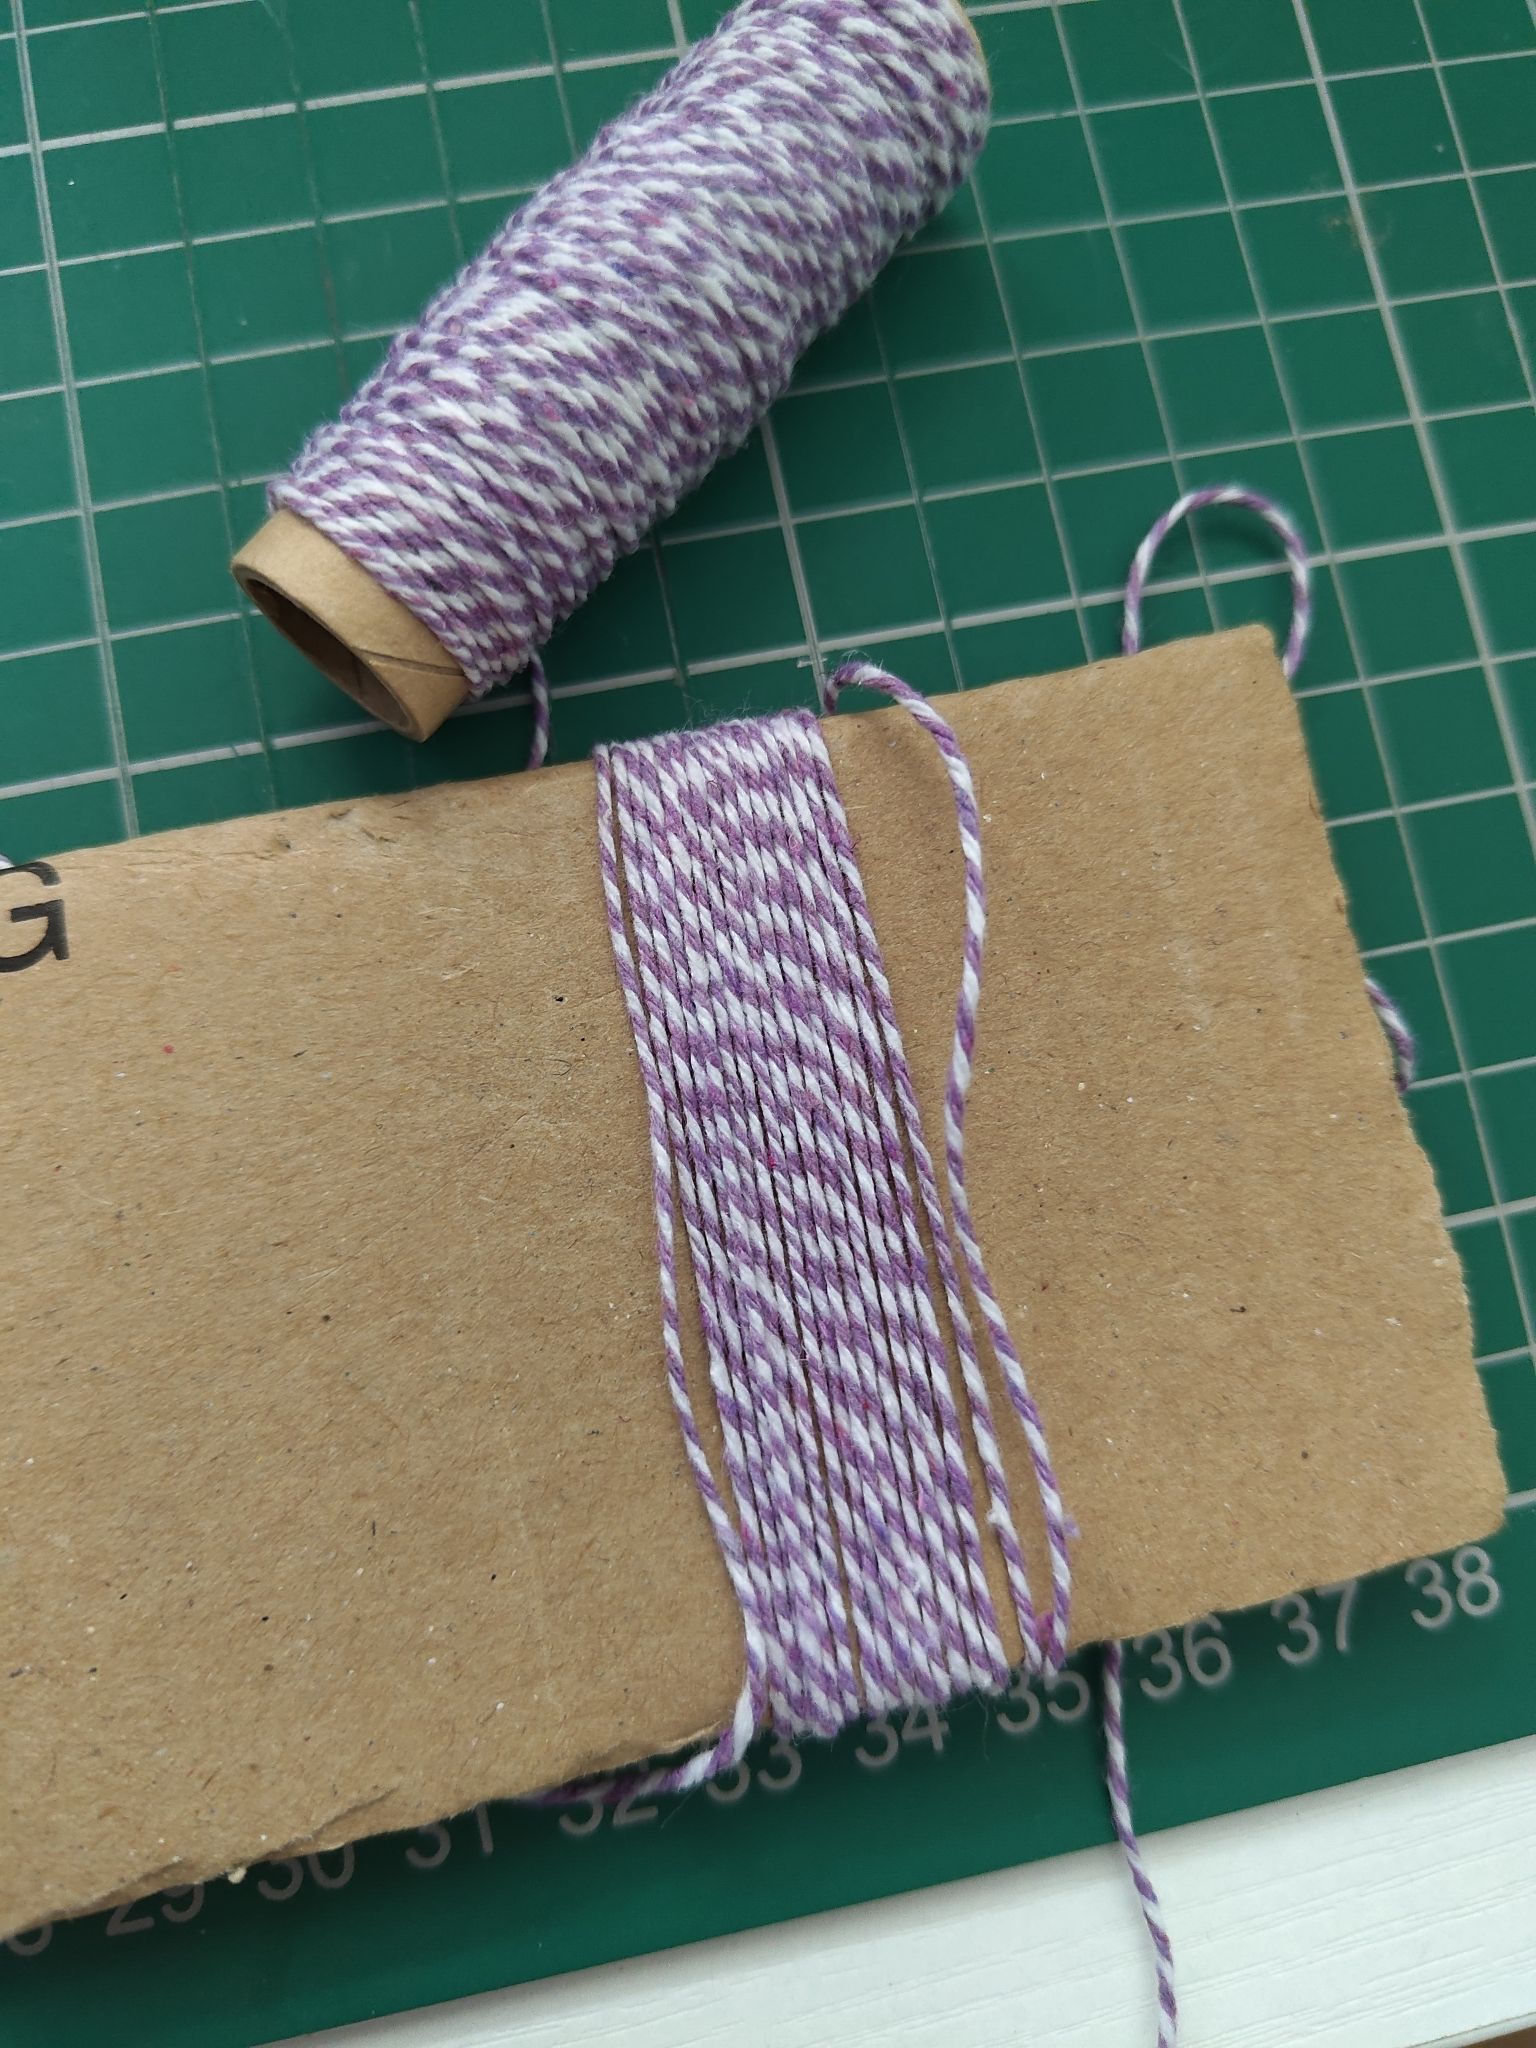
A trick to making a tassel is to have a folded piece of cardboard with the thread going through it. You wrap the thread around the cardboard multiple times and then cut the thread on the edge – the inner thread can then gather up all loose threads and you can add a secure knot afterwards.
Finally – assembling the model! You are not required to use glue, however I like to add a bit of stability in the final model. It also helps in the early stages when the pieces are being added.
At some point you need to add the central thread. A small know can help hold everything in place.

As I get closer to the end of the model, I use less glue between the units as the units should fit quite well, but also in case I end up connecting the wrong parts.


You can understand why this type of model is called a faceted cube! Also, the main face units folded from 15cm squares stand out a bit more than the patterns, so be sure to select a nice base colour when doing this yourself!

Materials used:
– six 15cm squares of duo-coloured paper
– five 15cm squares of patterned paper (for making units by cutting them to size)
– purple coloured twine
– PVA glue
Tools used:
– craft knife and cutting mat
– scissors
– paint brush
