
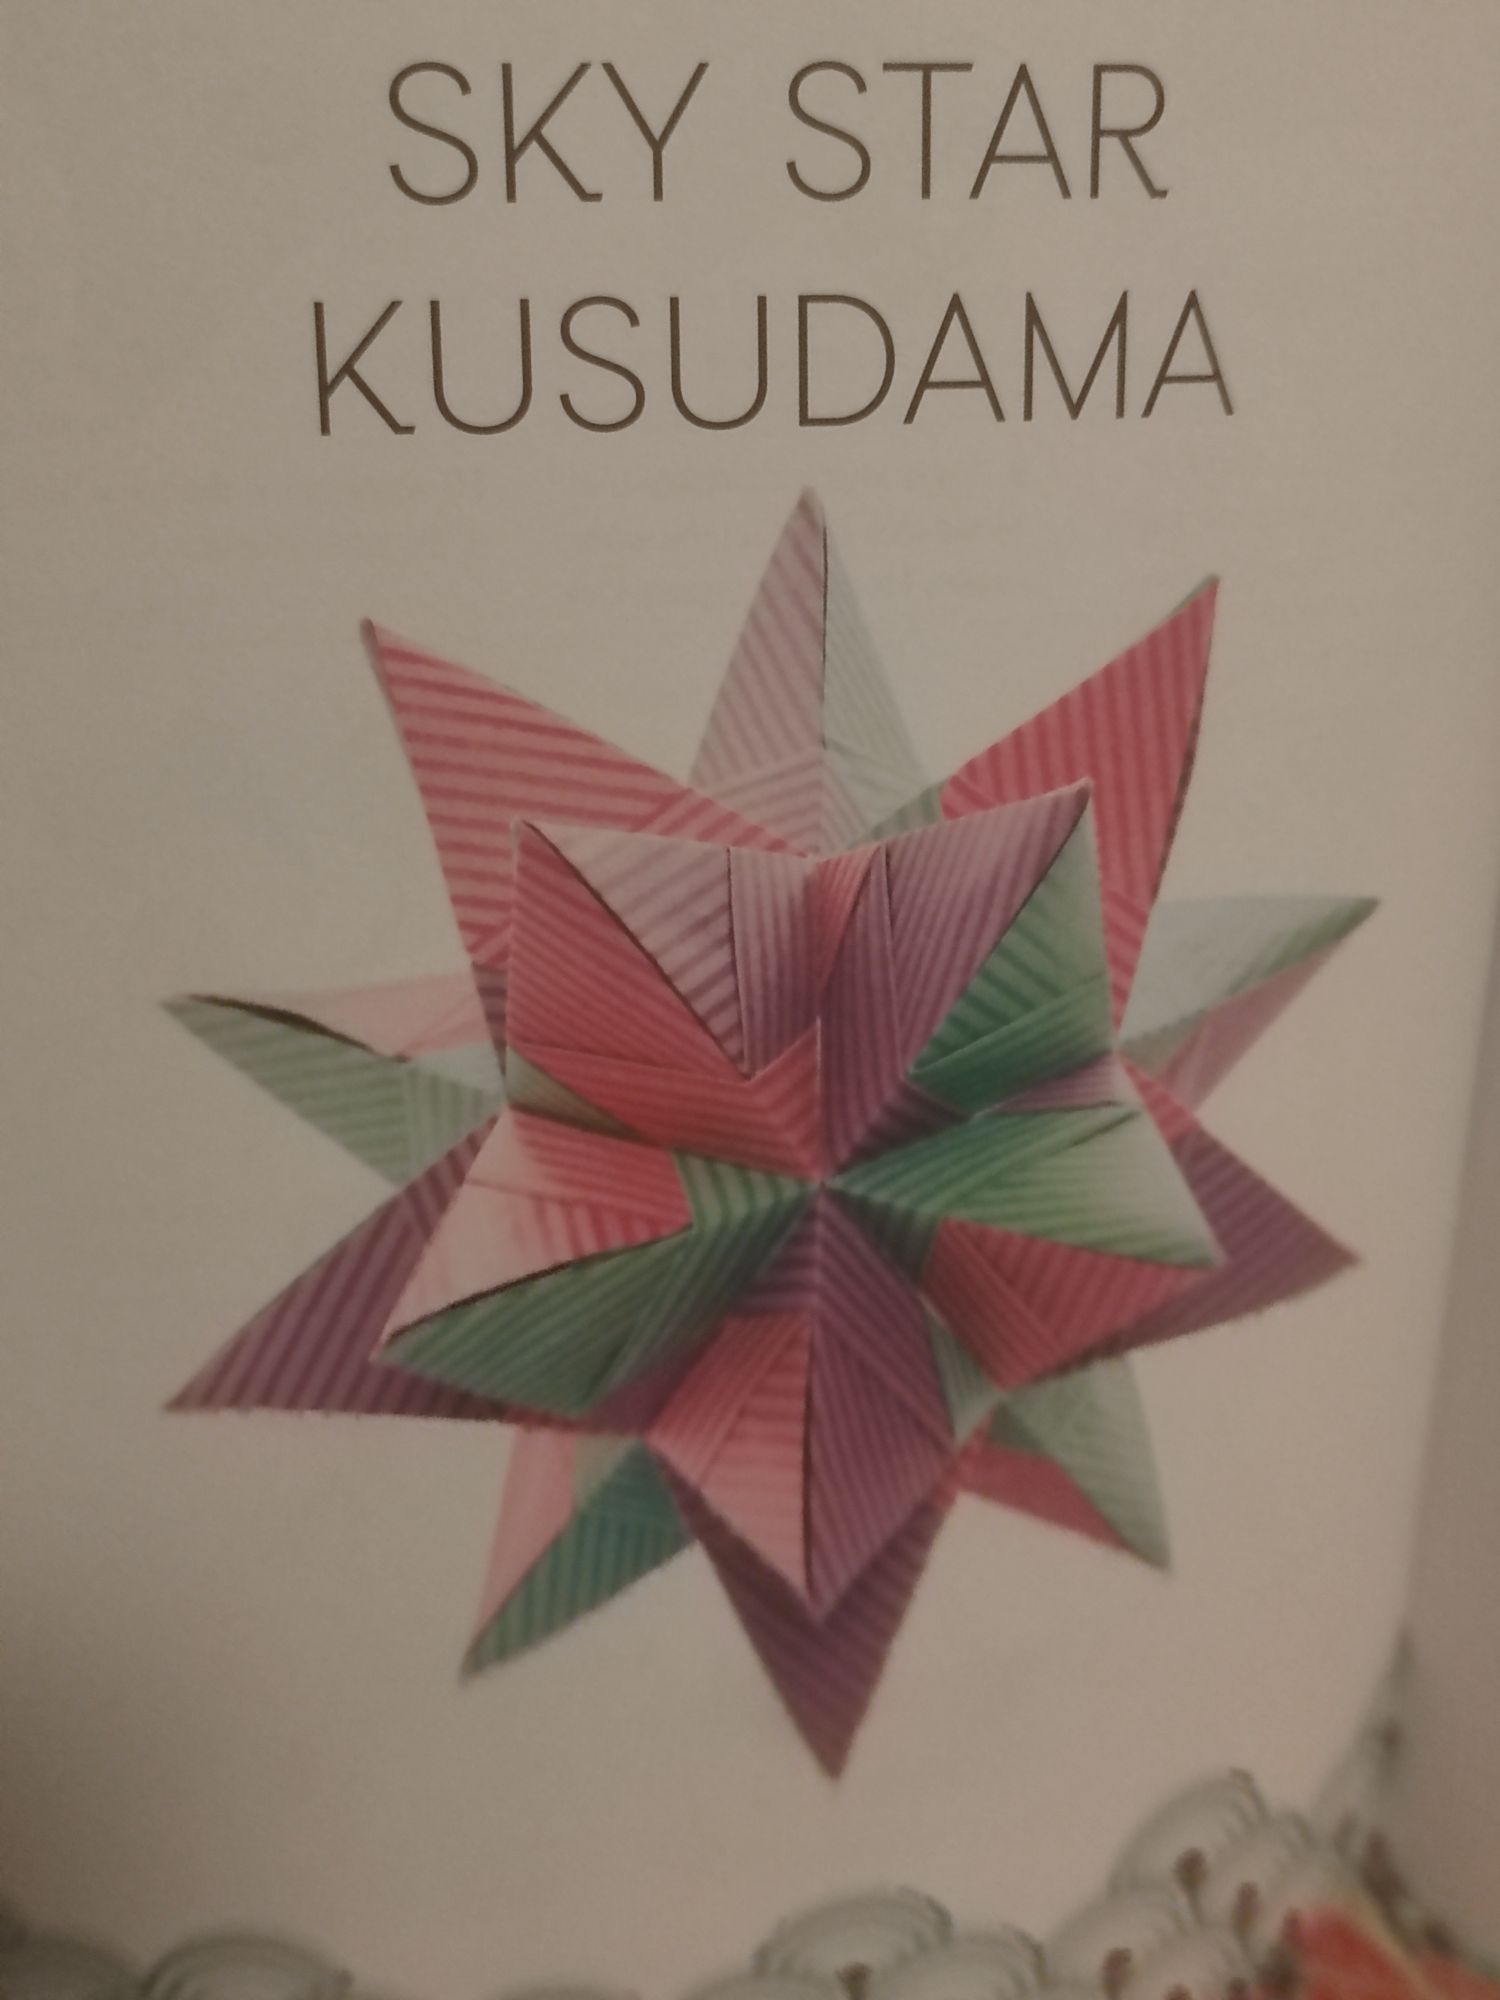
This model is the Sky Star Kusudama from the book Zen Origami by Maria Sinayskaya. I’ve been putting this one off for quite a while, apologies for this! I had the pieces made a while ago and then I sort of got craft paralysis, where I was scared of messing up the assembly of the model – honestly I found the diagram confusing to look at! Does that happen to anyone else? Anyway, I took some time off work and revisited it, safe to say I was able to understand it with a clear mind on the next attempt!
The Sky Star Kusudama was interesting to me because I’ve only previously made ball-shaped kusudama before (it’s in the name, really), so making a more angular one was somewhat new to me. The modular assembly follows the usual rules but here it forms little spikes. As it turns out, this is just an example picture and not at all what you have to make.
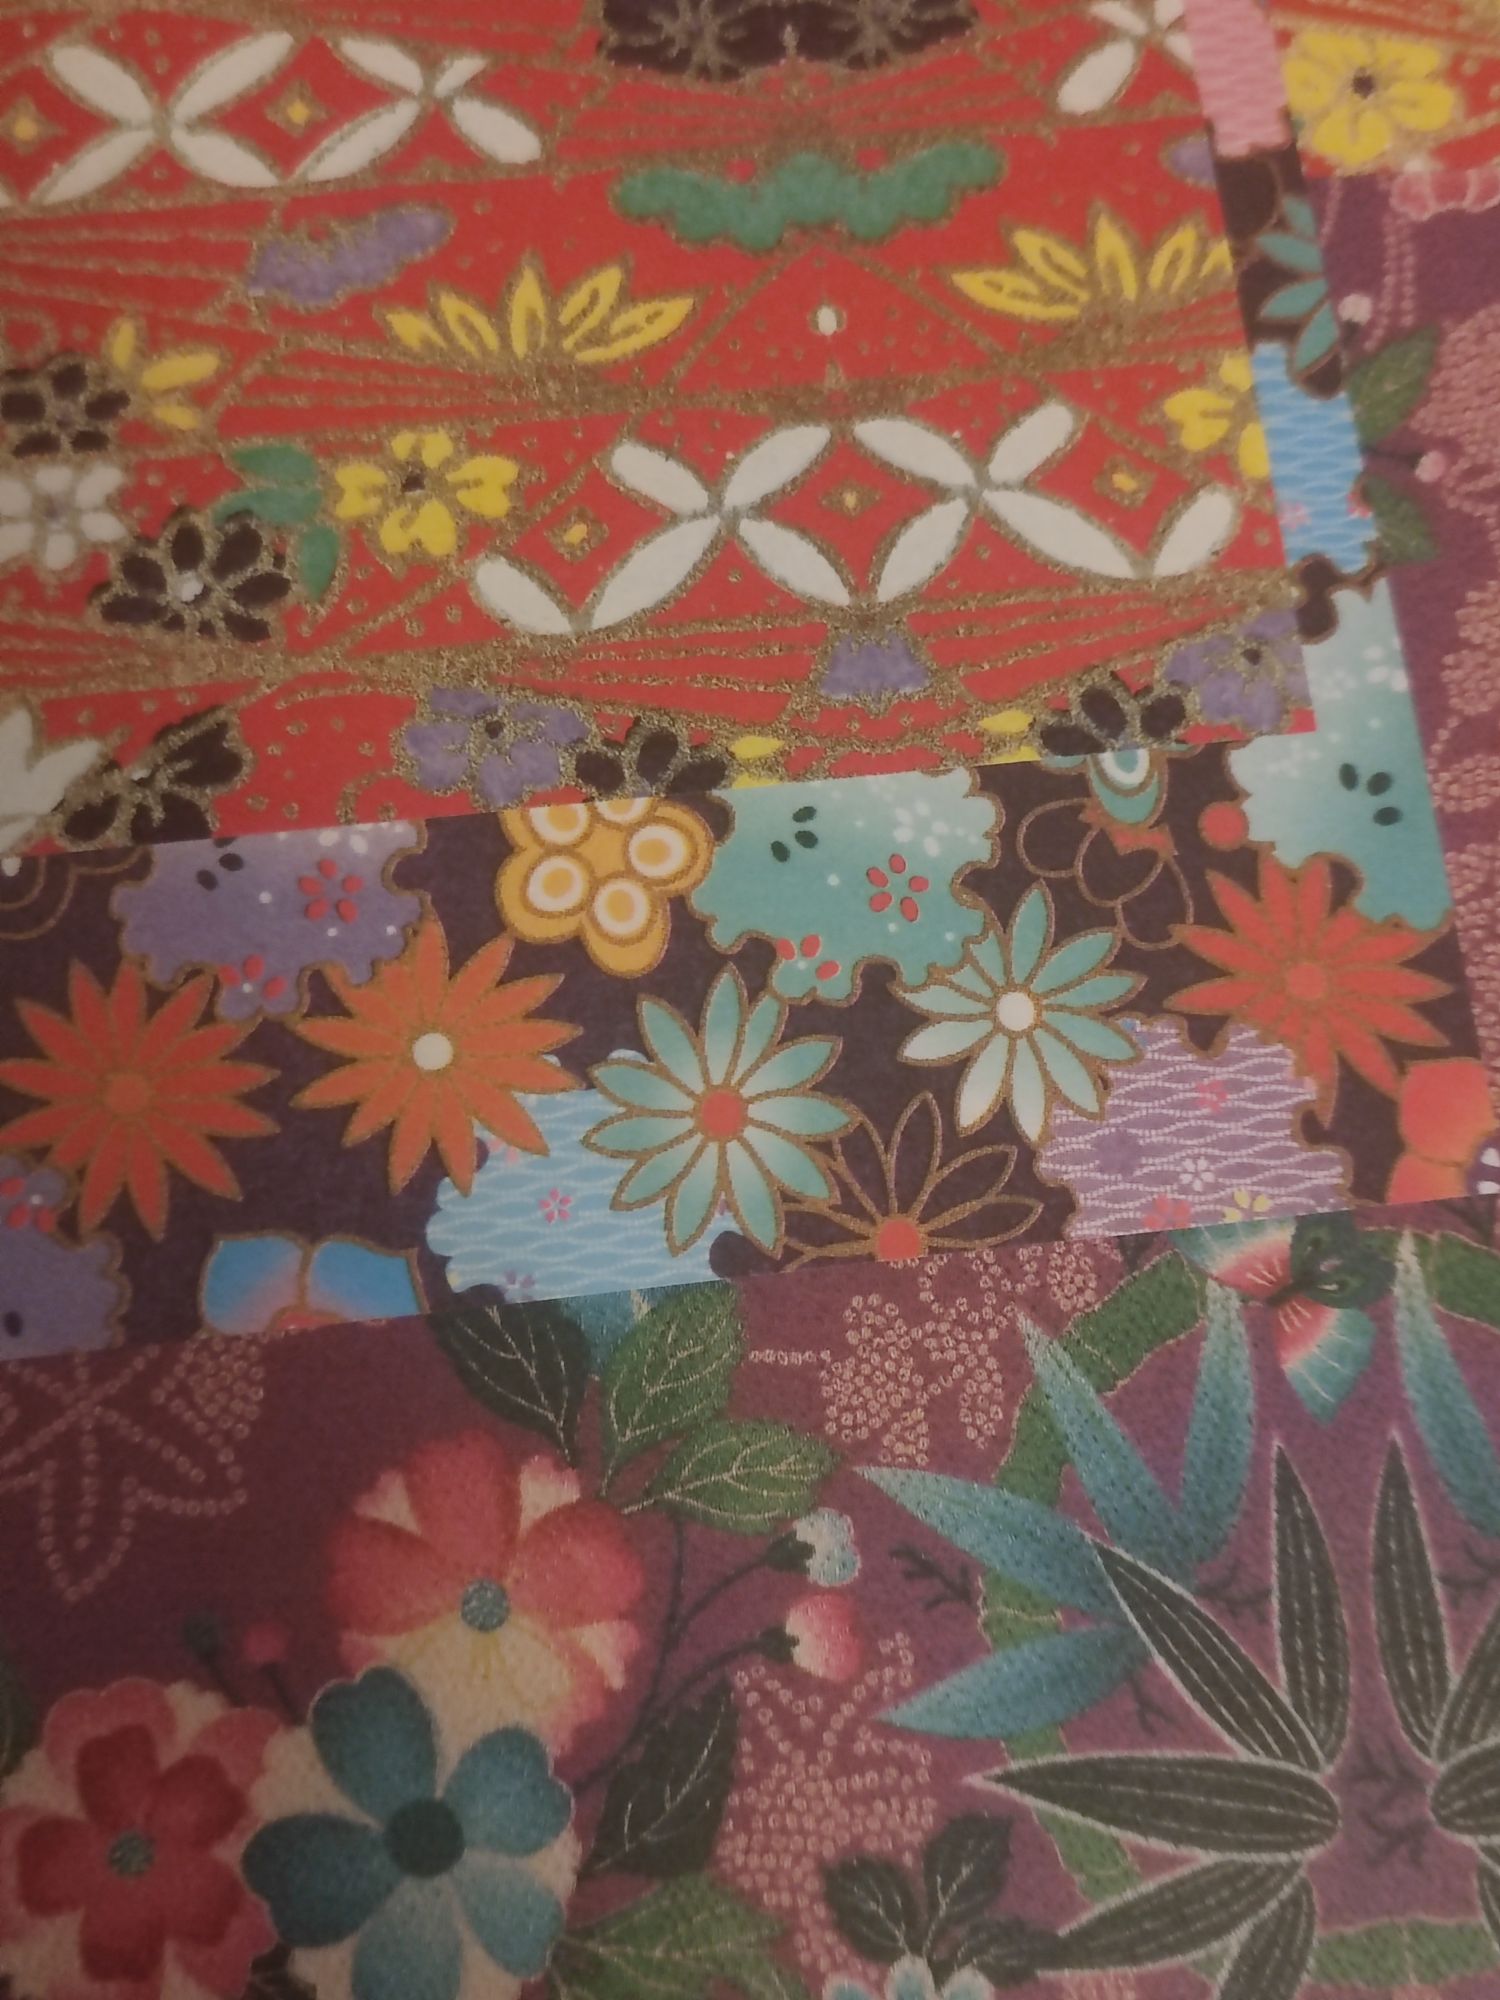
I have also always made my kusudama using one pattern only as it makes it quite simple to assemble the units together, so this time I was trying to emulate the picture above and use three colours. There is a way to distribute the colours evenly so that the colour scheme is balanced. I used patterned washi-style paper and cut 15cm squares into four 7.5cm squares.
The paper is double-sided, but when fully assembled the other side would not be visible. However, it was good to have the units divided into sets of distinctive colours to reference for later!

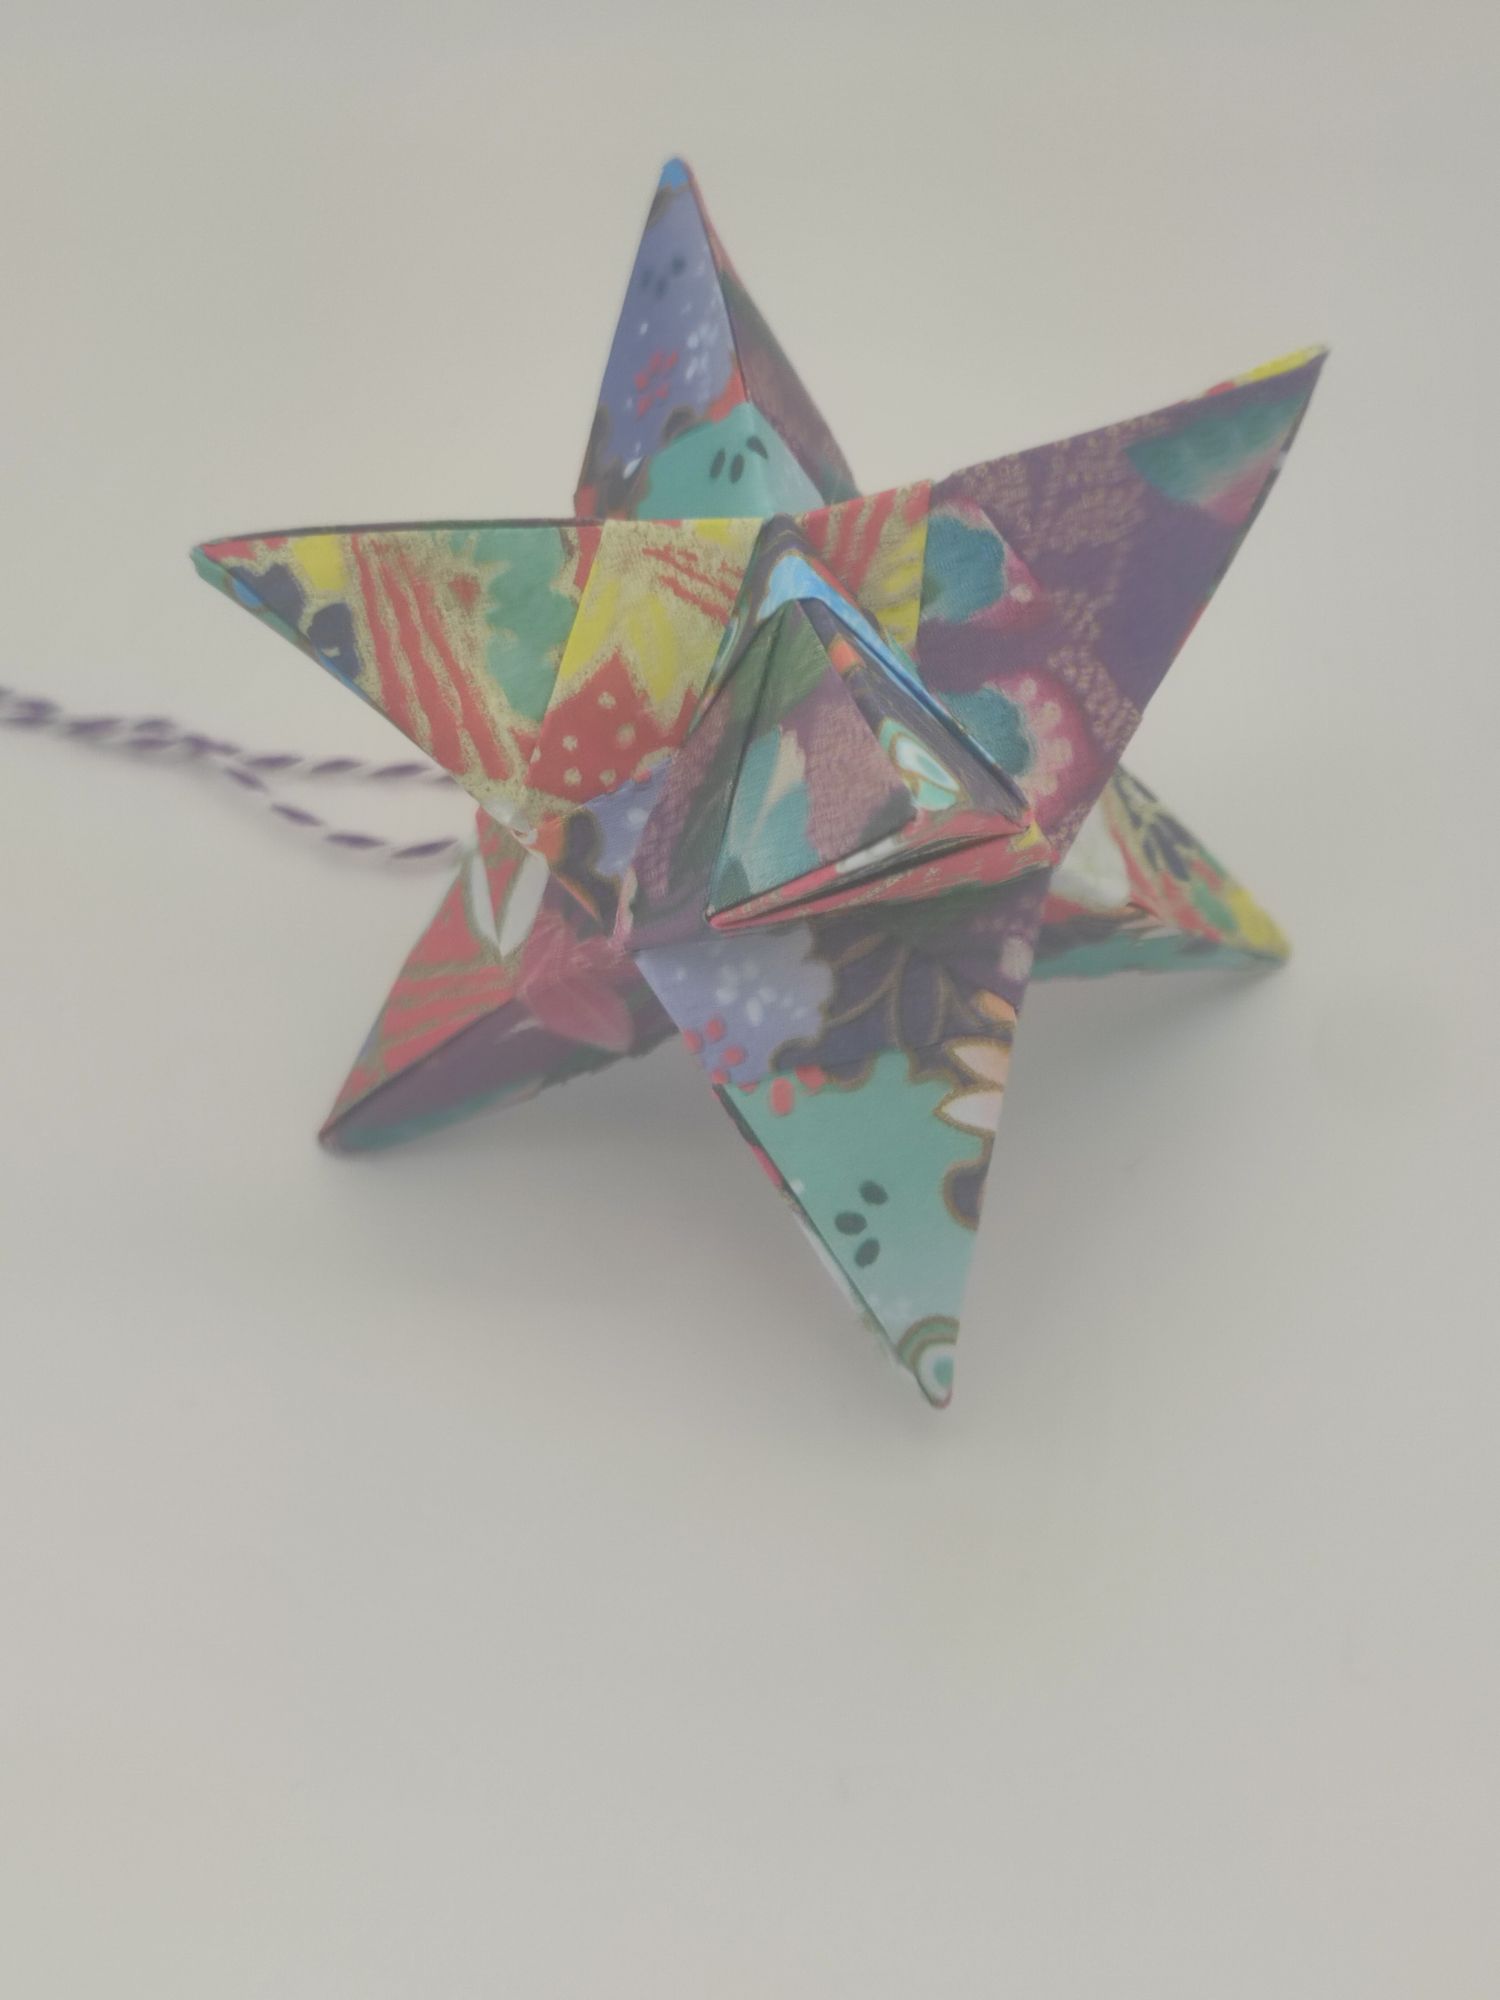
Since I was worried about the larger assembly, I started off with a 12-unit octahedral form first. In this one, you combine three units of different colours into one pyramid cluster, then make four clusters total with 12 units.

Each piece then links to another cluster to form another pyramid. The resulting model is an eight-pointed Sky Star Kusudama. I attached a loop of purple twine to the model before sealing it up. I used PVA glue when I was sure I finished assembly as the colours needed to not clash.
The washi patterns looked very nice when combined together! It was very colourful since you could see multiple faces.
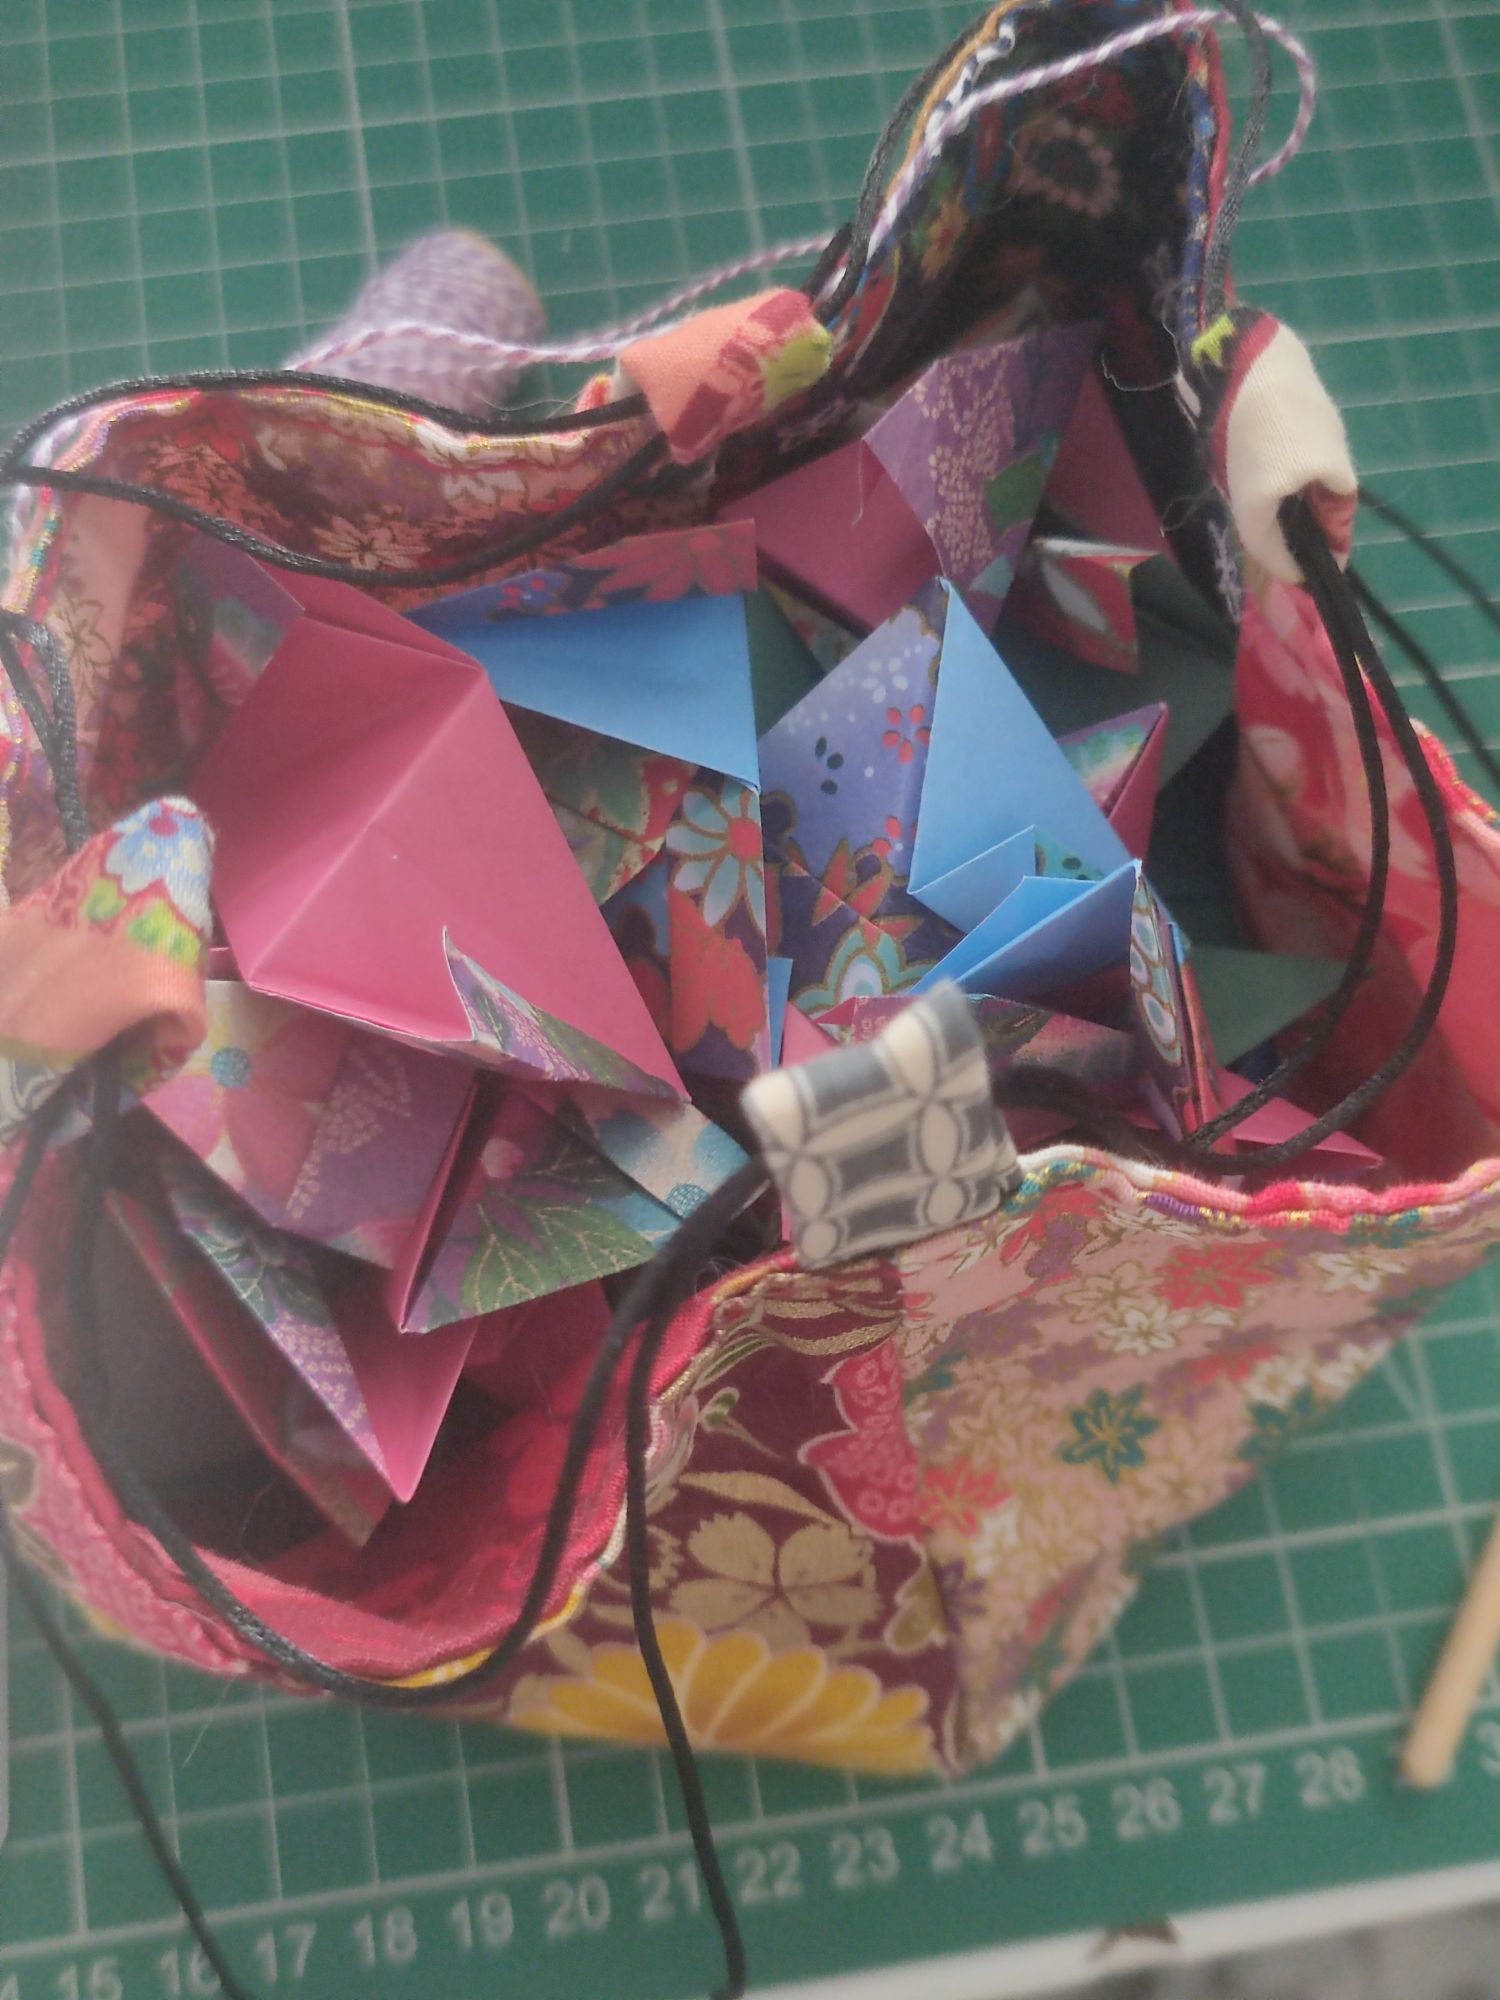
I then proceeded to shelve this project for a few months since I could not understand how to do the next part – fortunately my hand-sewn Komebukuro that I made last year could hold all my pieces in one place! I had this sat on the side whilst I worked on other stuff like the small papercraft flower vase and the personalised baby birth photo frames instead – I really did put it off for that long!
Onto the diagram that gave me the initial headache: I decided that I wanted the big model to be a 30-unit dodecahedral assembly. This would result in the model looking less spiky and more rounder due to the way the units fit together, and I had already made a spiky star with the 12-unit.
Looking at it now, it’s a bit silly that I found it so confusing. This diagram helps to balance the colours evenly by ensuring that every vertex had three different colours, where each line represents a unit.

This version involves creating a pyramid cluster from five units rather than three. You would get two of two patterns and one of the third pattern in each cluster you make. However, unlike the 12-unit model where I premade the clusters and joined them together, in this one I was planning on using the starting cluster as my base to add the other units to.

When assembling, it is important to remember which way is up! I added the twine loop early so that I could use it as the ‘true North’ of my model. I assigned each pattern to a line colour on the model and continued to add units one by one.
The pyramids were essentially the faces on the diagram. The colours on the reverse side were quite interesting to look at!


It was much more simpler than I thought it’d be at first! Less frustration and more zen, as it should at been. My 30-unit model looked like a round star and it was also just as colourful with the multiple patterns.

There were other ways to assemble this model too. The model shown in the book’s picture was a 30-unit icosahedral assembly. There was also a 24-unit dodecahedral one too! Personally, I was just happy that I finally finished this.
You could hang these kusudama up on a wall if you want, but they actually look pretty nice sitting on a shelf too! I just like adding twine loops in case.
In the future I’ll definitely think about using more than one pattern in kusudama, and maybe I’ll make a whole shelf of trinkets. Maybe I’ll dot them around the origami shelf that I previously showed off in my home decoration post!

Materials used:
– 42 squares of 7.5cm patterned origami paper in three different colours
– purple and white twine
Tools used:
– craft knife and cutting mat
– PVA glue and paint brush
