I hope you’re all ready for Christmas content, because I will be all about that this month! For the first time in my life, I will be hosting Christmas dinner and having family over on the day. This means I’ll need to spruce up the house to make sure that it looks and feels like Christmas! I got a 7ft slim tree this year and have put up colourful baubles, tinsel, and fairy lights as expected (and I kept all the previous handmade baubles from a few years back), but of course it wouldn’t quite be right without some extra handmade things! So I’ll be making lots of things and letting you all know about it this month!
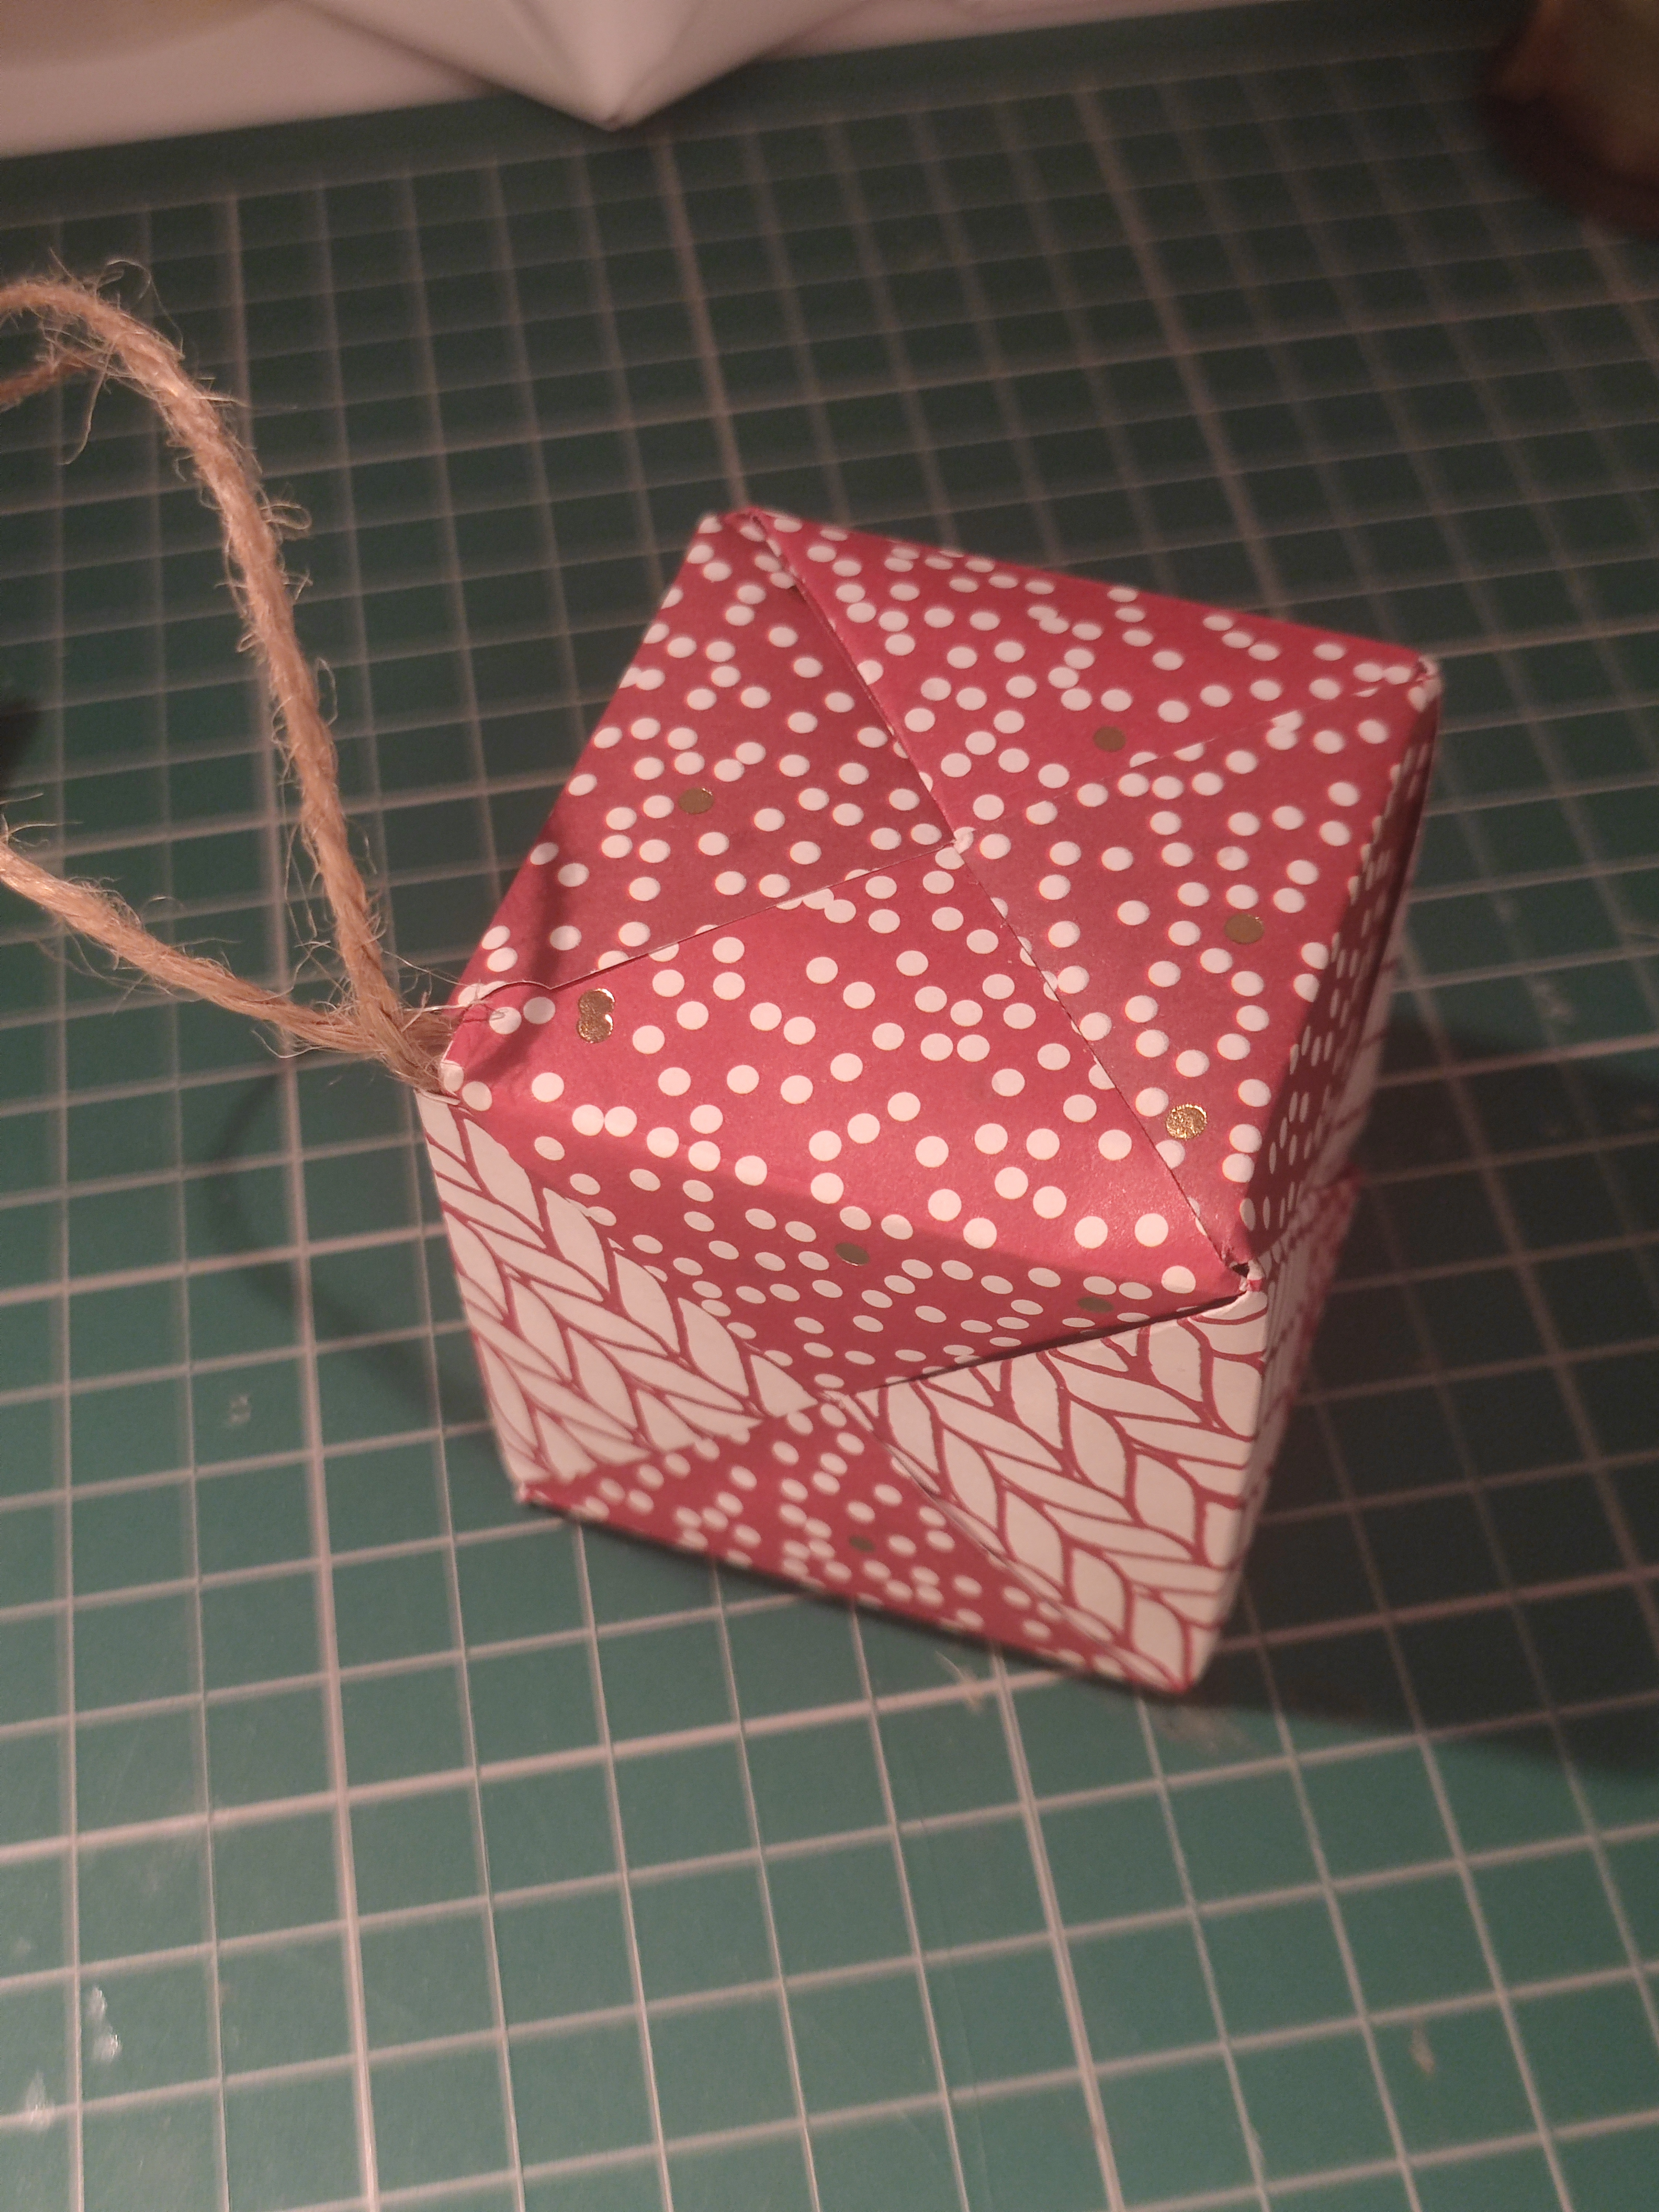
A while back, I made a tiny little diorama at my office desk, and I made these Sonobe cubes look like Christmas presents. If you’re not familiar with how to make a Sonobe cube, it is a modular form that uses six units and interlocks them together to make a cube. (As seen on Origami Instructions) No glue required! But you can use a little PVA glue when joining the units for peace of mind. This brought me to the basis of today’s content post.
The cube’s final size differs depending on your starting size paper for the unit. My go-to sizes are usually 15cm or 7.5cm (because I cut them from 15cm paper), so I practiced with some spare 7.5cm squares, which is the green cube below. I then cut out squares of paper in 10cm size (the one to the left of the green cube) and finally 14cm squares, the largest one. I thought the largest size would be too big, but when hung on the tree, I think it would be the most eye-catching! But you can do any size you like.

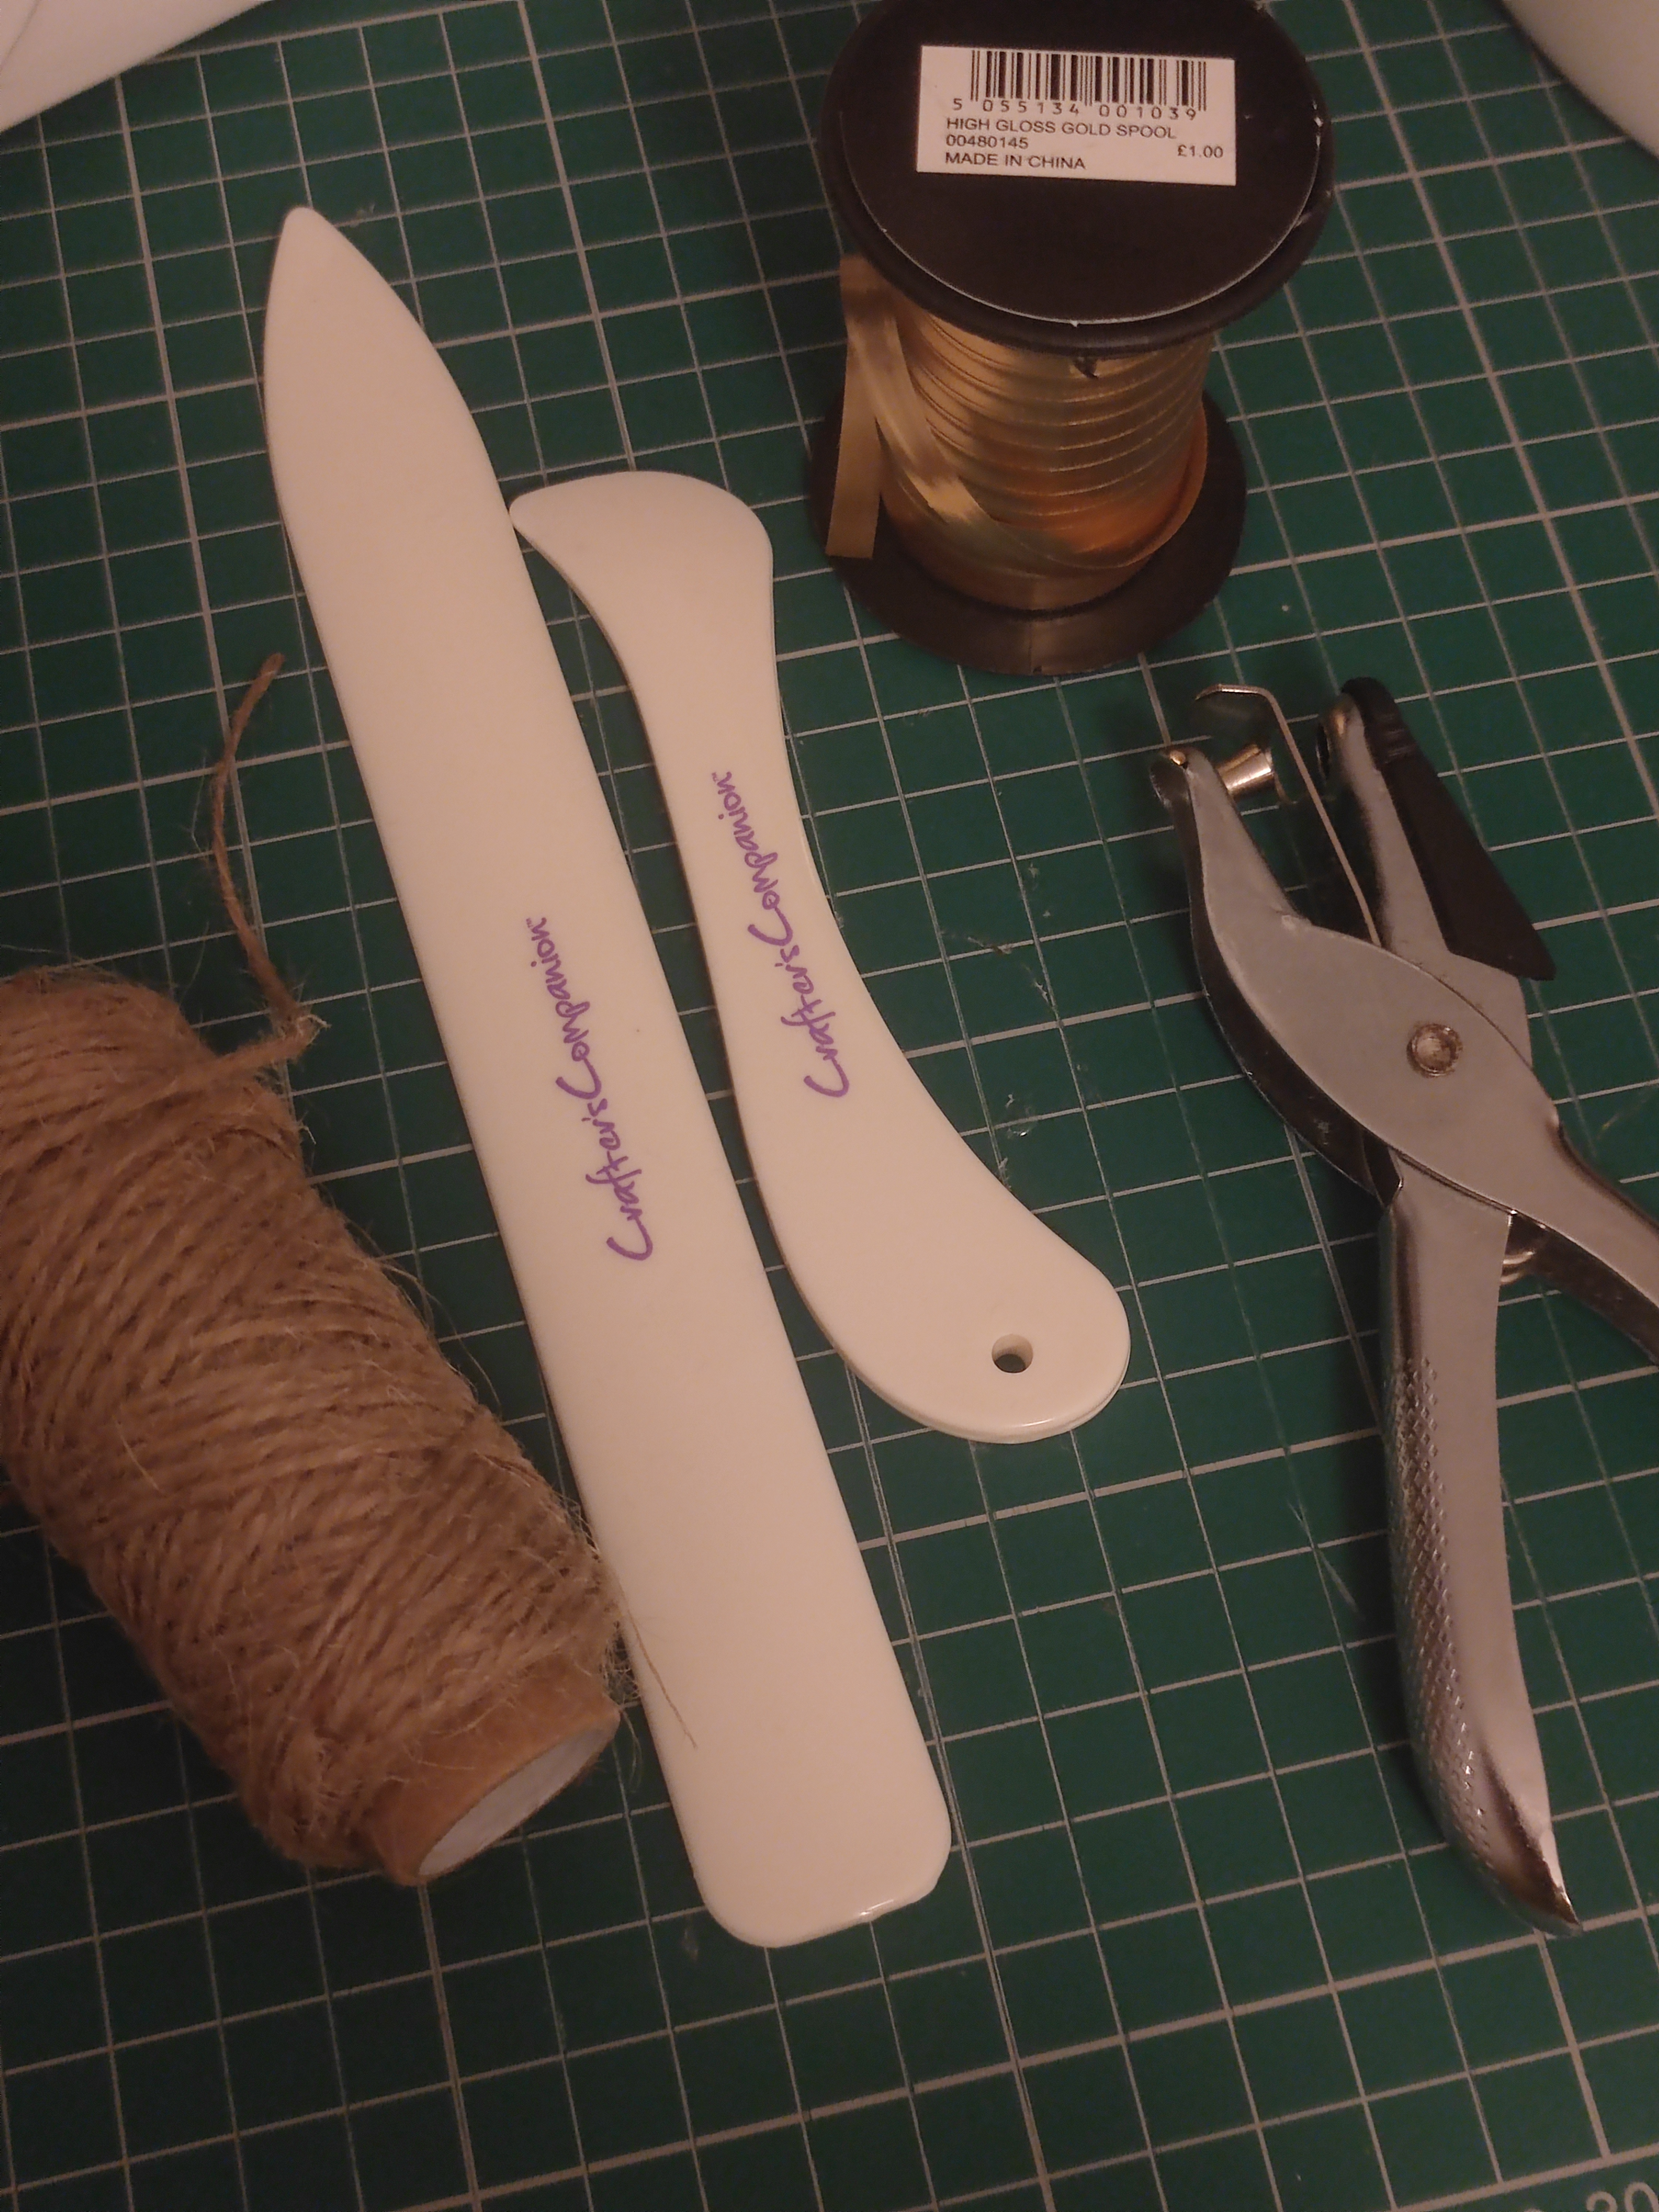
Before all that, I got myself some new goodies for the craftmaking season. The first was some really nice 15cm patterned origami paper. It wasn’t strictly Christmas related, but the red and white patterns with the shiny gold parts really looked like it could fit the scheme. The second was a set of bone folders – this may be surprising to learn, but I’ve never used them before! They help make a really nice folded crease, as I learnt recently.
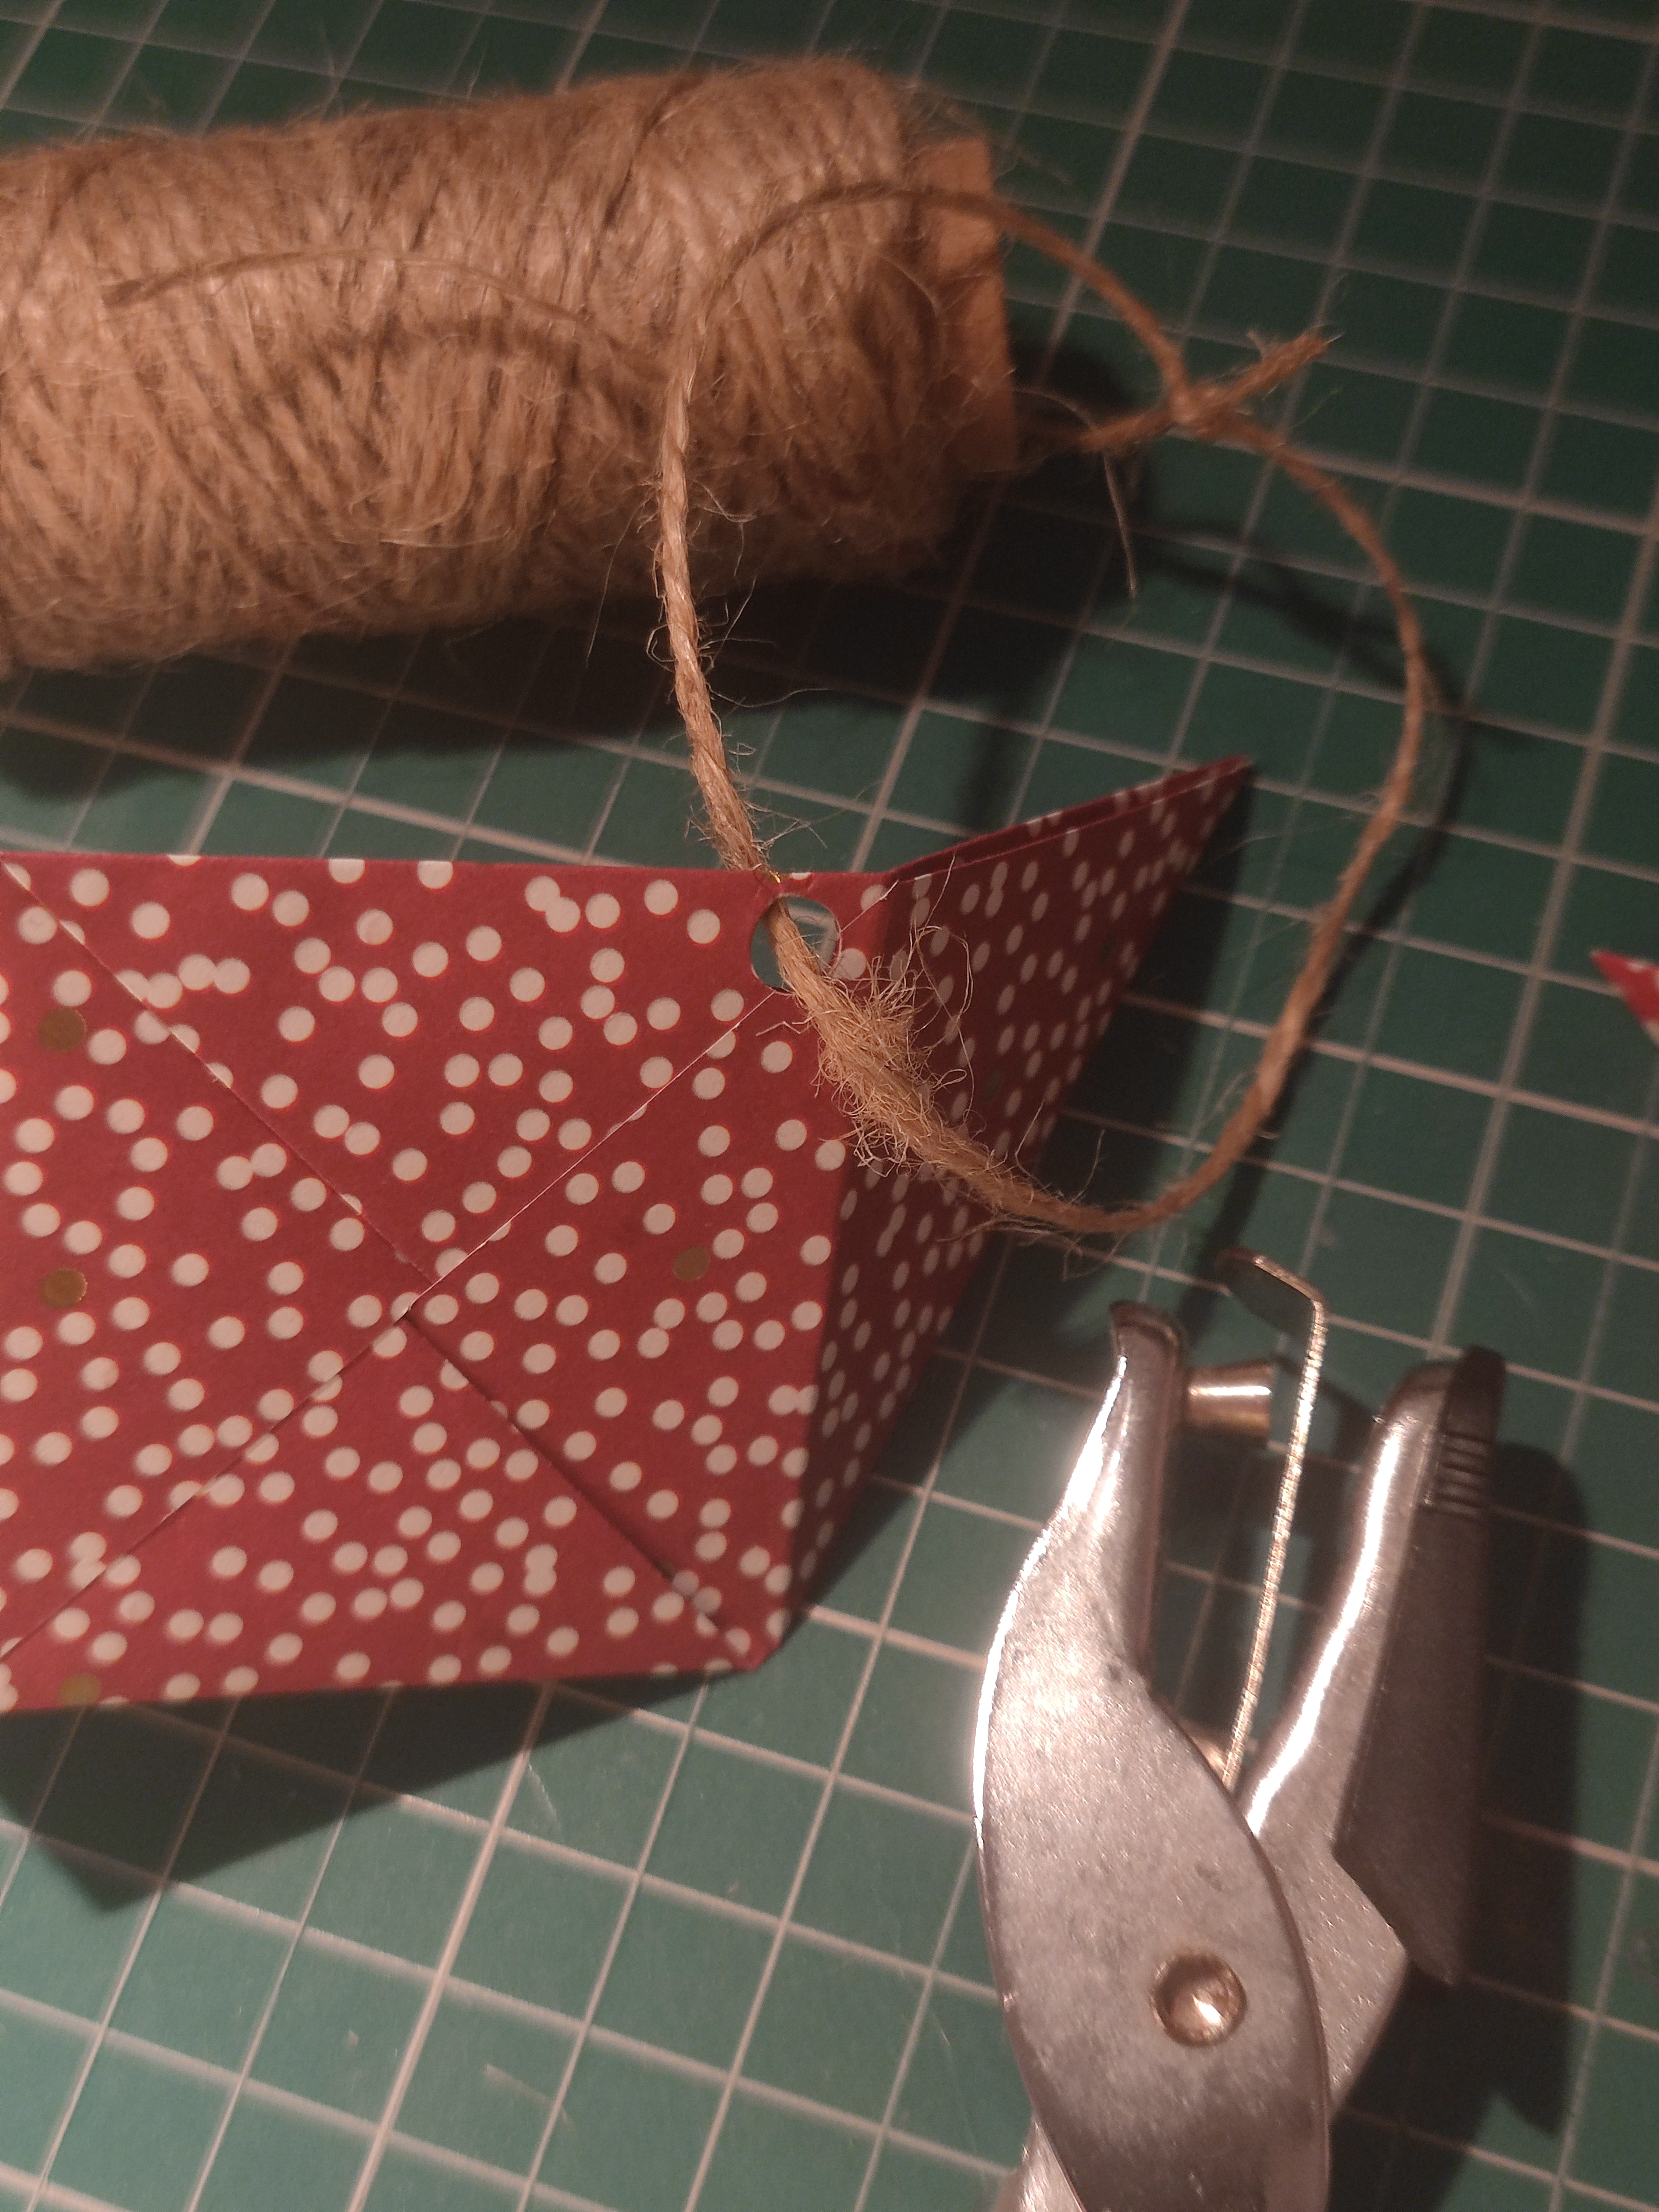
You will also need things like twine, a hole puncher, and curling ribbon for present wrapping. I used all of these materials to make my present cubes.

The origami paper came in four different patterns and they were double-sided too, although it wouldn’t matter too much for this model. I made sure to assemble all of my units in the same orientation when folding the non-symmetrical patterns. I chose a different combination of patterns for each cube for variety as well.

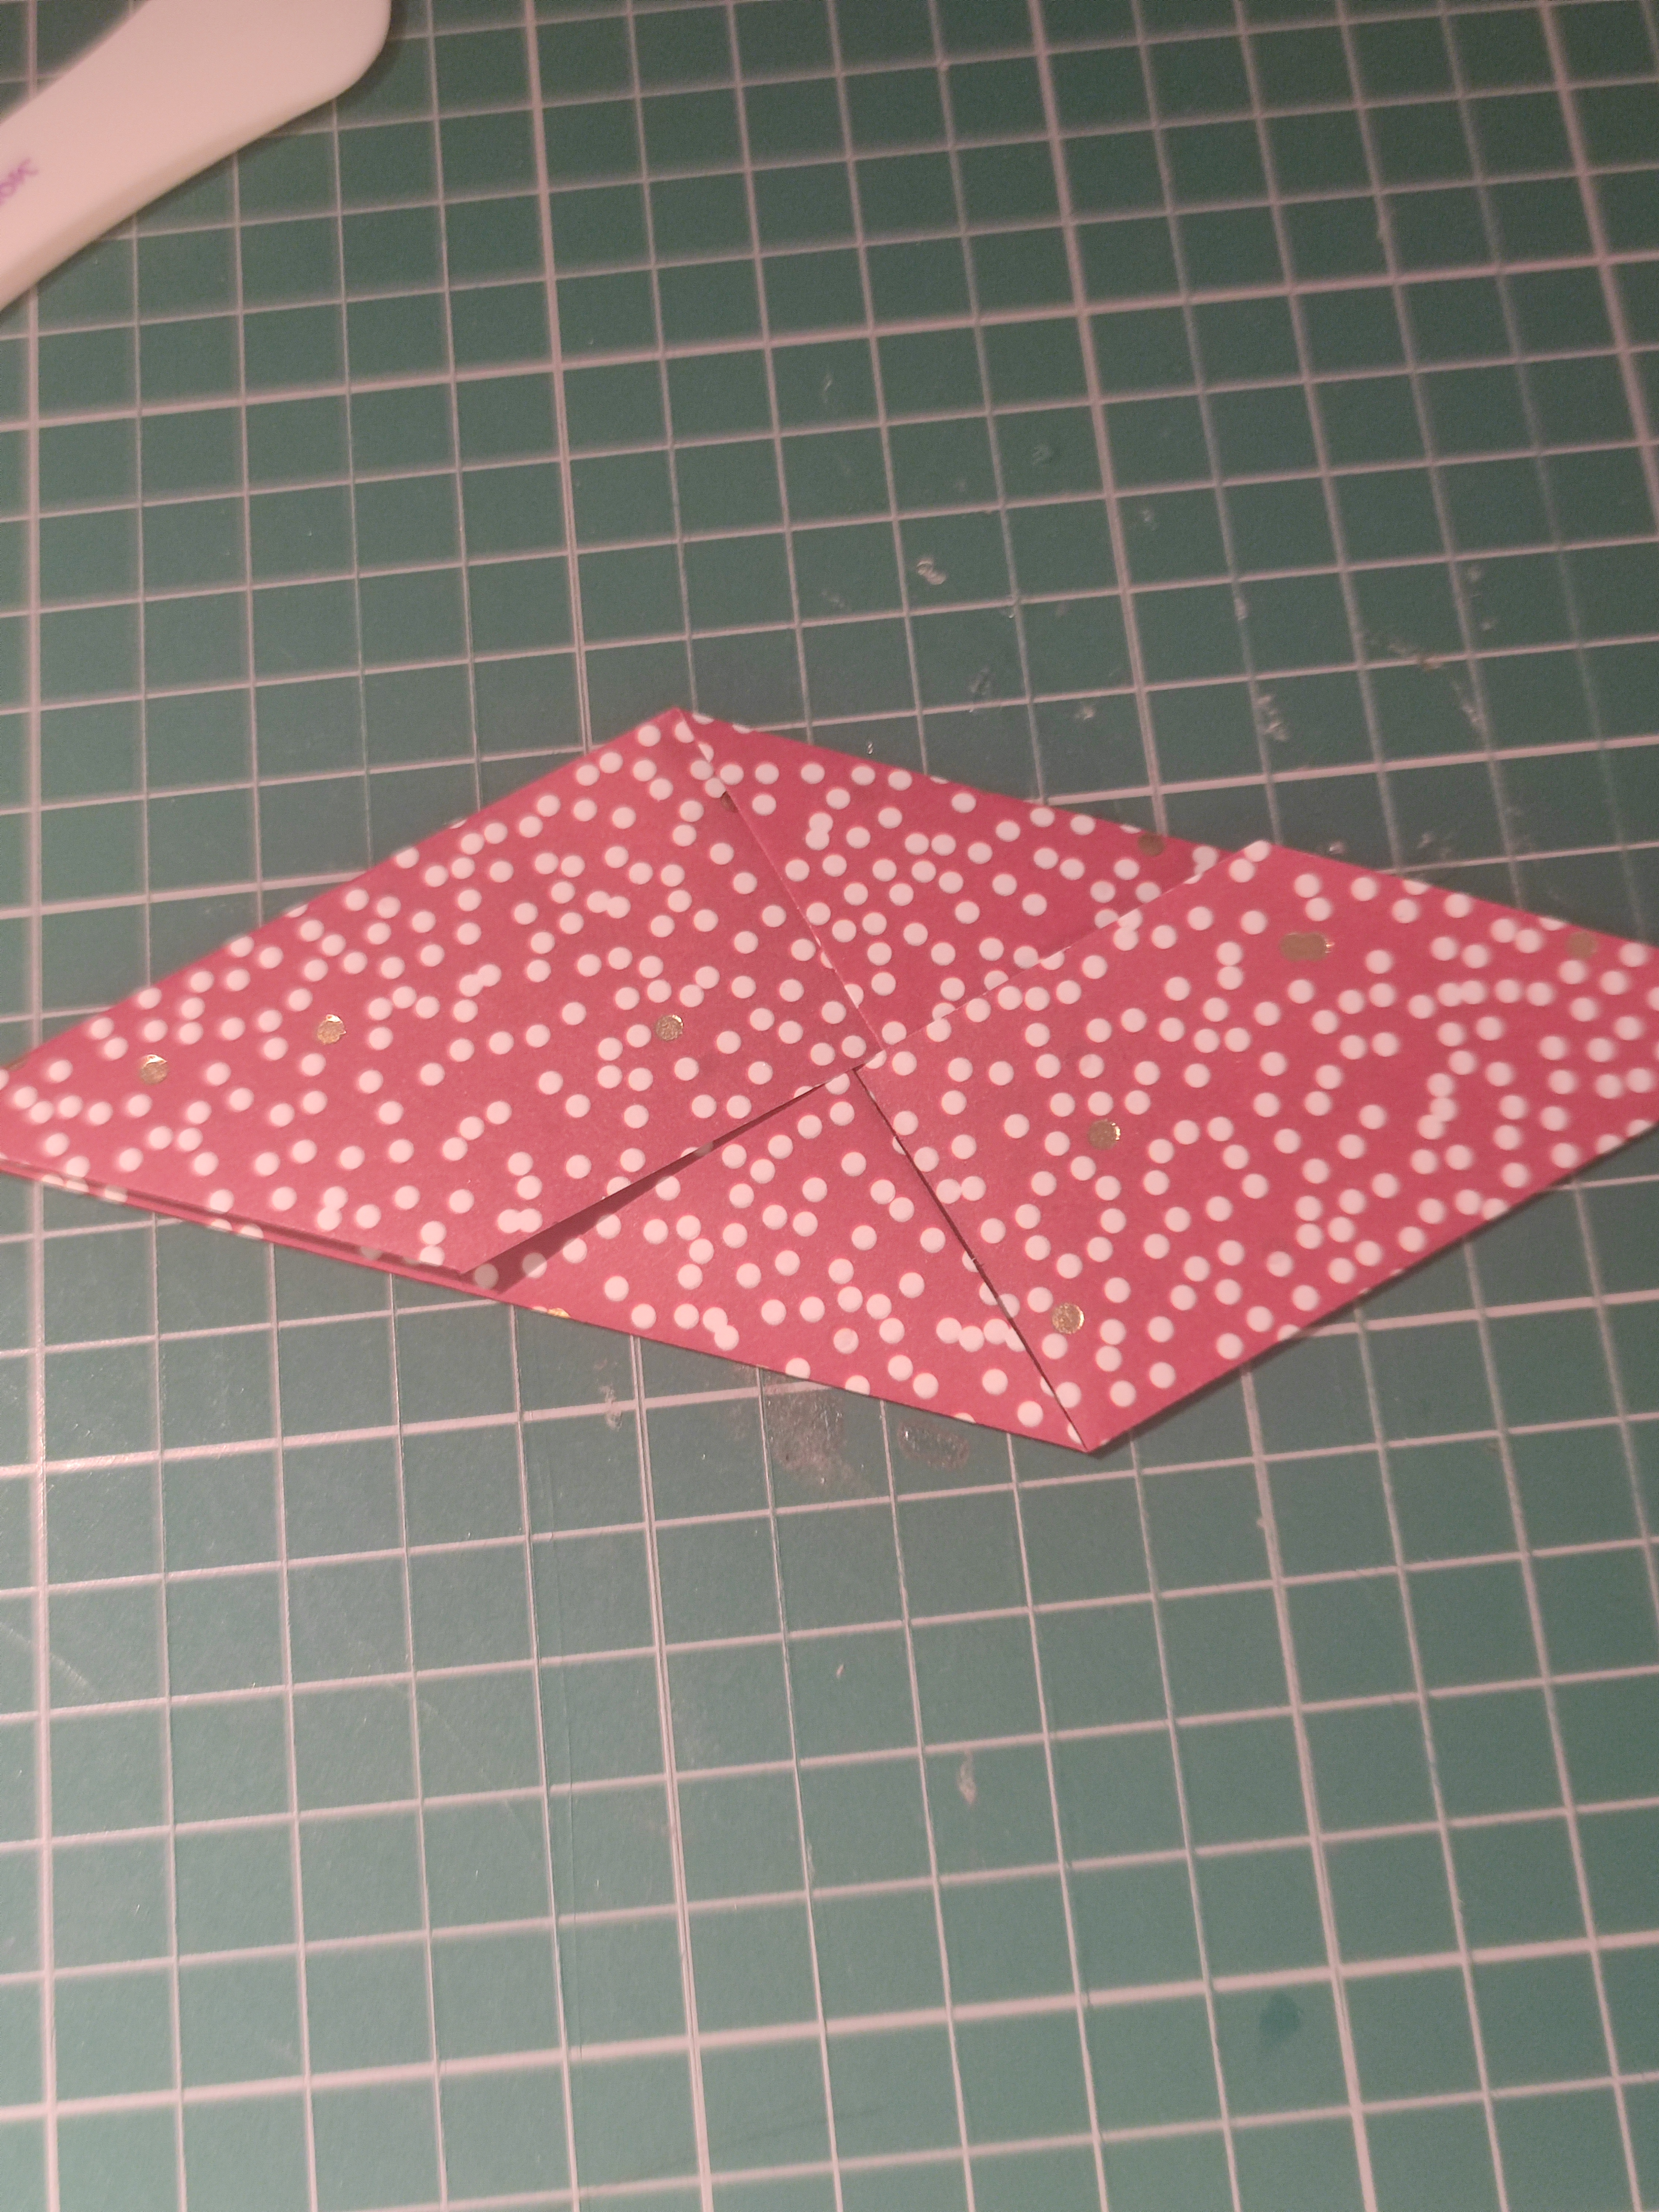

Once you have six units ready, use a hole puncher to punch a corner of the middle section of one unit only. Then loop a thread of twine through the hole. It doesn’t have to be twine, matching ribbon would also be nice too!
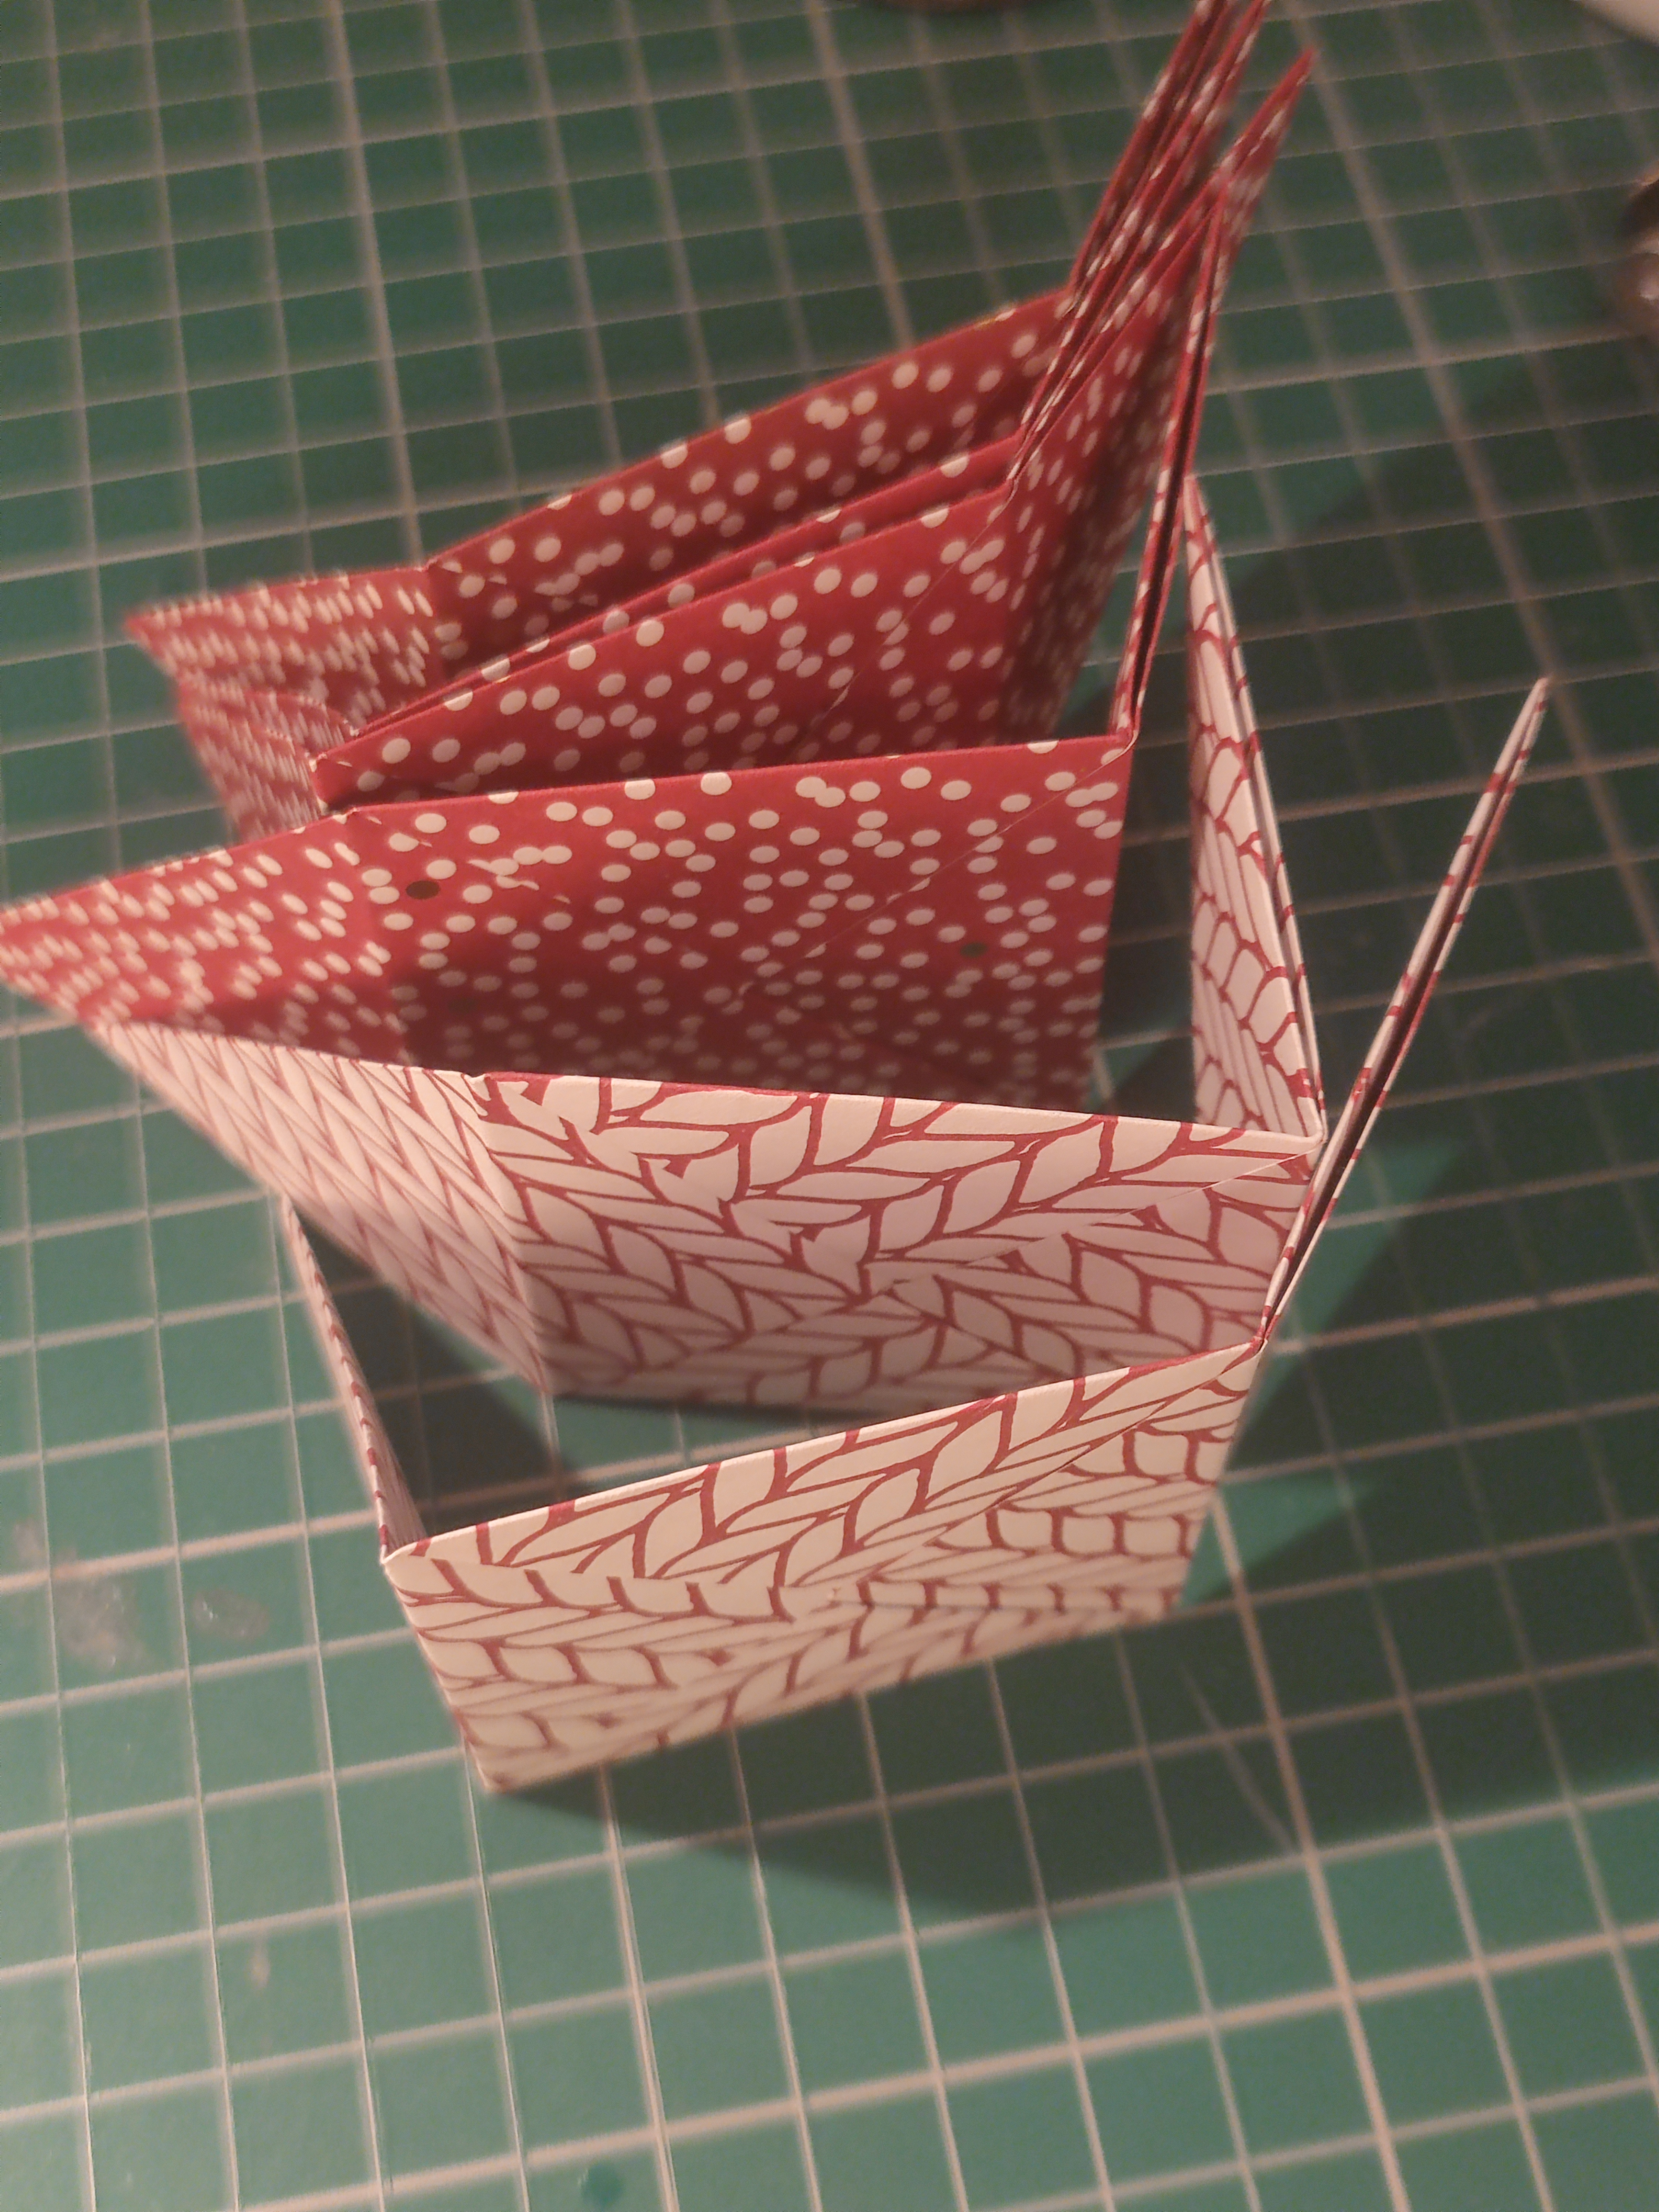
When locking the units together, ensure that the loop of twine stays on the same side. This hole will be hidden when the full cube is assembled anyway. I did not use any glue for this as it becomes very sturdy, but you can use it if you wish too.

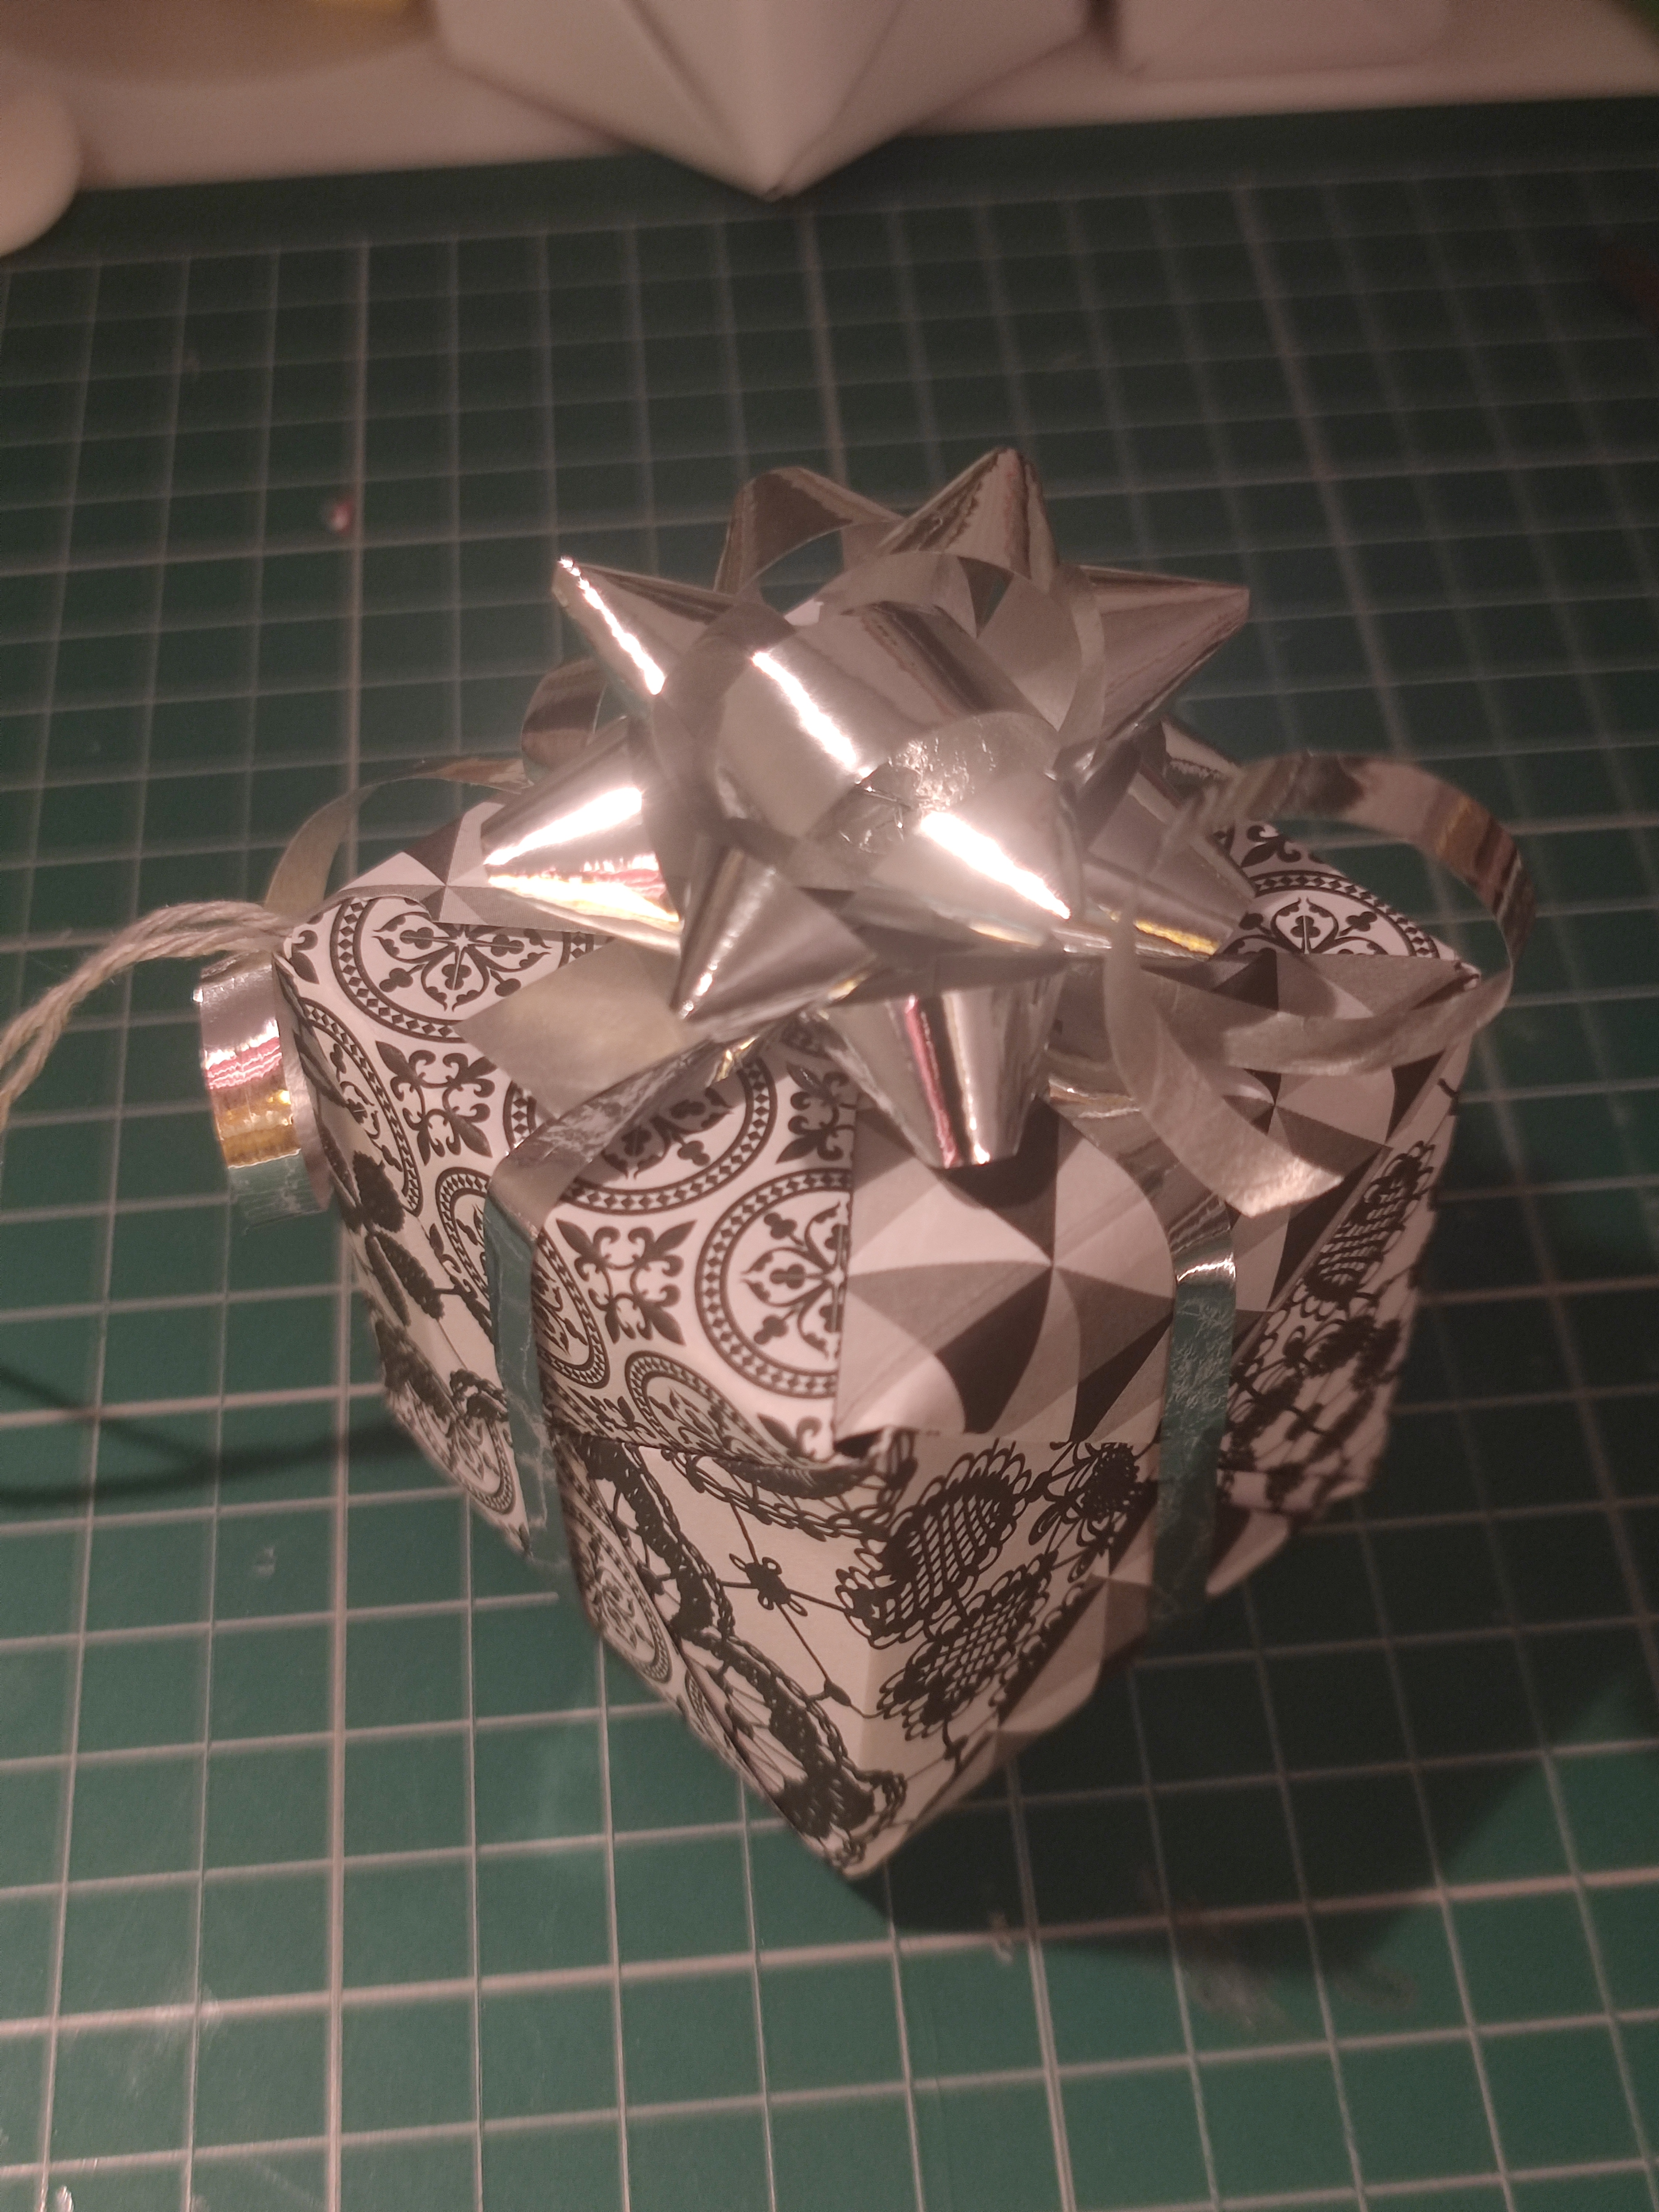
Now for the fiddly part – using the curling ribbon! I always find that because curling ribbon comes in reels, it is so hard to hold it in place. I cut an extra long length of ribbon and wrapped up the present in one go. Starting from the top, I crossed the ribbon over at the bottom and tied a knot and bow back at the top. I’m not the greatest at tying the bows so the ribbon tends to look a little messy, but I think it will be okay when it is up on the tree.


At this point, why not vary up the colours? After all, presents can be wrapped in many colours. Here, I used a different set of paper and gift wrapping bits to create a present cube in a different colour scheme. My Christmas tree does not have a proper colour theme, so I don’t mind hanging up a black and white cube with silver gift bows.

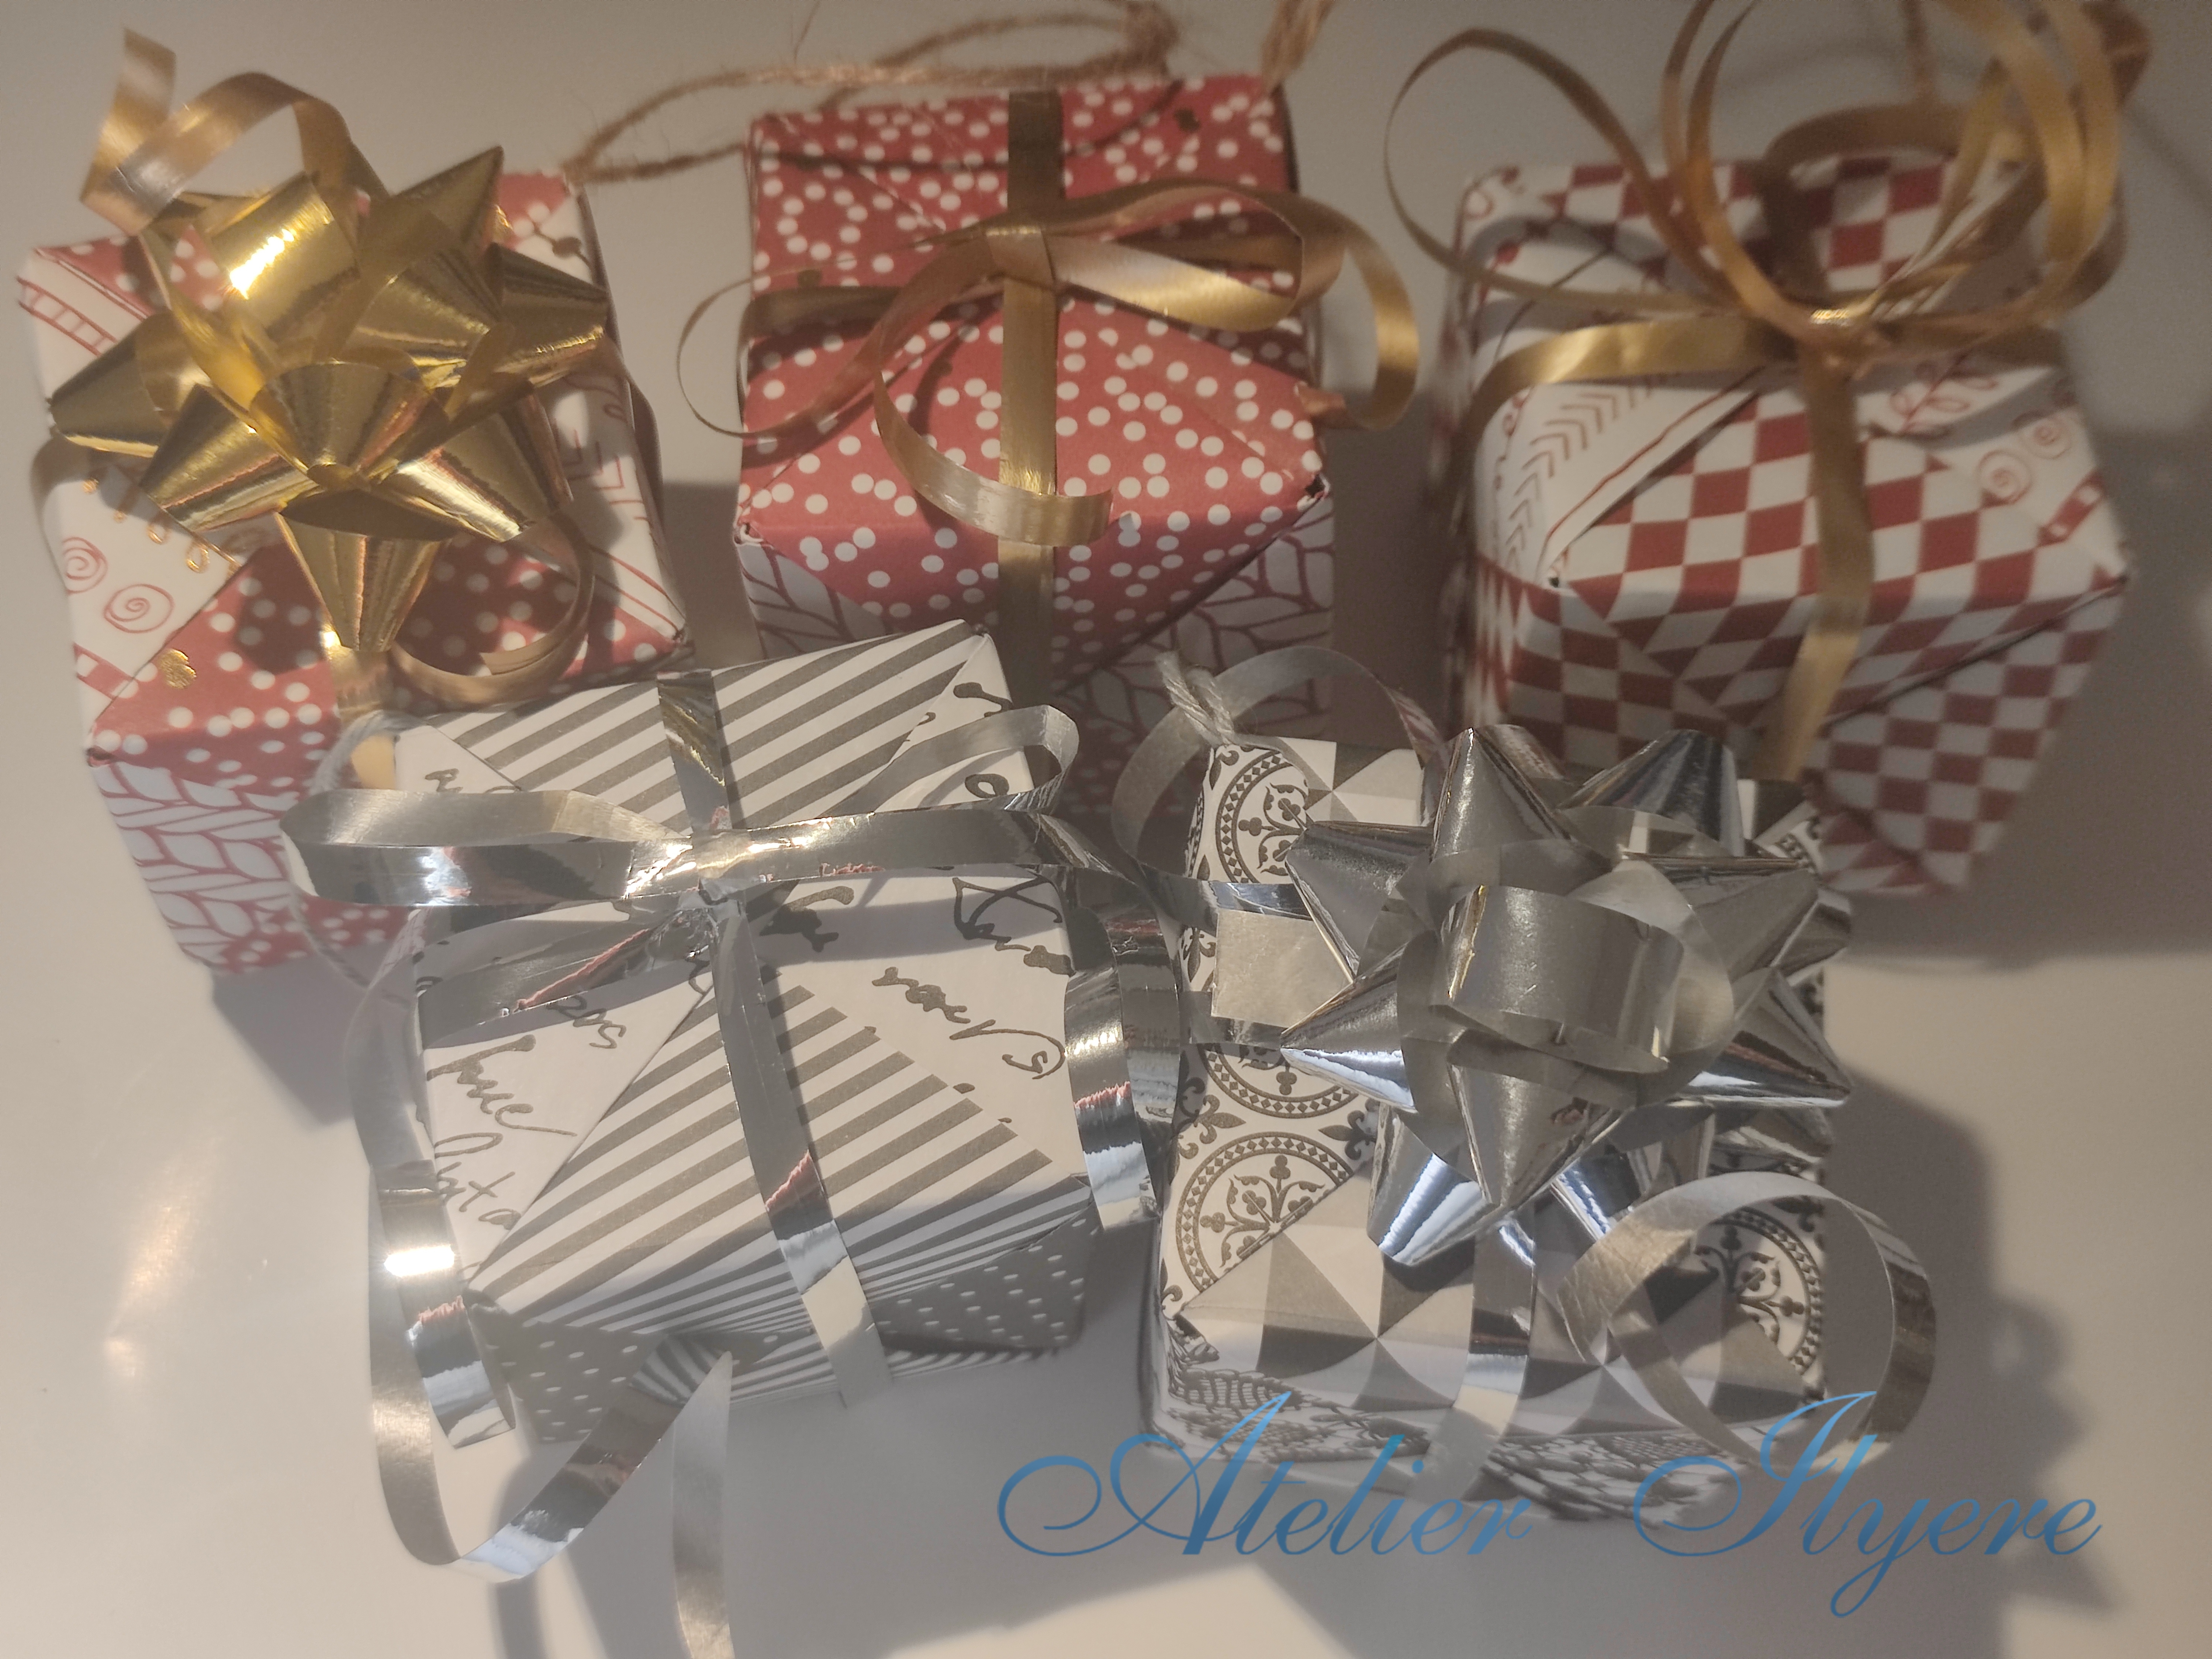
I made a good amount of cubes in different patterns and styles to hang up on my tree for now! This is a great way to use up any spare gift bows and curling ribbon, if you had any left after all the gift wrapping.
Materials used:
– Various patterned 15cm origami paper, in red/gold and black/white
– Gift bows
– Curling ribbon for wrapping presents
– Twine
Tools used:
– bone folder
– hole puncher
– scissors
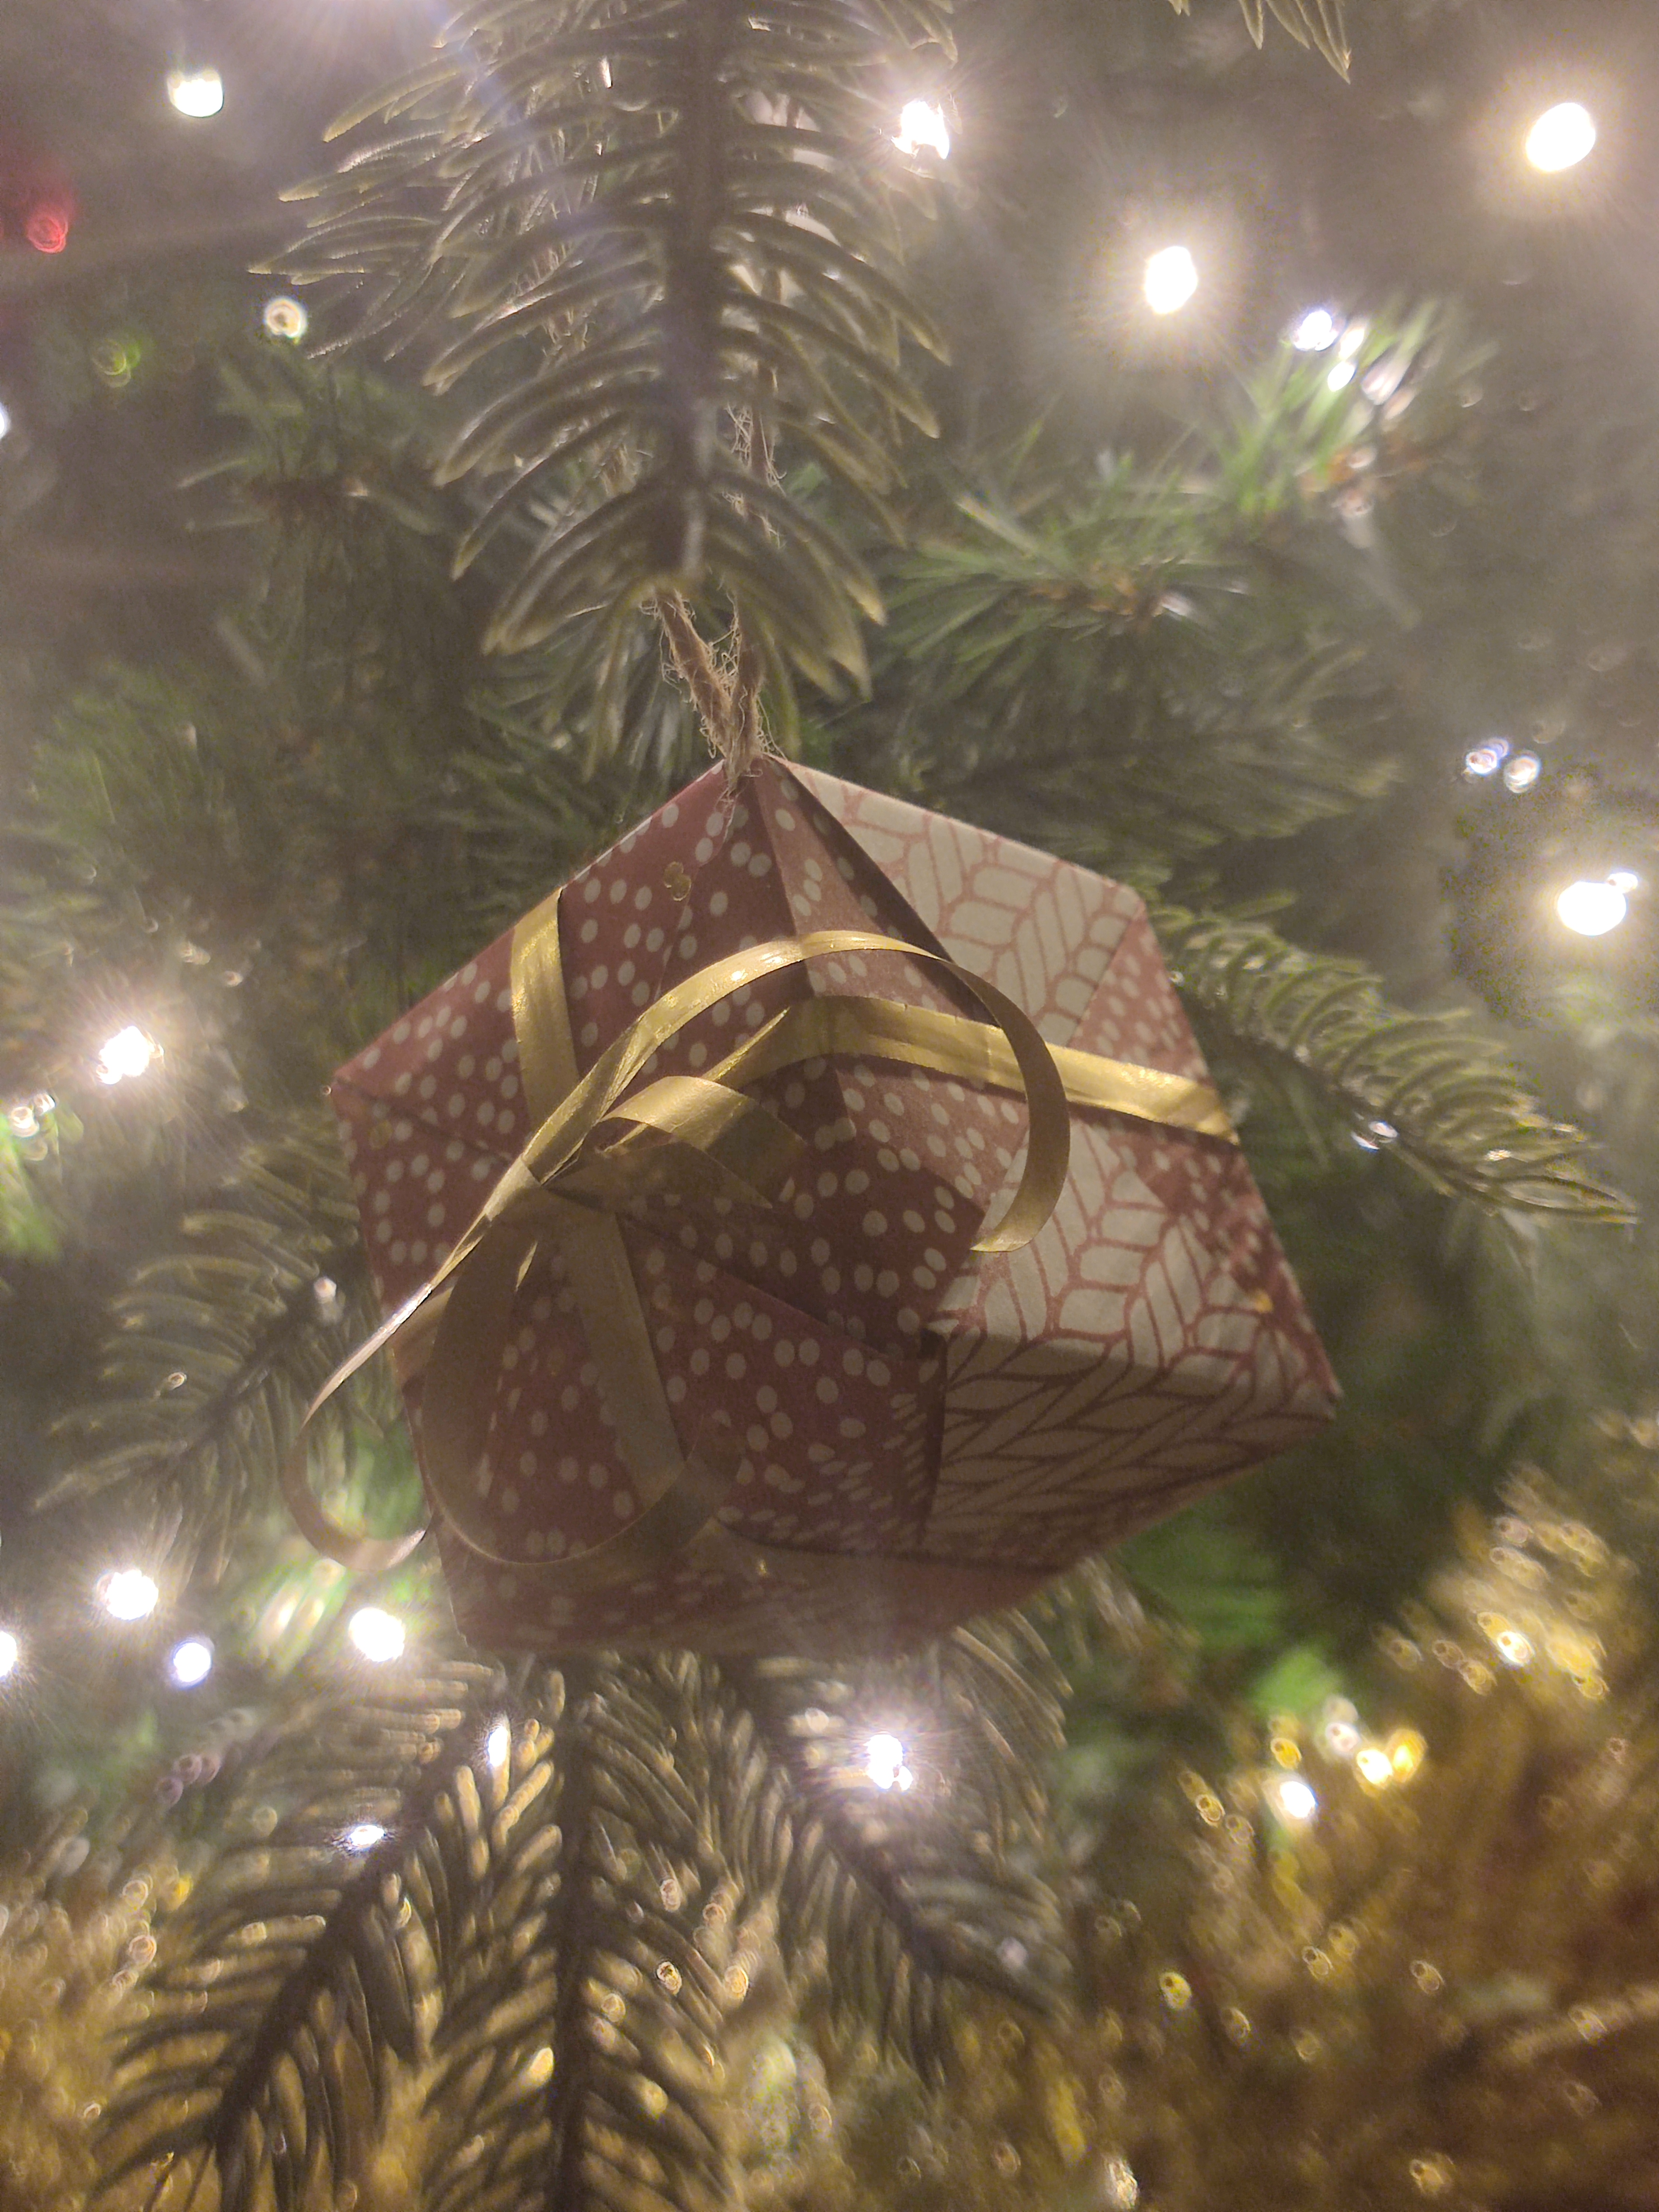
Bonus pictures: here they are on the tree! I had gold tinsel and red and gold baubles on the tree, and the presents do stand out. The red cubes match the theme, but the silver presents really contrast, in a nice way.