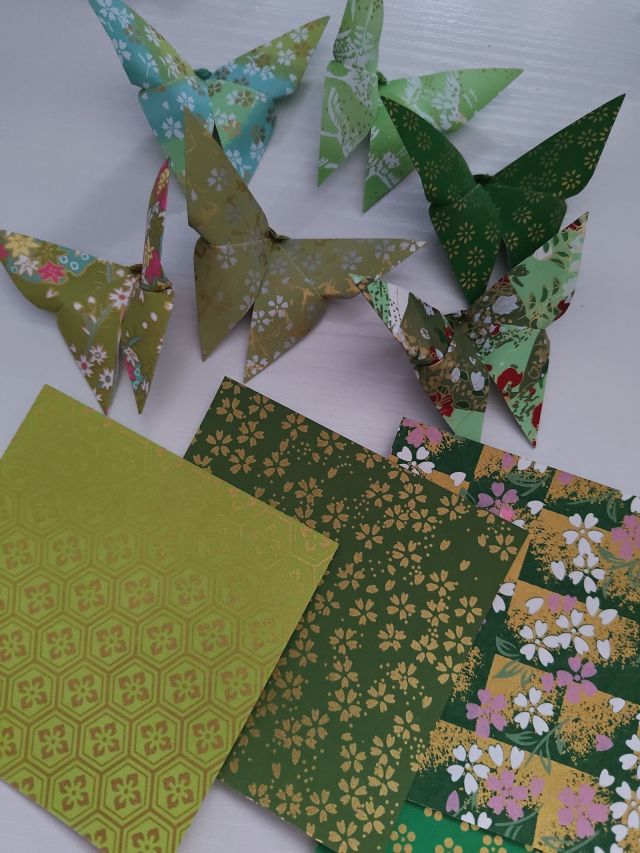
In case you missed it (this is going to happen a lot), late last year I wrote about a side adventure exploring origami butterfly variations. For me, I can fold butterflies quickly and in large volume, so I thought they would make a good decoration theme! I liked the 3D Yoshizawa butterflies the most so I am using this as my model of choice.
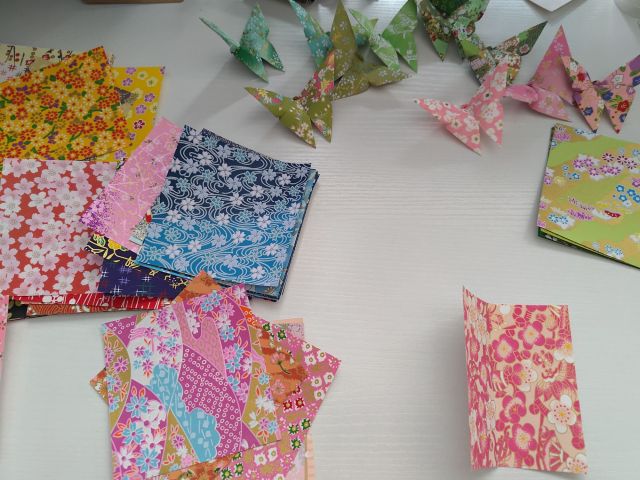
In my previous wedding diary entry, I mentioned I ordered a lot of washi. I ordered a lot of washi – this is a fact. Packs of assorted pretty patterns and multitudes of colours just make me so happy! This below pack is a pack of 100 yuzen washi sheets in 9cm x 9cm size. Some of the patterns I recognise from the larger 14cm x 14cm themed colour packs that I used for the place card holders, and some are new to me.
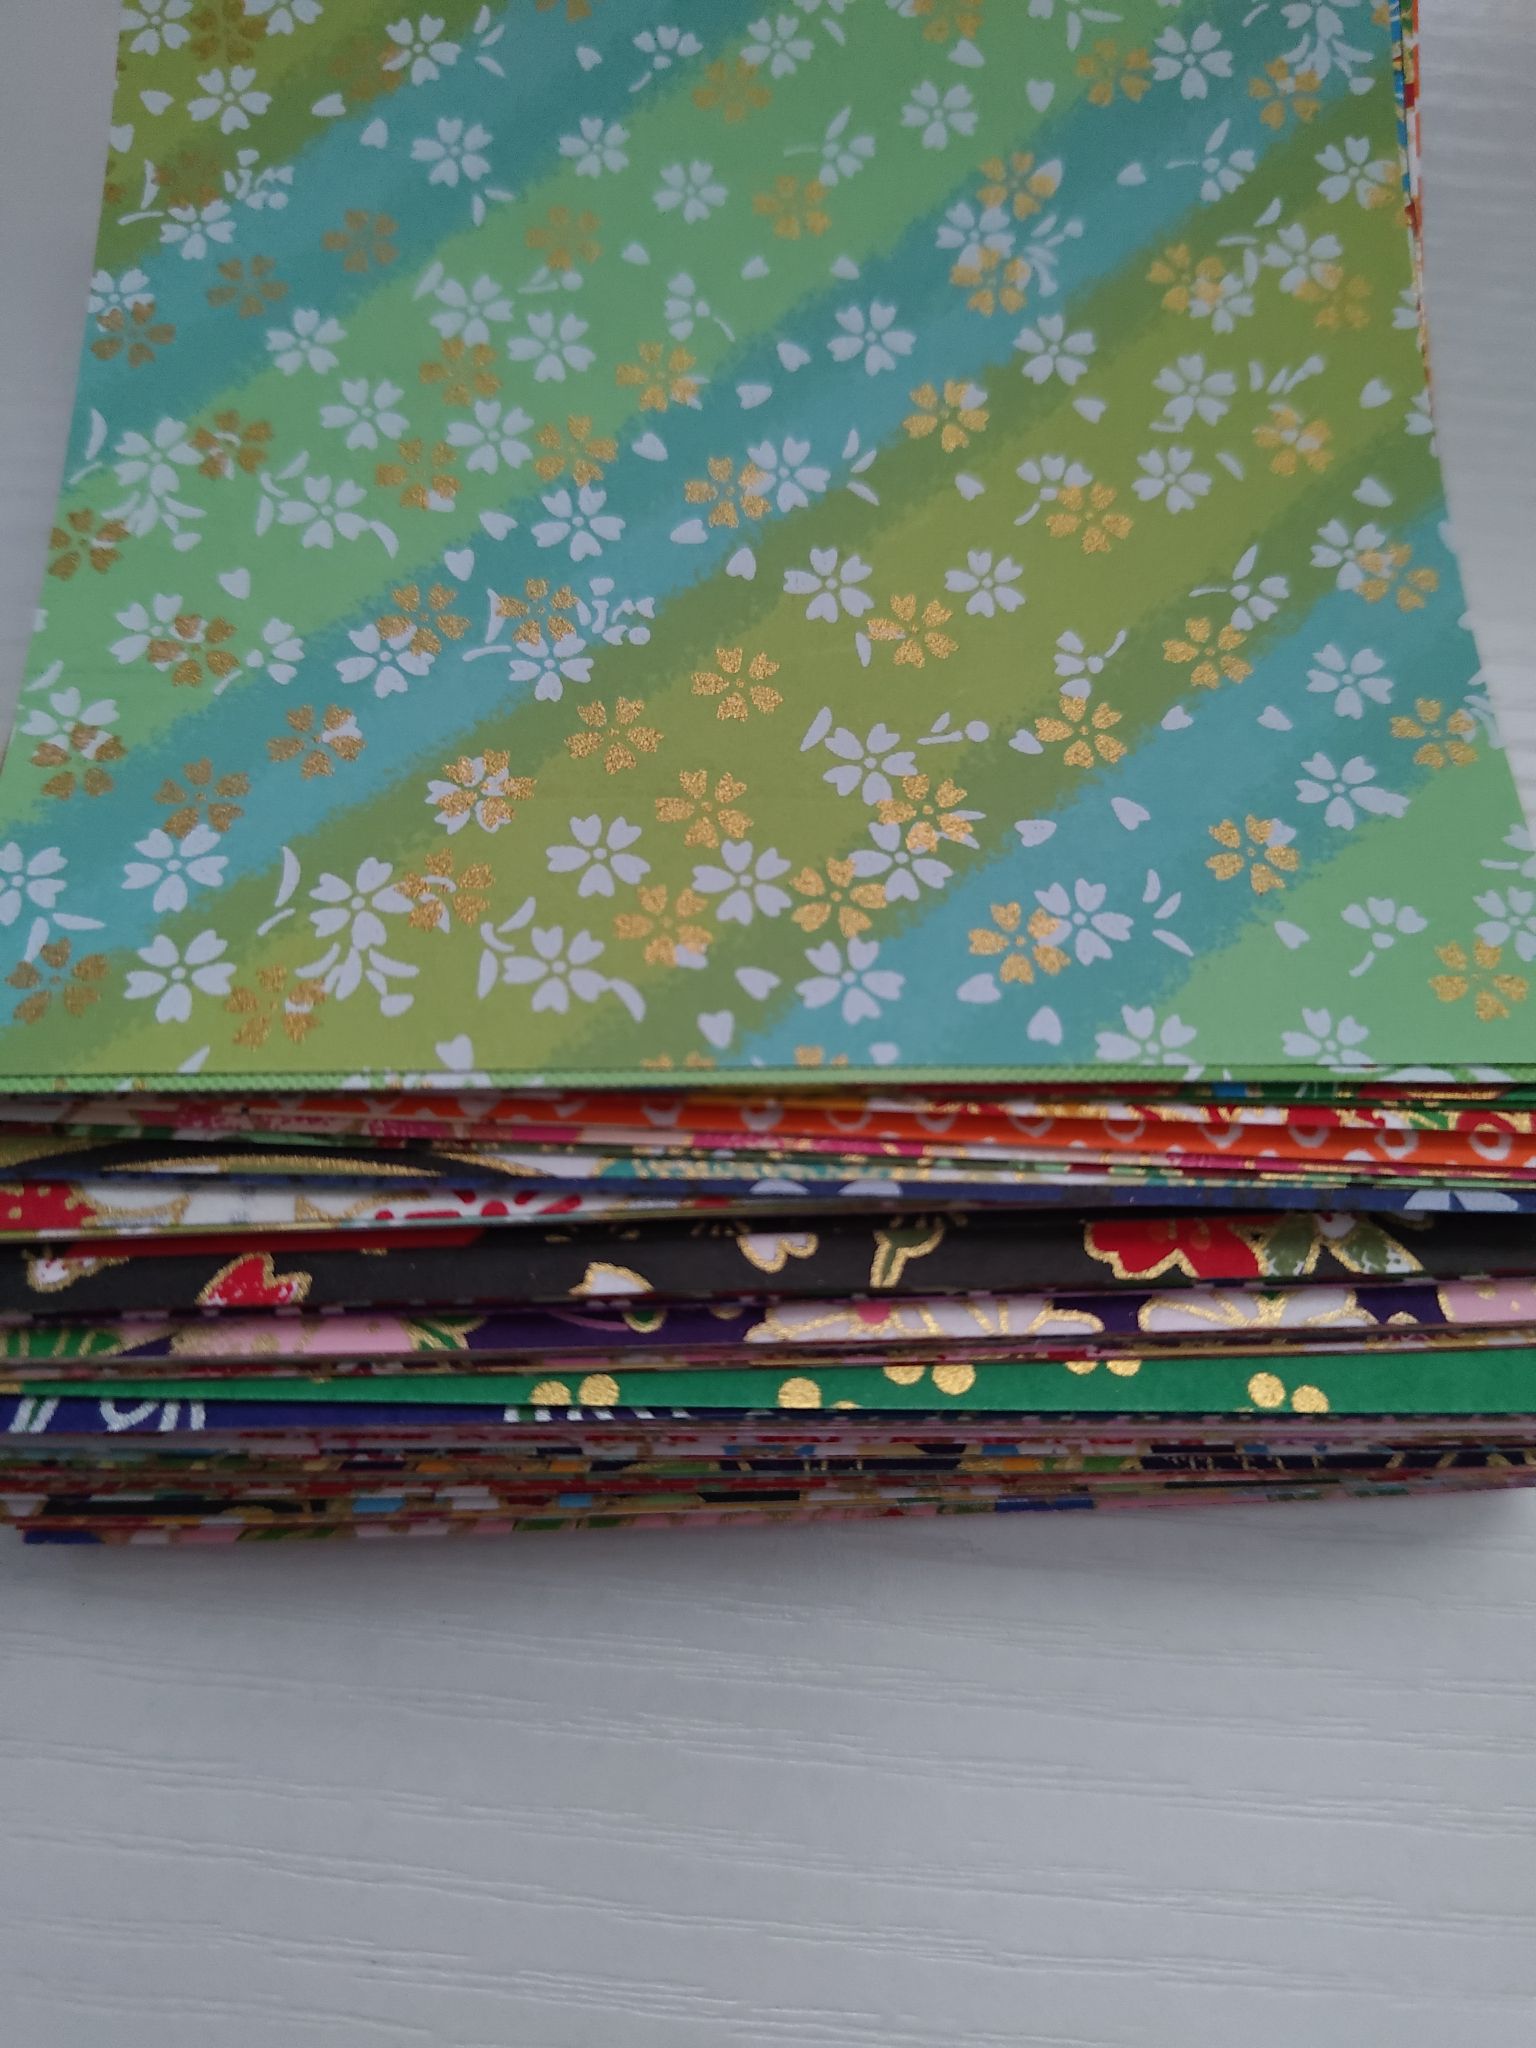
I sorted the paper into colours to see if I could also do the table colour theming with this. It was assorted however, so as expected some colours were more represented than others! In general there were more in colours like red, blue, and green. A few in gold and orange. However black was not easy to find so I had to duplicate some patterns from another pack to make up the numbers.
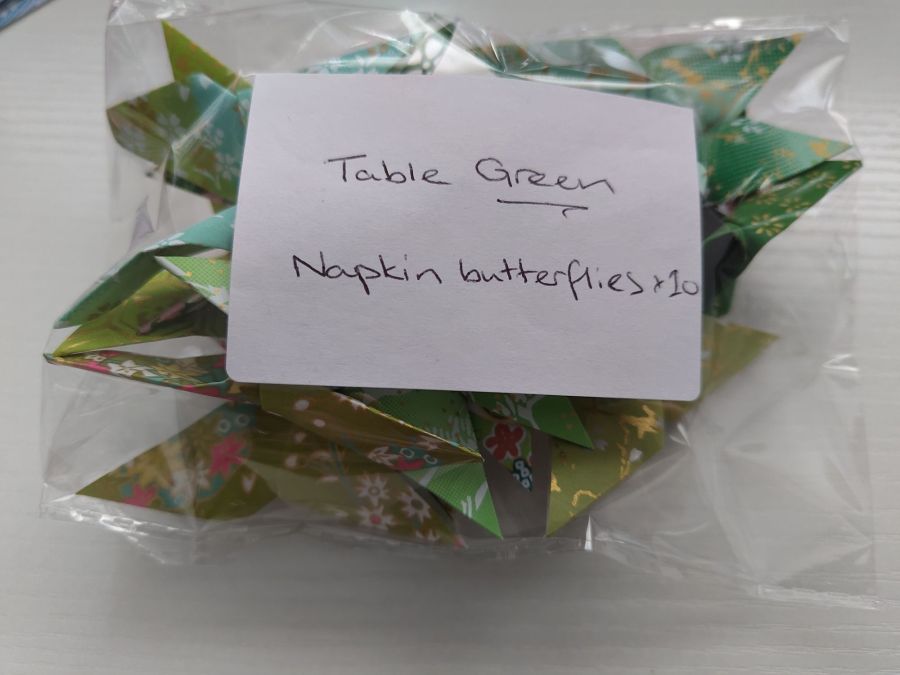
I tried to fold at least one butterfly per guest at each table, but in the end I settled for 10 total in case I needed some spares. Each table can seat 10 guests, but they will not necessarily be full capacity.
Now ordinarily, I would say that just folding the butterfly and using as is would be fine, however I did find that the little fold that goes over the middle tended to not stay in place when moved. So I had to deploy some glue here – sorry about that! I bought a special starch glue from Gina-B Silkworks previously (I also ordered some kanzashi glue which is how I found out about them!) which is perfect for this. I never thought about it previously, but washi paper is of a different thickness and texture to standard paper, so traditional PVA glues may not be as effective. Also the starch glue dries clear so it wouldn’t ruin the patterns or cause the paper to crinkle.
You can use the starch glue as is, however I chose to dilute it with a bit of water to make it easier to apply and to make it last longer. I used a small glass ramekin and a tiny paintbrush to mix a dab of glue and some water together until there were no lumps. It looks and should dry clear!


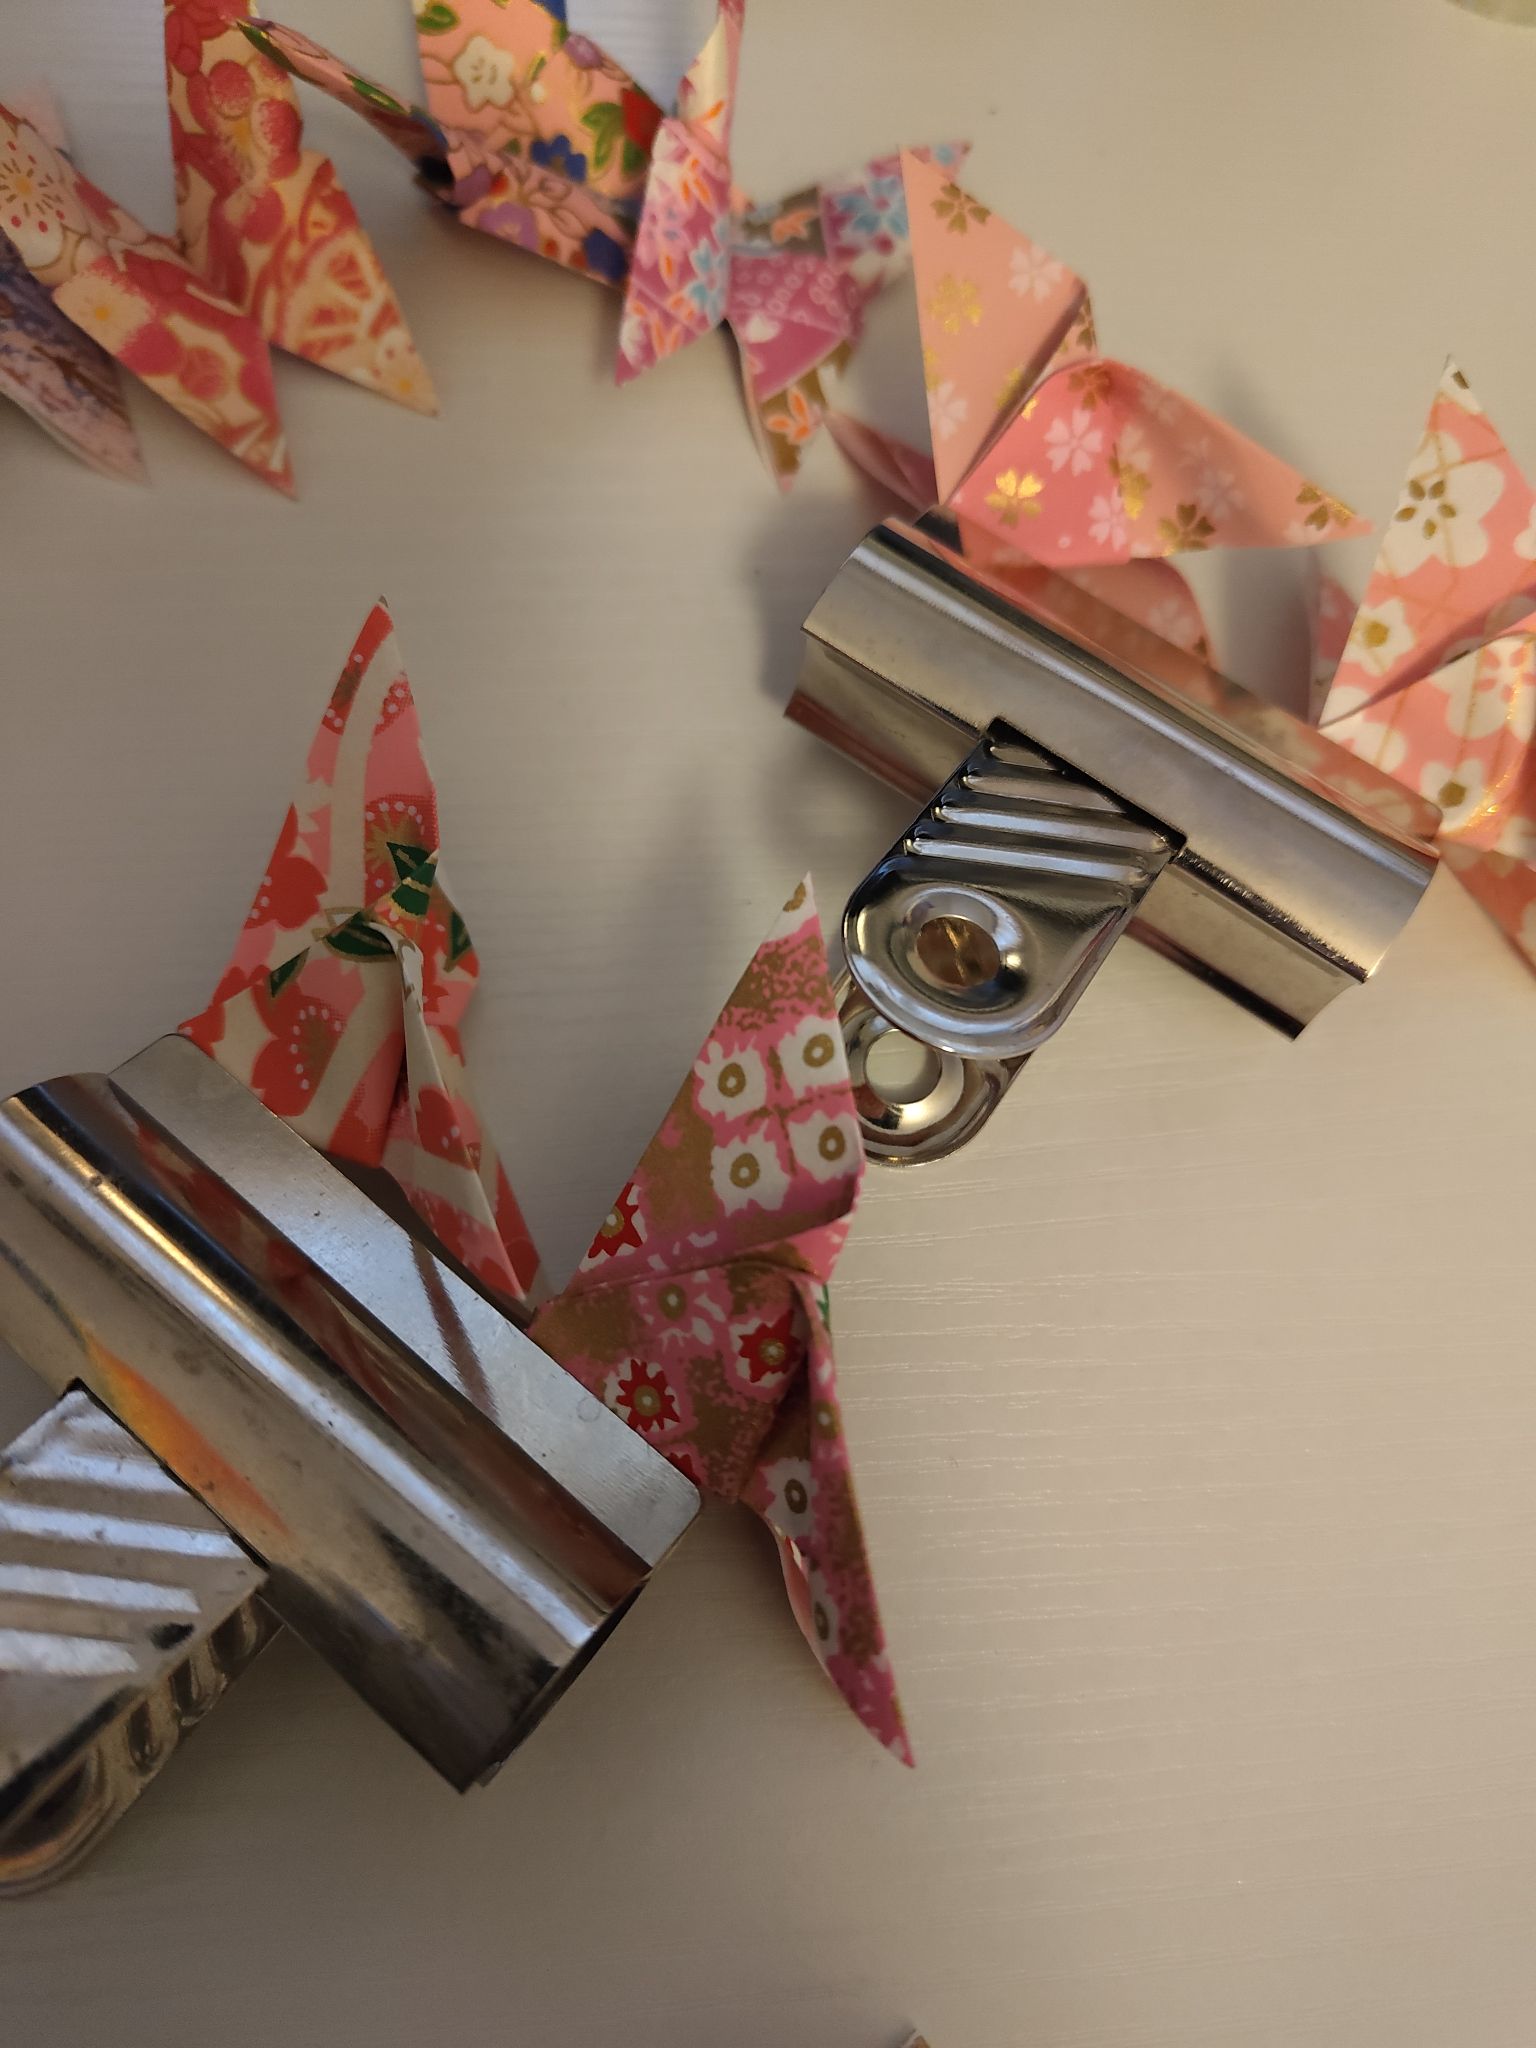
This next image will look a little weird but there is method in the madness – since starch glue can take some time to properly adhere, I applied a tiny bit of glue under the triangle fold, folded the butterfly in half, then I stuck my butterflies in large bulldog clips to hold them in place whilst I continued folding new ones and packing away the old ones. I made sure to position them in such a way that the clips wouldn’t leave any visible marks! And I slightly unfolded them afterwards to make sure the glue wasn’t over-applied.
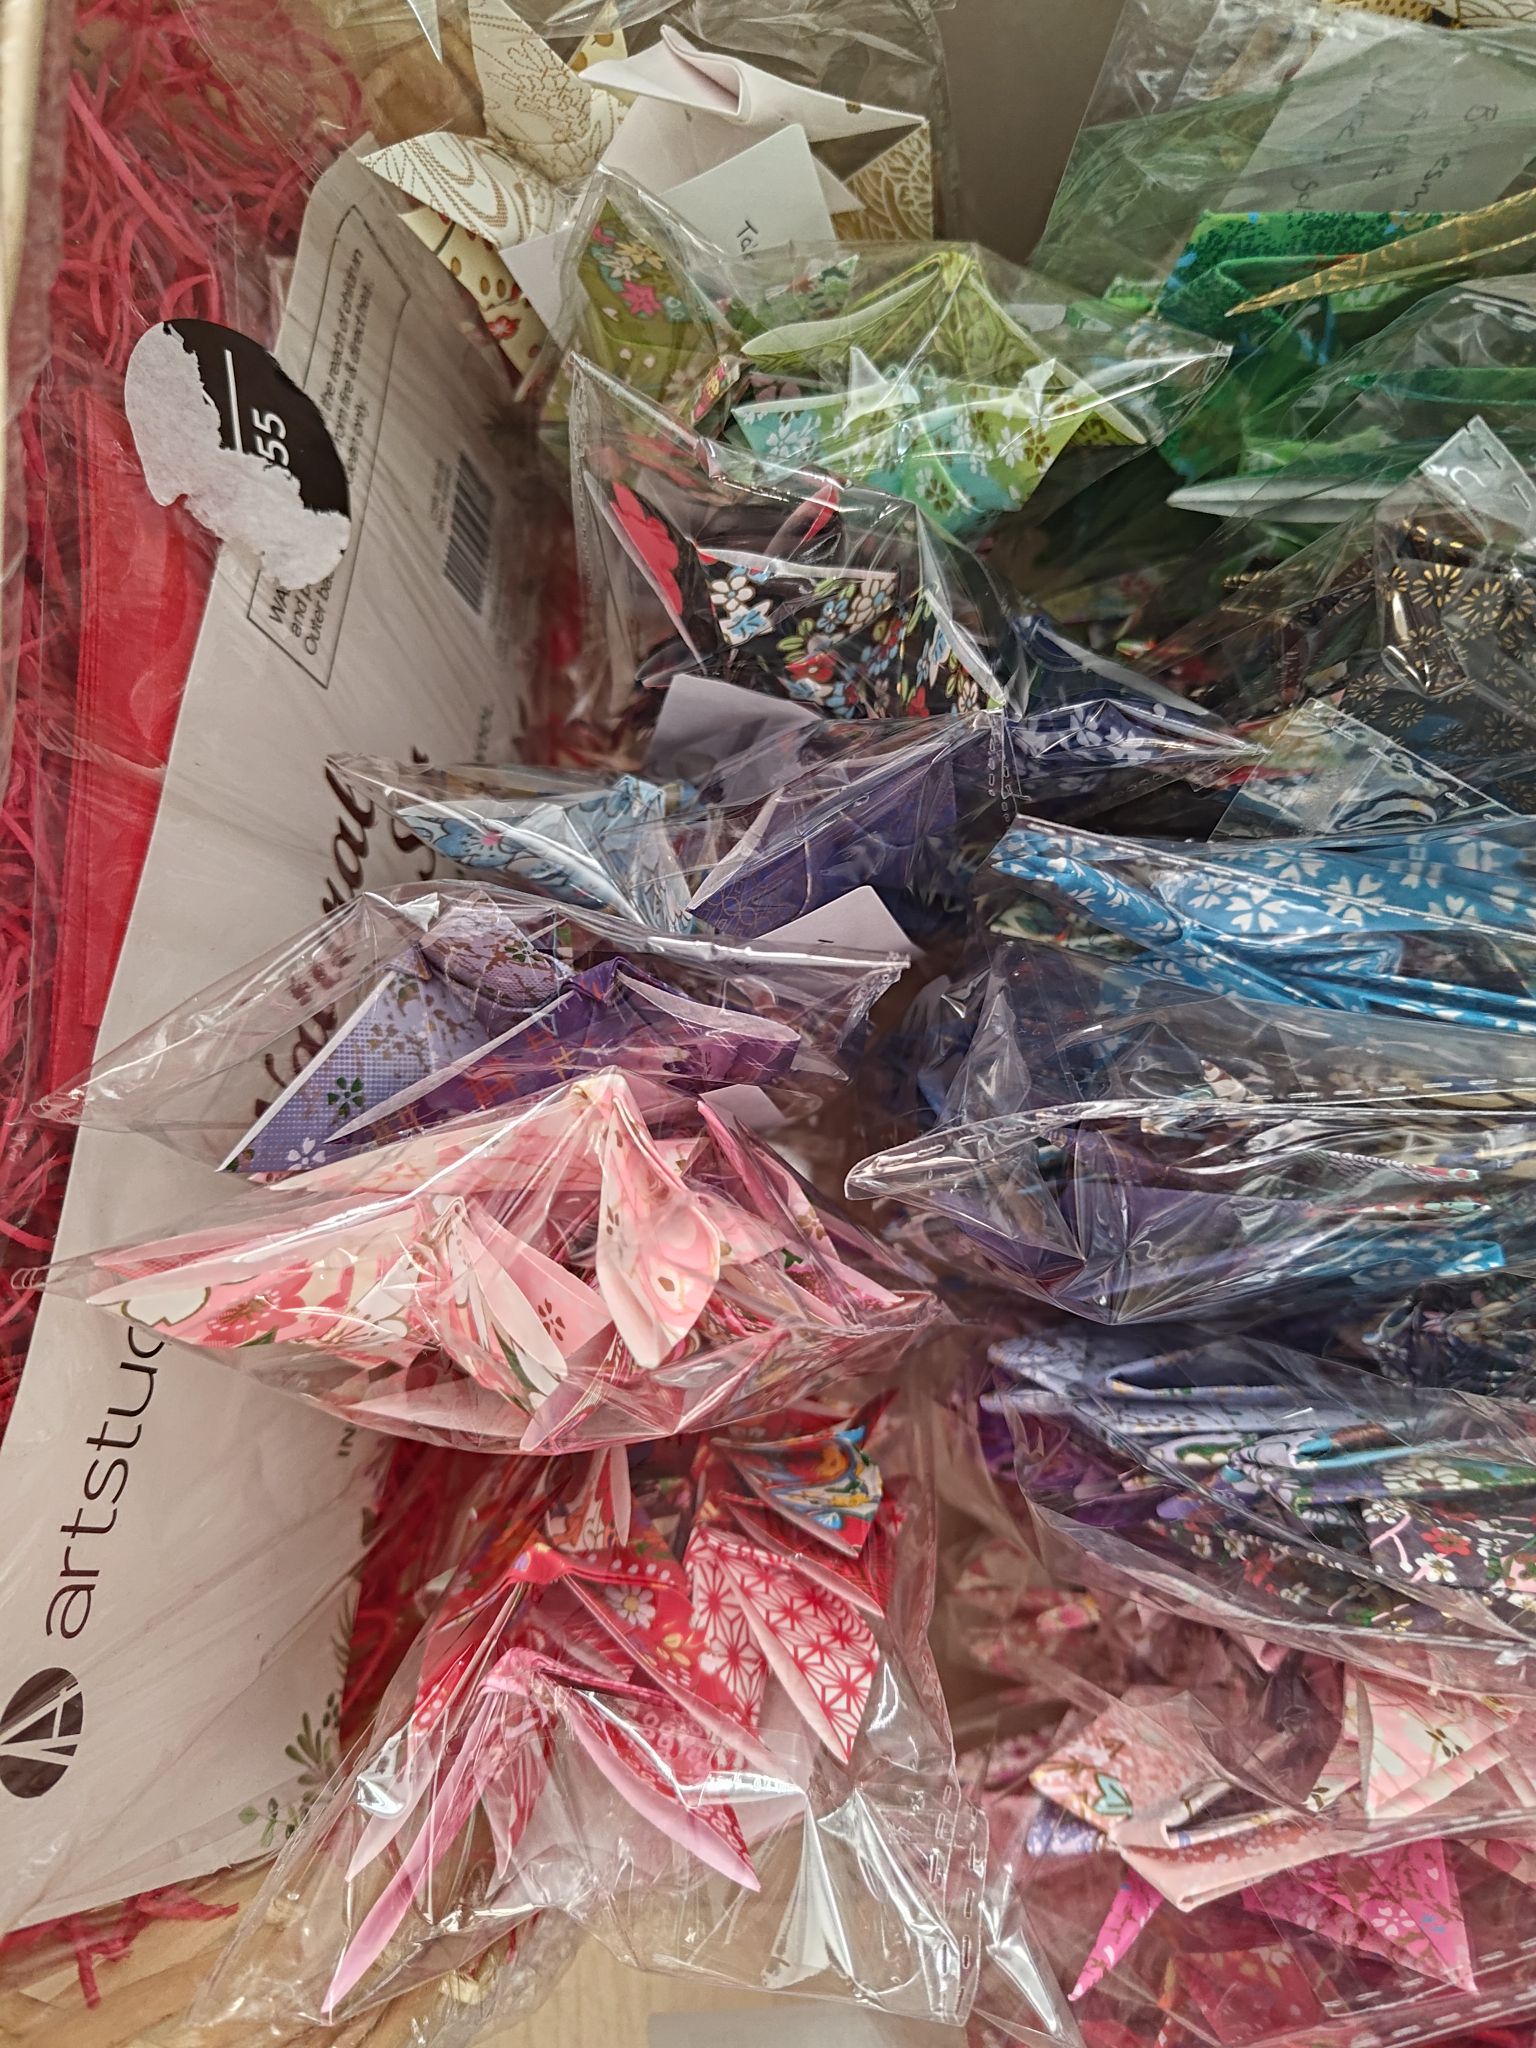
As usual, I then packed them away in labelled resealable plastic bags. I have called them “napkin butterflies” for now as I think they would look nice on the table setting napkins where the guest plates go. But they could also be used scattered on guest tables, or even hung up on strings if you had the ability to! I am a bit undecided on their specific use at the moment, but I just knew I wanted to use them in some way.

Another thing done! I have popped them away in the big craft box. Somehow, just the origami cranes and the butterflies alone take up so much space in the box… Ignore the hamper set as I did not make this, I was planning on using this to hold smaller packets for something like the confetti throw.