
‘Tis the season for Christmas crafting! I have this and another thing to share soon!
A few years back I got a pack of Christmas-themed macramé cords in the post-Christmas sales and I used it to create a hanging method for a fillable bauble. Well I’ve been sitting on the materials with nothing to show for it since. Time to change that!
My materials for this project are the three 4mm macramé cord reels in Christmas colours and a small wooden hoop measuring 13cm across. This is a very customisable project, for example you can add more things like hooks and beads but the beauty of macramé is how you can create a complete hanging decoration with just these materials! The size of the hoop can also dictate if the resulting decoration can be statement wall decor or a small ornament for the Christmas tree.

When I think of Christmas, red and green together, I think of holly leaves and berries! I did some searching and came across this video by Lots of Knots Canada showcasing their macramé holly berries decoration as a standalone piece. Note that I did find the video tutorial a bit hard to follow sometimes, so it doesn’t look exactly like in the video. I don’t have pins, so I used a clipboard to hold my project in place. I also used a small piece of felt to cushion the clipper so that it damaged the cord less.
The UK had some temperamental weather recently so sorry about the odd lighting between all the pictures! Sometimes I was working at my craft desk and other times in front of a computer to follow the tutorial. It took a bit of time to make the first one! But the second one was much quicker as expected.


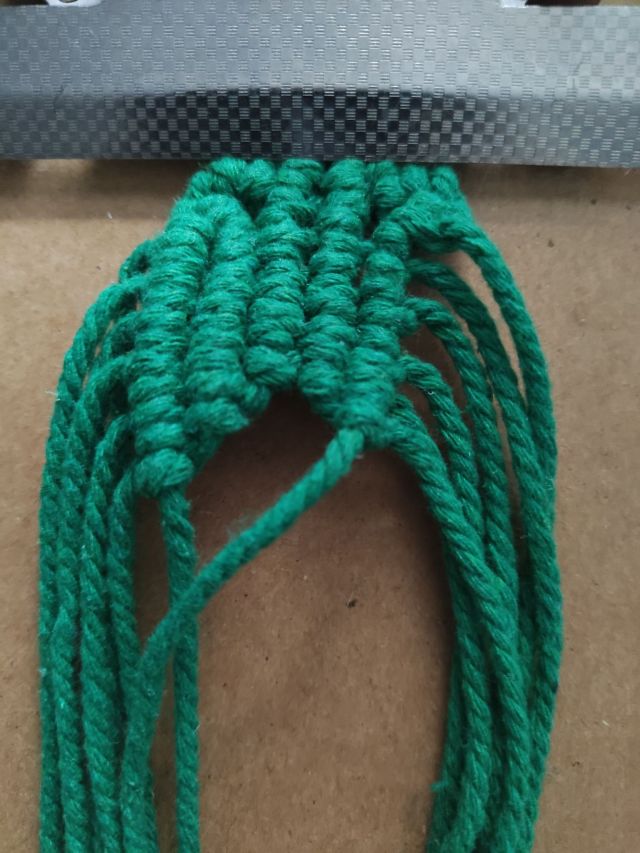
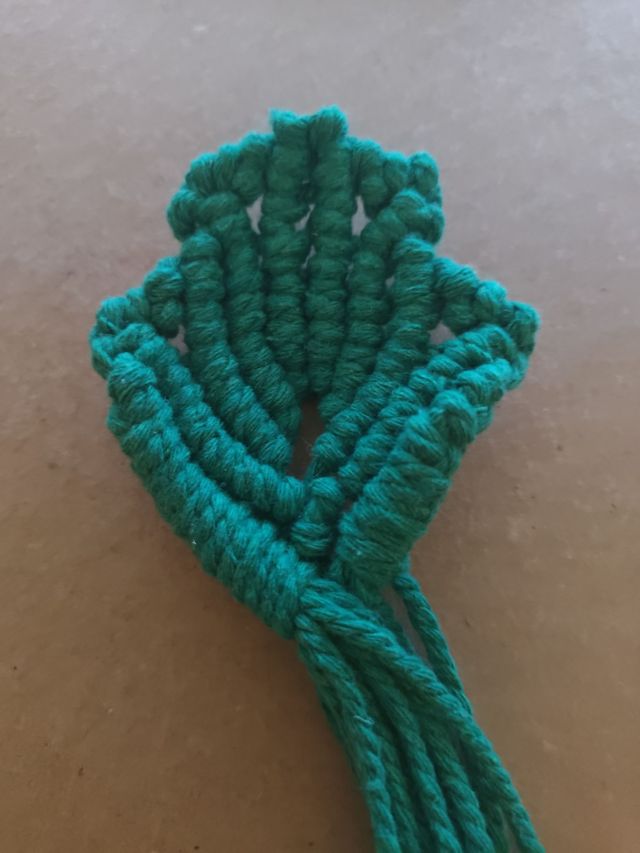
The gaps in my holly leaves were a bit large due to the cord and the pointy ends were not as pronounced as I expected, but the general shape was there at least. I made only two of these – you could make three leaves if you wanted to and had the time to! Mine came out quite large so it made sense to stick with two.
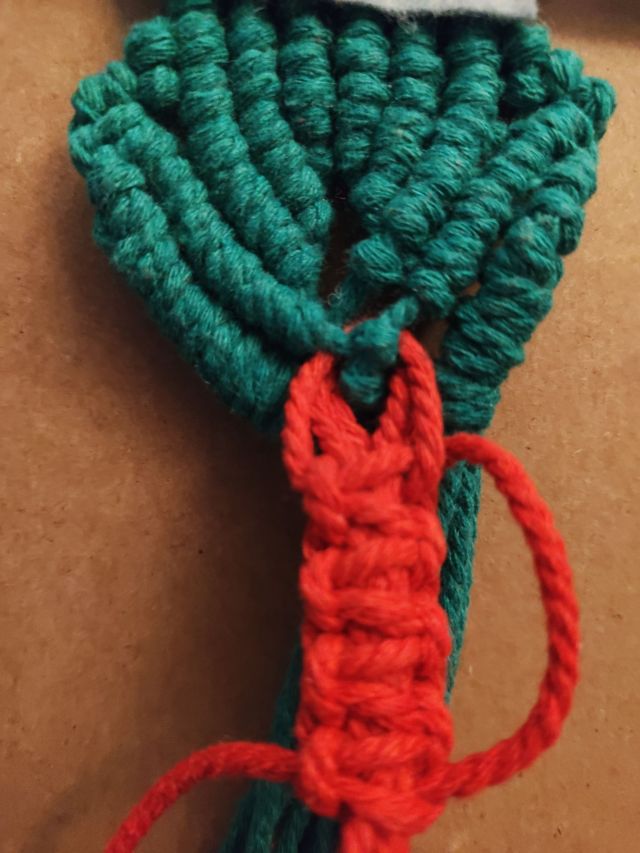
Next I added a red berry to each leaf as per the video. The cords need to wrap around through itself so I needed to leave a bit of space before the first knot. You can get large yarn needles for macramé but I don’t own any! And also sorry but I didn’t get a picture of the berry at this step, but you will see it in later steps.
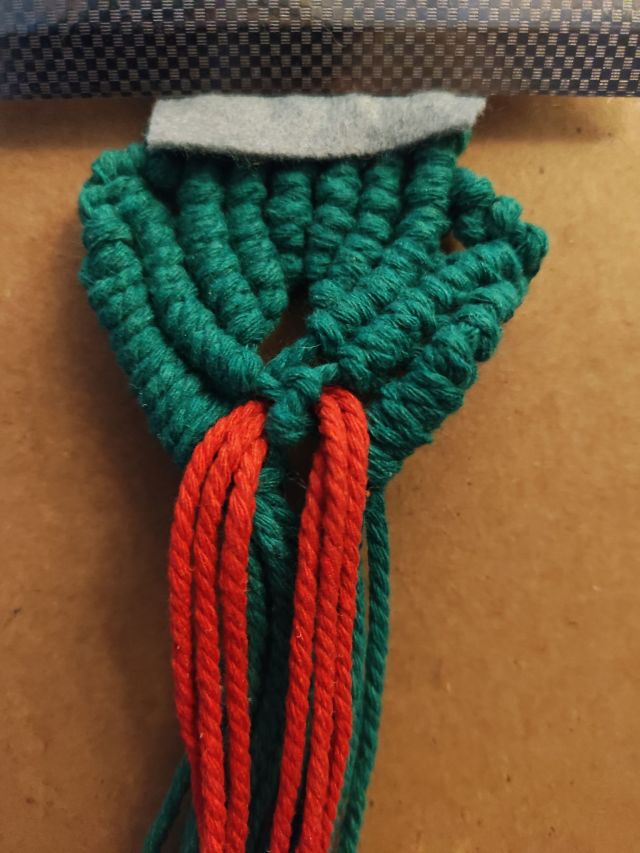
I had lots of leftover green and red cord hanging from the leaf and berry, but I left them long for the next steps just in case.
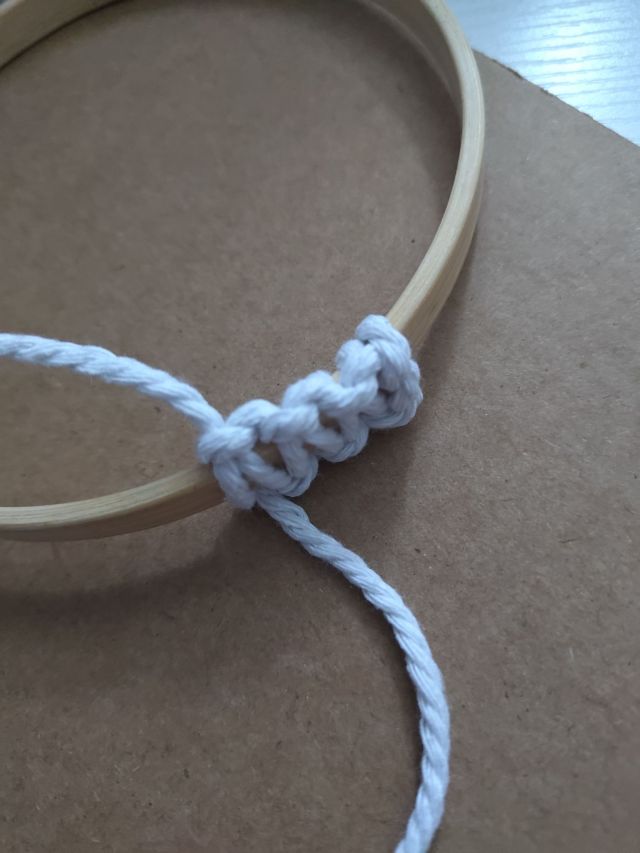
After I got a general idea of how big each leaf would be and tied one berry into each one, I started decorating the hoop. I cut a length of white cord about three times the circumference of the hoop and then doubled it. I looped the cord under the hoop and then started creating square knots along the outside of the frame.
It seems like you should always cut a longer cord than you think you need! My length did not cover the hoop all of the way. Fortunately I can cover this up a bit better at the next step! I finished the hoop by tying a small regular knot on the inside of the frame.


Now to attach the leaves! I used the longest green cords and wrapped it around the hoop, then tied a regular knot under where the berry cords are. It does not need to look pretty as it will not be visible by the end.
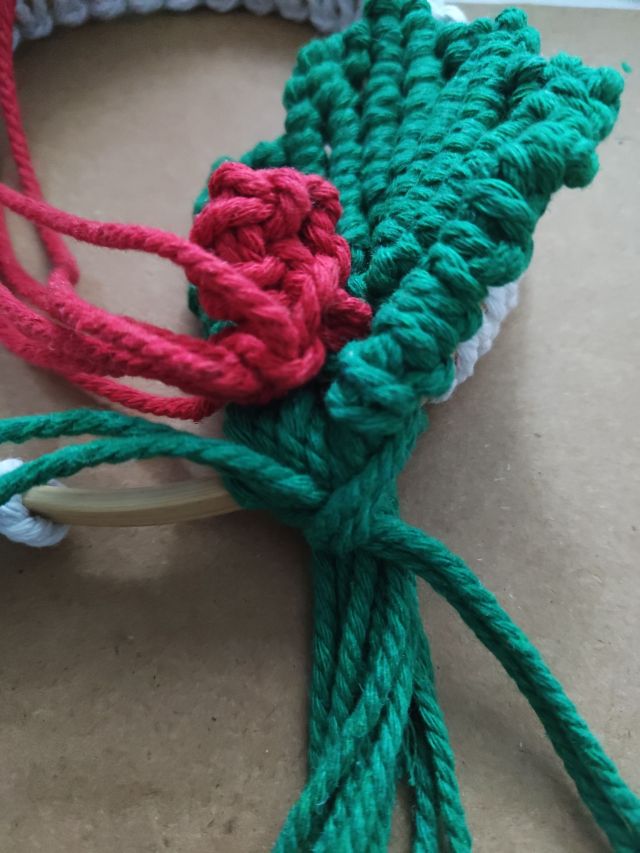
I tied the second one in the same and opposite way, rearranging the wrapped cords to cover as much of the remaining wooden part of the frame as possible.
Next I combined the long red cords from the two berries into a third berry to connect them together. The method is the same where the square knot length needs to be wrapped over itself.

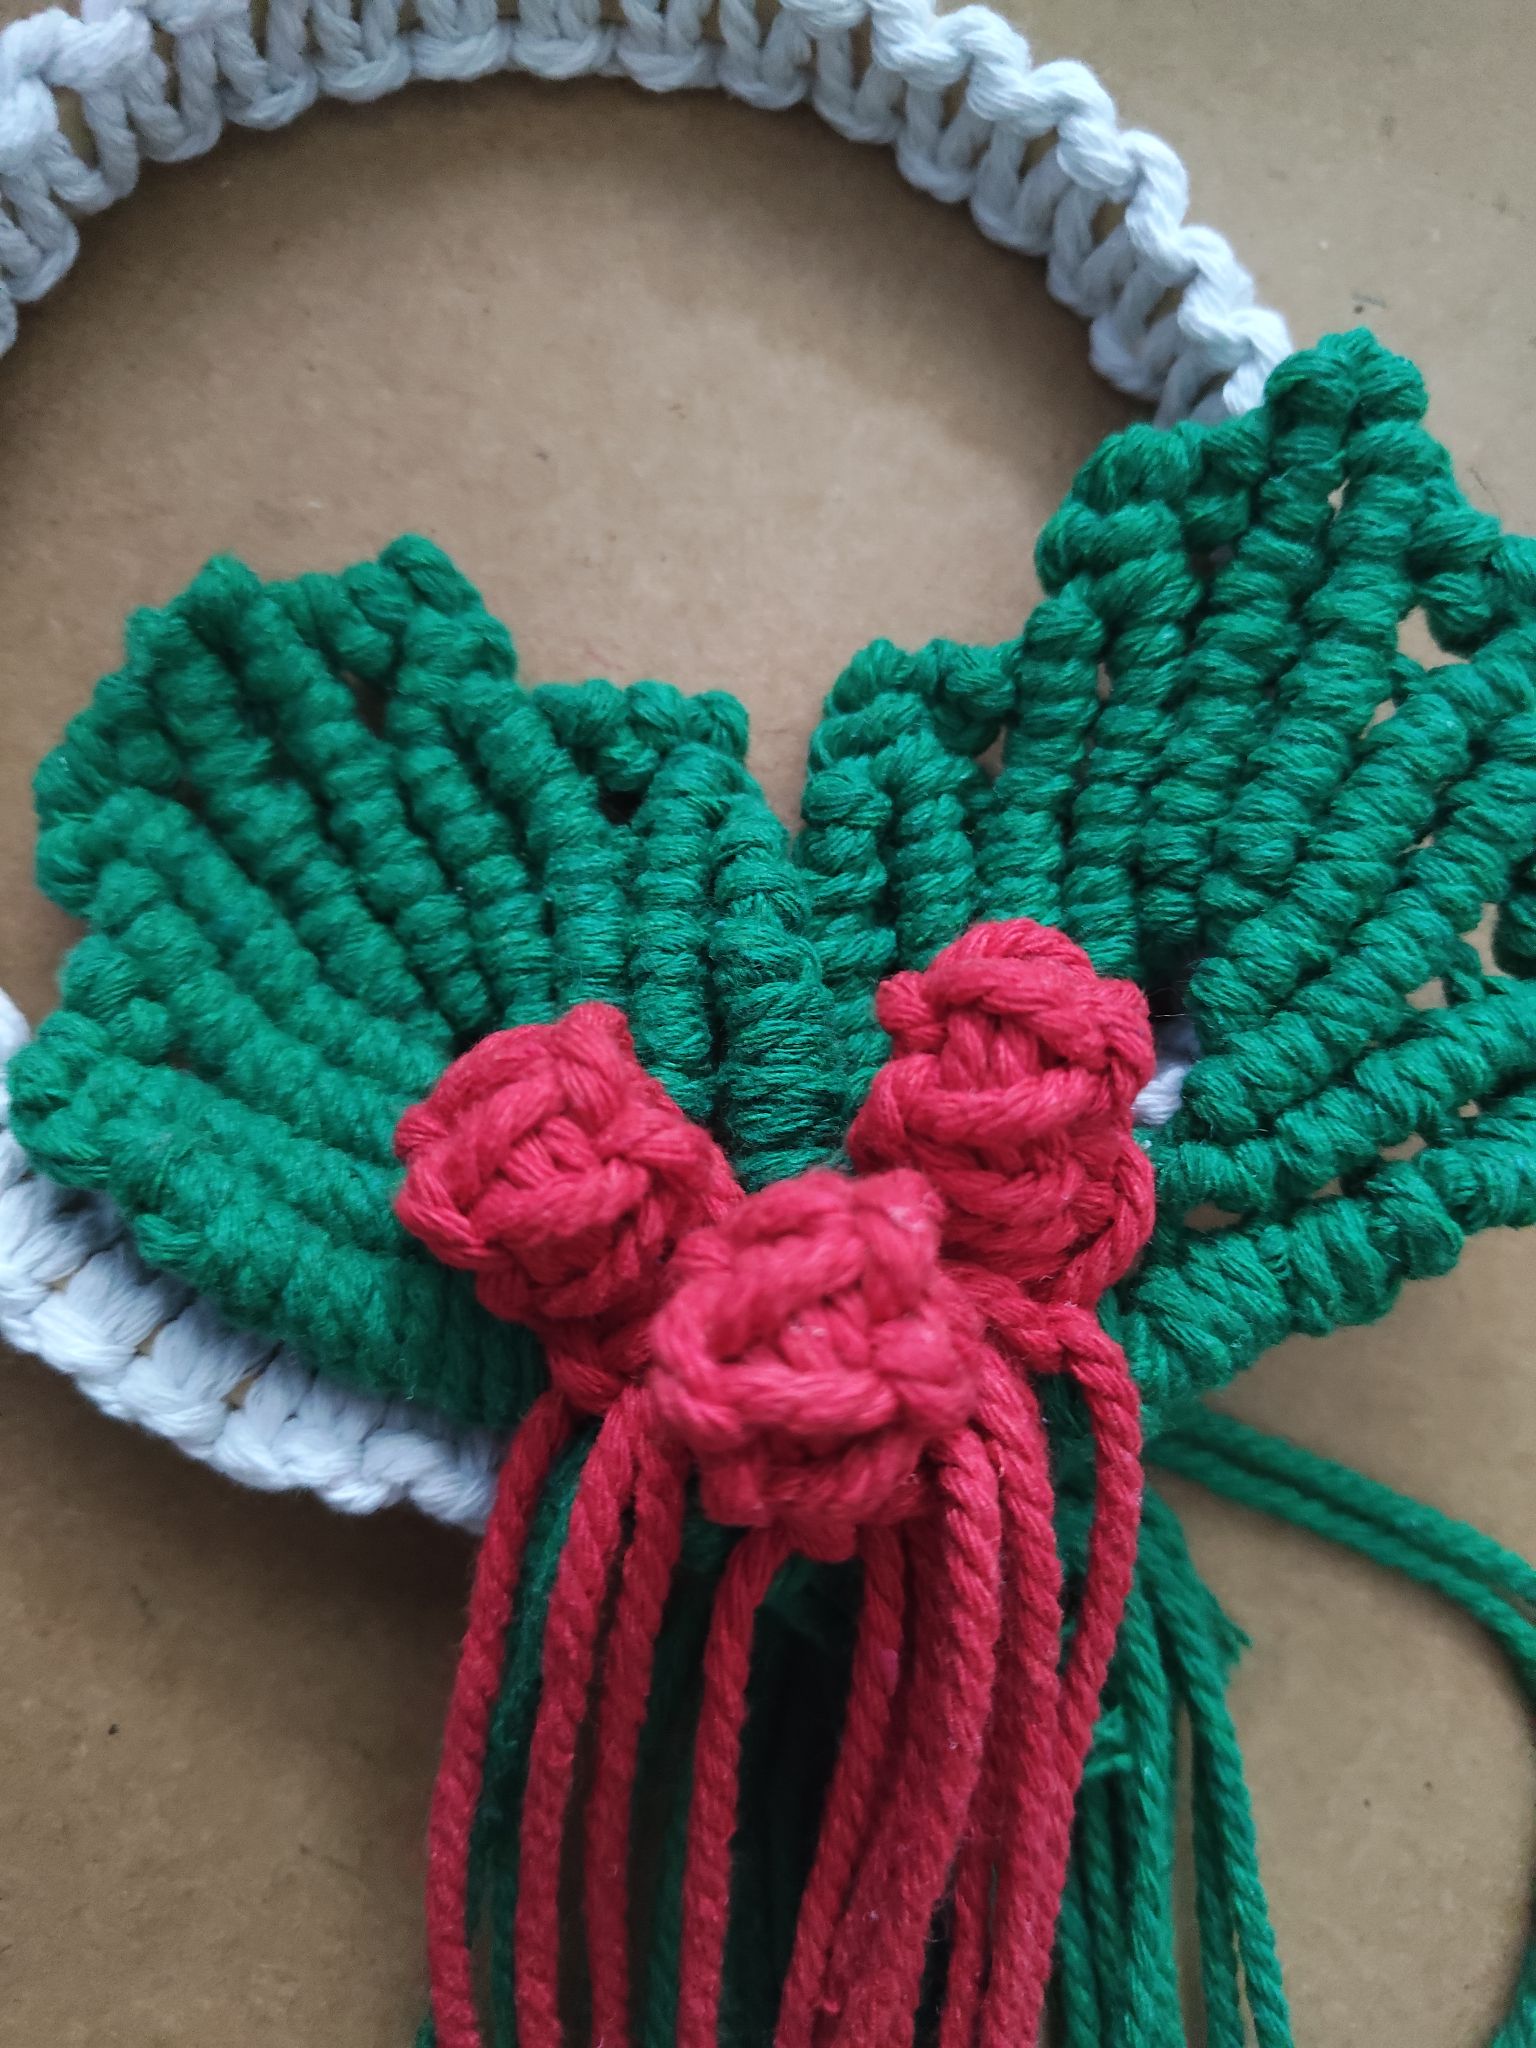
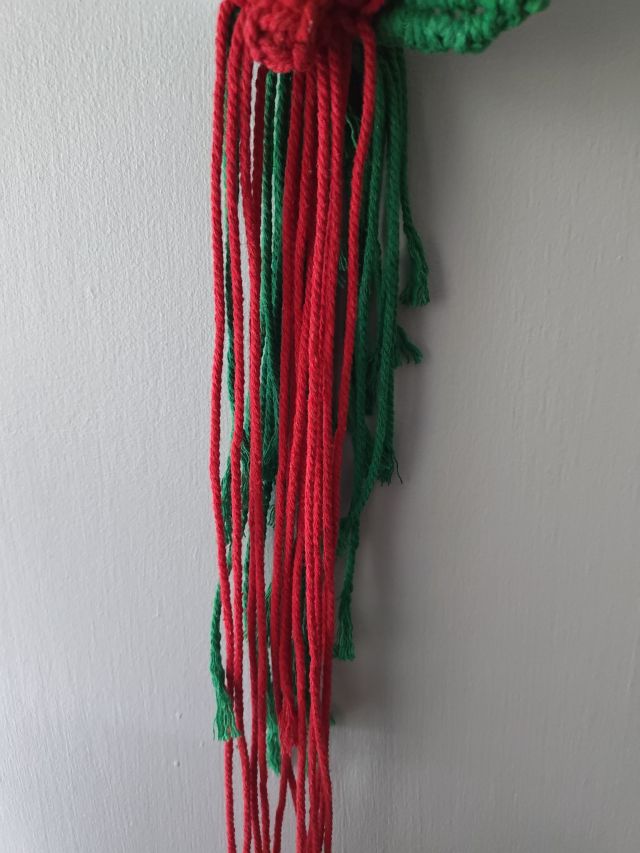
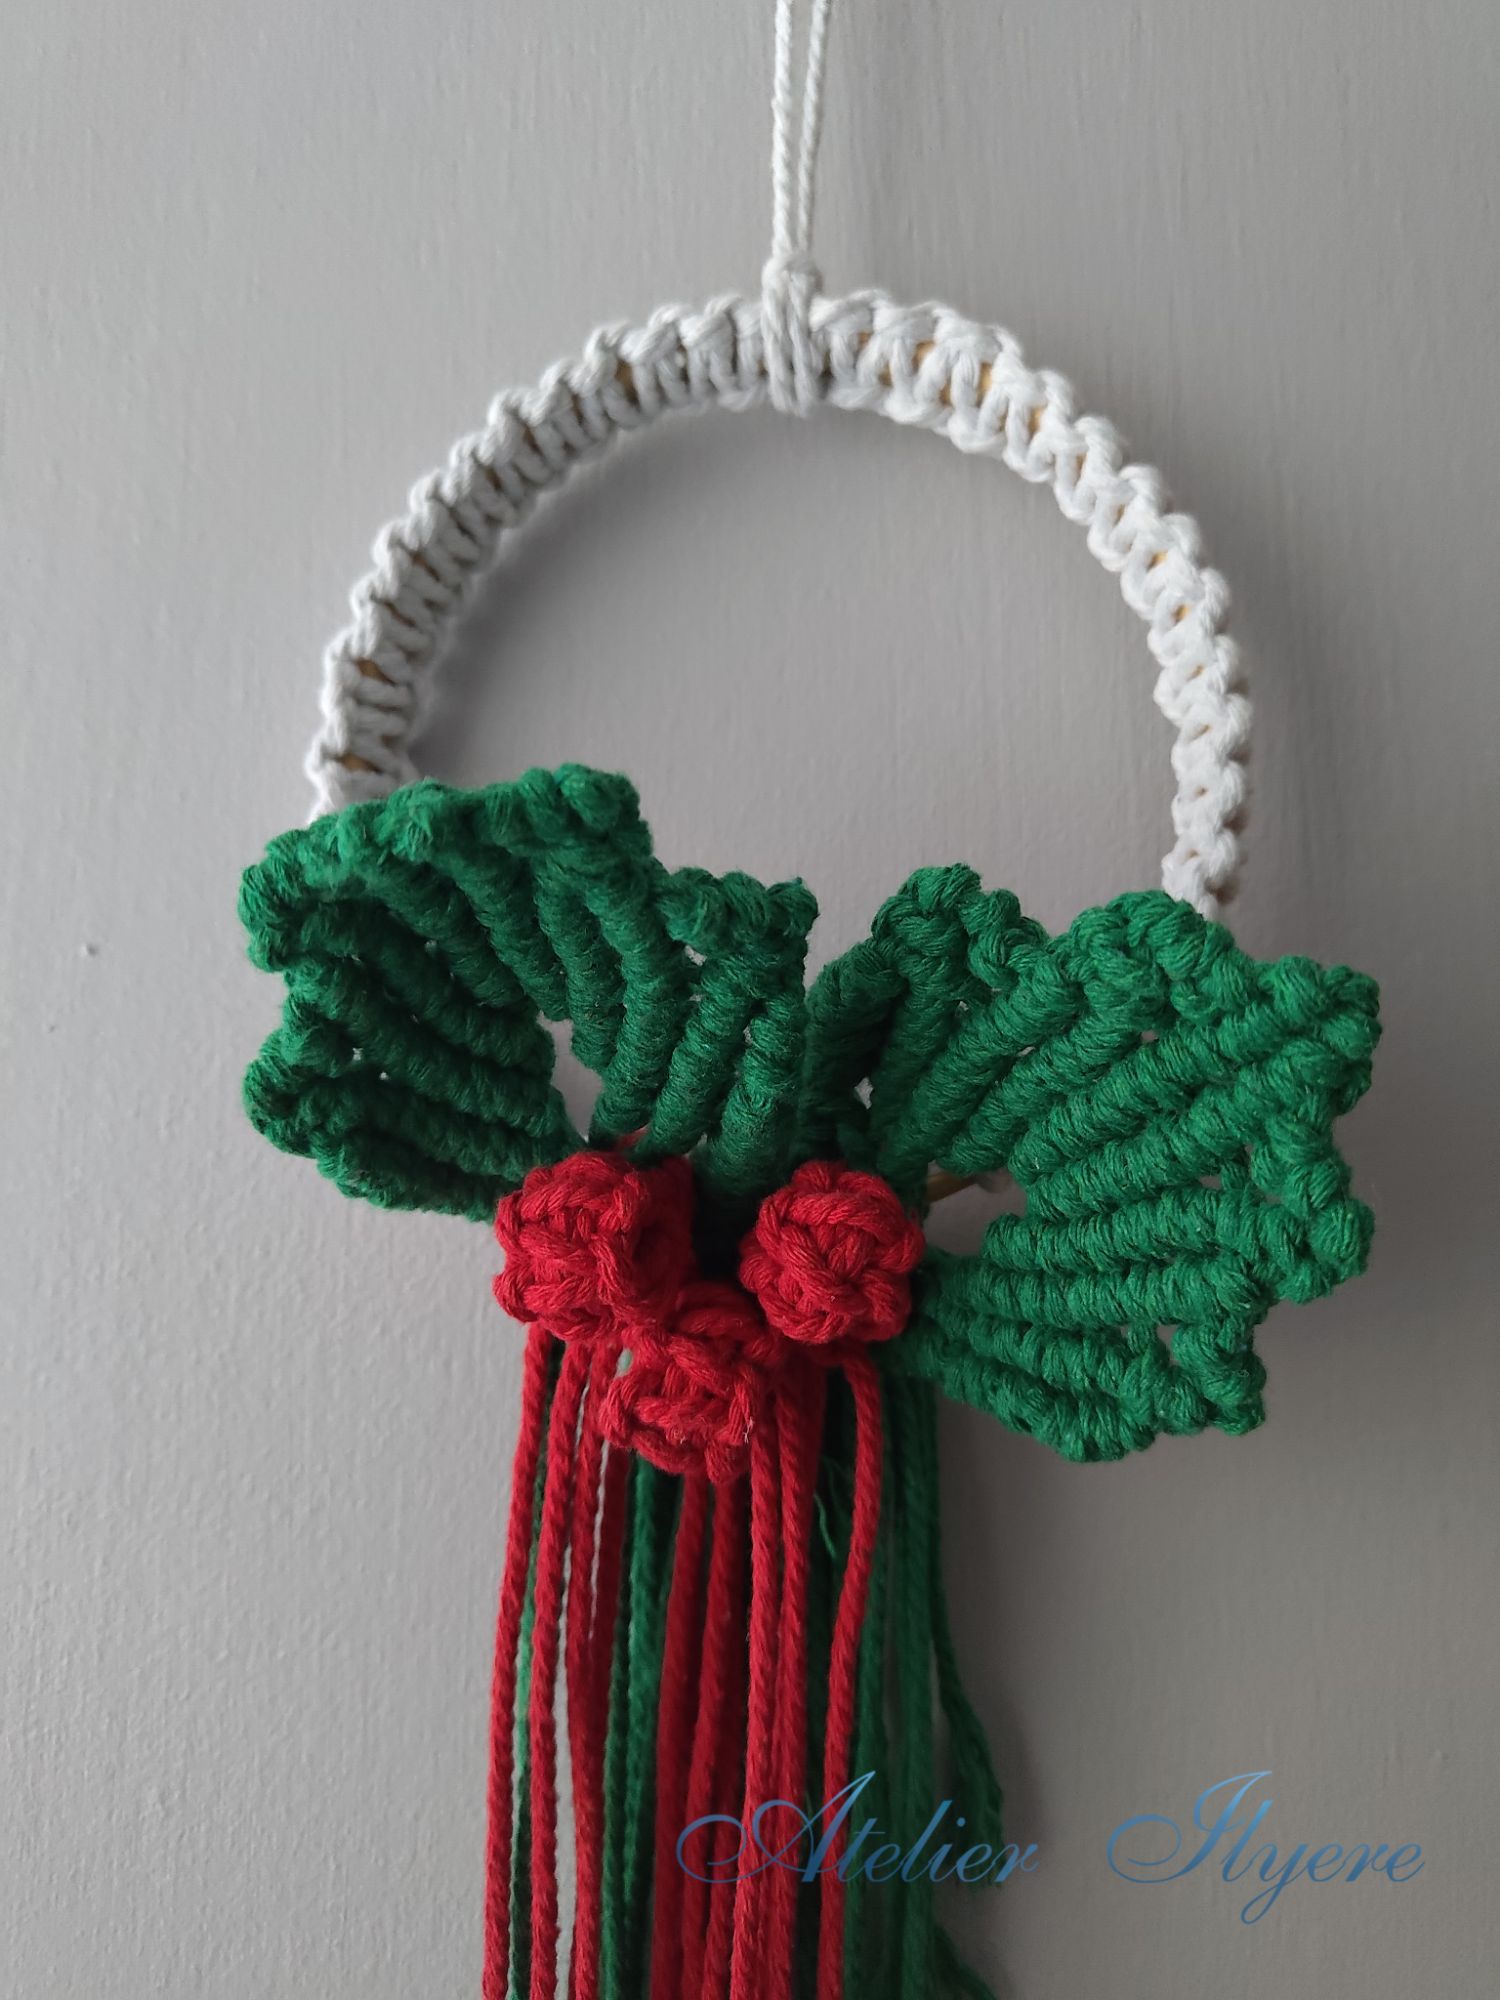
Final steps are to tidy up the ornament. I moved the green cords around to cover the wooden hoop a bit more, then I trimmed some of the cords to similar lengths. However I mostly kept them long, with the red cords longer than the green. If I was not using this as wall decor then I would cut them shorter.

The finished piece is a Christmas-coloured decoration for a wall hanging. It looks amazing considering how few materials went into it! But instead I paid for it in time. Originally I wanted the leaves to be off centre, however they were quite heavy so I moved it the centre instead by moving the Lark’s head knot.
Materials used:
– 4mm macramé cord in red, green and white
– 13mm wooden hoop
Tools used:
– scissors
