It’s not too early to start talking about Christmas, is it?
A few years ago I made a very quick origami star garland to bring some Christmas spirit to my new home – I thought that using gold and silver paper would be a great idea, however the frosted paper was almost as thick as card and it was hard to crease the folds properly. It didn’t look great on the photo! So now I’m revisiting it, with different materials and a step-by-step process!
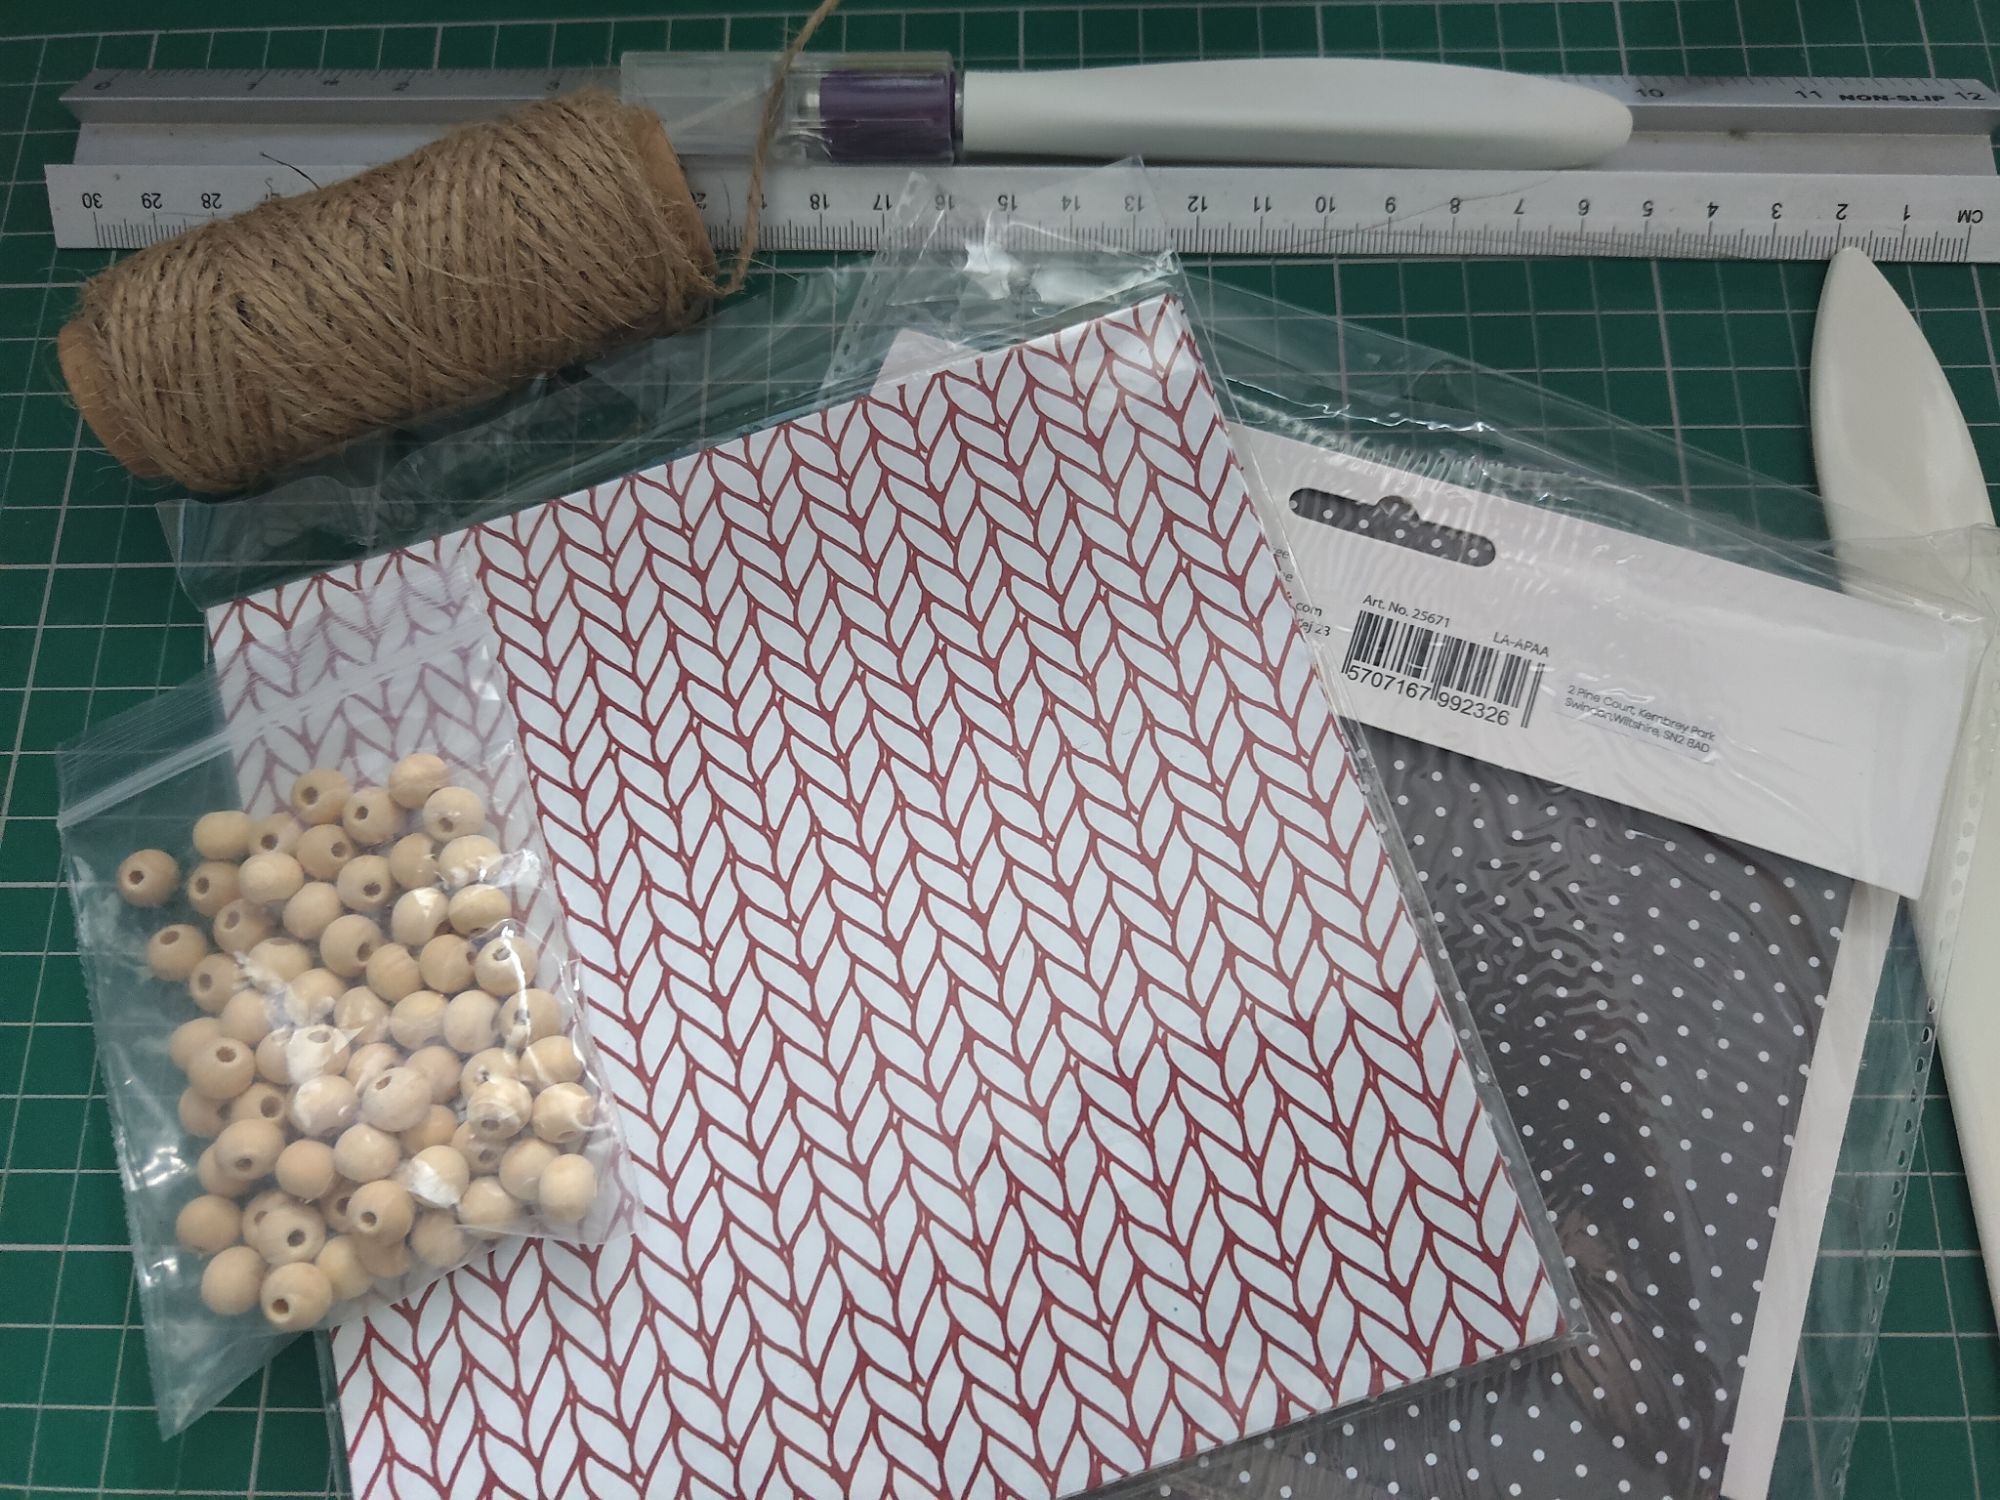
You don’t need much to make a basic star garland. You need paper, string, and a cutting tool at the minimum. I still had this Scandinavian-style paper from a previous Christmas. I also included some beads for a rustic look and used a bone folder to crease the paper, but these are optional.
In case you don’t know how to make a five-pointed star, here is an easy tutorial from Homemade Gifts Made Easy. You need a cutting tool to create the pentagon. I haven’t included every single step since there are plenty of other tutorials out there, but I included a few steps below.
Cutting the square into a pentagon. 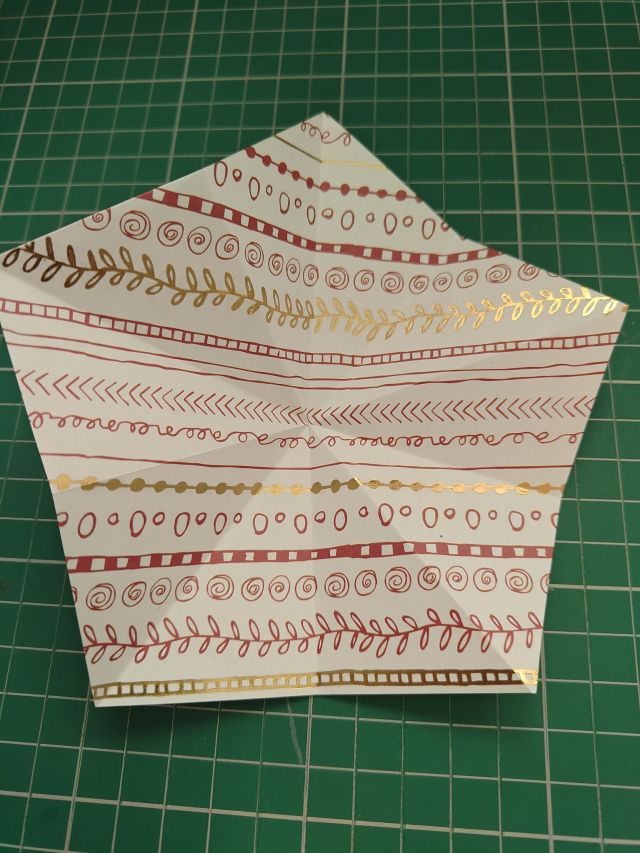
The resulting pentagon. 
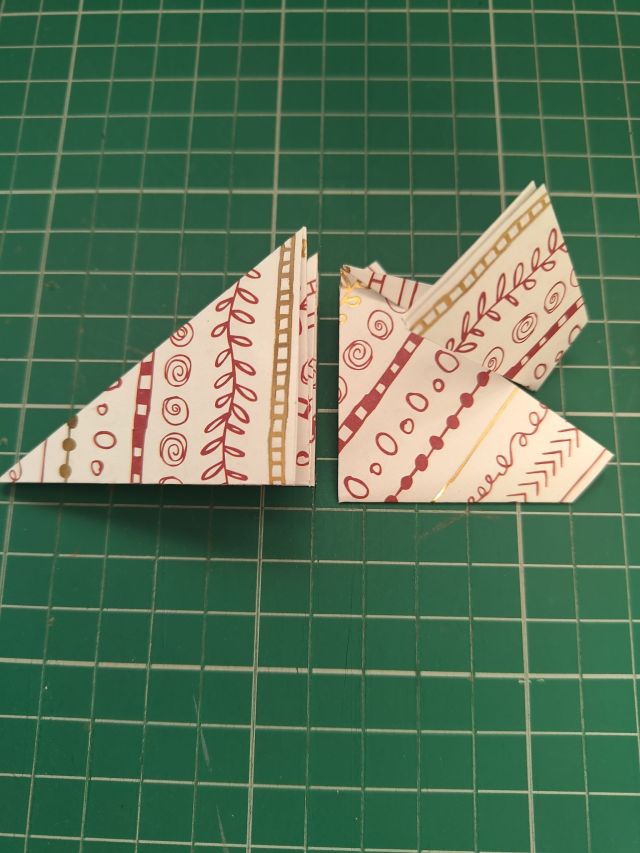
Folding one edge to a point where the diagonal lines meet. 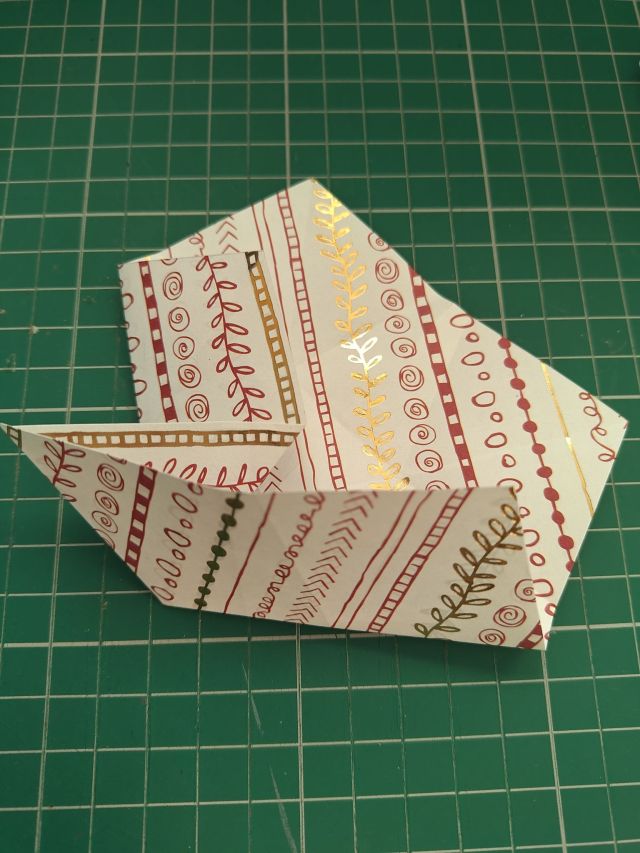
Collapsing the model after folding all sides. 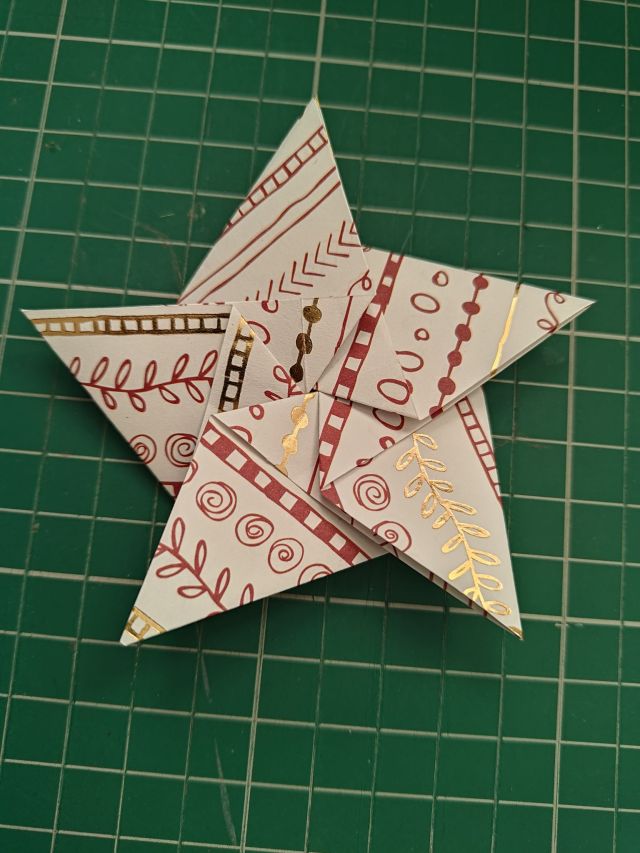
The resulting collapsed star. 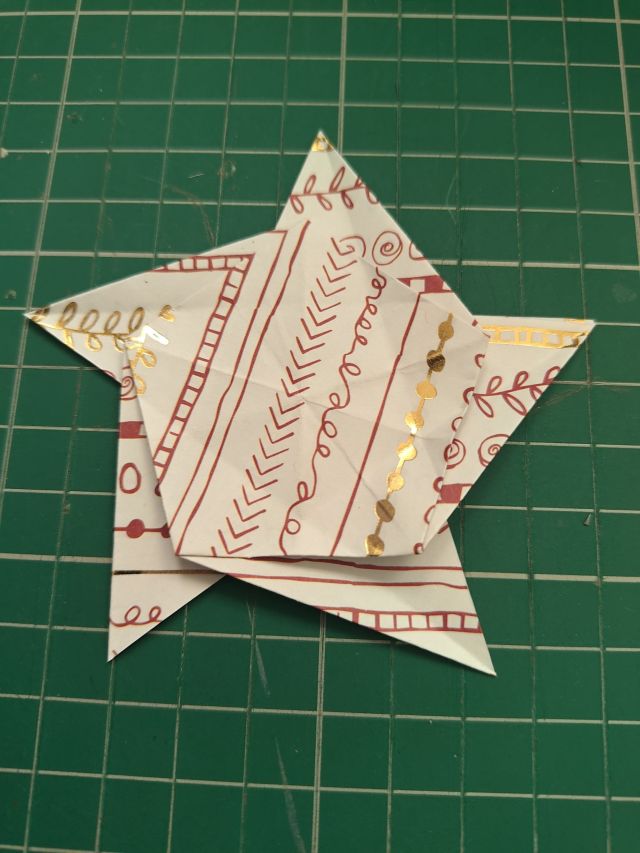
Turned over. 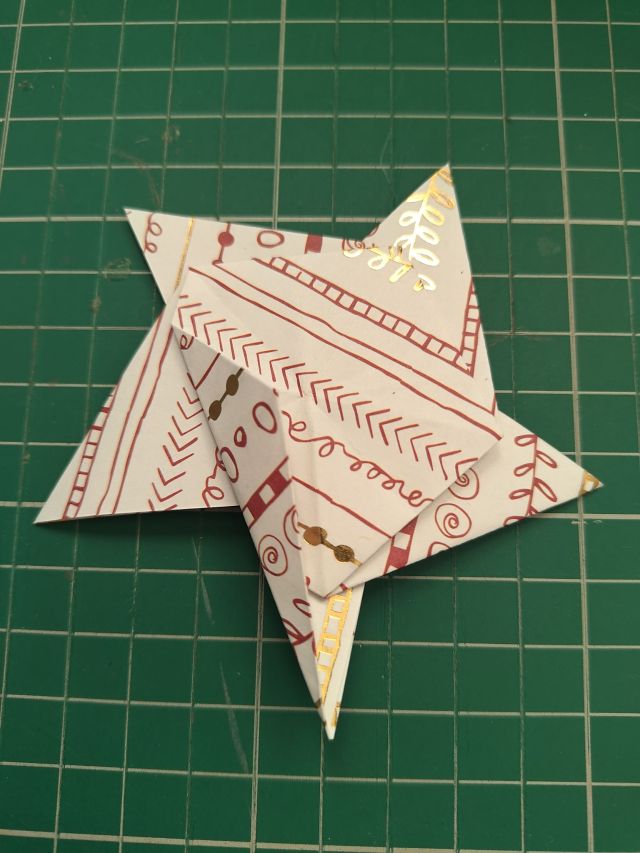
Folding the edge to meet the line. 
Repeating on every edge, tucking the final fold under the previous. 
The finished origami star.
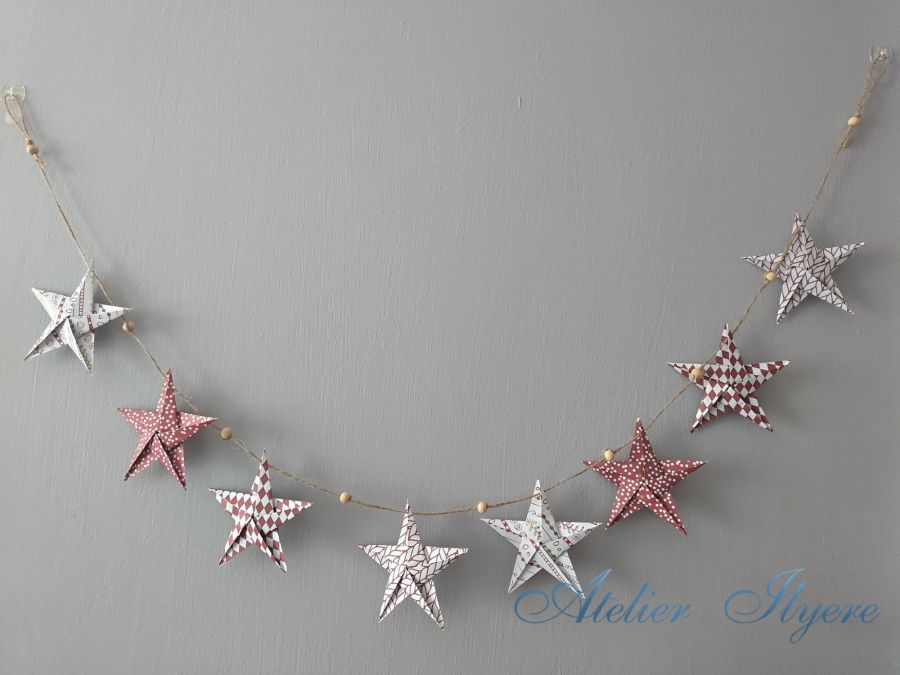
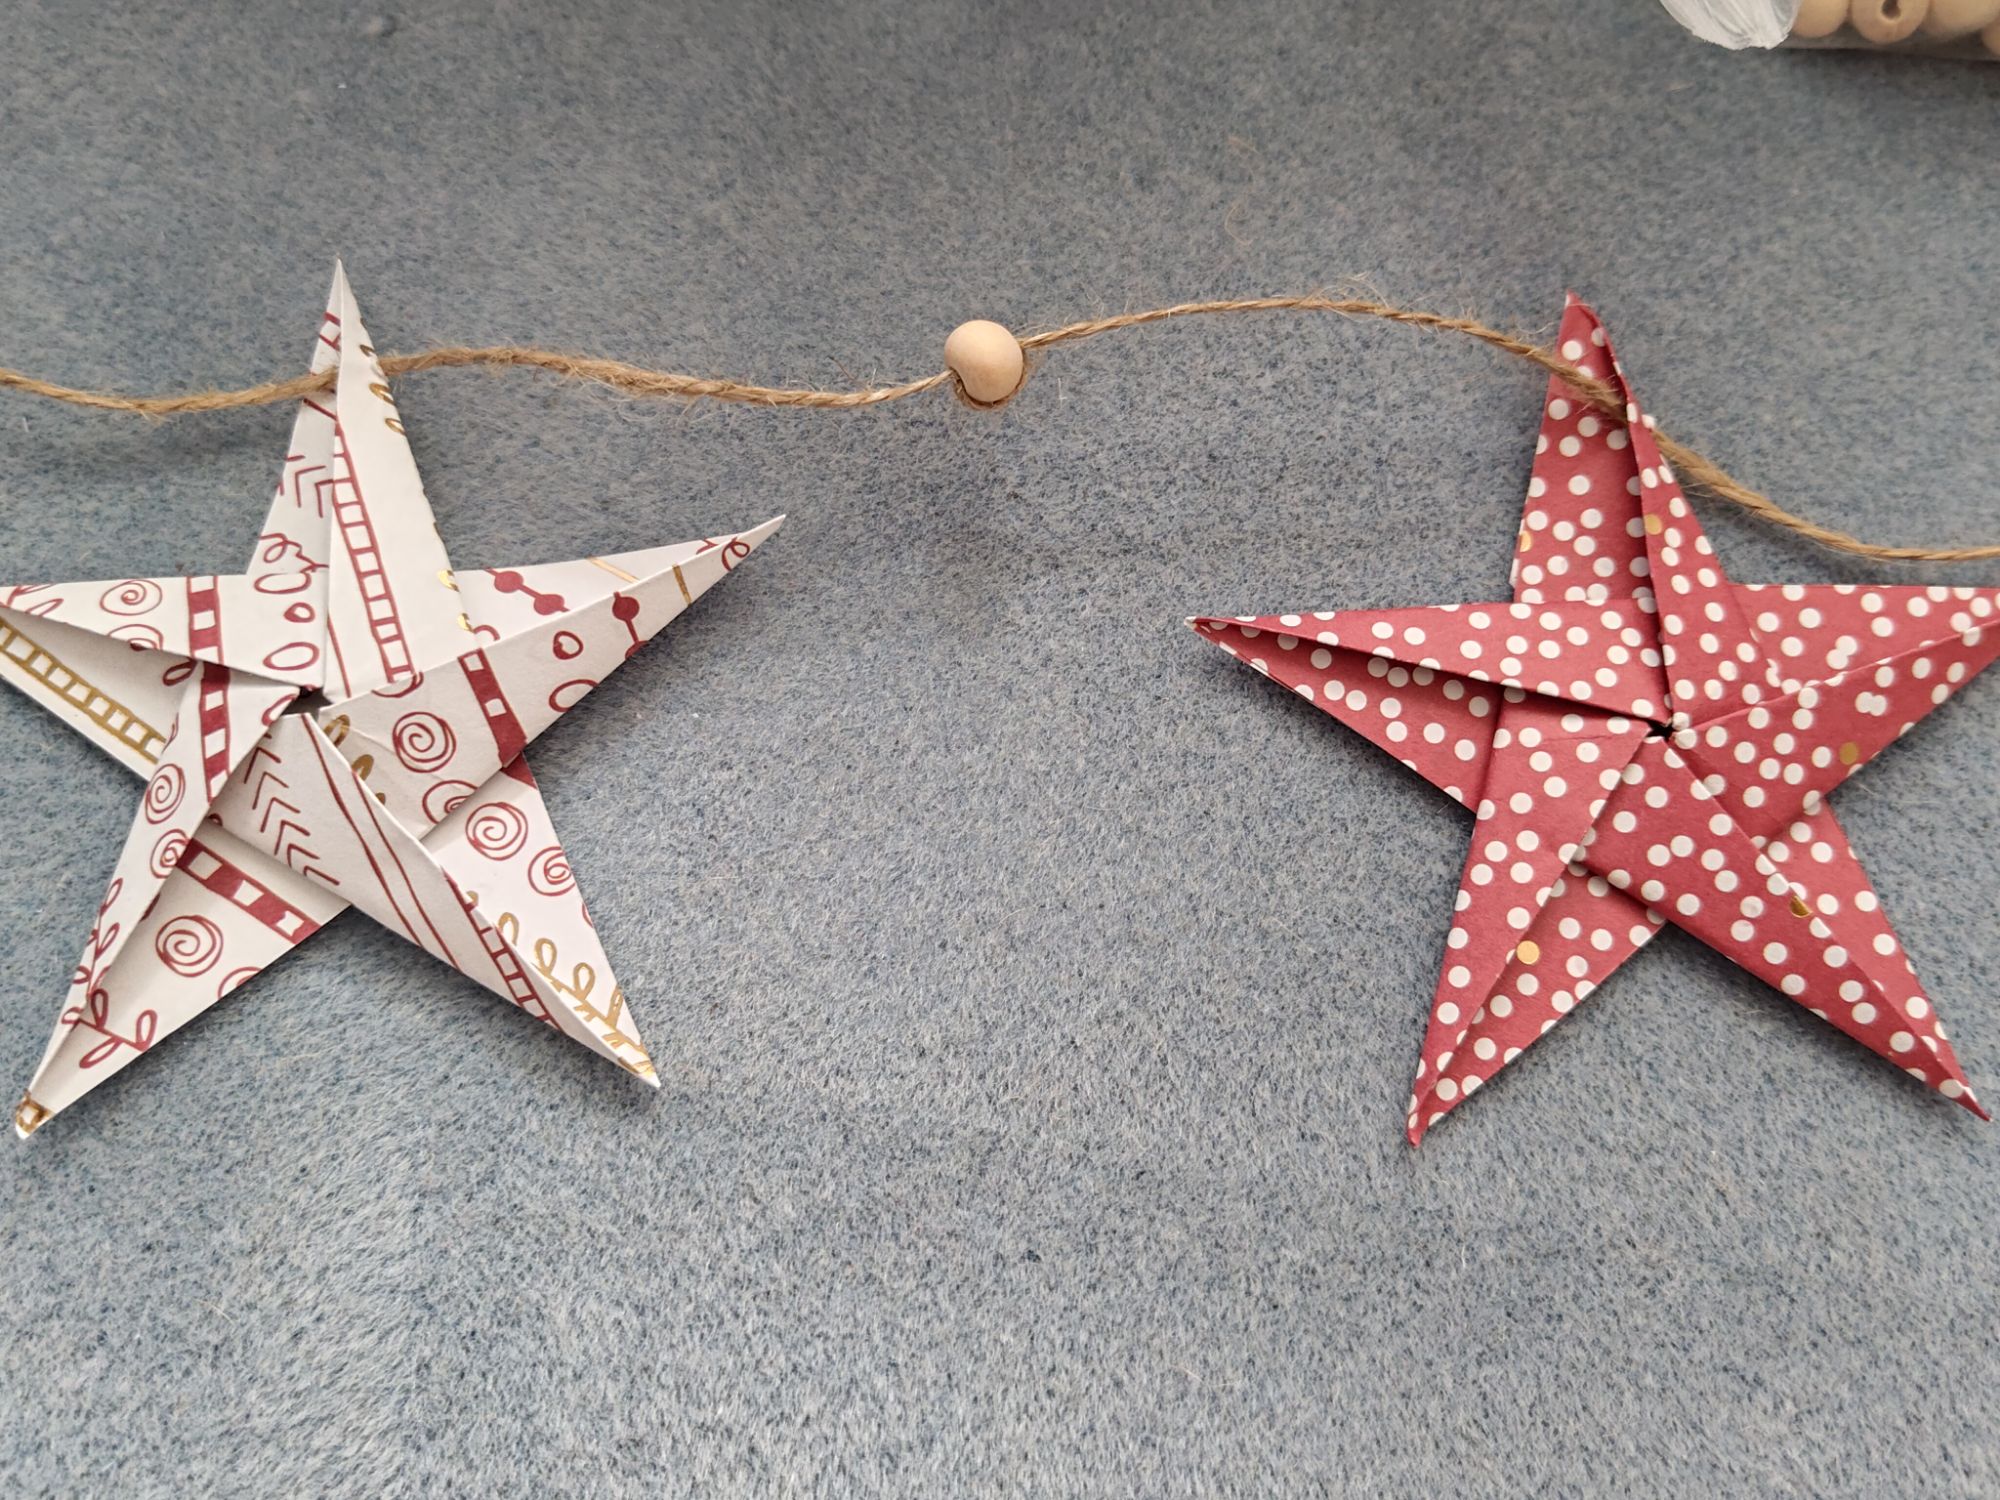
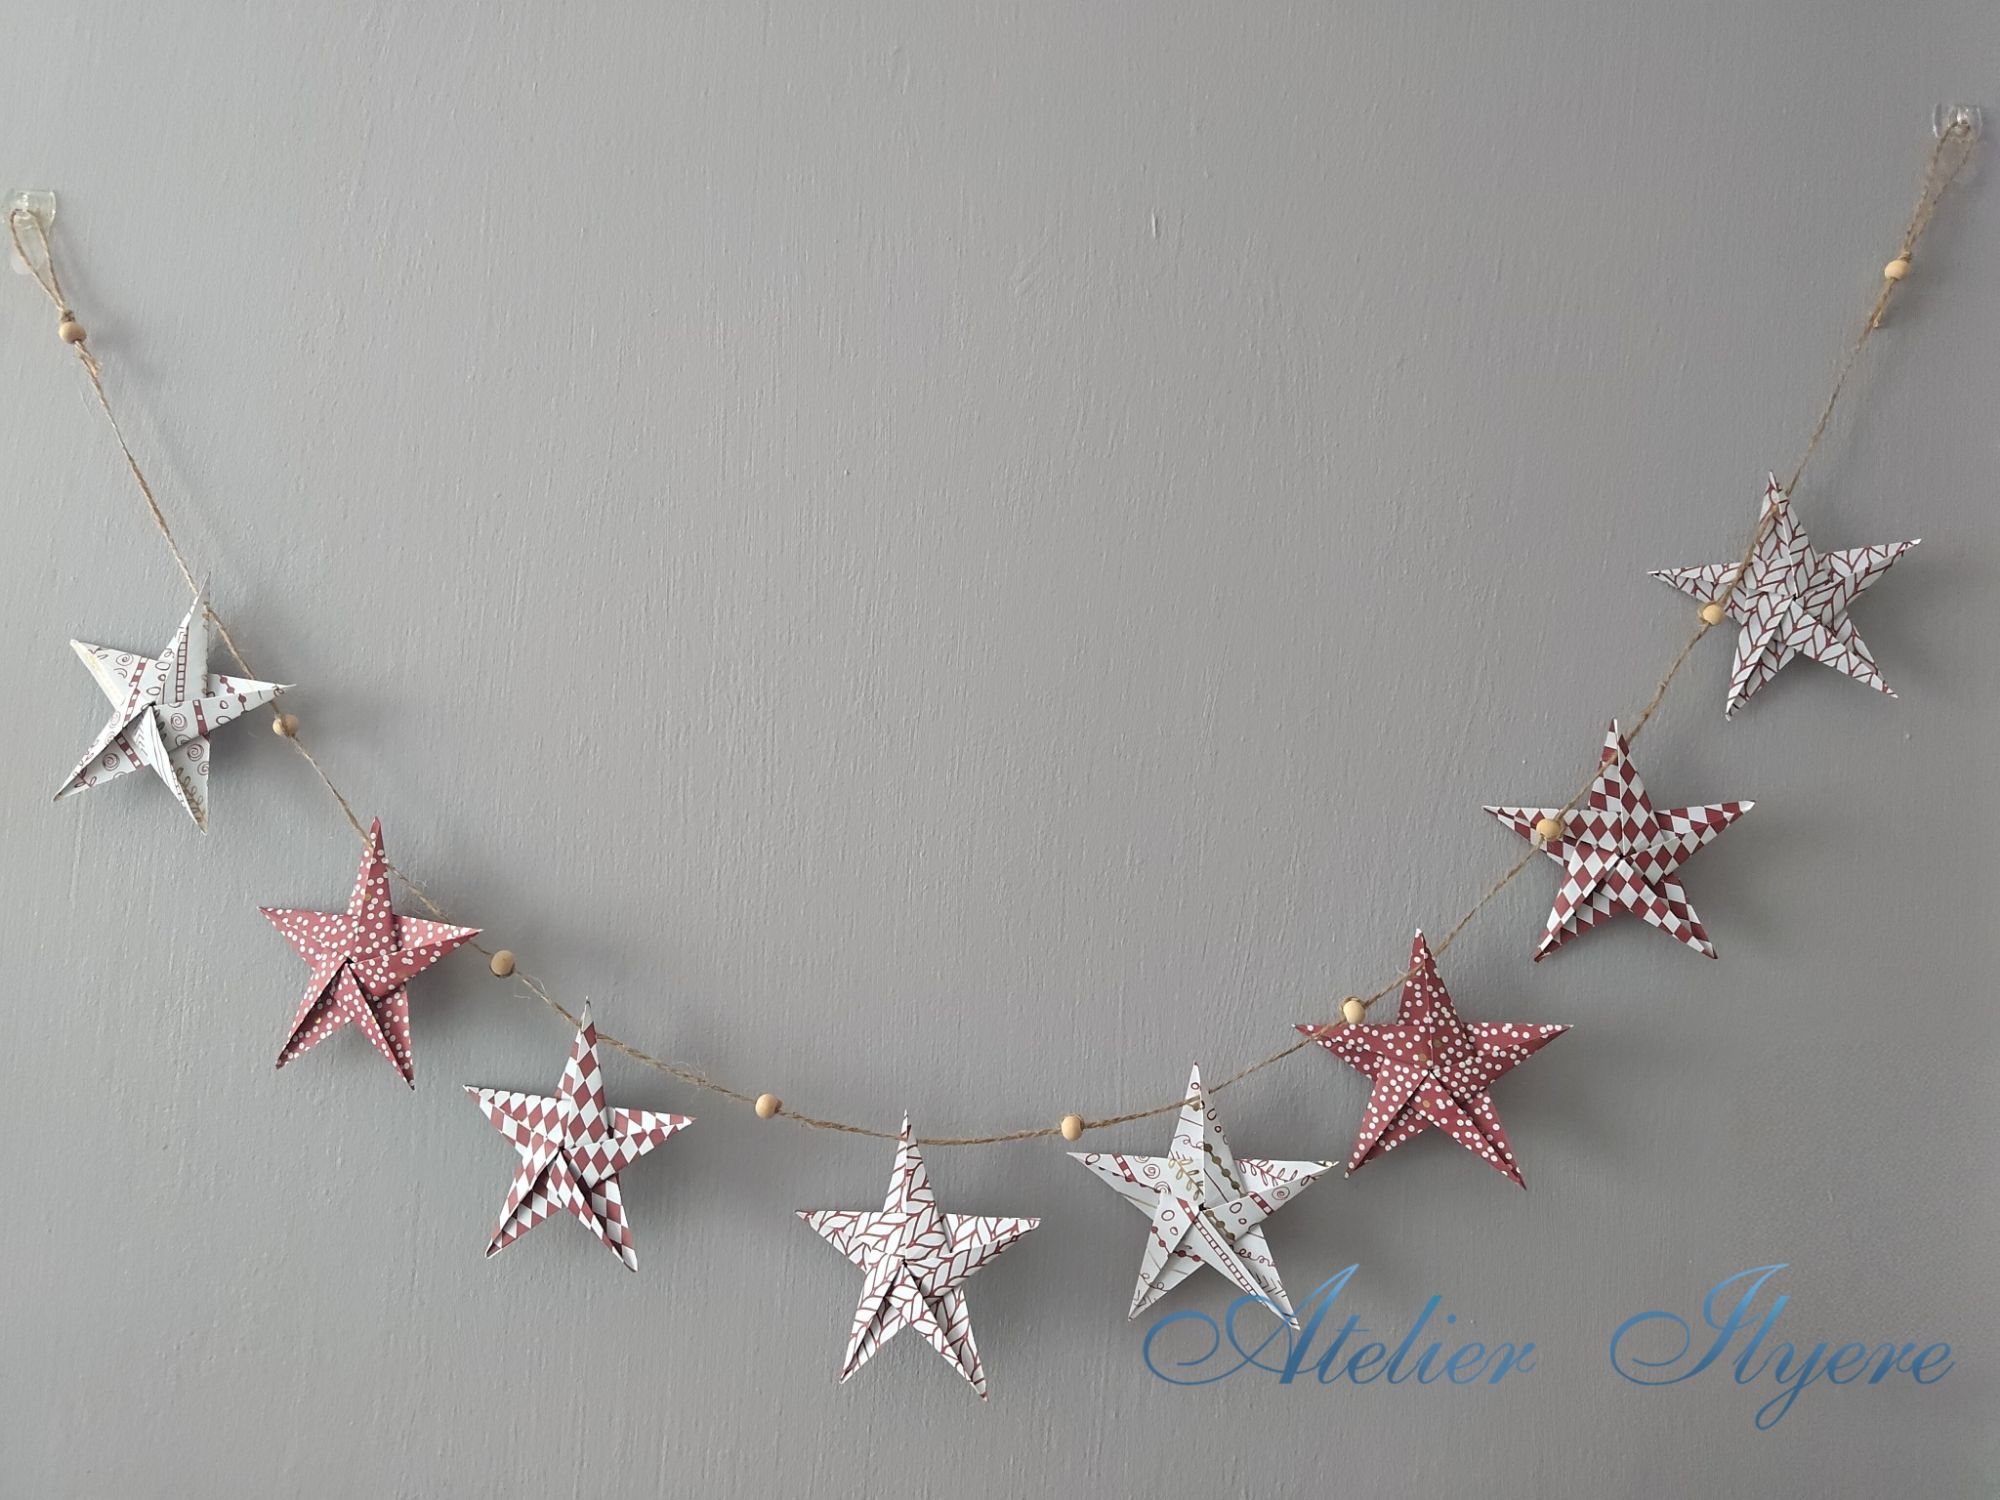
Then it’s up to you how many stars you want to create. My paper pack has four different patterns, so I made two of each type – eight total. You could make a short garland or a really long one! My one is long enough to hang over a doorway arch.

The star looks better when the creases are sharp and neat, otherwise it will slowly unravel. I left the stack under a heavy paperweight (a box of up to 1000 origami paper!) to keep it flat.

Next I used some plain brown twine and threaded it through a thick needle. I would gently poke a hole through one part of the star, slightly behind the central crease. If you poke a hole too close to the top then it can tear, so I gently pierced a hole through the paper to pass both the needle and thread through.
If the stars were big enough then I could use a hole cutter to make the process easier. Maybe this better suited for stars made from paper larger than 15cm!

The origami stars actually stay in place this way for me due to the roughness of the twine but you can tie a small knot somewhere to stop the stars moving if you need to.
I added some decorative wooden beads as spacers between each star by looping the twine around as least once. I used a plain wooden colour to match the twine but red wooden beads would have been effective too!
At the end of the garland, I added one more wooden bead and tied a knot above it, then threaded the twine back through the cut the length. The wooden bead can slide down if pulled but it will stay in place if left alone!

The origami star garland is finished! I have two wall hooks in my room to display any garlands so they’ll stay here for now until I set up the doorway display.
The five-pointed origami star is very versatile for Christmas decorations. More garlands can adorn the house. Single stars can be tied up with string and used as decorations. A large one could even go on the top of the tree!
Materials used:
– eight sheets of 15cm red-and-white-patterned origami paper
– nine wooden beads
– plain twine
Tools used:
– craft knife and cutting mat
– bone folder
