
I get a lot of cake-related Shorts on YouTube now because I generally have a passing interest in baking and also I love to look up cake decoration techniques. My workplace had a casual Bake Off-style competition last week and I was determined to win the top prize! (Spoiler alert, I didn’t and I’ll always think about it 😦 )
I saw this Short by @MessyBaker comparing her two different attempts at a “stack of pancakes” cake. The first one looked very cartoony yet gave the best illusion, but the second one did not use any fondant. This was a good test for me – I have been recently exploring cake frostings that do not use icing or confectioner’s sugar as the main ingredient as it can be very sweet and feel gritty.
I came up with my own list of ingredients based on what I thought would taste nice together. My three components were used as follows:
- Cake – Vanilla layer cake by Baker Jo (just the cake part)
- Buttercream – Swiss meringue buttercream by Sally’s Baking (with added colouring and extract)
- Glaze – Maple glaze (I slightly tweaked some recipes)
Baking the cake was pretty straightforward. I used the stated amount but adapted it for three layers instead of two. I also did not find premade buttermilk so I made an alternative from milk combined with lemon juice. I slightly levelled the layers using a wire cake leveller when cooled. I did not take any pictures for the first few steps as it is pretty standard cake-making process!
The buttercream was a difficult process for me… I found that the mixture would curdle or become too runny at different times. This involved me having to constantly warm up the mixture or put it in the fridge to cool. In the end, I had to add a tiny bit of icing sugar to stabilise it and give it a little firmness. I added three tablespoons maple syrup for flavouring and crumb-coated the cake overnight. The next day, I added brown food colouring to stored buttercream in two stages for different colours, whilst reserving a small amount for the yellow food colouring.
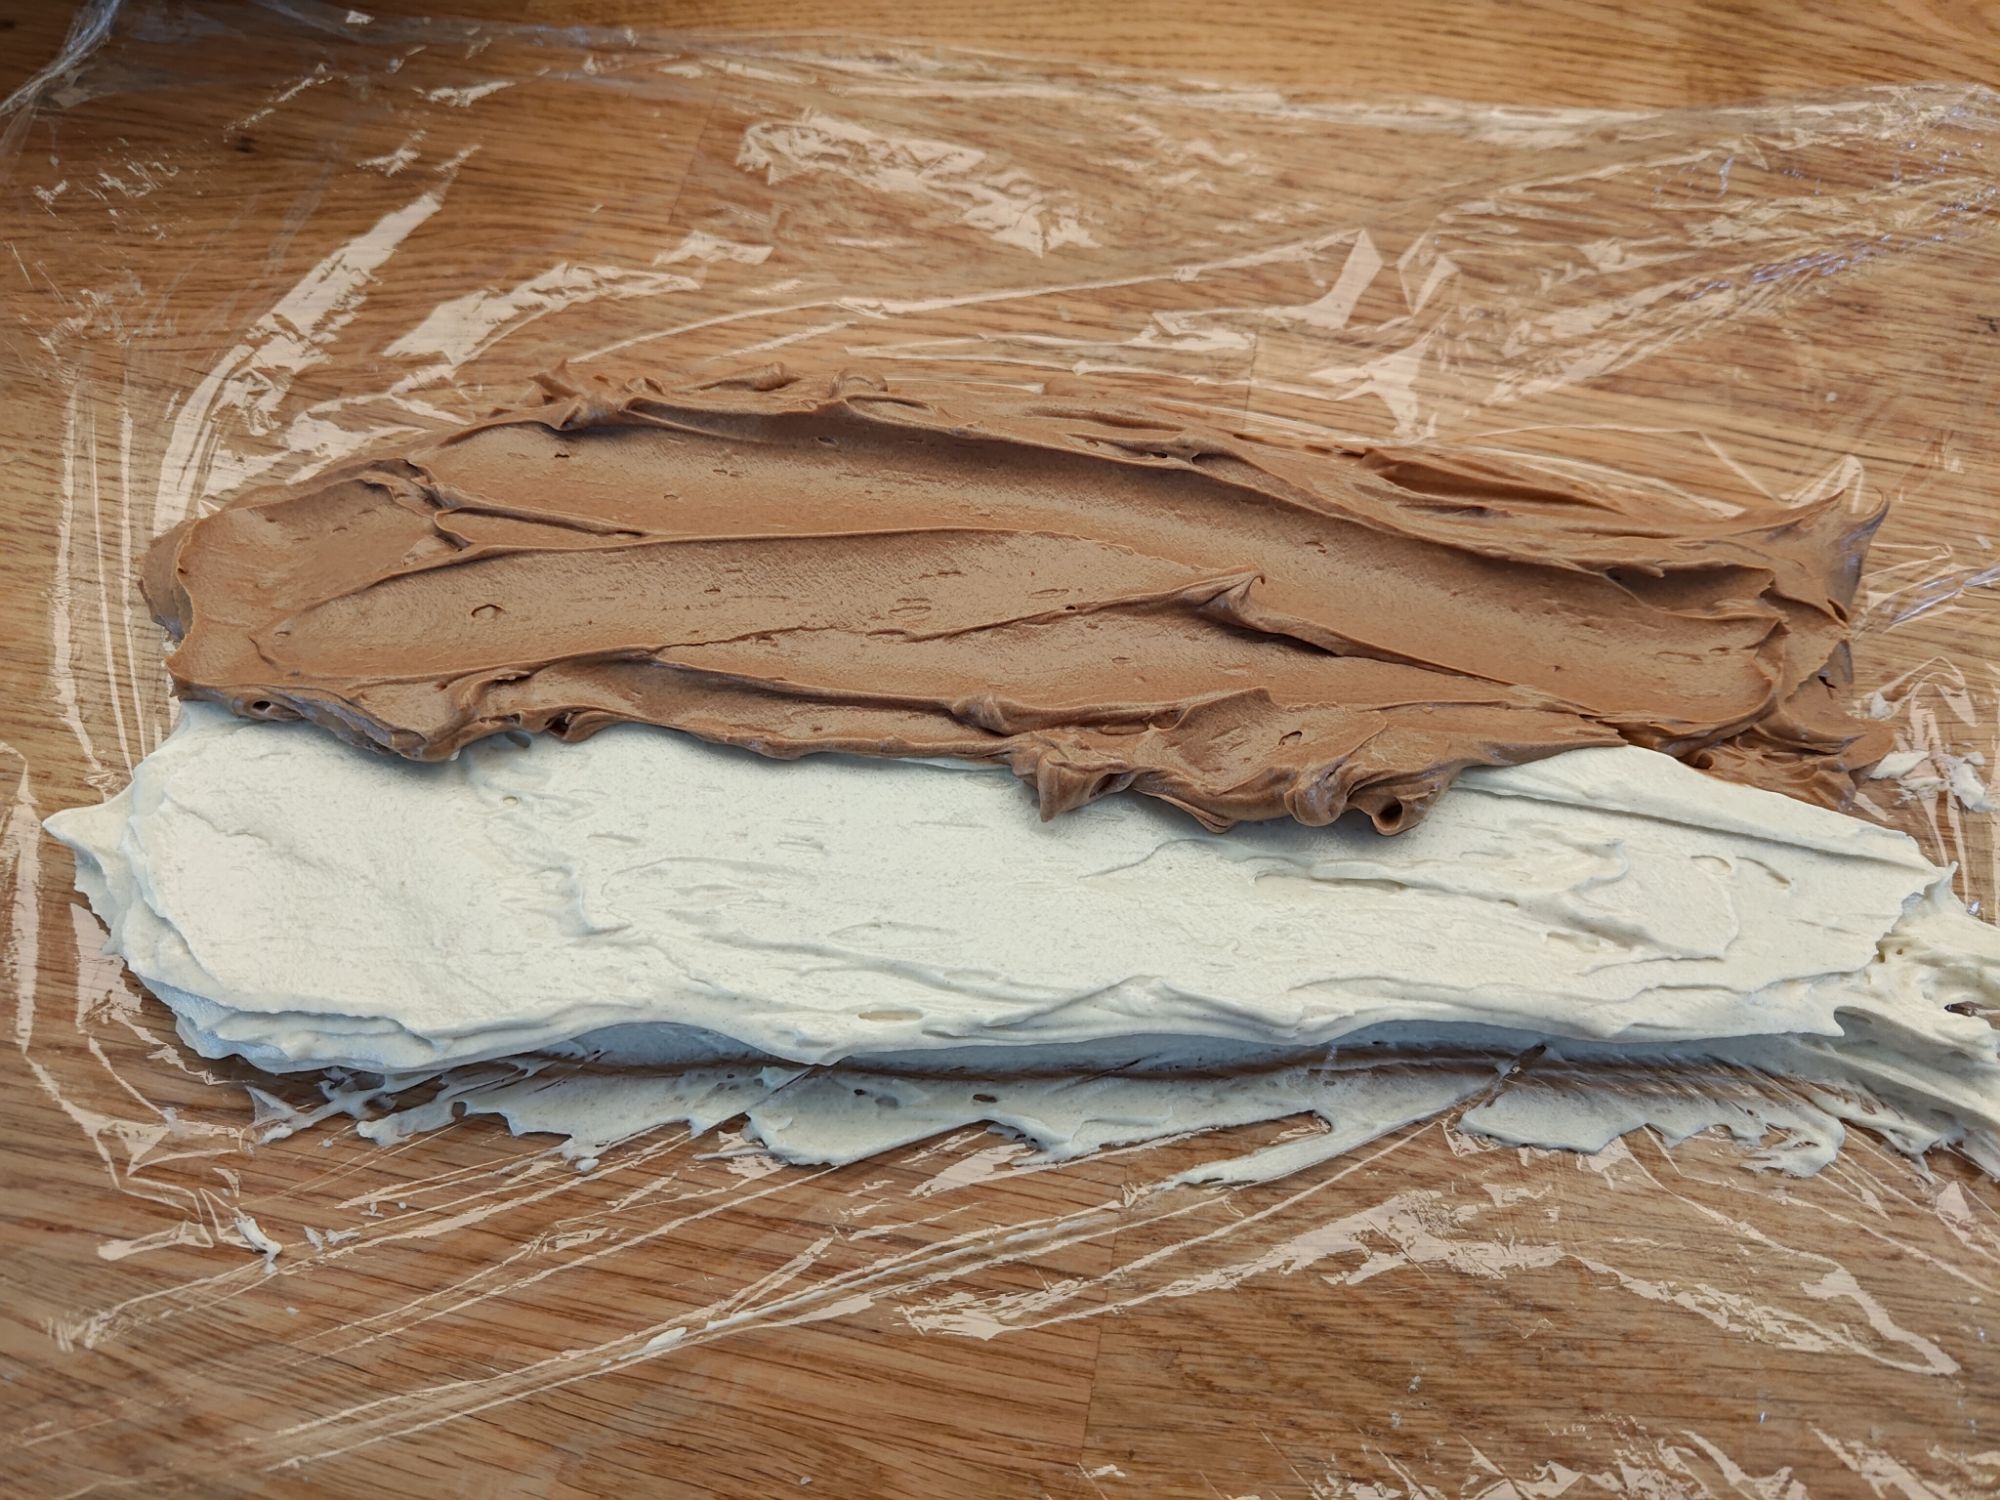
I had never used this cling film trick for two-toned piping before. I love it! It created a really nice effect around the sides when I was able to apply proper pressure and pipe out steady lines. The yellow buttercream was applied on top to replicate a pat of butter! My buttercream smoothing could have been better on the top but I kept revealing the crumb coat underneath. I needed more patience!


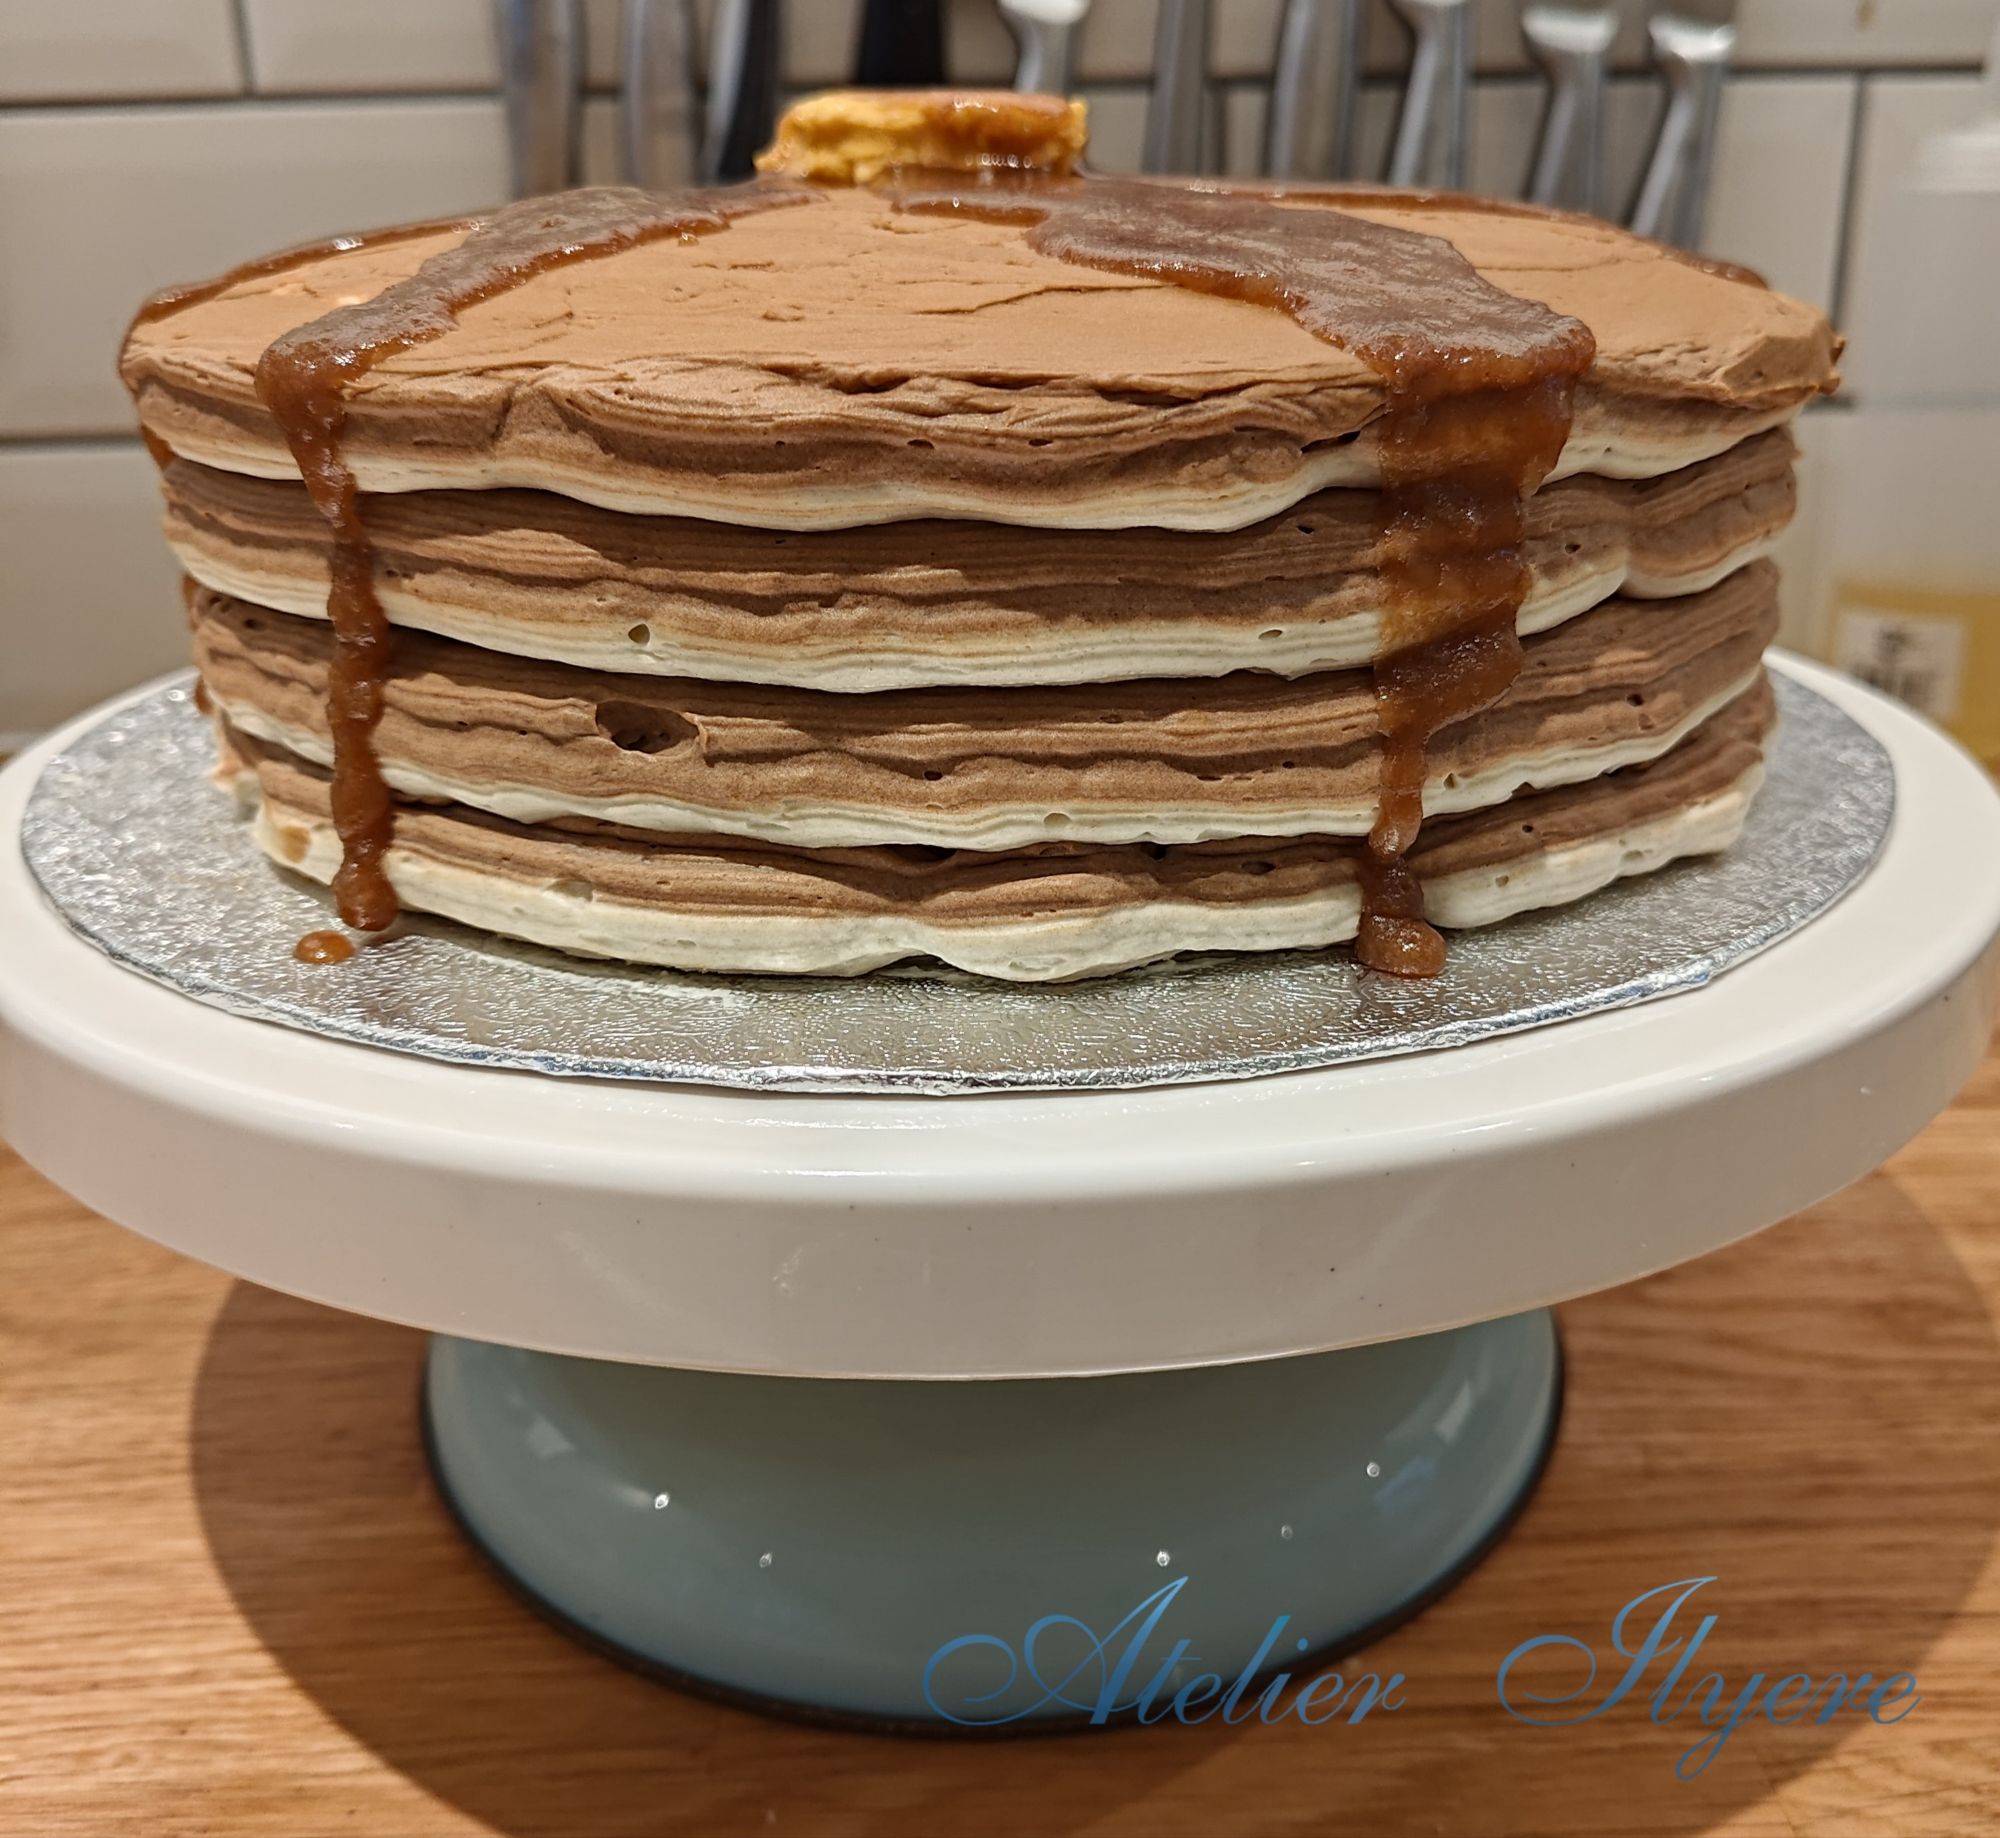
I “found” a maple glaze recipe after comparing caramel sauce recipes with maple glaze frostings. It uses 3 tbsp butter, 1/4 cup dark brown sugar, 2 tbsp maple syrup, pinch of salt, and 3 tbsp milk (but the recipe page does not seem to exist so I cannot link it?). Most glazes using icing sugar or cream which makes it lighter, so the dark brown sugar creates a nice dark colour that looks like maple syrup. I cooled it slightly before pouring over the top to ensure that it would travel down the sides of the cake.
As a note, thank you to the friend who got me so many useful cake decorating tools! I used my cake turner and palette knife for the first time. It was fun!

Materials needed:
– cake and buttercream ingredients as previously listed
– food colouring gel (brown, yellow)
– maple glaze ingredients
Tools needed:
– stand mixer
– piping bag and nozzle (large round hole)
– palette knife
– cake turner
Bonus picture: The cross section of the cake, after a few people had already helped themselves to it! I was a bit reserved with the frosting between the layers as I thought I didn’t have enough, but I ended up having a lot left over. I had a bit leftover to take home – it was as delicious as I hoped it would be!


Ooh, food post! To be honest, from the outside, I thought it was cardboard, but from the inside, it looks fluffy! :”D