
Happy Easter Sunday! I was curious if you could make an Easter egg from paper, and it seems like you can – this is a video tutorial by Paper Kawaii that makes a simple egg using a single square piece of paper. It is somewhat difficult due to the numerous reverse and sinking folds needed. There is another version that makes a better-looking egg but it uses the accordion folding method or it uses two pieces of paper. Maybe I’ll take this challenge on next year?
What colours do you think of when it comes to Easter? For me it’s usually pastels or vibrant patterns. I just happen to have a lot of these lying about in my stash!
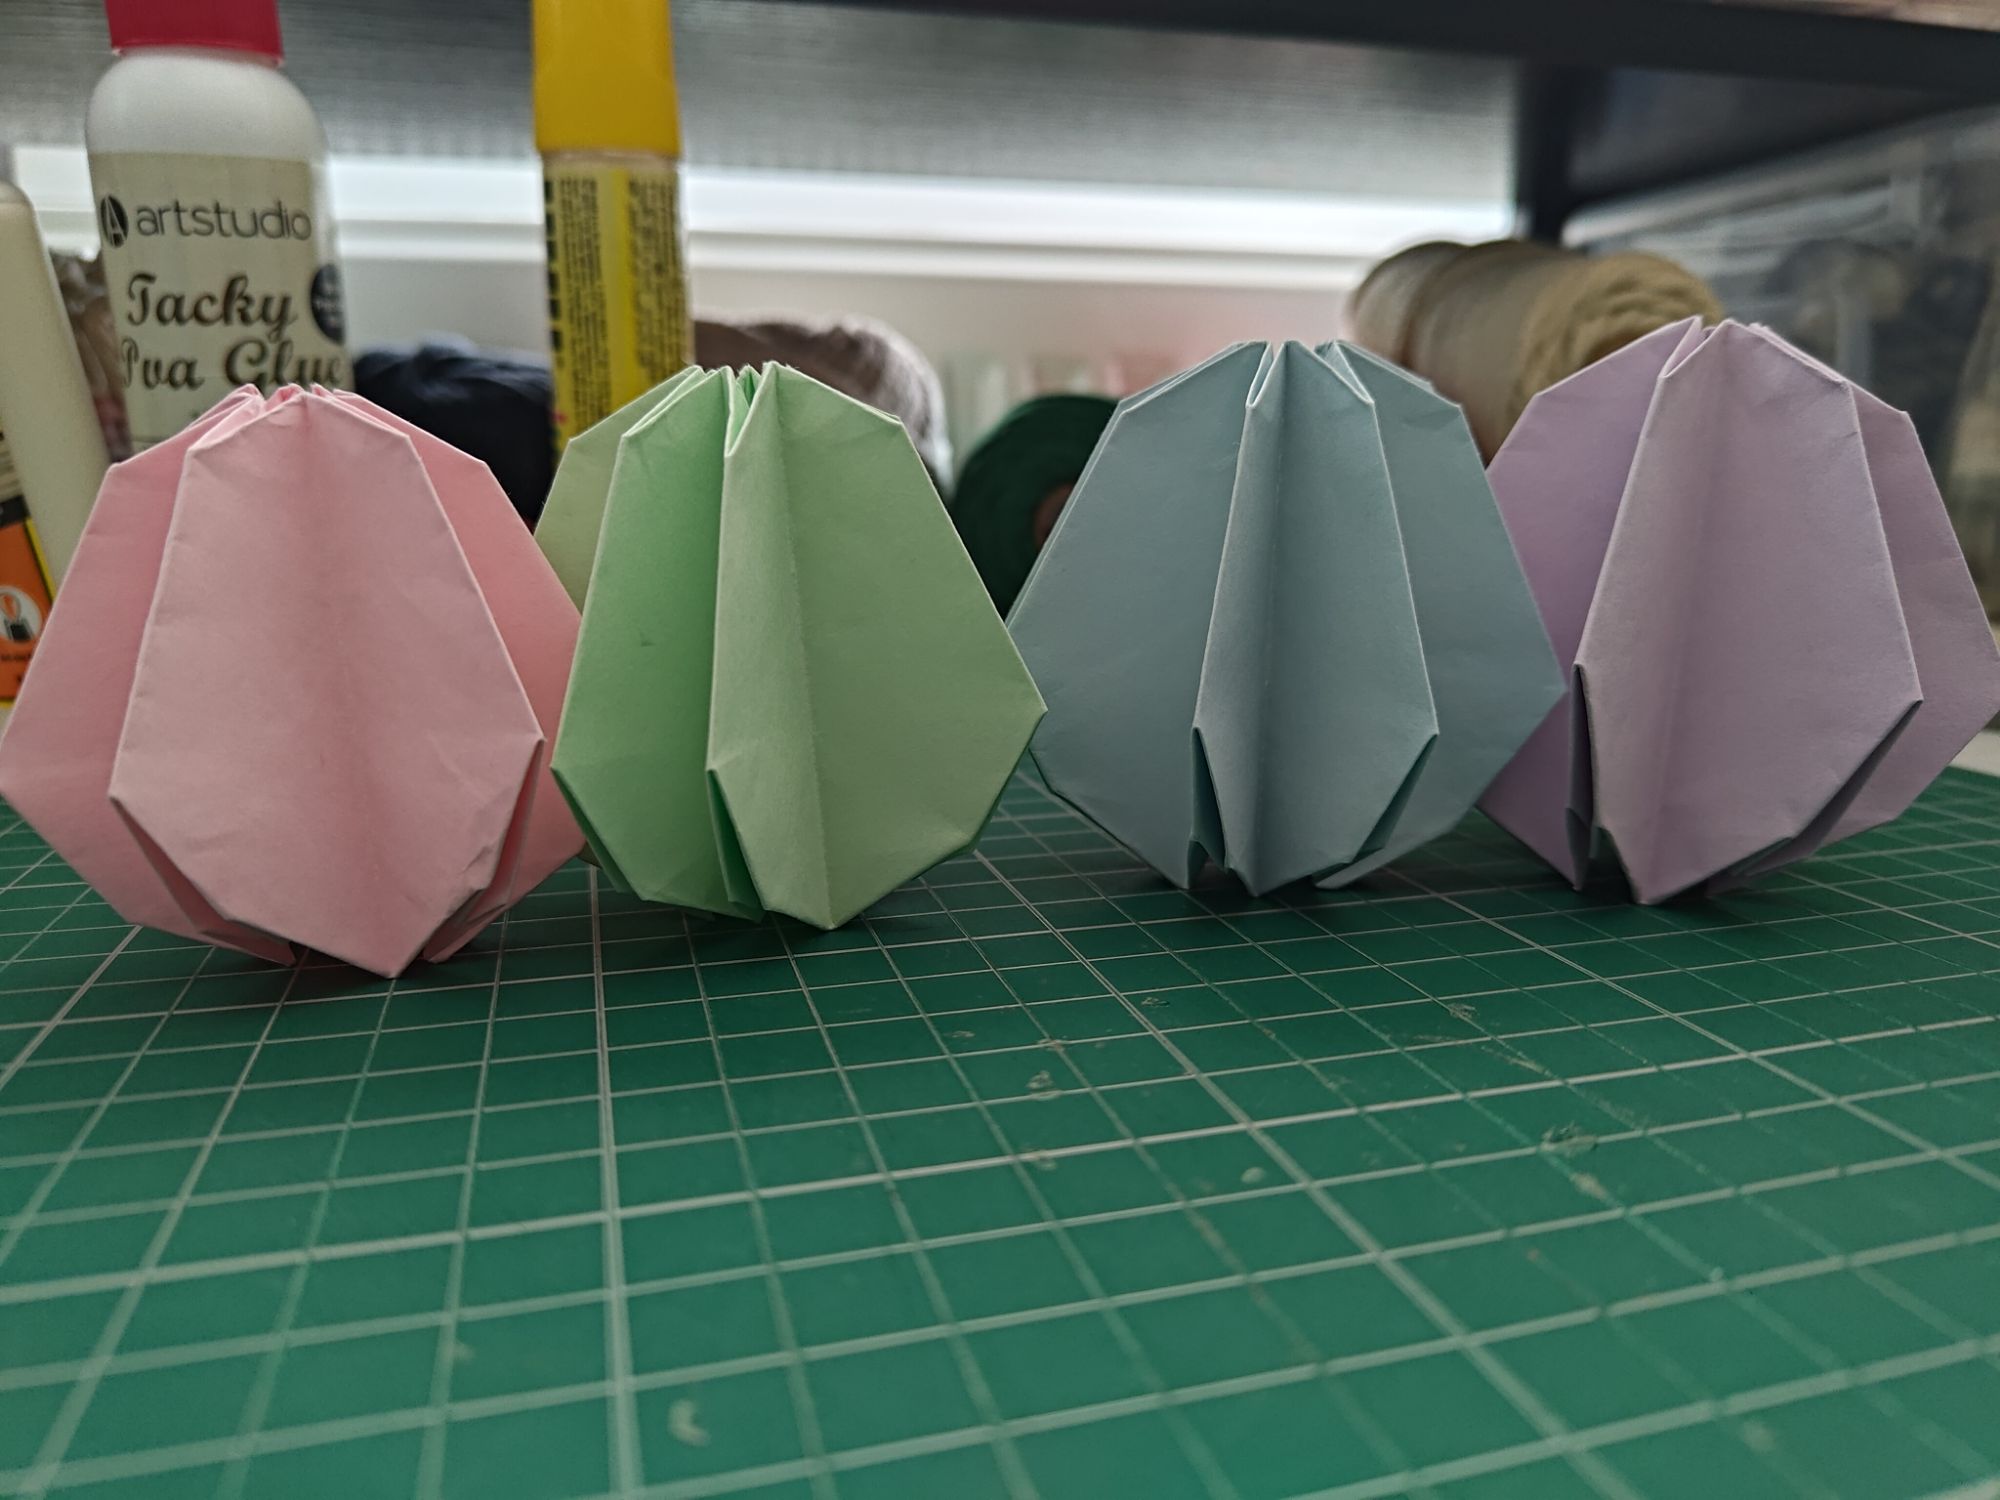
First I tried making basic eggs from plain A4 paper cut to size. I got out lots of paper colours but I only made four. I cut out sizes from 20cm down to 16cm – the finished models only have a slight size difference when lined up. I preferred this because it was much easier to fold with the larger starting size.

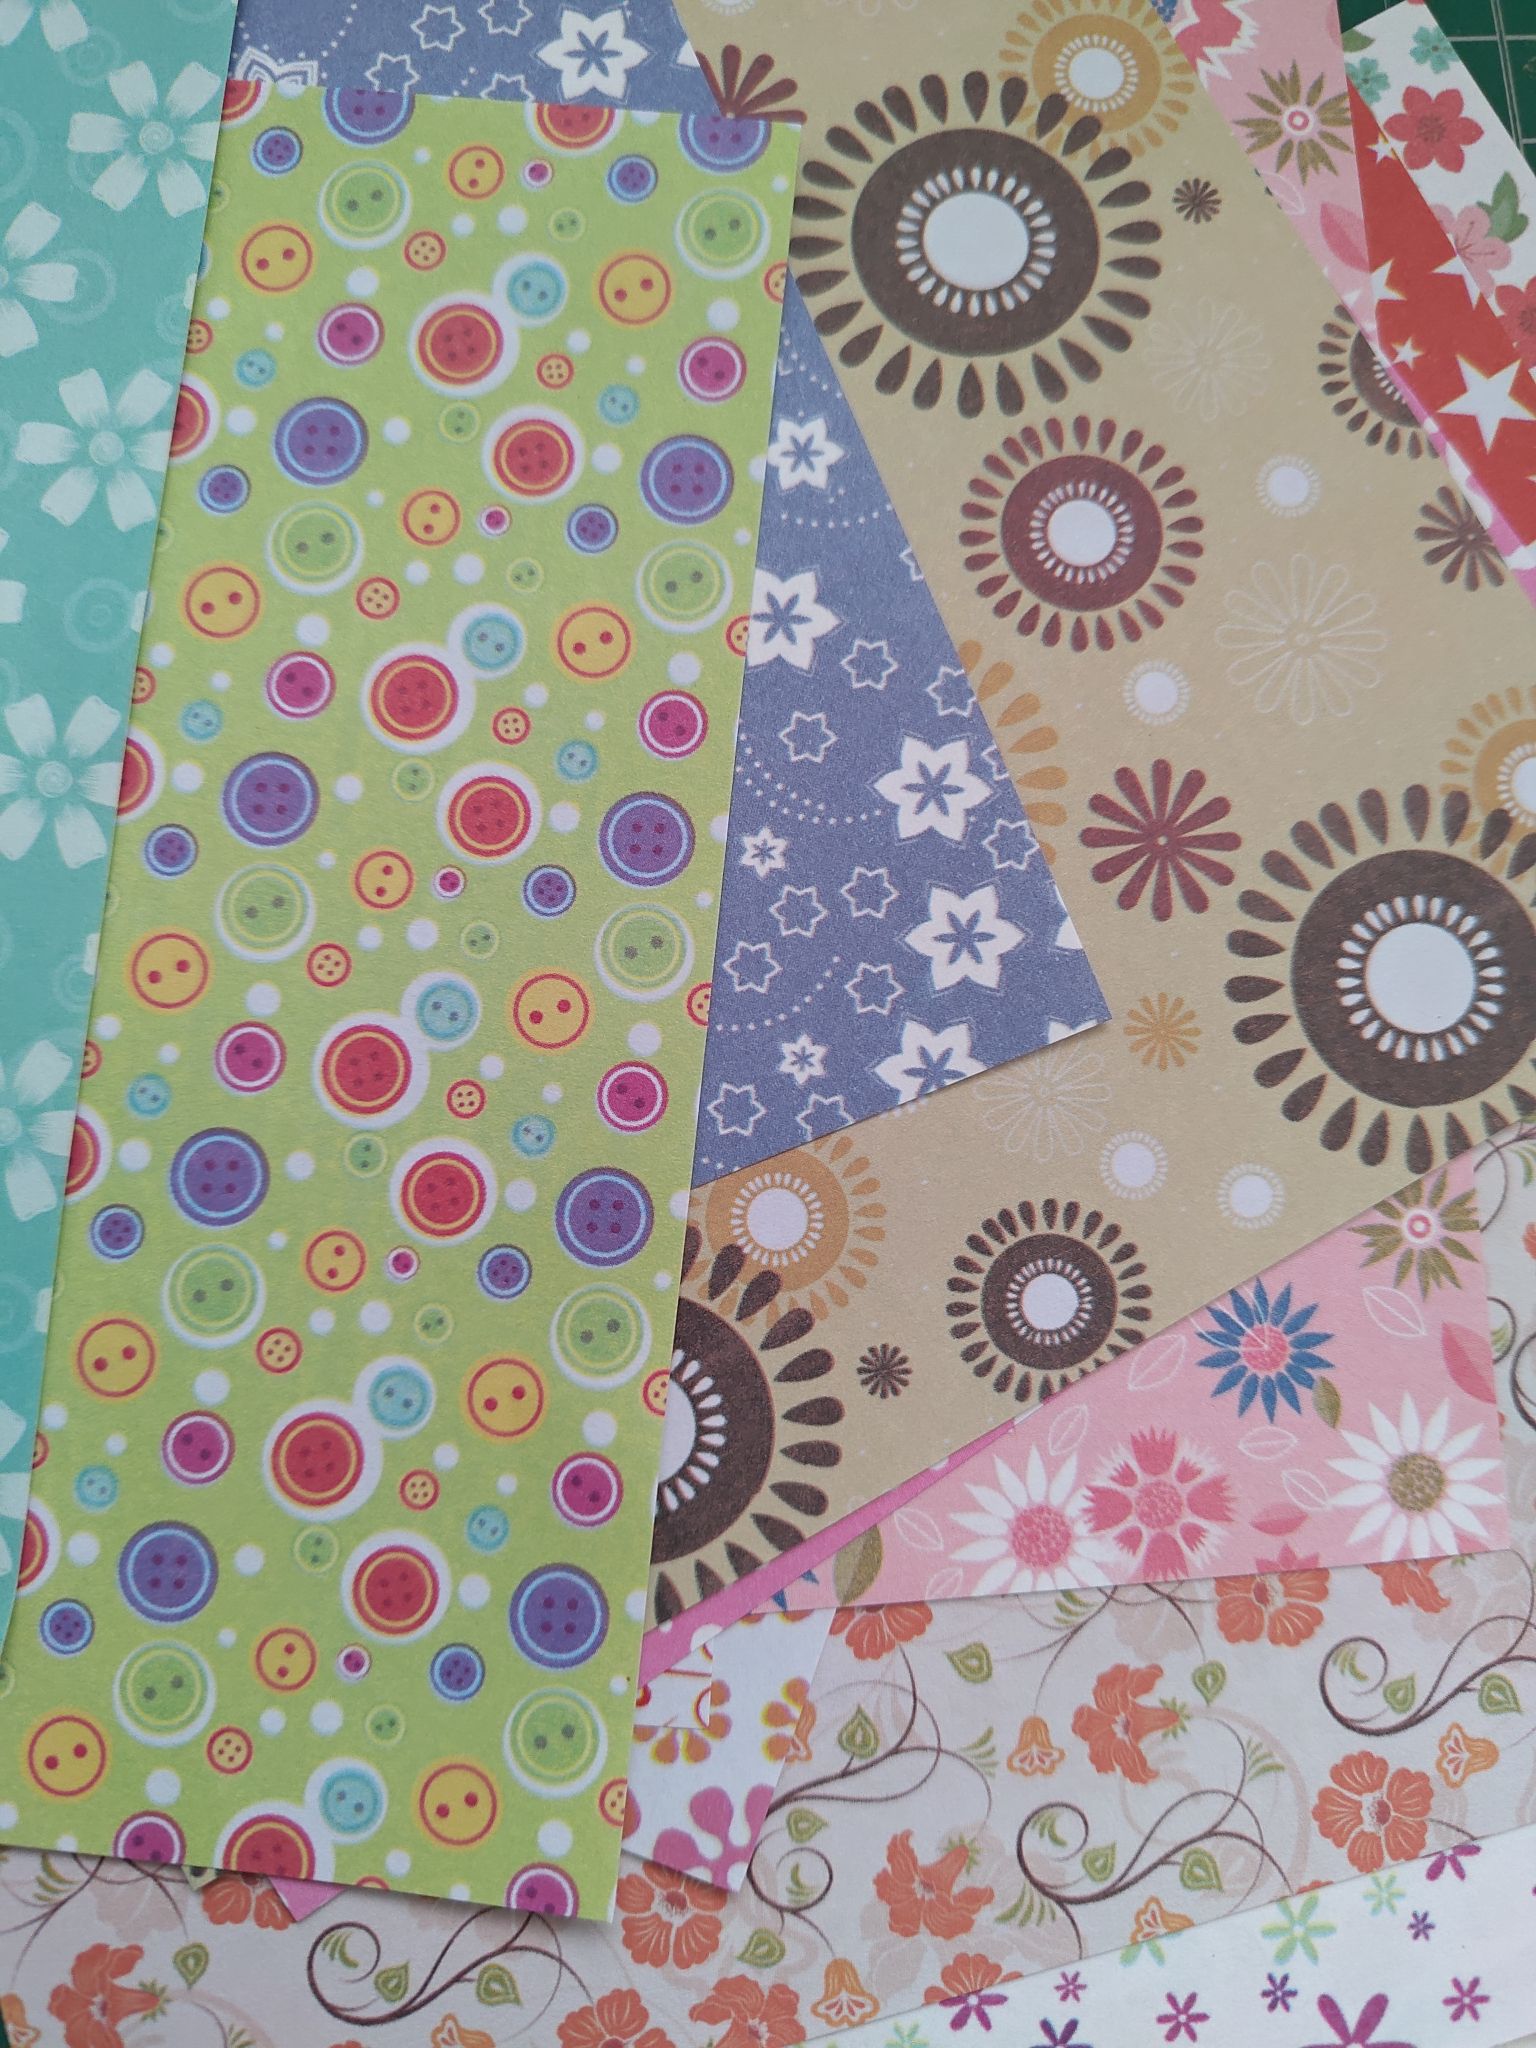
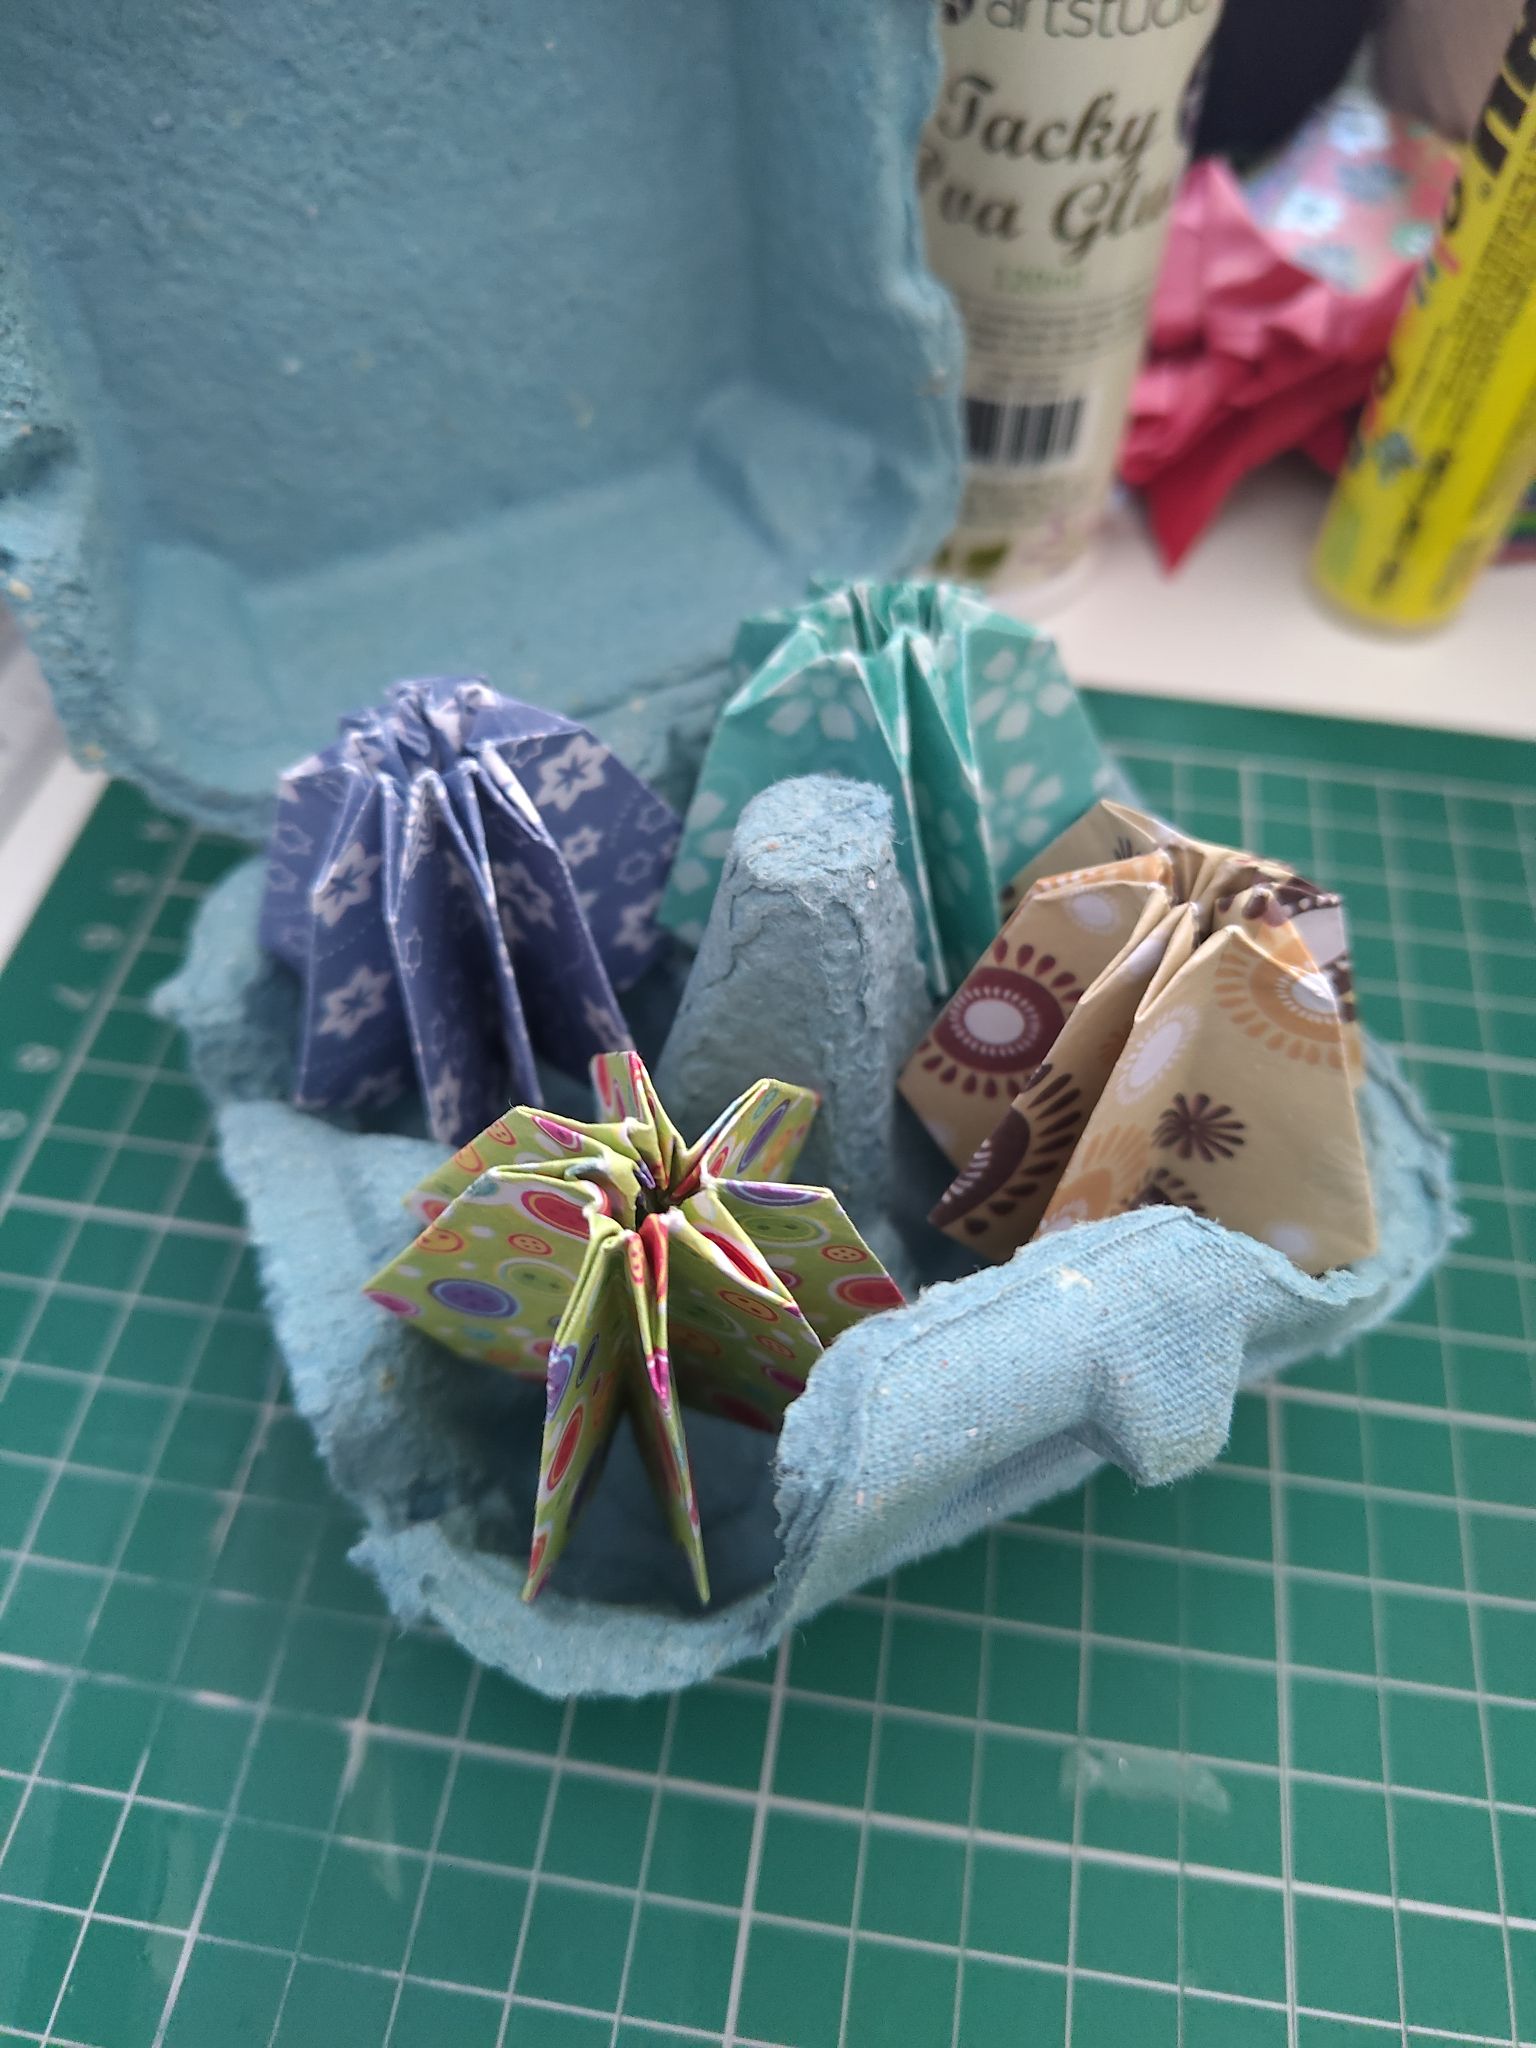
I also had this old pack of 5in paper with vibrant patterns. This would have been perfect for the theming but the paper thickness was quite difficult to work with, so I ended up tearing it a few times. Don’t look too closely! I might not have folded one in every pattern, but at least these were small enough to fit into this egg box that I kept.
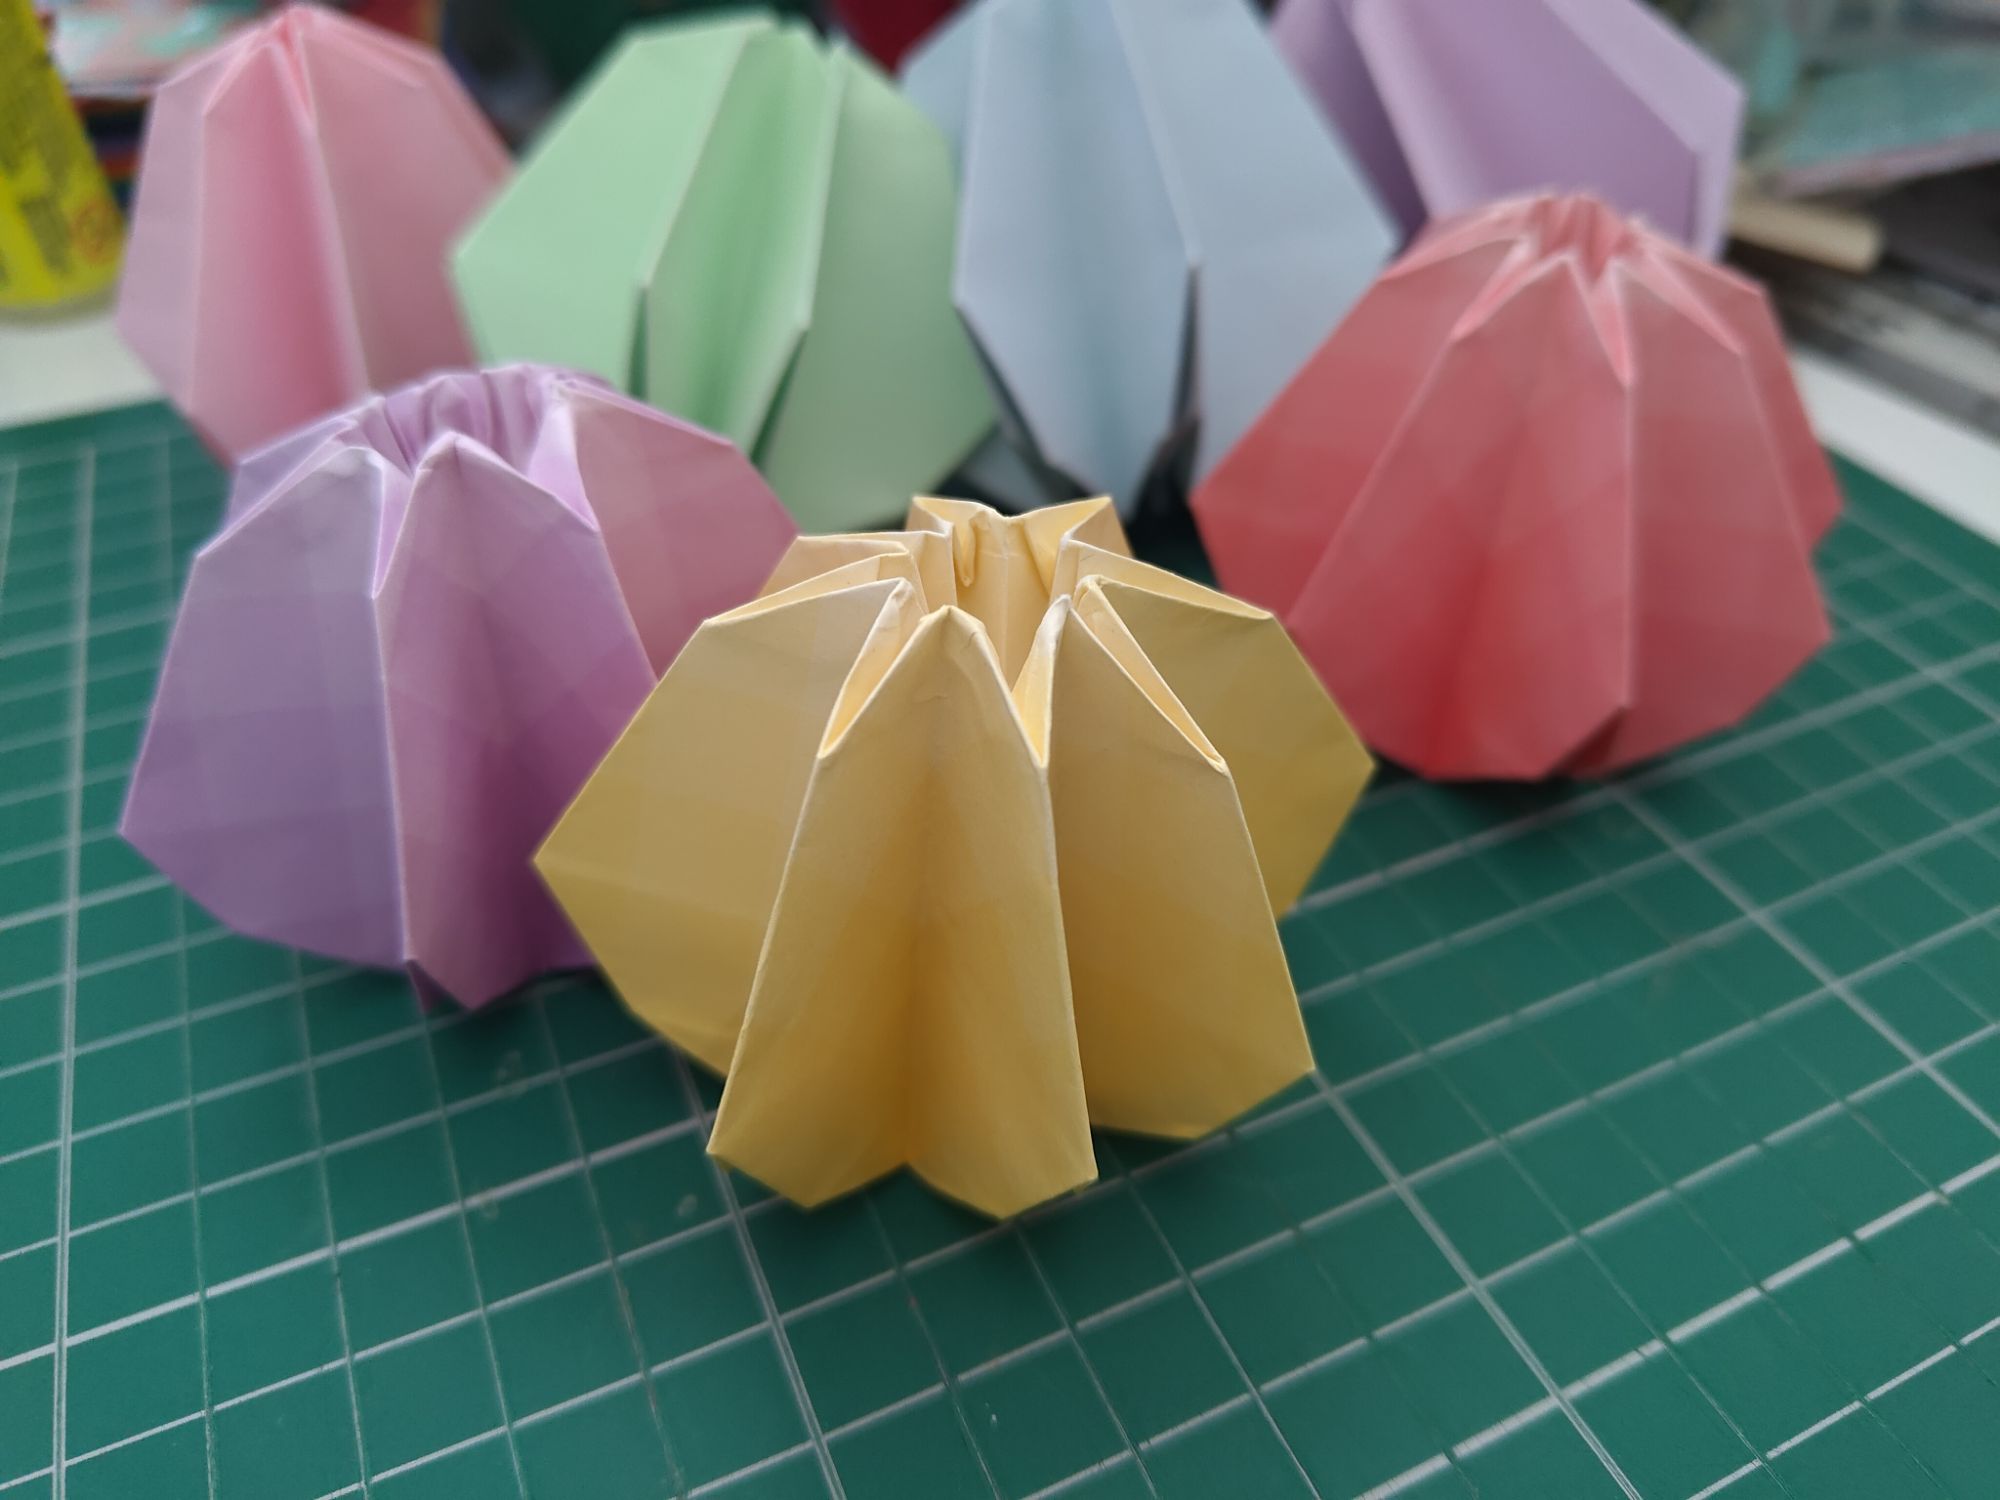
Finally I used a pack of 15cm paper with pastel colours and a gradient pattern. The lighter parts in the middle of the square were visible from the top of the egg! The eggs also only need a colour on one side, so you do not need double-sided paper for them.

By themselves, the eggs are just okay. I rushed making a lot of them today so mine don’t look the best! You could decorate them by adding them to string garlands and ribbons, or applying some glue to make them more rigid. I’ve just made a simple basket so far!

Materials used:
– Paper of various sizes
