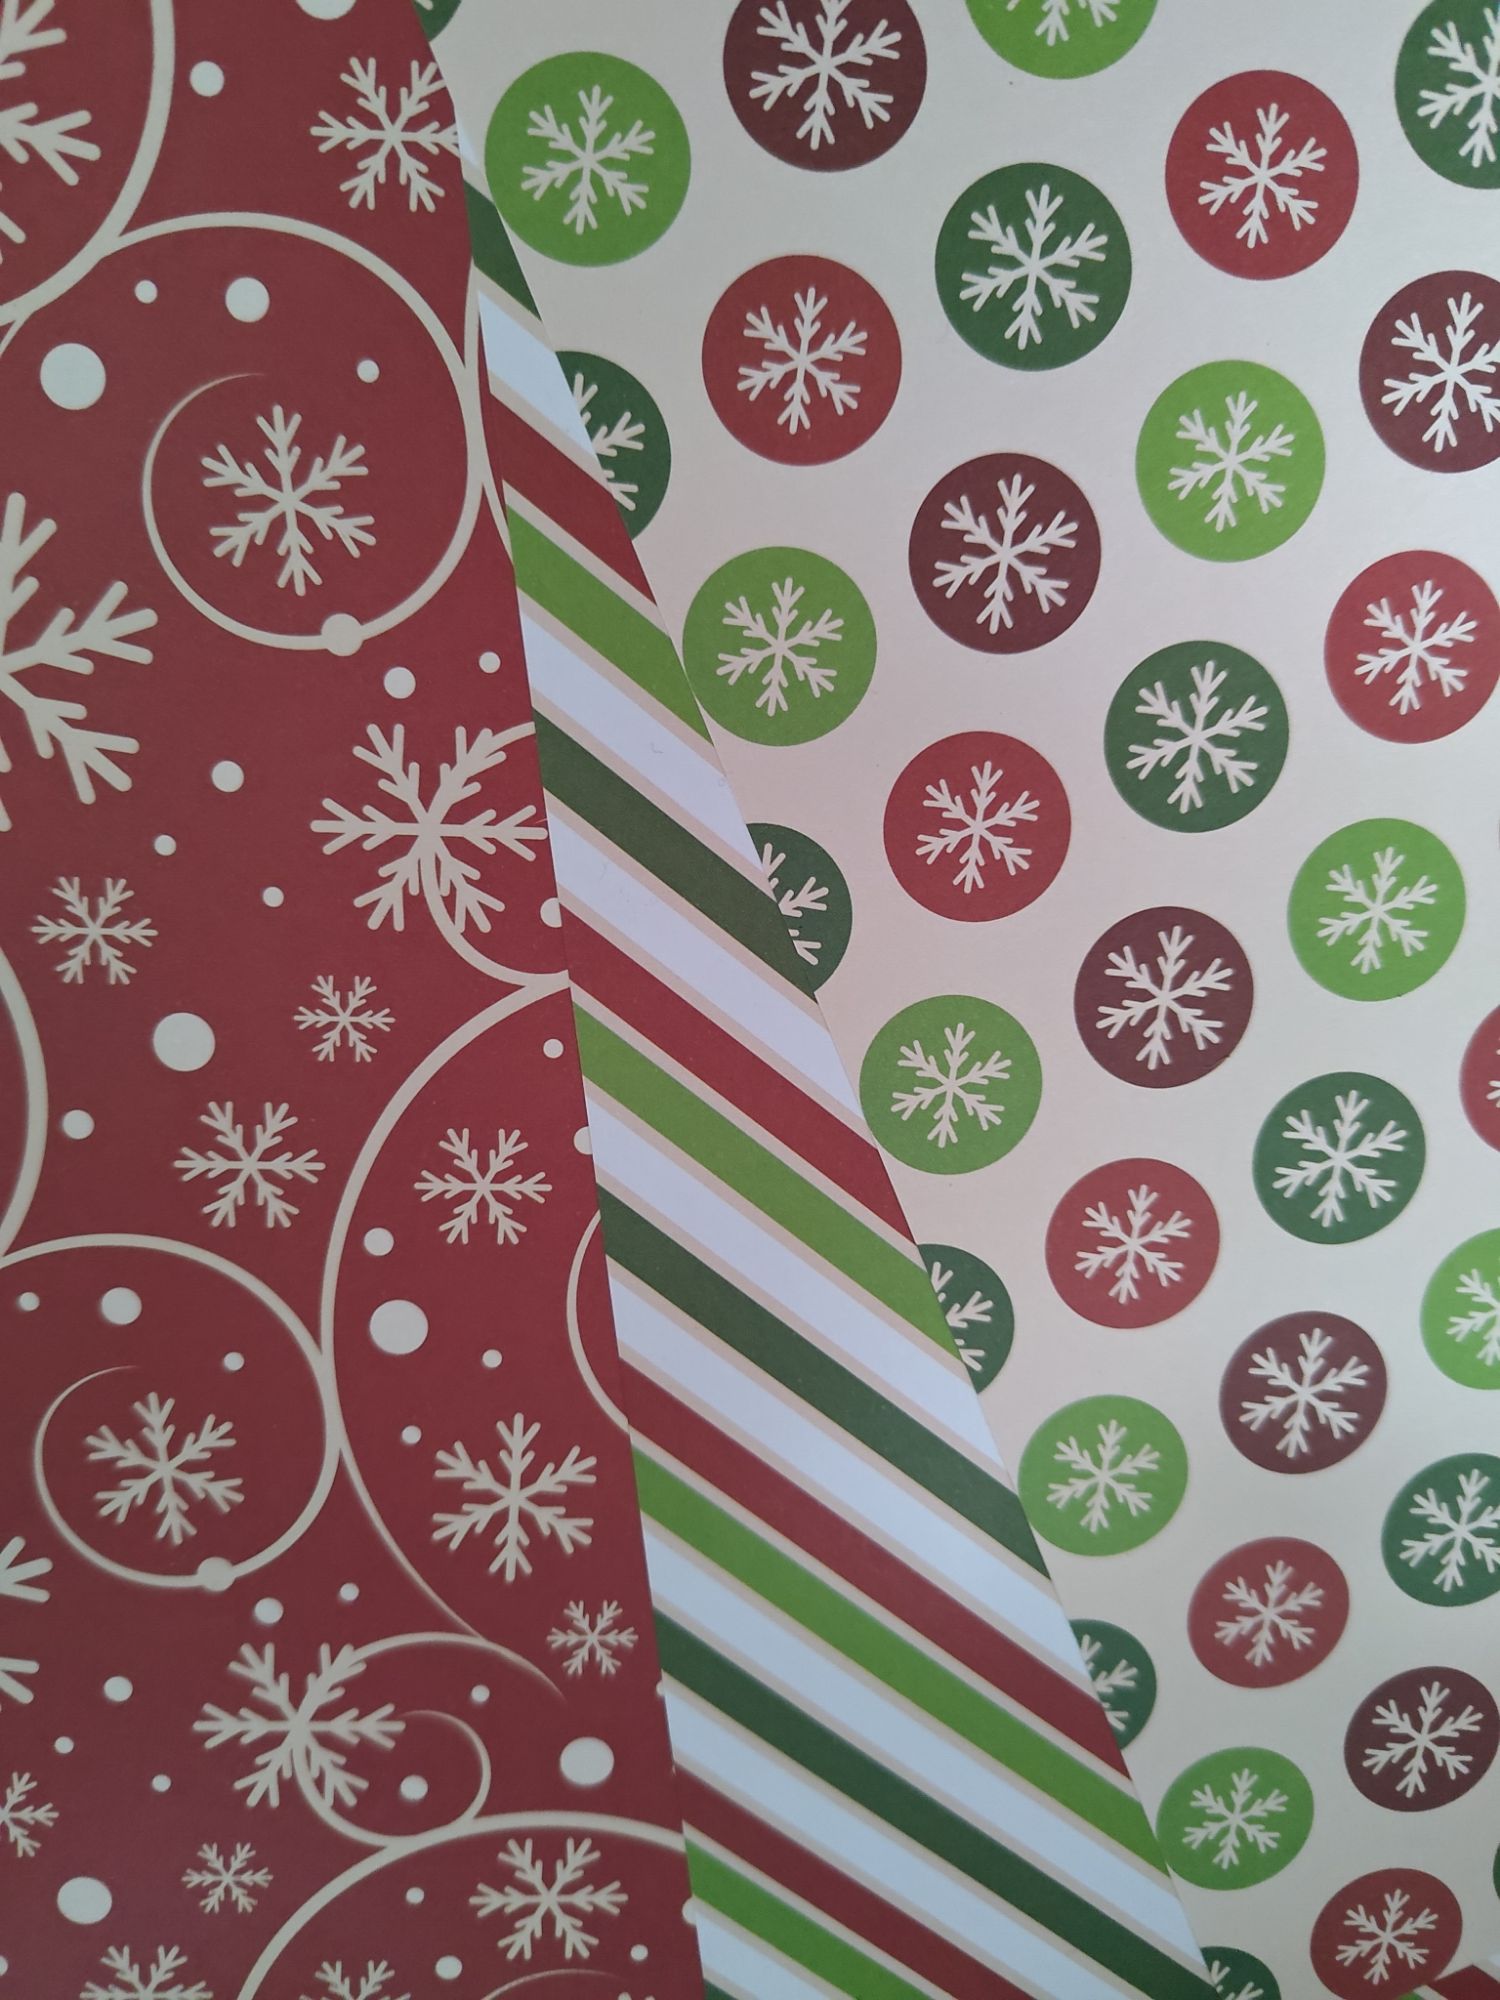
Last year, I bought a pack of Christmas-themed paper for cardmaking, but I never ended up using it as I went with a bauble design instead. It is a bit sturdier than standard printer paper which is usually about 90gsm, but you could still fold with it, so I thought it would be perfect for a somewhat simple origami bauble.
The tutorial I ended up following was this one by Origami library. You might argue that this isn’t true origami because it involves cutting and gluing, but it’s a lot simpler compared to the single sheet origami bauble design! I might try that one but only when I have the right size and kind of paper.
For now, I gathered up the following materials:
– two sheets of square paper (cut to size if needed)
– twine thread
– wooden bead with a large centre hole
– tacky PVA glue with a thin nozzle (the nozzle is very useful)
– craft knife and cutting mat (if cutting your own paper)
– bone folder (if using thick paper)
– scissors
– needle with large hole

I liked the size of the bauble when I cut out 12cm squares – 15cm is usually the default size but the bauble came out rather large in my practice attempts.
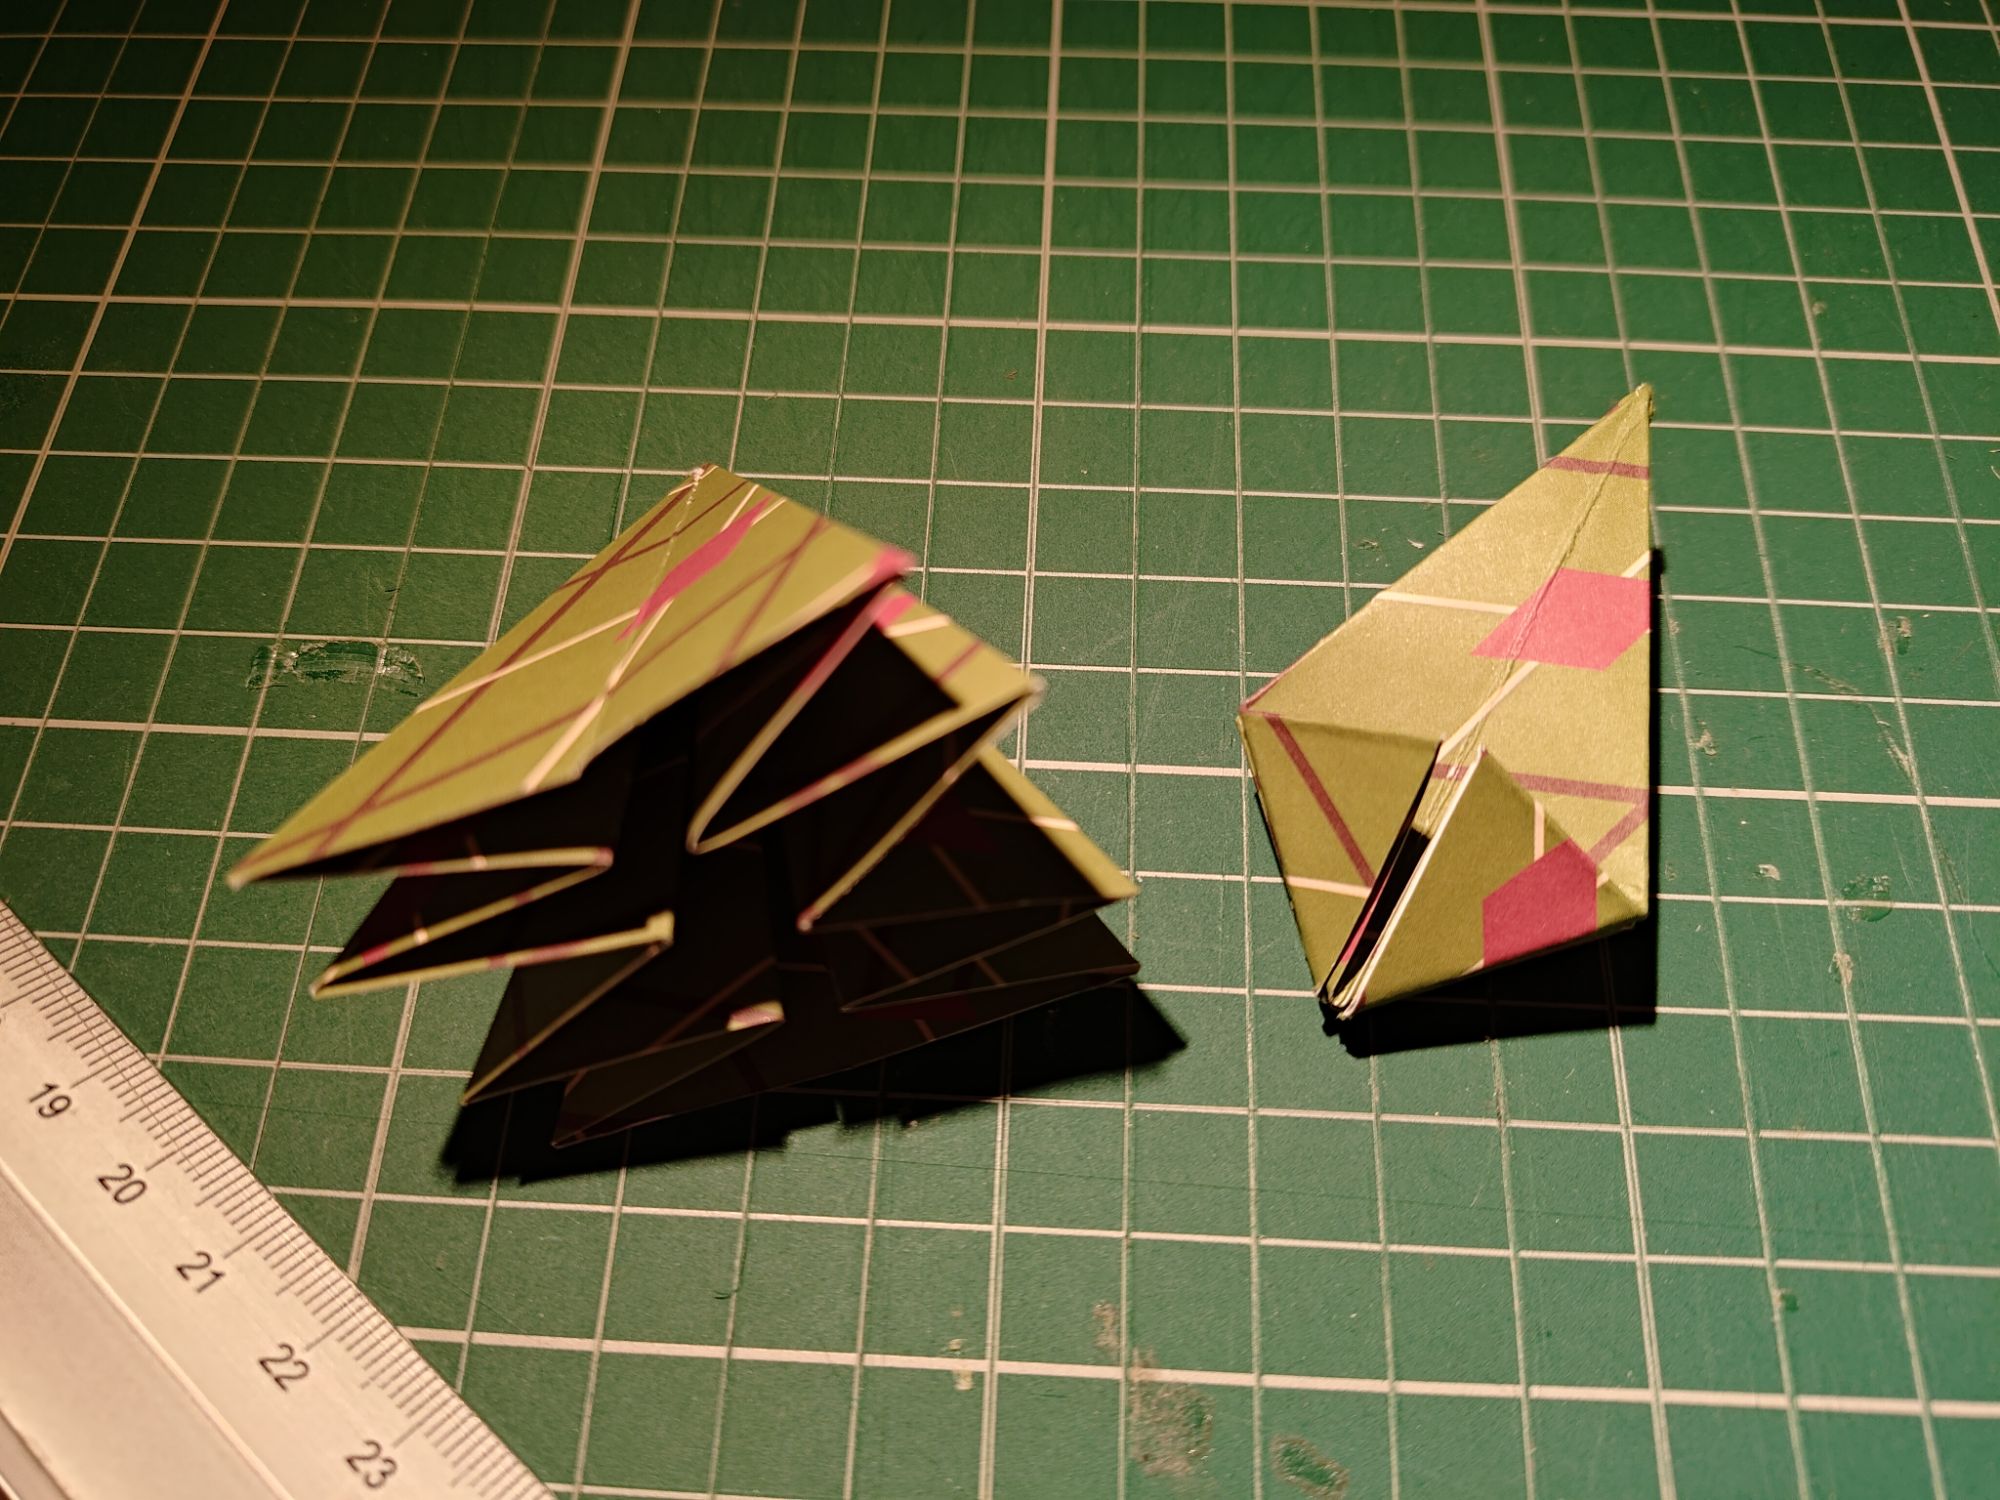
I used thicker paper because standard origami paper did not form a very solid model at the end. So because of this, a bone folder really helped with making the creases sharp.
Controversial – you do need to cut a bit off here. I used my craft knife to cut it but you need to have a steady hand, otherwise you can use scissors.


The model gets unfolded and reverse-folded at multiple points, so hopefully you already know how to do this!

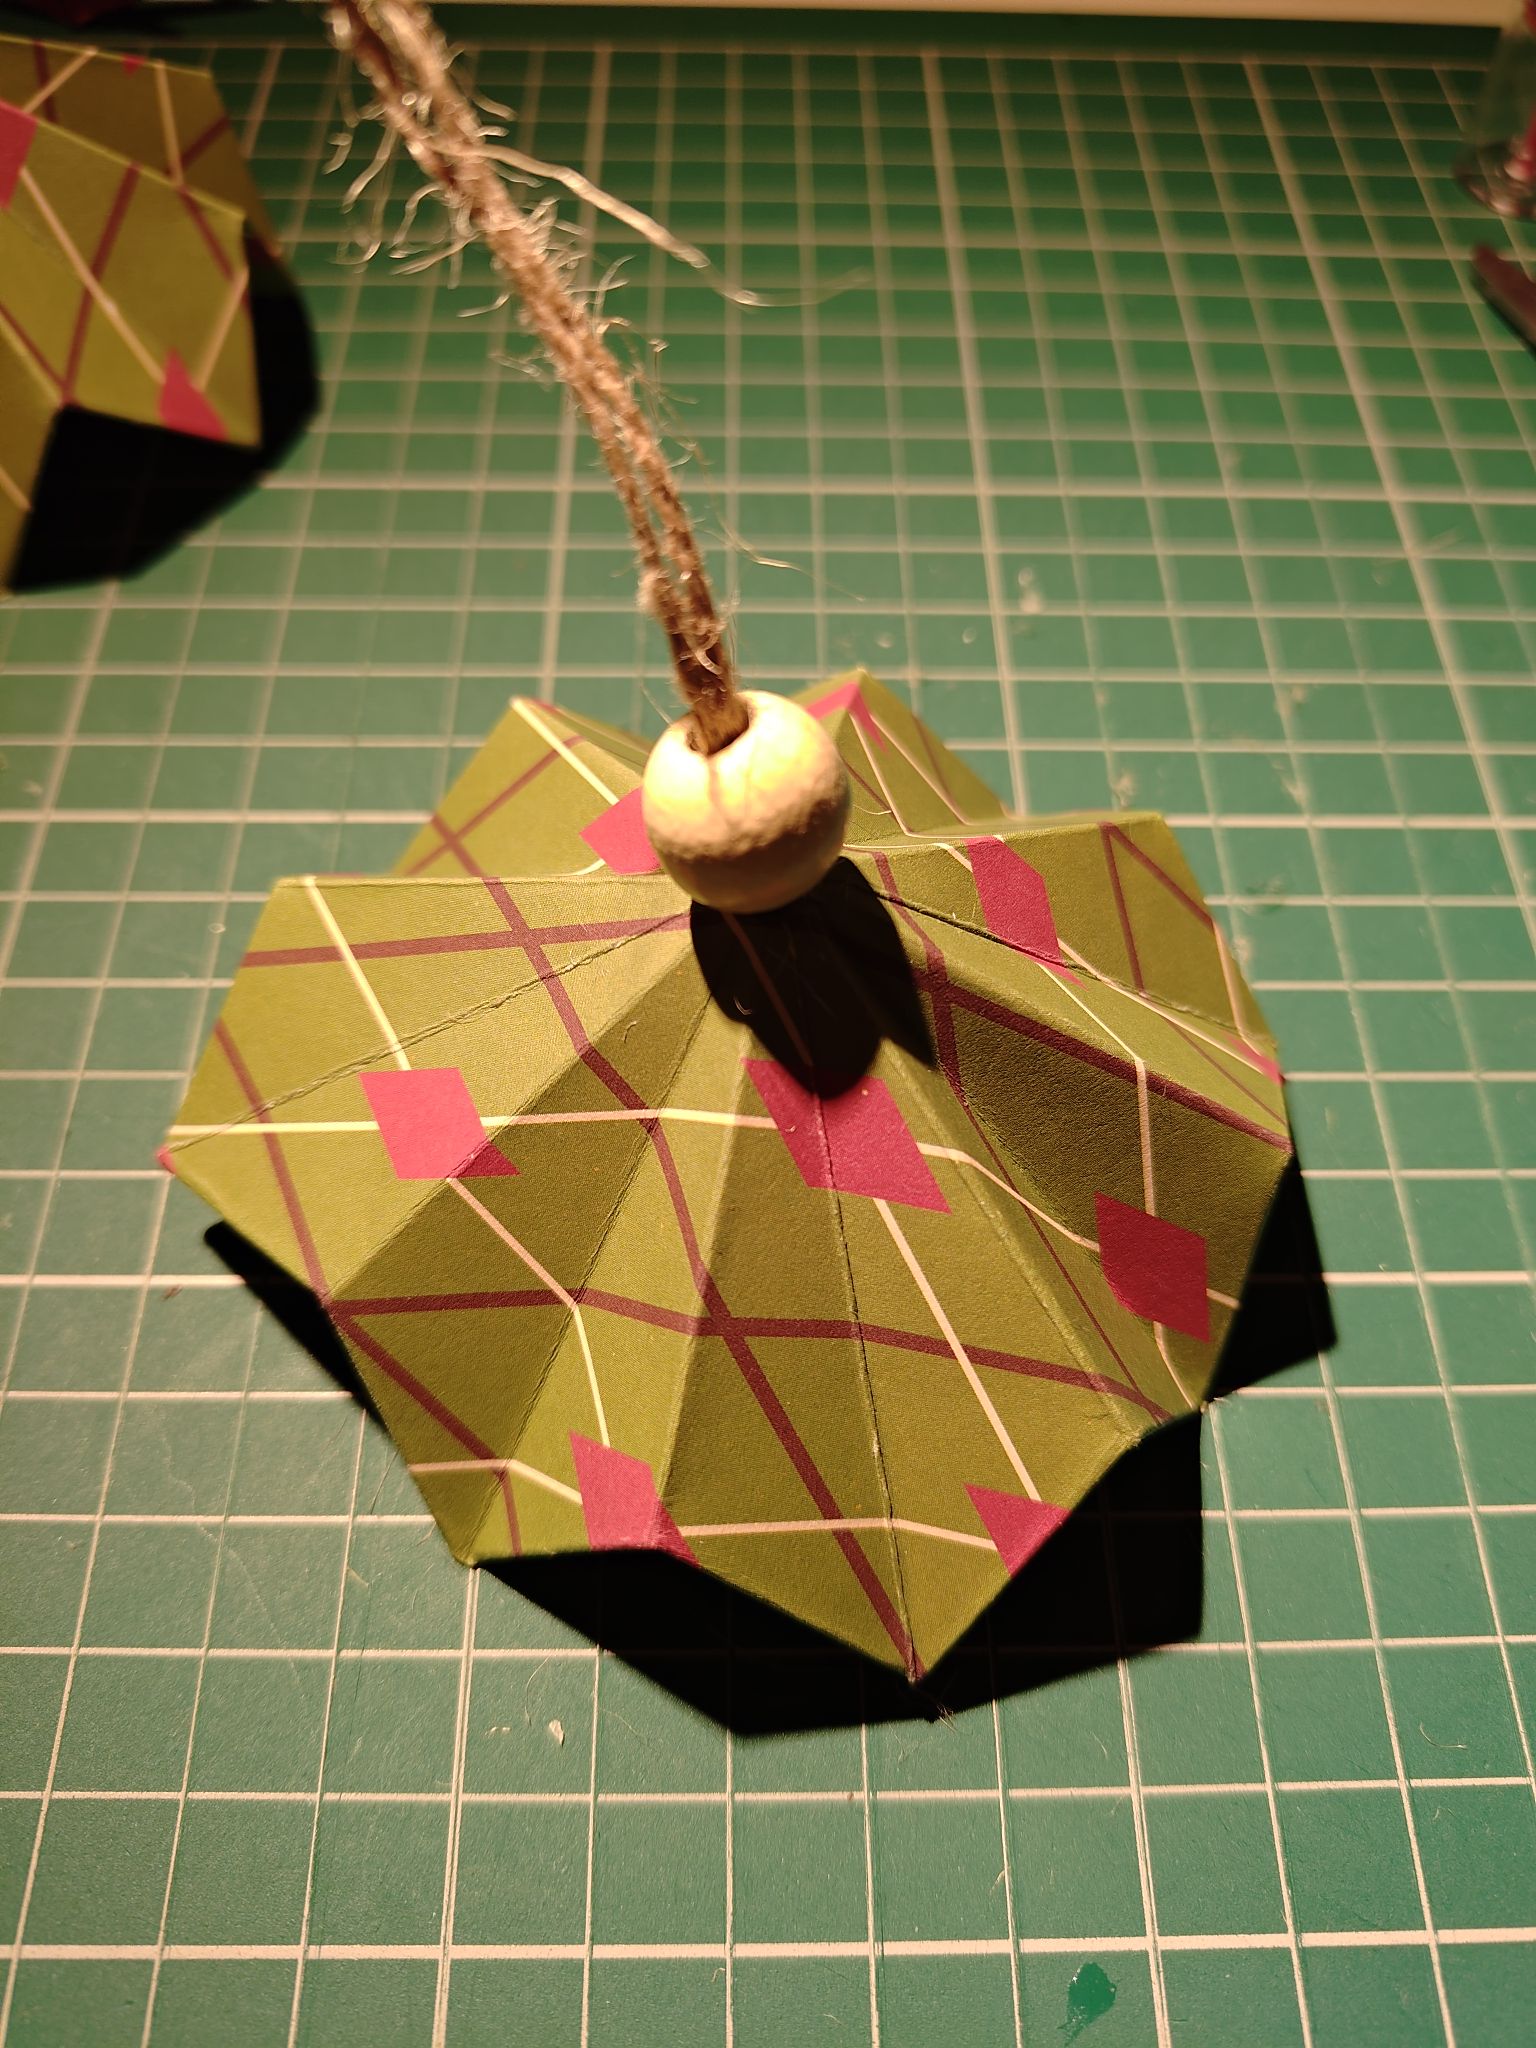
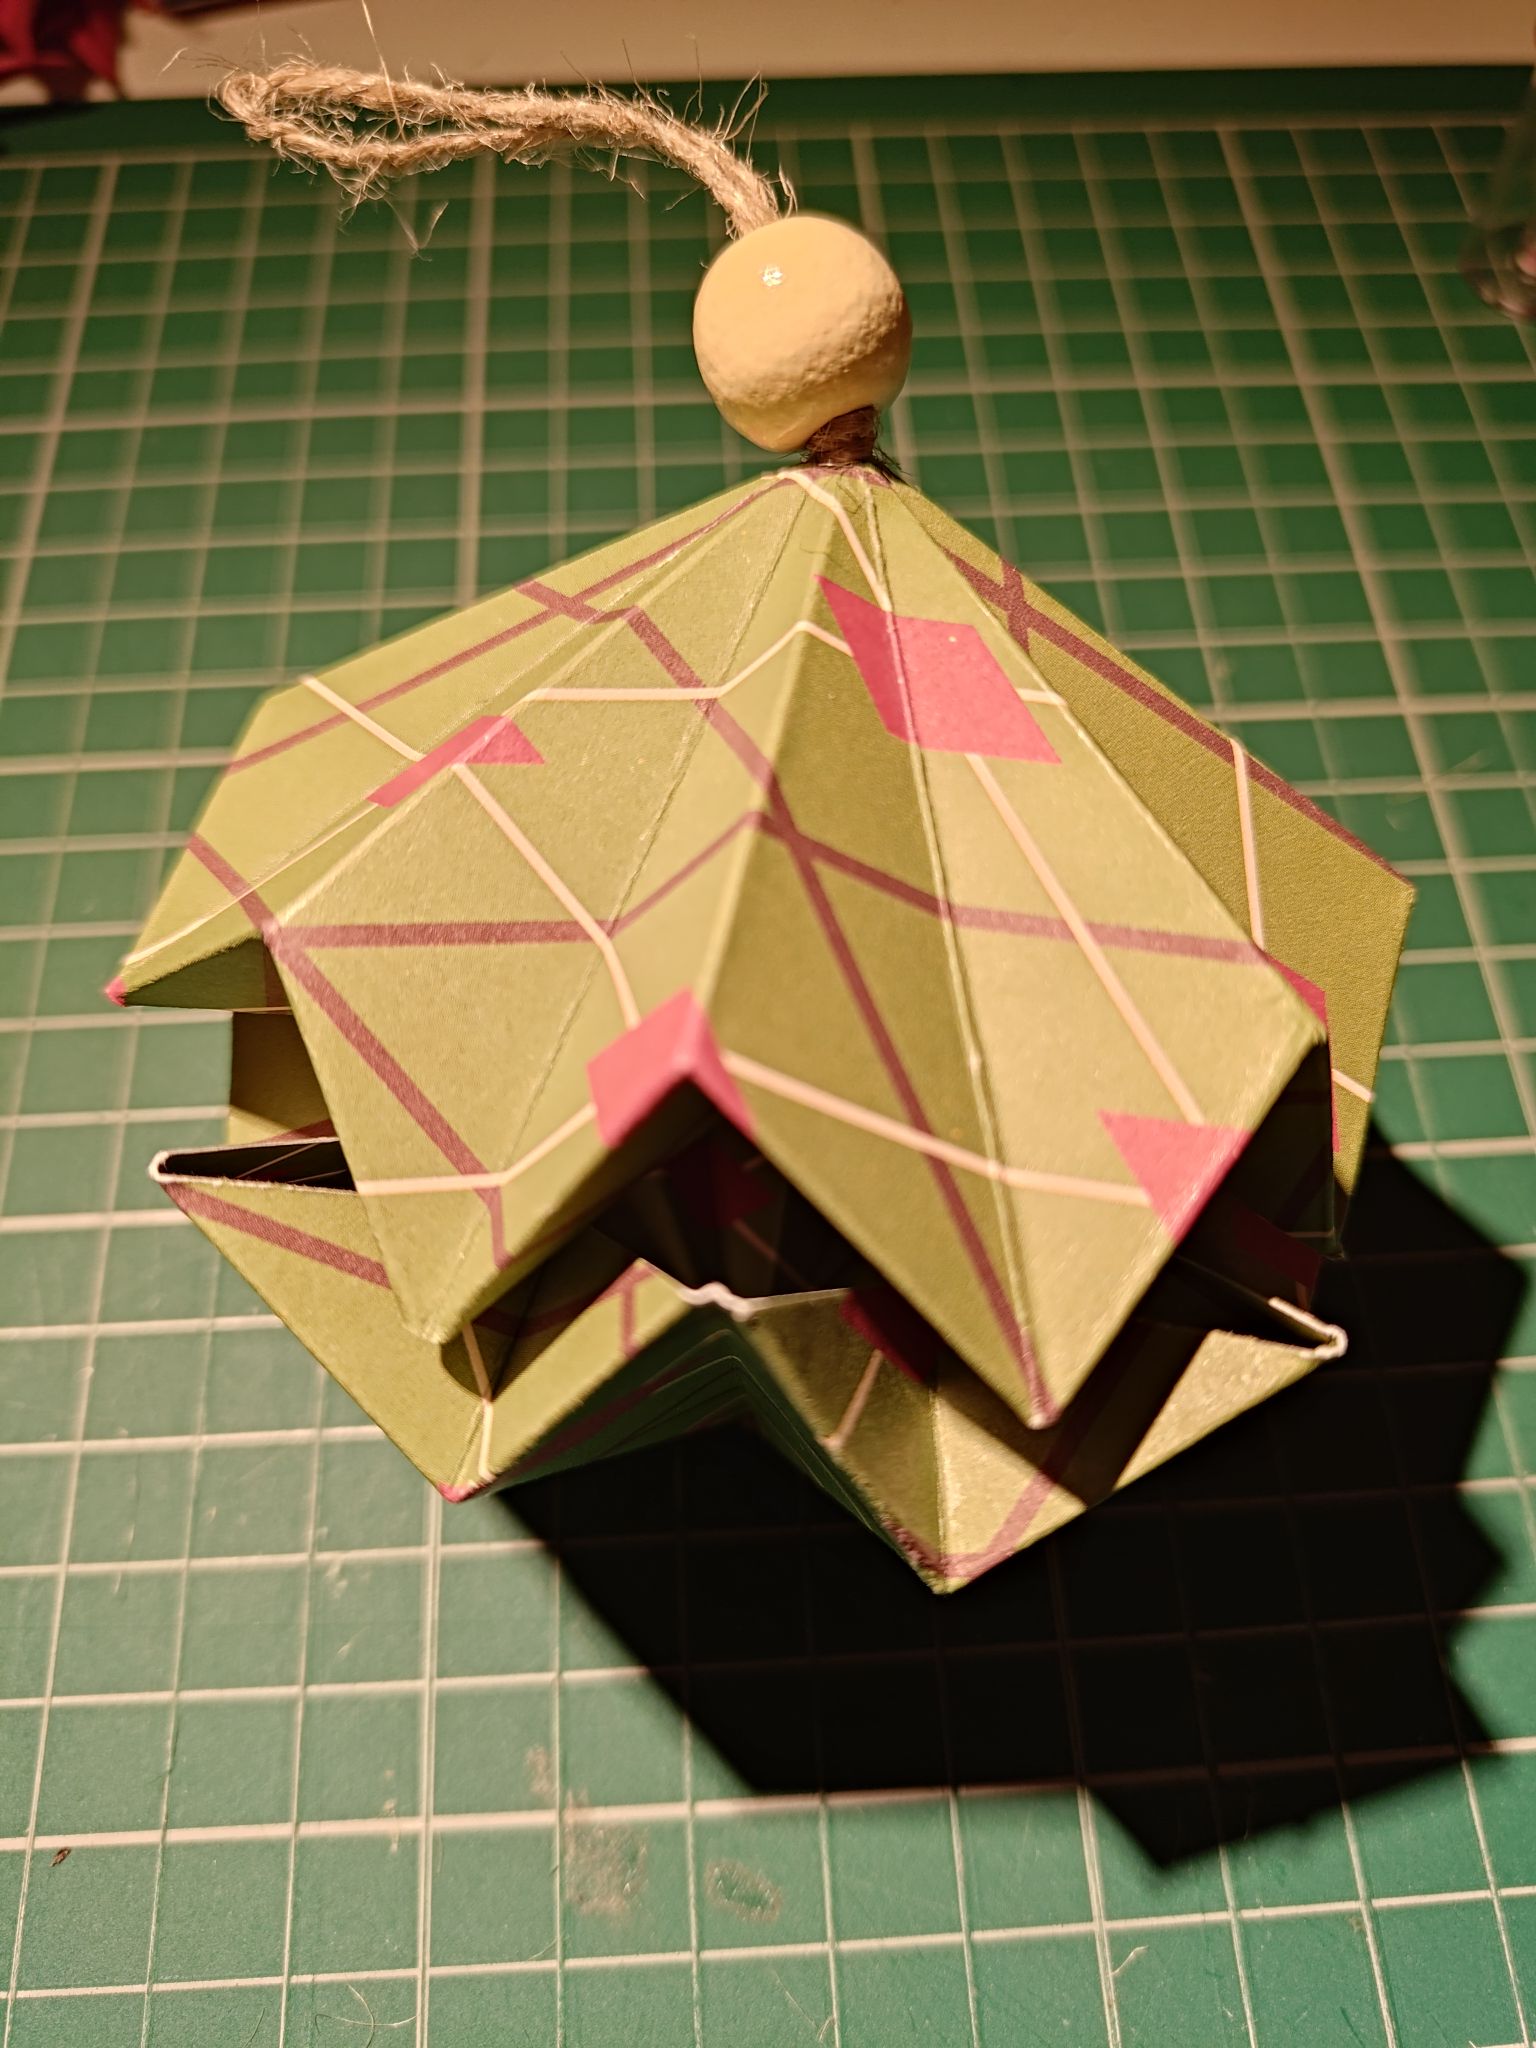
To hang up the bauble, I cut a long length of twine and threaded it through one of the bauble halves with a needle. This is to hang the bauble as a minimum – if you wanted to, you can also thread the other half to hang something from the bottom as well.
I made a knot on both sides of the paper, and threaded the wooden bead from the top to cover the visible knot. This does mean it can be pulled off normally – if you want to secure it with some glue then you can, but I felt no need to.

Now comes the hardest part of the process – gluing the two halves together! As long as the paper was generally folded the same way, the two halves should fit together. I’m thankful for this because there were some gaps in the joining!
This is where the glue nozzle comes in handy, as I needed to reapply the glue constantly and liberally to make it properly stick. Some bits would stick and others would loosen so I could use the nozzle to cleanly apply more glue.

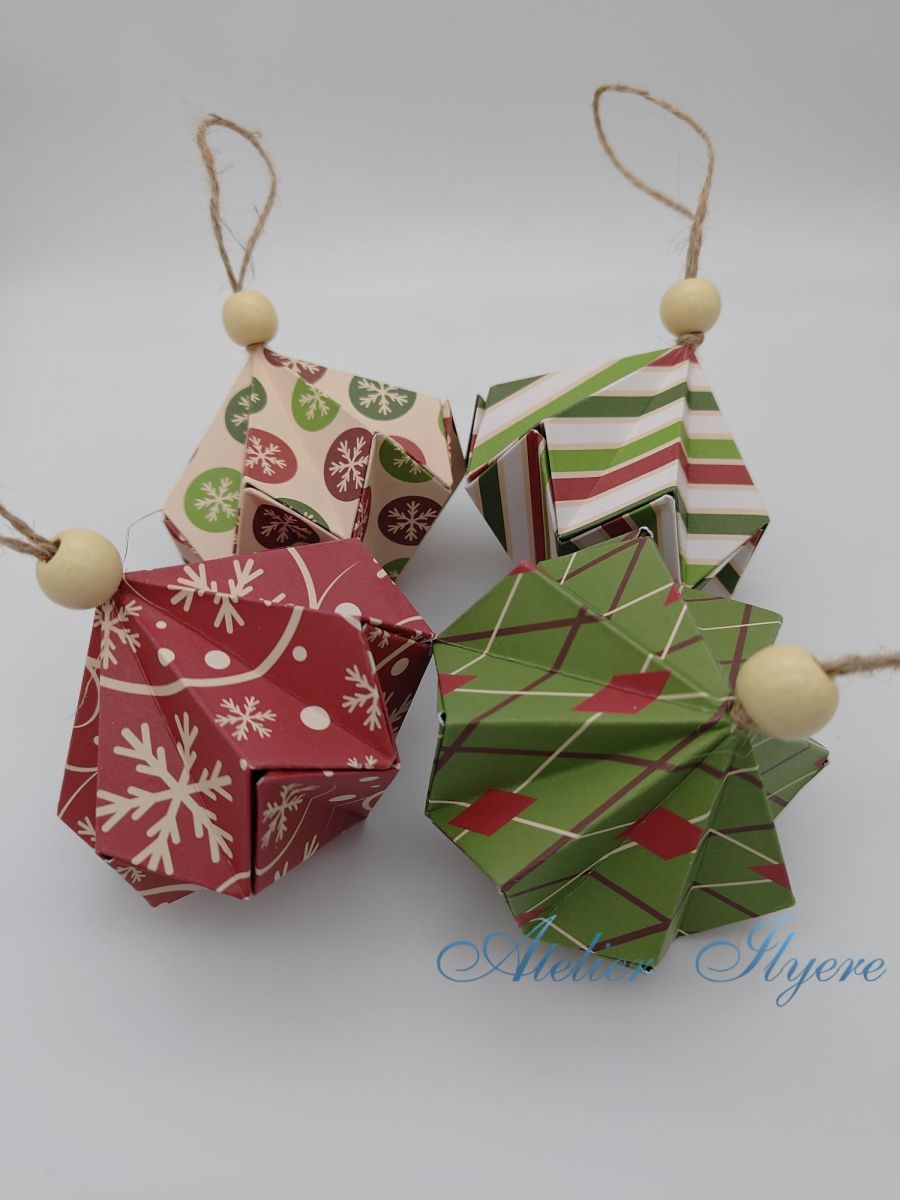
I obviously did not stop at the one bauble, as I had so many interesting sheets of paper to use! I made four in different patterns and all in the same way. There are many different ways to personalise your bauble, from the type of paper you use to the string and extra parts you want to hang off it, so I imagine I might revisit this next year with some more ideas!

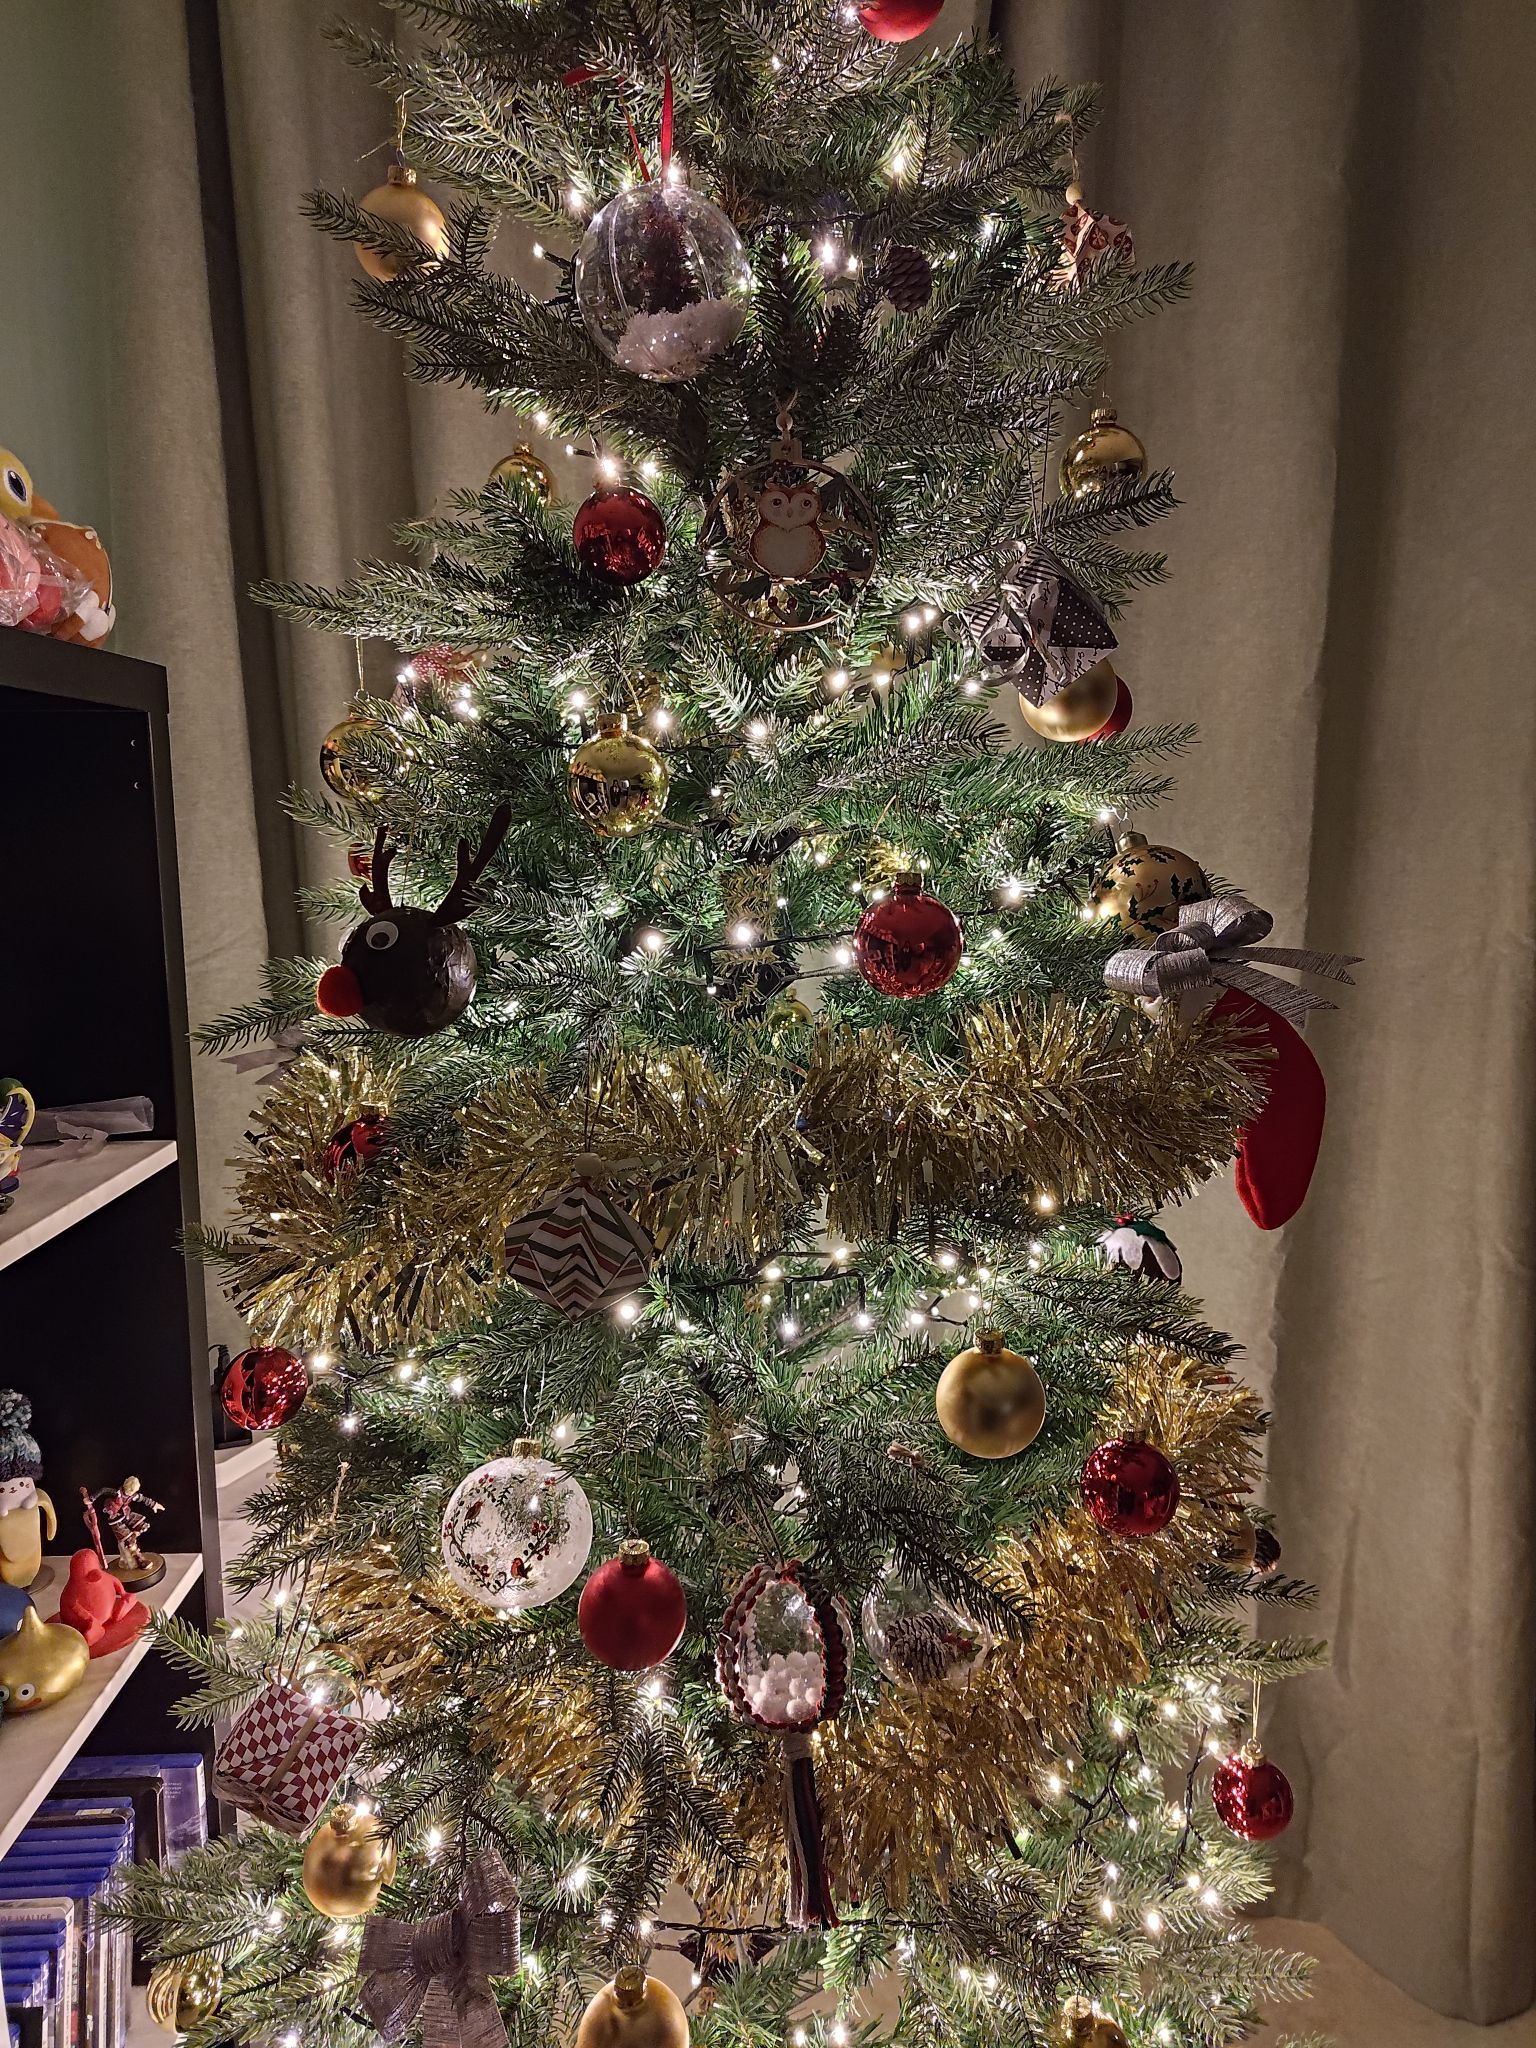
I love taking a picture of my tree every year because you can see the changes. This year, aside from these baubles, I also went to a local market to buy some beautiful glass baubles. But I’ll still always hang up my previous makes!
I wonder if one day I’ll be able to fully decorate the Christmas tree with just handmade goods?
Materials used:
– Christmas-themed paper, slightly heavier than 120gsm
– twine
– wooden beads
Tools used:
– craft knife and cutting mat
– scissors
– PVA glue with nozzle
– bone folder
– needle
