
I might talk a lot about origami plants and the benefits of keeping a plant that never wilts (although they can lose their colour in the sunlight, haha…) but I do actually like to keep real plants as well. The previous owners of my current house were avid gardeners and left a beautifully kept garden here, but I was a forgetful with the moving in process and failed to continue the good work in the first year. The hydrangea plant in particular did not flower at all last year – I really thought I had accidentally killed it! I tried pruning it a little and thought it may have been too late for it, but I spotted a few green leaves growing near the end of the season and had hope for next yet.
This year, the plants have done quite well! A bit too well actually… I did only a bit of pruning and now everything is too large. Gardening truly is hard work. I am so happy that the hydrangea has properly grown back because I really love these flowers. My shrub produces a range of colours, from pink to purple mostly, but one of the shrubs produced this really nice light blue shade too.

This picture was taken a few weeks ago, as they have wilted a bit now. I recently received a flower press but I think I missed the window for this, so instead I wanted to capture it in paper form.
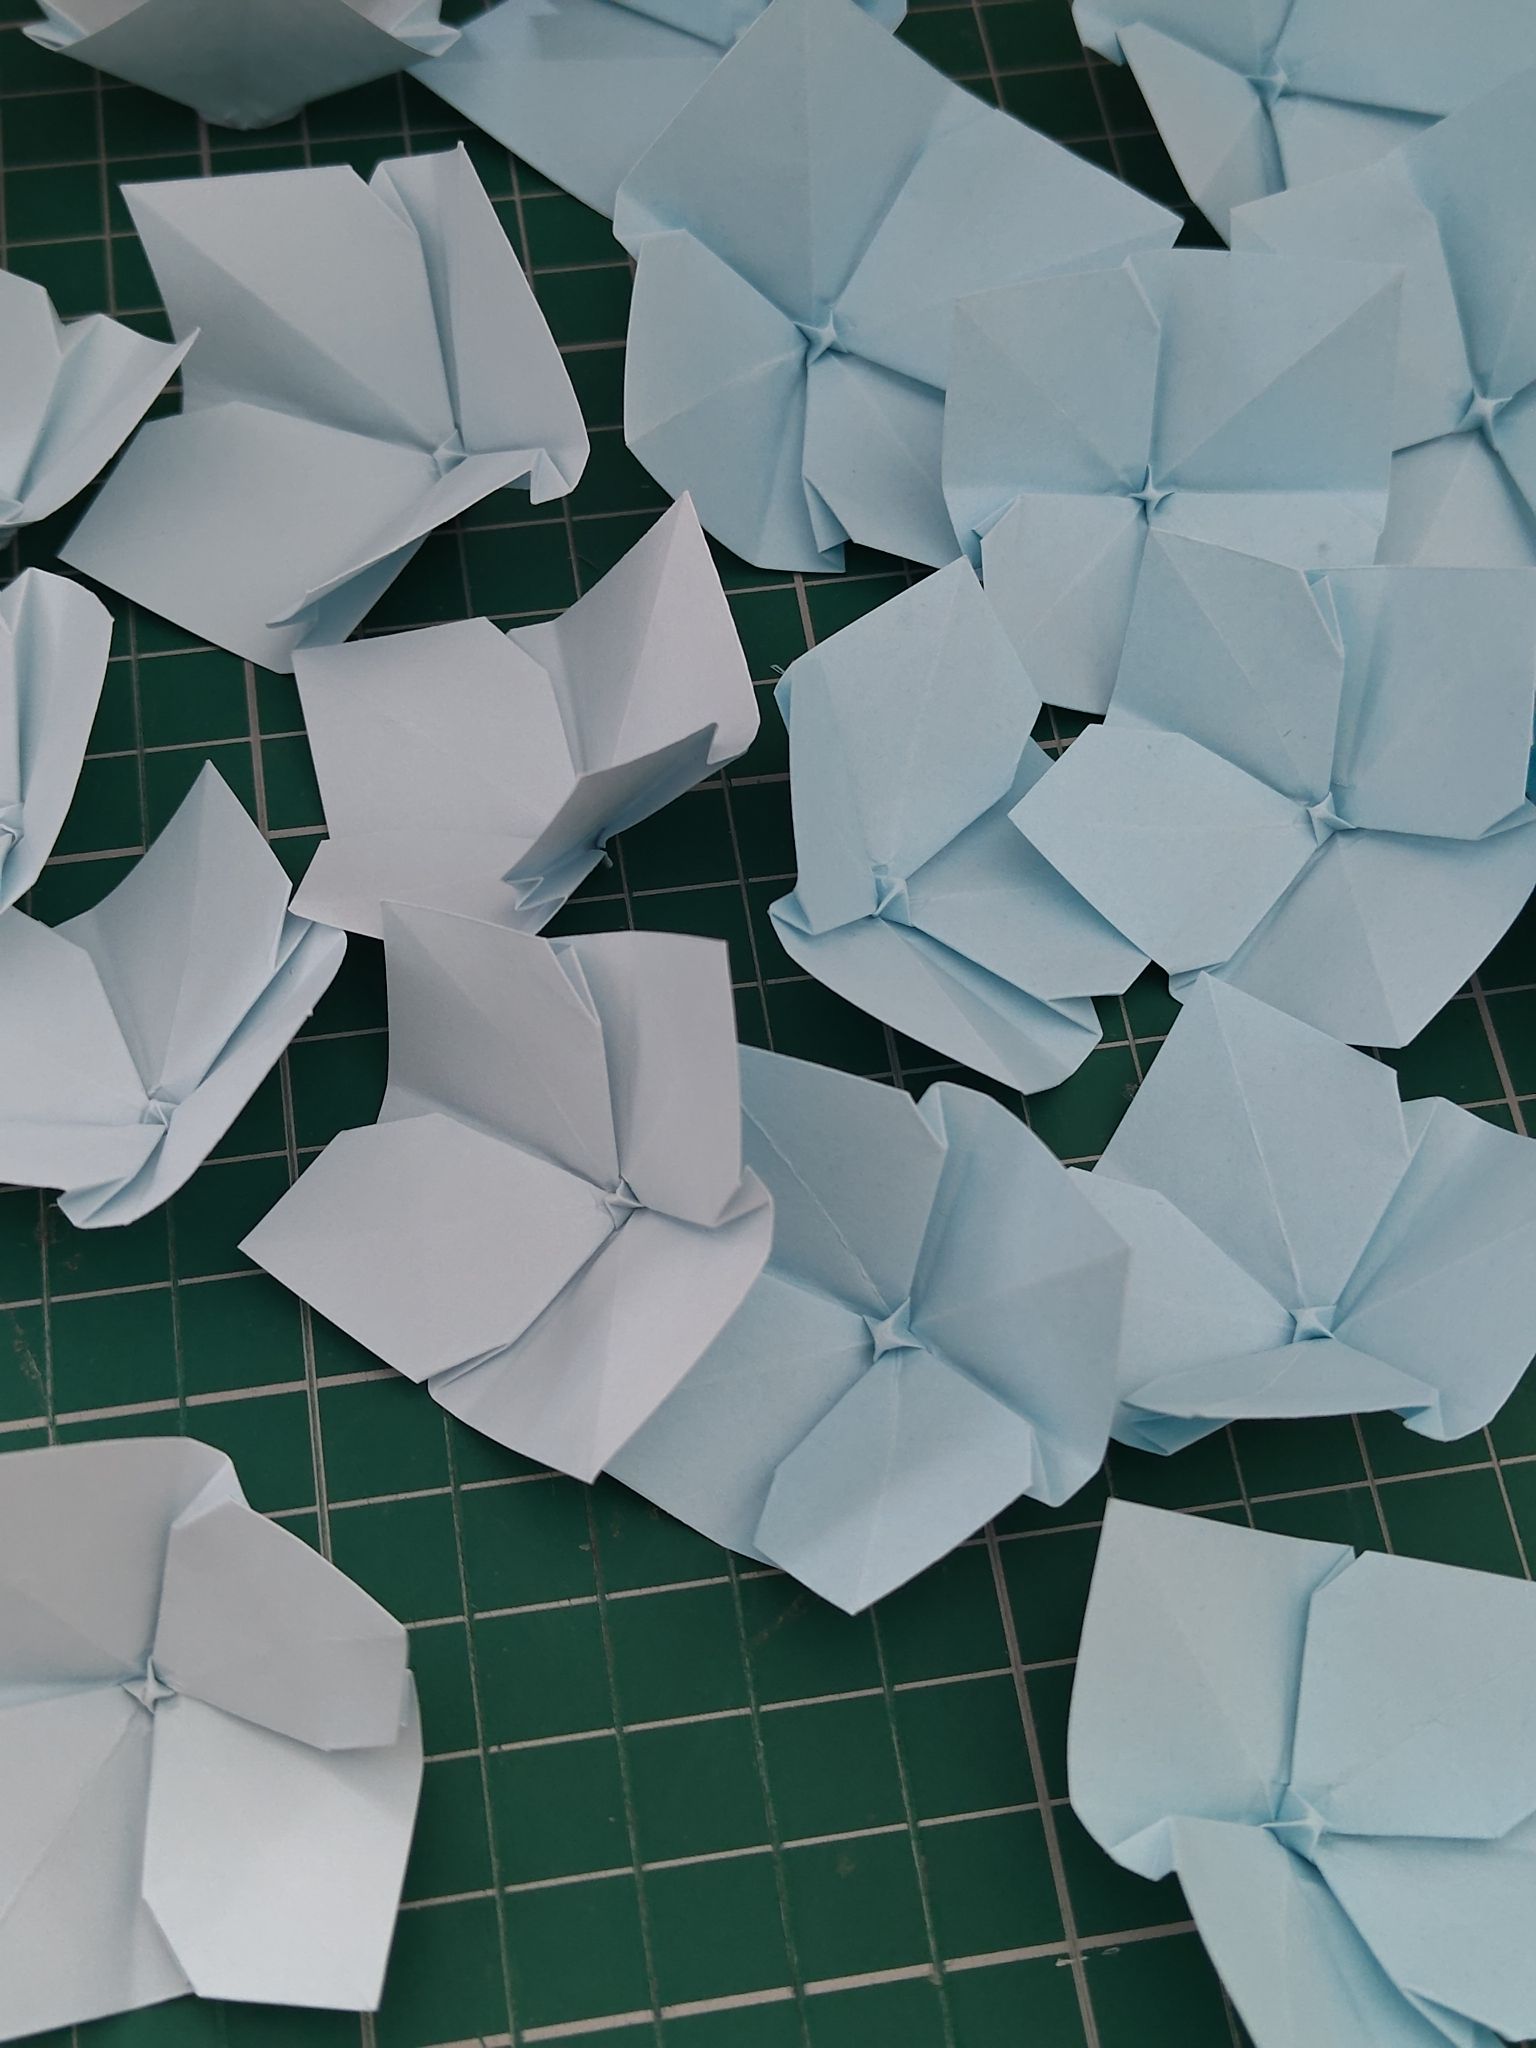
It turns out there are many ways to fold a hydrangea flower. The almost square-like shape lends itself really well to origami and tessellation, but how you want to shape the petal is up to you. I found quite a few different forms online and tried them all out to see which shape I liked best.
Some links below:
Origami Club (diagram)
Origami Craft TV (video)
Origami Flowers by Hiromi Hayashi (book)

In the end, I quite liked the one from the book (the top-most purple one) as it retained the square shape but made the blossoms look a little different to each other.
I cut out squares of light blue paper in 5cm and 6cm sizes. You can use a mix of sizes in the plant, but there should be more small ones.
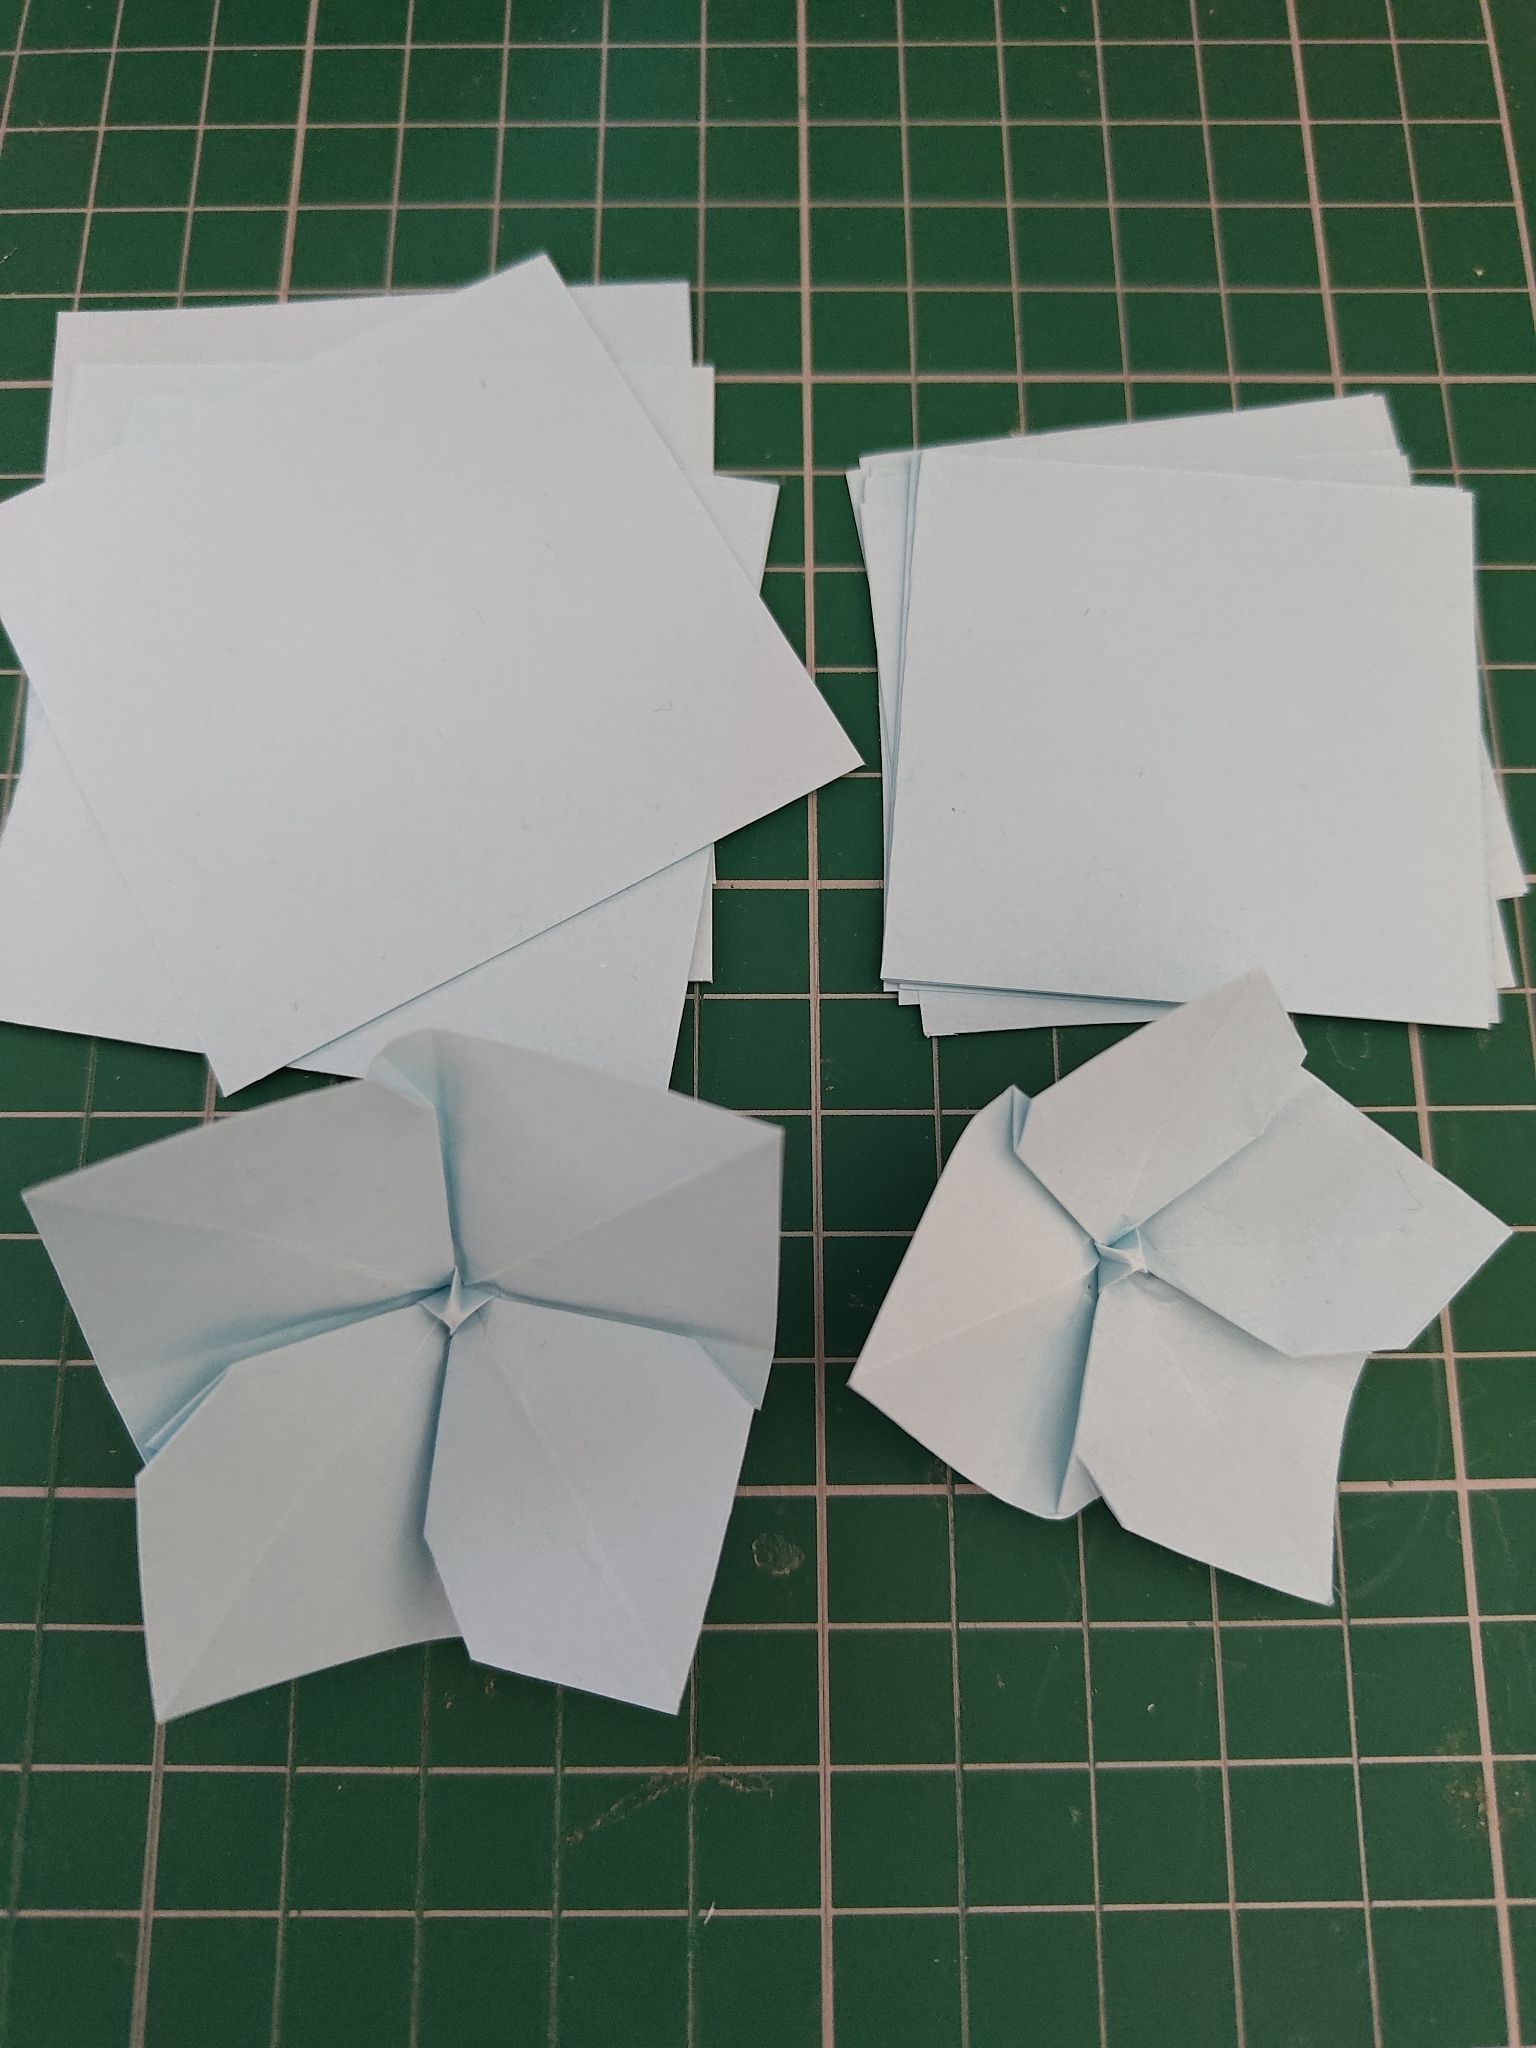
At this point I was not really sure if I liked the really light blue colour, so I made flowers in a slightly darker blue as well.
There is another type of hydrangea called the lace cap hydrangea that I might try with the old flowers, but for now I have stored them.
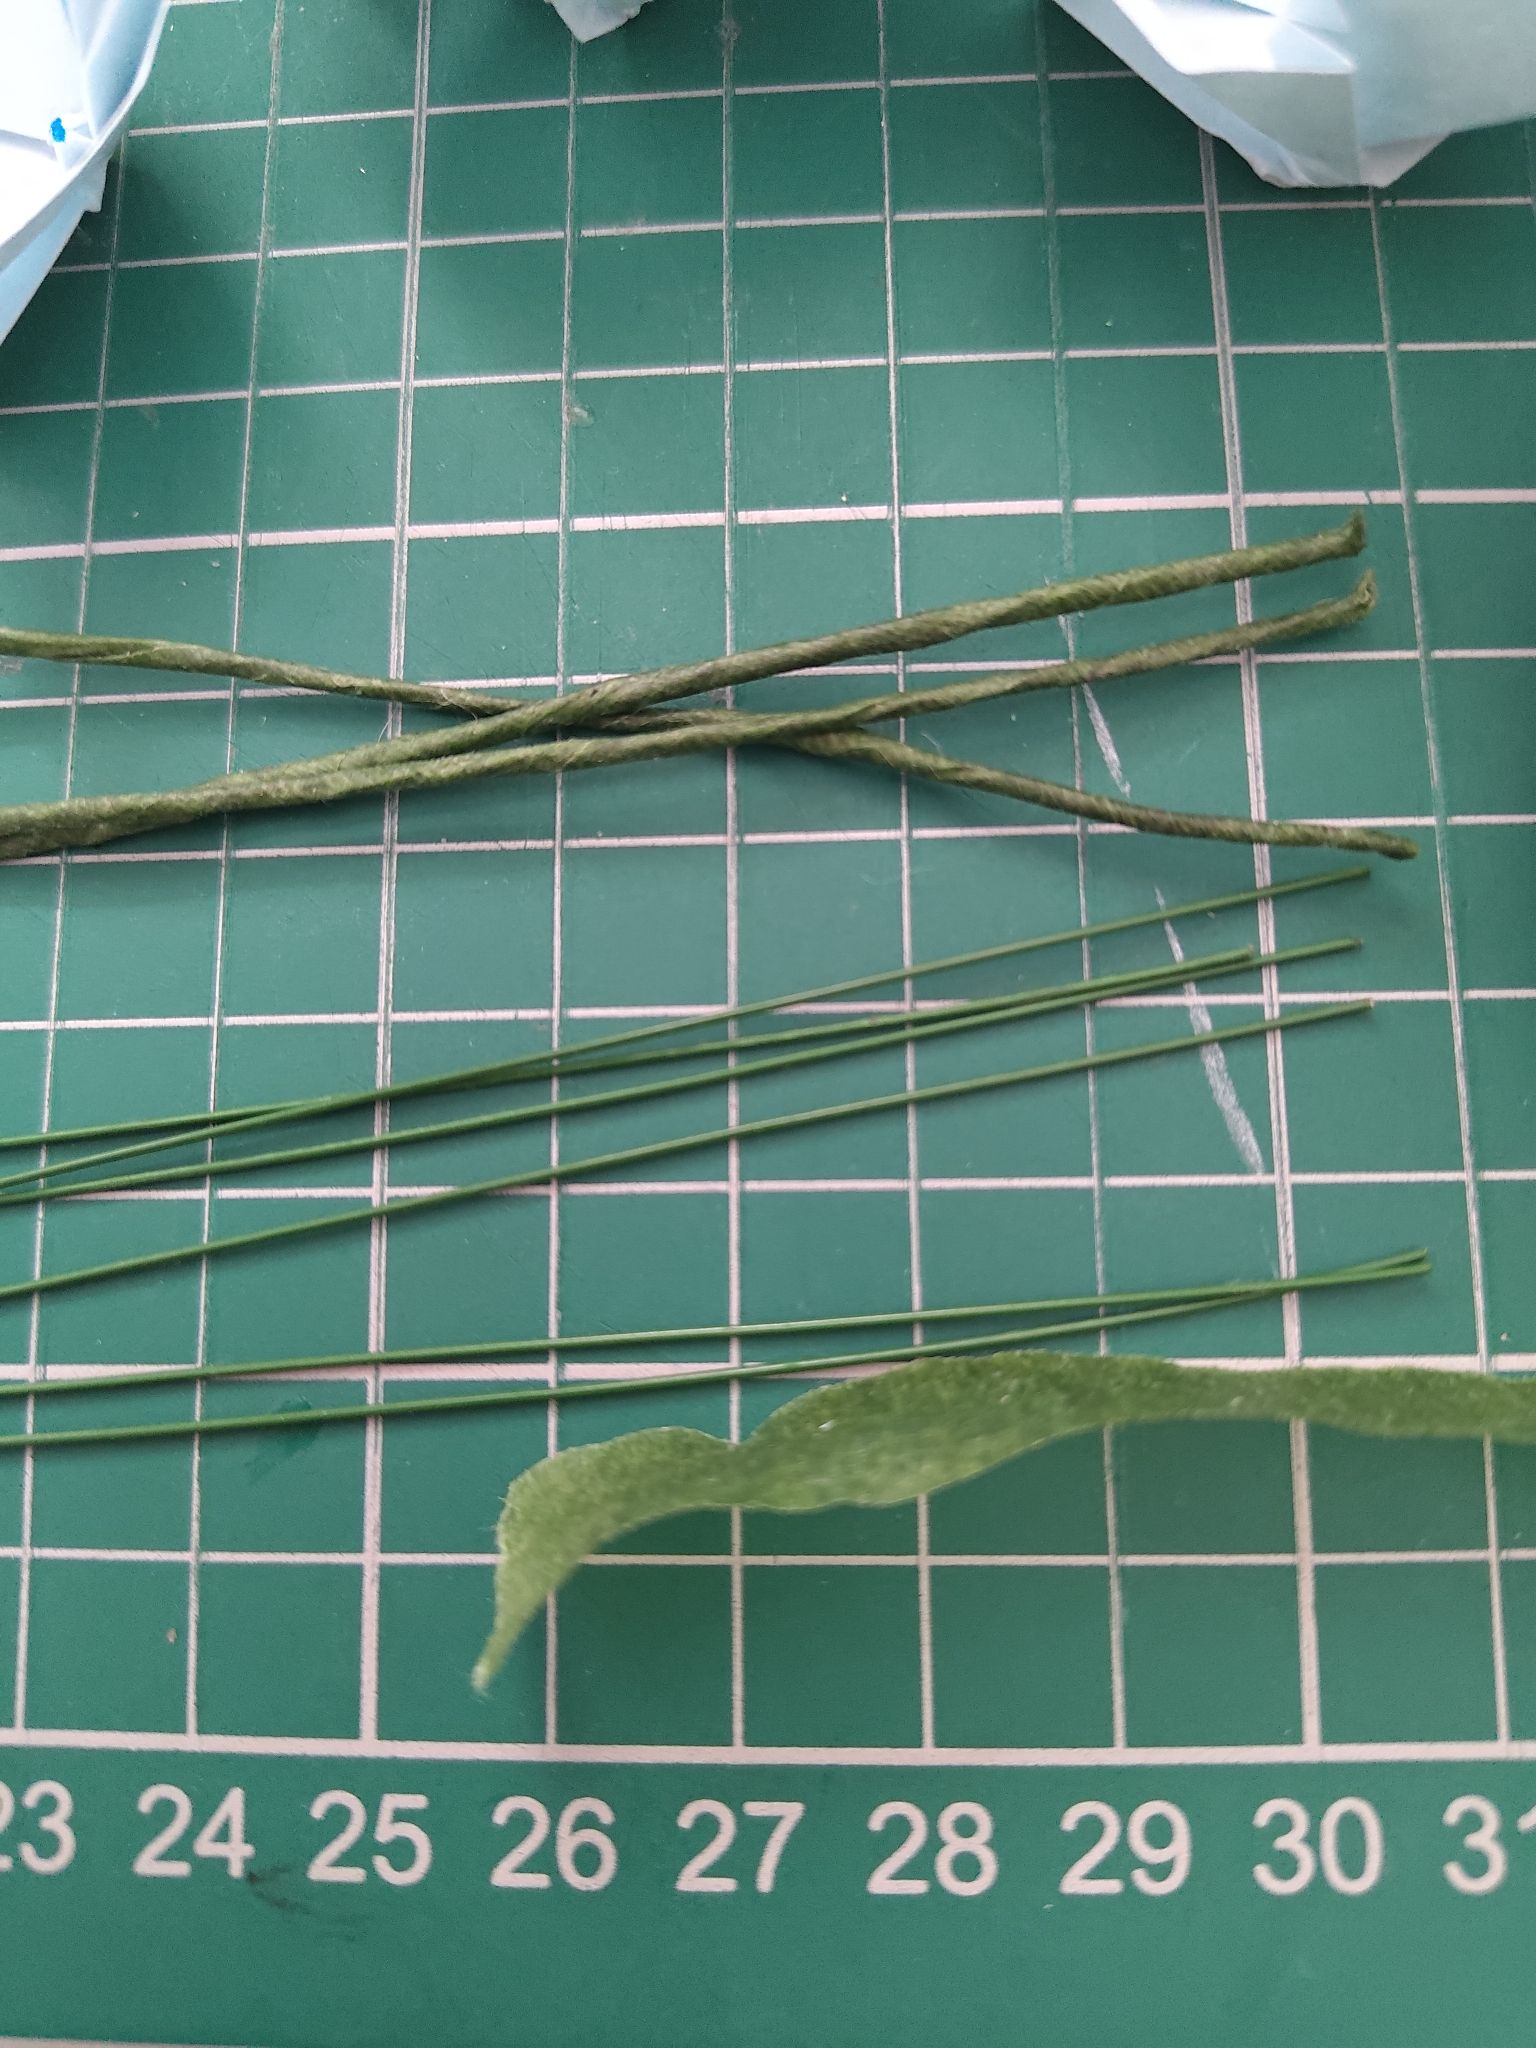
Hydrangea plants tend to have lots of large leaves surrounding the flower. I made generic teardrop shapes in green paper, then I cut little nicks into the outline and scored some lines to imitate a real leaf.

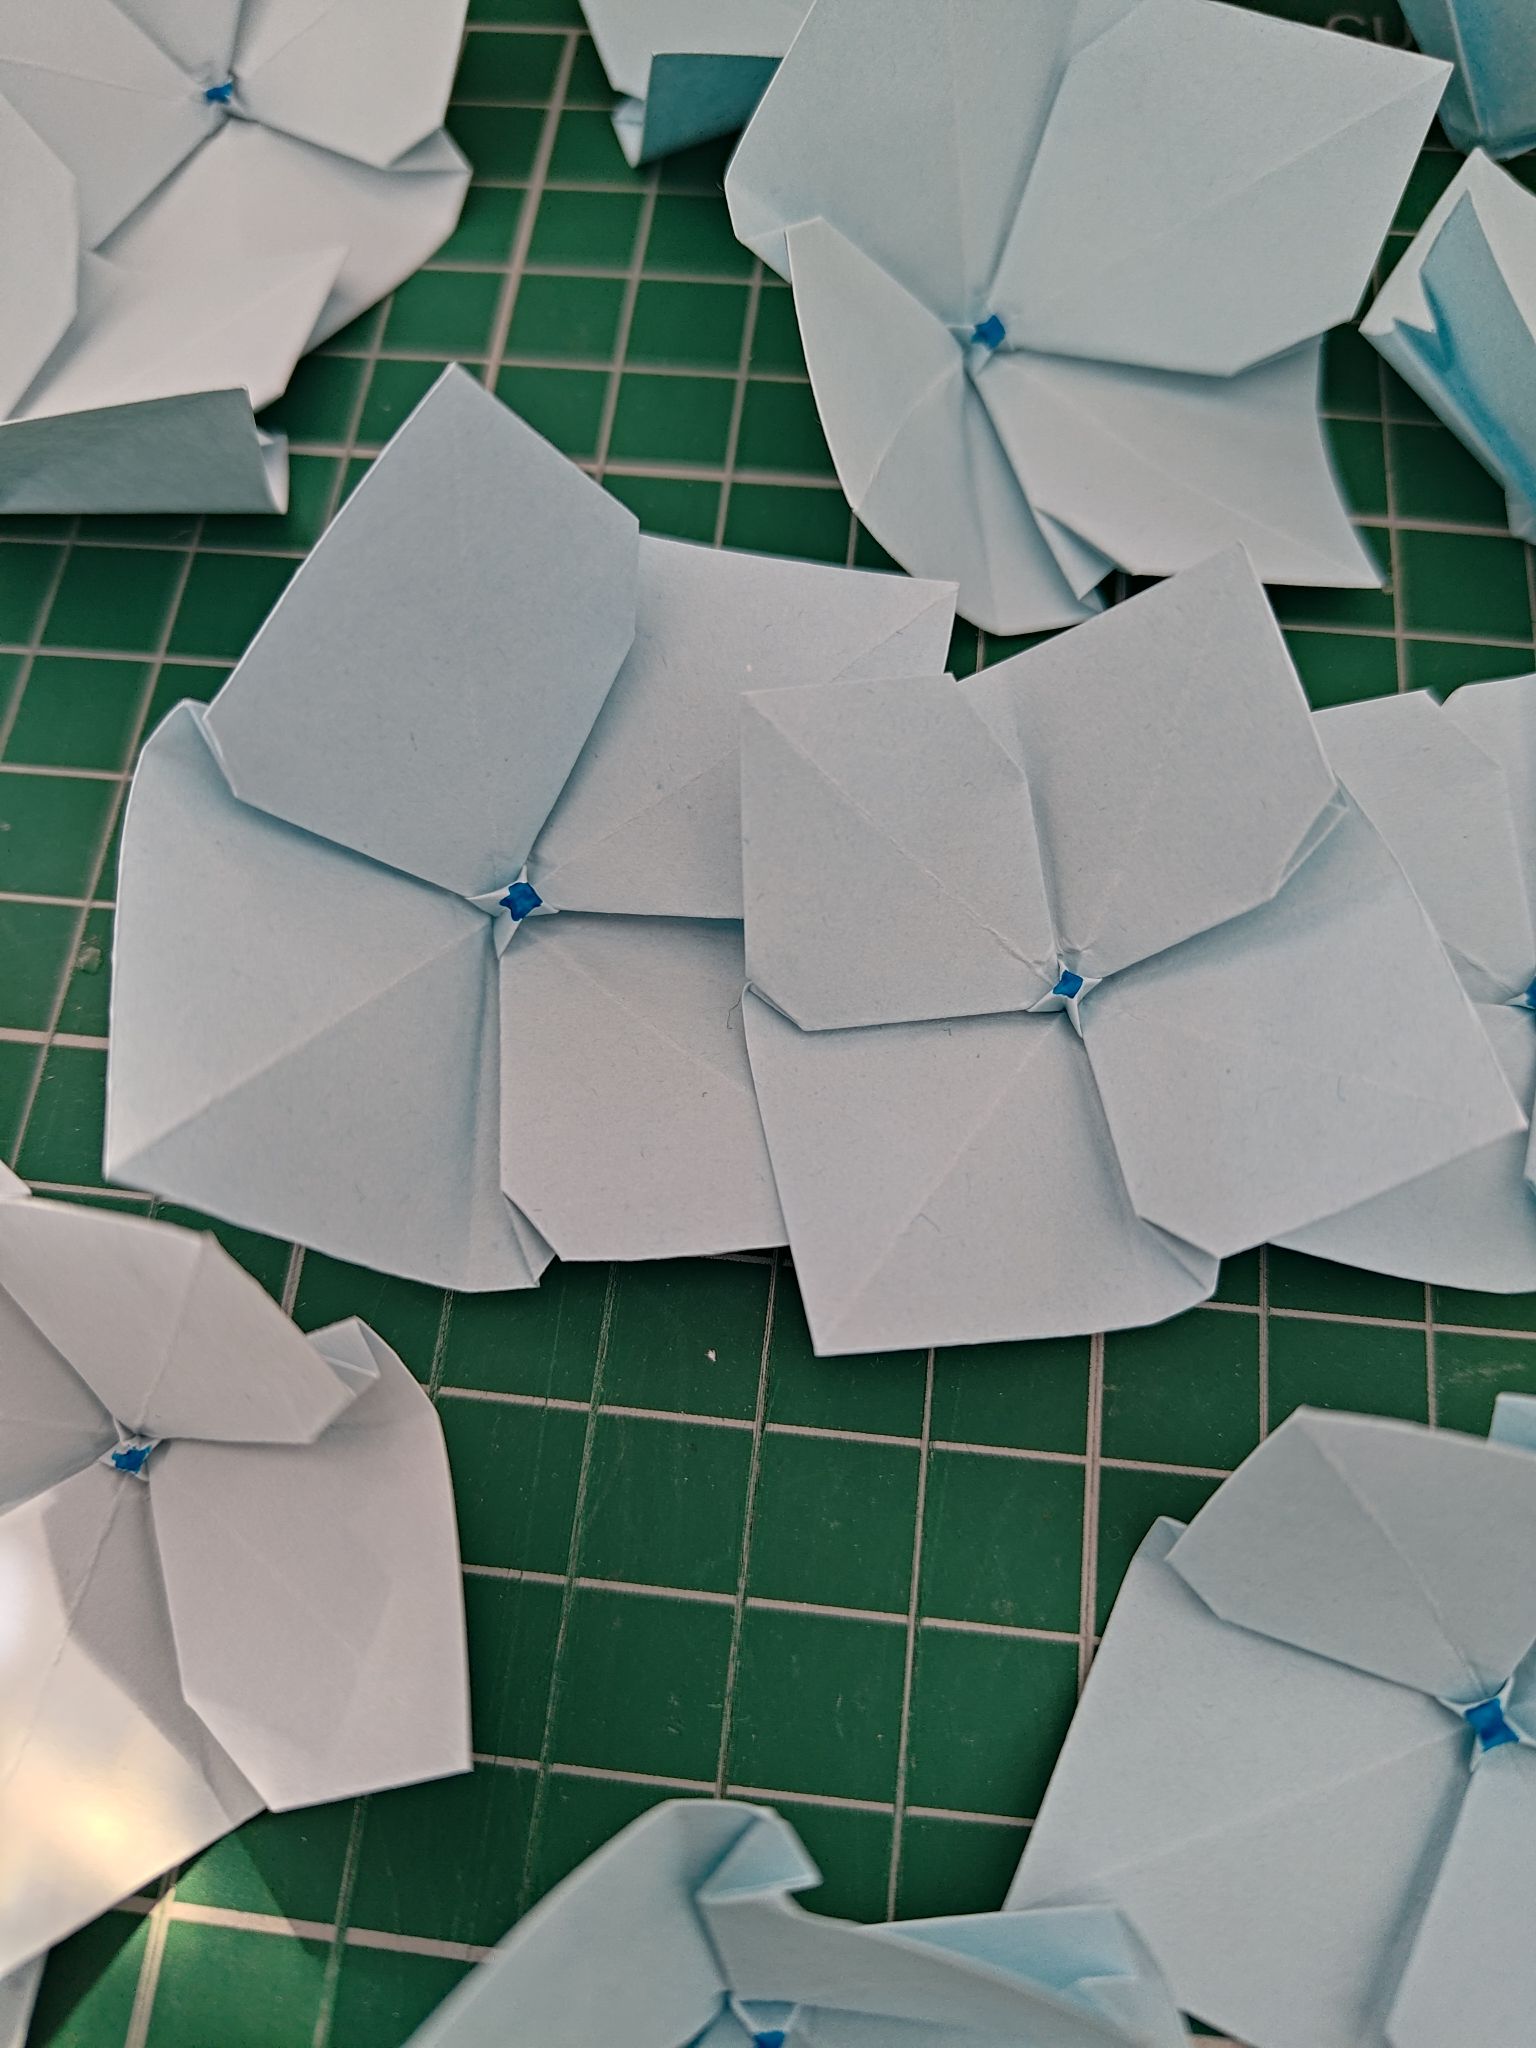
For an extra bit of colour, I applied a very small dot of blue acrylic paint to the centres of the flowers. If you wanted to do this, I would recommend folding the flower up until you need to reverse fold the centre part and painting it at that step instead, so that it covers the whole part. I only thought of this after I had completed the folding, and I only added tiny dots so that I did not paint the petals over.
You could also paint the centres yellow, but my pictured hydrangeas had blue centres. Painted stamens could also be an option but one I was not well versed in, so I went with the simplest.
I don’t think there’s anything I dislike in the crafting process more that wrapping the florist stems with floral tape. I used thin 26g wires and cut them in half, then wrapped each one before use. I hot glued the tips and attached the flower heads to them. For the leaves however, hot glue tends to leave a lot of visible glue when dried, so I sandwiched the wire between two leaves instead. If you use glue that dries clear then you would not need to do this.

I was only making a small bundle this time as I was a bit pressed for time, but real hydrangeas are much larger that this! I also only had small jars. If I had a much larger plant pot, I would have made a plant with a lot more leaves, so the height of the plant would be greater too.

To form the main stem, I took a sturdier wire and wrapped the 6cm flower stems first. Then I added 5cm flowers around the 6cm bundle, and finally I added the leaves and finished the wrapping. You could wrap all the flowers in one go if you wanted to, but for me adding them one by one helped build a good foundation.

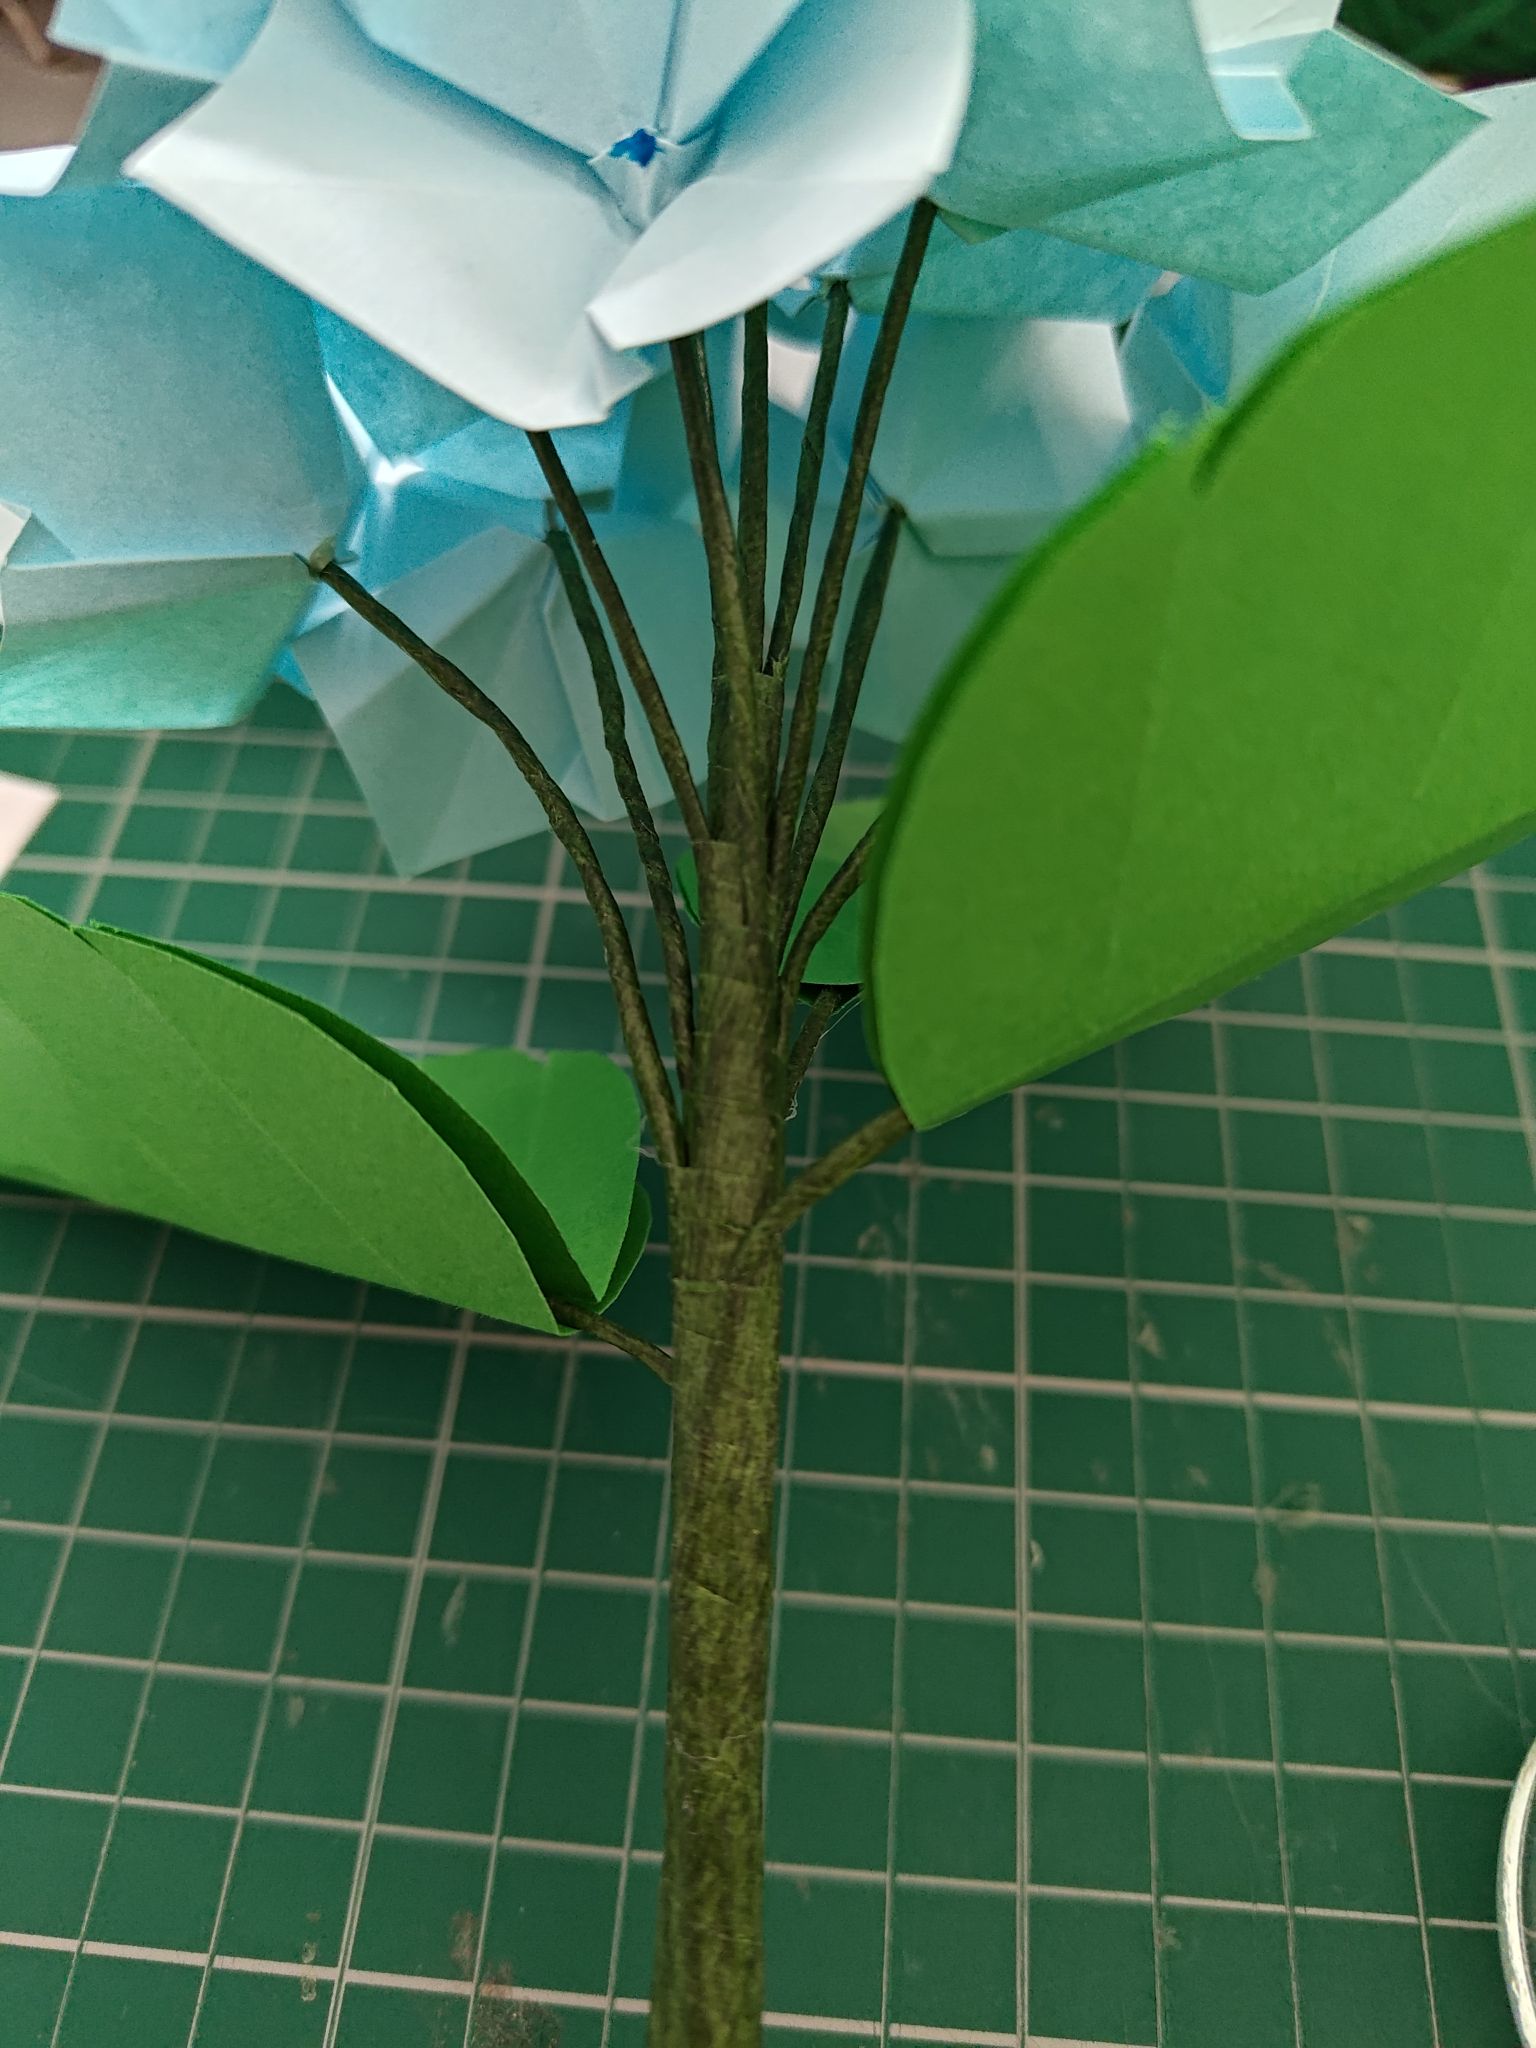
I did not quite align the stems properly when I finished the wrapping, so the bundle sits a bit lopsided when in the jar. I’ll have to buy (or even find?) some small rocks to hide the stem and centre the plant.
Here is the bundle next to my previous papercraft flowers project on my windowsill! I actually have one more vase left (I stopped buying those air diffusers, for now…) so I’ll definitely need to add different flowers to that one too.


The step that took the longest was the wrapping wires part – if only I could buy them pre-wrapped! I slightly prefer the papercraft flowers method where the florist tape is used to secure the petals and finish. Instead, for the origami flowers, I would have to work with the stems after I had wrapped them, and I would end up getting sticky residue on my cutting pliers and my scissors! What a nightmare clean-up job.

The top-down view is quite nice as you can see the green leaves, but otherwise you would mainly see in from the side, which is why it was important to create lots of smaller blooms and form a spherical shape.

Materials used:
– Light blue paper, cut into 5cm and 6cm squares
– Light green paper, cut into leaf shapes
– Florist wire and florist tape
Tools used:
– Craft knife and cutting mat
– Scissors
– Hot glue gun
– Wire cutters
– Paint brush with acrylic paint
