
Lately I’ve been trying to get out as much as I can instead of being indoors, in particular tending to the garden. I have to care for real-life flowers as well as making paper flowers! I like to take pictures of flowers when I can to learn about colour schemes and varieties that I can use in my own projects, so it works in multiple ways.
I’ve gotten back into the swing of making and giving birthday cards to people now, particularly because my partner appears to be my biggest client! I offer my services but I wish I would have more notice time when working on these things, so that I can purchase extra materials. Still, it is fun to work with existing stock. I wonder if I can ever fully use up my old stock?
Anyway, the request was two different May birthday cards for two women. This love-themed paperstack is my go-to for this sort of thing! I also got a vellum paperstack too but I’m not very good with using this yet. Last time I glued it down poorly and there were noticeable air bubbles, which were fortunately covered up.

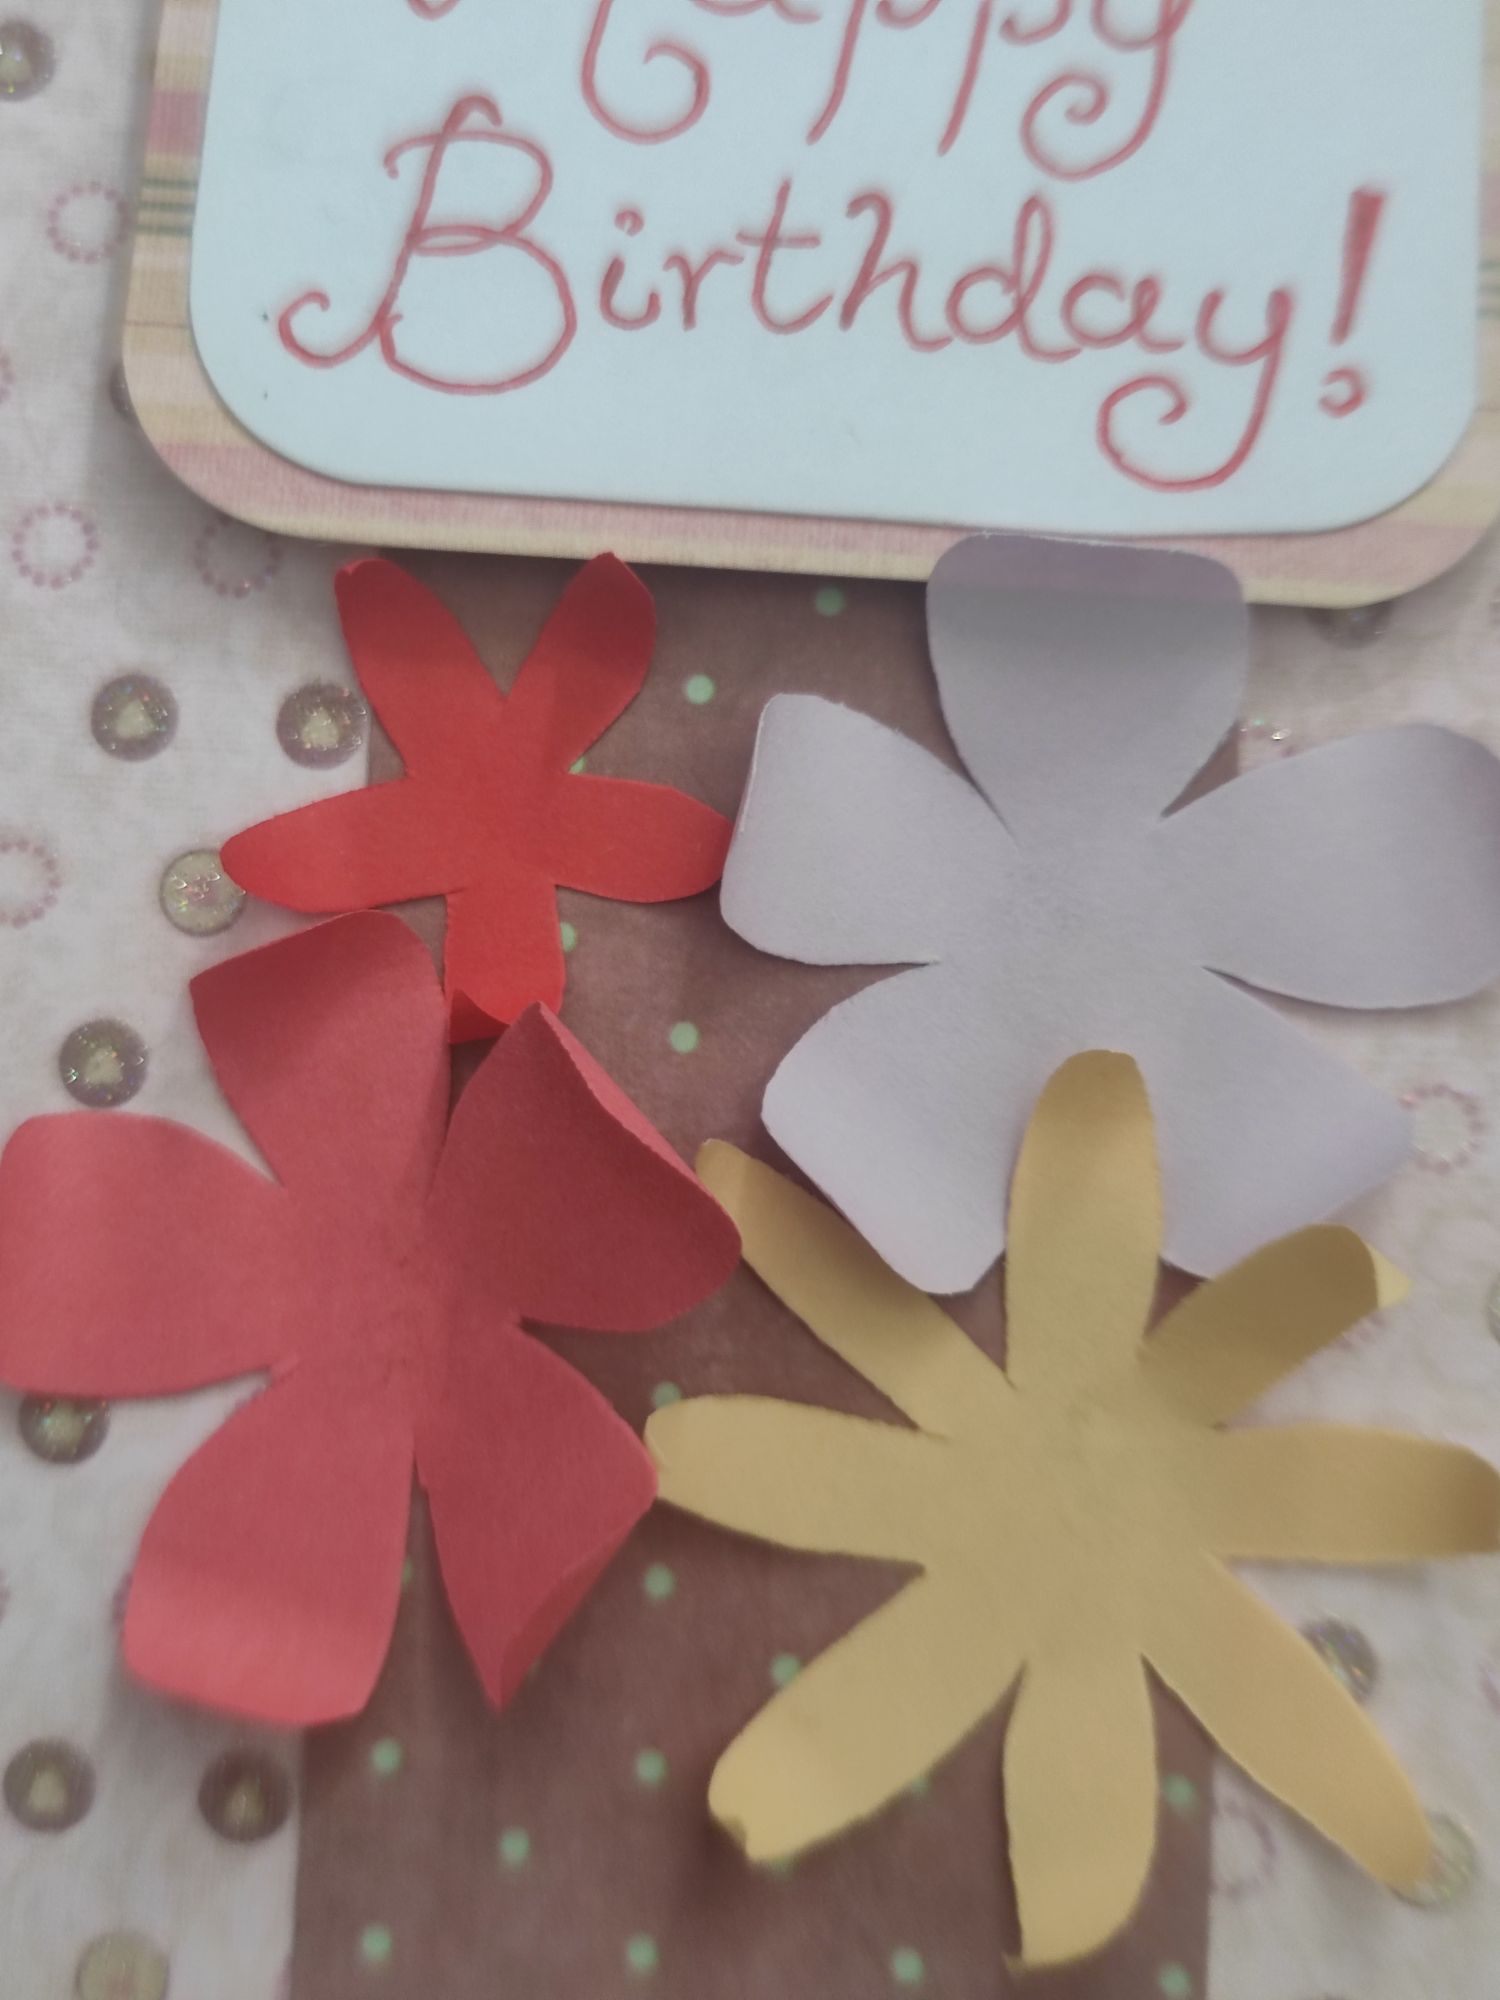
From my various papercraft flower adventures, I have little cut-outs of flower templates nested inside the books for reusing in future projects. I was planning on making pretty flower motifs for my birthday cards since it’s Spring-like! I cut out lots of flower templates in various bright and pastel colours ranging from dark red to light yellow. I used templates for a five-petal rounded flower, a five-petal small pointed flower, and an eight-petal pointed large flower.

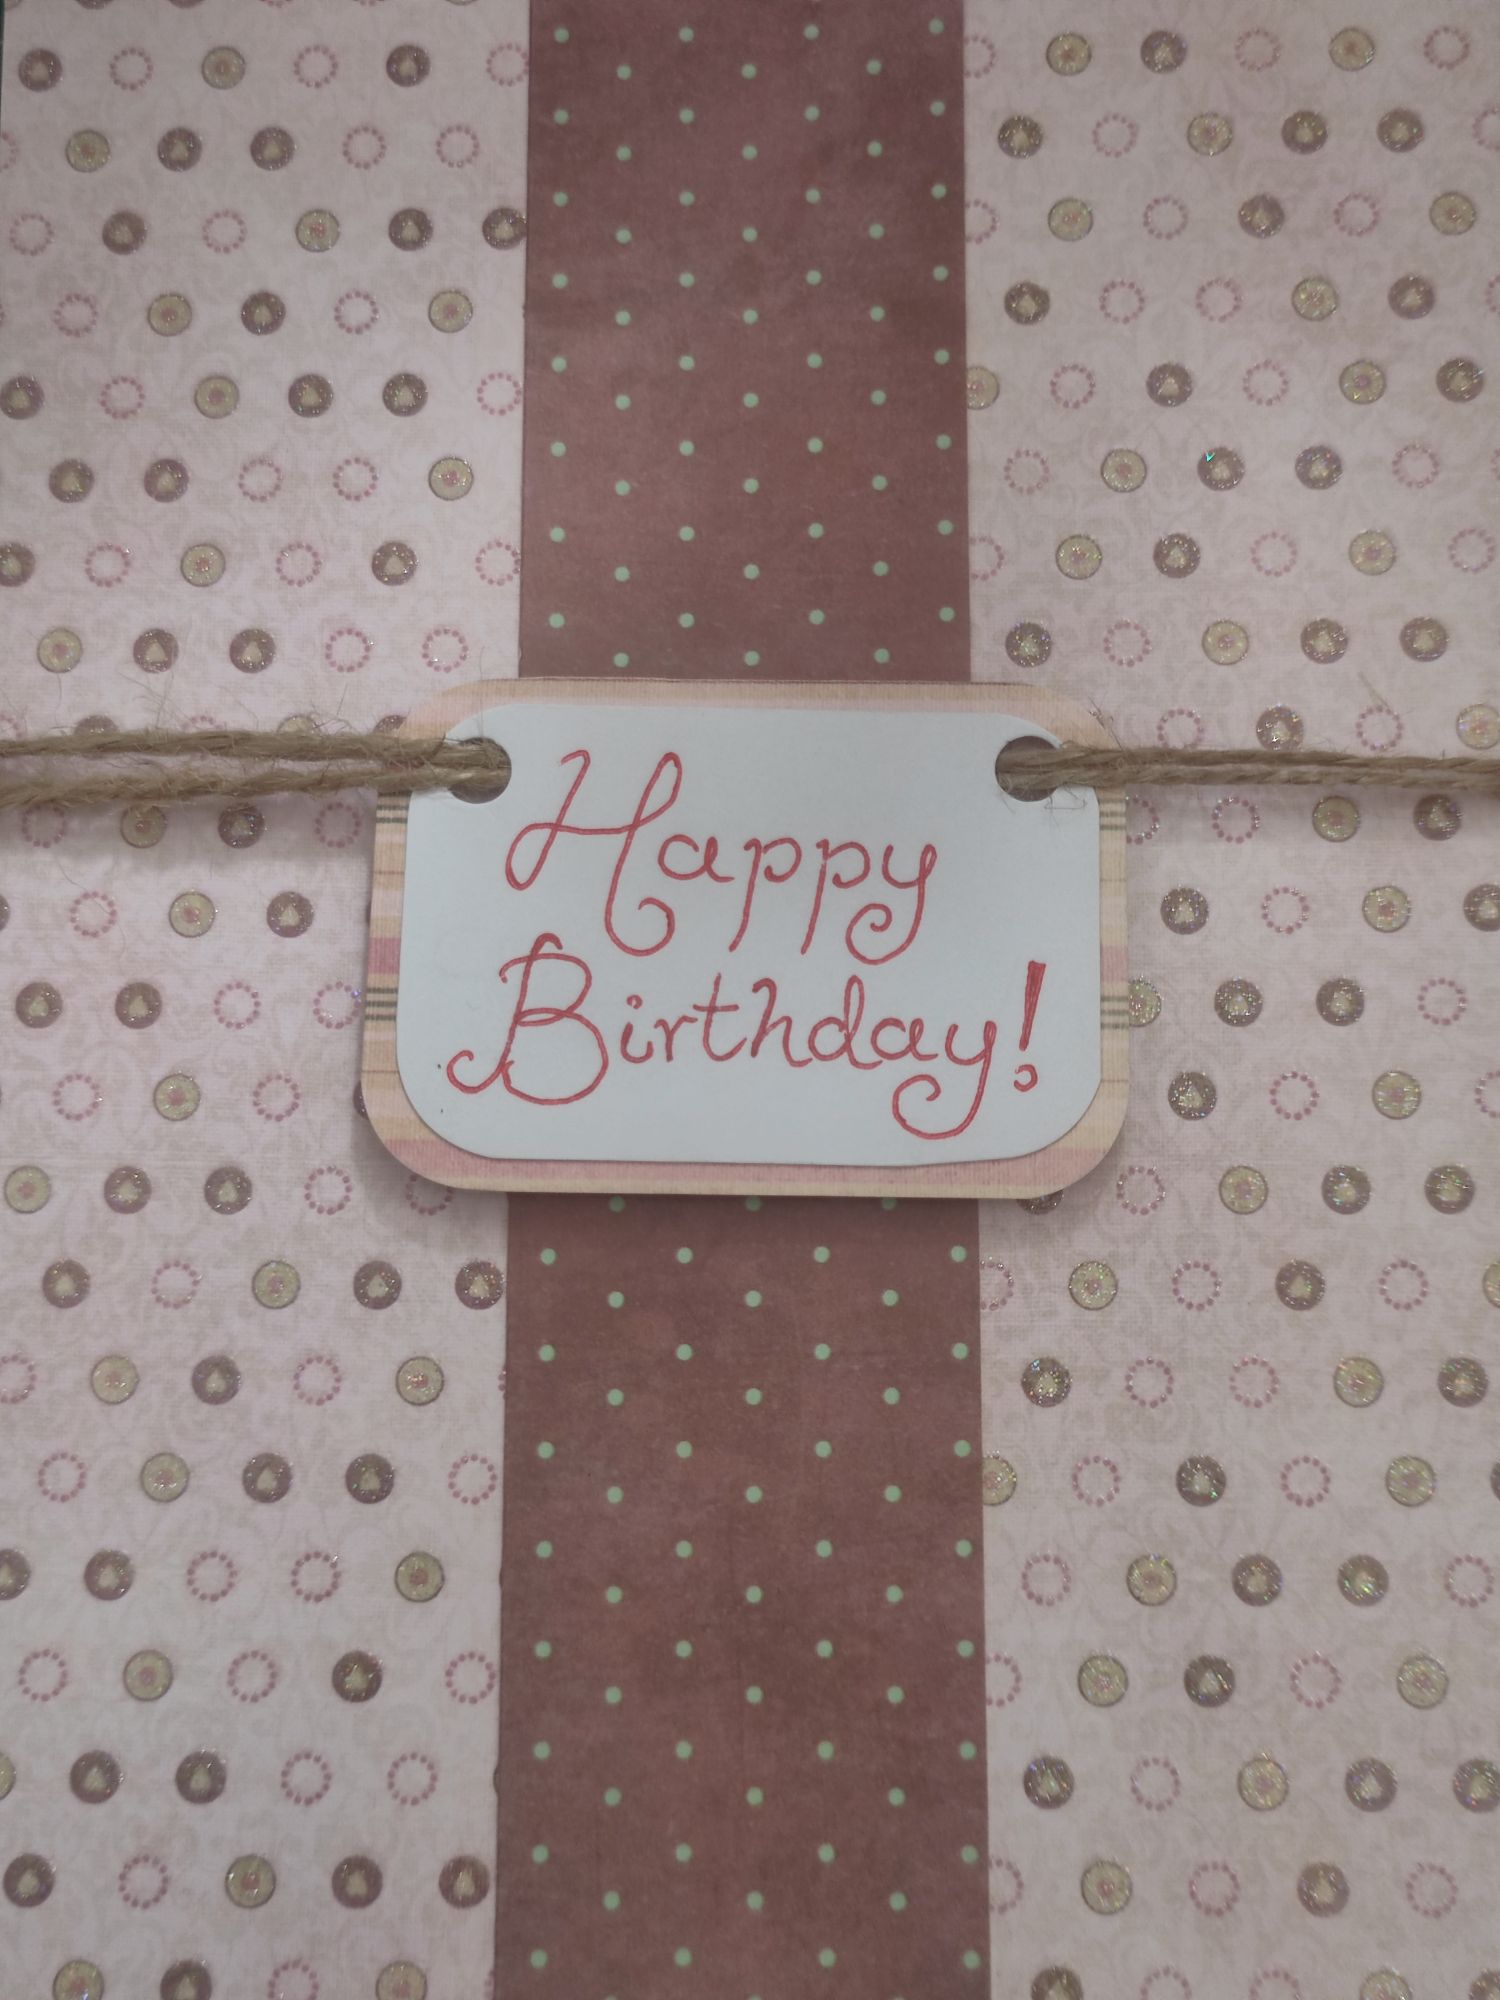
I like to take a snapshot of my eventual design by roughly arranging the pieces together. Starting with an A4 blank white card scored and folded in half, I cut out a piece of patterned paper to mostly cover the front, then I cut out a smaller strip of paper and two rectangles. On a piece of blank card, I was going to write out ‘Happy Birthday!’ in nice handwriting and attach it to the centre with twine. Then I would line the centre column with the paper flowers.

I stuck down the brown polka-dot pattern piece onto the embossed pink polka-dot pattern piece in the centre. I wrote out the message in red ink and erased the pencil, then I glued it to a slightly larger patterned piece for a border with a liquid glue pen. I created holes using a hole puncher and threaded the twine through. The message card was stuck down with sticky foam pads and the twine was fixed with sticky tape on the back of the pink card. Once all this is done, this can then be glued to the front of the white card, using a lot of liquid glue.
Using a small wooden down, I curled the paper flower petals towards the centre and then glued them onto the central column.
After I stuck all the flowers down, I decided that they needed some decorating so I glued down flat-back pearls of matching colours to each flower. I’m glad that my collection has a wide variety of suitable colours!
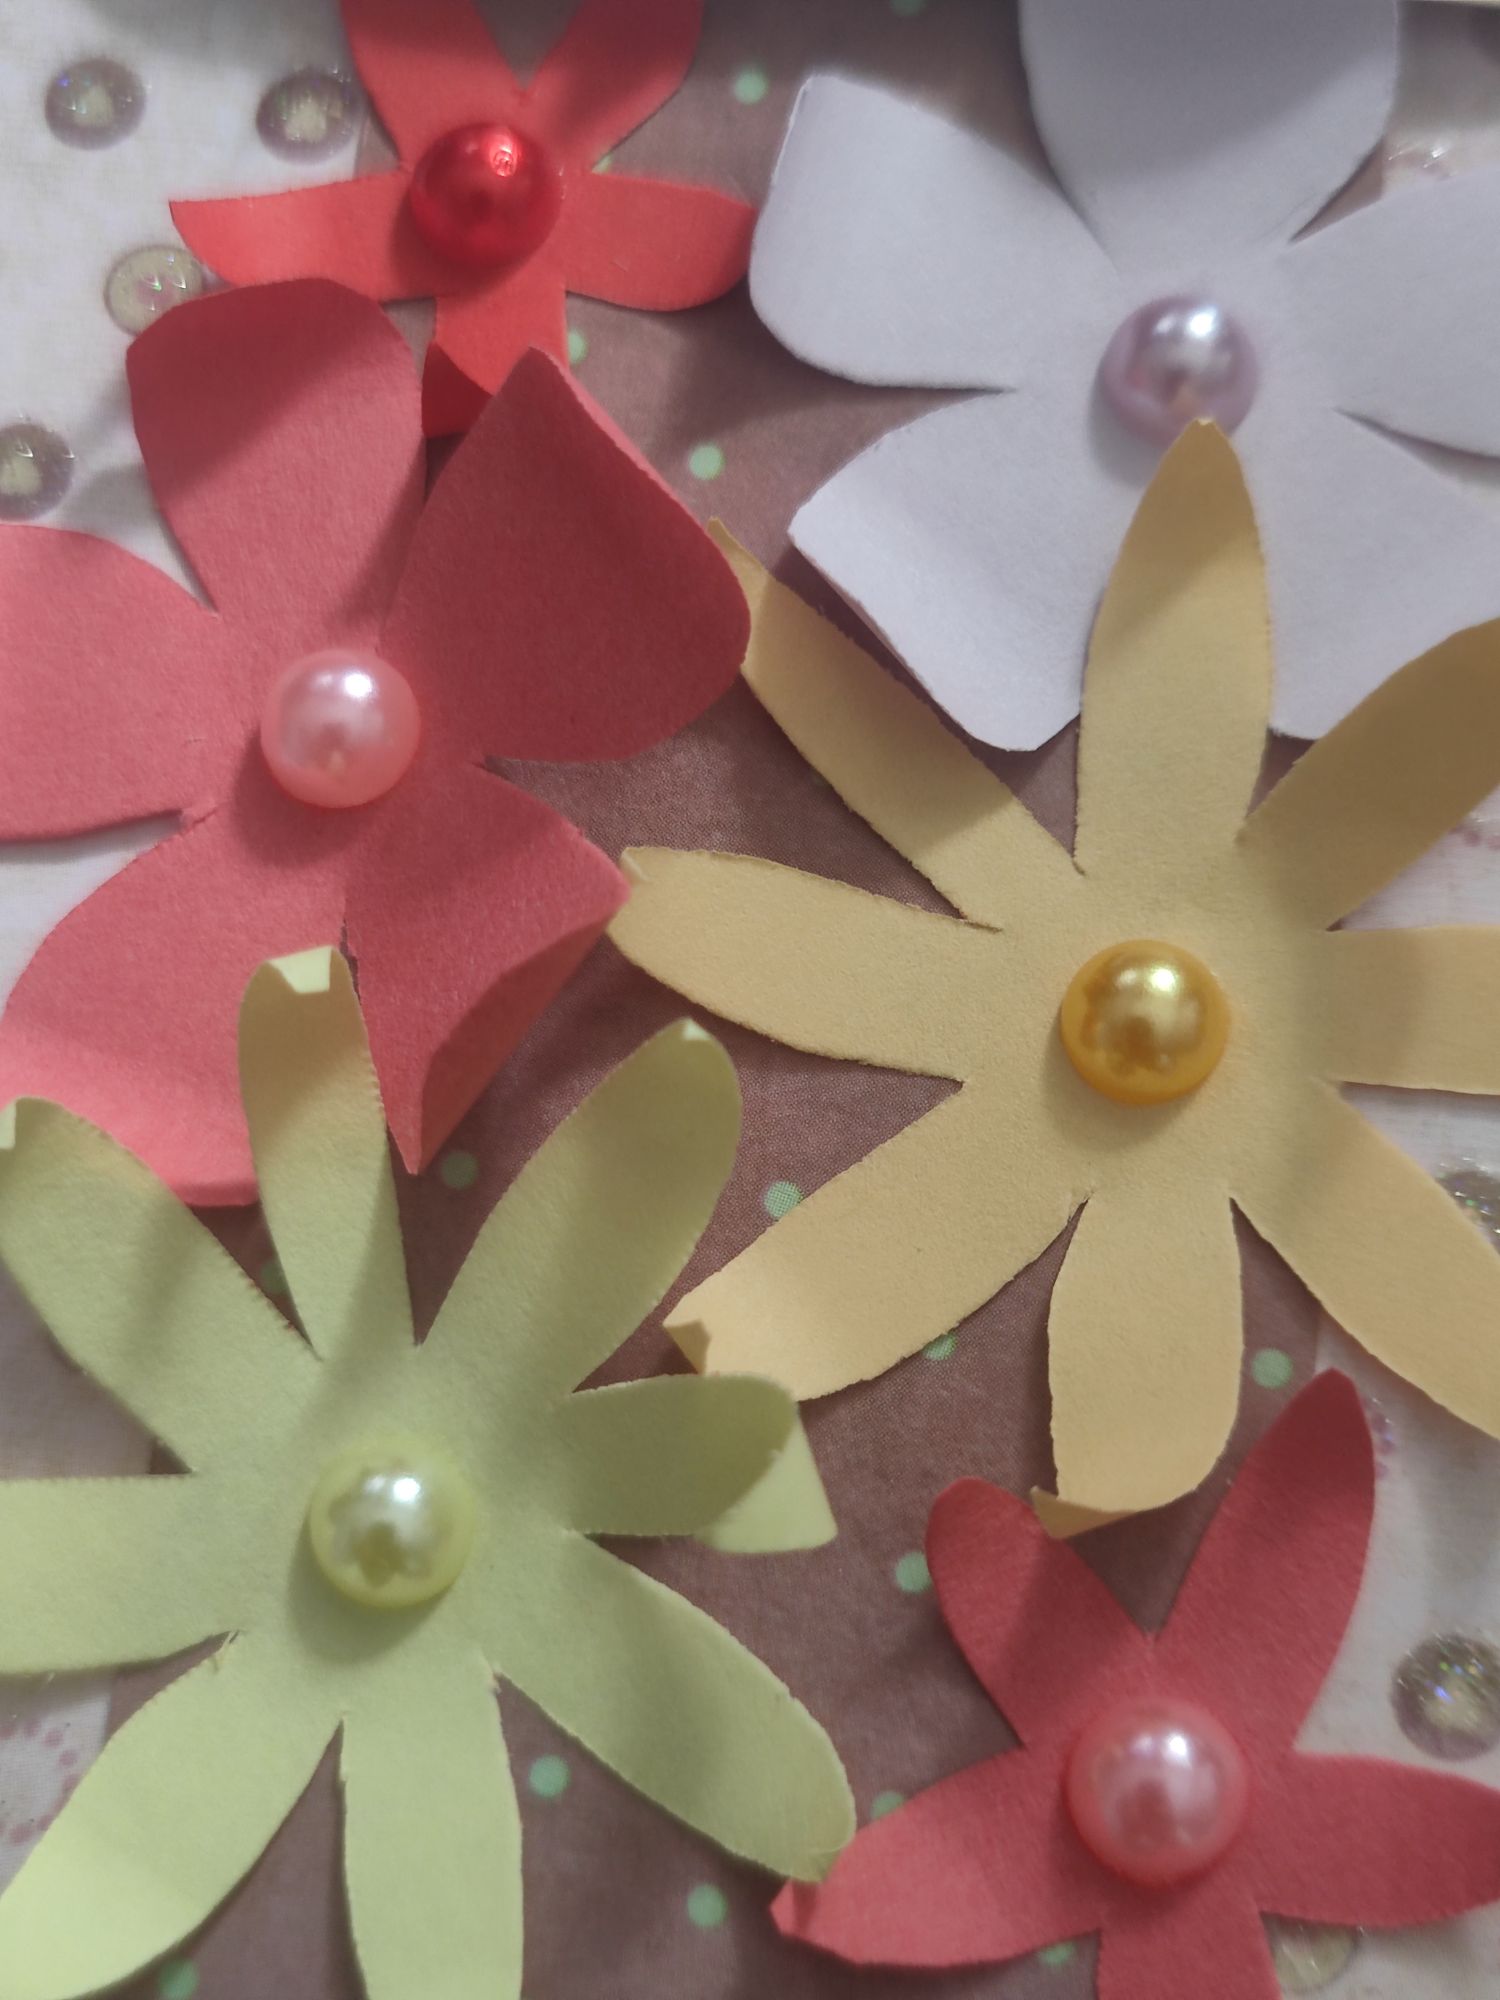
It is important at every step to make sure the previous parts are glued down securely otherwise it will be difficult to have to apply more glue when there are extra bits in the way. I stood the card up for a few days to make sure that the pearls weren’t going to fall off before I could deliver them!

This was somewhat unintentional, but I decided to make another card with the same flowers because I had cut so many pieces already! Of course, I had to make the design different, not that I thought the recipients would compare their cards but it felt like a disservice to copy the same design.
This time I was going to make a framed flower pot image. With another scored and folded in half A4 white card base, I cut out a red card background piece, a white card square, and a patterned square border to cover the edges. I also cut out a patterned piece for the flower pot base and another rectangle for the message border. There was a length of leftover pink ribbon that I could repurpose for this too.

The order of sticking things down was the same as the first card really. Lots of liquid glue is always involved! And sticky tape for the ribbon. For the flower shape, I stuck them down as if they were bursting out of the flower pot.

I finished the flowers with flat-back pearls and left it standing for a few days again.
Hopefully I have demonstrated to you how to make two very different cards with similar base materials! The only specialty items required are the patterned paperstack and the flat-back pearls. I’ve owned these items for quite a long time now and they have served me well! I also keep a large stash of different coloured paper and card since I make a lot of paper-related projects so I consider these to be staples of my craft stash.

Materials used:
– flower and love-themed paperstack
– card (white/red)
– paper (red/light orange/light yellow/light purple/light pink/dark pink)
– flat-back pearls
– brown twine
– pink ribbon
Tools used:
– craft knife and cutting mat
– scissors
– liquid glue pen
– sticky tape
– sticky foam pads
– pencil and pen
– hole puncher
