Some friends recently celebrated the birth of their children, a boy and a girl! I wanted to make a trinket to commemorate their birth and I had heard of these ‘baby birth photo frames‘ where you can personalise the details for a child. The amount of personalisation is up to you; you could just have the names and the birth dates, or you could also include the time of day and the birth weight. You could also ask for a photo to enclose in the frame, so it really depends on how much information and material that you’re willing to gather before starting.
I really only thought about the baby frames because small box frames were on sale at Hobbycraft at the time, so I also bought a number of materials to go with it. I bought a mixed bag of buttons and a whole set of other materials such as wooden hearts. A lot of people like to use wooden Scrabble-style letters for these sorts of things, but I got some foam sticky letters that were pastel-coloured to add a bit of childish charm. If I didn’t end up using some of the materials in this project then they can be generally used in other cardmaking-like projects.

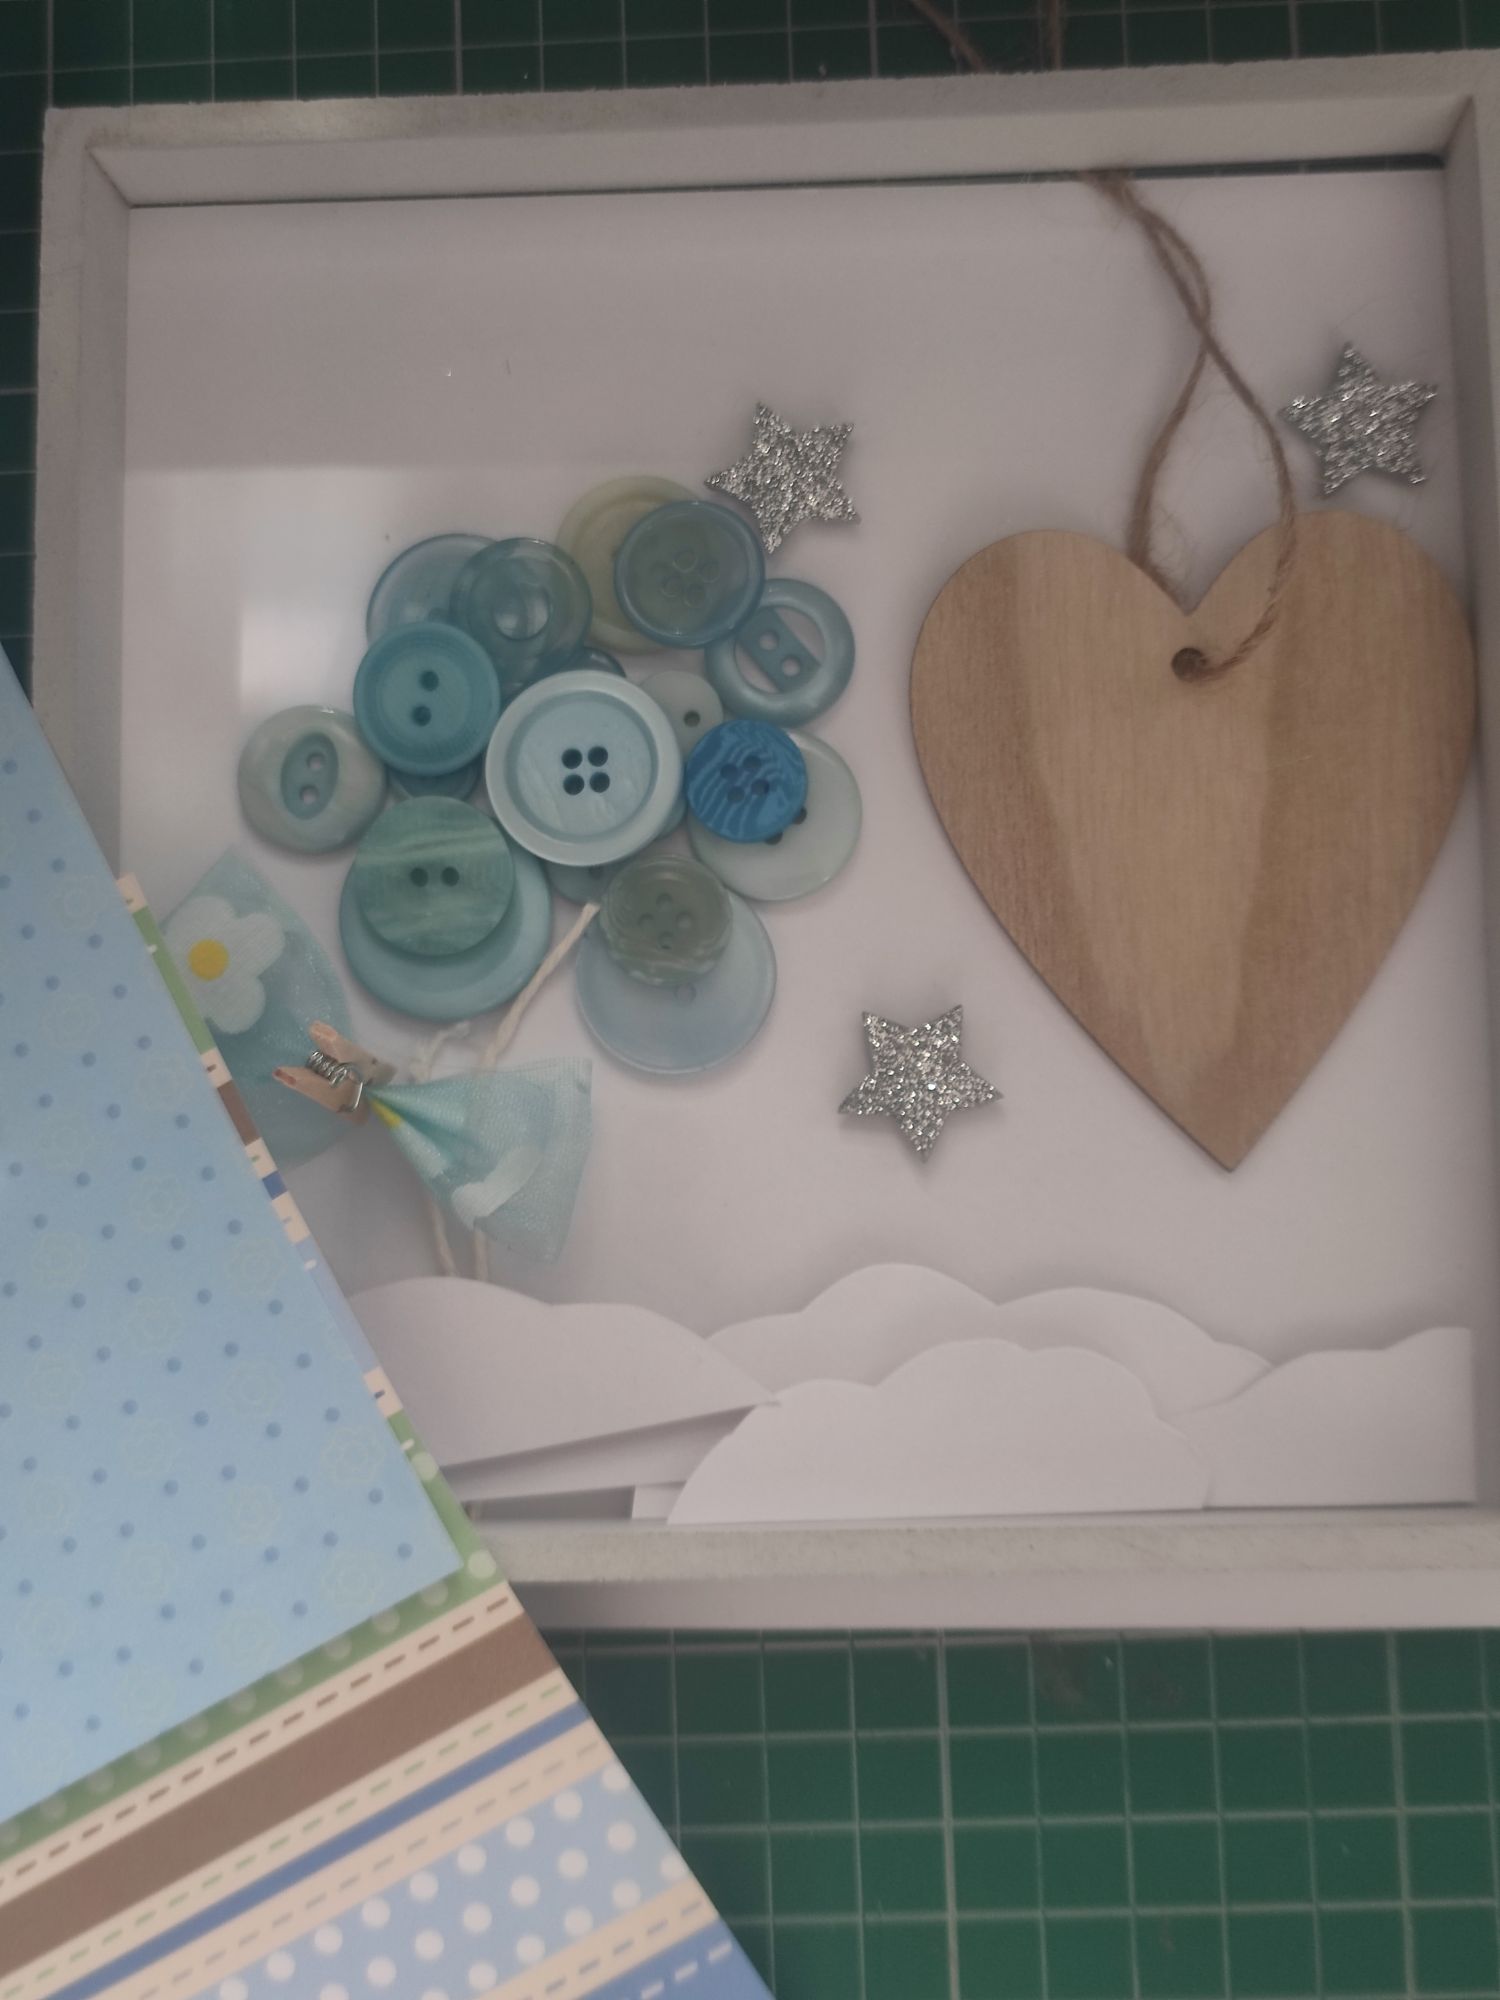
The main picture I had in mind was to create a floating balloon made up of coloured buttons and then decorate around it. I would add some ribbons and string to it, put some stars around it, and some cloud cut-outs made of white card, so it looked like the balloon was floating through the skies. There would be a wooden heart where I could handwrite some details of the birth, and the background would be patterned cardstock.
I was also planning on colour co-ordination, with pink for the girl and blue for the boy. It’s very traditional, but do check if the recipient is okay with ‘typical’ gender colours.
It’s good that I visualised things like this, one because it helps with the construction of the button balloon and two because it turned out I actually disliked what I came up with!
I’ll be focusing on the blue baby boy frame for now but the construction process is the same for both, I wanted them to be mirror images of each other since they were for twins.
Firstly, I created a background by combining two pieces of patterned blue cardstock onto plain white card, then covering the joining edges with light blue ribbon. I use liquid glue for paper and sticky tape for ribbons; the latter is a super simple way to keep ribbon glued down because you’ll never see the back of the frame anyway! There is a small white border showing on my card but it will mostly be hidden by the actual frame border.

I was trying to not use the hot glue gun for everything, but I did have to use it to do the buttons and string; it would be quite difficult to keep the buttons in place otherwise. I made two layers of buttons in a circular shape and made sure they were properly secured before moving onto the next step.
I added two pieces of string below the buttons and applied a tiny dab of hot glue to secure, then I made a small bow out of light blue ribbon and stuck it over the string with a foam sticky pad.

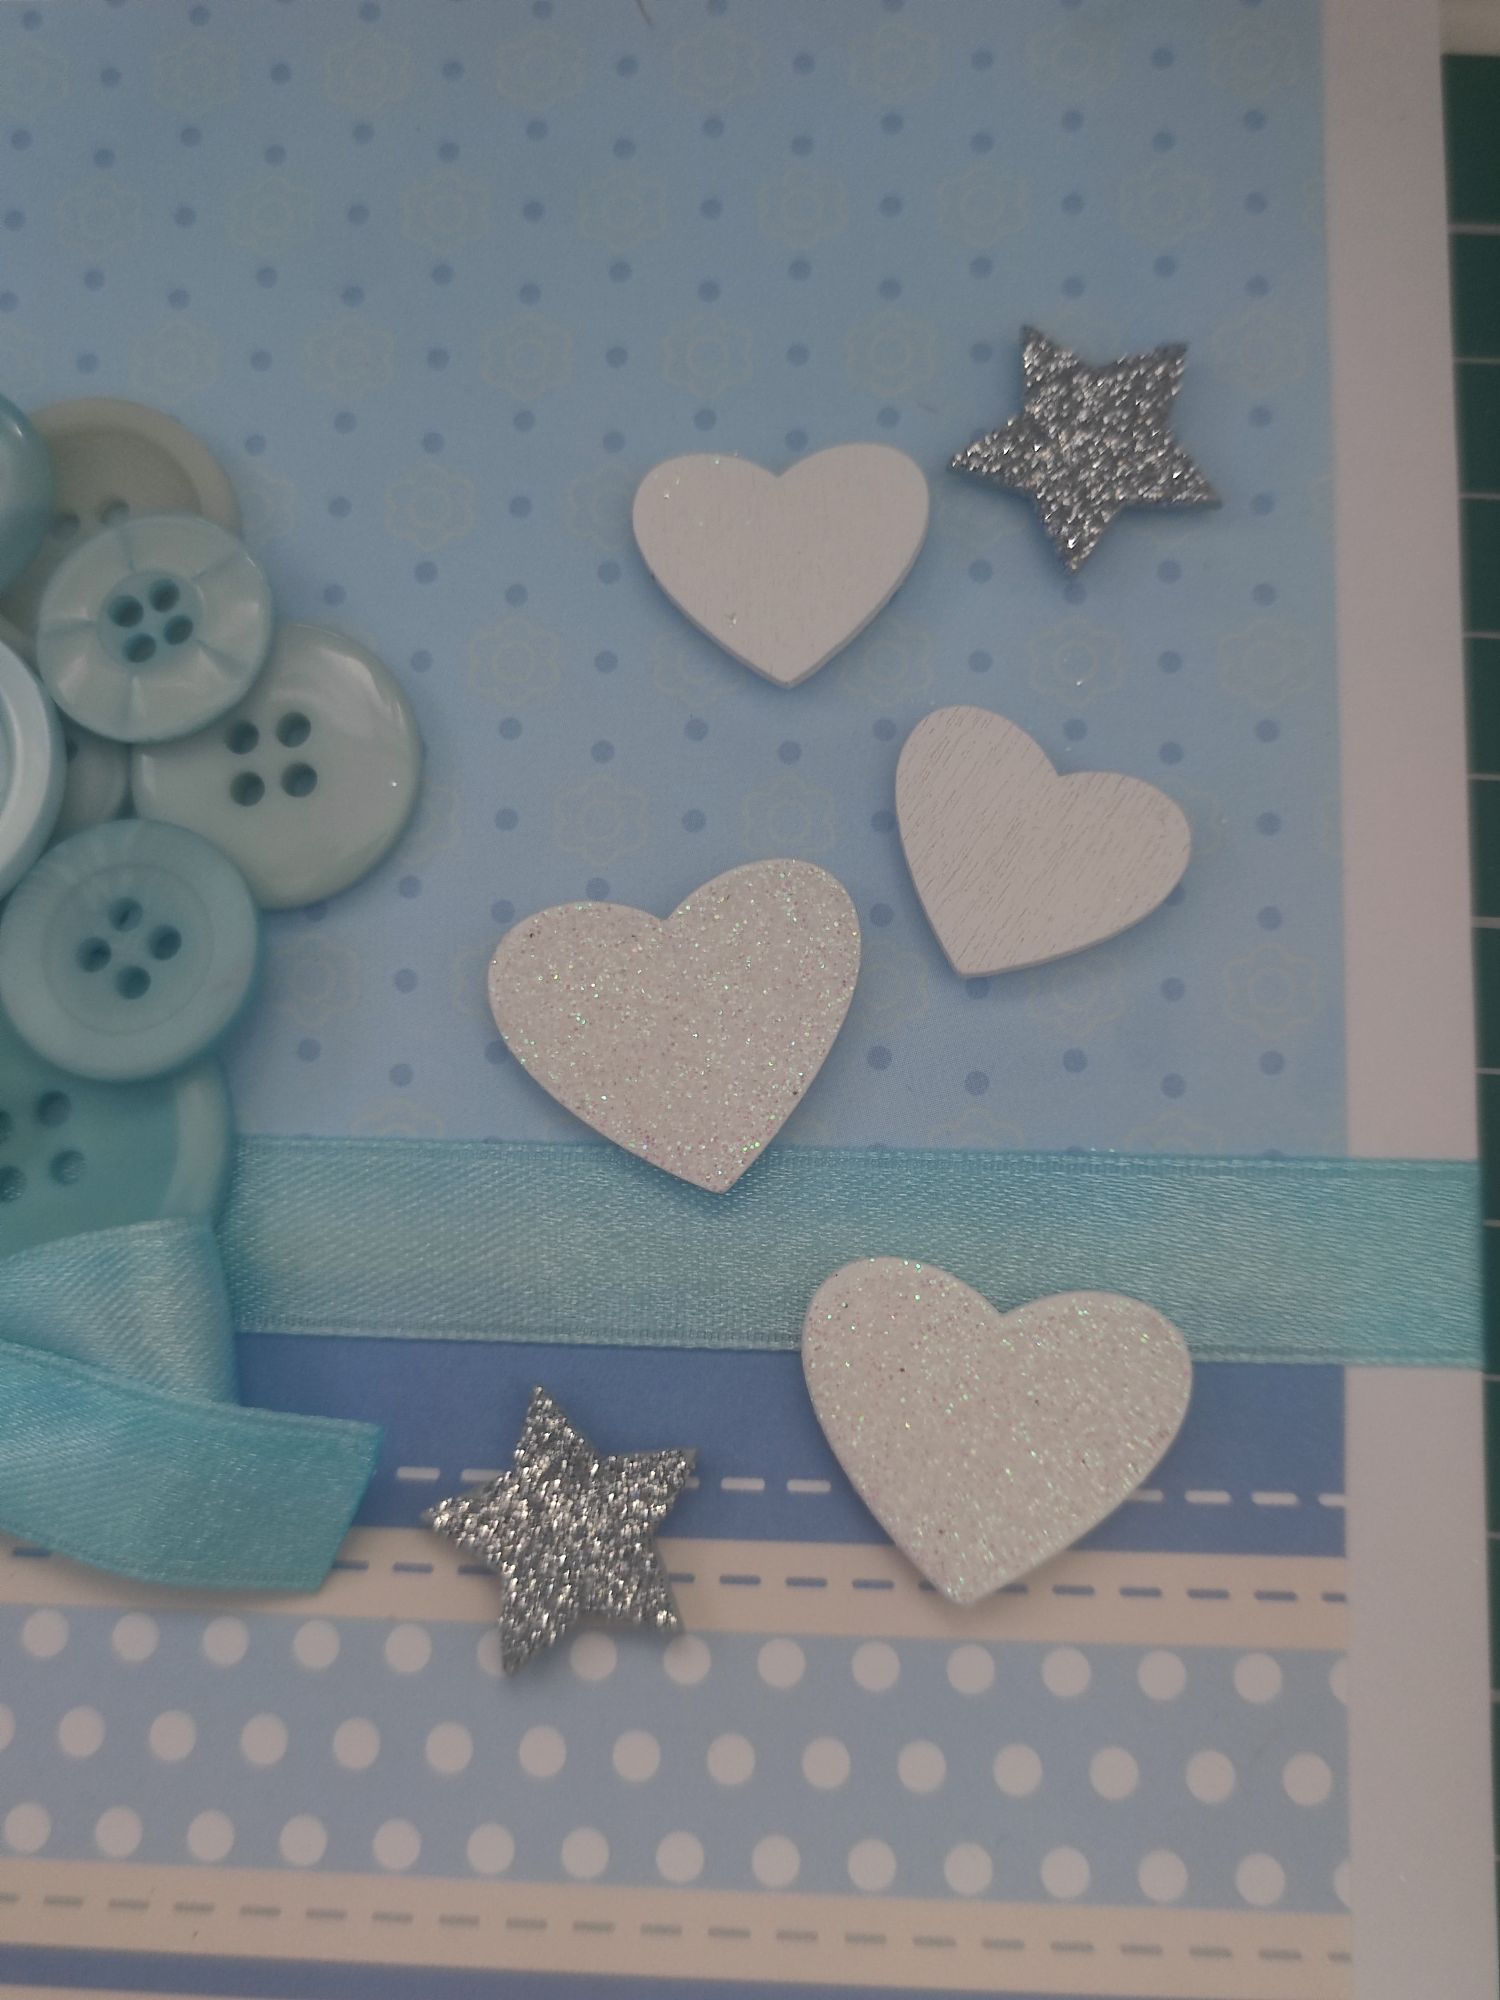
When coming up with the frame design, the piece of card that you start with always looks bigger than you actually need because there is a small inner part that keeps the glass in place. It turns out that the wooden heart was way to big for this idea I had! Instead I positioned a few smaller white wooden hearts and glitter stars. I could write details like the birth date and time on each individual heart this way with an ink pen.
Some of the hearts had glitter on them and some were plain. I couldn’t write on the glitter ones very well! I only found out I had just enough plain wooden hearts for every detail: the day, the month, the year, and the time of birth.
I stuck the letters down at the top to make the name and I also added another piece of light blue floral organza ribbon to the bottom to fill in some space. Finally, I cut out a few pieces of white card to shape them like clouds. I layered them using foam sticky pads to add a bit of depth. I tried to vary the cloud shapes a bit but it does start to look the same when you cut out so many!
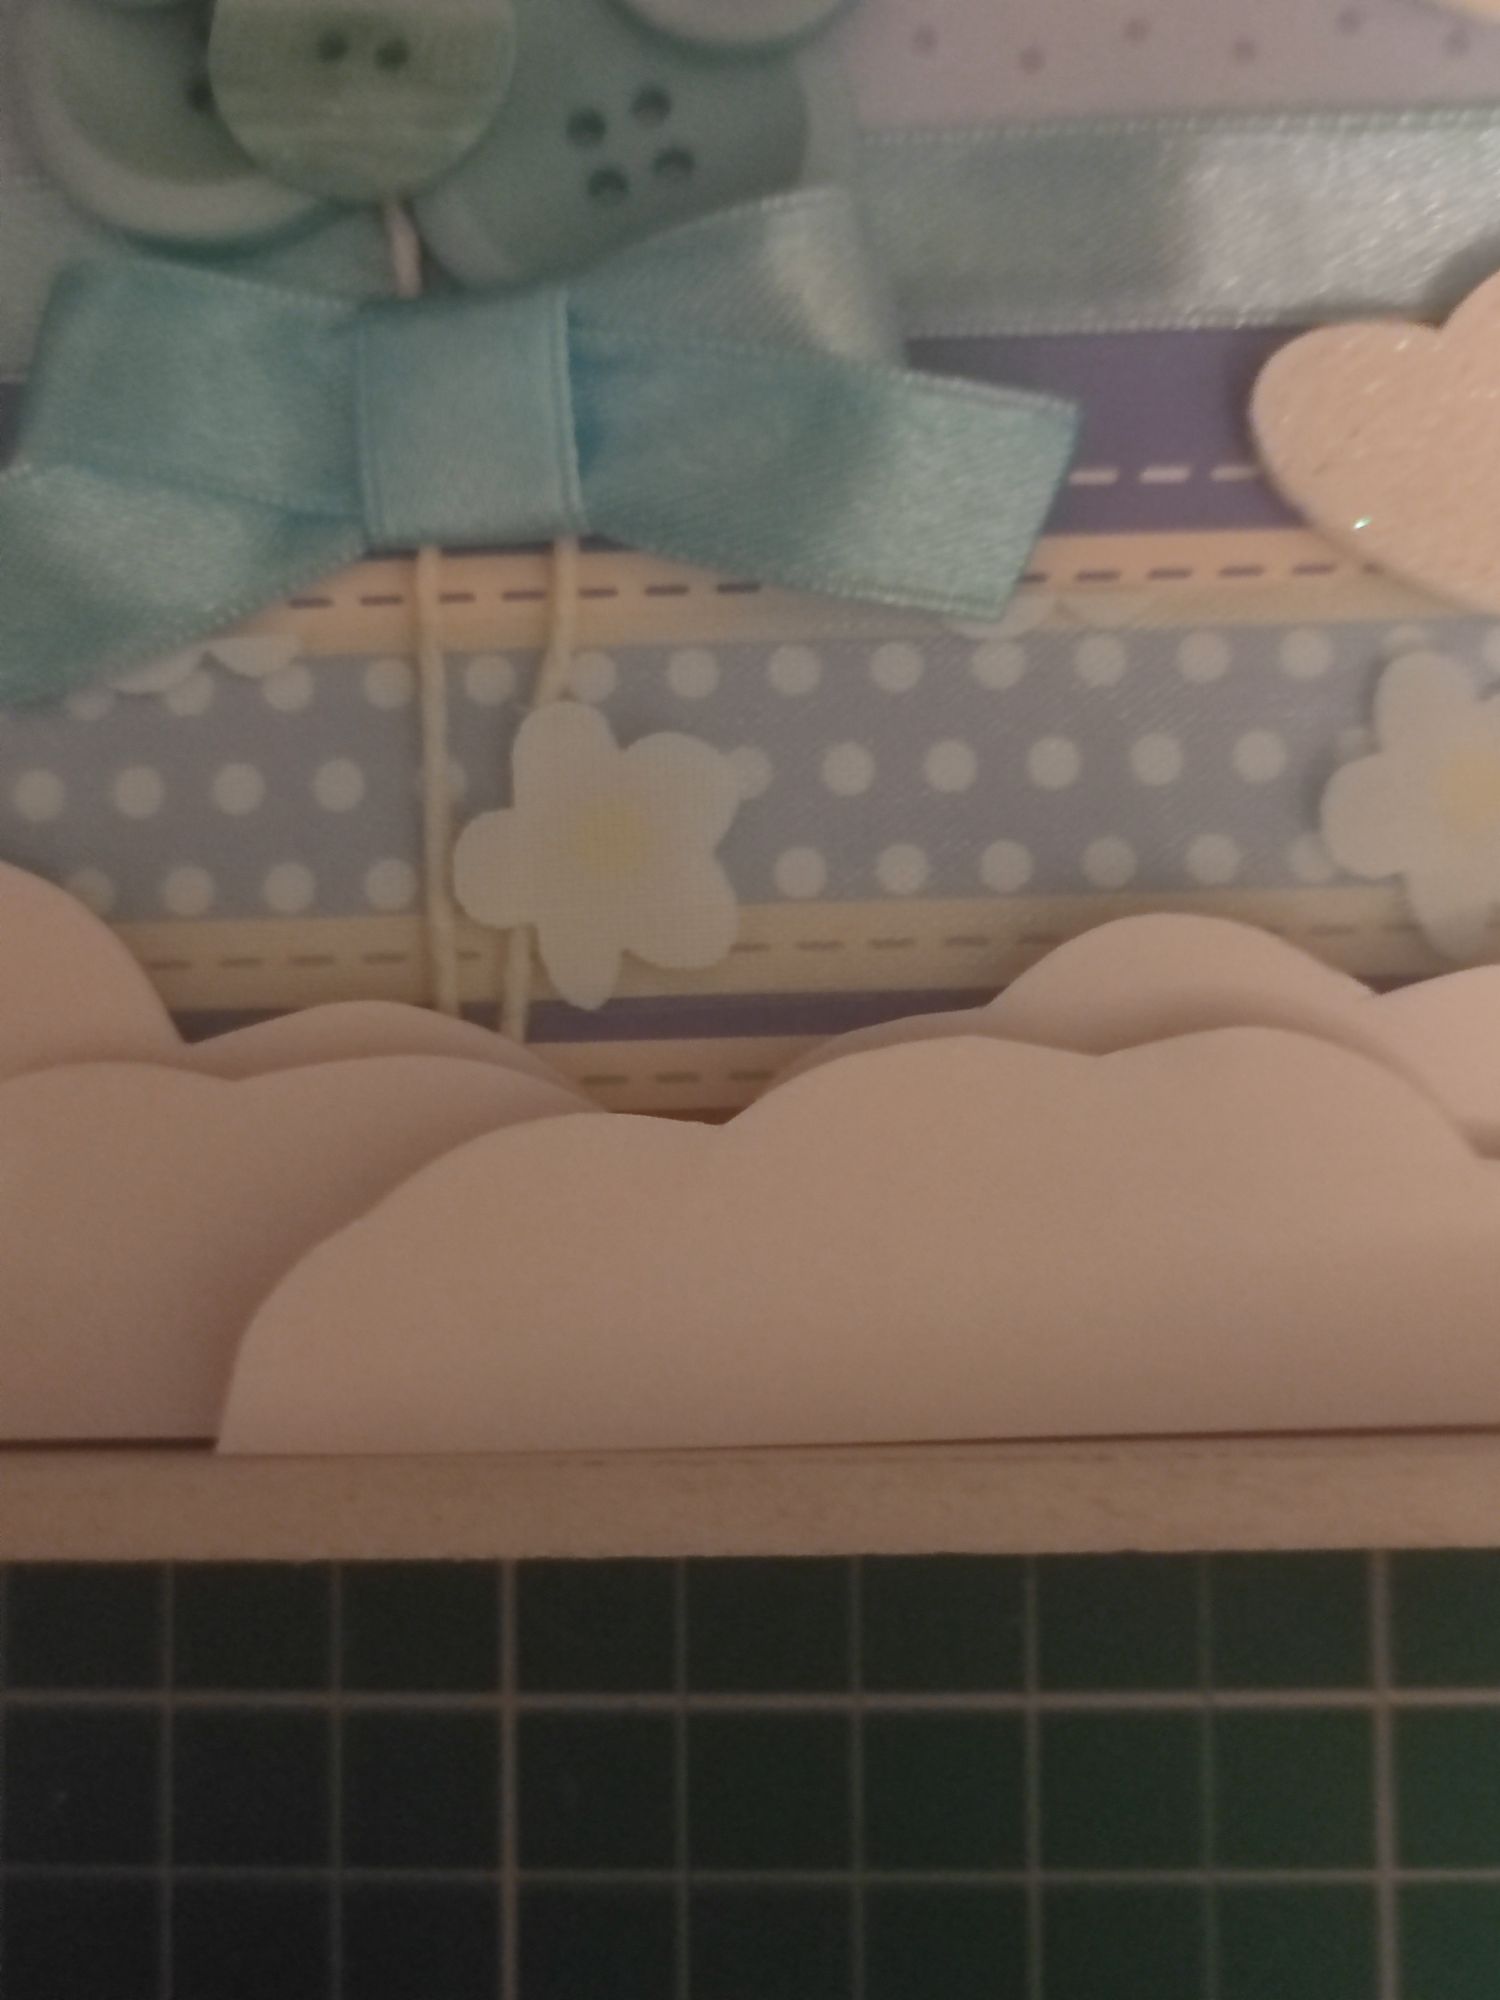
It was a bit difficult to stick the clouds down and have them look the way I wanted them to when inserted into the frame, so I tried to combat the cheap effect by adding as many cloud layers as I could!
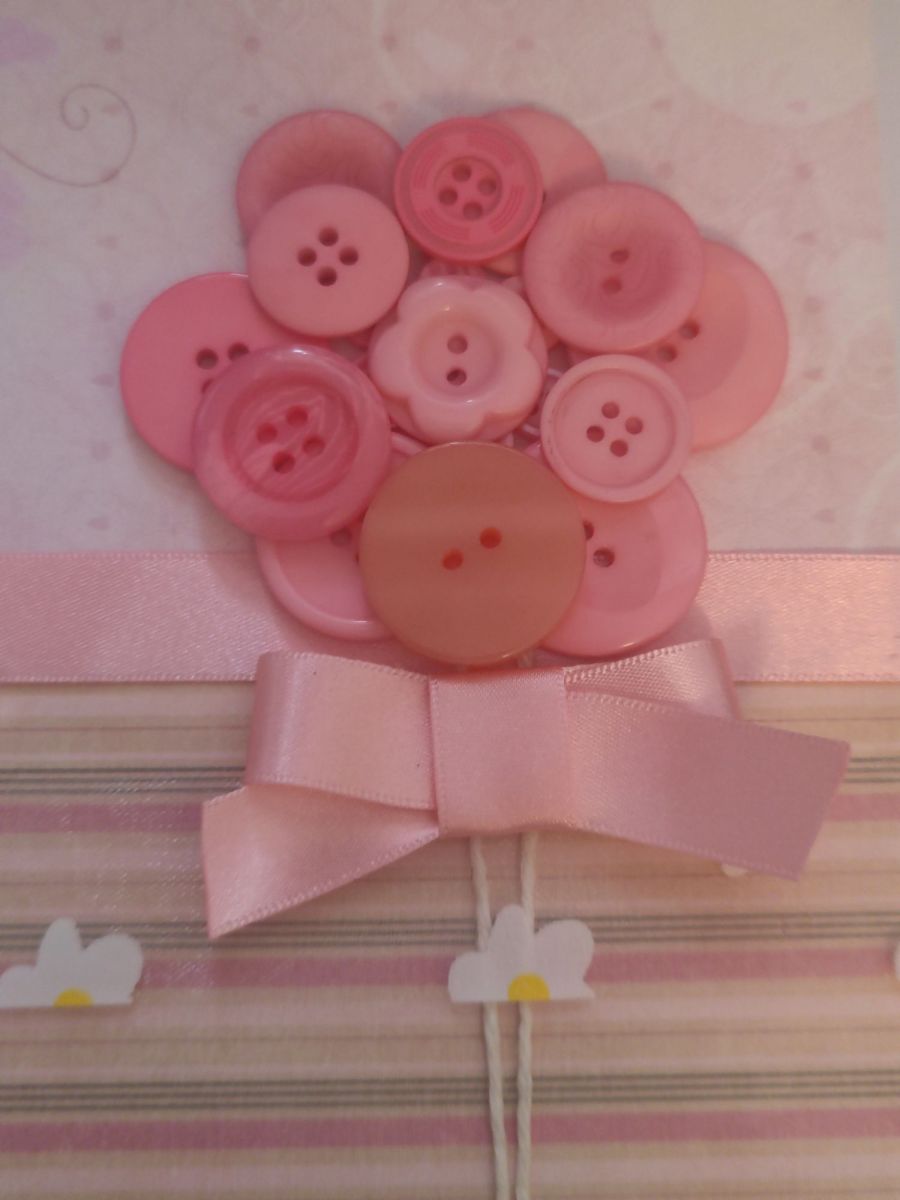
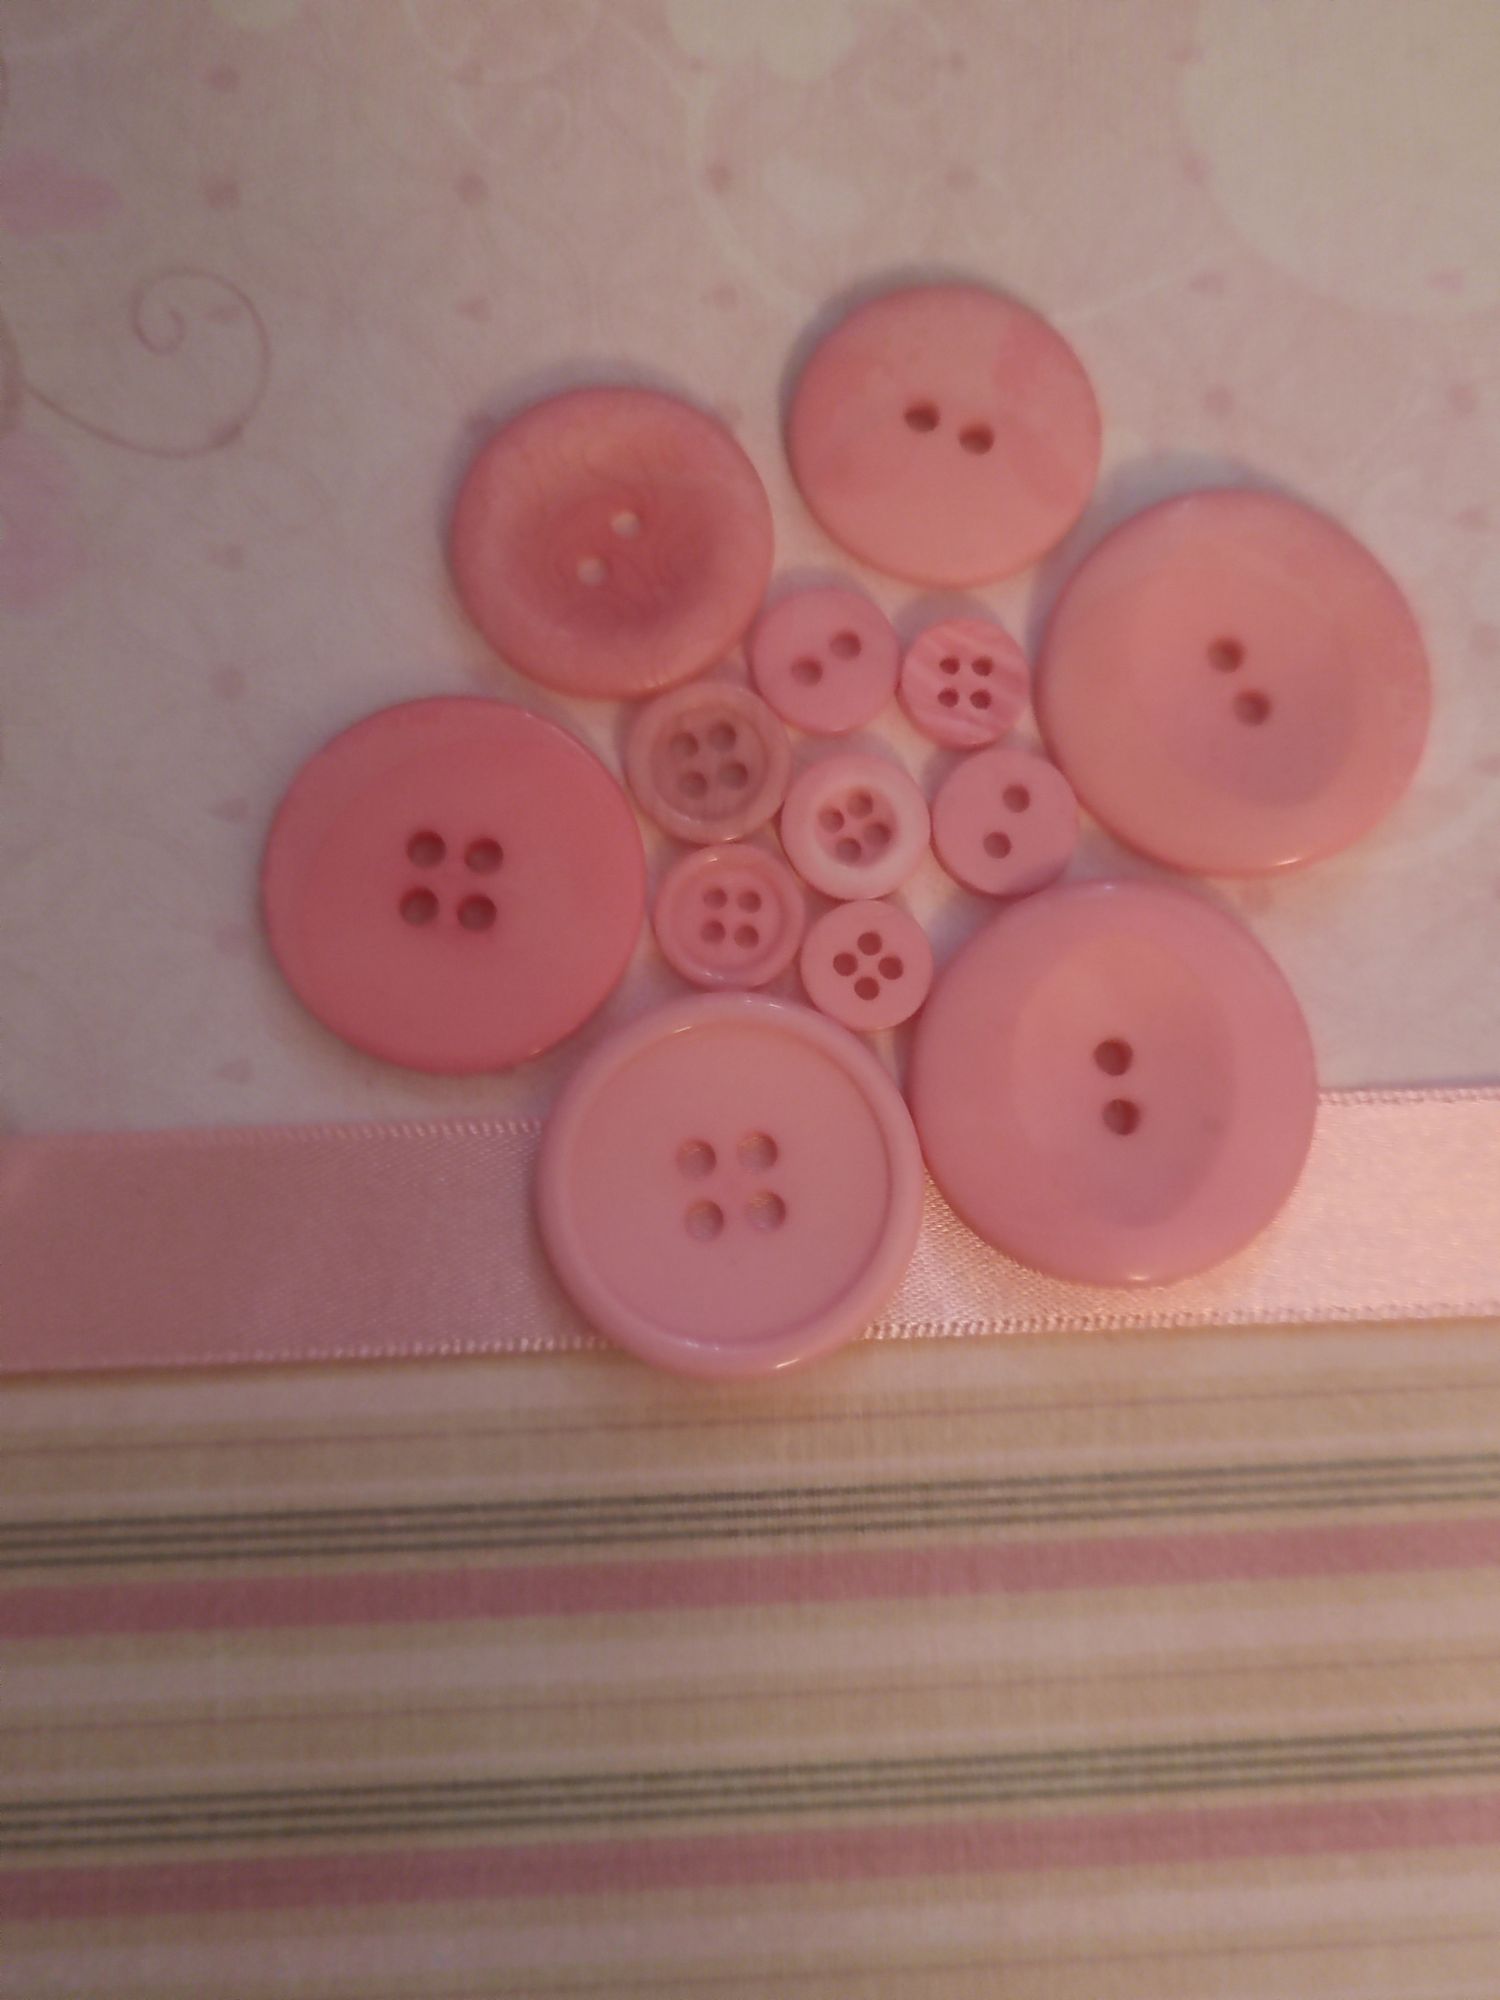
I pretty much bought matching materials for the pink baby girl frame too. I swapped out the background cardstock and the colours of the buttons and ribbon, but everything else remained the same. I made the blue baby boy frame with the button balloon on the left and the heart details on the right, so with the pink baby girl frame I swapped it around and put the button balloon on the right. Some of the pink buttons I had were quite cute, like the floral one in the centre!


I hope that when the parents decorate the nursery that they will keep the frames close together. I like to lean my frames against the wall on a shelf when I do my decoration, but they do have an option to hang on the wall instead.
I’m actually at that age where quite a few people I know are planning to start a family, so I foresee quite a few more versions of these being made in the future… I’m quite happy with how these have turned out considering I created them by researching what I could find online rather than from following a tutorial!
Out of respect for the parents, I have hidden the specific details for their children, but you should be able to imagine where all the relevant bits are.


Small note but apparently this is my 200th official blog post! It really snuck up on me, but I was pleasantly surprised to see the number when I was making my final edits to this post. I hope that Atelier Ilyere has inspired some of you readers out there!
Materials used:
– white/pink/blue cardstock
– pink/blue mixed buttons
– pink/blue satin/organza ribbon
– white twine
– silver glitter stars
– white wooden hearts
– pastel foam letters
– ~16cm square deep box frames
Tools used:
– craft knife and cutting mat
– hot glue gun
– scissors
– sticky foam pads
– magic tape
– black ink pen
