
Hi all, it’s been a while since I last wrote a blog post, back in February for the Lunar New Year! There is a reason for the silence though – I have been working on multiple projects that I cannot reveal just yet. One is a gift that will be sent hopefully soon, of which I am awaiting the reaction of before I can write about it! The other is a modular origami piece that I am somewhat struggling with. It can be made with different numbers of units for a different model. I practiced making a small model but I eventually want to make a bigger model to go with it. The third smaller thing is that I always try to practice making paper daffodils for Spring time, but I’m still not very good at it yet…
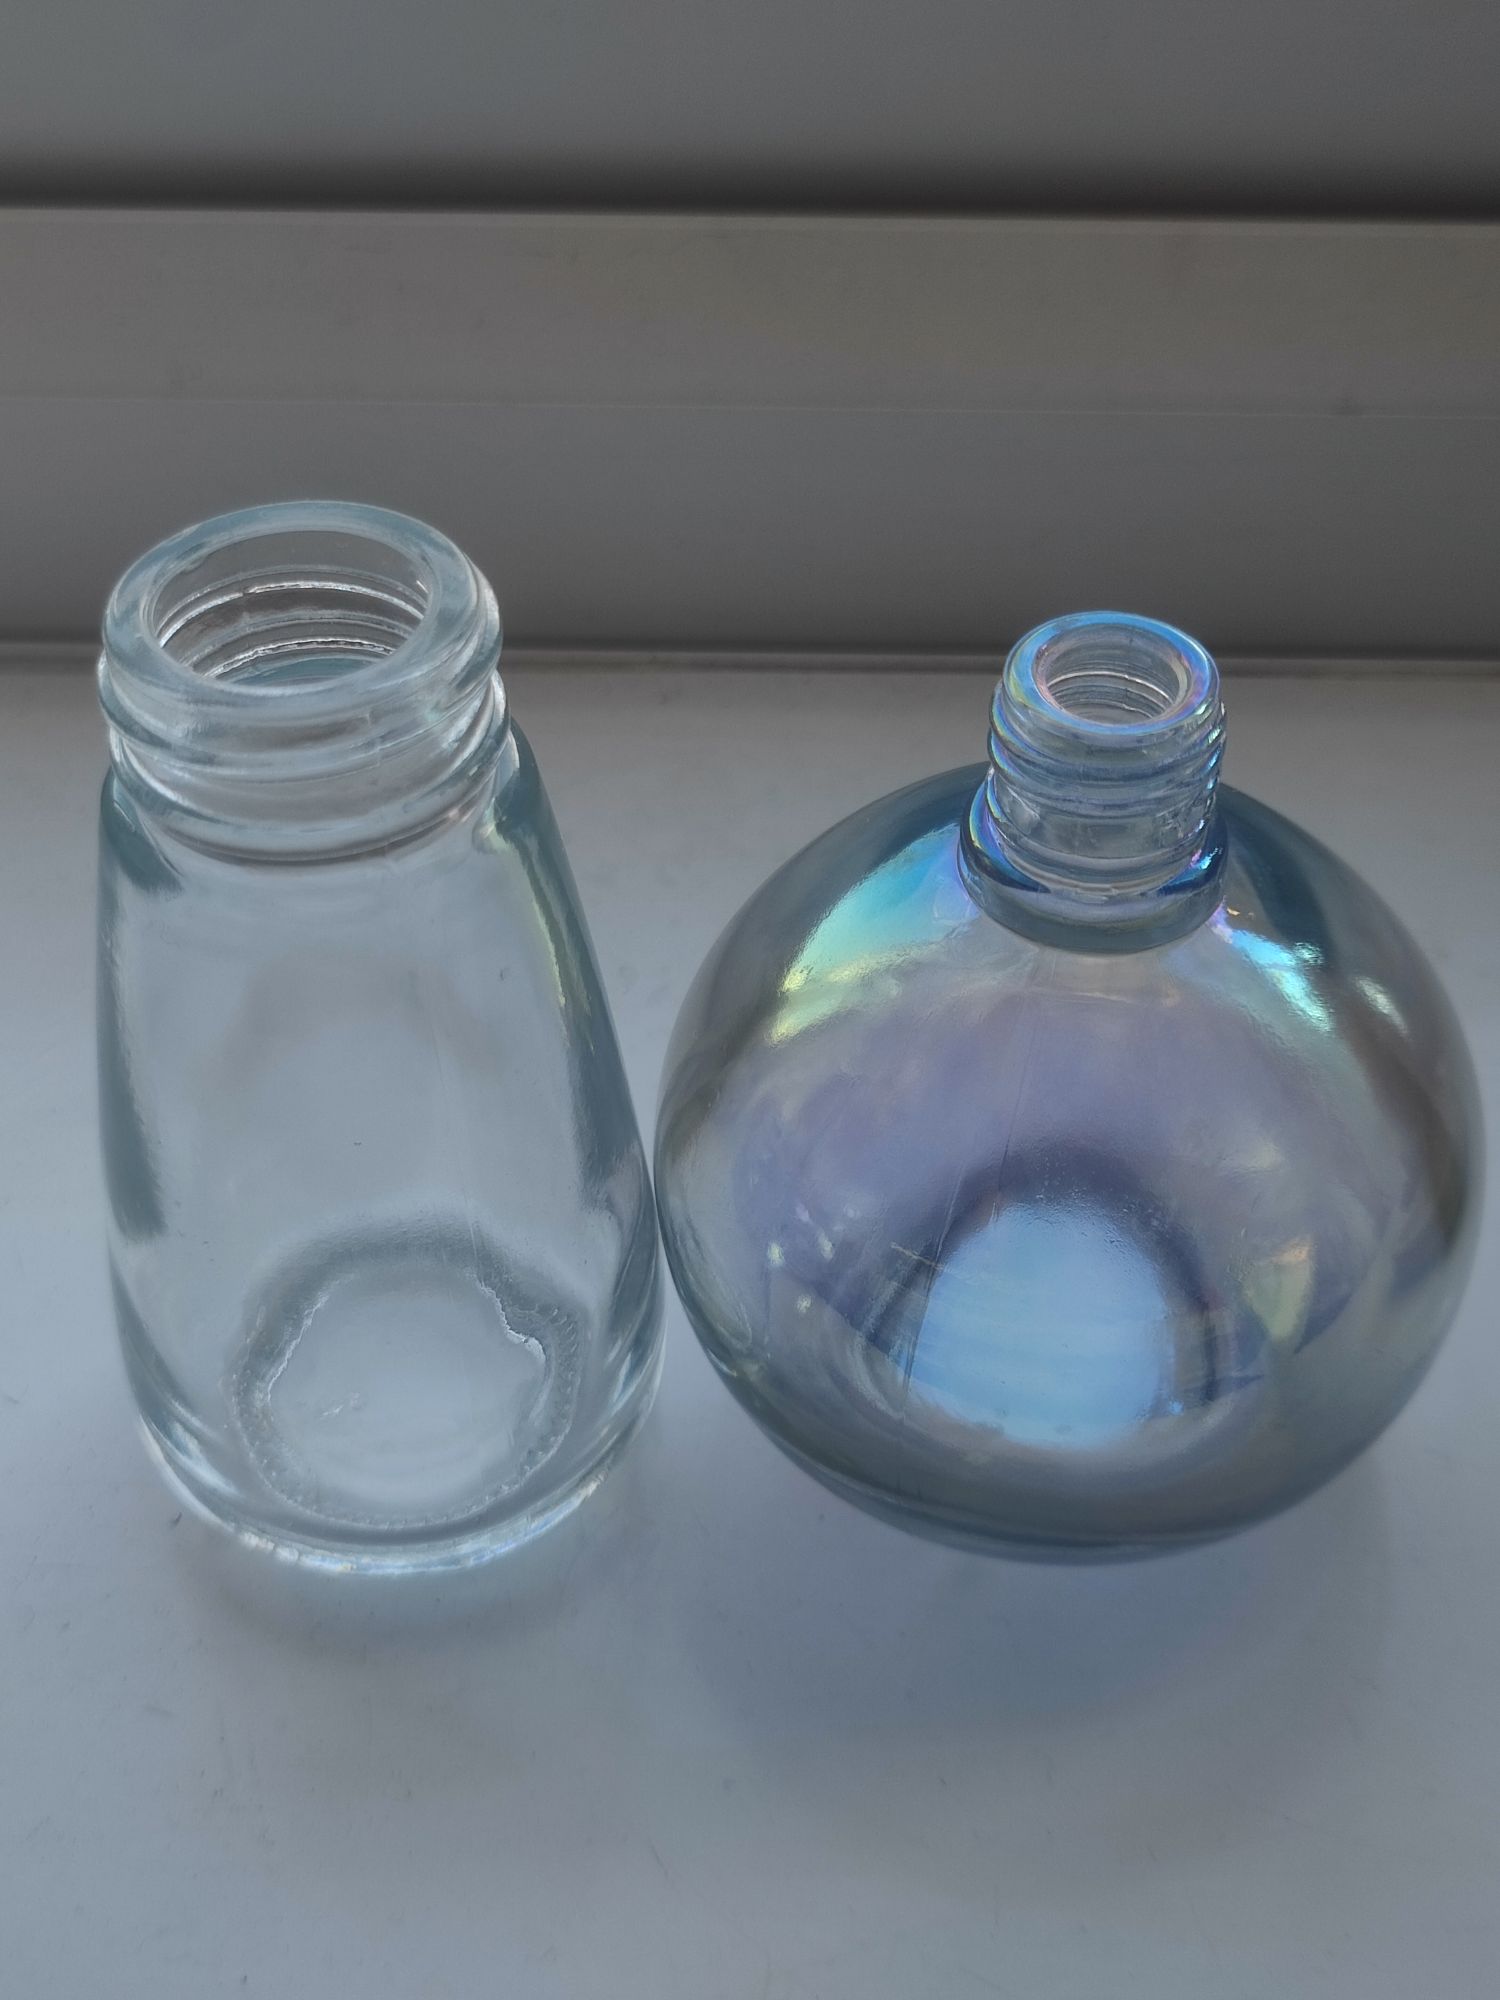
In the meanwhile, what gave me a spark of inspiration was something unusual – air diffusers! I received a themed one for one Christmas a while back. It was only at the last Christmas that I decided to use it, and then I started adding them to the household grocery shop to put in the bathrooms since I liked it so much. But sometimes I did buy some dud ones, and I have thrown out a lot of empty diffuser jars over time.
The Christmas themed one was like a little snow globe, very pretty! And these new standard ones that I have been buying have a little plastic cap that can be screwed on to hold the sticks. When I looked at them, they looked like they could be perfect for a small decoration! I am accumulating a collection of interesting jars now, but I will save the light blue bauble jar for something more unique in the future.
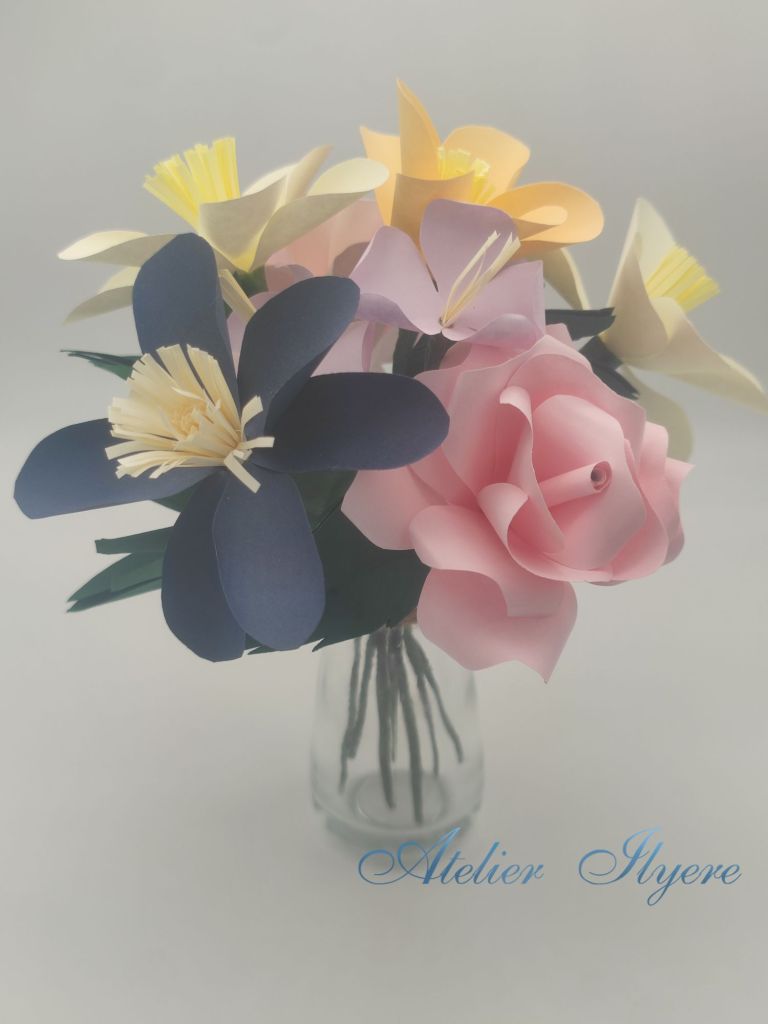
Recently when I did my 2023 year in review post, I mentioned that there were some unused papercraft hellebore flowers just sitting in a vase. The reason why I made them in the first place is because I wanted to make this pretty papercraft flower posy that I saw in the book The Paper Florist. The posy used hellebore, cherry blossoms, and rose buds.
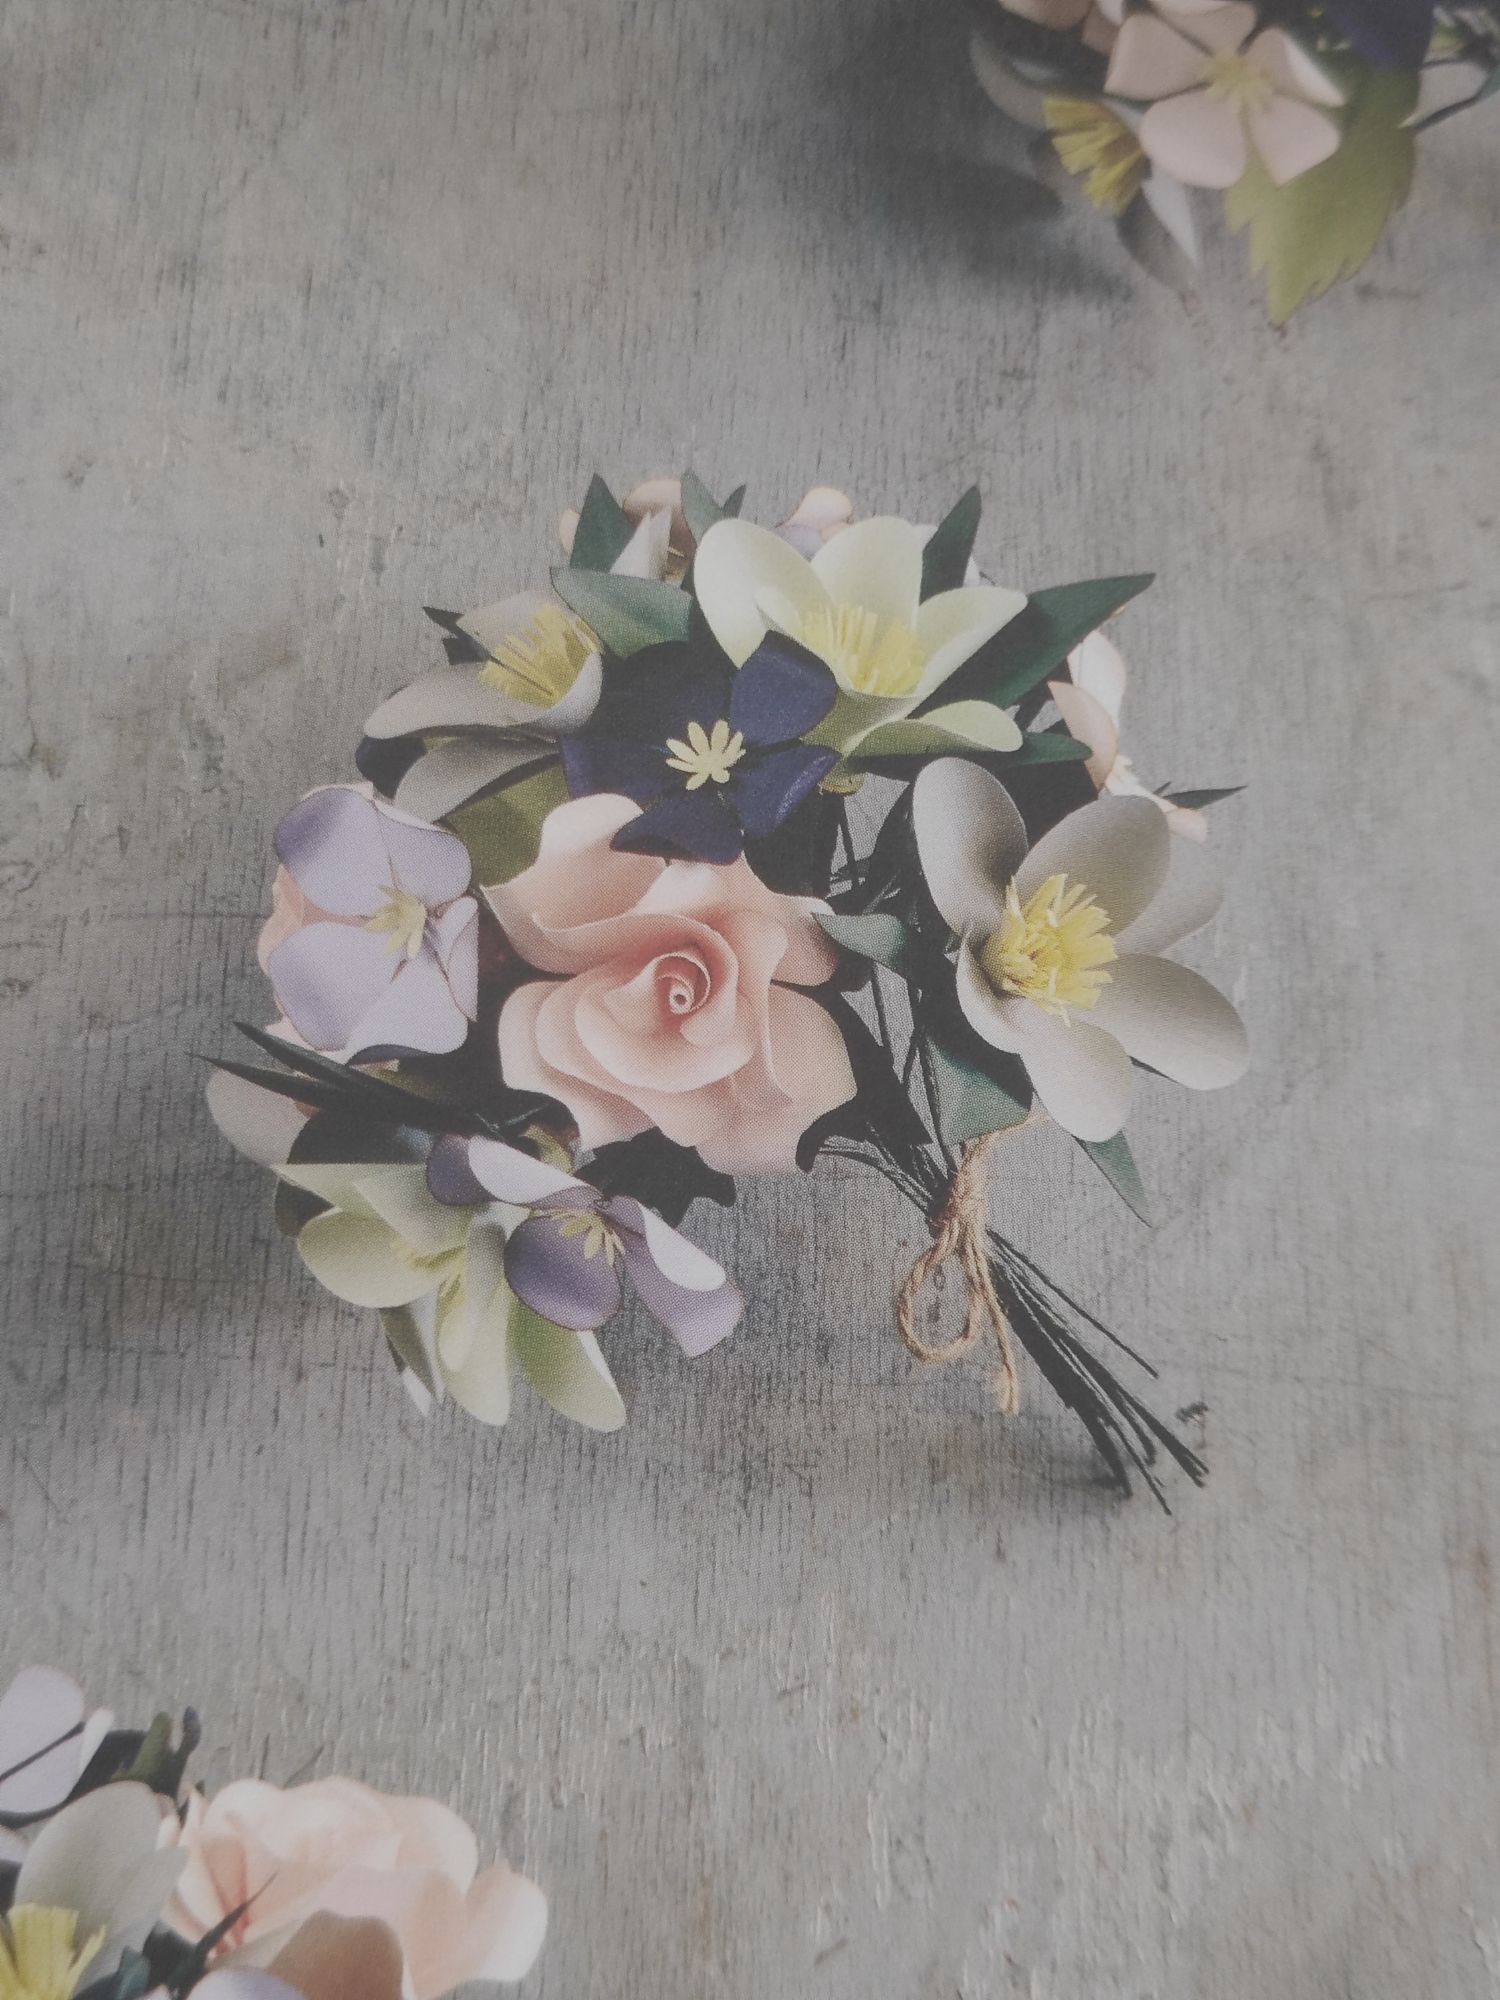
This posy contained 16 flowers, but I was not planning to make that many to begin with.
In my copy of the book, I like to trace the templates on paper and keep them for future use, as well as spare cut-outs. For the roses template, the images are quite large and therefore easy to draw and cut out, but the hellebore leaves and the cherry blossom flowers were a bit harder to cut out. They weren’t perfect reproductions, but they do the job well and I can reuse them in future projects.
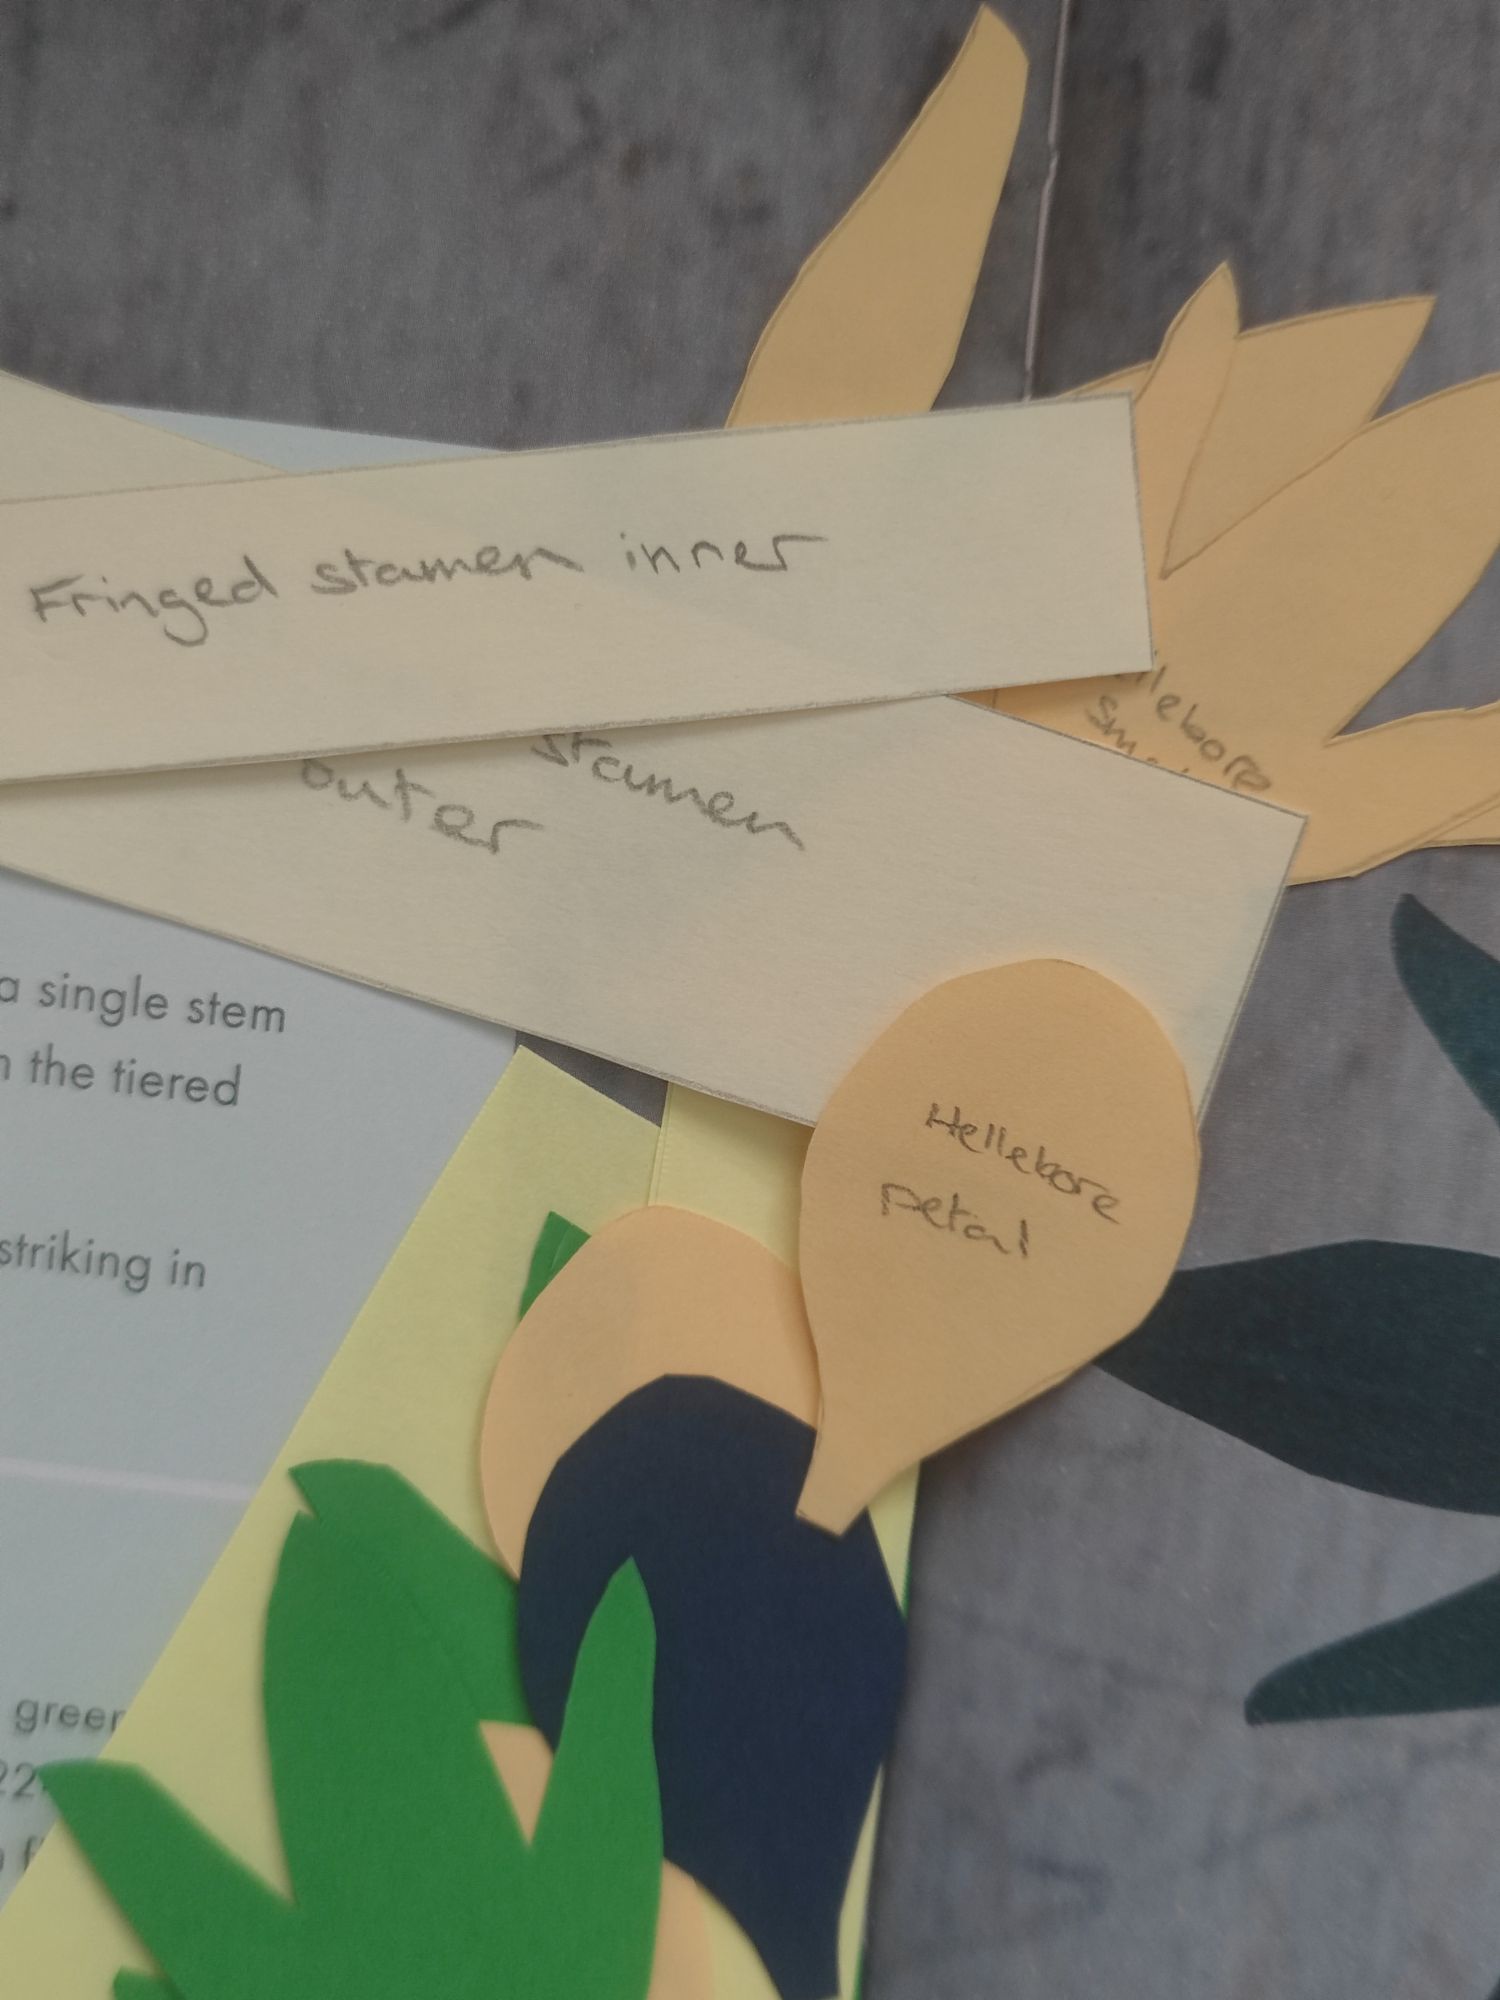
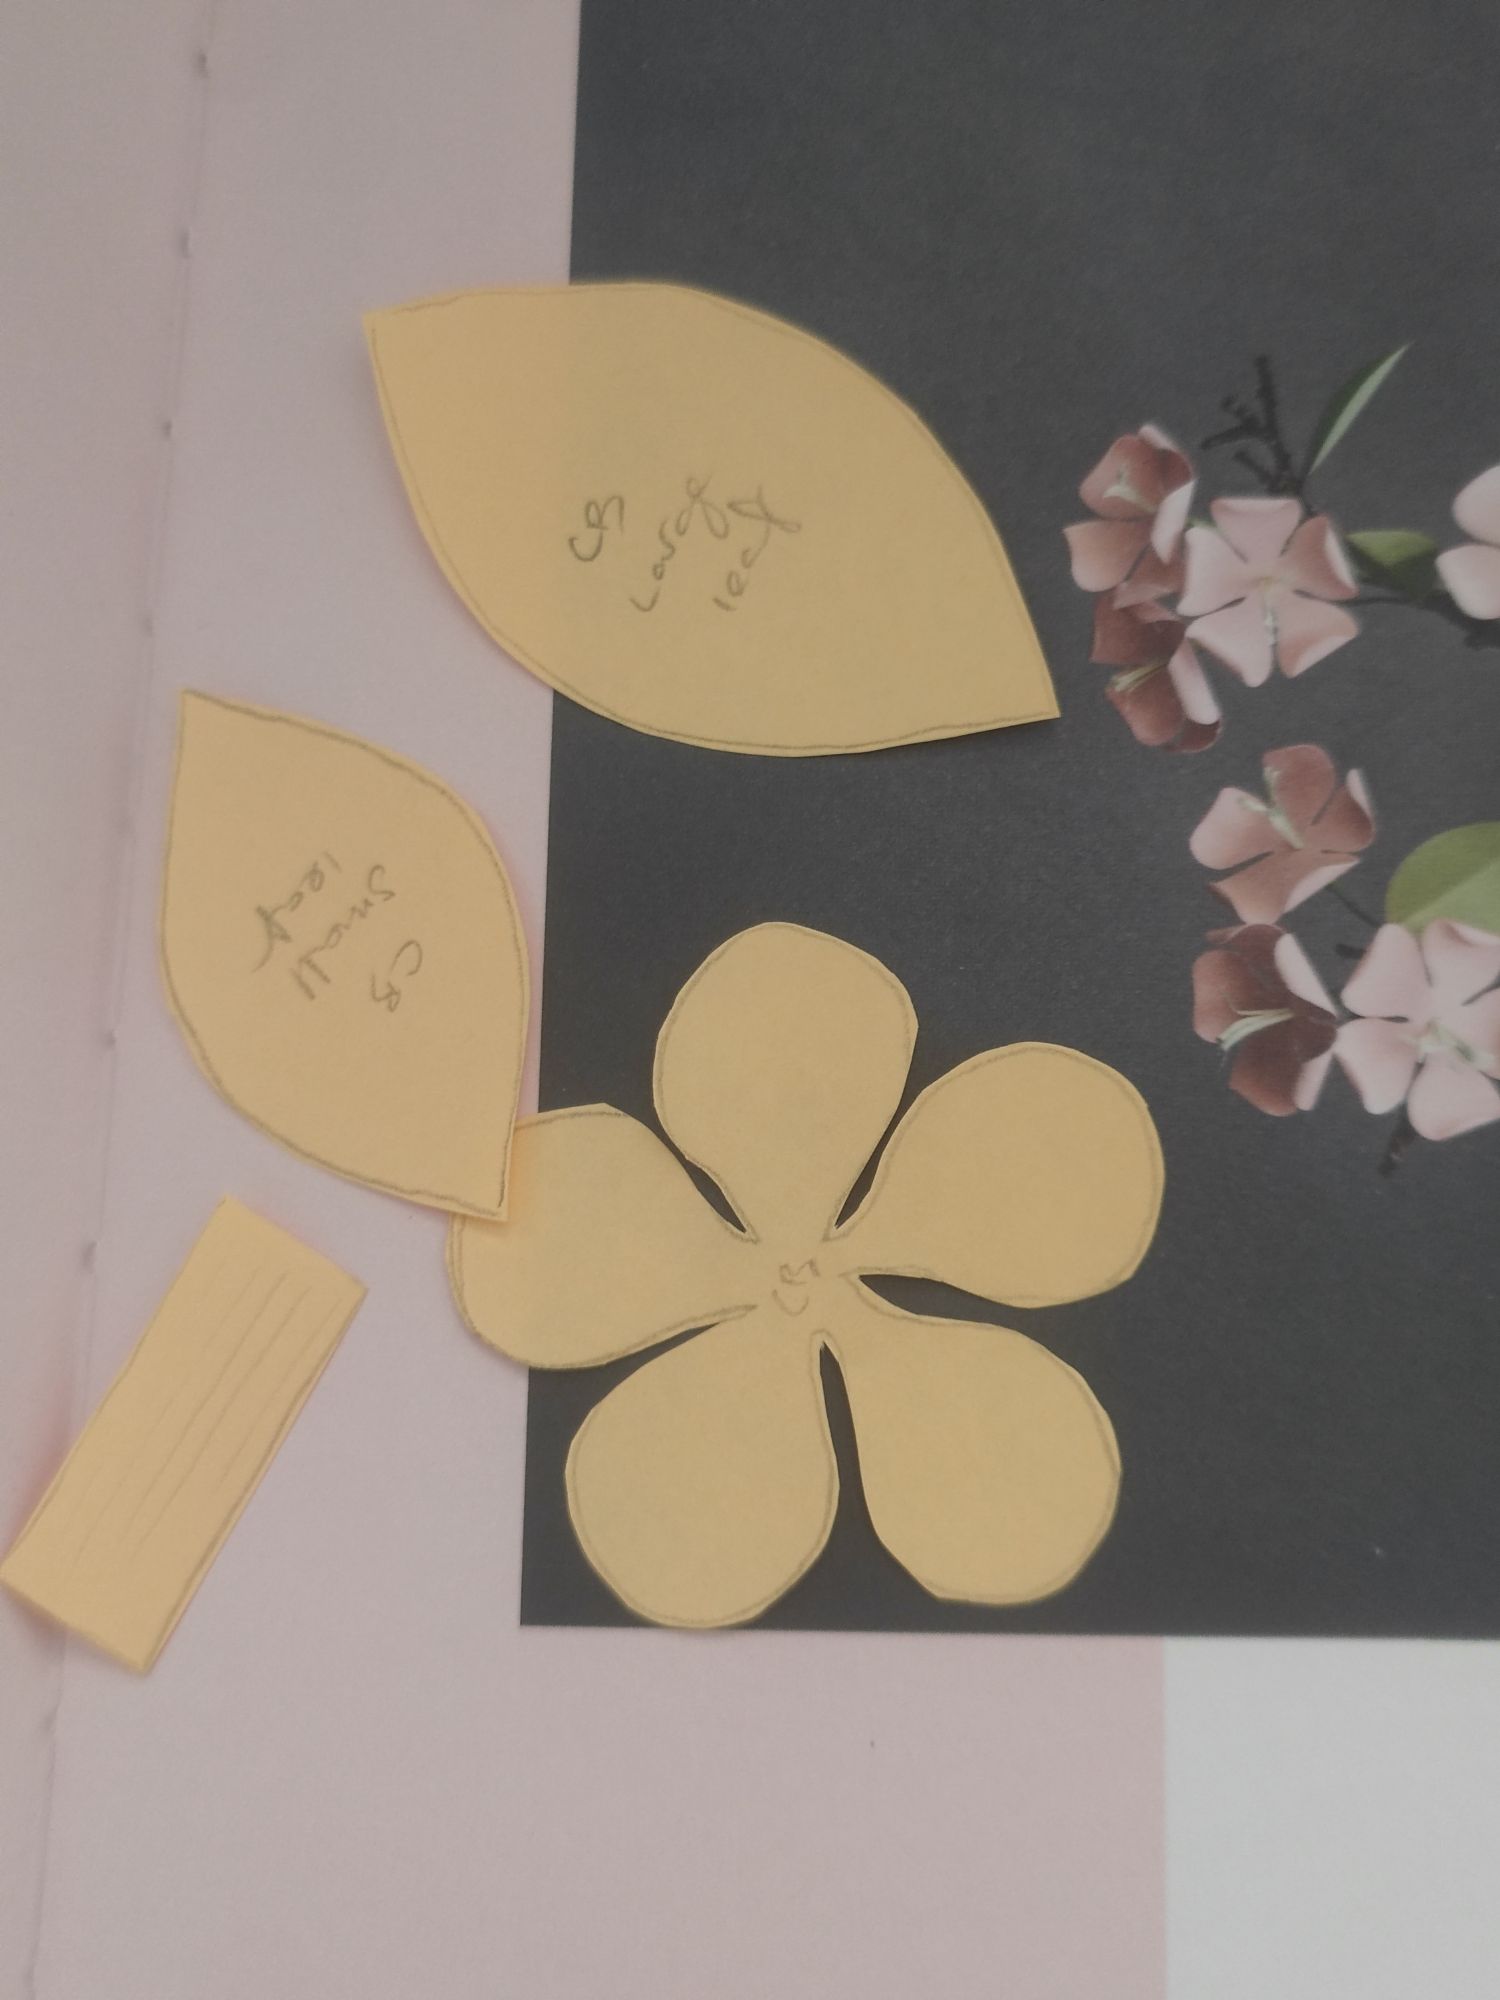
Generally I find papercraft flowers to be quite straightforward. Usually the stamens, the petals and the leaves need to be cut out and trimmed or sculpted to look natural, then the hot glue gun is used to attached everything together, and finally the stems are wrapped with florist tape. As it’s detailed in the book, I won’t go through the full process in detail, but it is somewhat easy to decipher when you have the starting pieces.
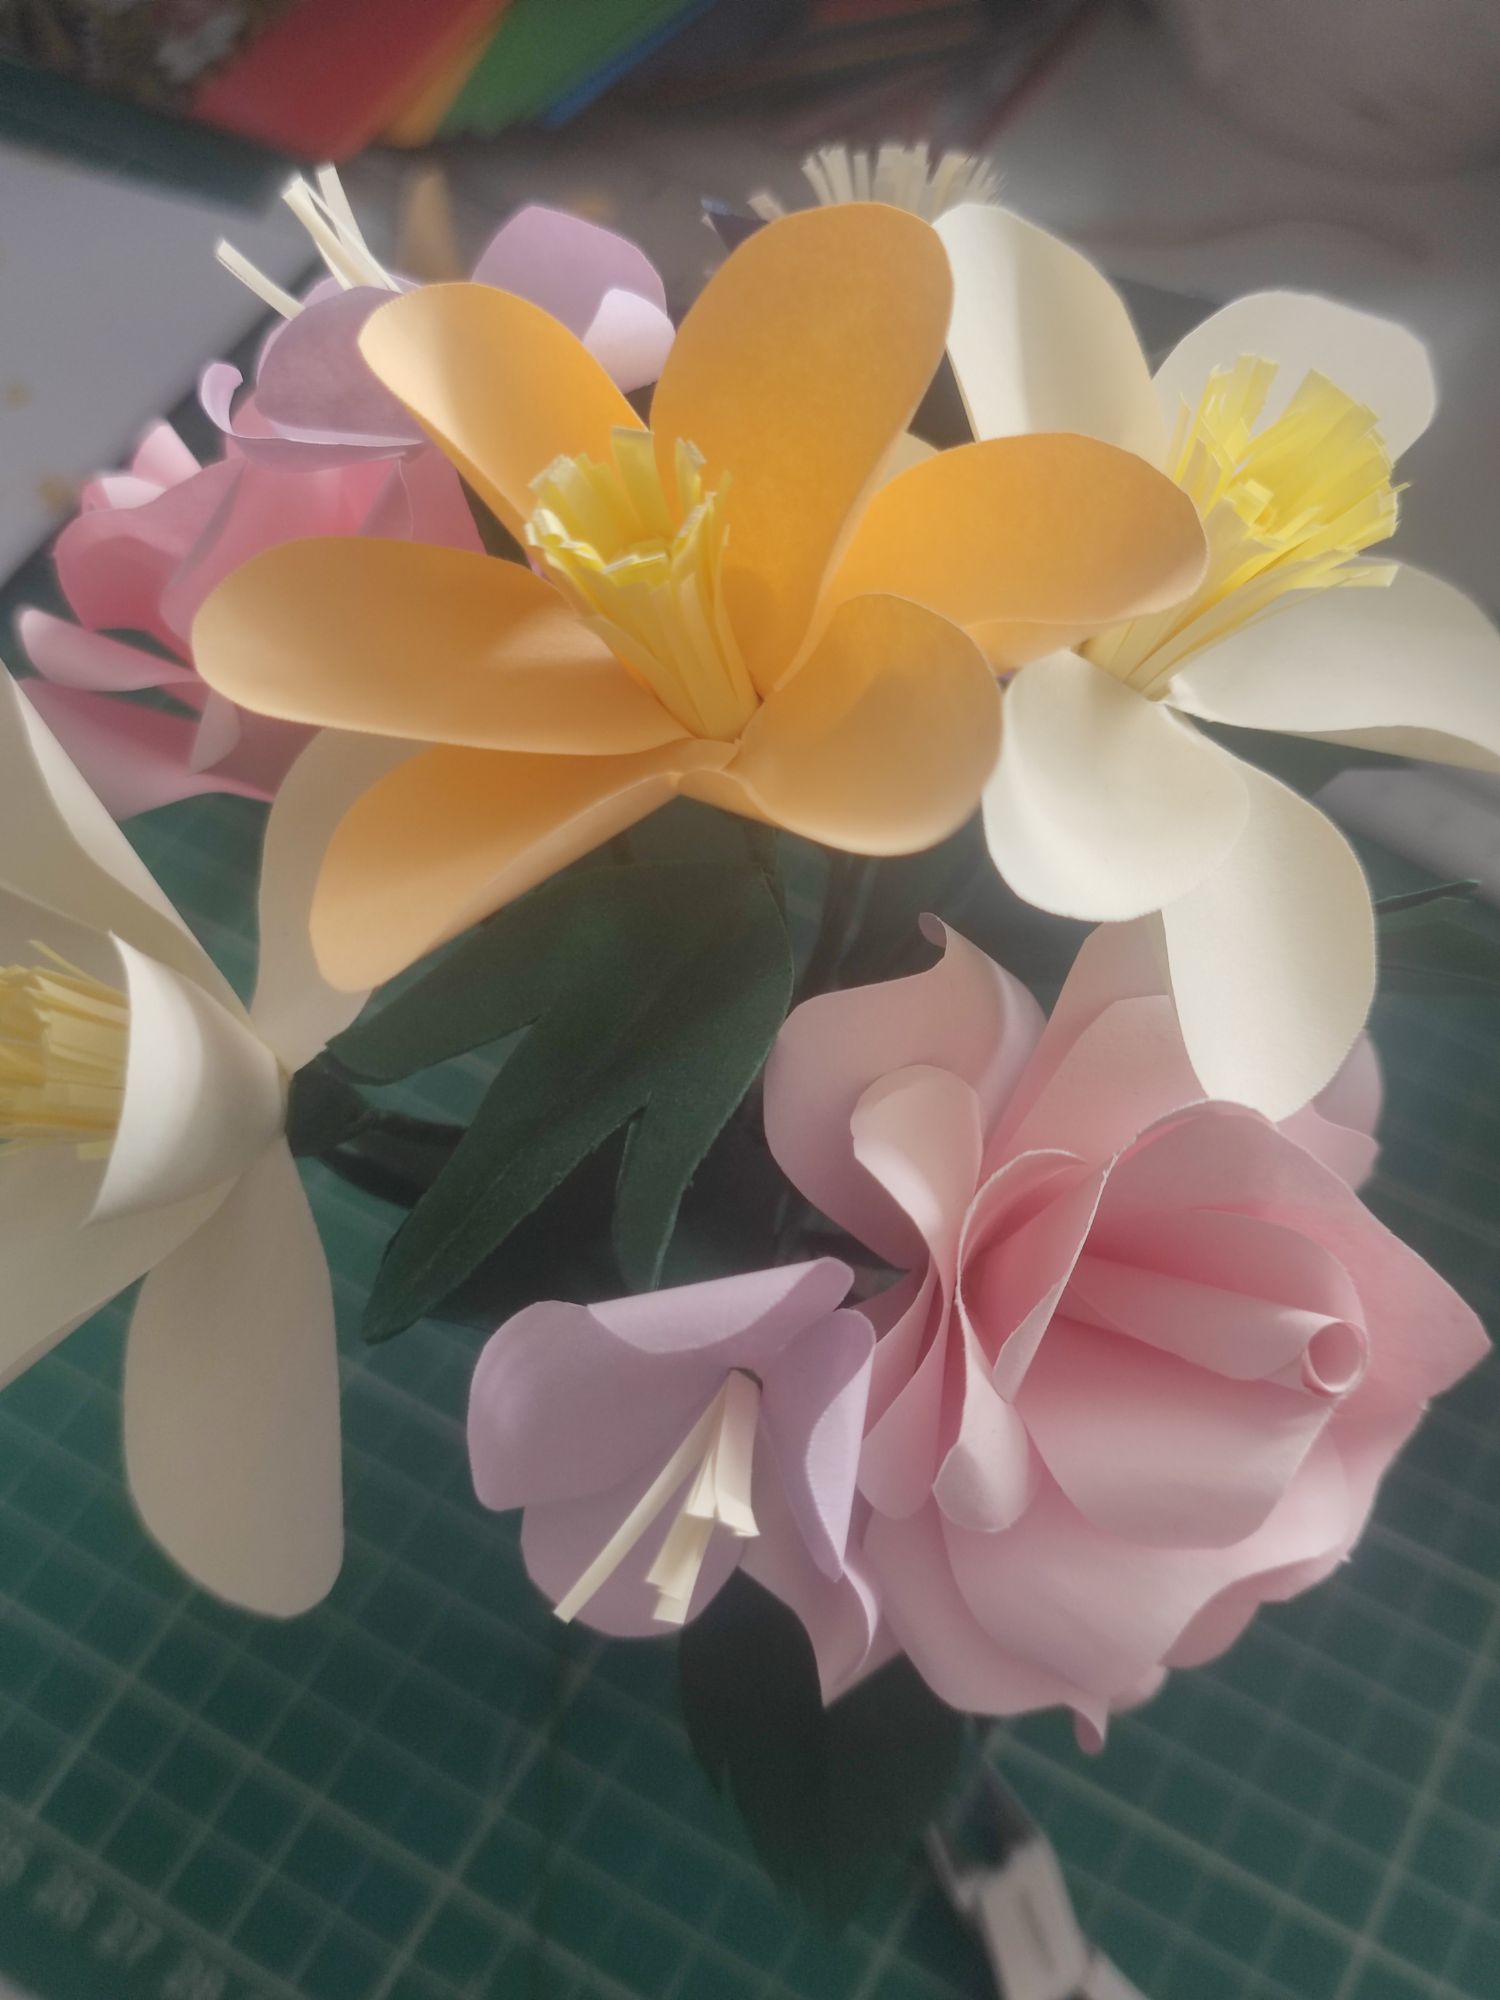
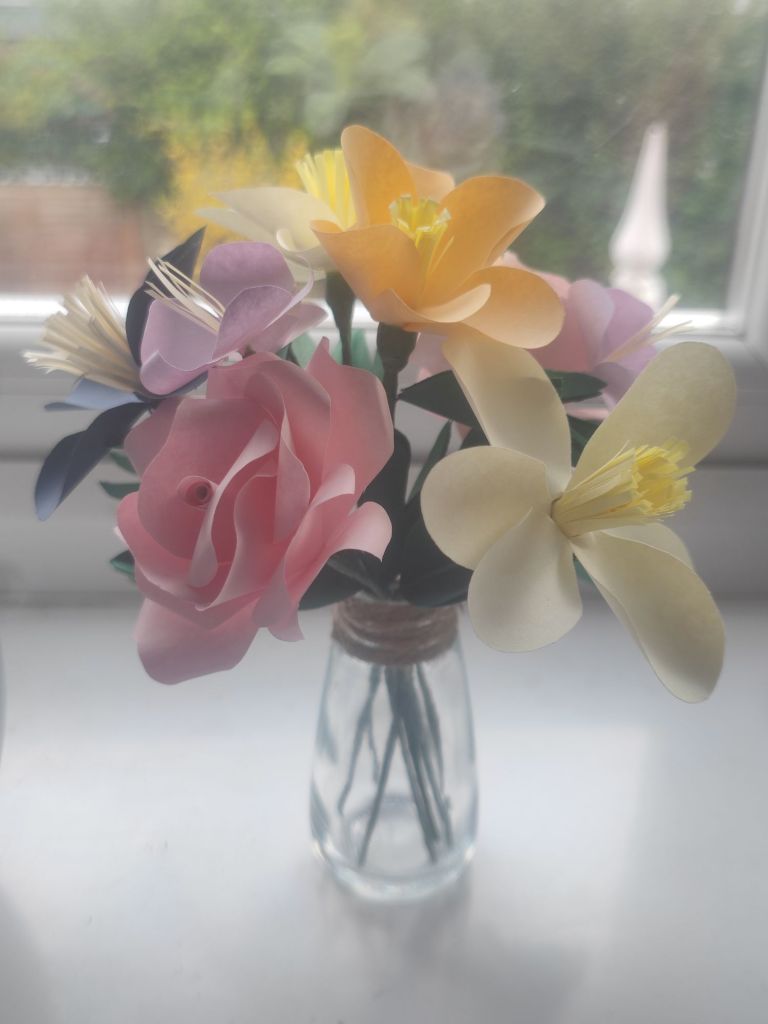
As we are welcoming the Spring season, I used a lot of light and pastel colours for the flowers. I made two light pink rose buds, and then I added some light orange hellebore. The roses by themselves take up the most space, but they are visually the most impressive-looking flower! I then made light purple cherry blossoms to fill in some of the gaps. I also ended up using the light yellow and navy hellebore that was sitting unused on my desk – I had to trim them down and remove some of the leaves to make them fit. The navy flower does add nice contrast but I only used the one.
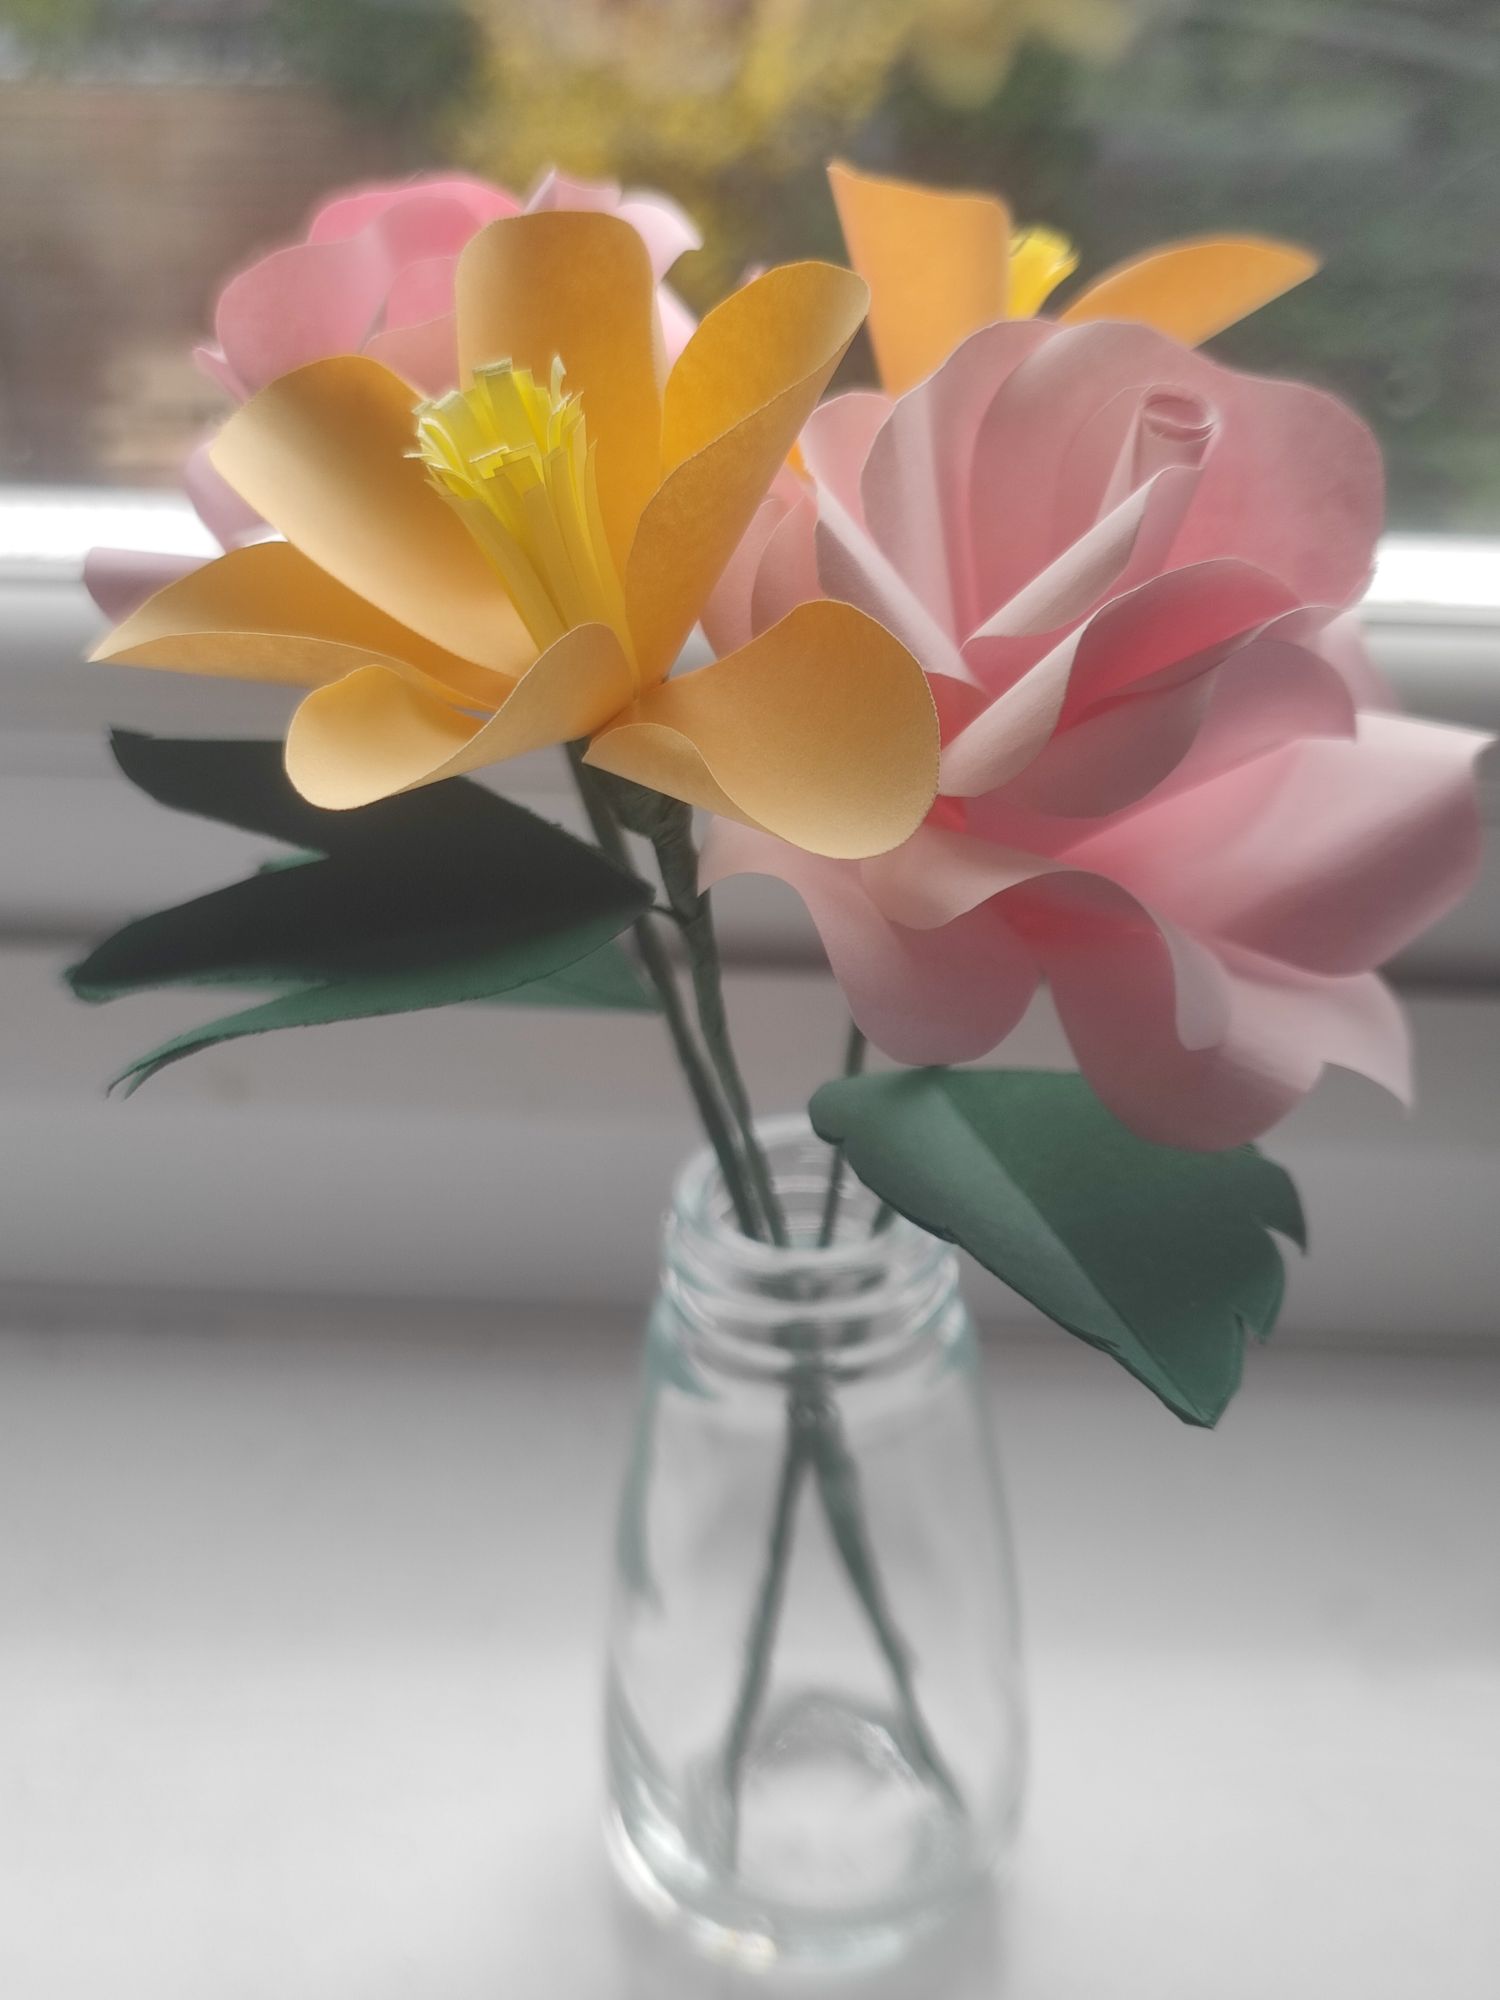
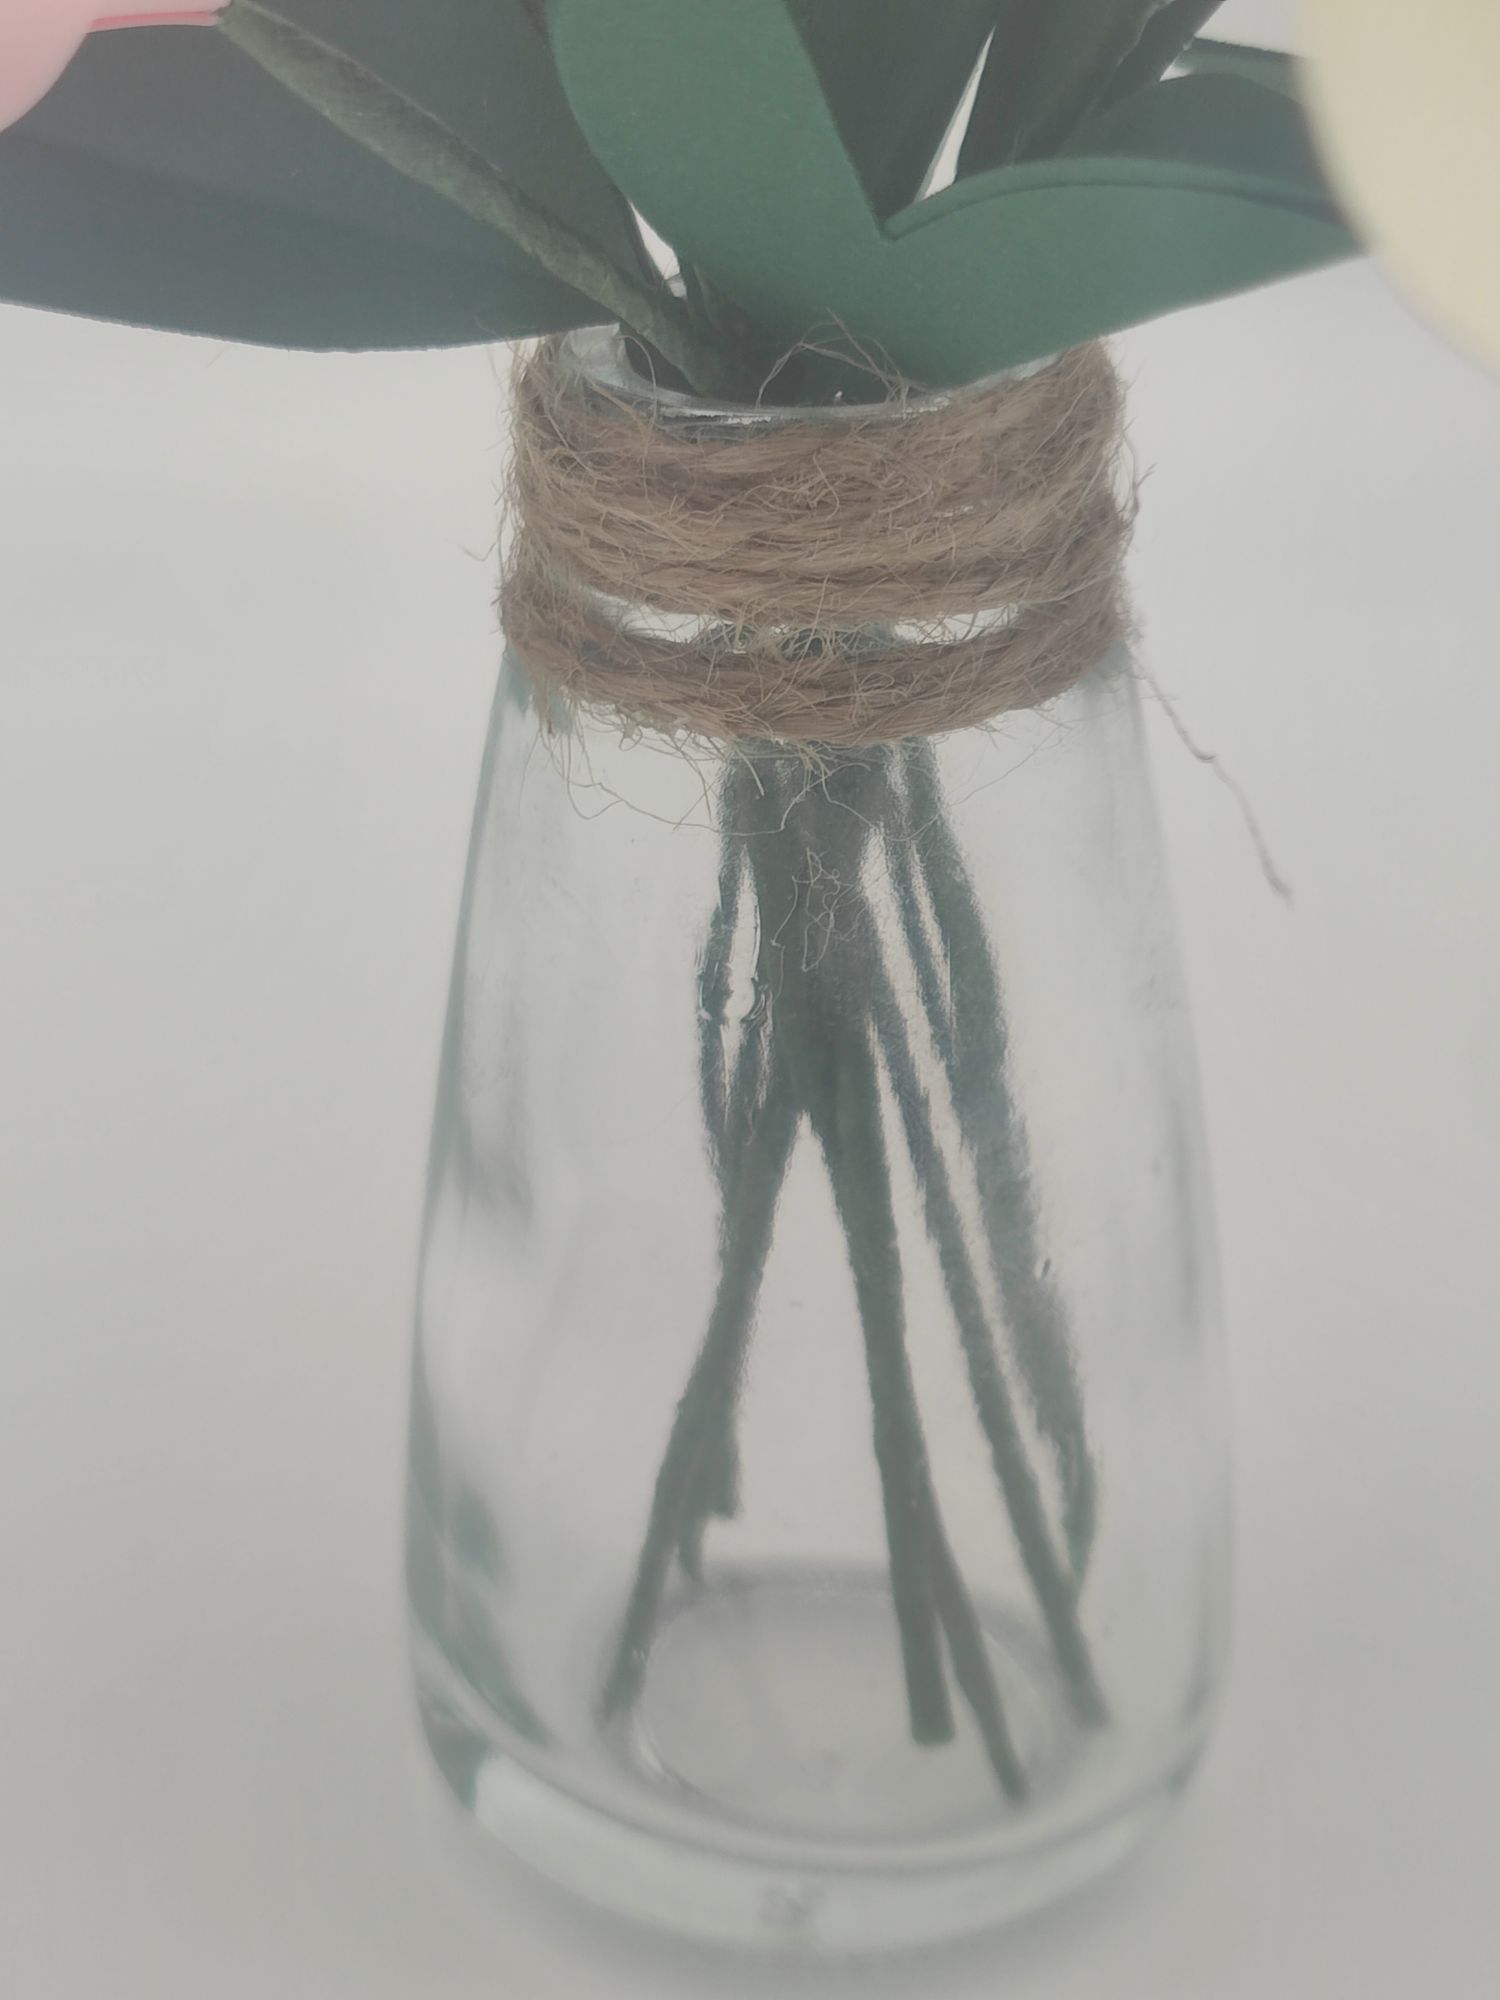
I opted to not tie the flowers together in a twine knot, as the position of the leaves did get in the way of the place where I would have made the knot, but this allows me to freely arrange the flowers in the jar and add more flowers in the future if I so wished – maybe some more cherry blossoms in different colours? For a personal touch, I did apply some hot glue and twine to the top area of the jar where the screw cap went, to imitate the effect. I tried doing this at the base of the jar to hide the stem ends, but it was difficult to do since this jar was wider at the base.
I have this sat on my windowsill in my craft room at the moment, if only the days here in the UK would be a little more sunny though! At the moment it rains a lot and it can still get quite cold. That’s just how it is here!
Materials used:
– Paper of various colours
– Florist wire
– Florist tape
– Small jar (from air diffuser)
– Brown twine
Tools used:
– Scissors
– Hot glue gun
– Wooden dowel
References used:
– The Paper Florist by Suzi Mclaughlin
