
There’s a couple of things that I wanted to do this month, but I think they will take a long time to get going, so I decided to pick a modular form to create as a smaller project. I have mentioned the book Zen Origami by Maria Sinayskaya before, which is an excellent book to learn about Sonobe modular origami, and I chose the Imperial Rose Sonobe for this project. I think it also can be called the Royal Rose Kusudama because I remember making this model a long time ago, before I started blogging!
I also recently bought this excellent stack of paper and wanted to use it as soon as I could. It is always worth having a lot of double-side patterned paper in general, and the washi patterns will look great in this!

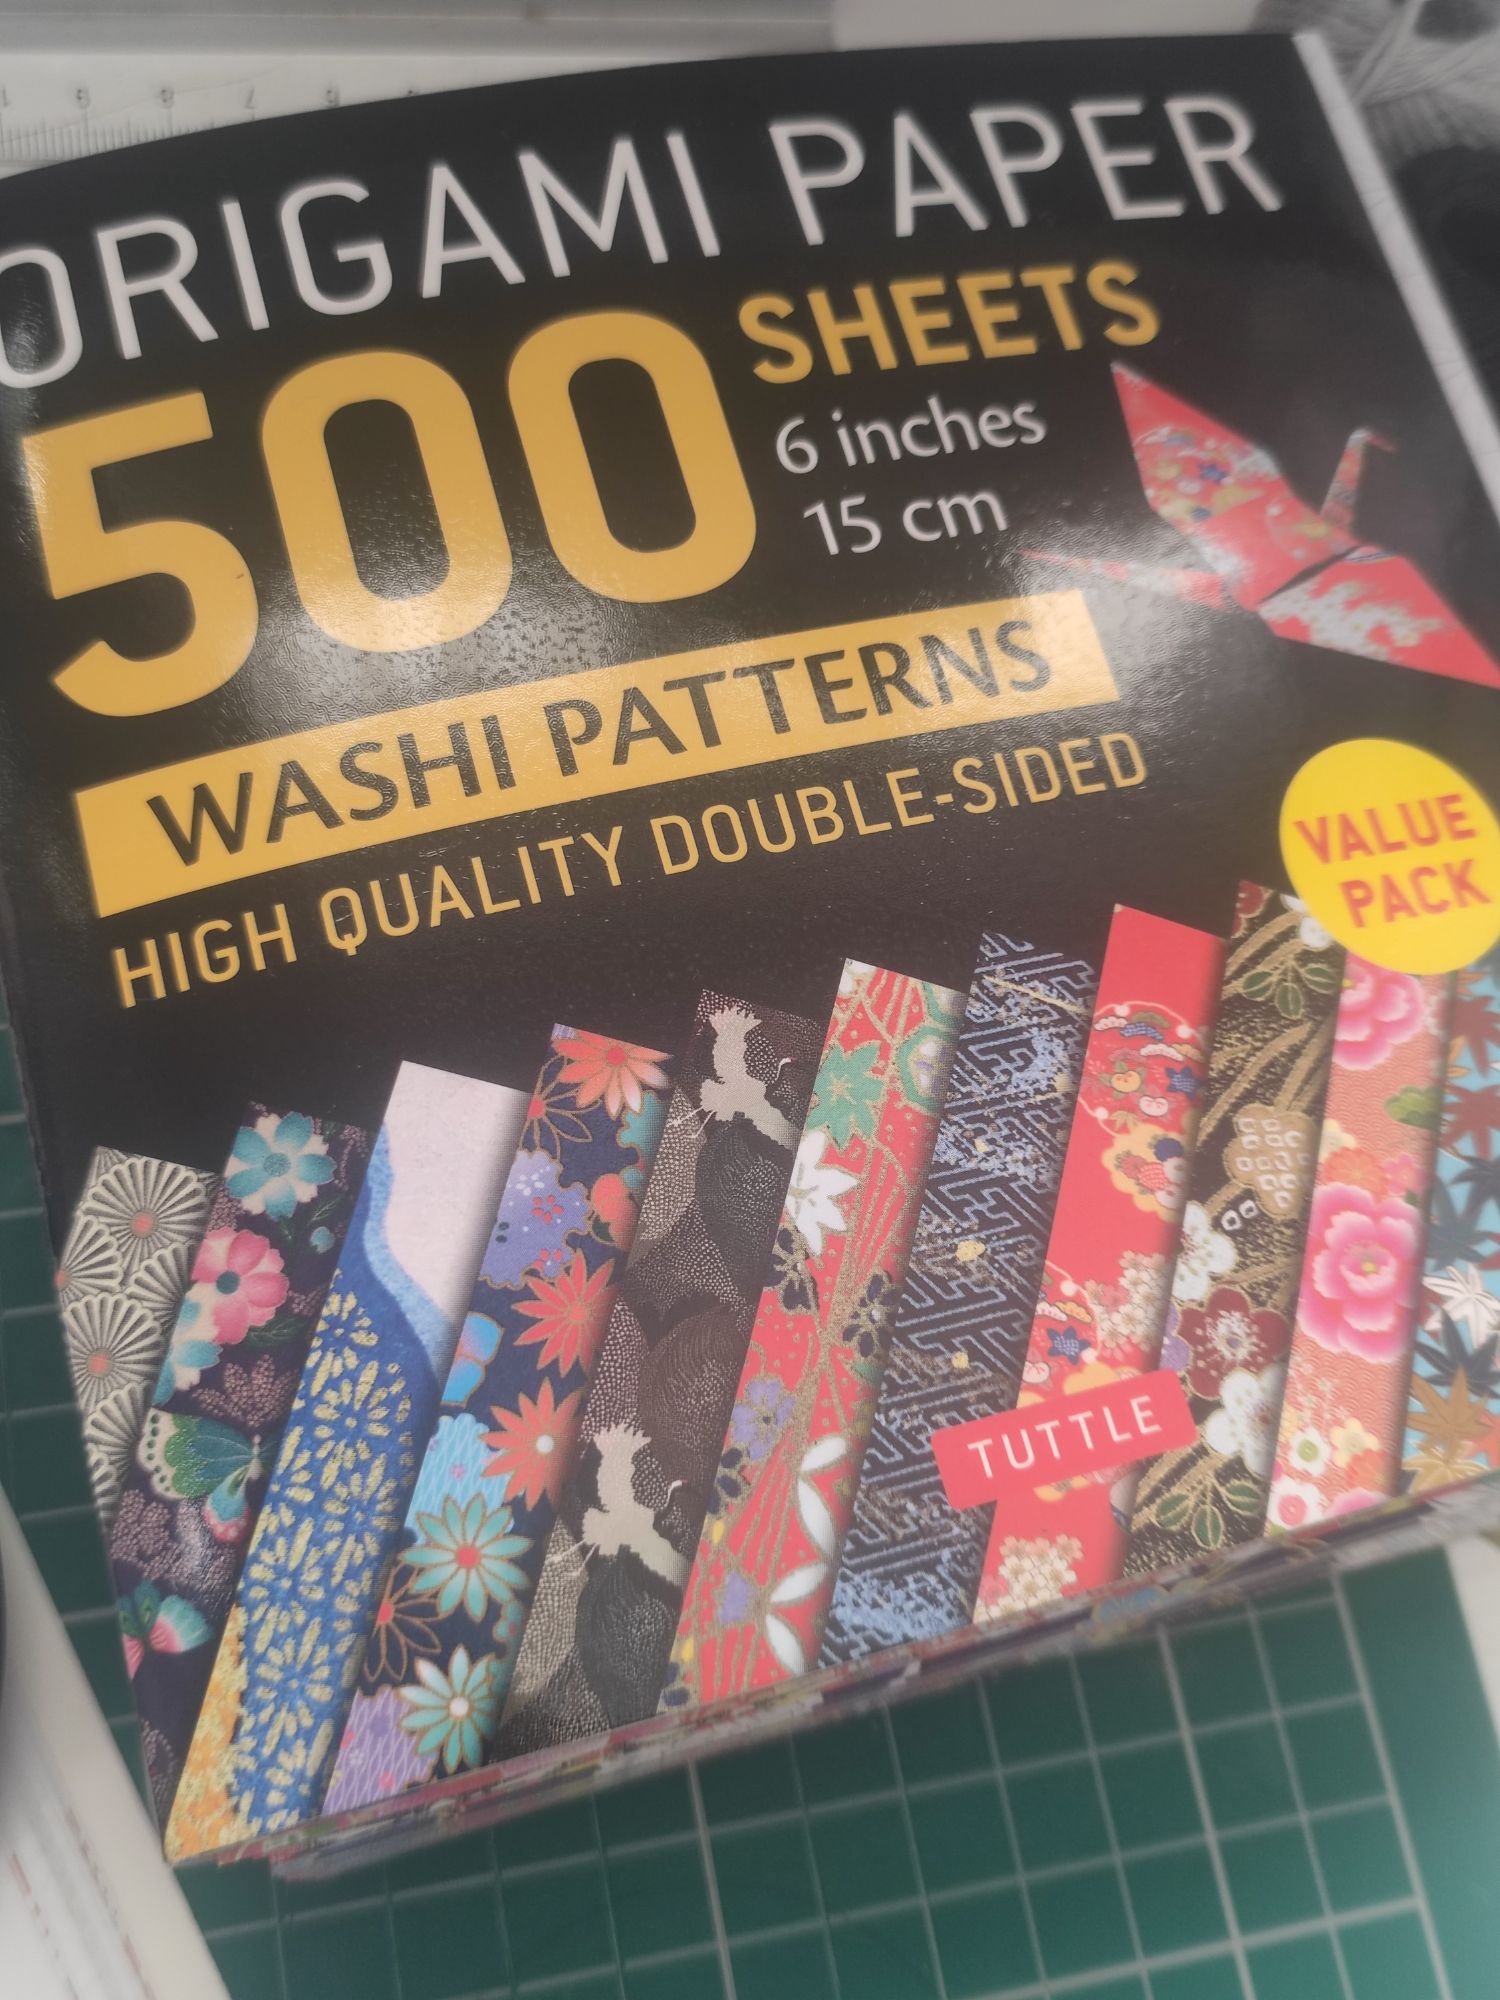
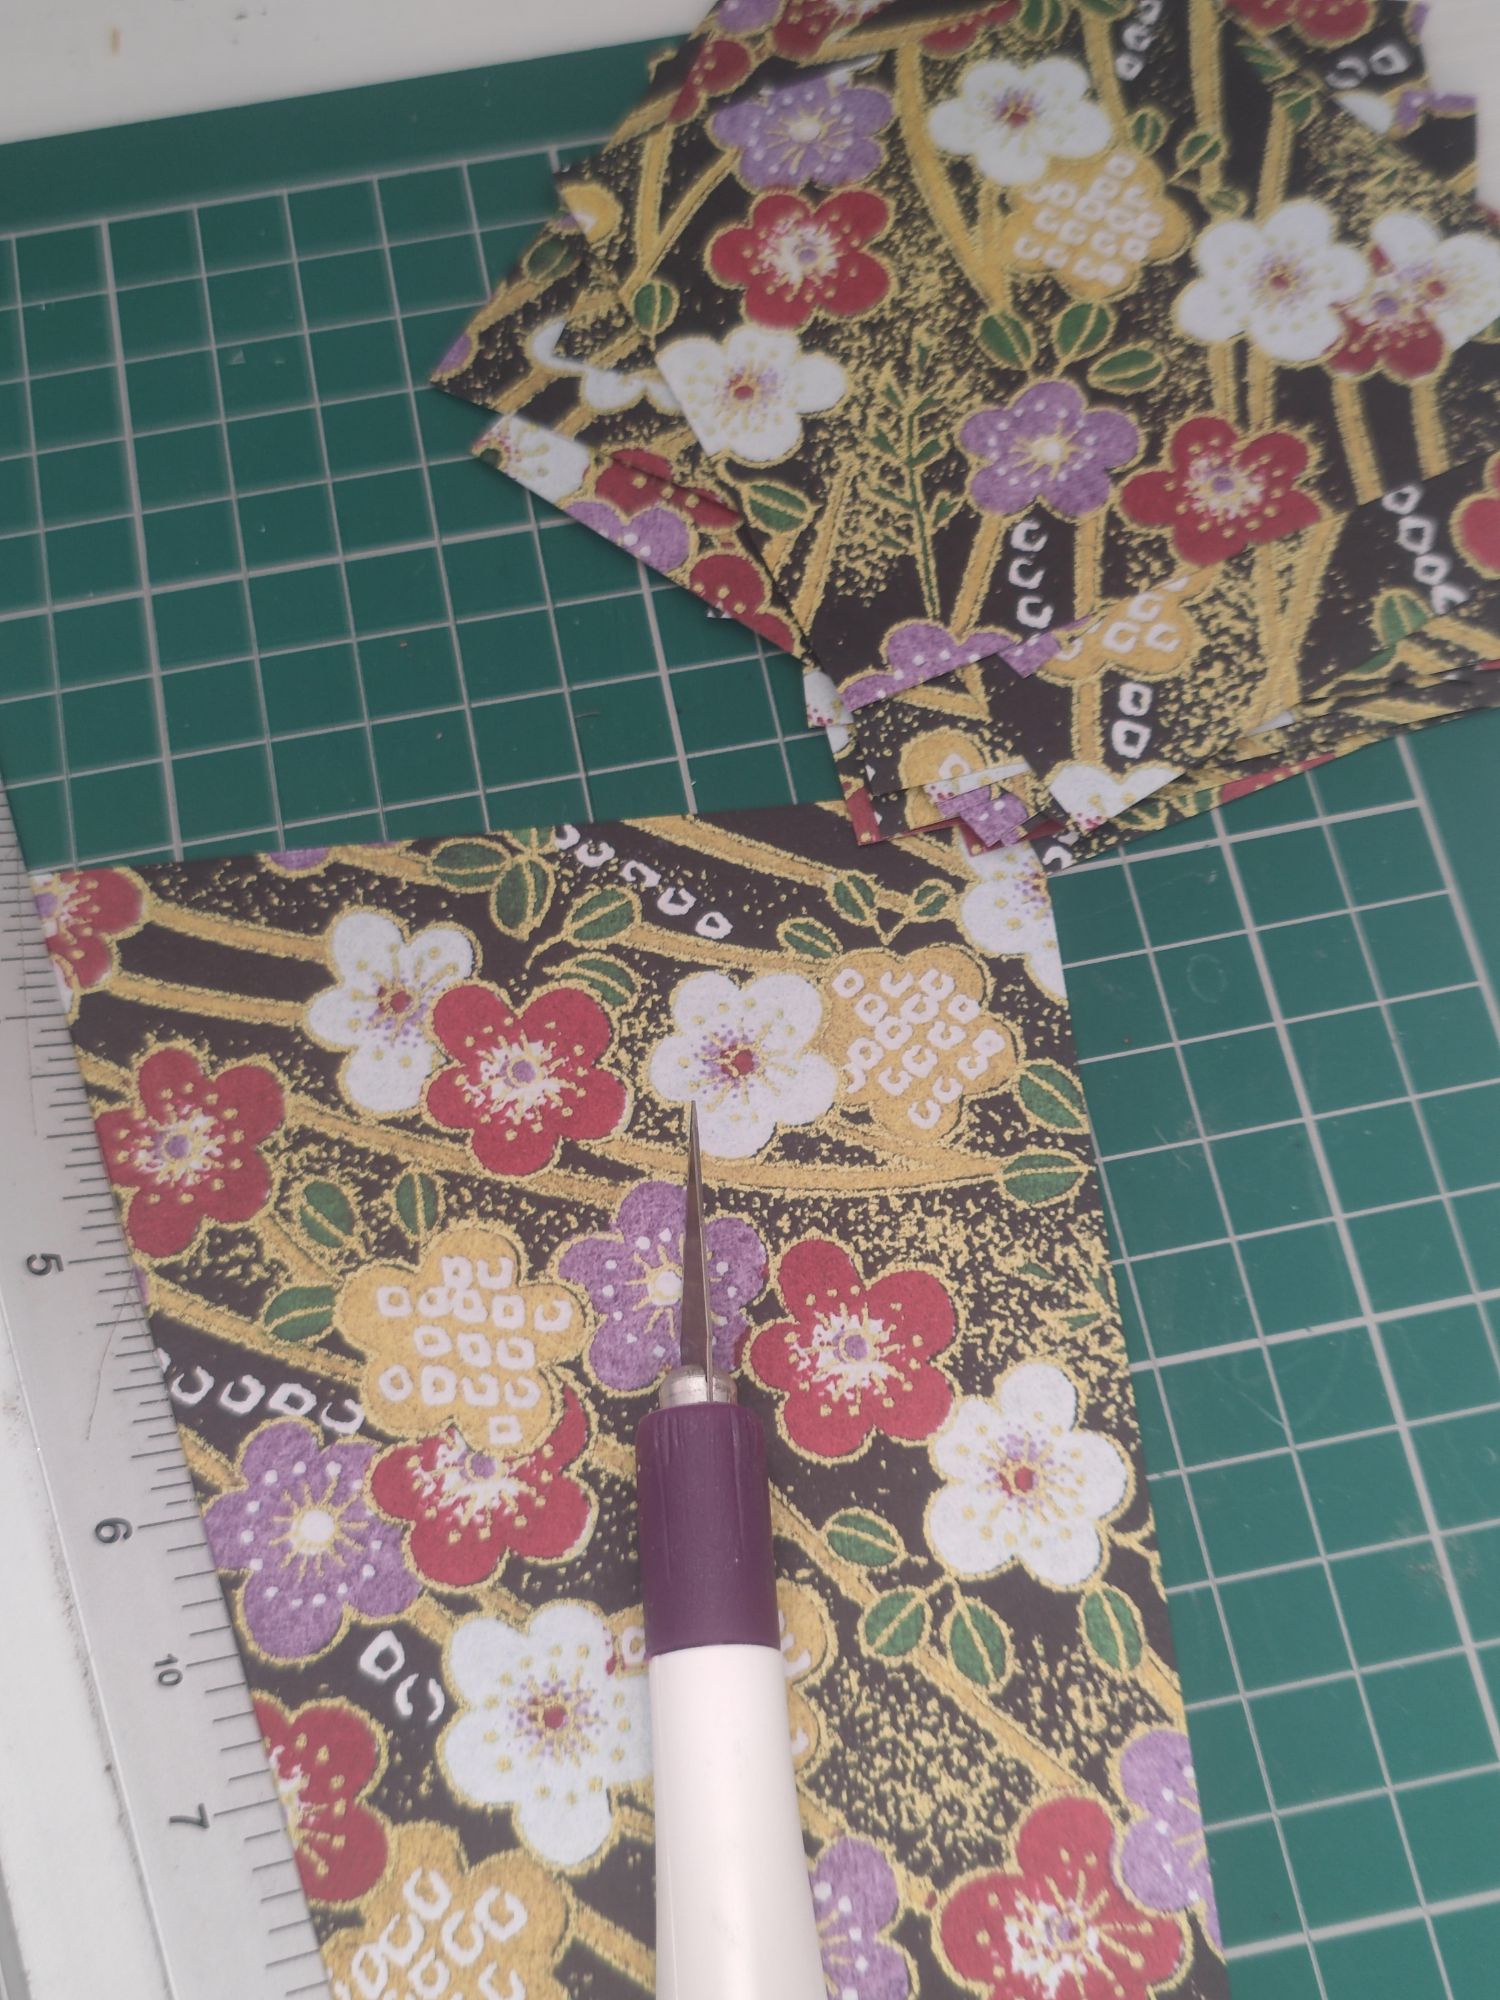
I chose a very nice gold and black floral pattern for this project. I also gathered up some extra tools and materials that I thought I might need for the finished model.
I like to use coloured twine thread to make a matching tassel decoration, so I got a mix of white, grey, and black threads. There is also a bone folder for creasing the paper, a small wooden dowel for curling the paper, a pair of angled tweezers to help pull the paper layers apart, and a paint brush and PVA glue to glue the units together. These are all optional tools, but I tend to have them on hand when making a modular form.


!With my 15cm paper, I cut them into 7.5cm squares with a craft knife and cutting mat. I find that when I cut the paper myself by folding the paper into quarters, the resulting square is never usually ‘square’. The folded units are never perfect even though you following the diagrams exactly! So the assembly can be tricky at the end, but otherwise the model comes together well.
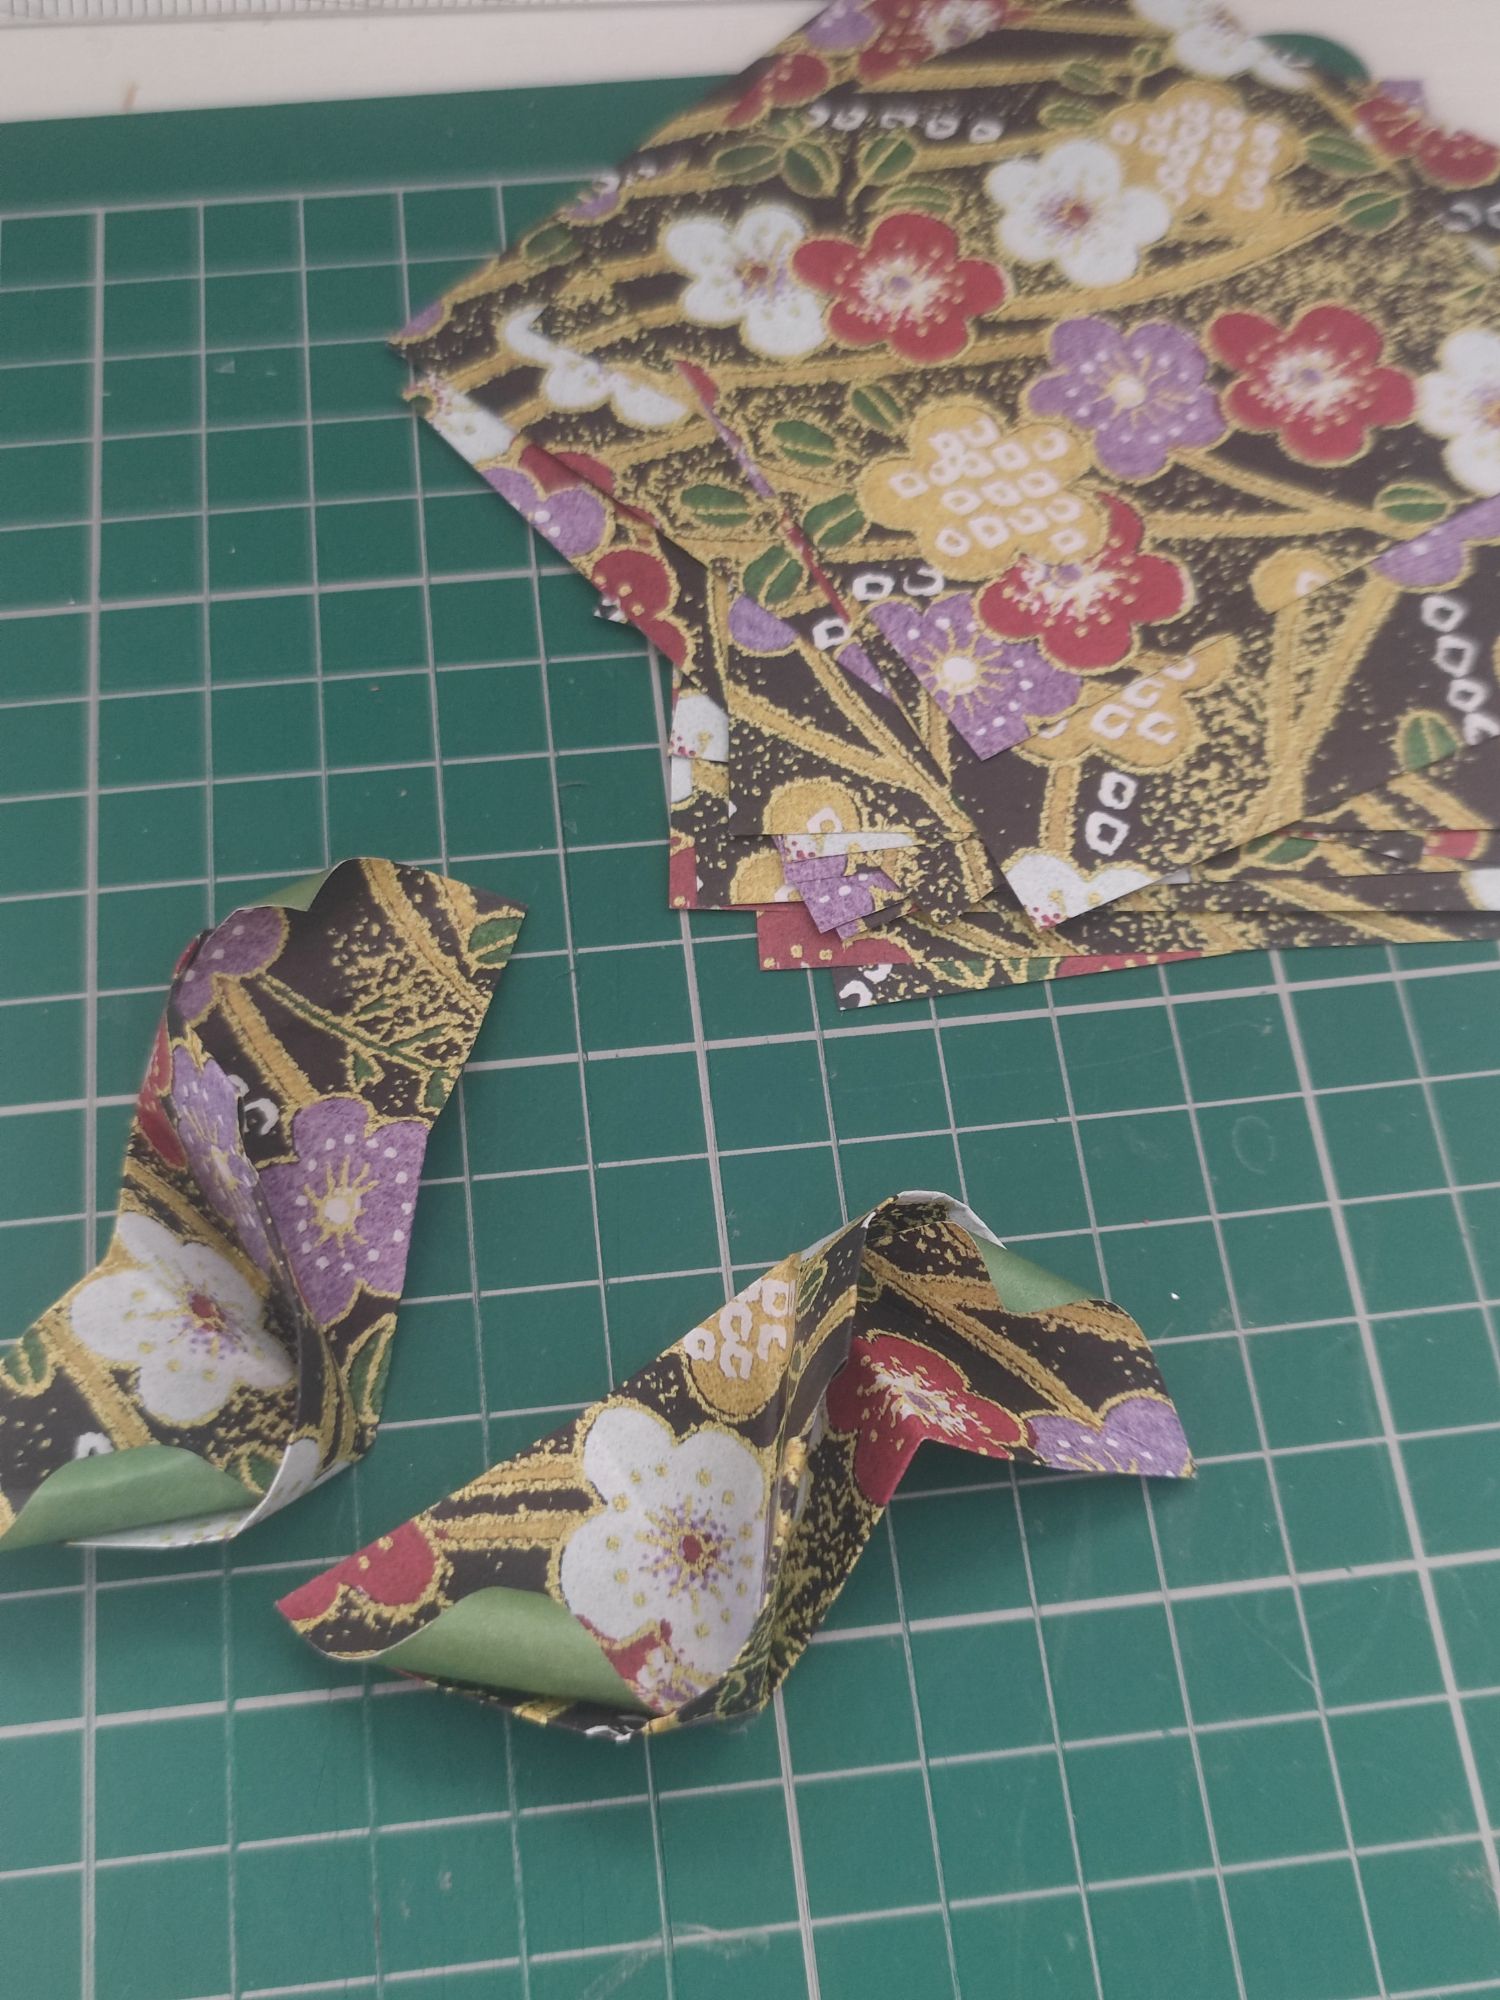
The first Sonobe unit is always the trickiest one to fold, but then you get the hang of it and the rest of it flies. I folded 30 units because I wanted to make the big version of the model, however you can stay at 12 if you want to start small. The version that I am doing is a slight variation of the pictured model, as reversing two of the folds at a particular step results in the unit having extra flaps. This is where I used the wooden dowel to curl the paper and create the flowery look.
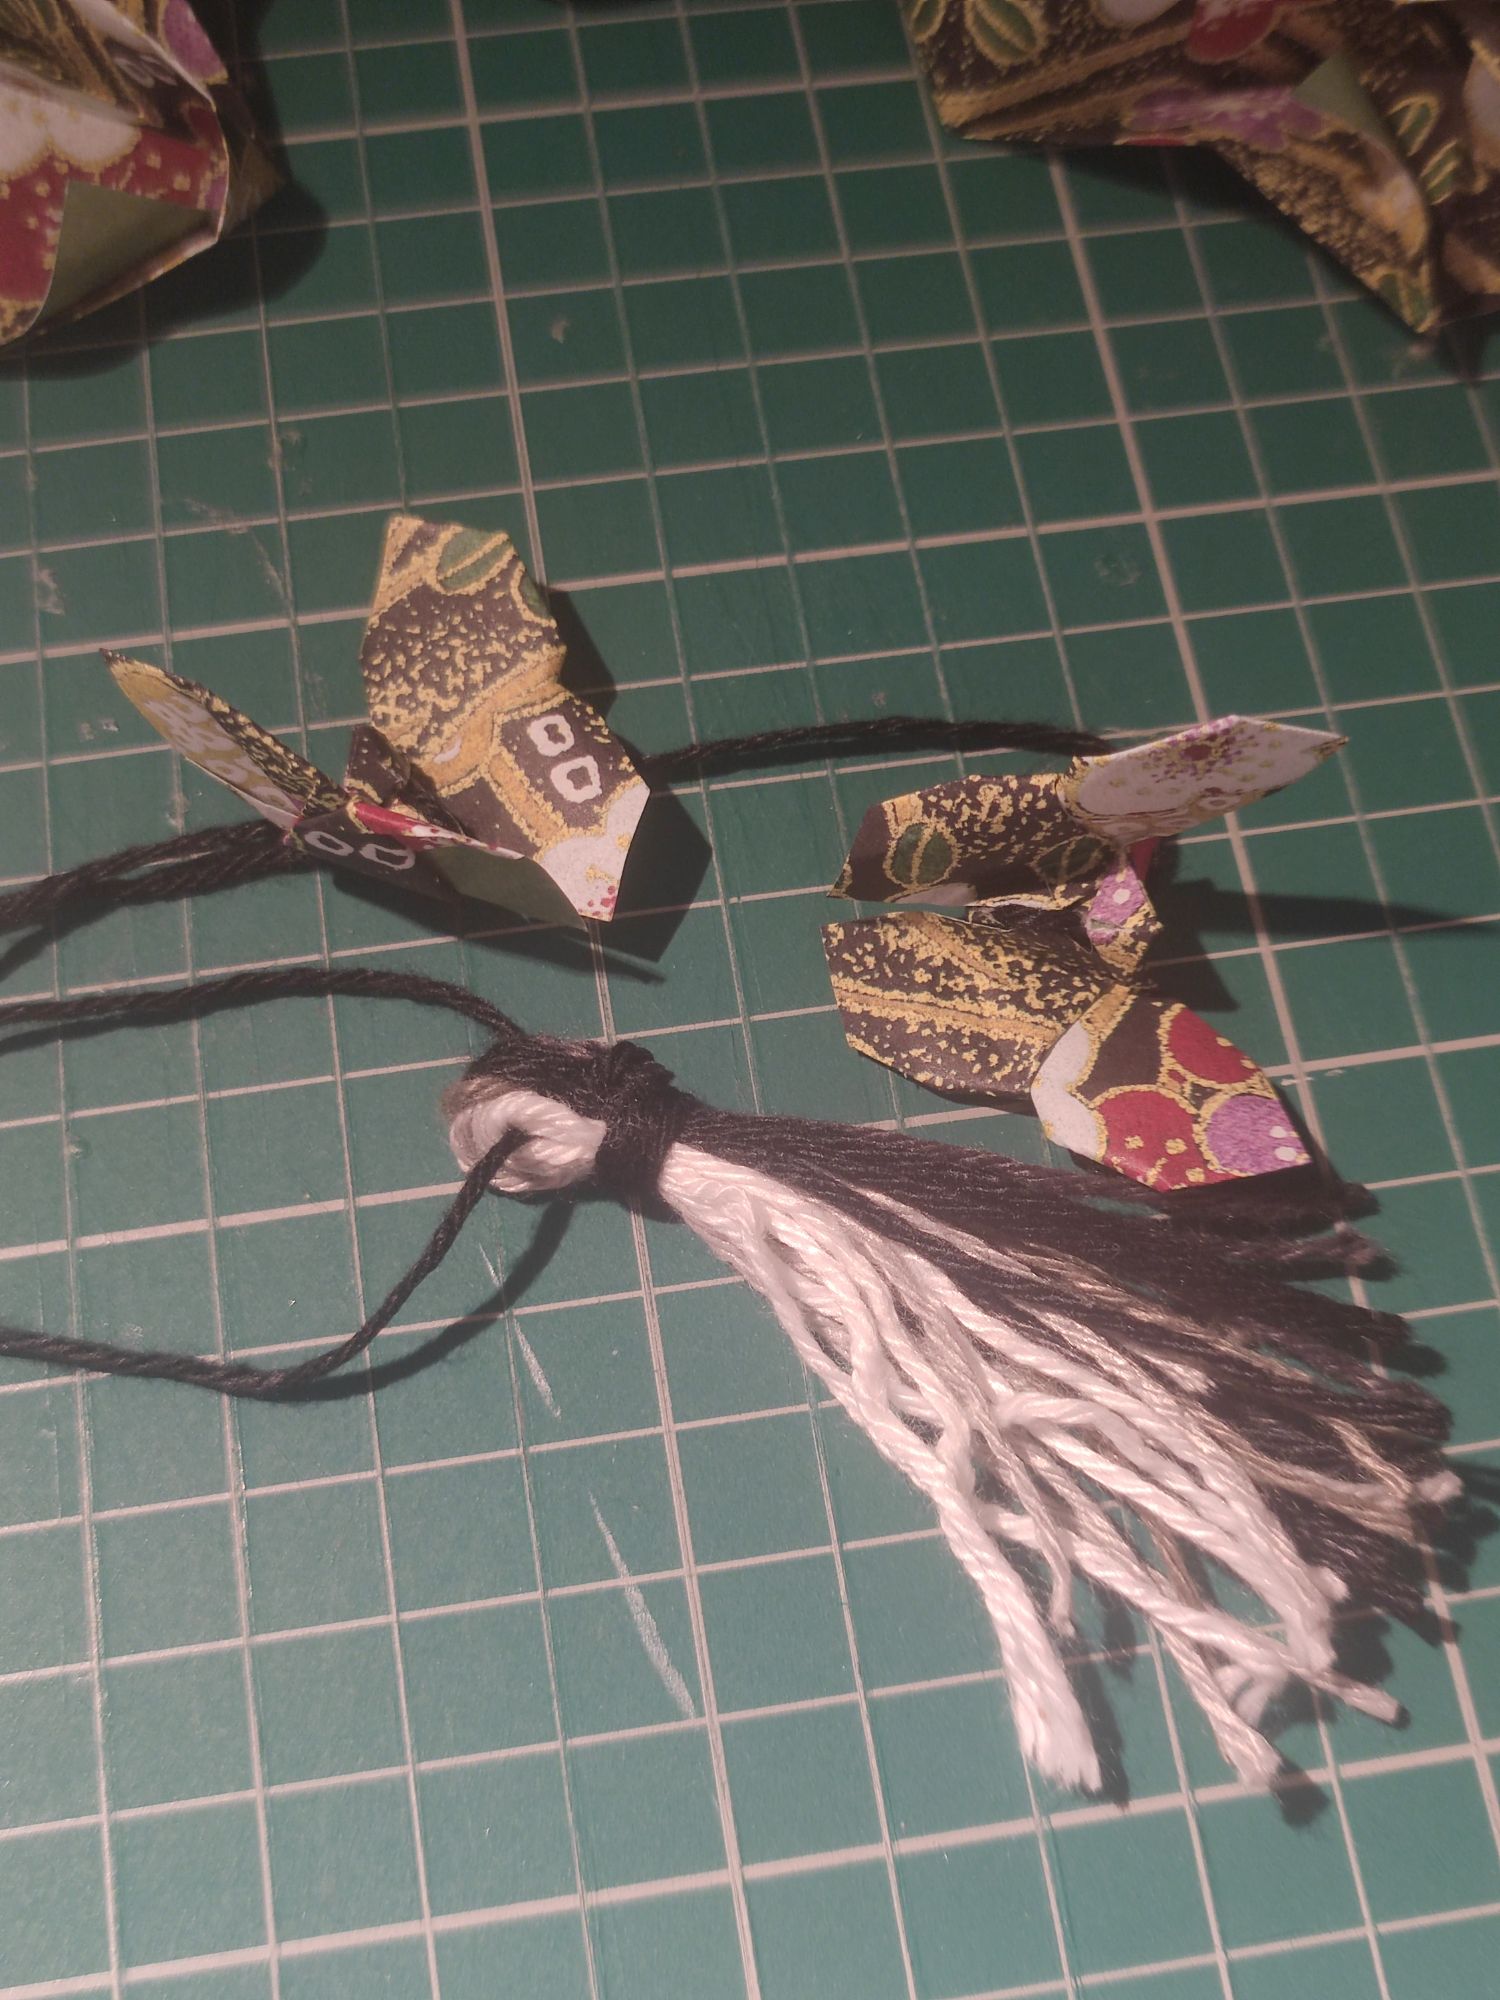
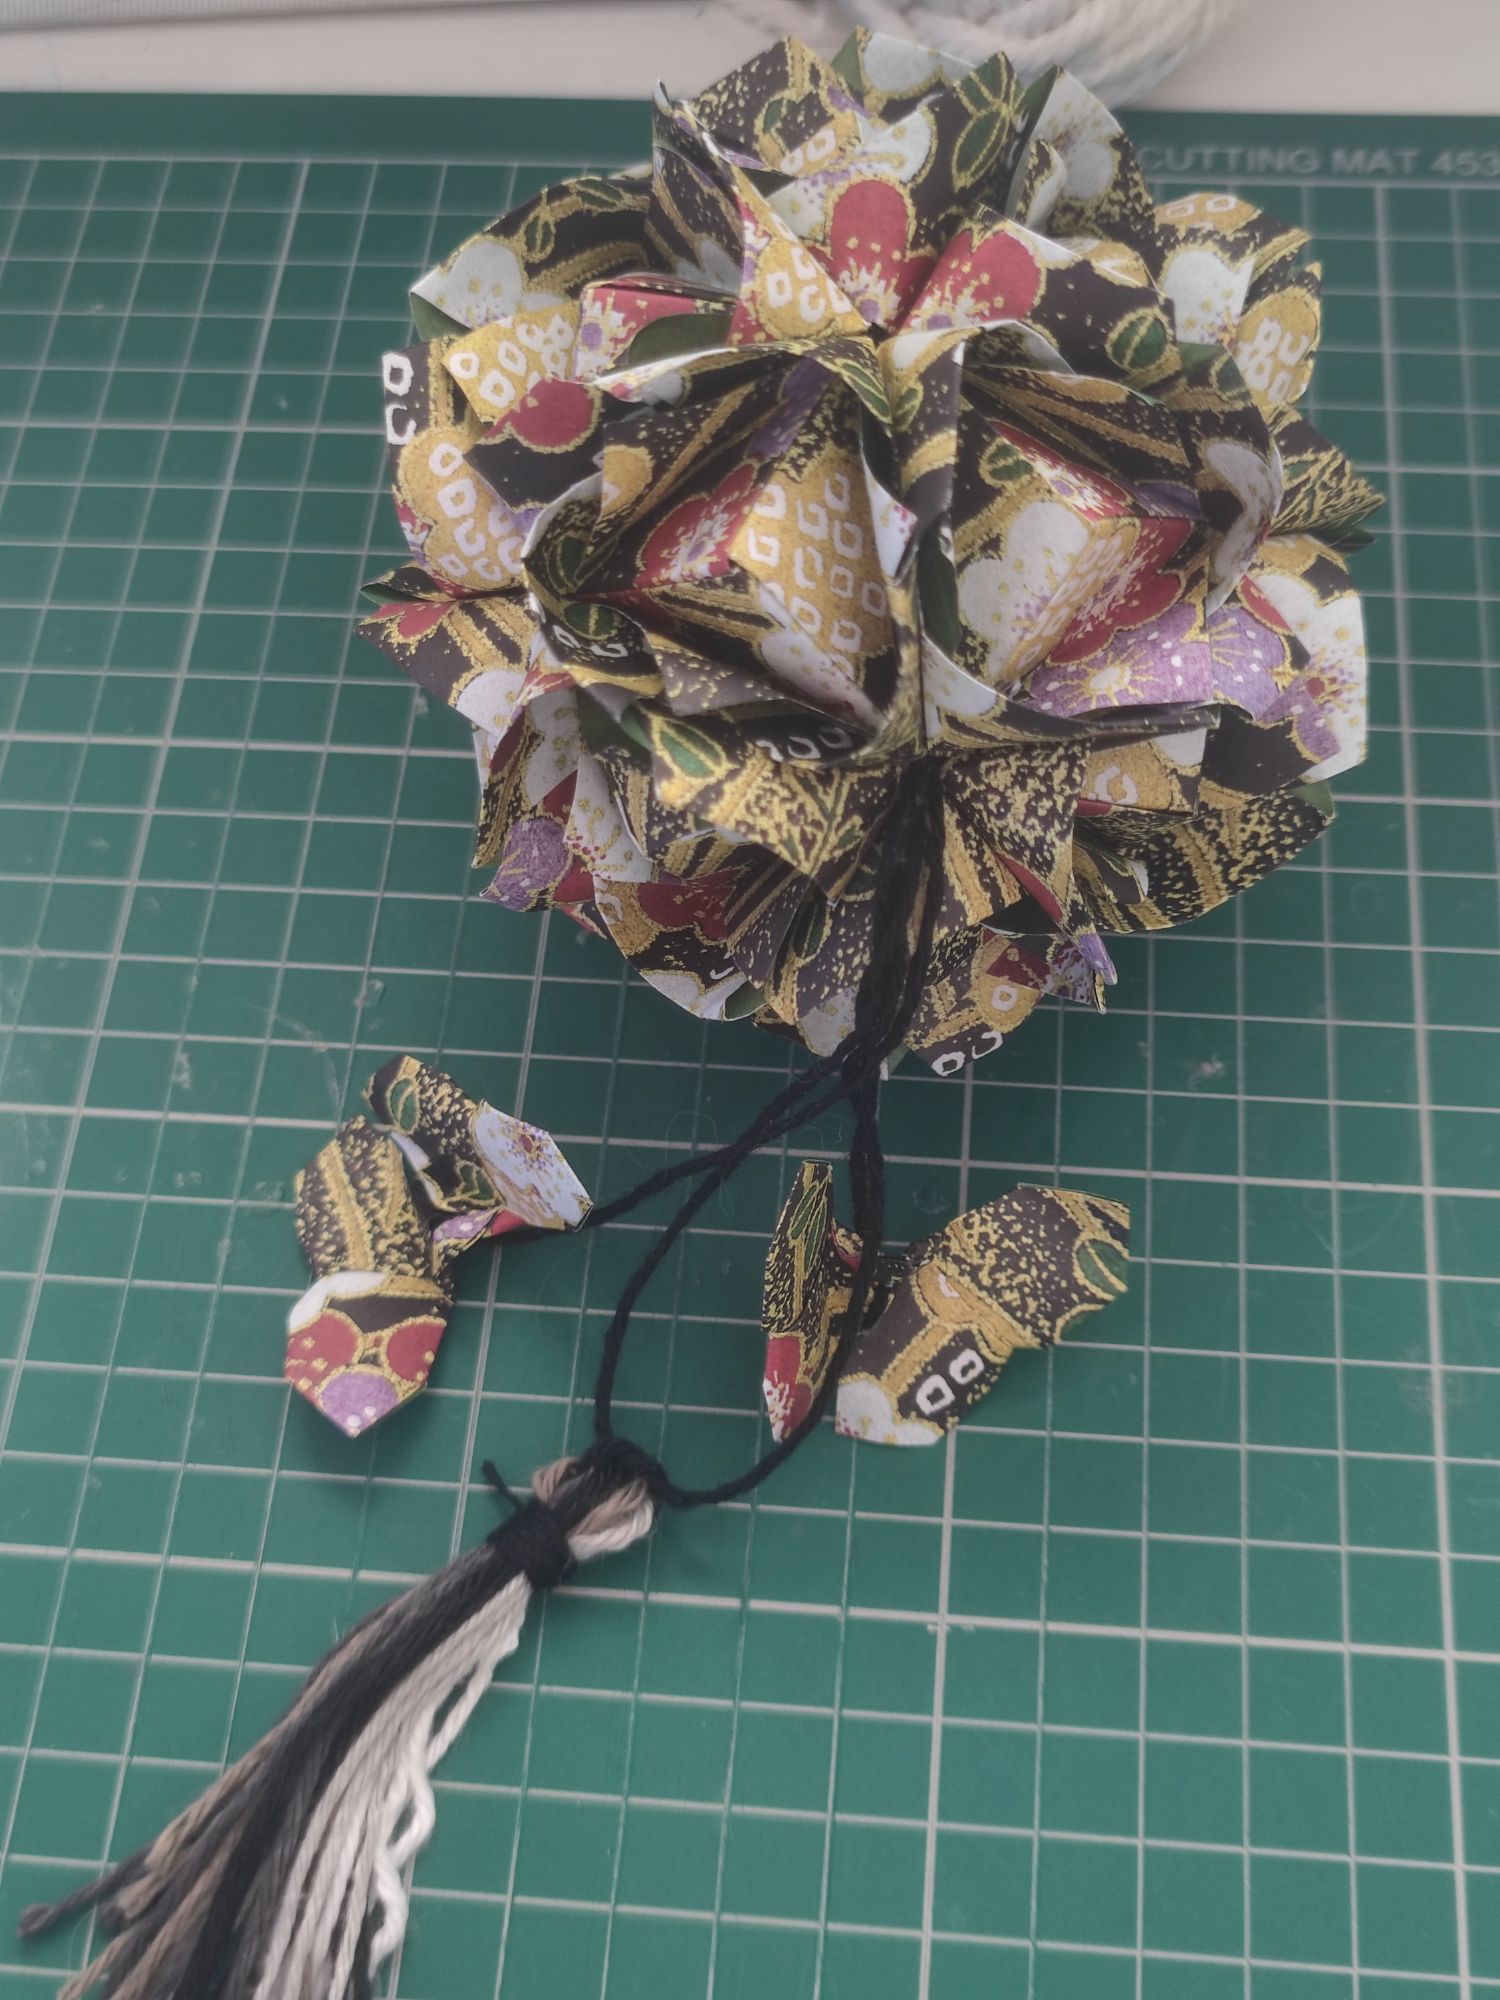
You’ll have noticed that if I cut four squares from every piece of 15cm origami paper and I wanted 30 squares total, then I would need to cut from eight 15cm squares and end up with 32 total. What can you do with the other two? I like to fold them into small accompanying pieces so I made some Yoshizawa butterflies and attached them to black twine. You could keep the spare squares as back-up units if something went wrong though.
I also could not decide on which colour to use in the tassel, so I used all five colours together and attached it to black twine also. I make the extras after all units have been made so that I can add them when I am halfway through the assembly.
Sonobe units are designed in a way that you do not need any glue, but I like to use it for security and to stop the pieces moving too much. If you are new to this sort of thing, I would stay away from the PVA glue until you are absolutely sure you know how it all goes together! You won’t be able to undo any mistakes. You also only need to use a very small amount of glue otherwise it will show.
There are two mains parts to know when it comes to the assembly of this model. The first is that three Sonobe units can come together to form a pyramid shape, and these pyramids will connect to others. Creating the pyramid part can be finicky, which is why I used the angled tweezers to help hold open the layers.
The second is that five pyramids are the right number in each ‘circle’, not four or six. When you create these circles, there may be a small hole in the centre but it should not be too big as long as you are slotting the units together as close as possible.


I used these centre holes to thread through my strings of extras. They do end up getting in the way when finishing the model, but it is the best way to hide some of the knots. I usually tie knots both outside the model and inside, to stop the thread from being pulled through completely.

The last few units to be added are always the most difficult as there are a lot of moving parts! As you can see from some of the earlier pictures, I was working on this model over the course of a day. It does not take long to finish it but I took a few breaks because this is Zen Origami for a reason – if it’s frustrating to put the pieces together then something isn’t right! Which was how I was feeling when I was slotting everything together!
I might have had some issues with slotting the units together or making the units perfectly every time and it does show. It’s not the most perfect thing in the world as some gaps are bigger than others, but you can really only see this close up and it doesn’t bother me too much fortunately.

The finished model! It measures quite long due to the thread length so I hung it up high. I think the paper pattern really complements it well! The paper that I bought makes me want to do more modular origami – I could even revisit models that I’ve done before but with different pattern choices. Since it doesn’t take very long, I could do these in-between bigger projects, so expect to see more of this over the course of the year!

Materials used:
– 32 squares of 7.5cm double-sided patterned origami paper
– white/grey/black twine
Tools used:
– craft knife and cutting mat
– bone folder
– wooden dowel
– angled tweezers
– PVA glue and paint brush
