Sorry for the delay, I was waiting for the card to be delivered! It’s arrived now so read on!
When I started crafting, one of the first books I bought was the book Paper Fold It by Steve and Megumi Biddle. It contains many paper-based projects to work through – some use origami techniques but some use other types of folding to suit all occasions. One project that suited the festive season was the ‘iris-folded bauble’, as seen here:
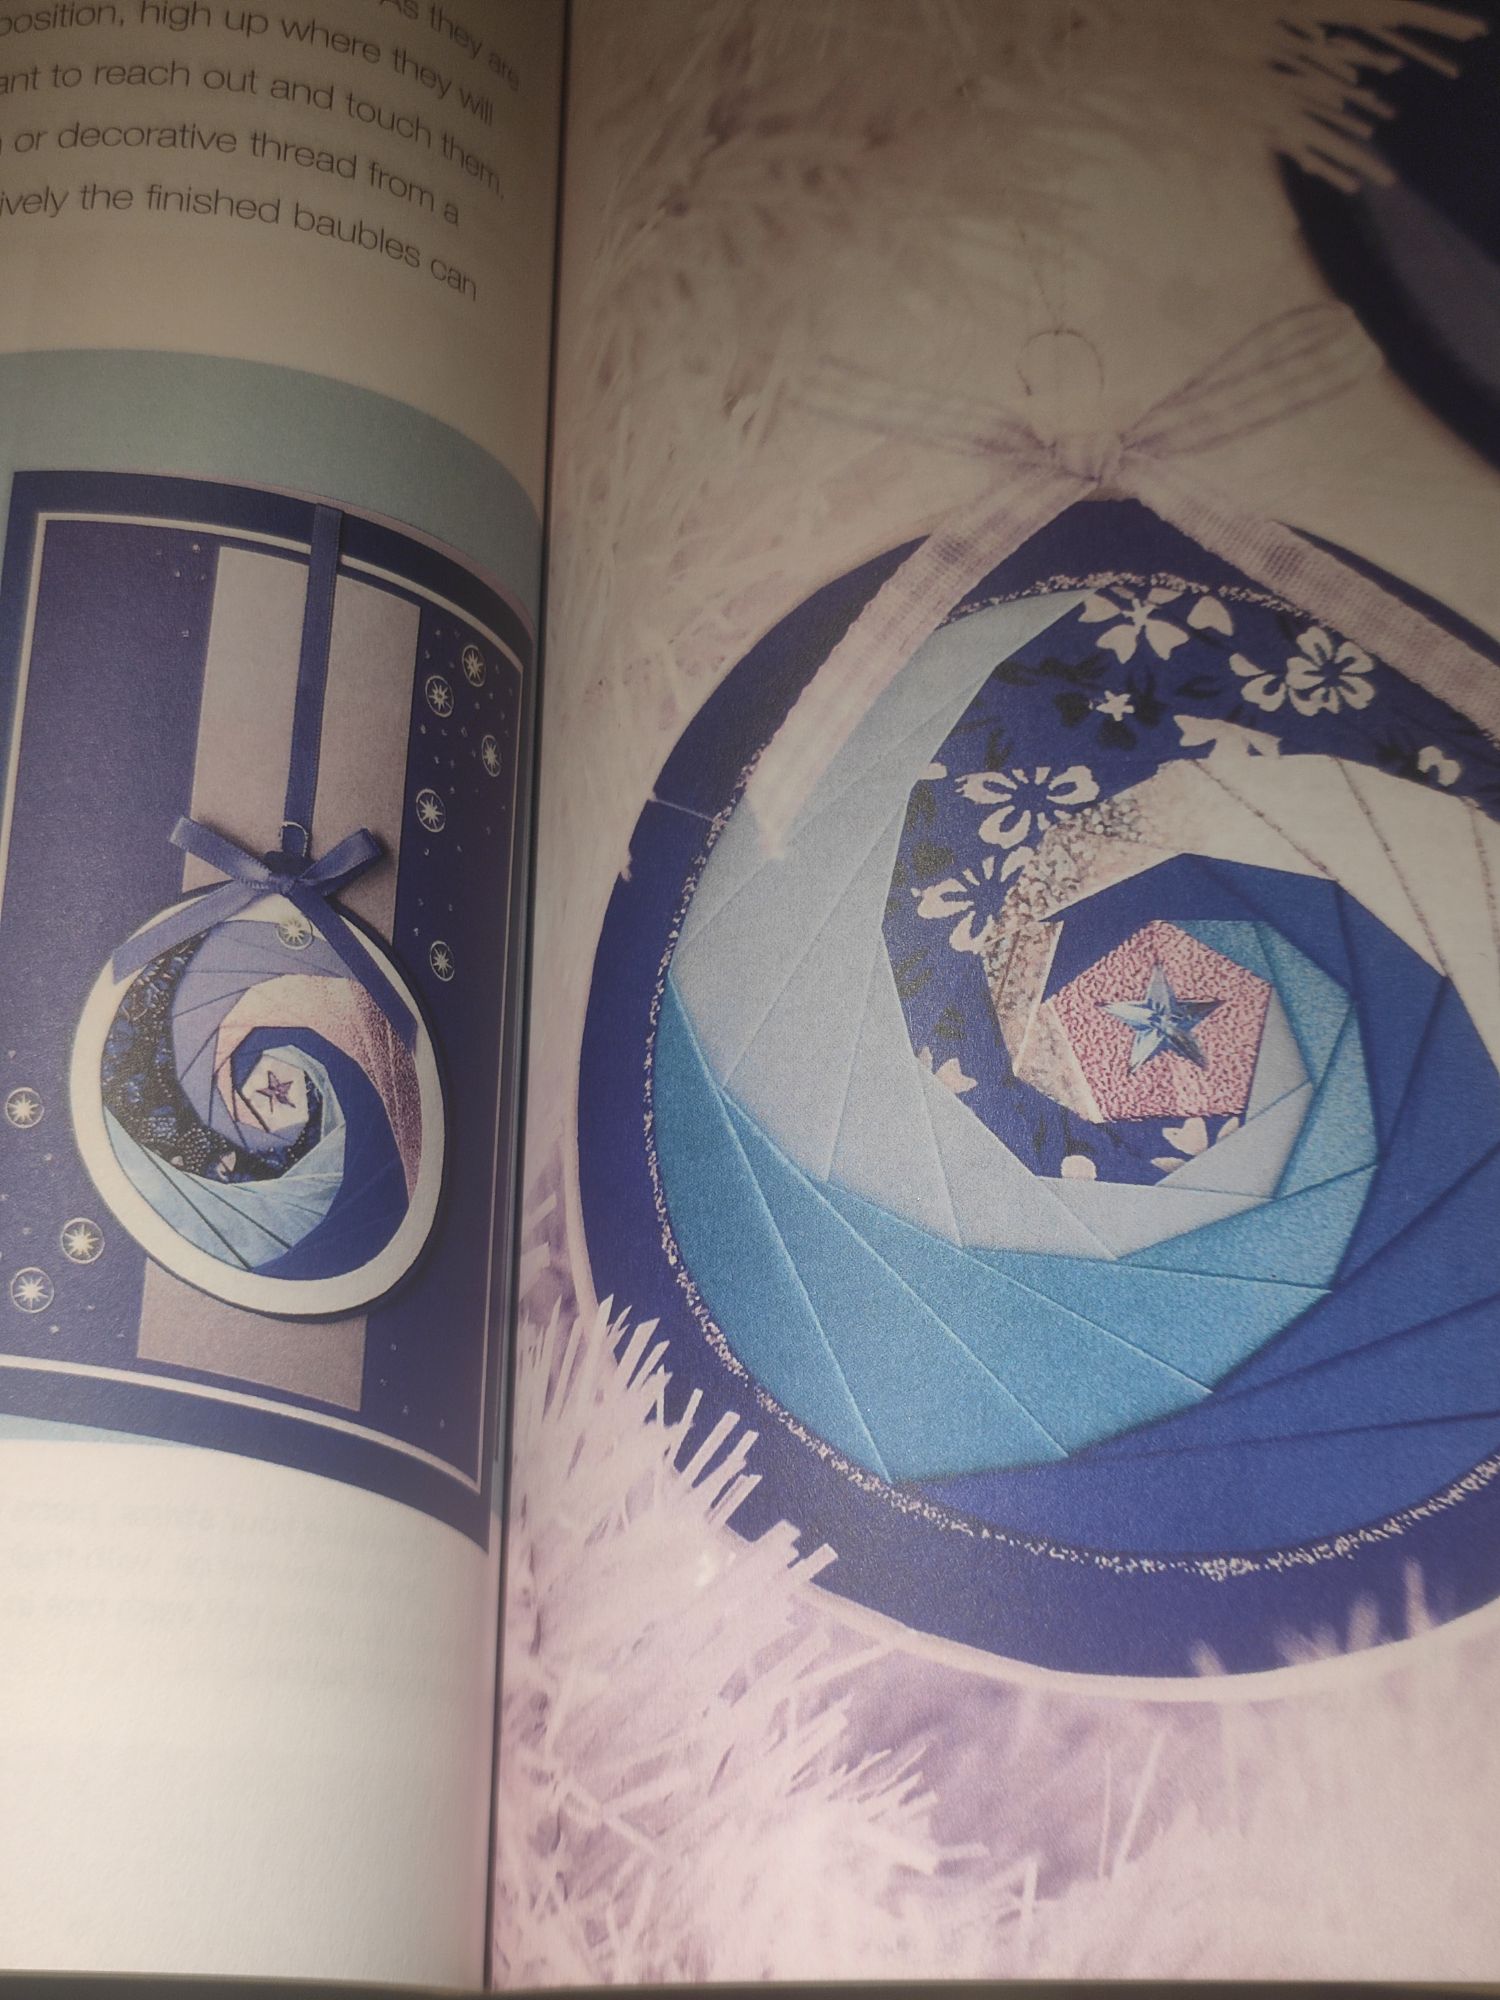
Iris folding is a paper technique where you layer coloured paper on a template pattern and cut out into a shape. The book shows two ways to use it – either as an ornament on your Christmas tree, or as a Christmas card to send to someone! My first focus was to make the card as I needed to return the gesture to a friend, and this gave me the perfect reason to try this out.
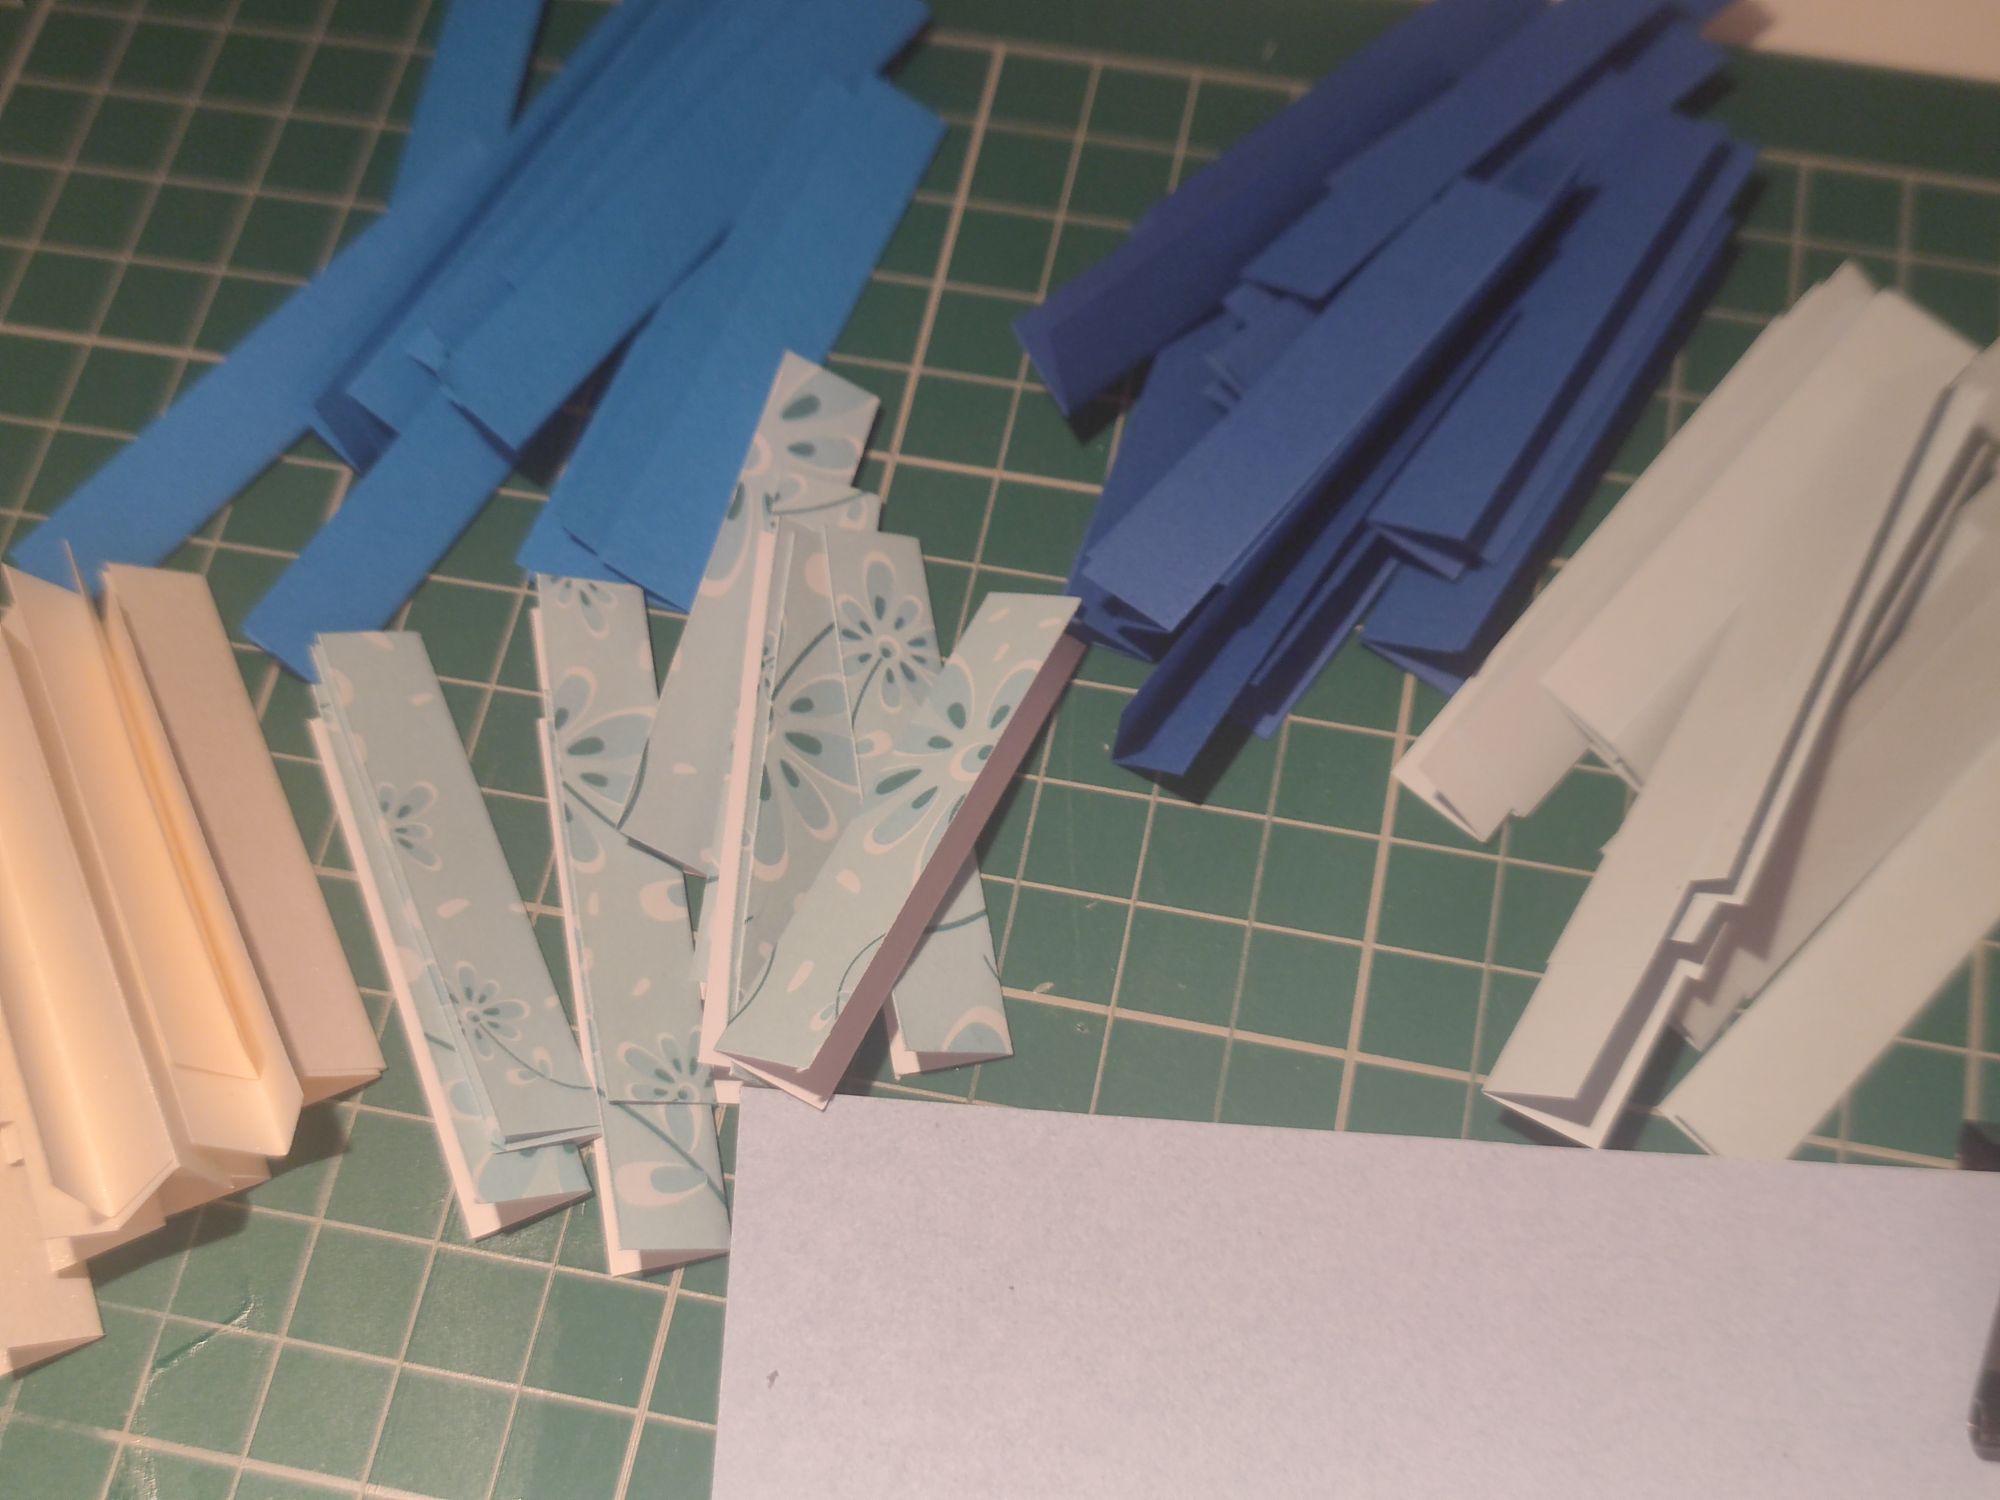
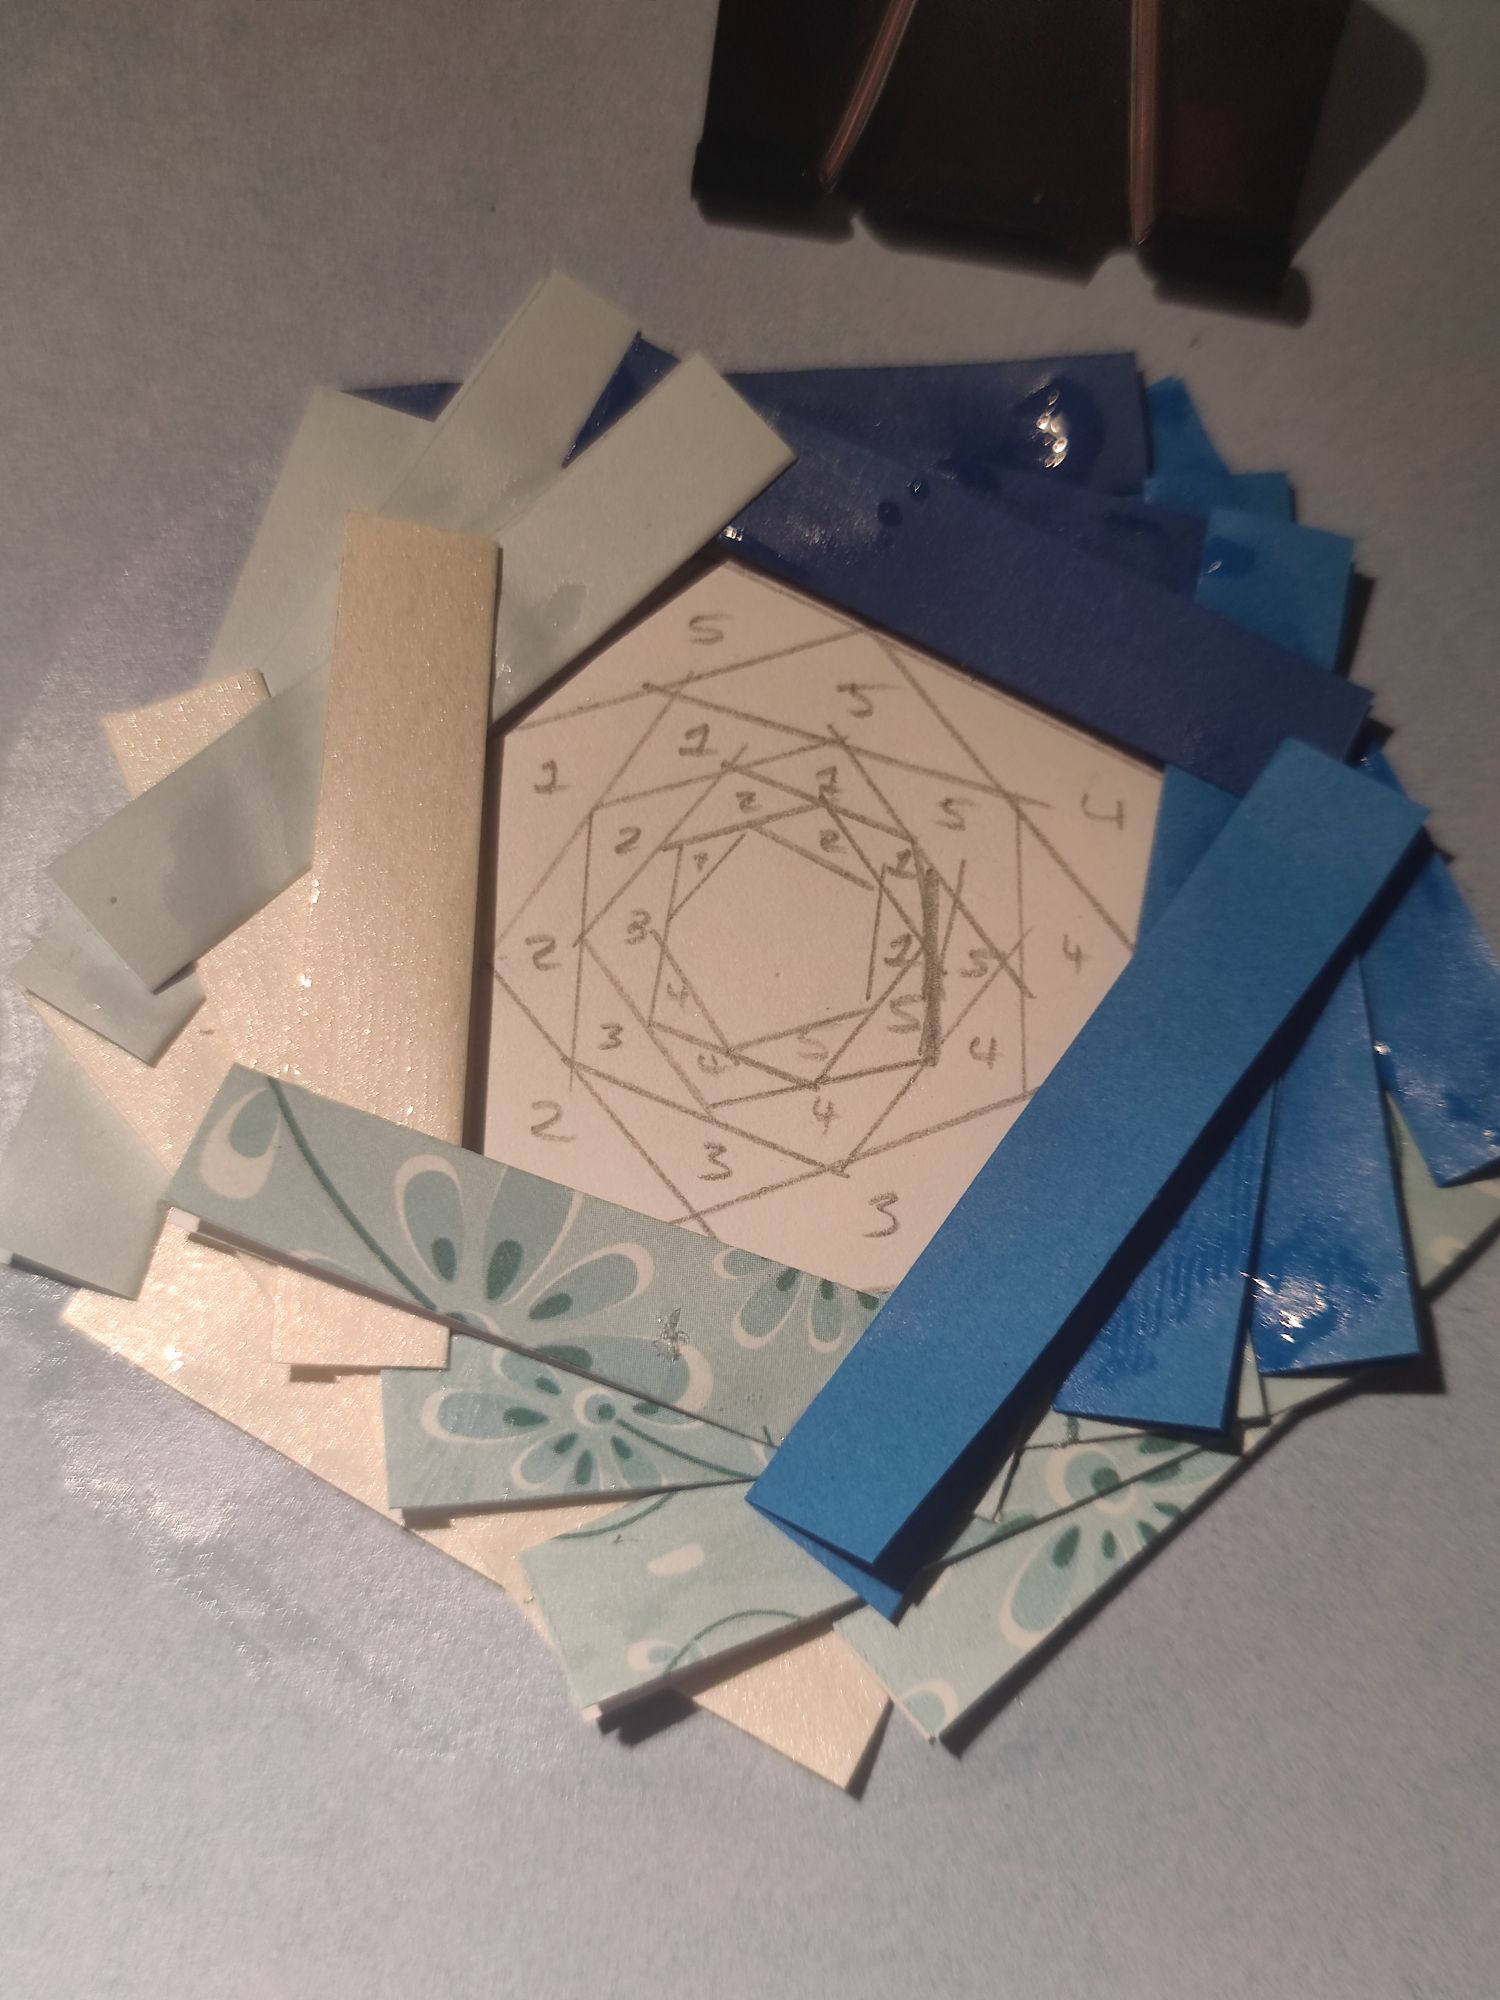
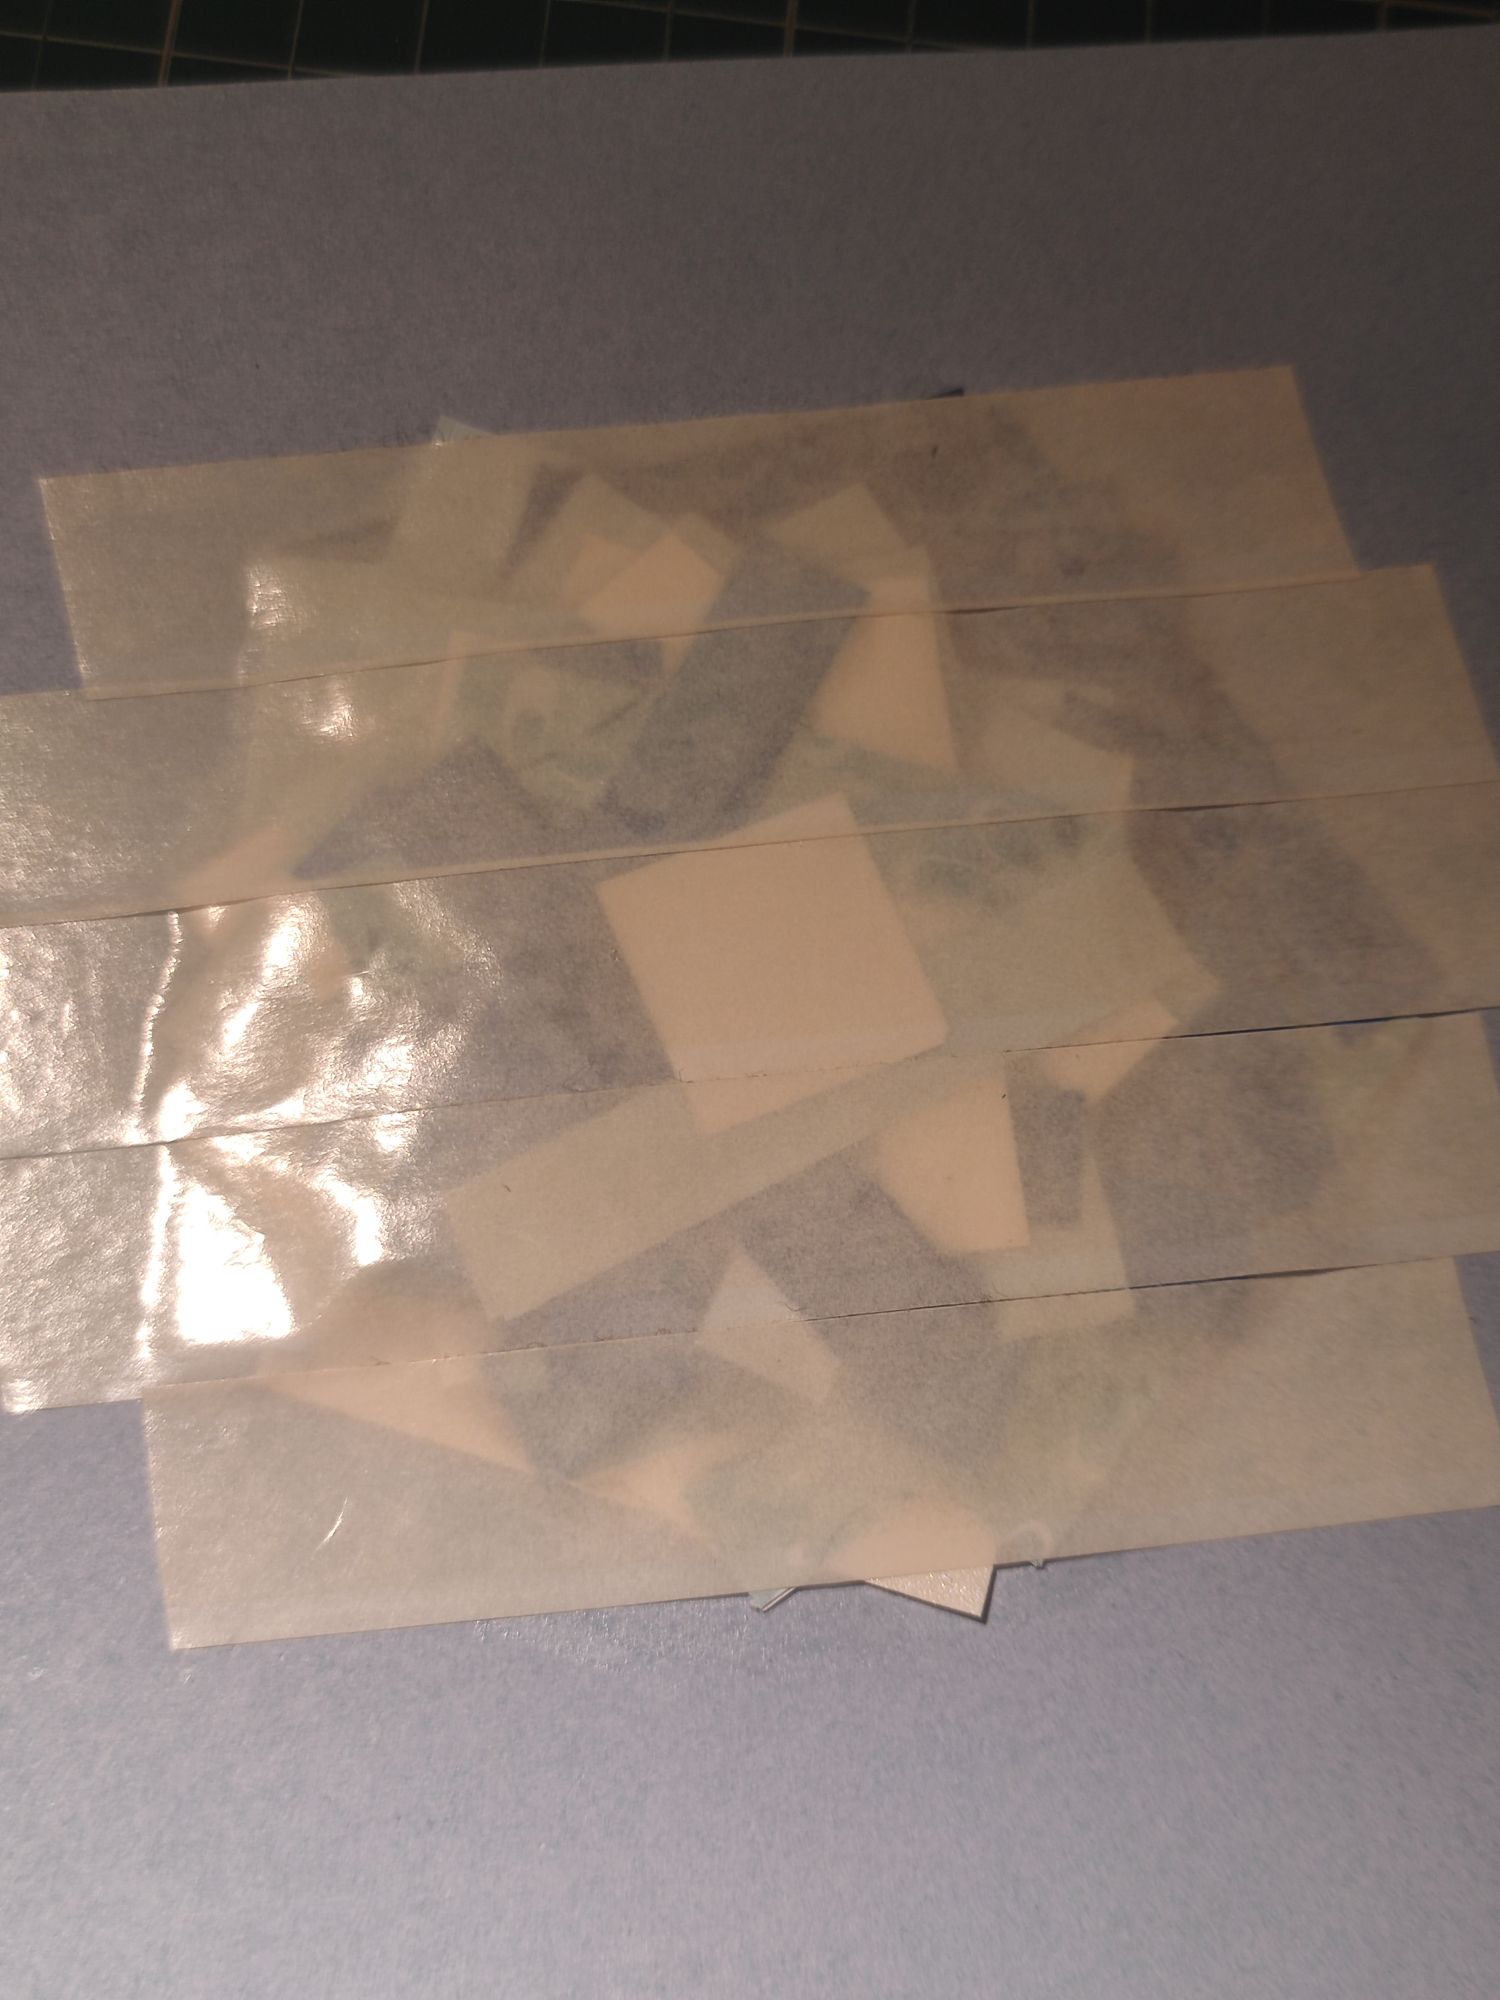
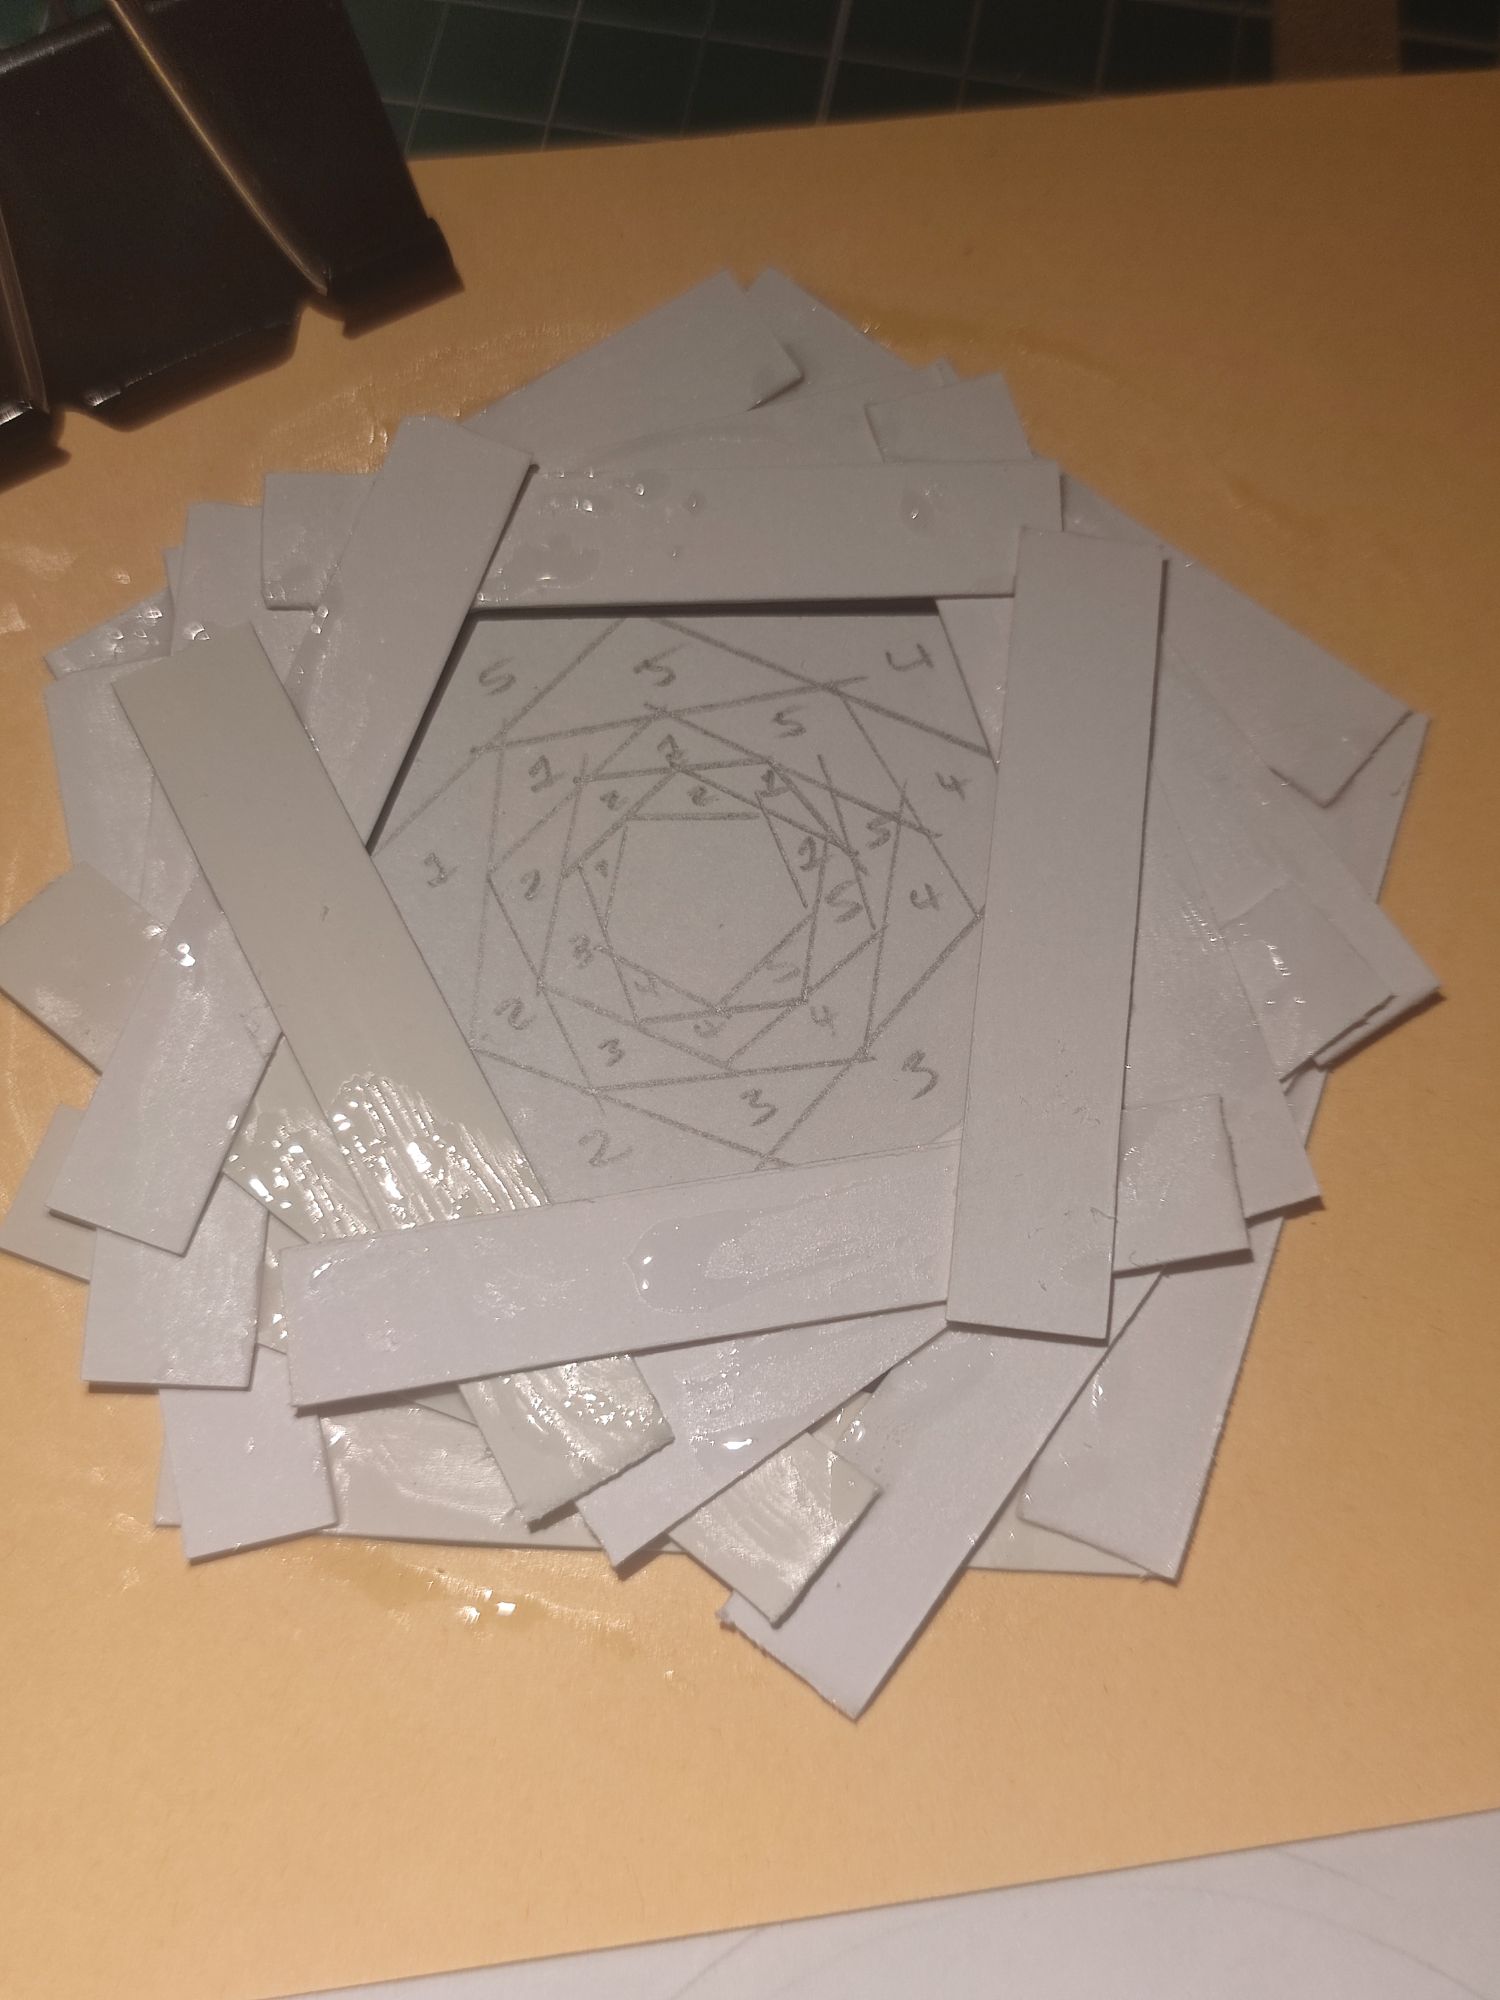
I didn’t have the exact same patterns as the project, so I got my five best shades of blue and blue patterned paper and made the 5cm folded strips as required. The folding in half lengthways is required so that a straight edge is shown in the bauble, but I guess you don’t have to do this step if you are confident in cutting a straight line in your paper.
I also traced out the iris pattern on a piece of paper and clipped it to my card with a circular aperture, using a pencil and compass to draw the circles, and a craft knife and cutting mat to cut out the circle. Then the paper gets glued down in a circular fashion until you reach the pentagon in the centre. This step doesn’t take as long compared to the paper cutting and folding step! I used a liquid glue pen to stick the paper down. This side is hidden in the end, so it’s okay to be messy as long as the glue does not show on the other side!
When all the paper is glued down, the centre needs to be covered up and I used a square of silver glitter card. Then you can hold it all down with double-sided sticky tape, to ensure that the paper strips won’t move. Flip it over and hopefully it looks good on the other side! My pentagon was a bit wonky but not too noticeable here.
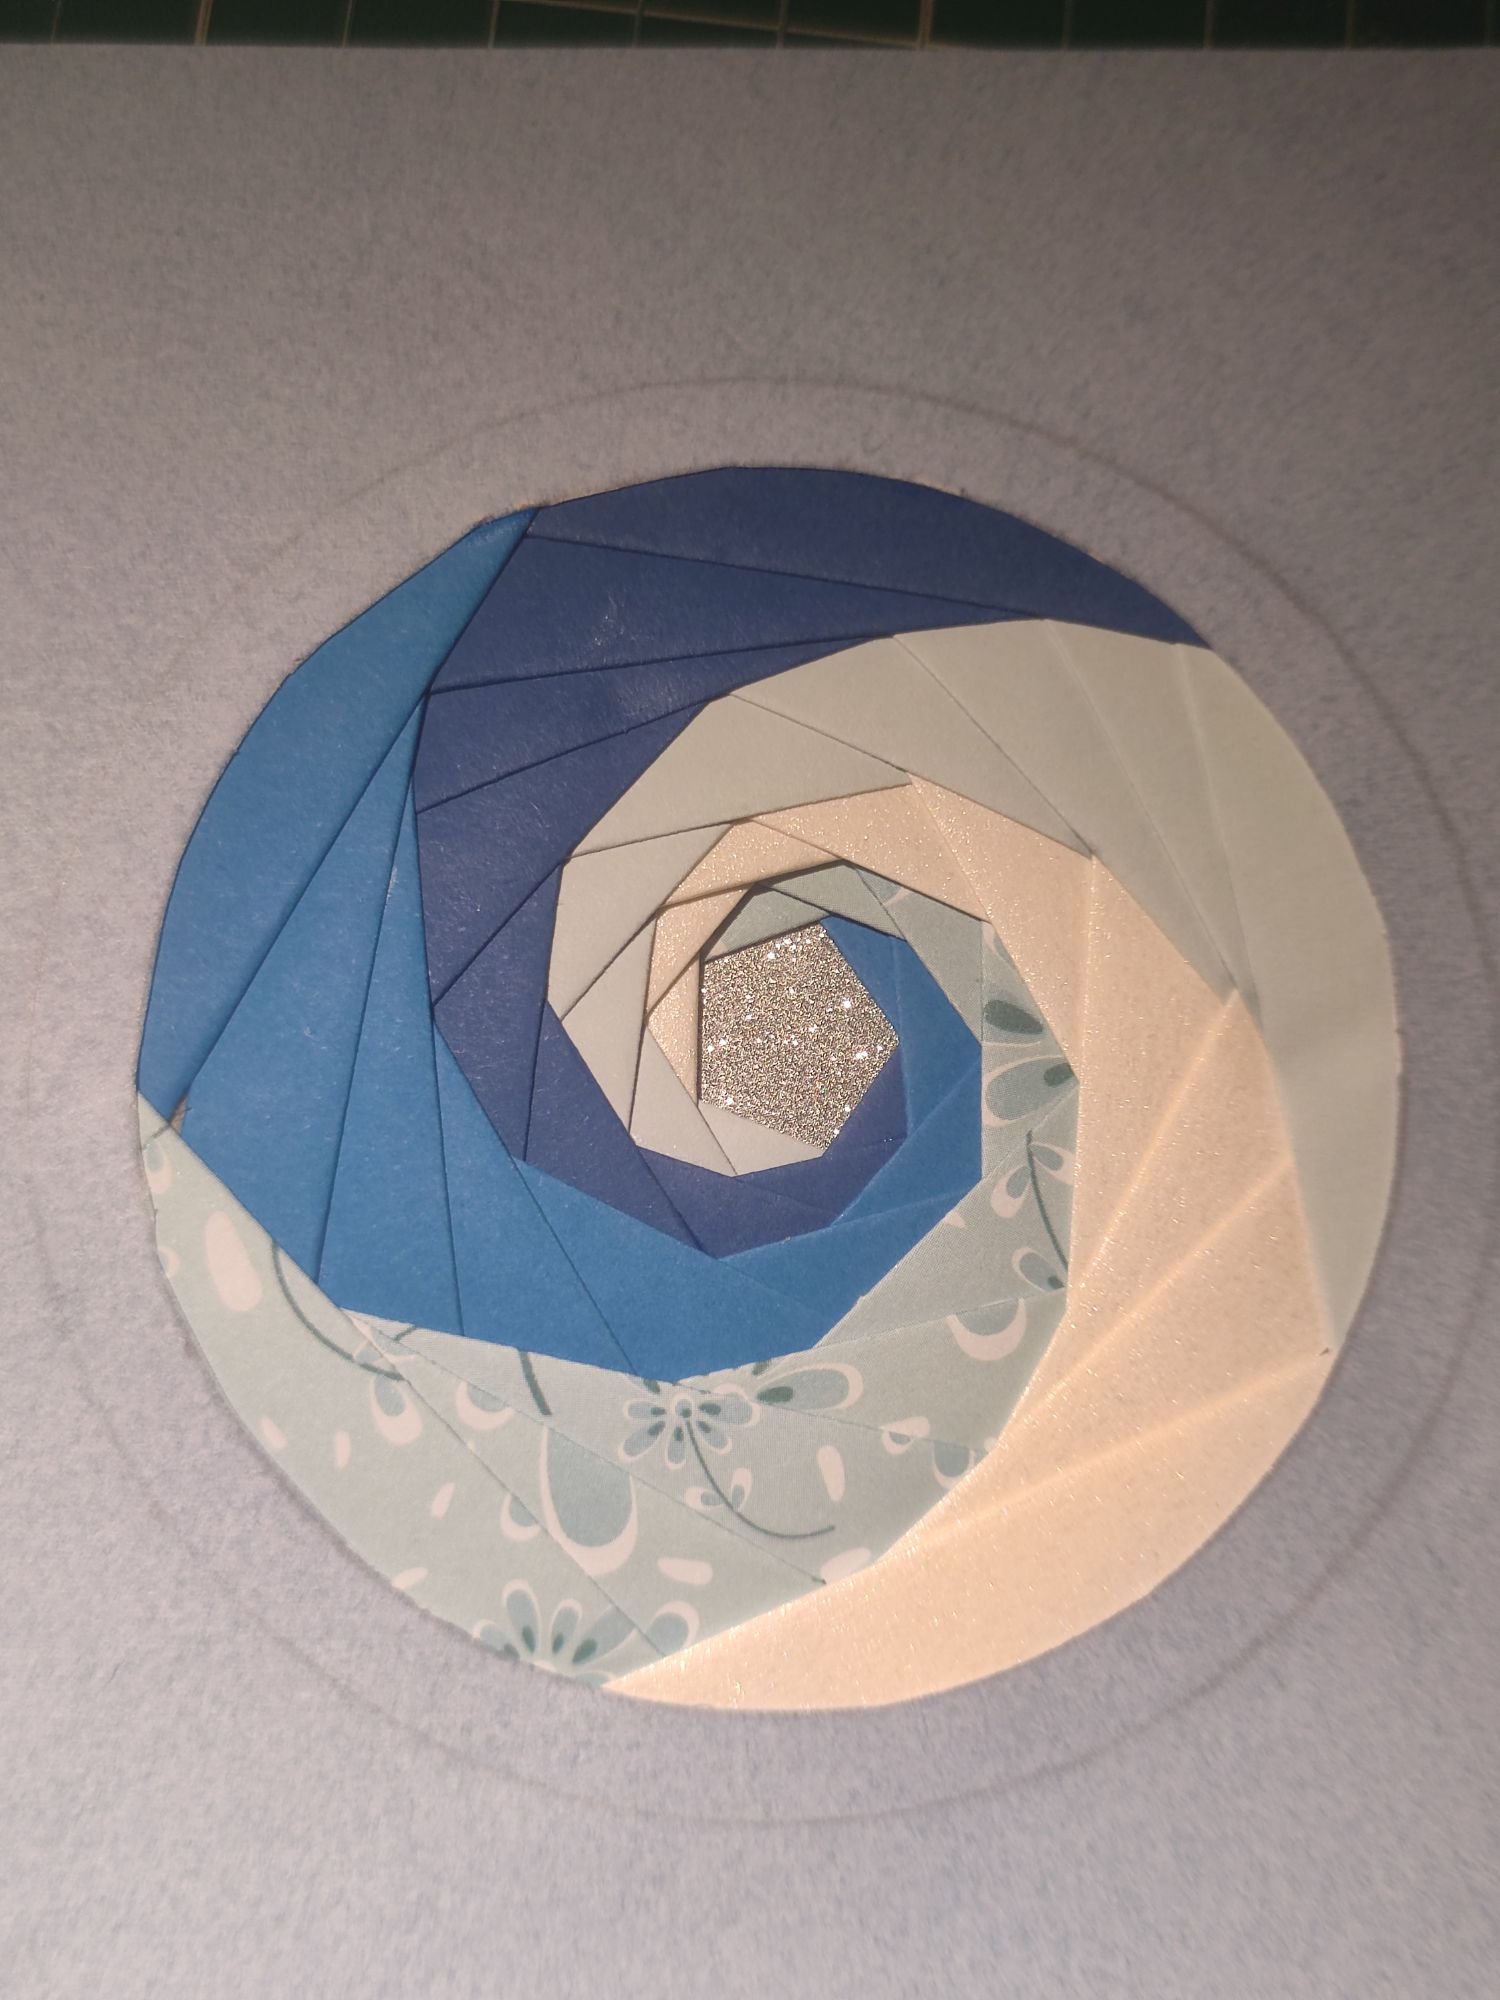
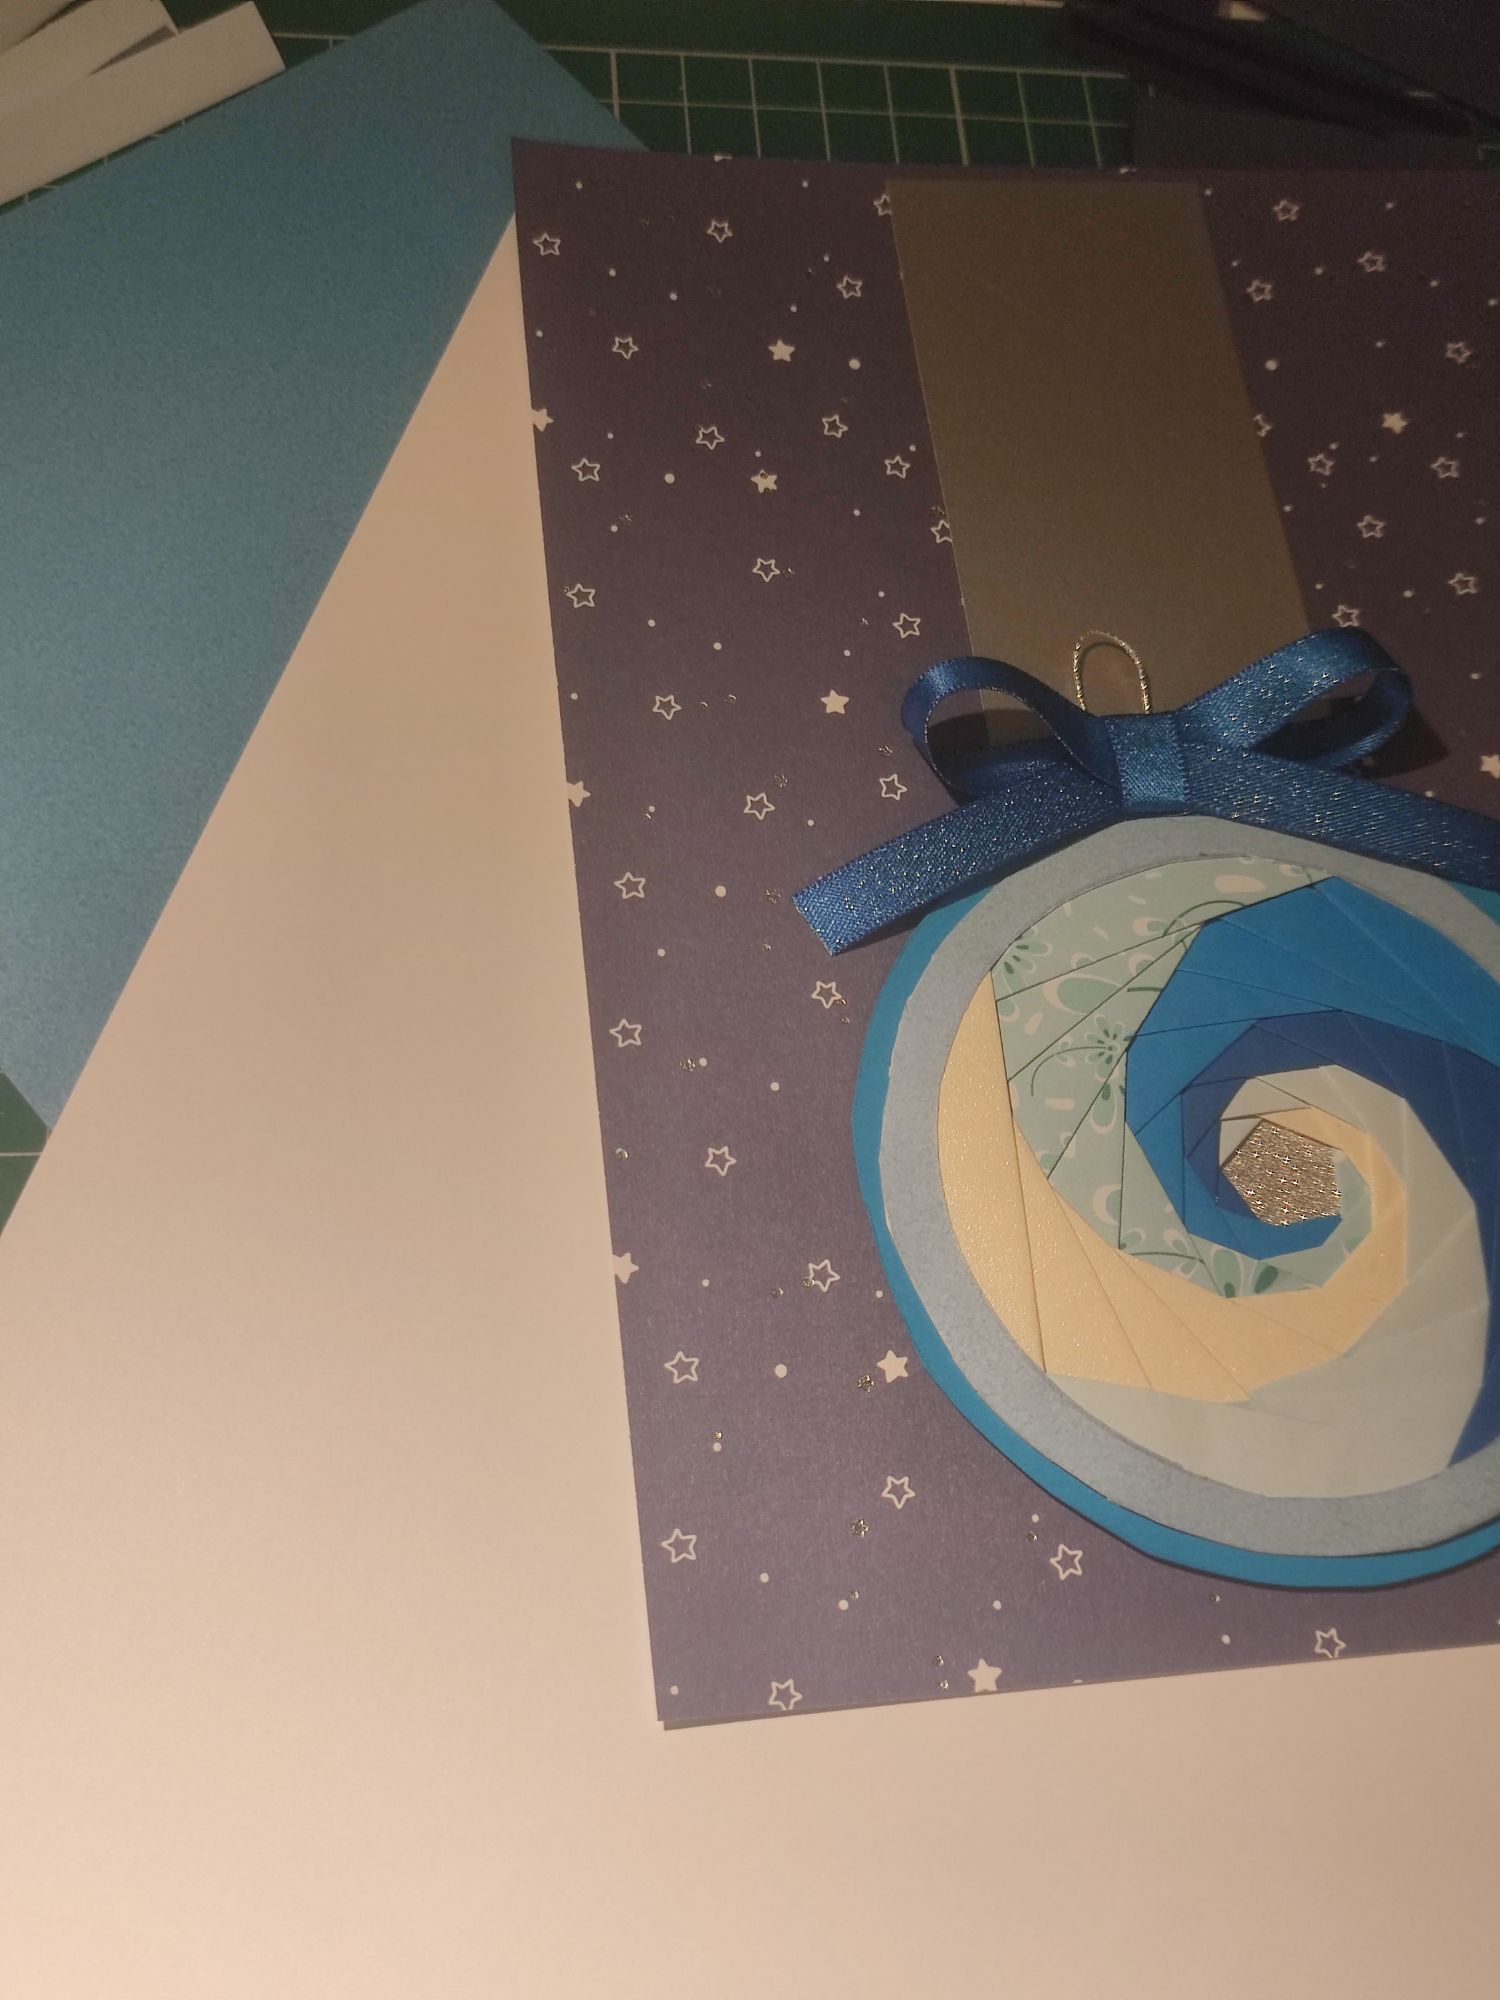
The outer circle is the next part to cut through. When you use your craft knife at this step, it will cut through all the layers of paper, so the glue and the tape should help to stop everything from moving. This part then needs to be stuck on another piece of card to hide the back. Much like the project example, I glued on a pretty blue ribbon bow and some silver thread to resemble a bauble. You may need to use hot glue for the ribbon, so be careful when applying it to paper.

To make the card, I chose a blue card base, a sheet of starry-themed foil-patterned card, and a piece of silver paper. I try not to use glitter too much since it’s messy and gets everywhere, and I know my friend would love the star theme.
One Christmas card done! The first attempt always takes the longest though, so I thought I’d try again with a different colour theme, to see if I could improve on it.

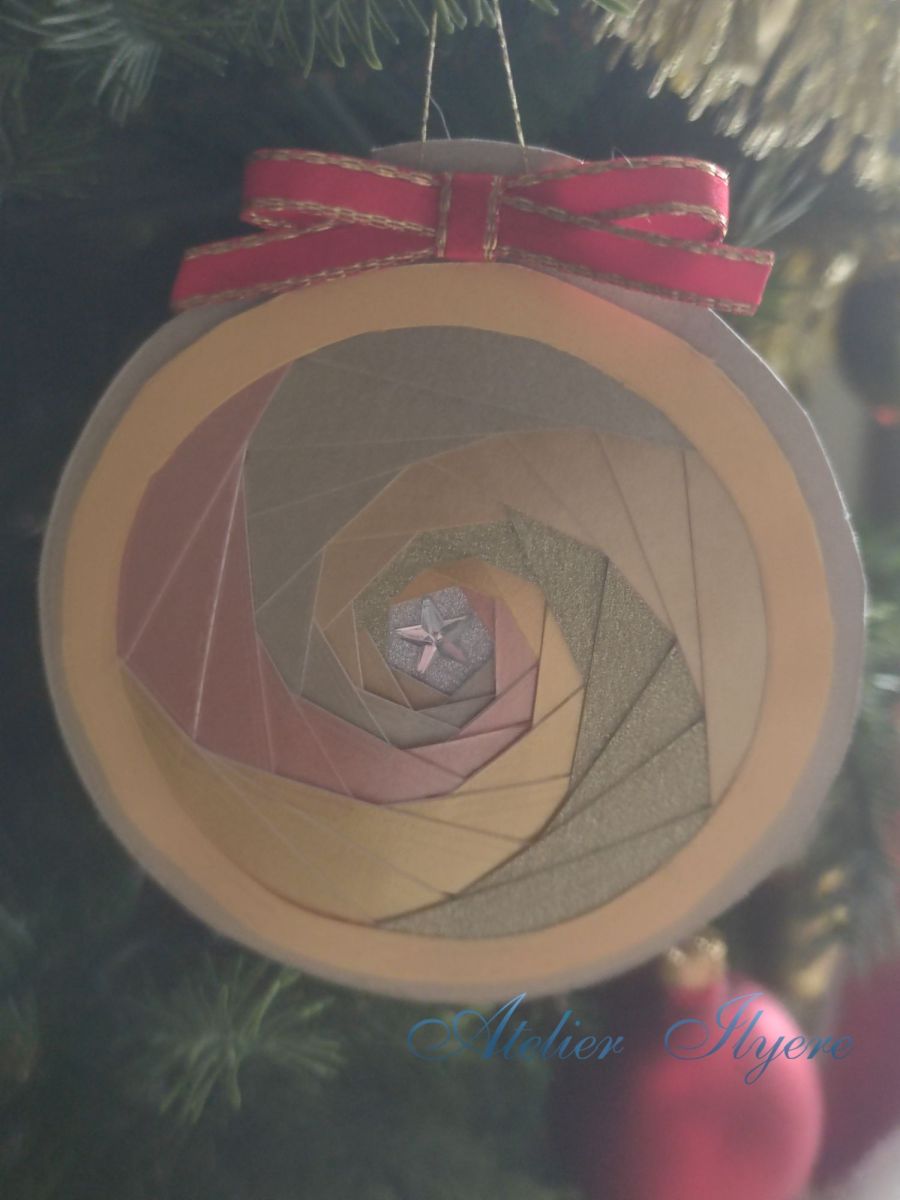
Now the project does specify paper, but I tried using card instead; the reason for this is that I had a stack of shiny and glittery card that I thought would be perfect for a paper bauble. I cut out the 1cm strips as required (no folding this time since card is not easily foldable) and made some stacks.
Also you can see the full iris pattern in the image below, I forgot to take one earlier!
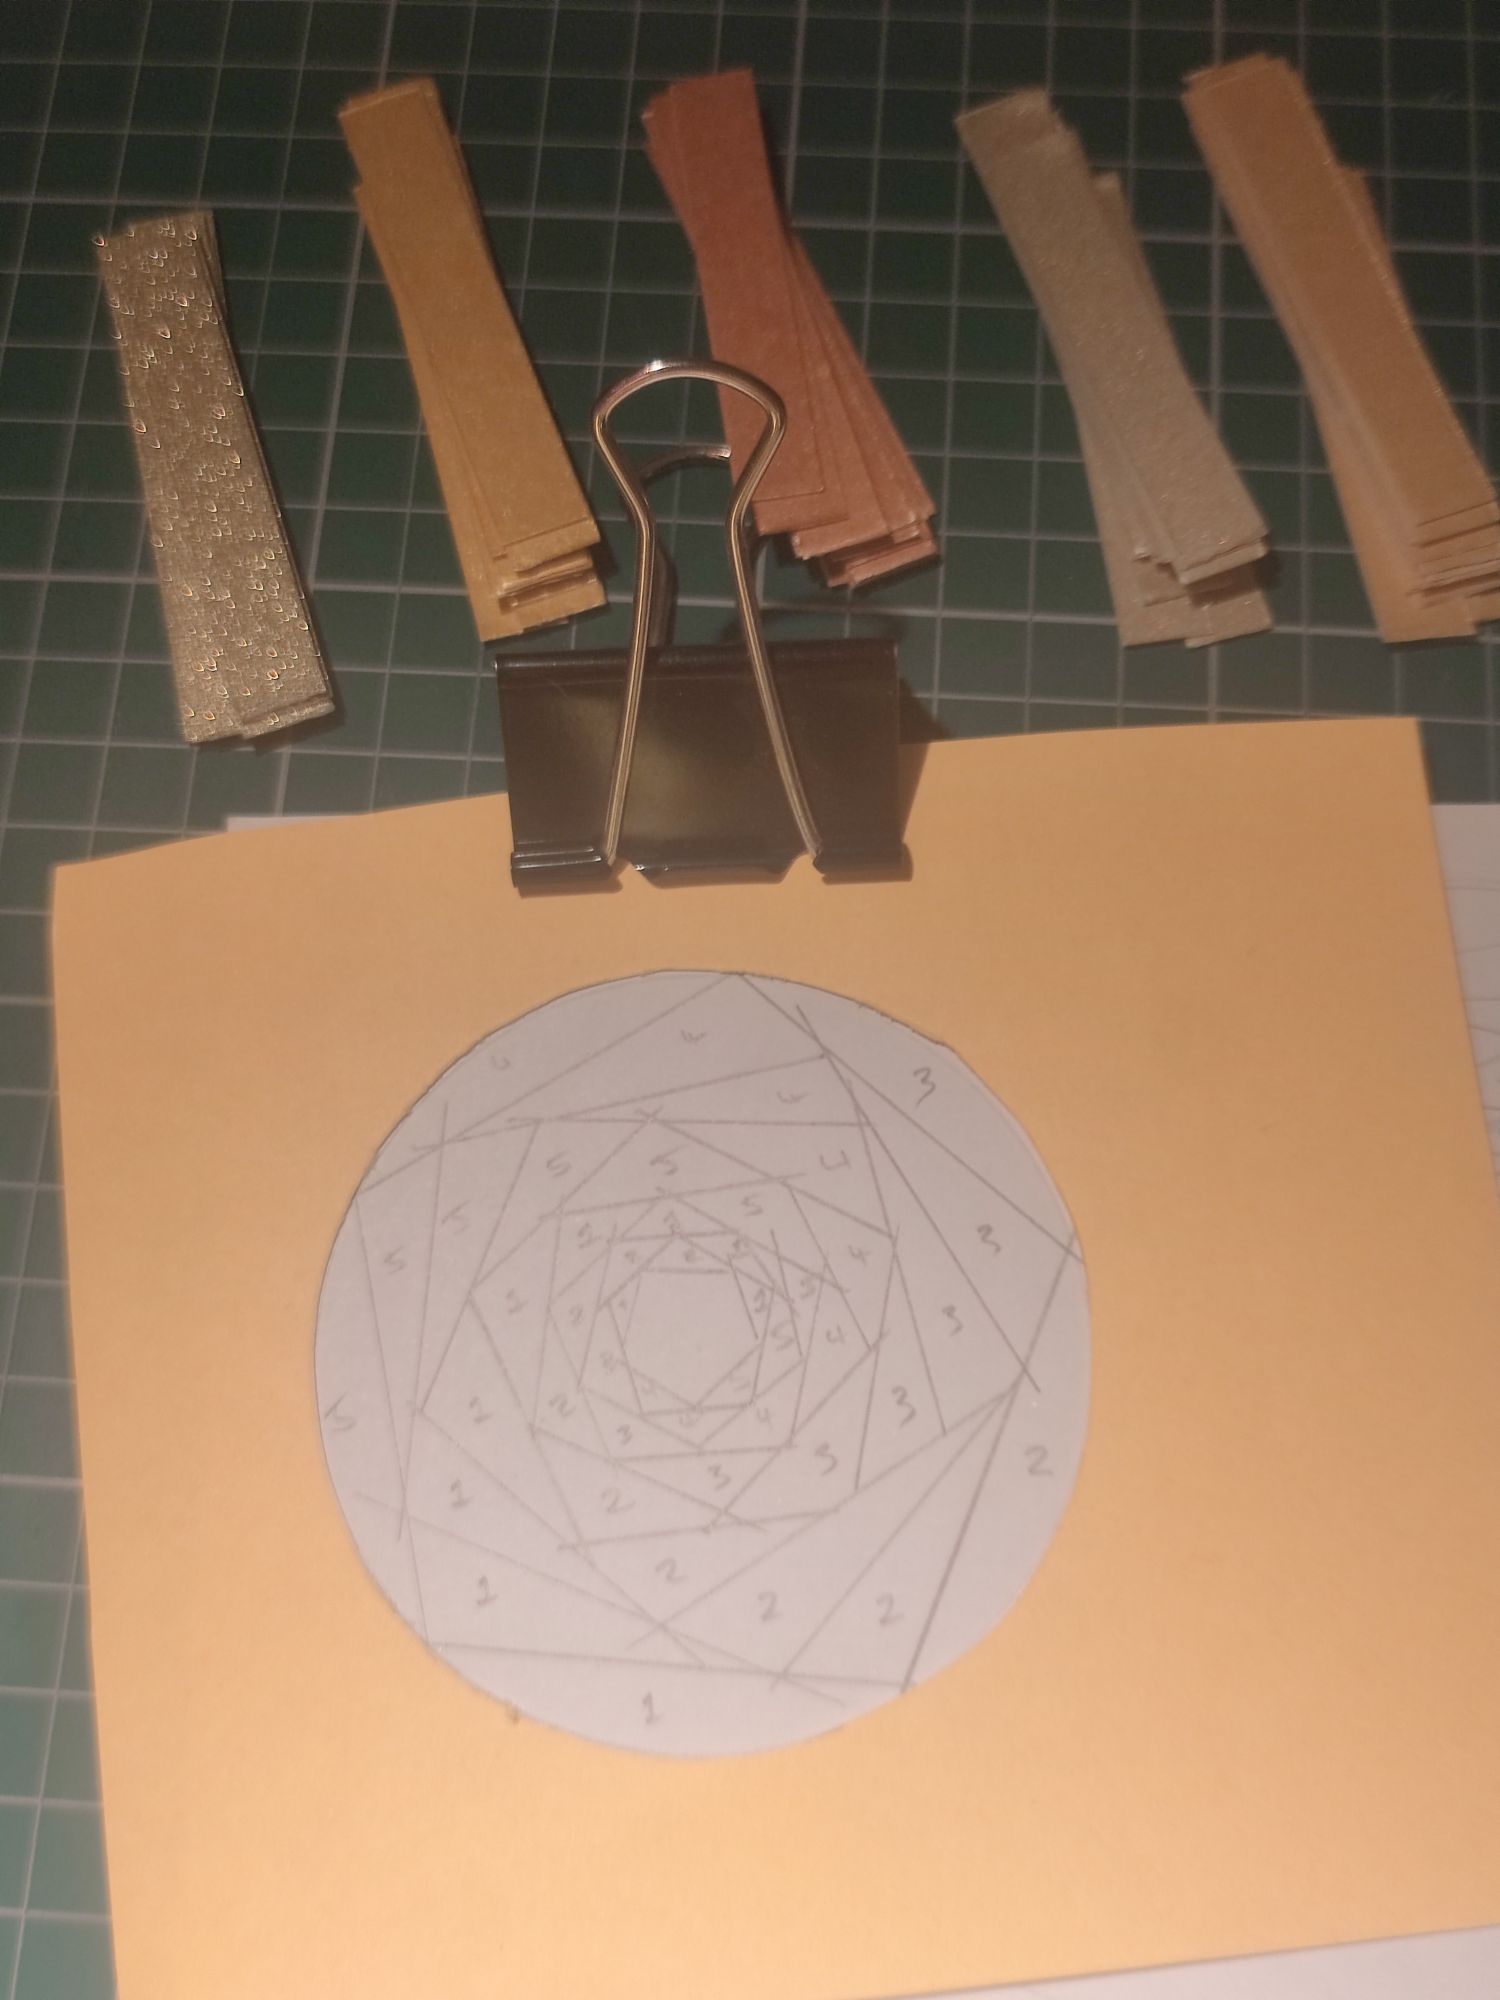
Since I used one-sided card here, it was white on the other side and it looked a bit confusing layering everything! I just had to hope I had followed the pattern properly. I was also quite liberal with the glue because the card sometimes did not stick.
So this time the bauble came out really glitzy! However the bauble was quite thick due to the stacks of card. I would not use it on a card since it might make it too heavy when standing up.
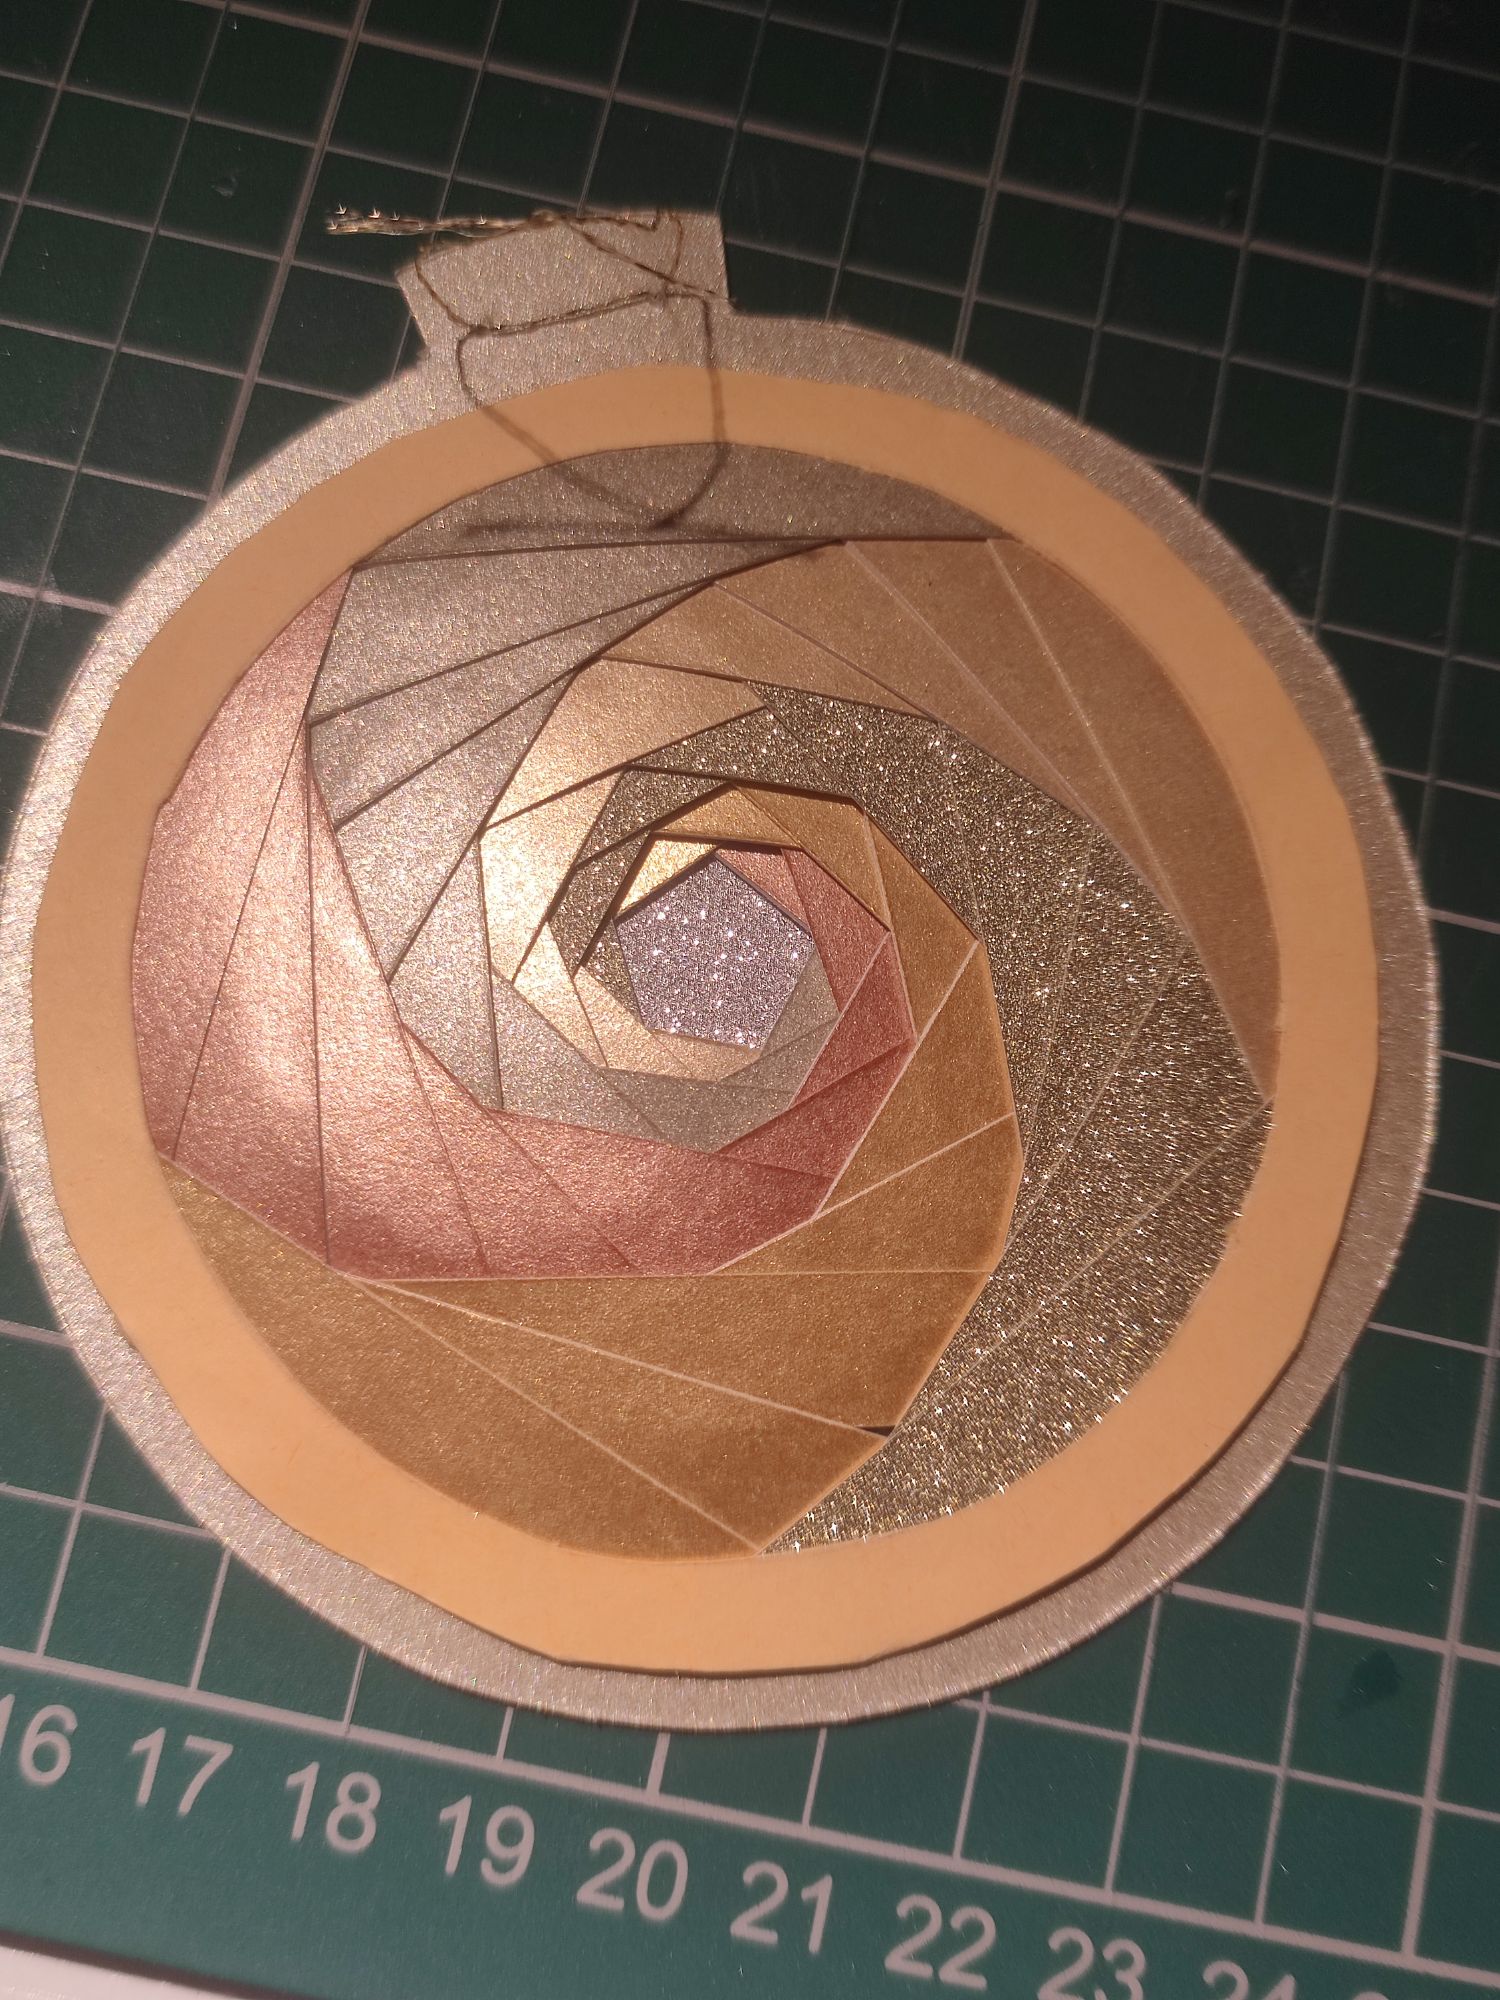
Fortunately I was happy to use it as a Christmas decoration in this case! I added gold thread, a red ribbon with gold trim, and a gem star in the centre of the bauble. I threaded it around a few branches in case it was still too heavy!

Materials used:
– paper/card in five shades and card in matching colour
– silver glitter card
– small ribbon in matching colour
– glitter thread in matching colour
– cardstock and patterned paper for the greetings card
– sticky gem star for the ornament
Tools used:
– craft knife and cutting mat
– liquid glue stick
– hot glue gun
– double-sided sticky tape
