As I mentioned in my origami flower wiring tips post, I was working on a housewarming gift for some friends! They moved into a new home a few weeks ago and I thought of making some origami flowers to decorate their place. Since it was a housewarming gift, I decided to use a warm colour palette as well.
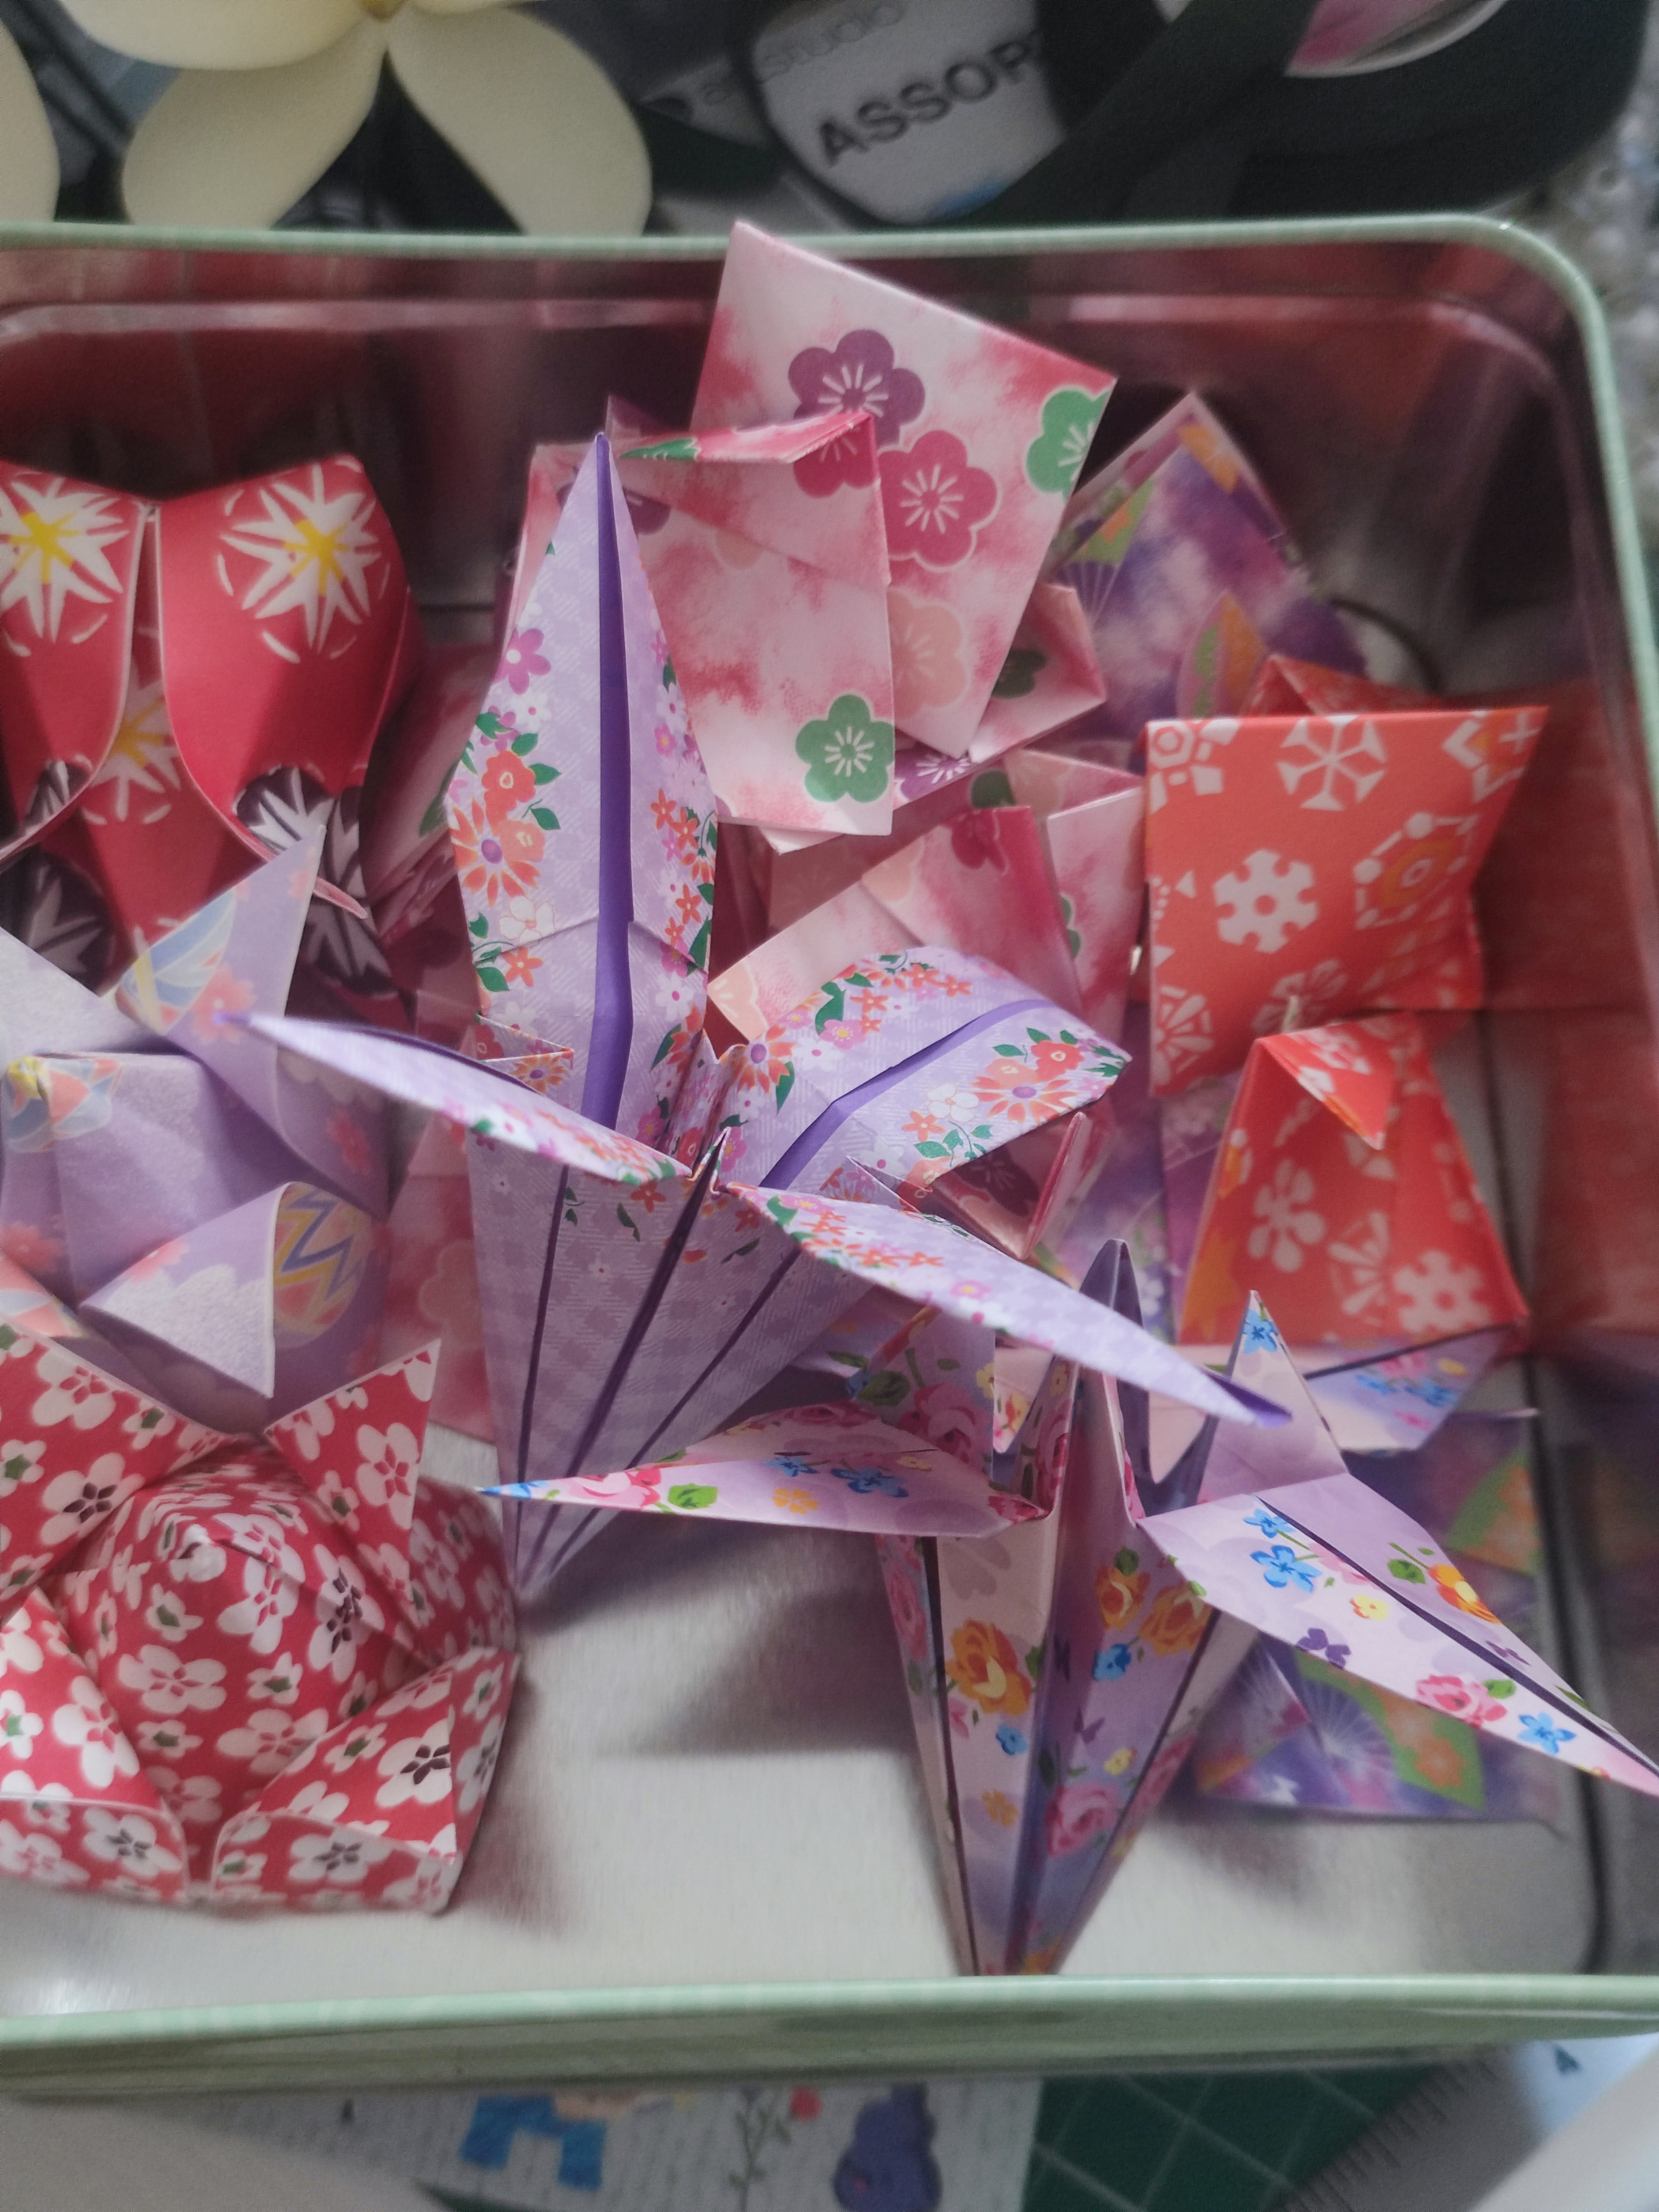
With a couple of flowers in mind, I brought out my best patterned and double-sided papers to see what was available. I’ve had these packs for a while now and I’ve used some before too, so I wasn’t sure how many of each colour I had left. I actually think it might be time for me to restock on origami paper, which is an exciting activity in its own right!

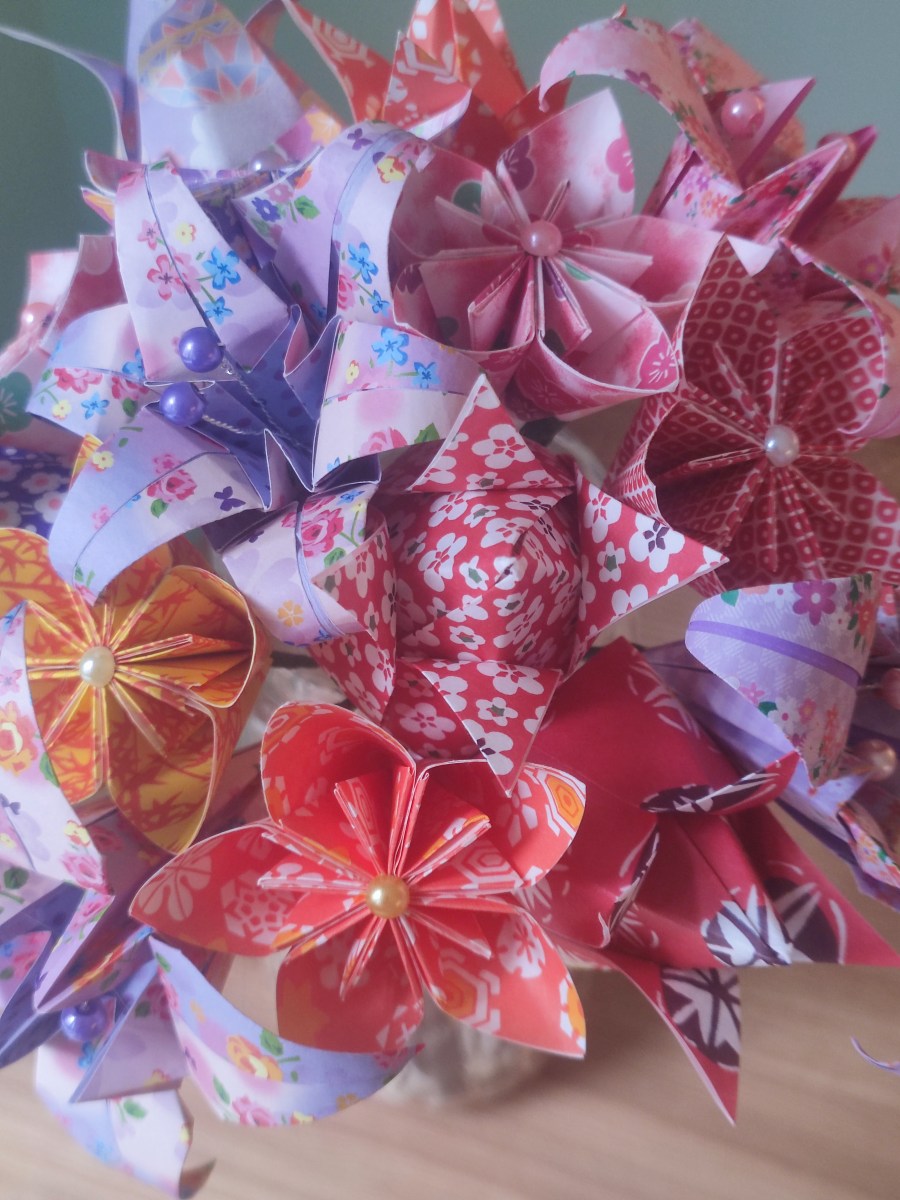
With double-sided paper, I like to fold four-petal lilies. With one-sided paper, I like to fold tulip bulbs, or I like to cut them into smaller squares and make kusudama flower petals. So it was fairly easy for me to decide the composition of my bouquet!
Initially I folded about three of each type of flower and then I would decide on what I could do to make the bouquet seem more varied. In total there were five kusudama flowers, five tulip bulbs, and four lilies. For the lilies, I changed the way some of the models looked (using this guide by OrigamiAround) and I even learnt how to fold a stargazer lily (using this guide by all-about-Origami), I used the simple two-flower method). Actually, although the four-petal lily is the simplest version to make using origami, you don’t get four-petal lilies in nature! So learning how to make a six-petal lily might help you on your way to creating life-like origami flowers.
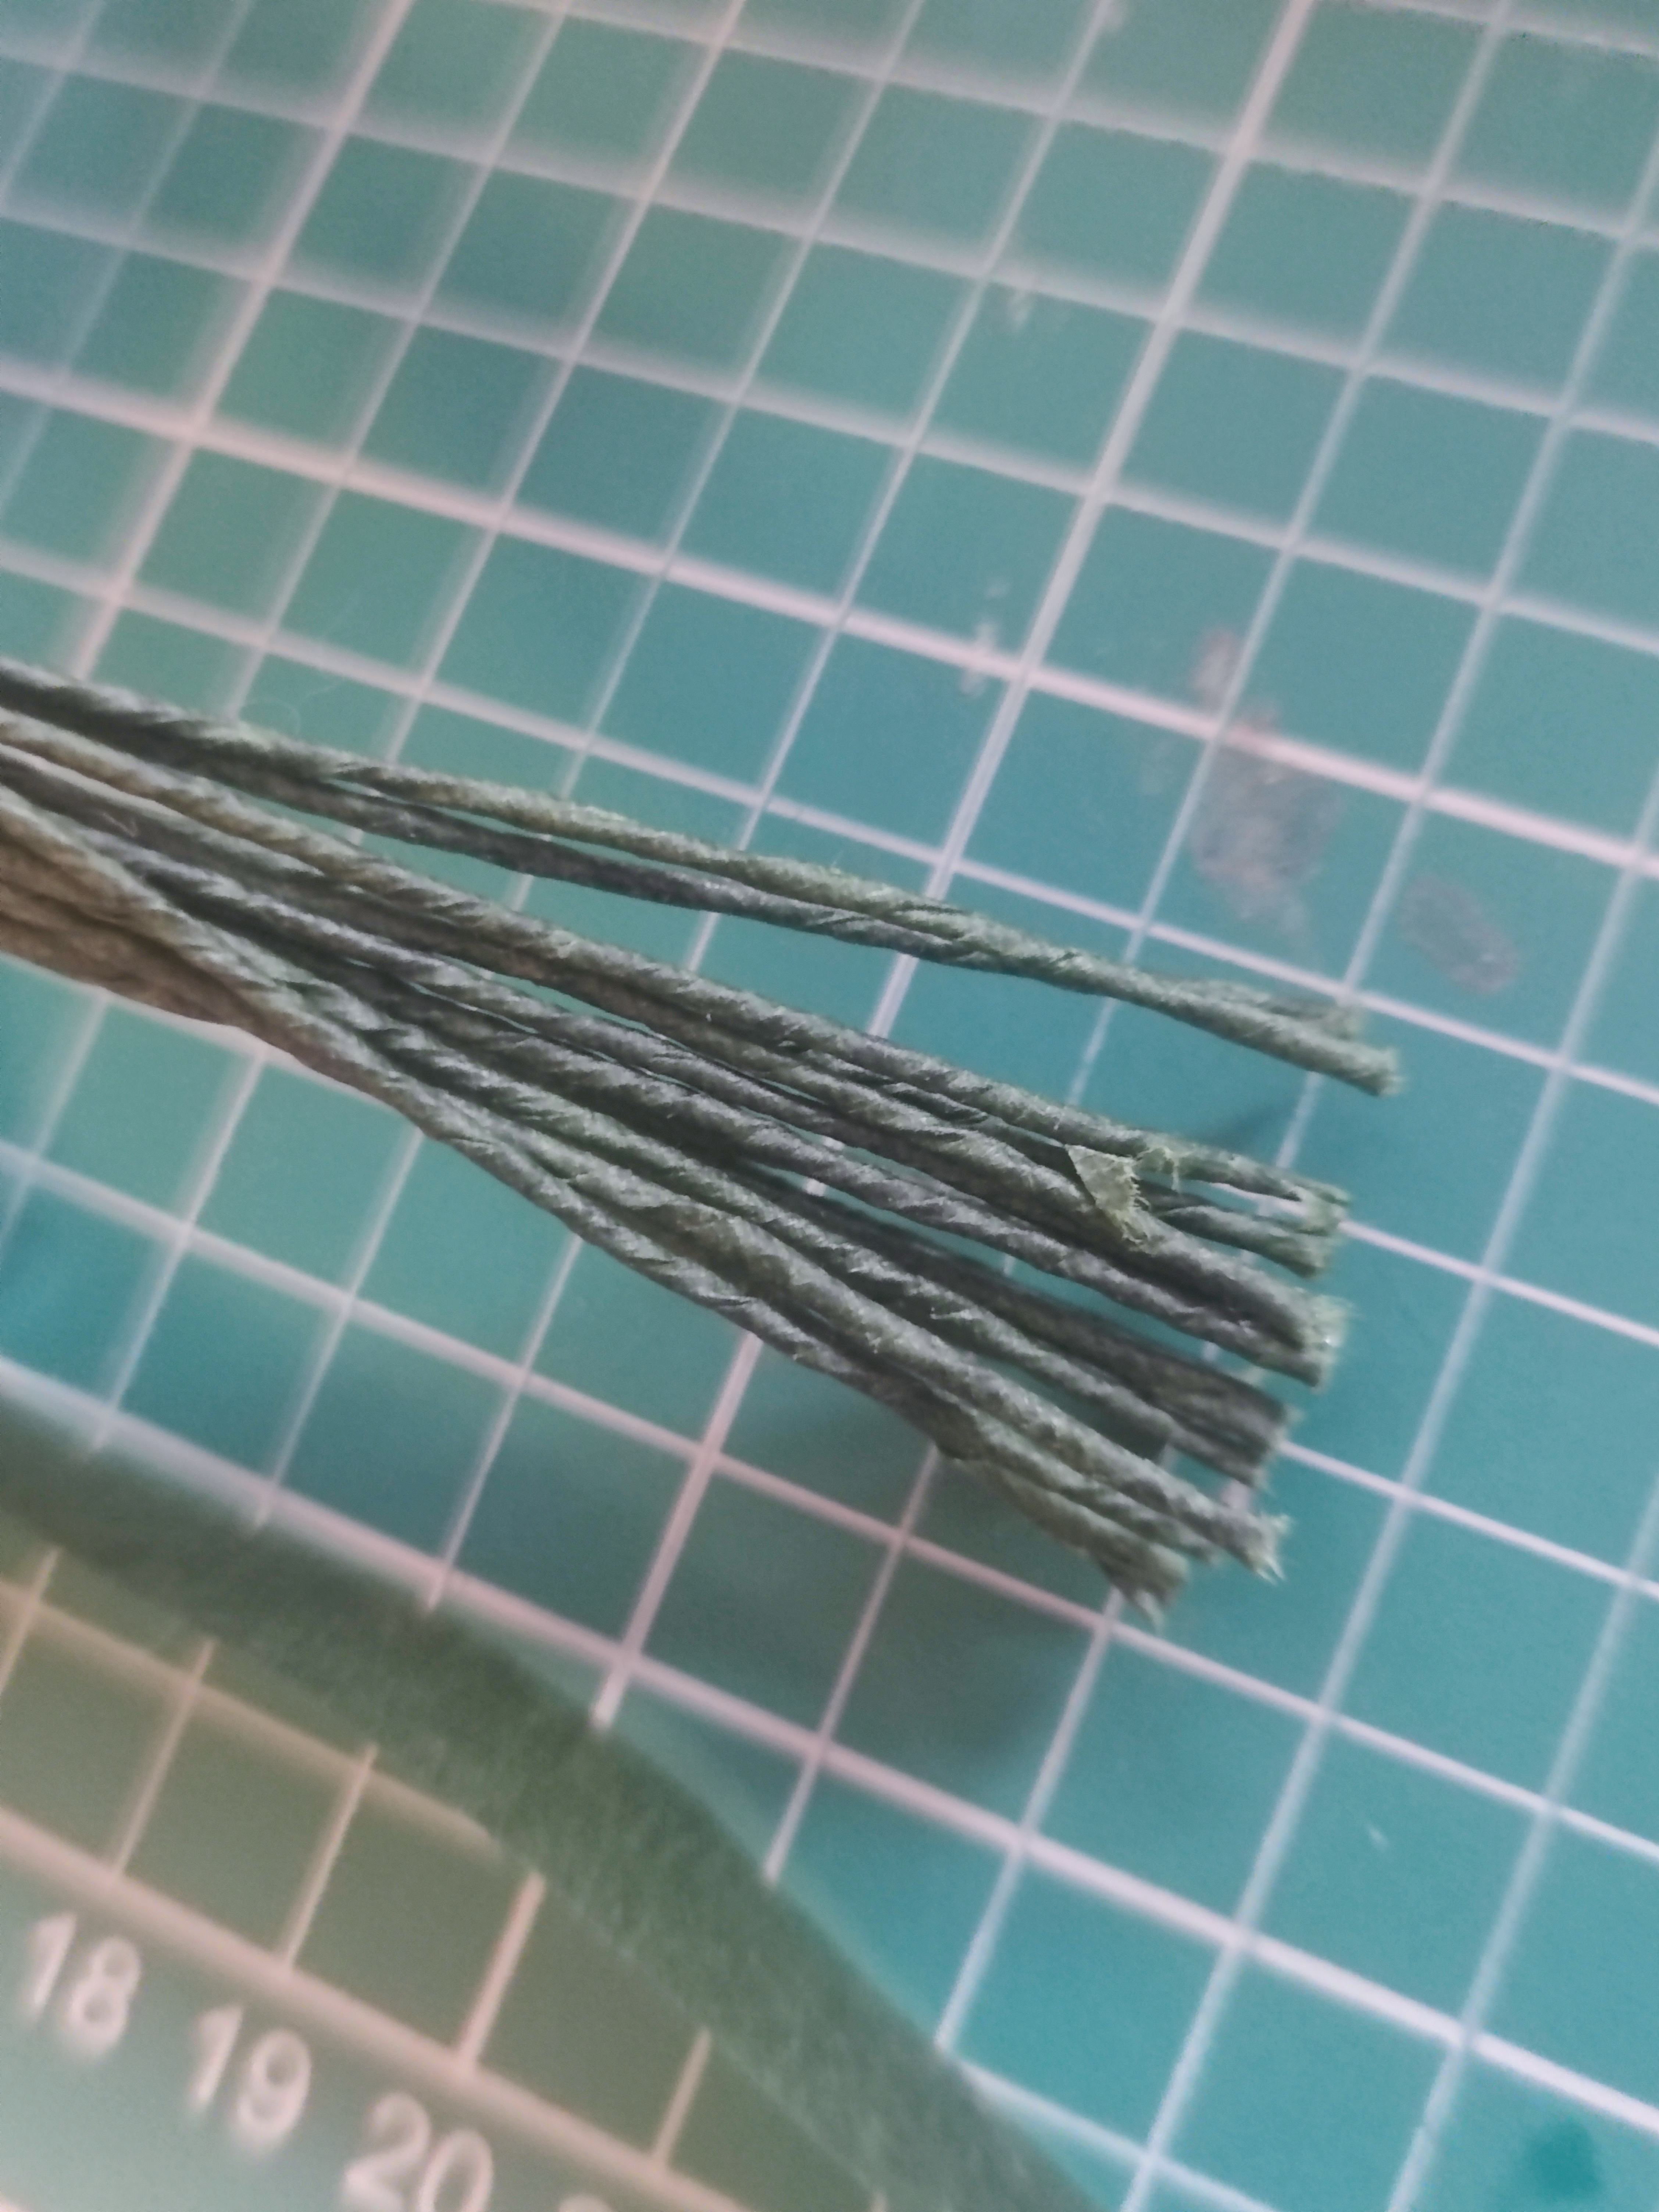
Once the flowers have been wired and wrapped up individually, it’s time to do the bouquet. I arrange the flowers in the way I like in both position and height, then I tie up the stems with a piece of twine temporarily. The stem ends are usually uneven, so I snip them with wire cutters. Then I wrap the bundle together with florist tape, up to a good height. The task here is to bundle the wires in a way that they won’t move at all, and I plant to cover it with ribbon so I don’t worry about a straight stem here.


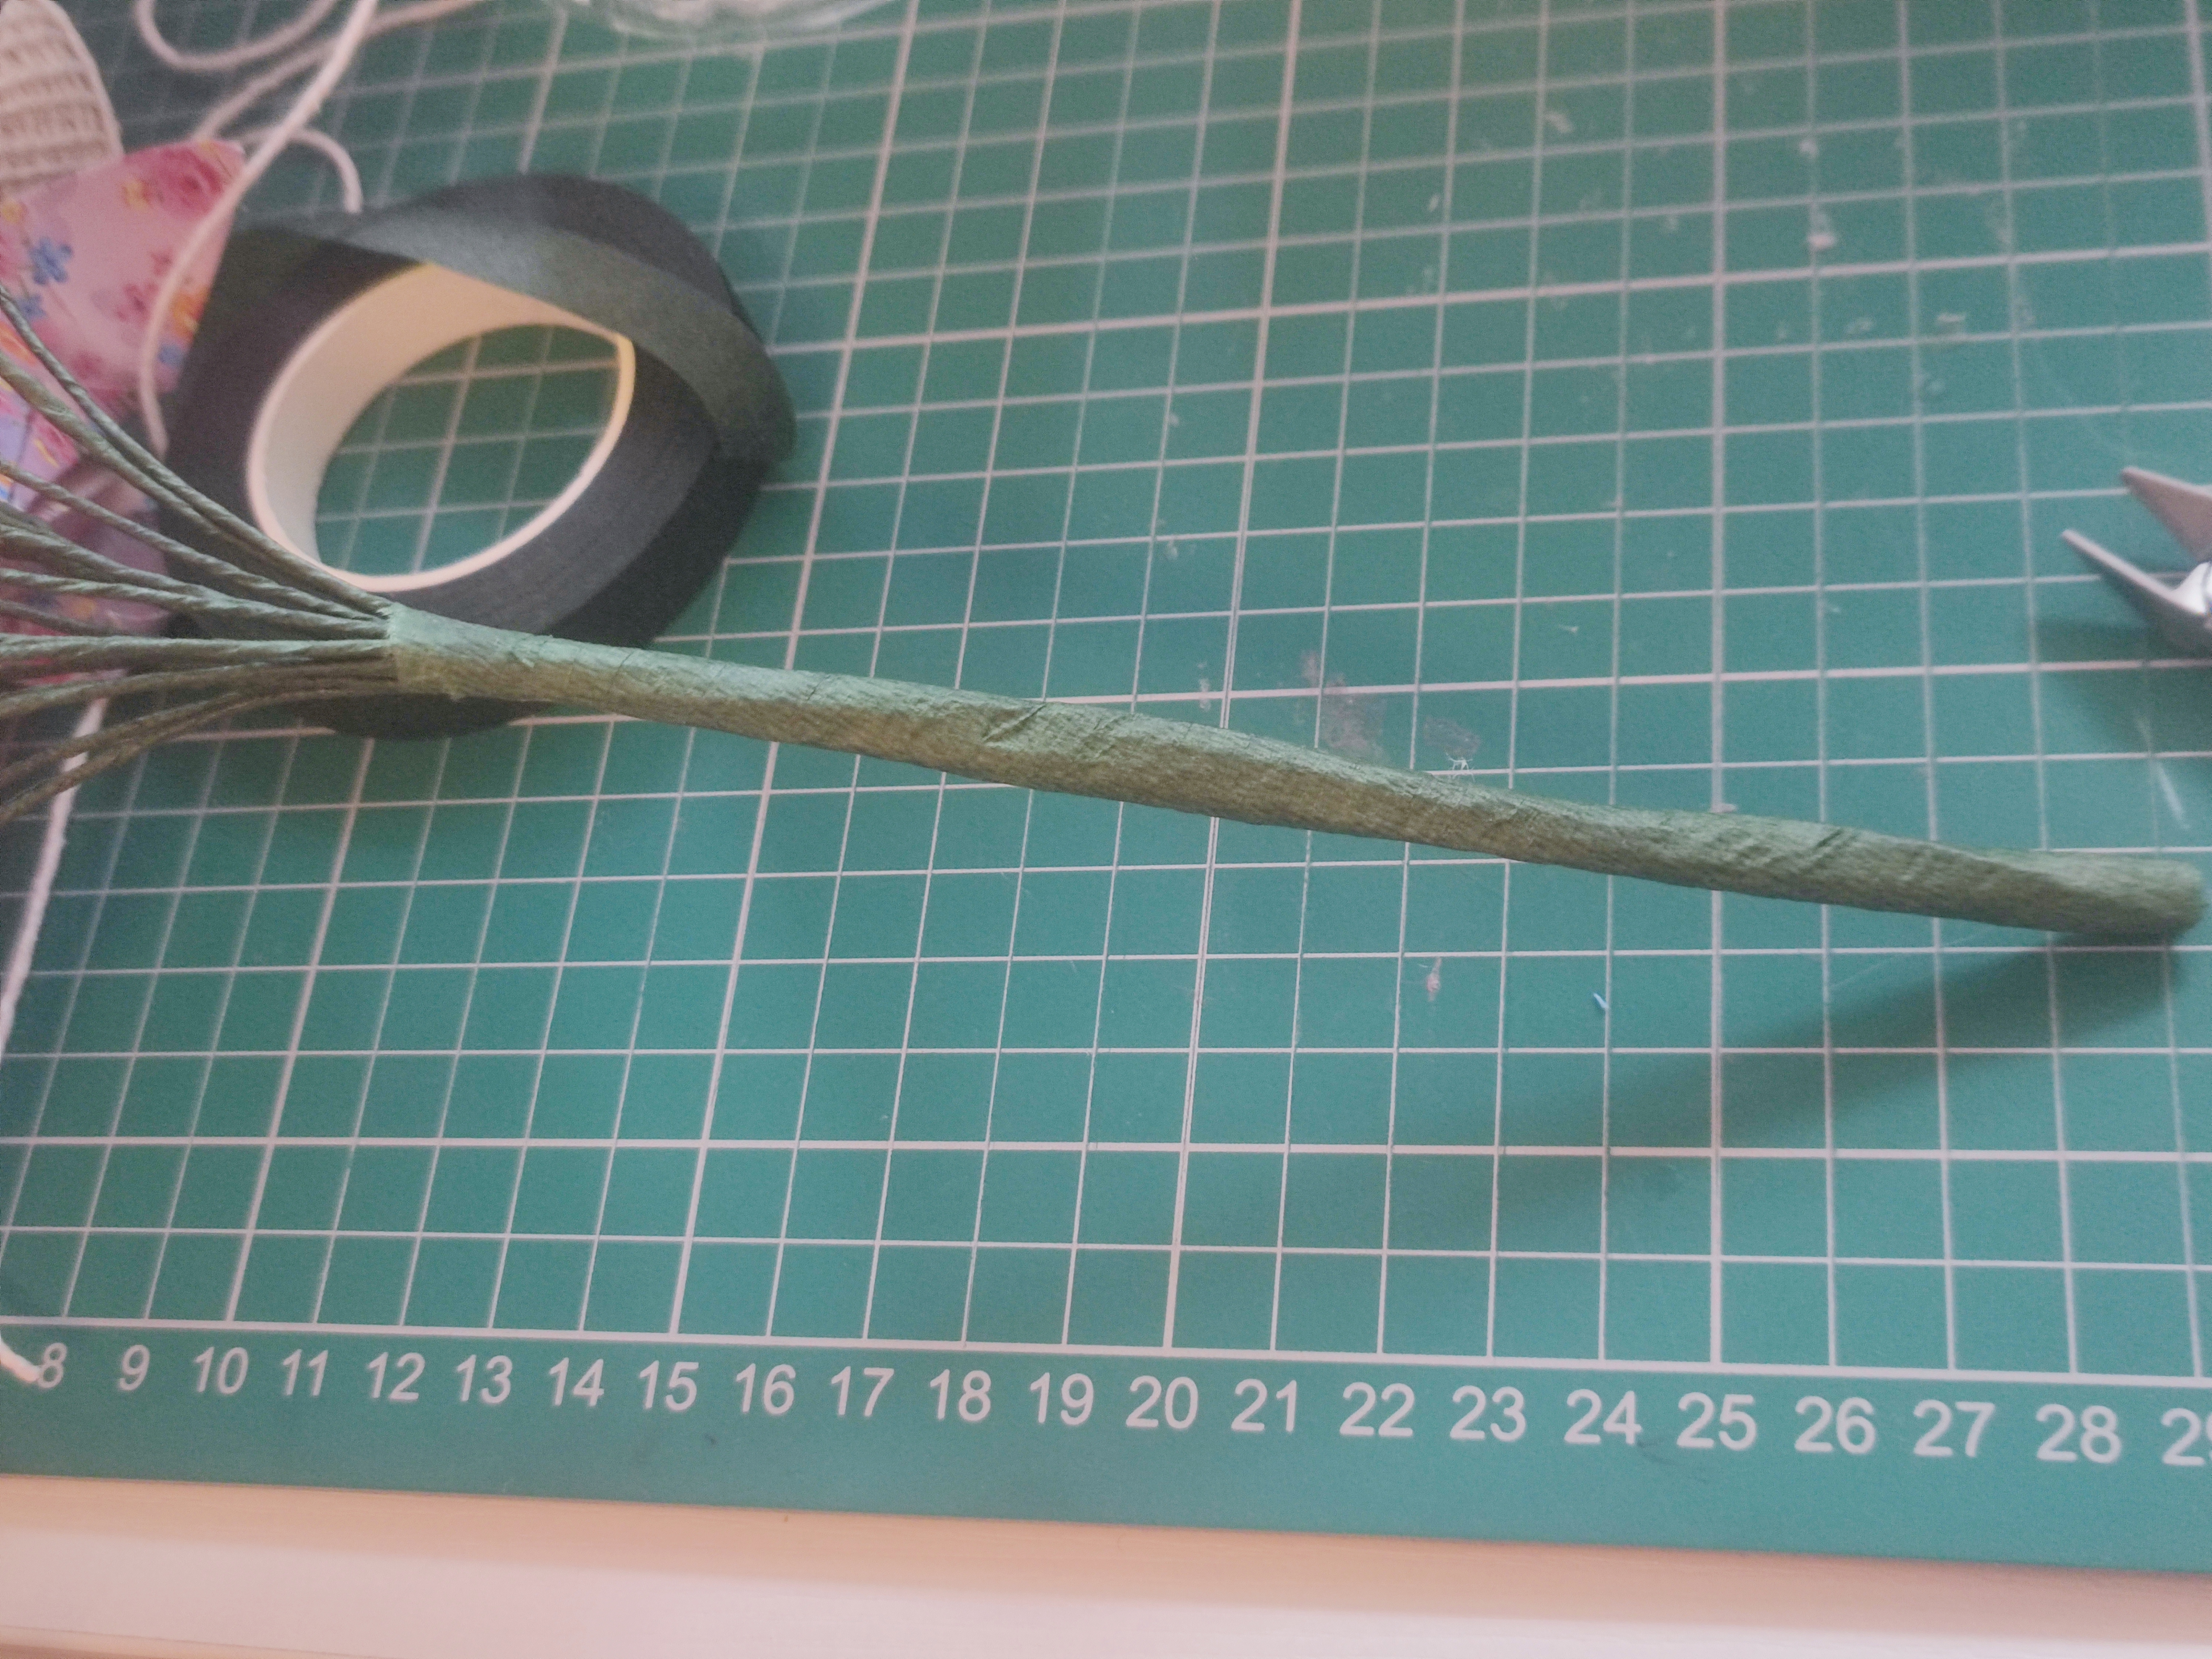
I had a length of light purple satin ribbon to cover the stem with. I cut a tiny bit off the end to cover the base of the stem, then I started wrapping from the base up to above the florist tape. I applied some hot glue at every interval to keep the ribbon secure. I would not recommend using a line of hot glue all the way up the ribbon, as it may show on the outside. I tried to keep the ribbon smooth but it does get tough near the top end.


The above are good general tips for any bouquet that you wish to gift!
To display the flowers, I used an appropriately sized glass vase with a long neck. I put a handful of small rocks into the vase to hold the bouquet in place but I would have put more in if I had it (I used the rest of it on previous projects!) Not that this vase really needs it, the gift receivers can move the bouquet into something else should they wish to.

One option could be to make more flowers and make the bouquet more well-rounded and spherical so that you can see the blooms from all angles, but I did not have enough double-sided patterned paper to do this. However, when you look at it from the top, the bouquet looks fantastic!
Next time I will order lots of colourful paper and make an even more impressive bouquet!

Materials needed:
– Various single-sided and double-sided patterned origami paper
– Florist wire and tape
– 0.40mm silver wire and glass beads (if decorating the lilies)
– Flat back glass pearls (if decorating the kusudama flowers)
– Wide light purple ribbon
Tools needed:
– Jewellery pliers
– Wire cutters
– Hot glue gun
– PVA glue and paintbrush
– Scissors
– Craft knife and cutting mat
