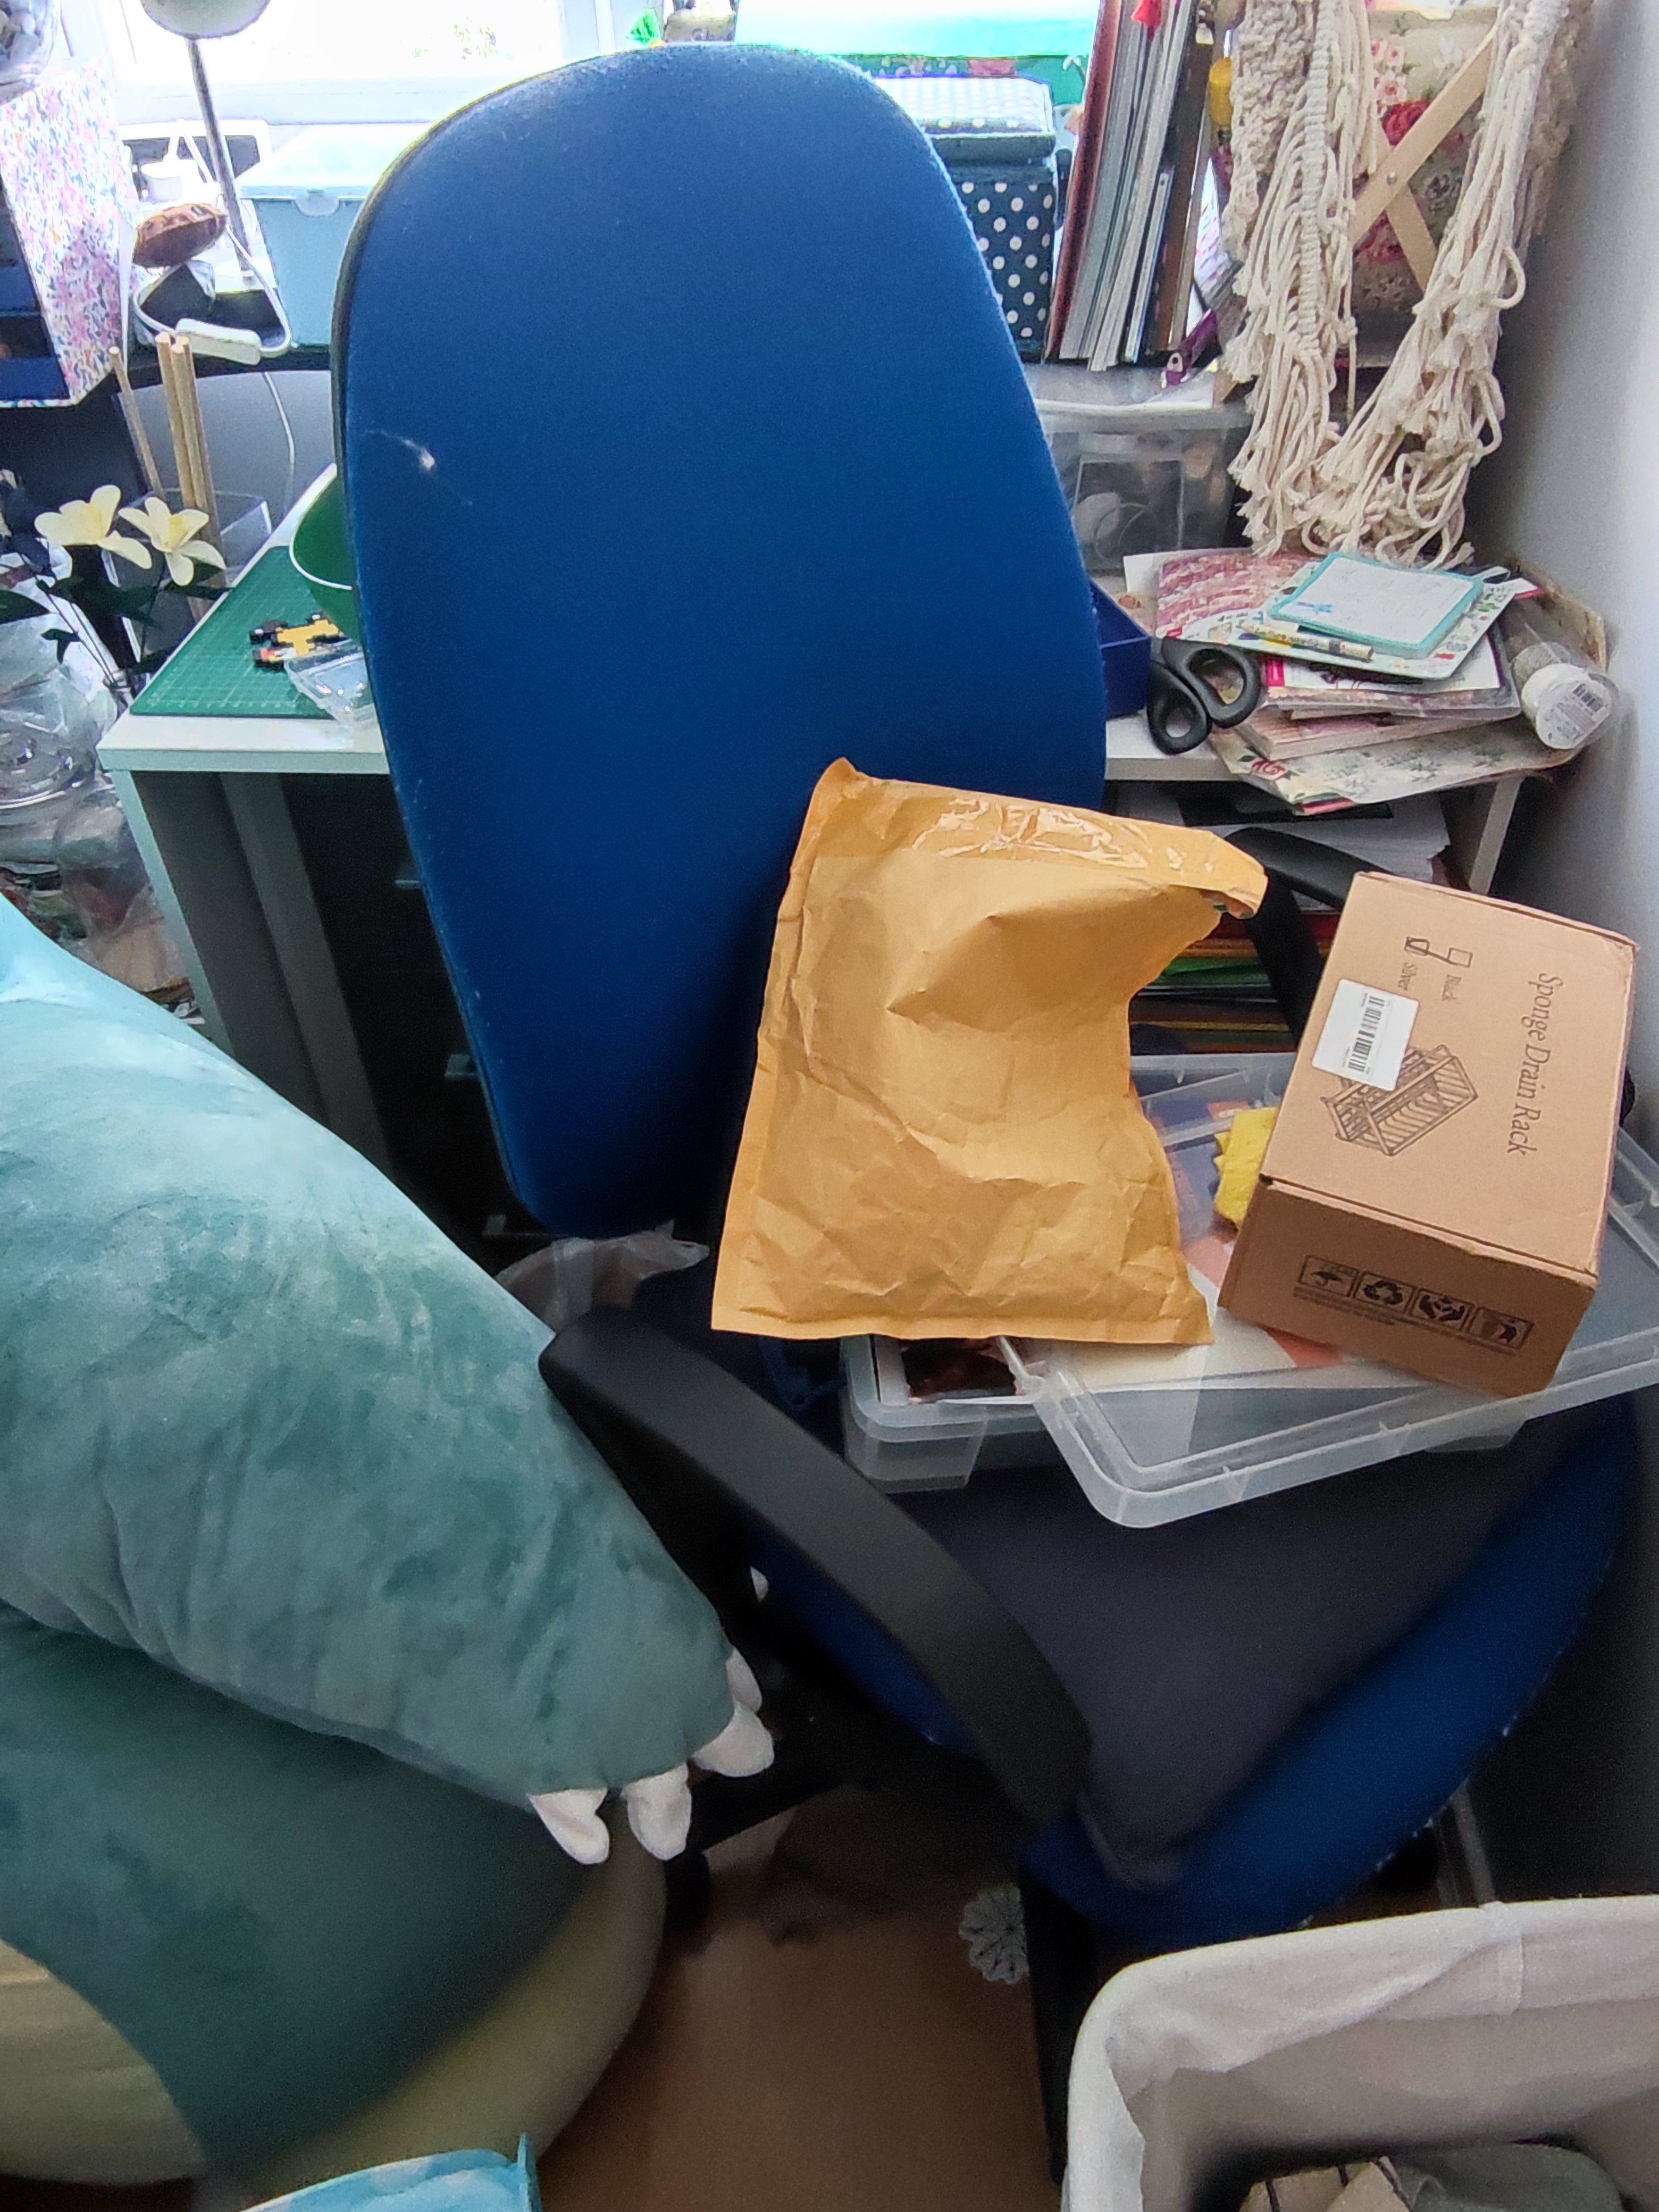
Hi everyone, it’s been a long time since I last posted – July was my last post! What happened? Well, I started a kitchen conversion in the middle of July, and unfortunately my lovely craft room was deemed least important usage (I would obviously beg to differ but alas…) so it became a storage room for all of the kitchen items. (You can see a bonus picture at the bottom of this post!) Since I could not access my room properly, I had no new things to talk about or post. I really want to meet my personal goal of posting at least once every month and was told that my conversion would be finished by early August, but some things went wrong and it took until the end of August to finally finish everything.
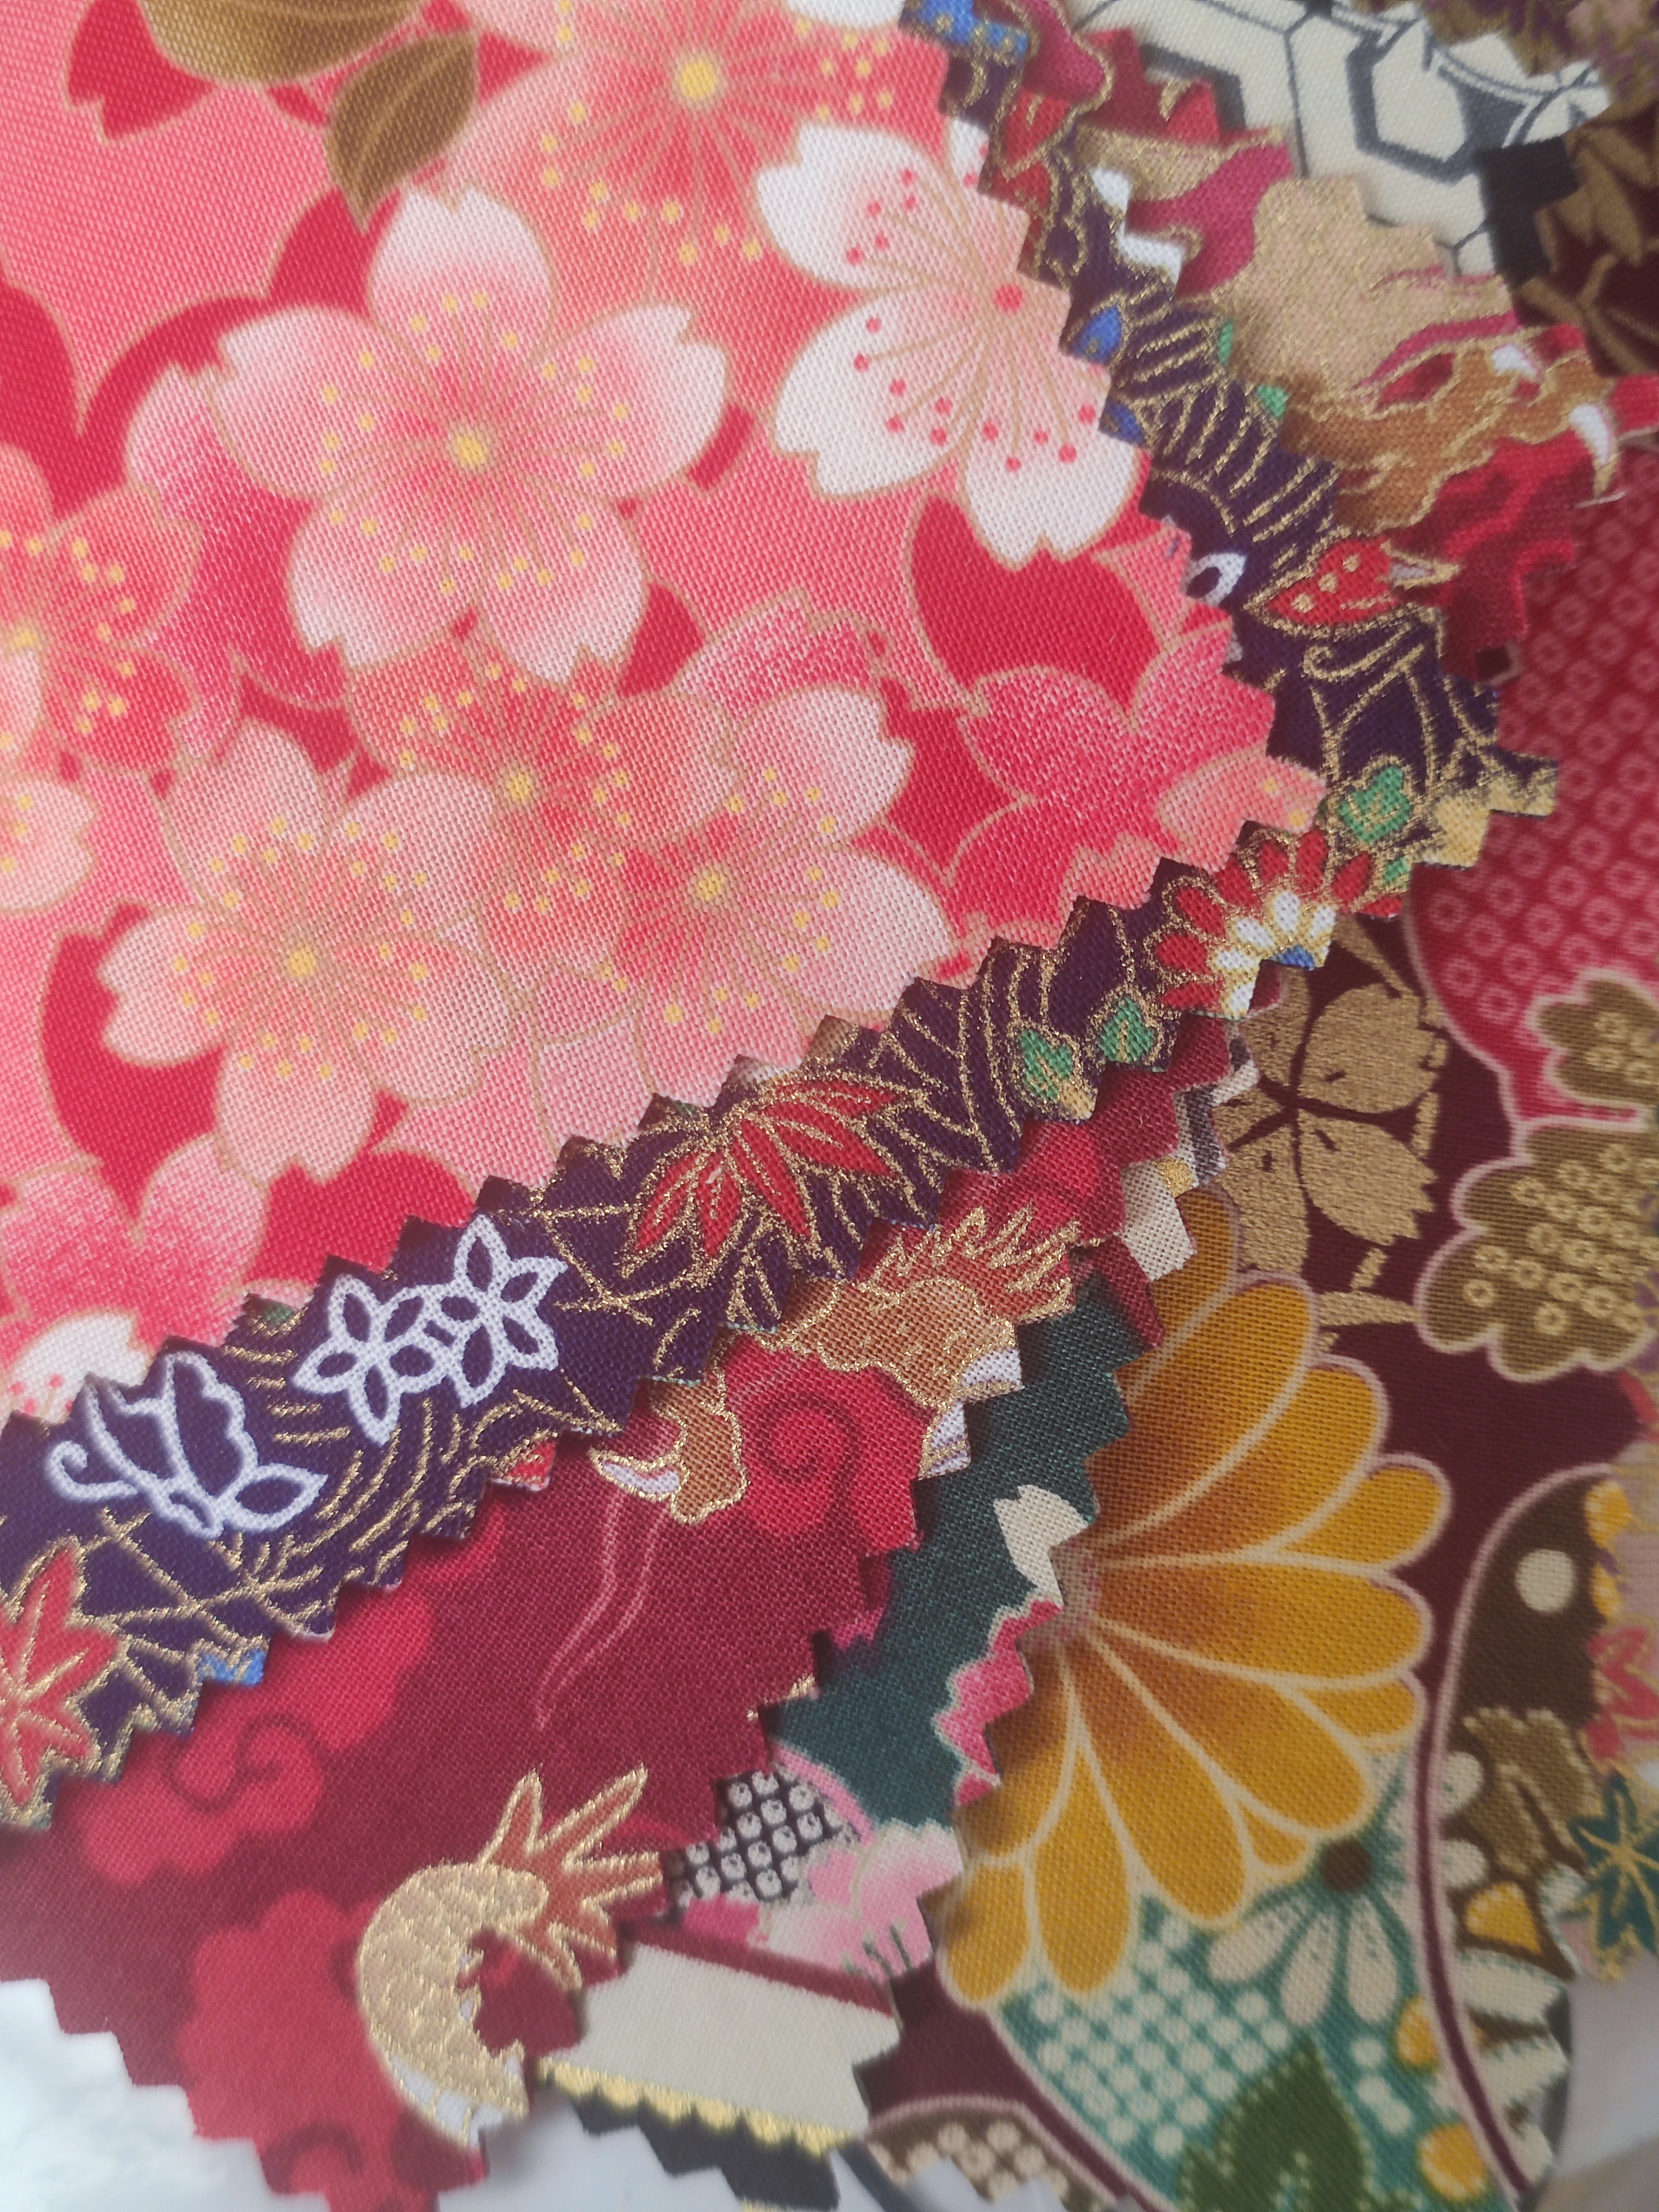
Although it didn’t fully finish in time, I was able to squeeze in to my room and grab a small box of things to work on. I bought this komebukuro craft kit a while ago; a komebukuro is a small traditional Japanese bag for storing things like temple offerings or rice. I bought it from a small shop called Japan Crafts in the city centre at a Japanese market for the day. The lovely patterns really drew my eye and I wanted to try a new sewing project.

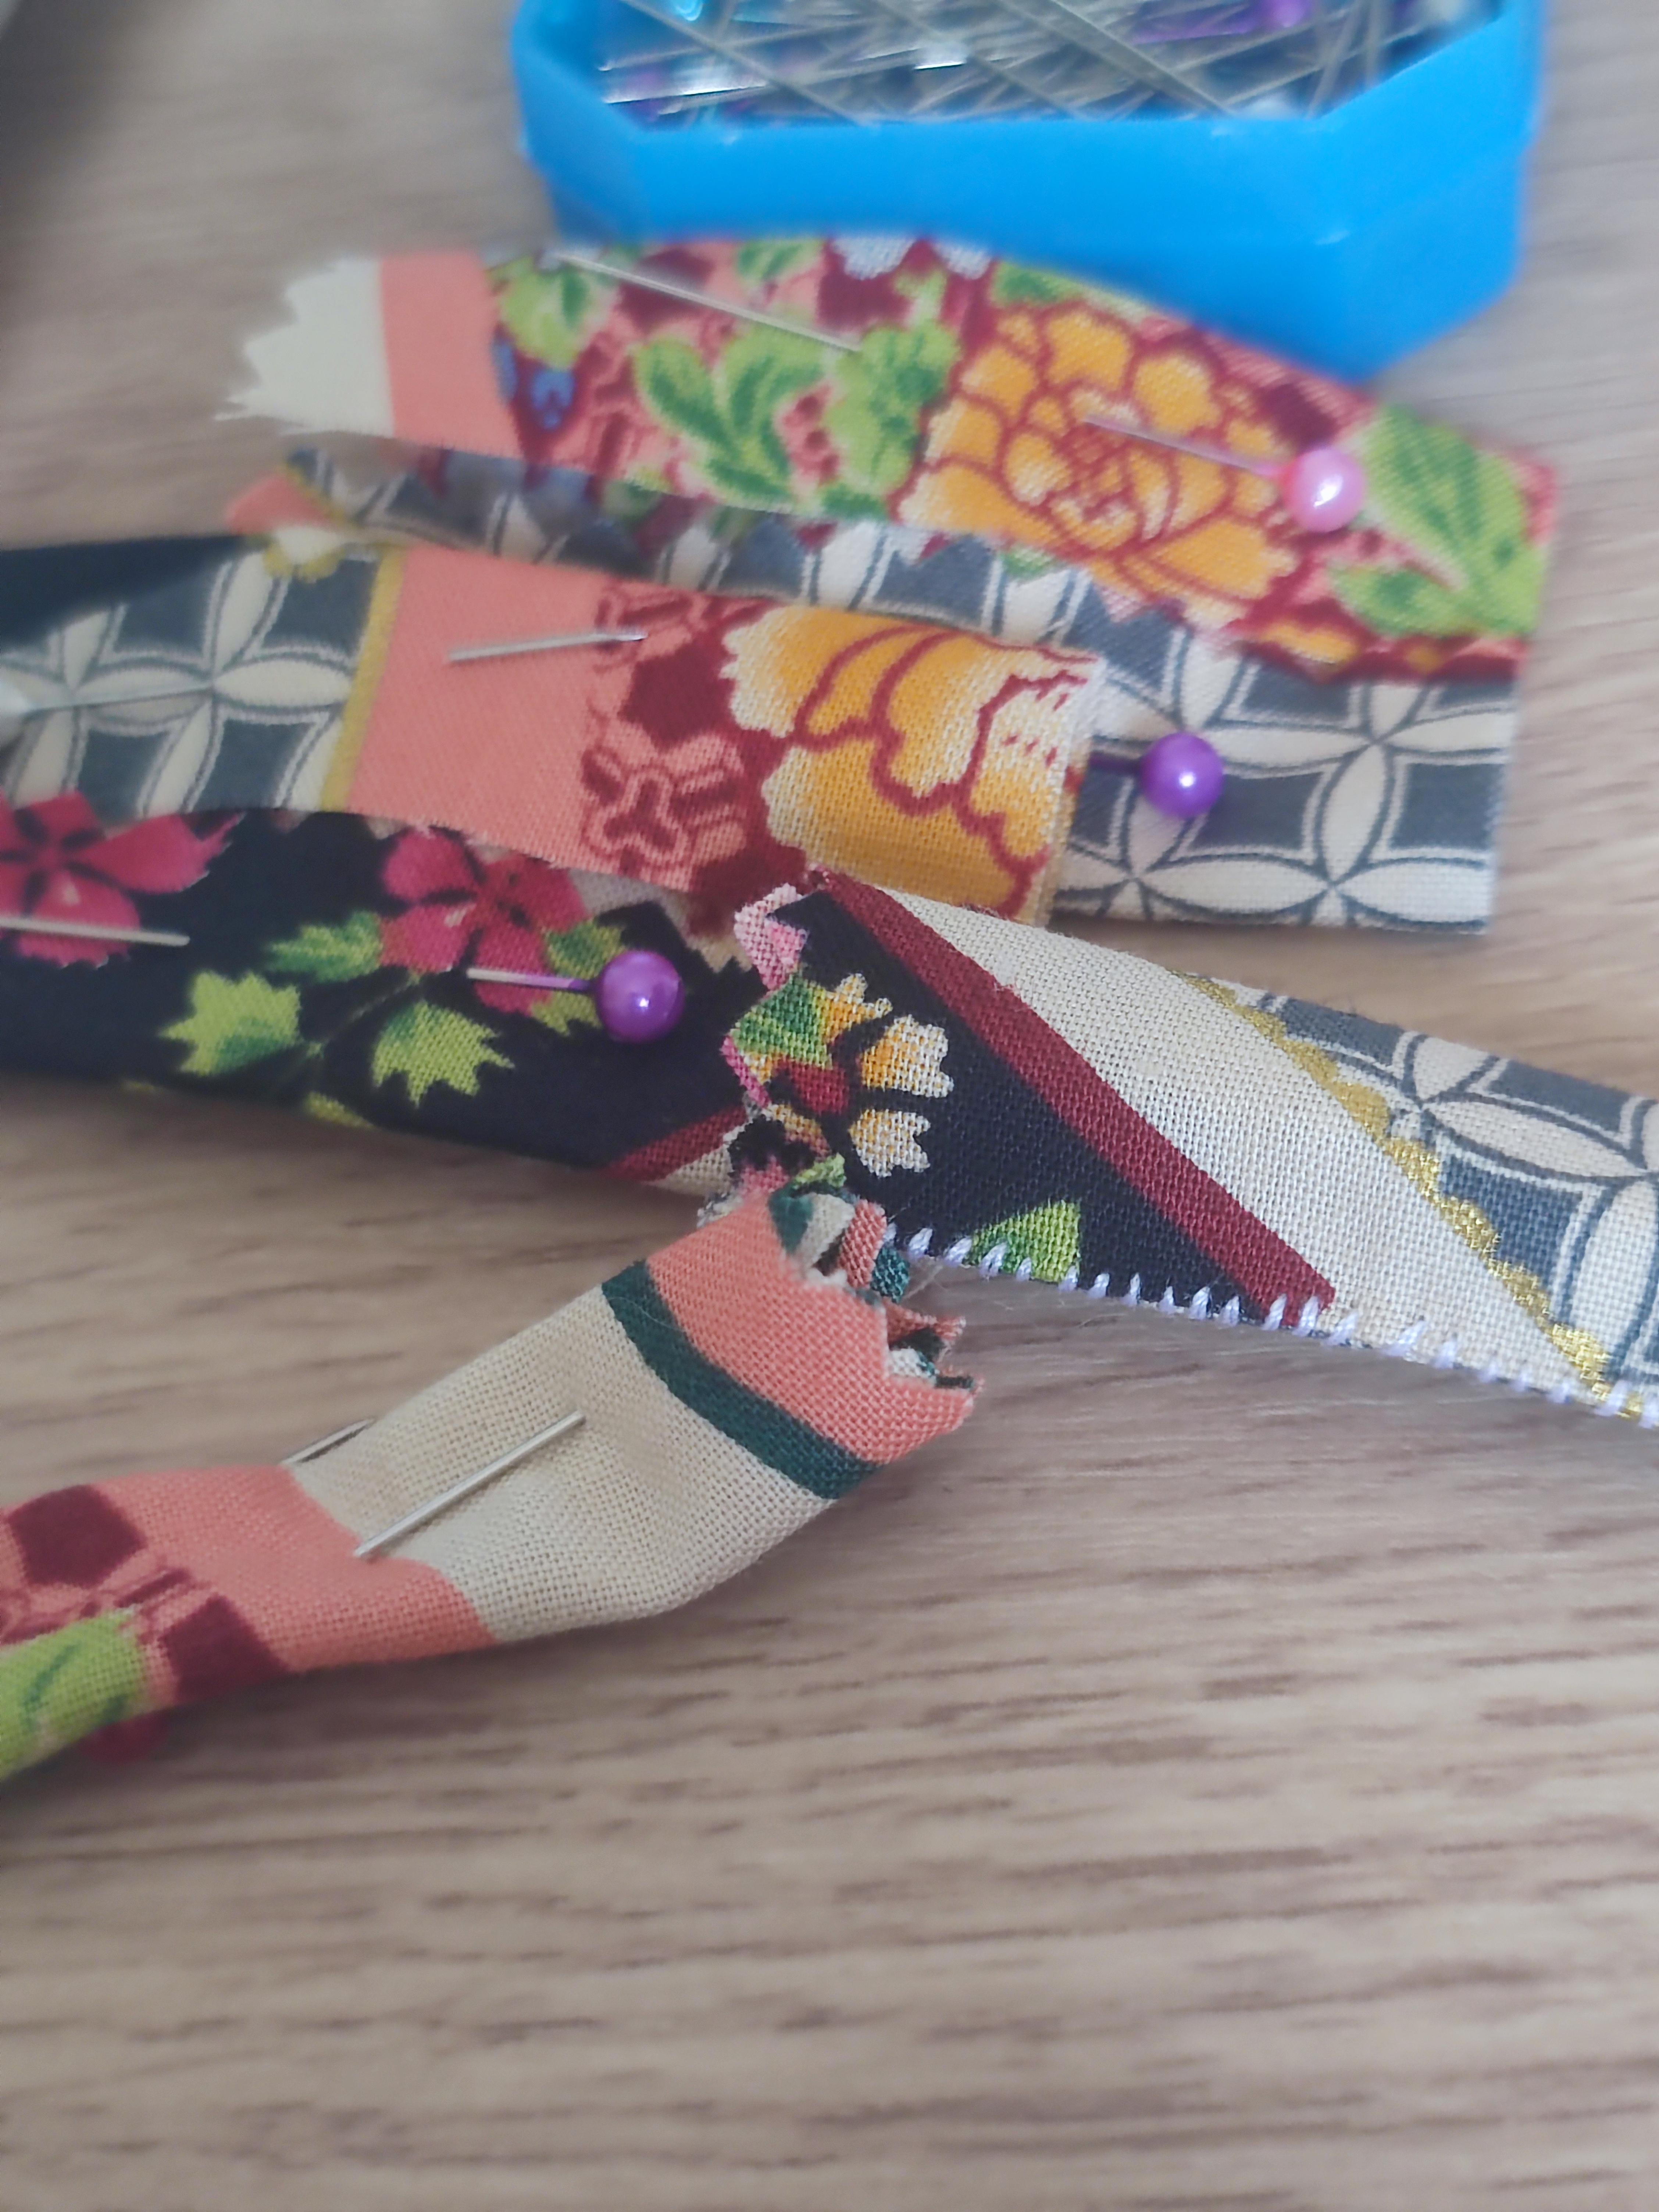
The kit contained 12 squares and some drawstring cord. Everything in this kit can be done by hand but you can use a sewing machine if you wish to make it neatly. You will need basic sewing supplies to complete the kit. Since I couldn’t use my room, I took all the things that I thought I needed in a small box and then move to a new temporary workstation. At this very moment, it was the new kitchen island that I built!

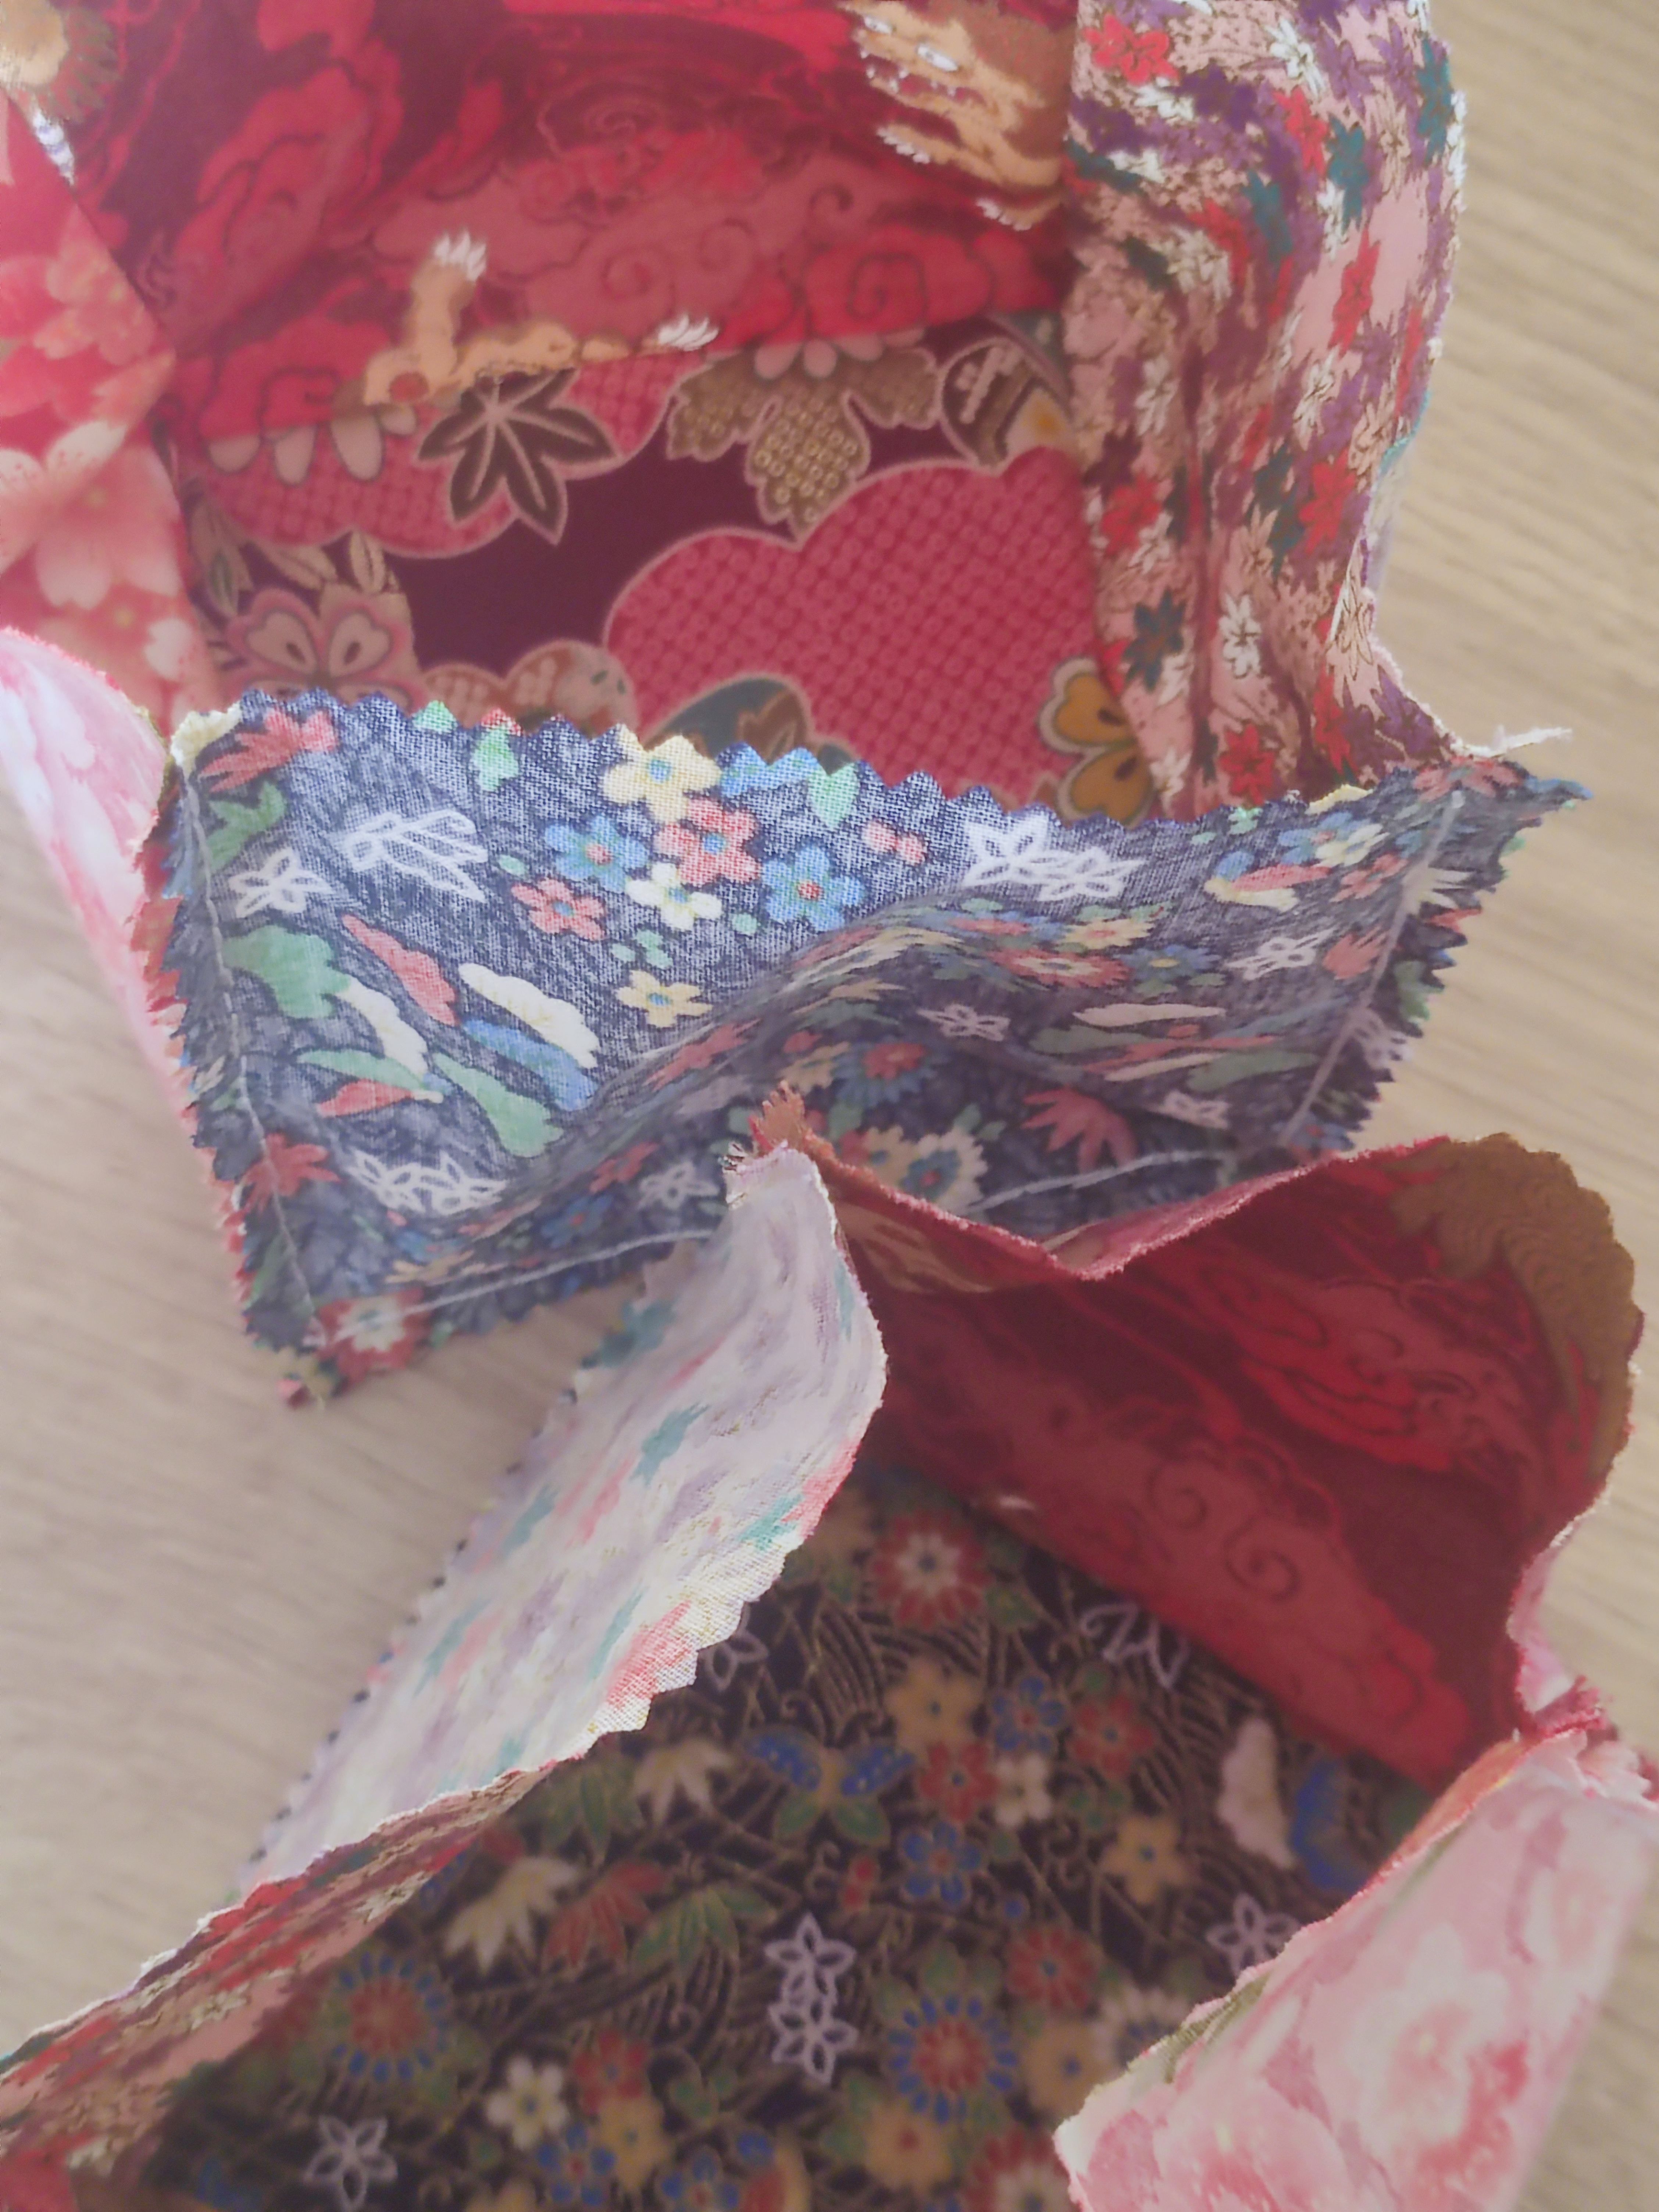
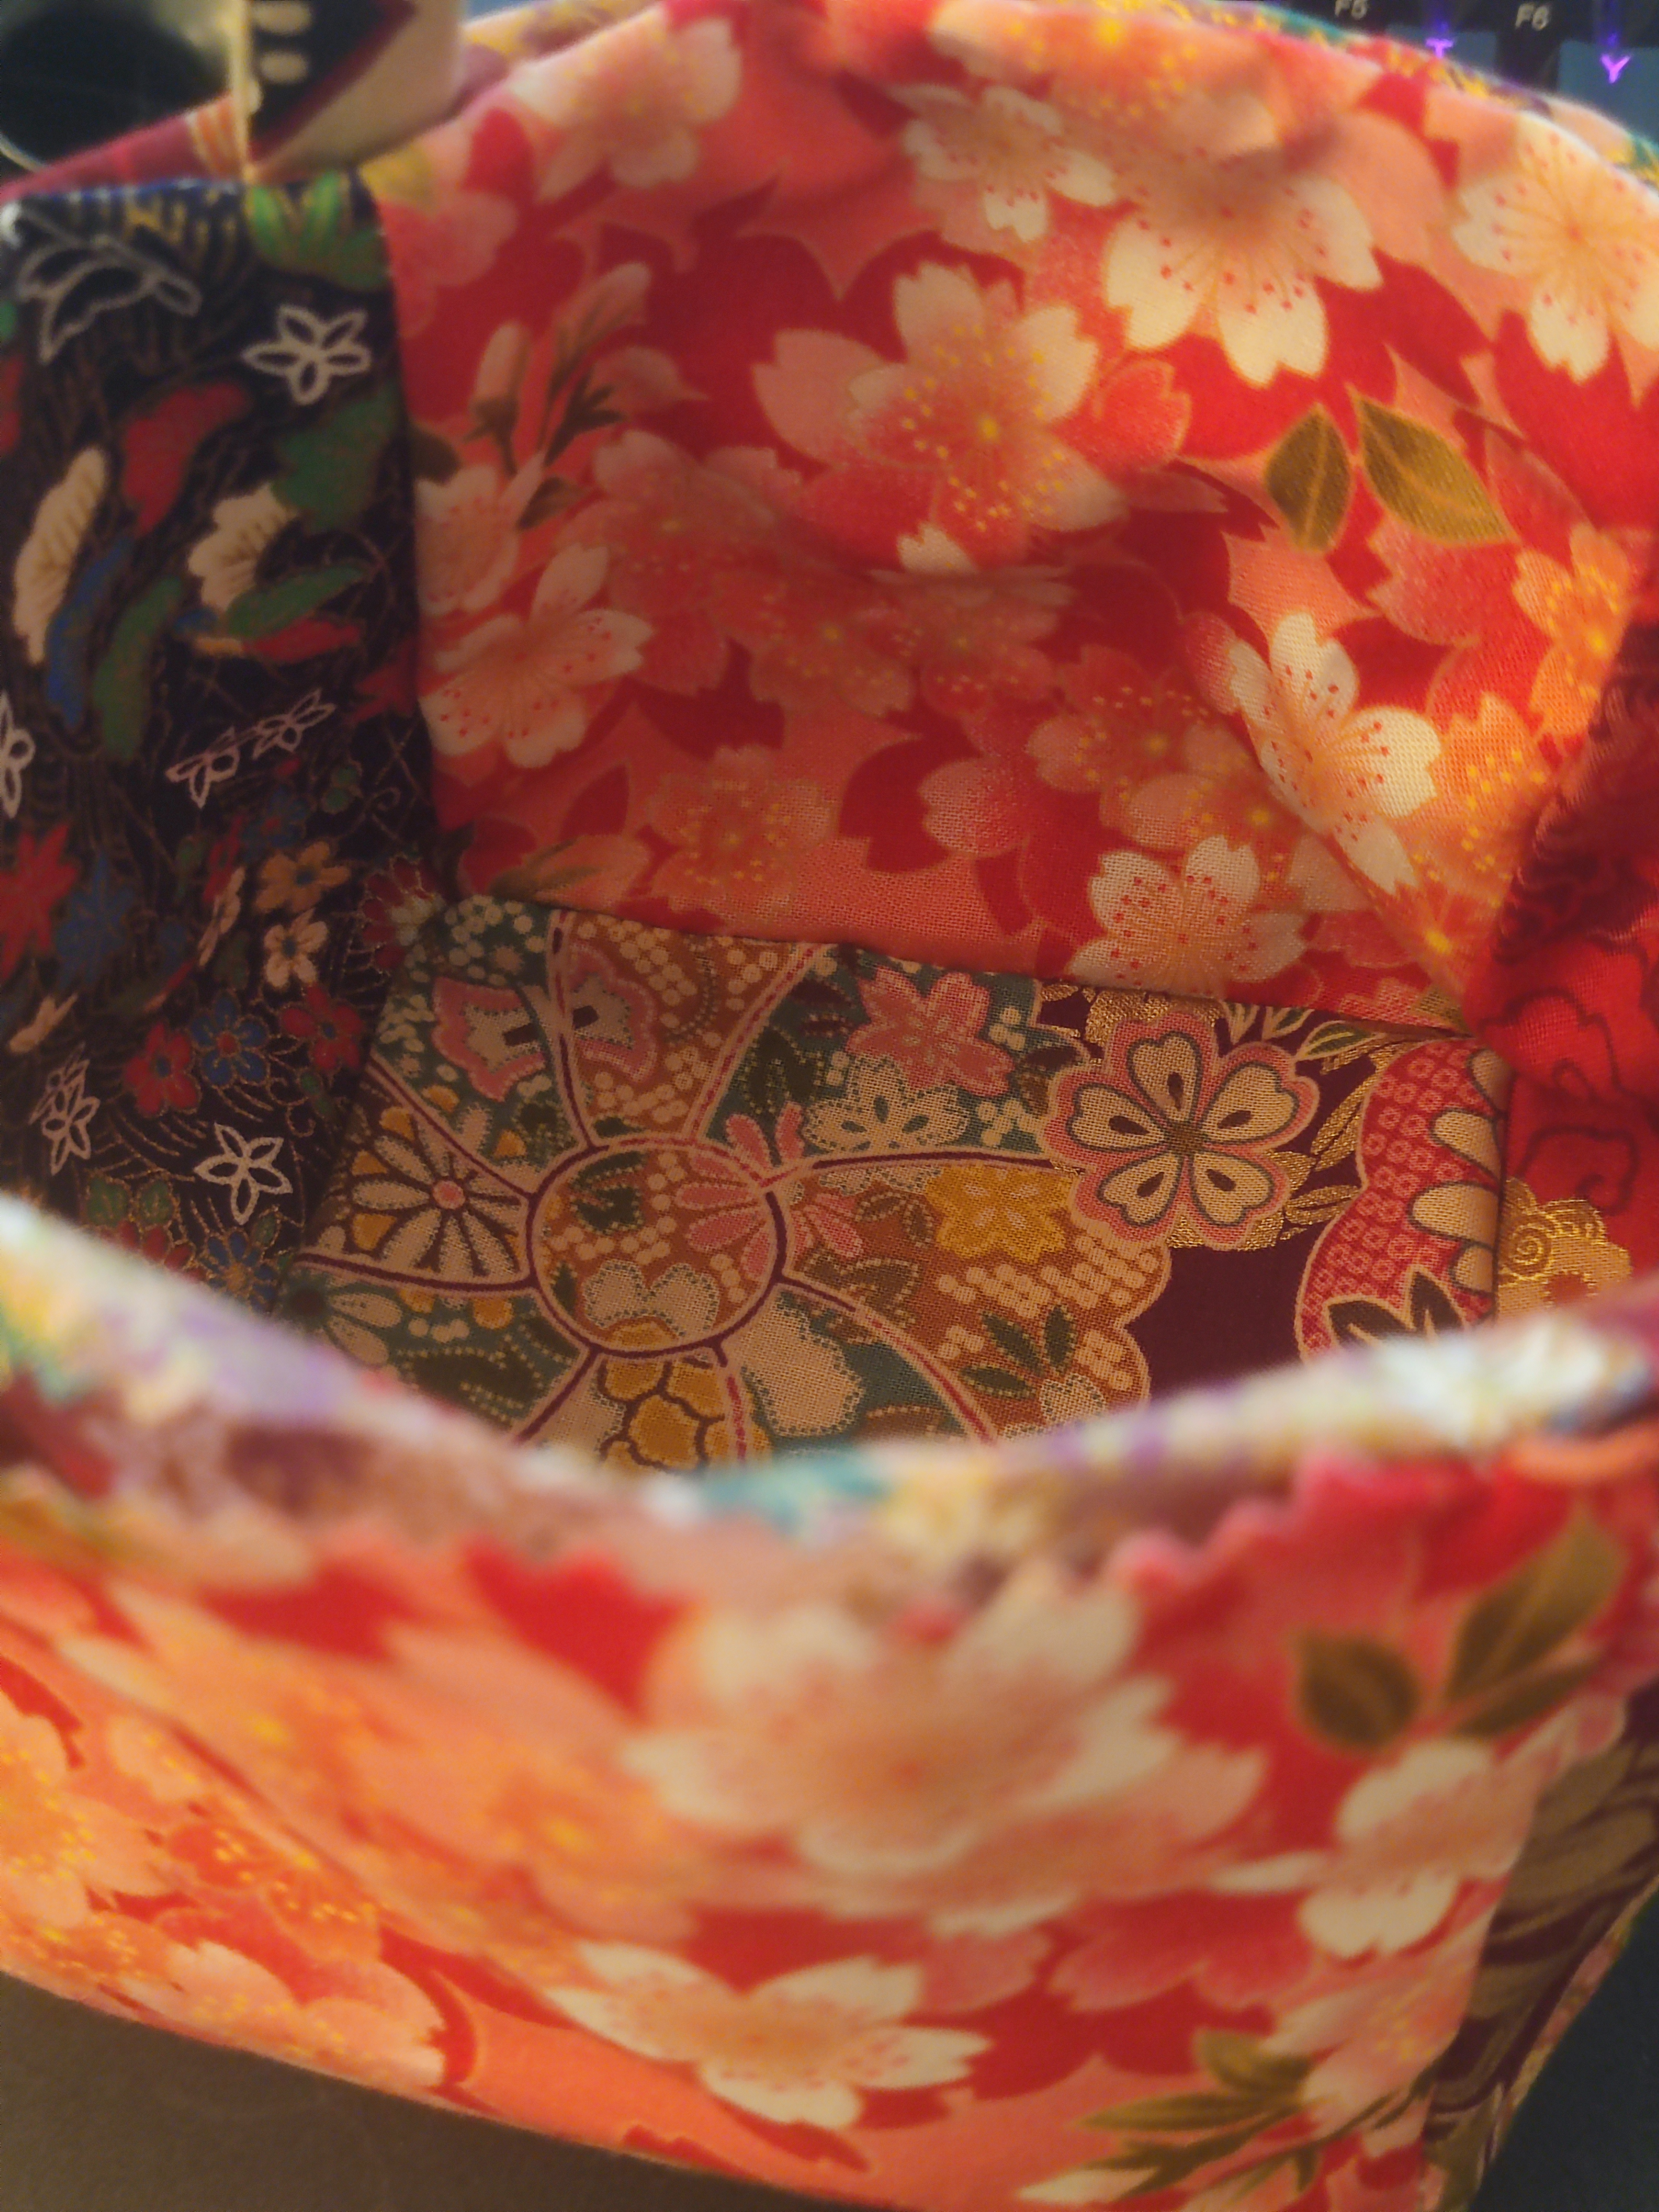
So the initial steps are quite straightforward if you are a sewing novice. Five of the fabric squares must be sewn together to form a box. The way this tutorial teaches you to do it is to sew four squares right sides together to form a tube, then the fifth square is attached to form a base. (Another way to do this step is in this tutorial by Sum of their Stories, I would use this as a guide because the pictures really helped) The hard part might be to choose the order of the patterns that you wish to use! Since the stitches will be hidden, I used a backstitch to secure the squares together.
You can also press the seams at this point. I was a bit forgetful and forgot to do it sometimes, but it really does help. Also, when it comes to seam allowance, any should be fine but it needs to be consistent. I chose to have a very small one, about 0.3mm.

Once you are done sewing one open cube, you now need to sew another! The finished bag is intended to be reversible. Because of this fact, I made a second open cube with a different order to the patterns, in case I felt like changing up the look of the bag.
Before the cubes can be combined, you need to make some loops for the drawstring to go through. I took one of the spare squares and cut it into four smaller squares. Now there are a couple of steps to turn these into loops. It needs to be folded in half towards the centre, then folded in half lengthways again. Then I applied whipstitch to secure this edge, and finally I pressed it with pins and heavy objects so that the whipstitched edge is hidden from view. You could match the colour of the thread if you wanted to here.
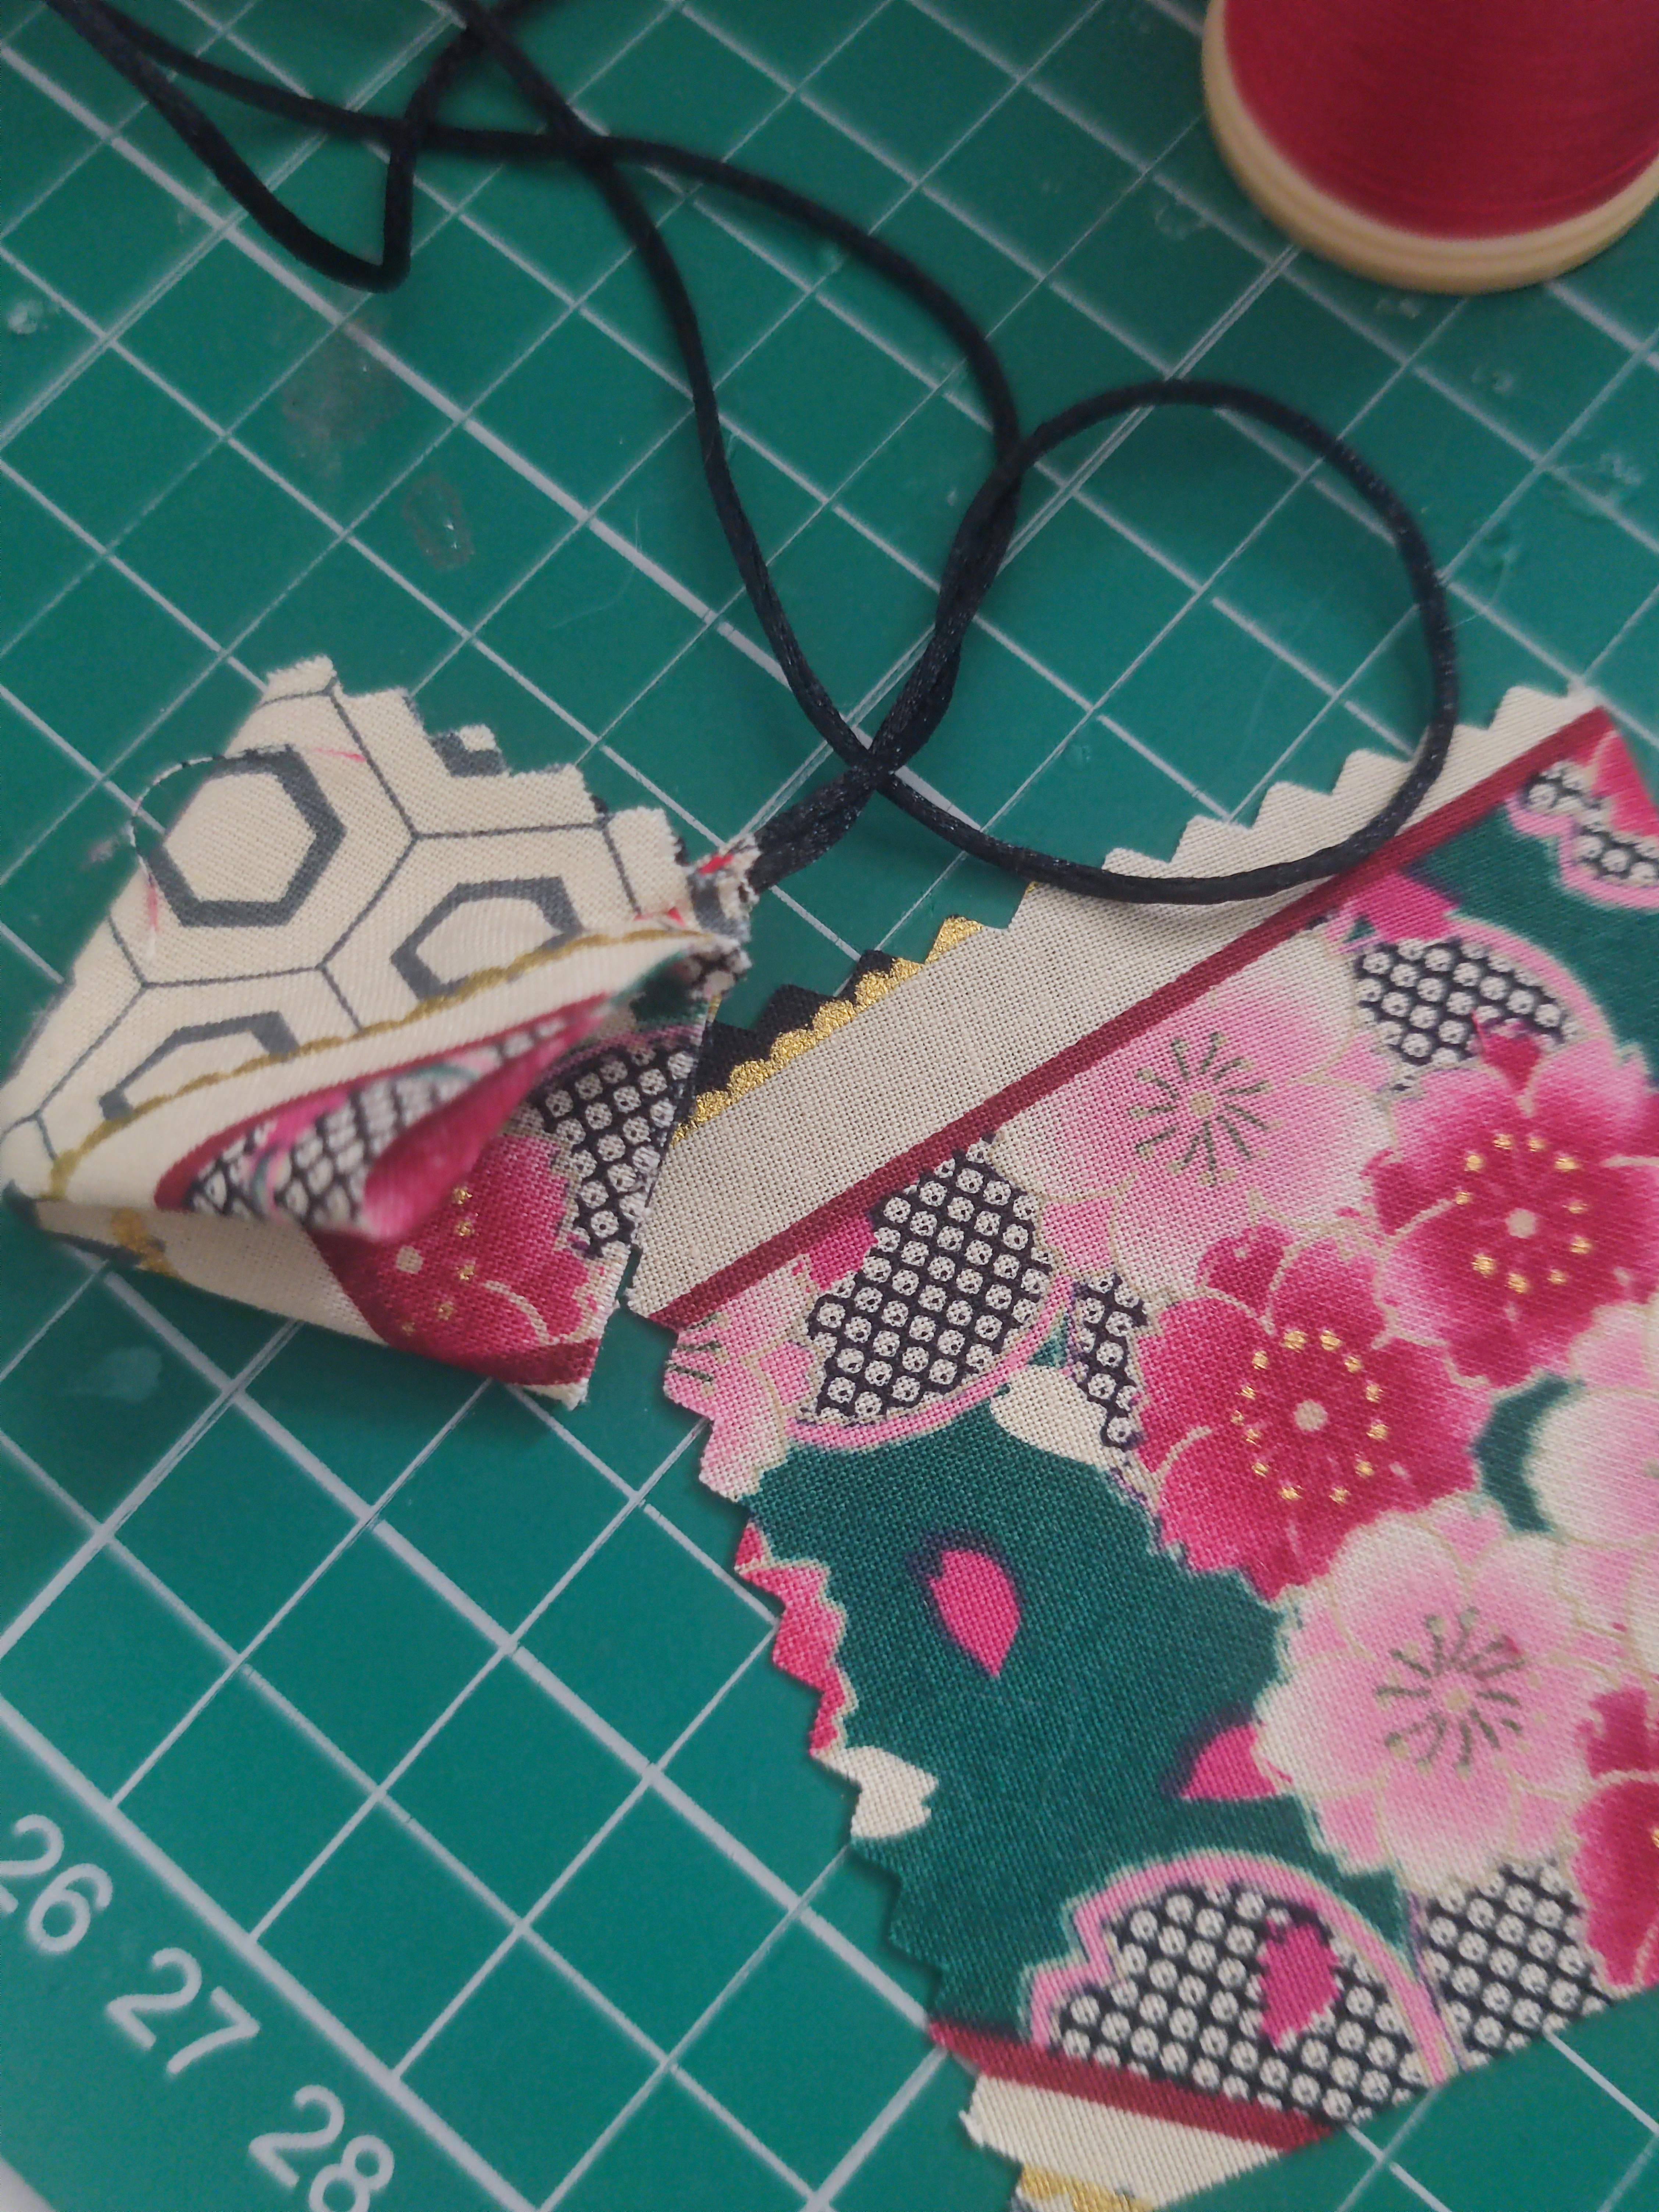
To combine the two cubes together, turn one of the cubes out so that the pattern is on the outside, then place this cube inside the other one so that the right sides are facing each other. Then fold the loops in half and pin them to the corners facing towards the cube base. Now you will need to sew the tops together – make sure to sew over the corners with multiple stitches when you go over them as the loops need securing. You need to only sew three of the four sides as the bag will need to be turned inside out.


The moment of truth – turn it all inside out! Mine looked like this. You can see some of the white thread on the corner seams, but it’s not the worst thing in the world. Also as this stage, I started working on this project at my computer desk as I was aiming to get this finished before the end of September. The convenience of being able to pack the whole project into one tin!
Before the next step, the tops need to be pressed down with an iron.
The final stitch to close the bag will be visible – you will need to topstitch the top of the bag to seal the open edge. Because it will be visible, this stitch will go all the way around the top to make it look like part of the design. I switched to a red thread this time and used a running stitch that would double-back on some stitches to make it a single continuous line. I tried to make it completely neat but I did mess up a couple of times and it looks okay with the handmade feel. It also needs to be a similar seam allowance to the inner stitches, so I stitched mine very close to the edge.

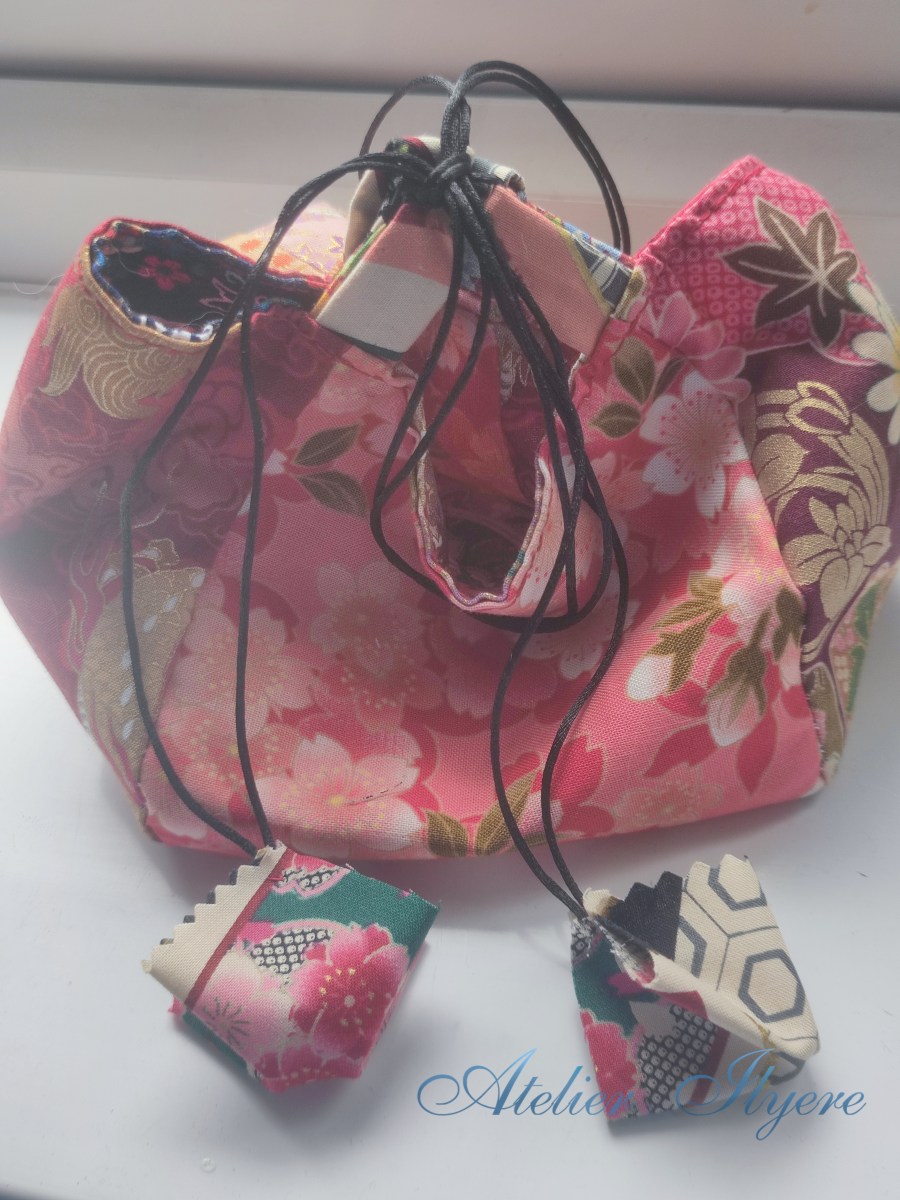
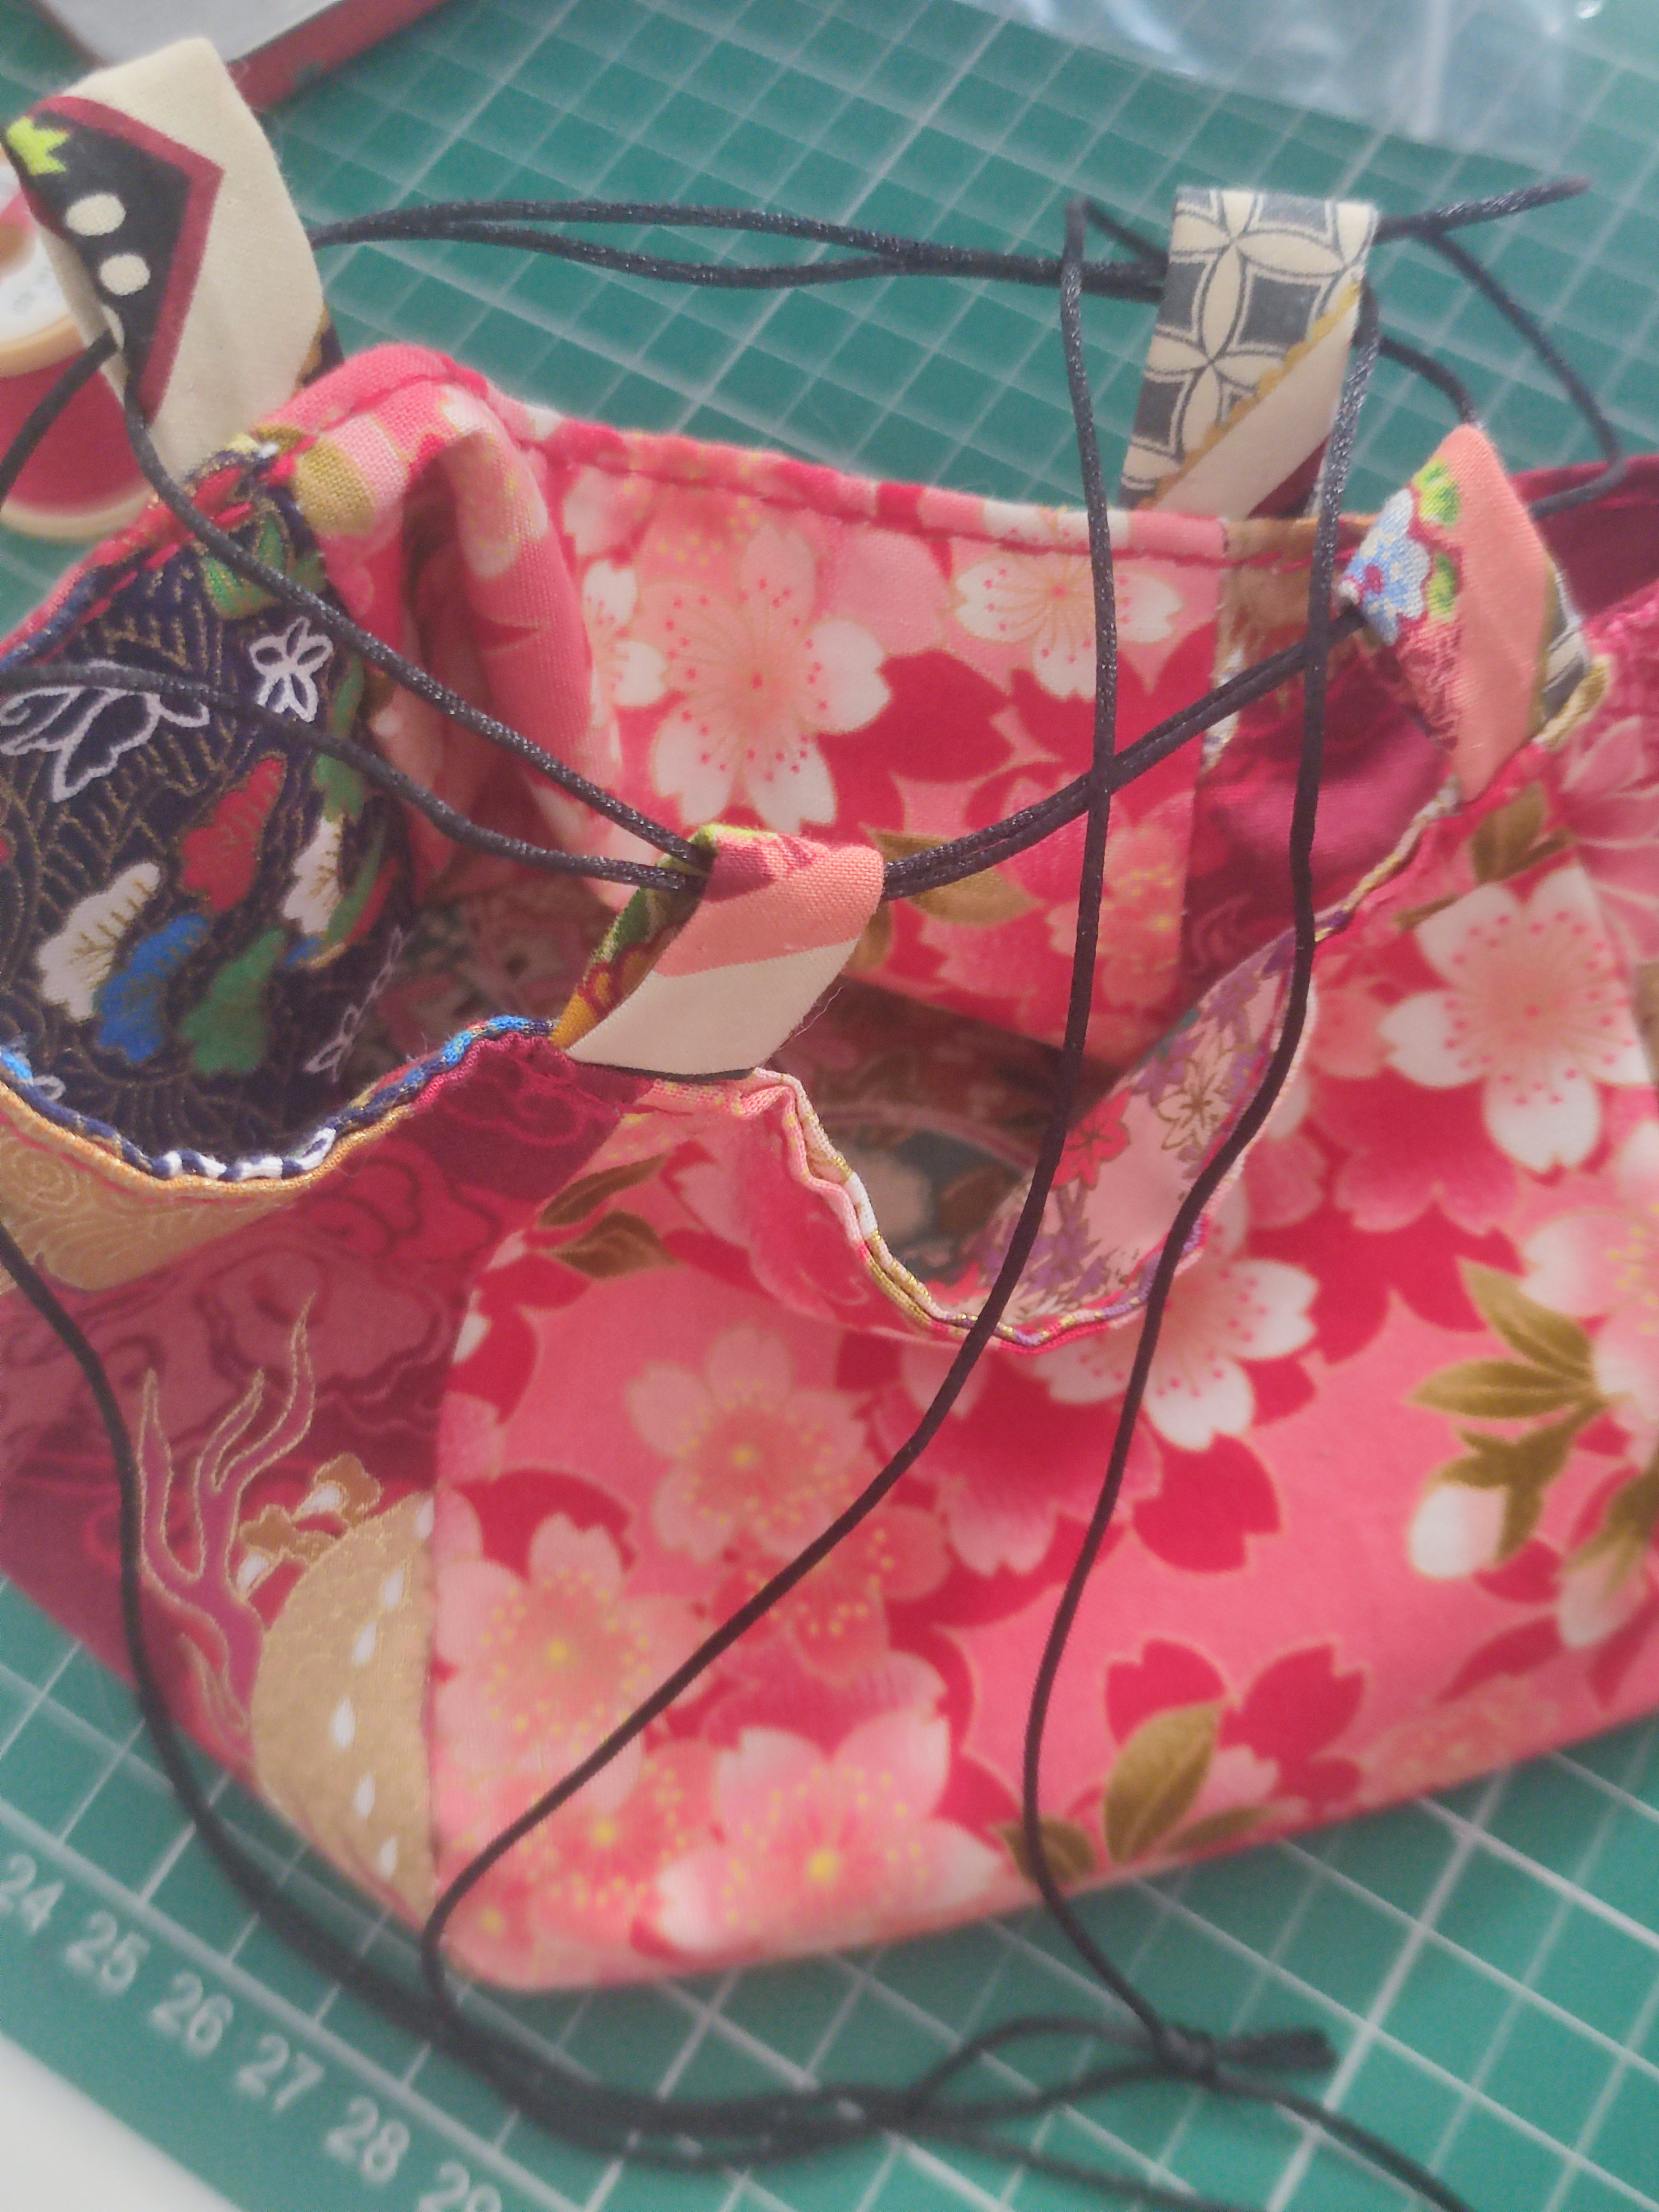
To attach the cord, I cut the provided very long drawstring cord in half and tied two knots at the ends, once the cords were threaded in opposite directions. Then you can use the last fabric square to cut into four and make small fabric “beads” to hide these knots. What I did was thread the four corners, put the knot in the centre, pull the thread to close the gap, and lastly sew around the cord a couple of times to secure it.
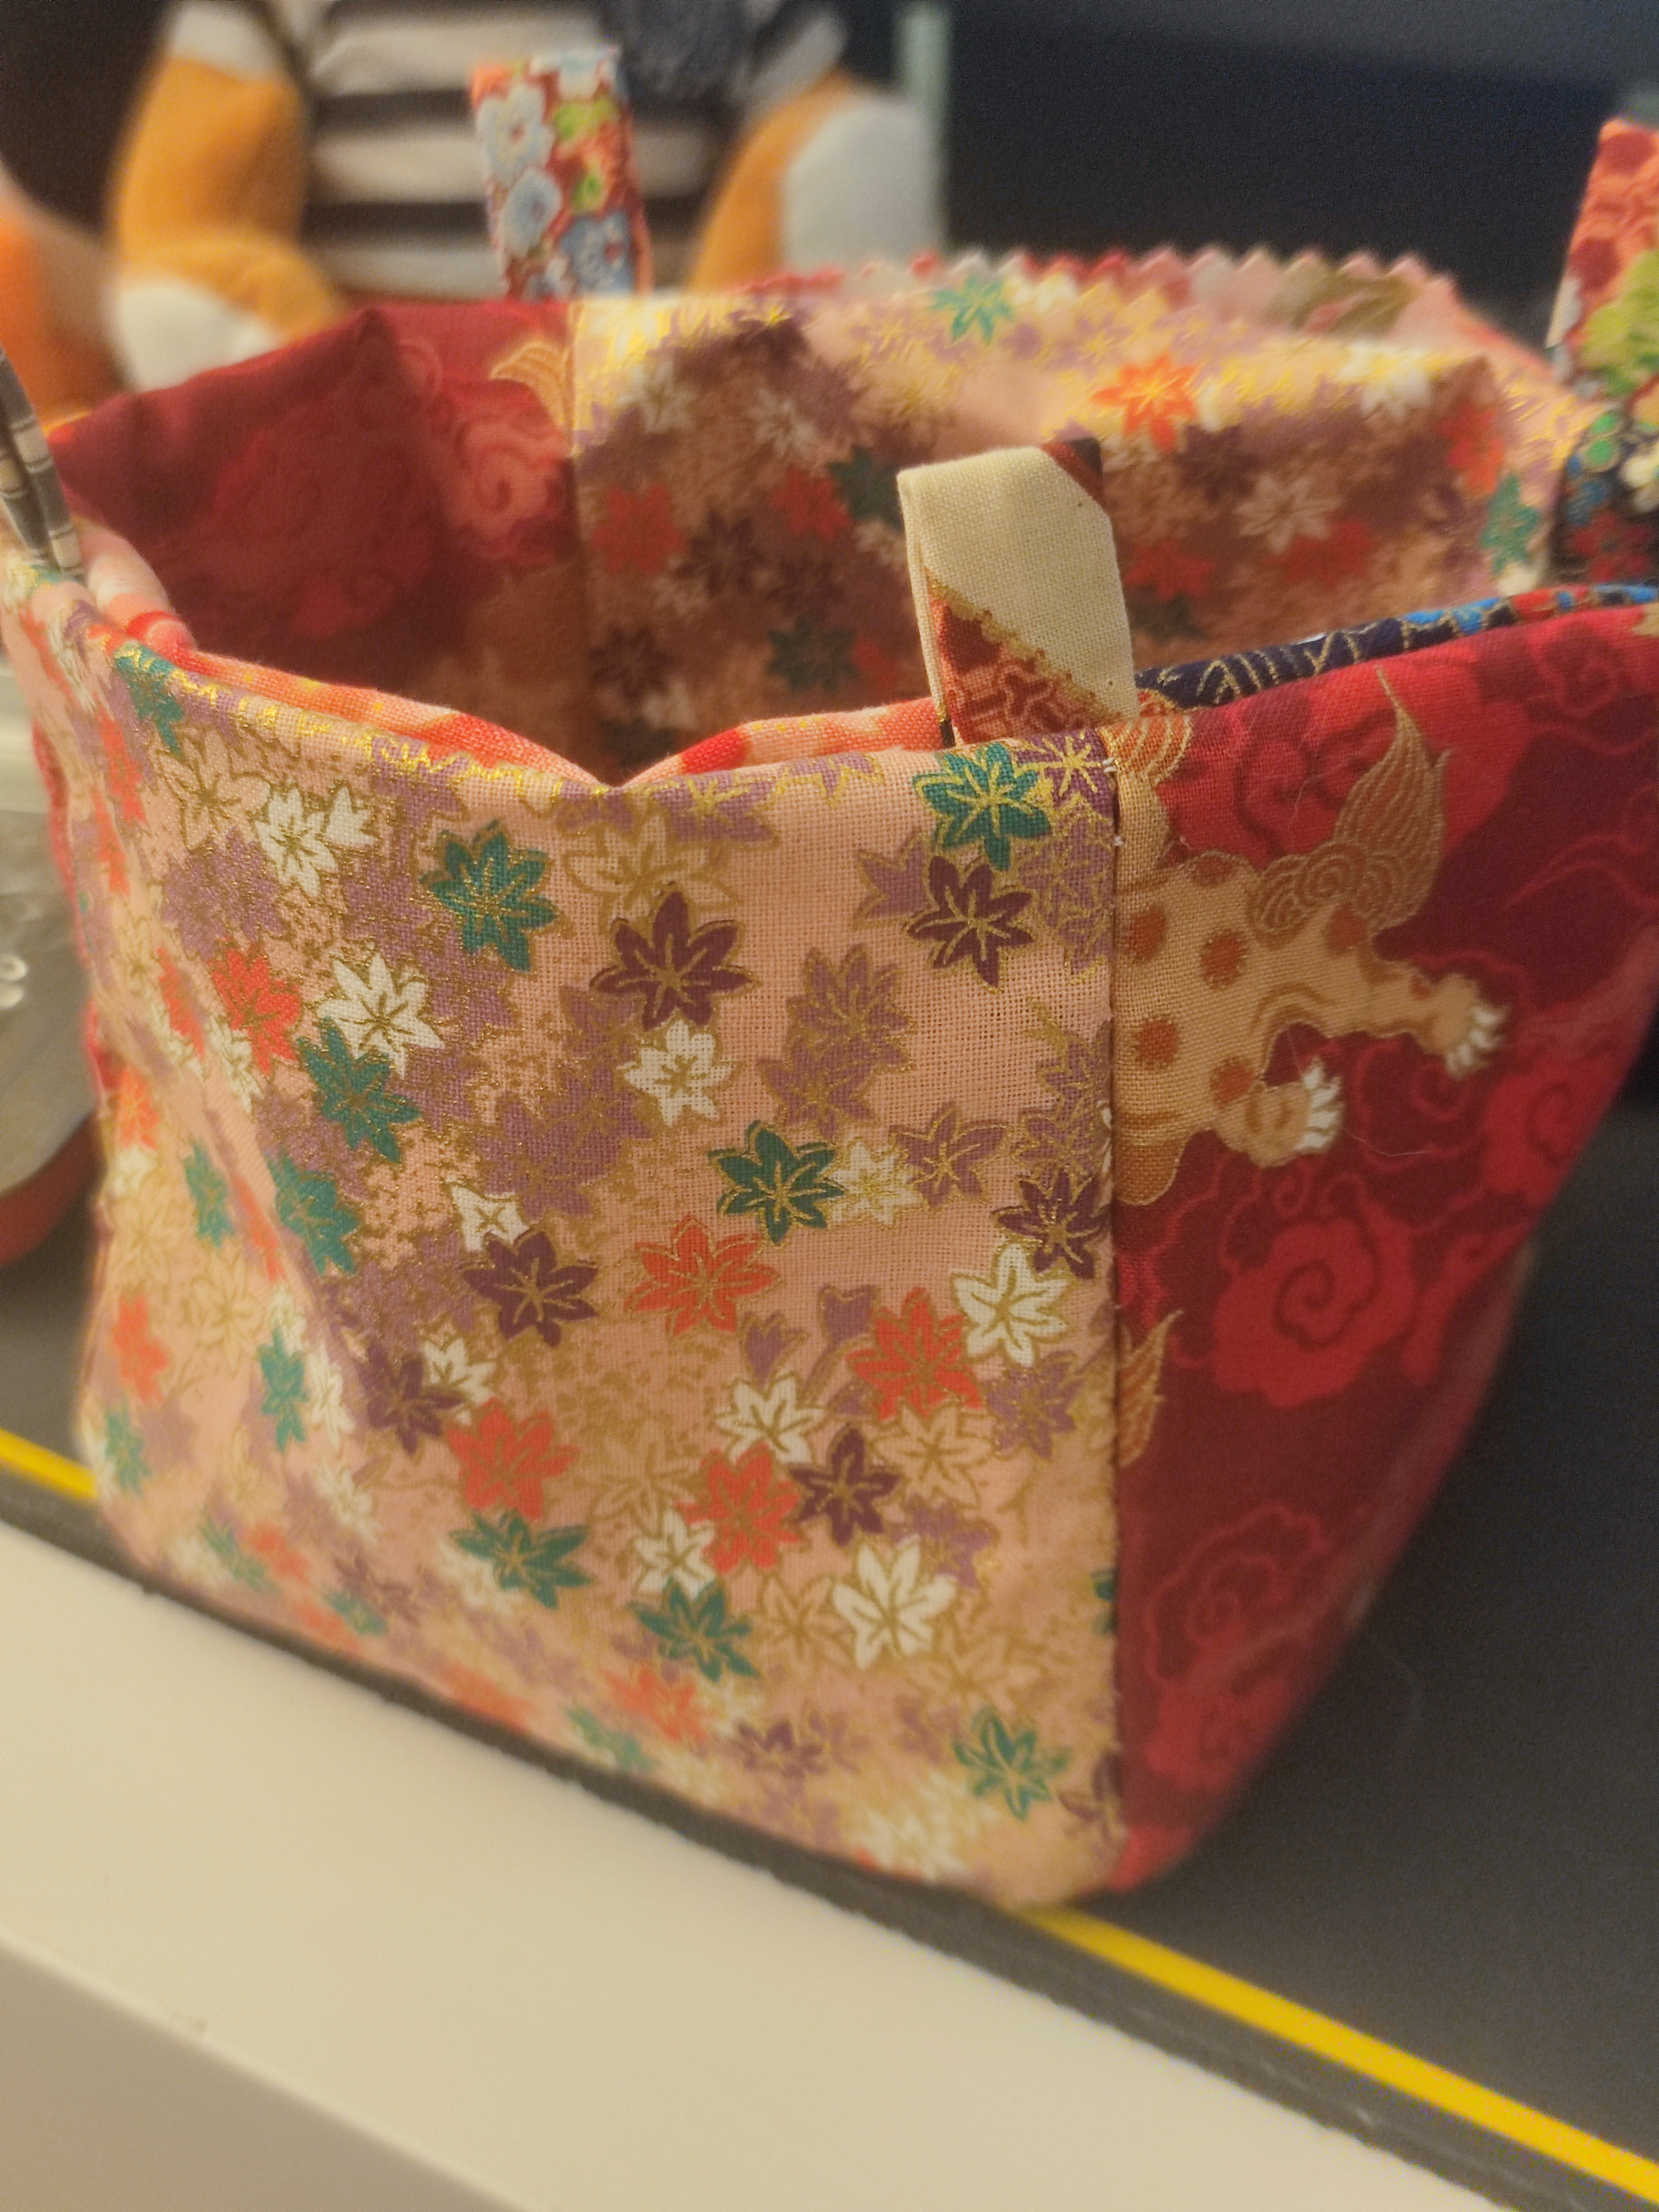
The finished bag! It does look very cute. The square at the base allows the bag to sit upright properly and flat, and you can tie the bag closed with a double loop. I’m not sure what I could use it for at the moment, but it looks like it could be a way to hold some small future projects? Or some precious items on a shelf.

Bonus picture – my craft room! I had the laundry baskets, the pots and pans, the large plushies, the cupboard food – all of it was here! Even my chair was occupied with small bits and stuff, so I couldn’t sit at my crafting desk to work on anything. But I’ve cleared it up as of the last week, so hopefully I will be back to regular updates!