Almost a month ago, I attended a friend’s wedding down in London on a sunny day. I think enough time has passed for me to talk about it now!
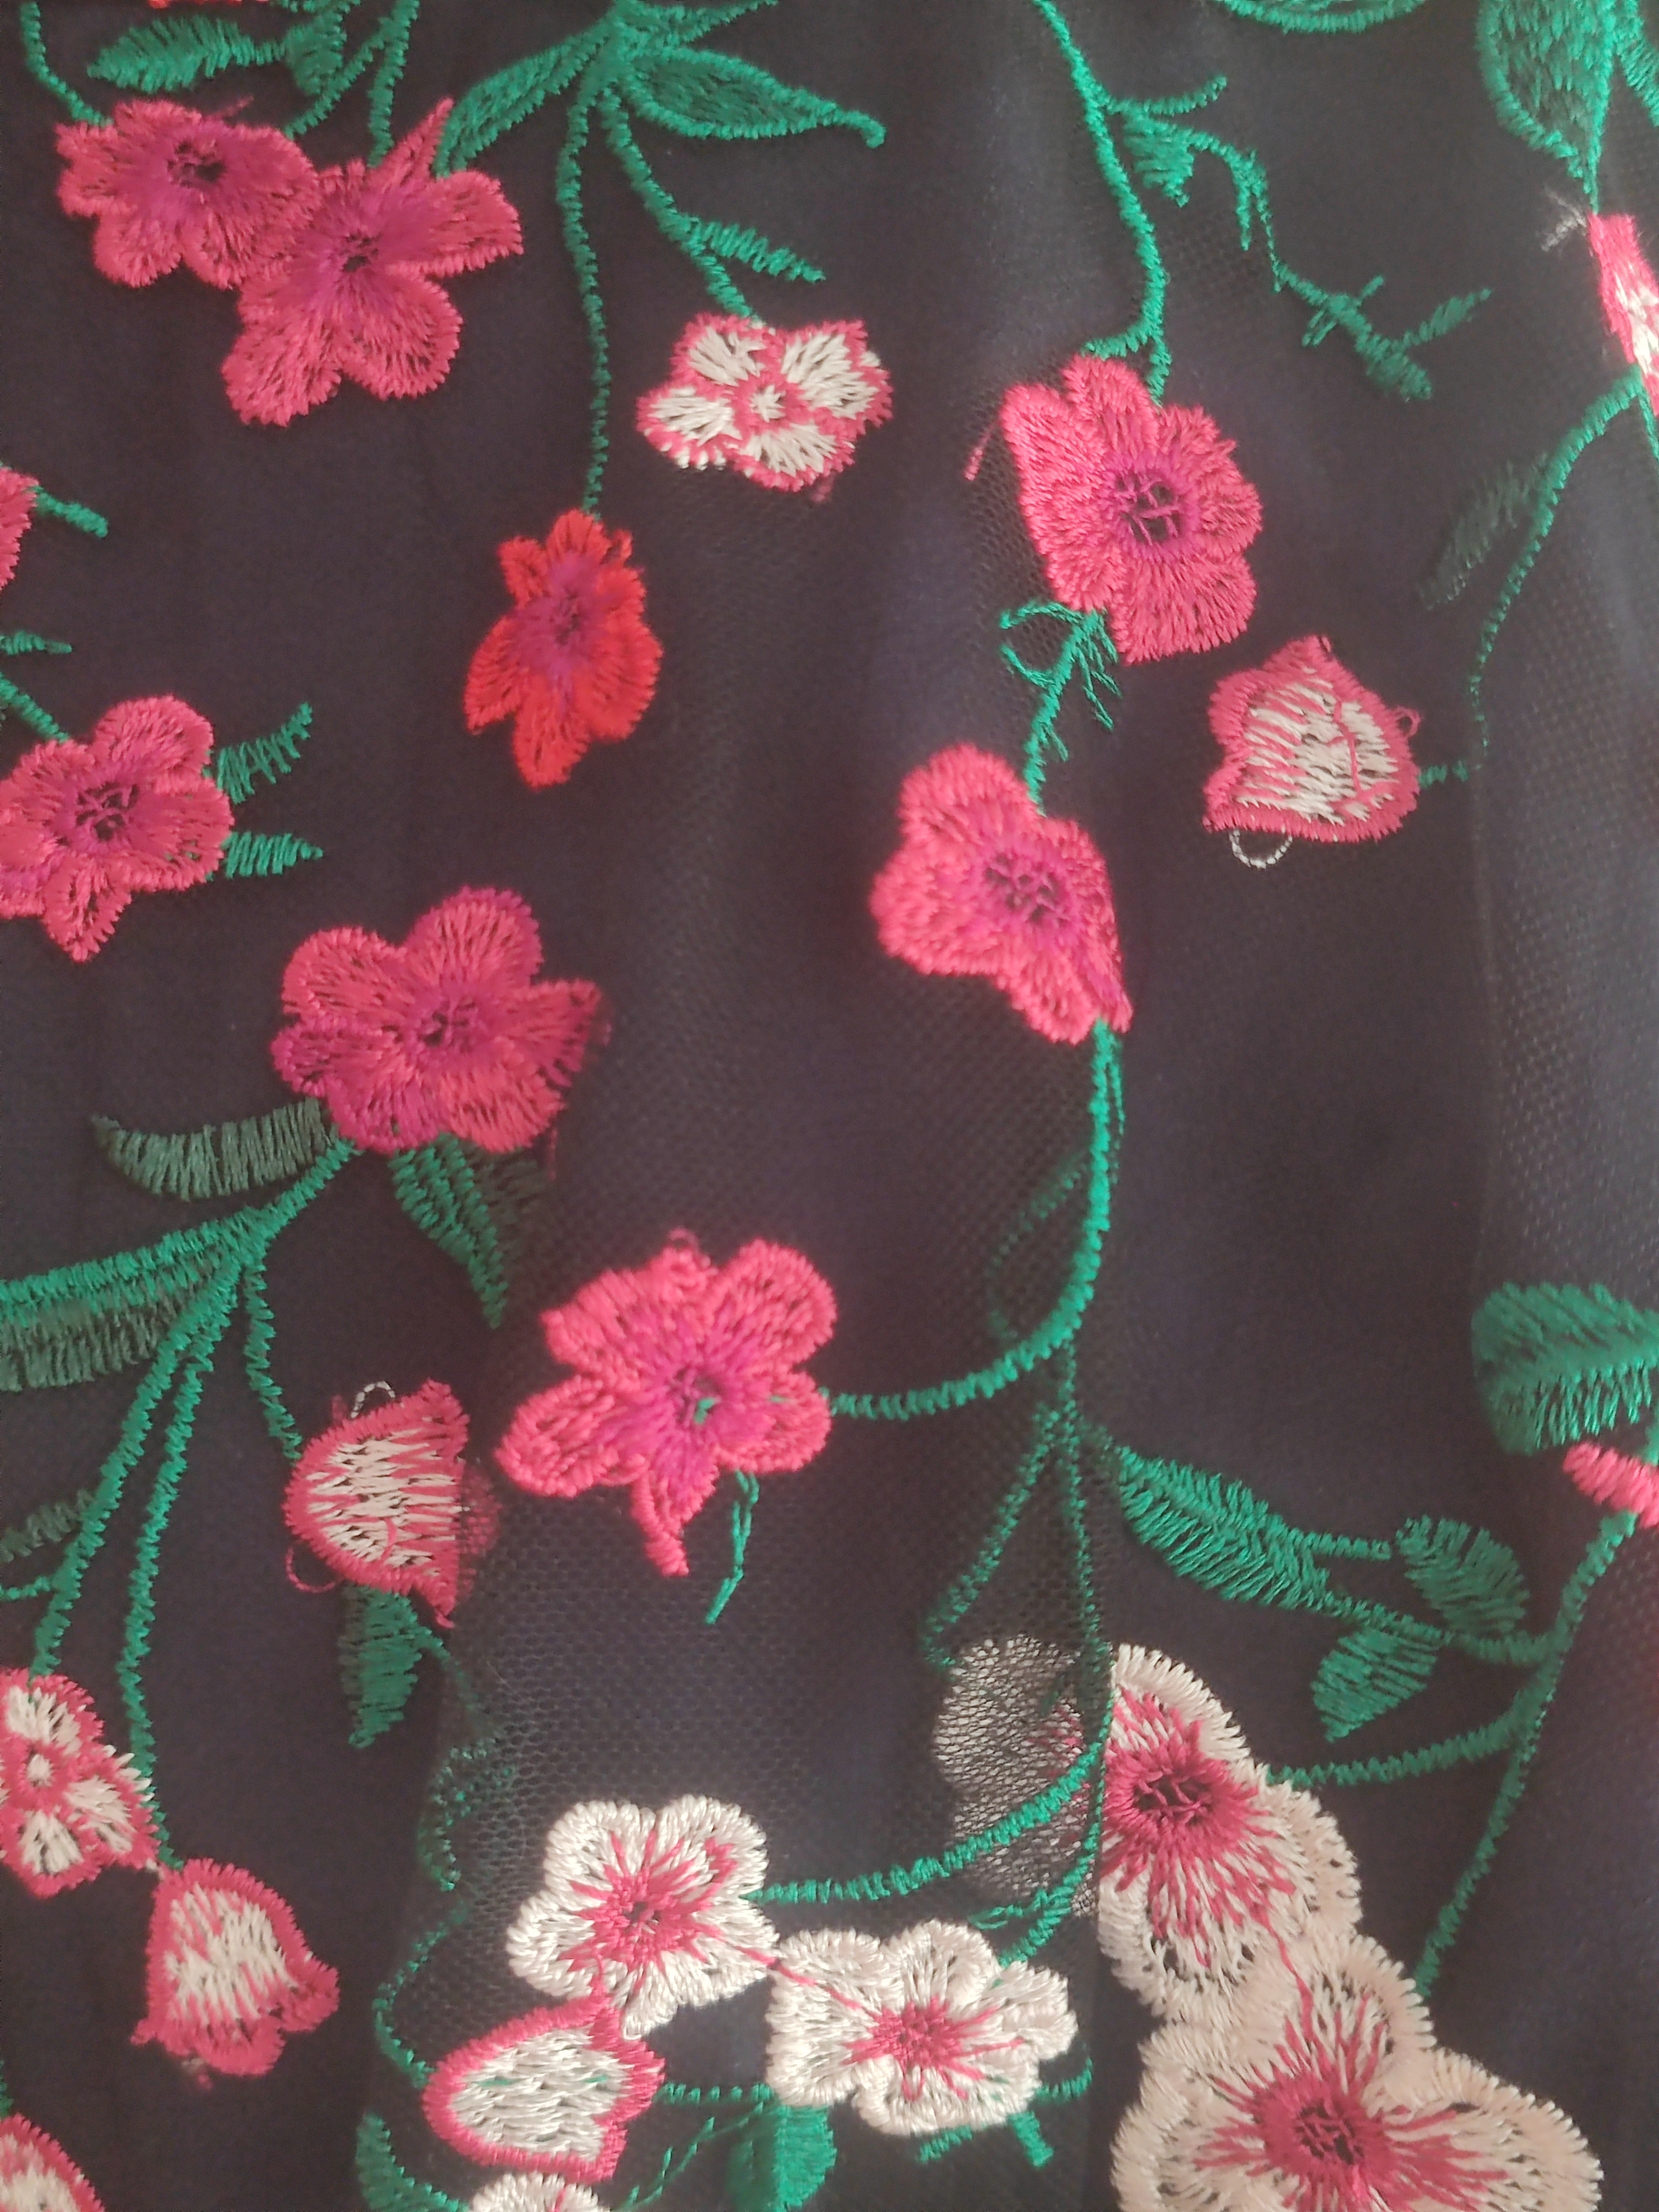
I bought this lovely navy dress with embroidered floral detail. The pattern was a mix of bright hot pink flowers, light pink flowers, and some red flowers, with dark green leaves and stems throughout. A sample of the pattern is pictured below!
Now normally you would buy matching accessories with the dress on the same day (they tend to show you what the whole get-up would look like on a mannequin in-store or on a model online!) but I wanted to not spend too much money overall. I was able to reuse a navy clutch bag and a pair of navy-coloured shoes fortunately.
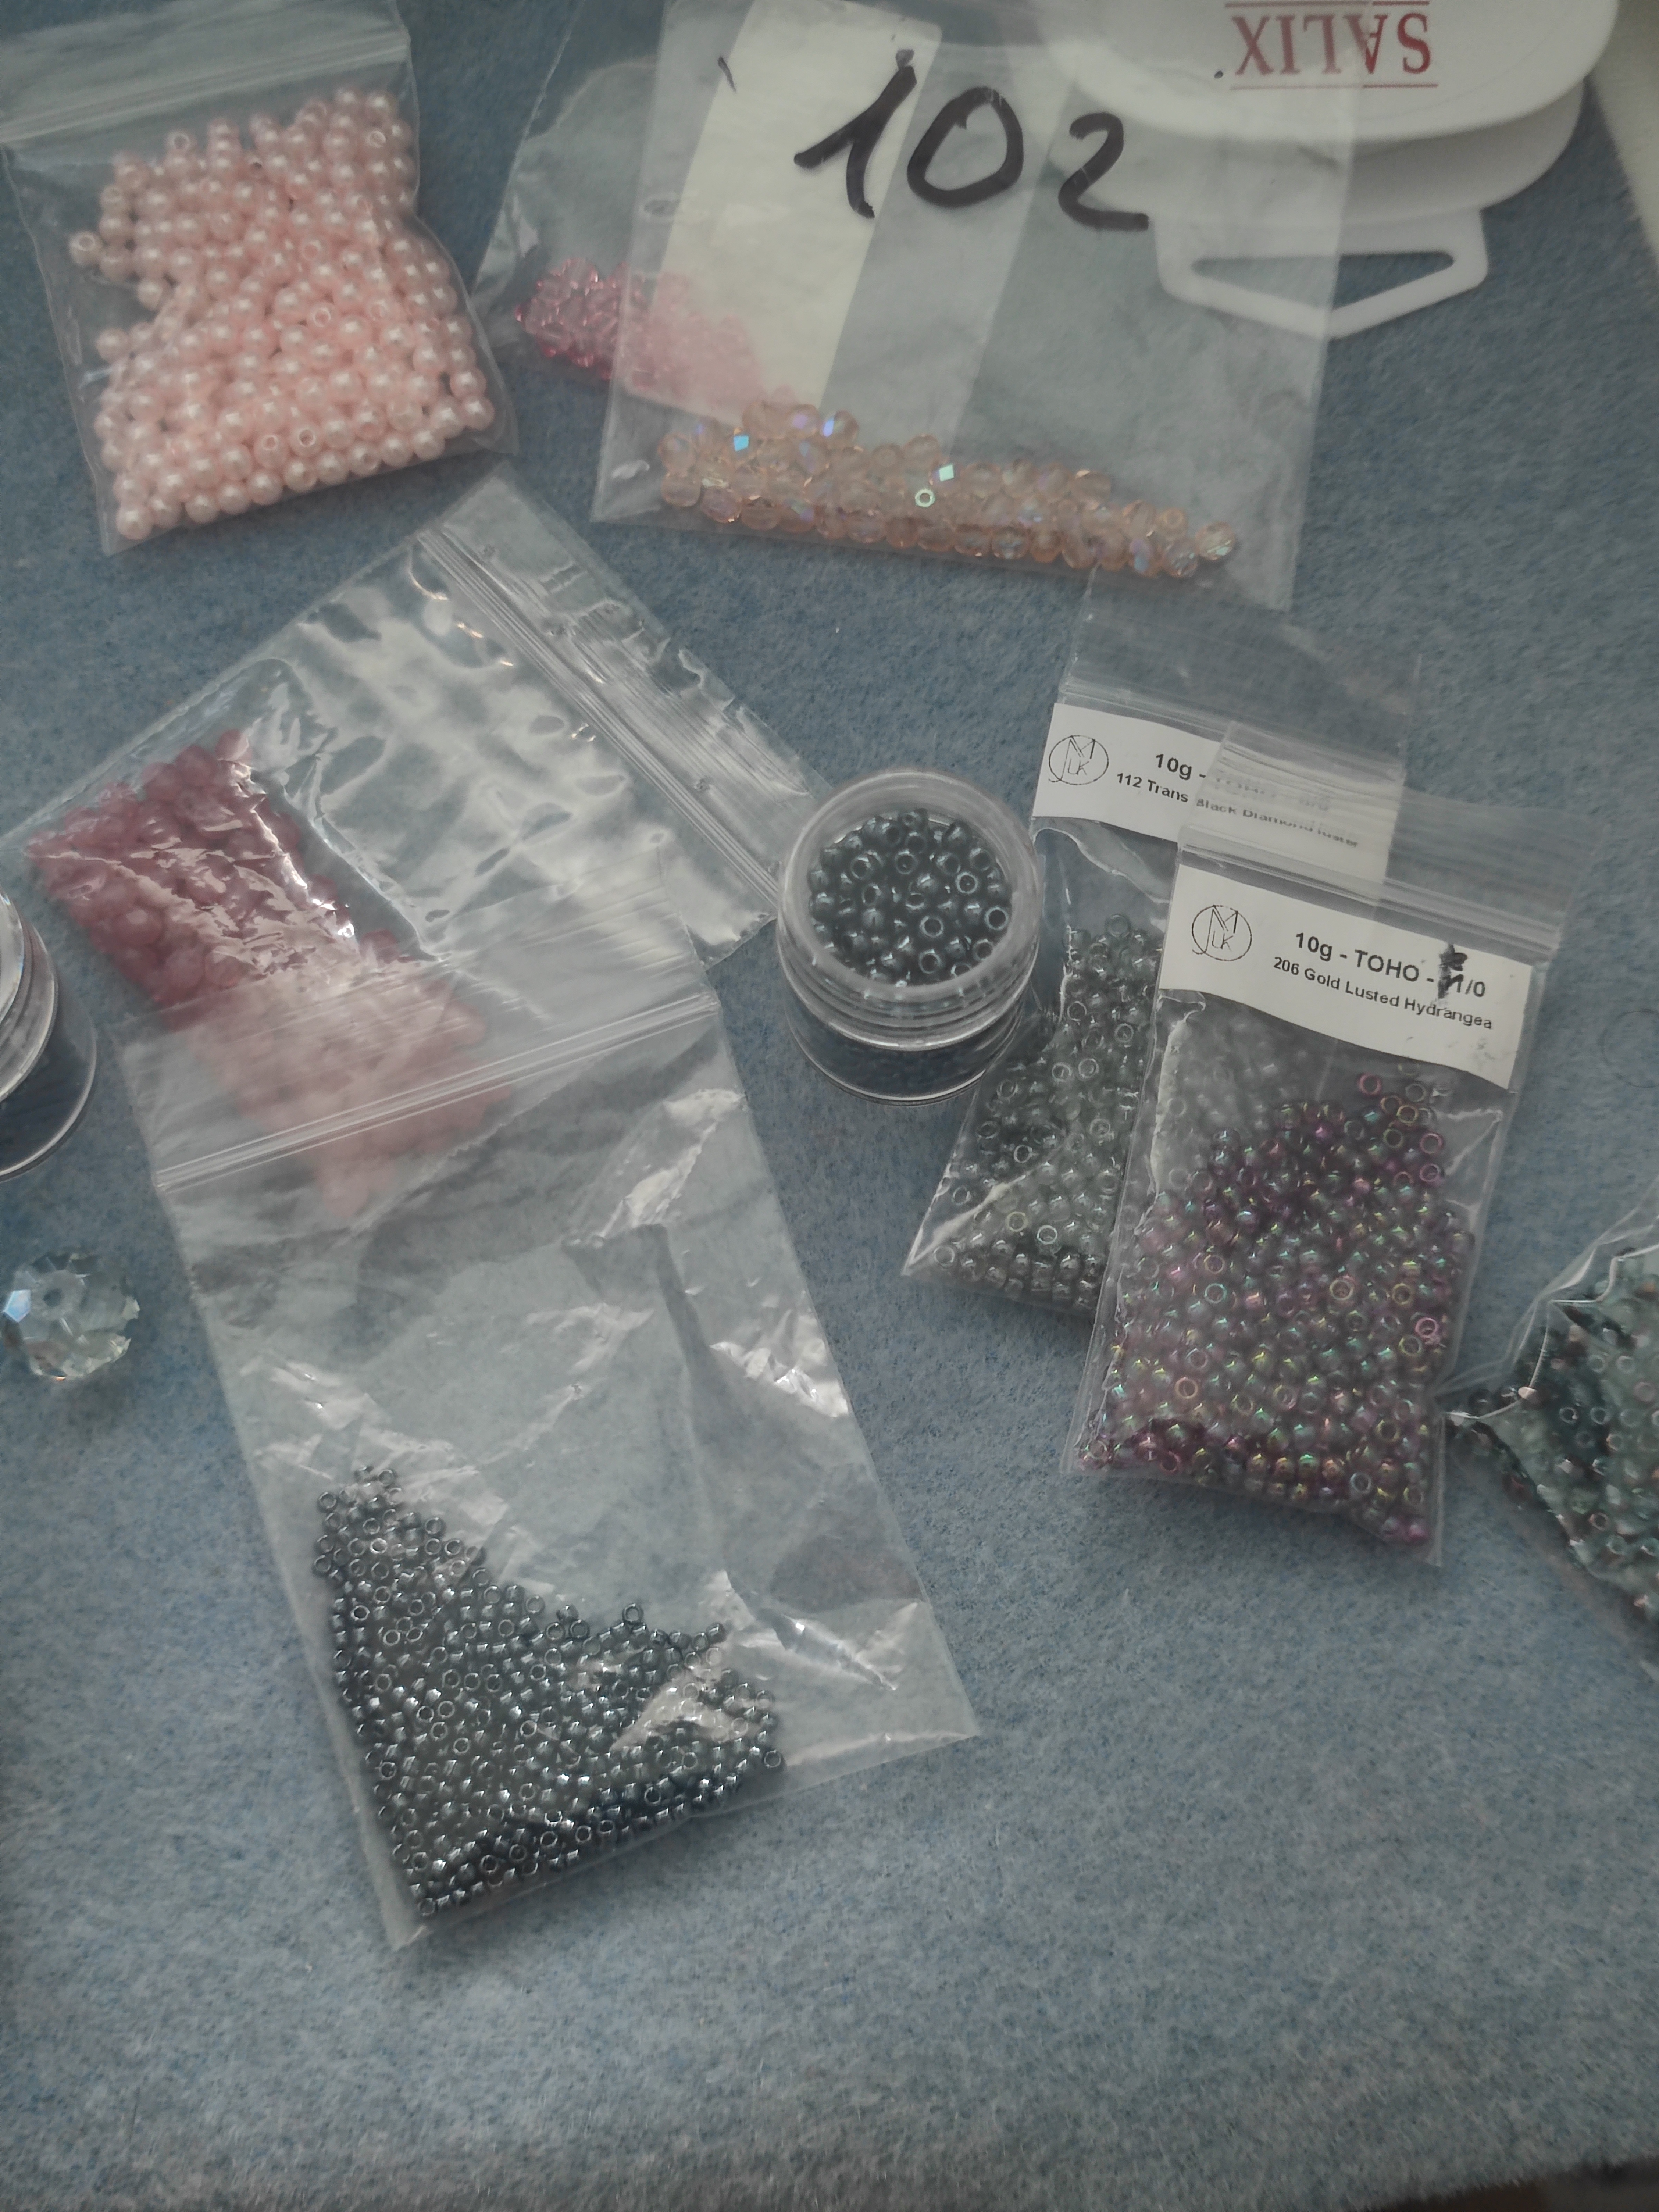
That just left the accessories! I wanted to match the colour scheme of the floral design. I pulled out everything I had that could work with what I wanted. Glass pearls, fire-polished beads, seed beads – I own a lot of beads but I had to figure out a way to tie them all together!
In the book Beadweaving Brilliance, there is this project idea for the ‘Olive Bracelet’, which uses the right-angle weave stitch. I suppose you don’t really need the book as you can find out how to do these stitches online, but I have had a lot of mileage out of learning from it already! (Not sponsored.)
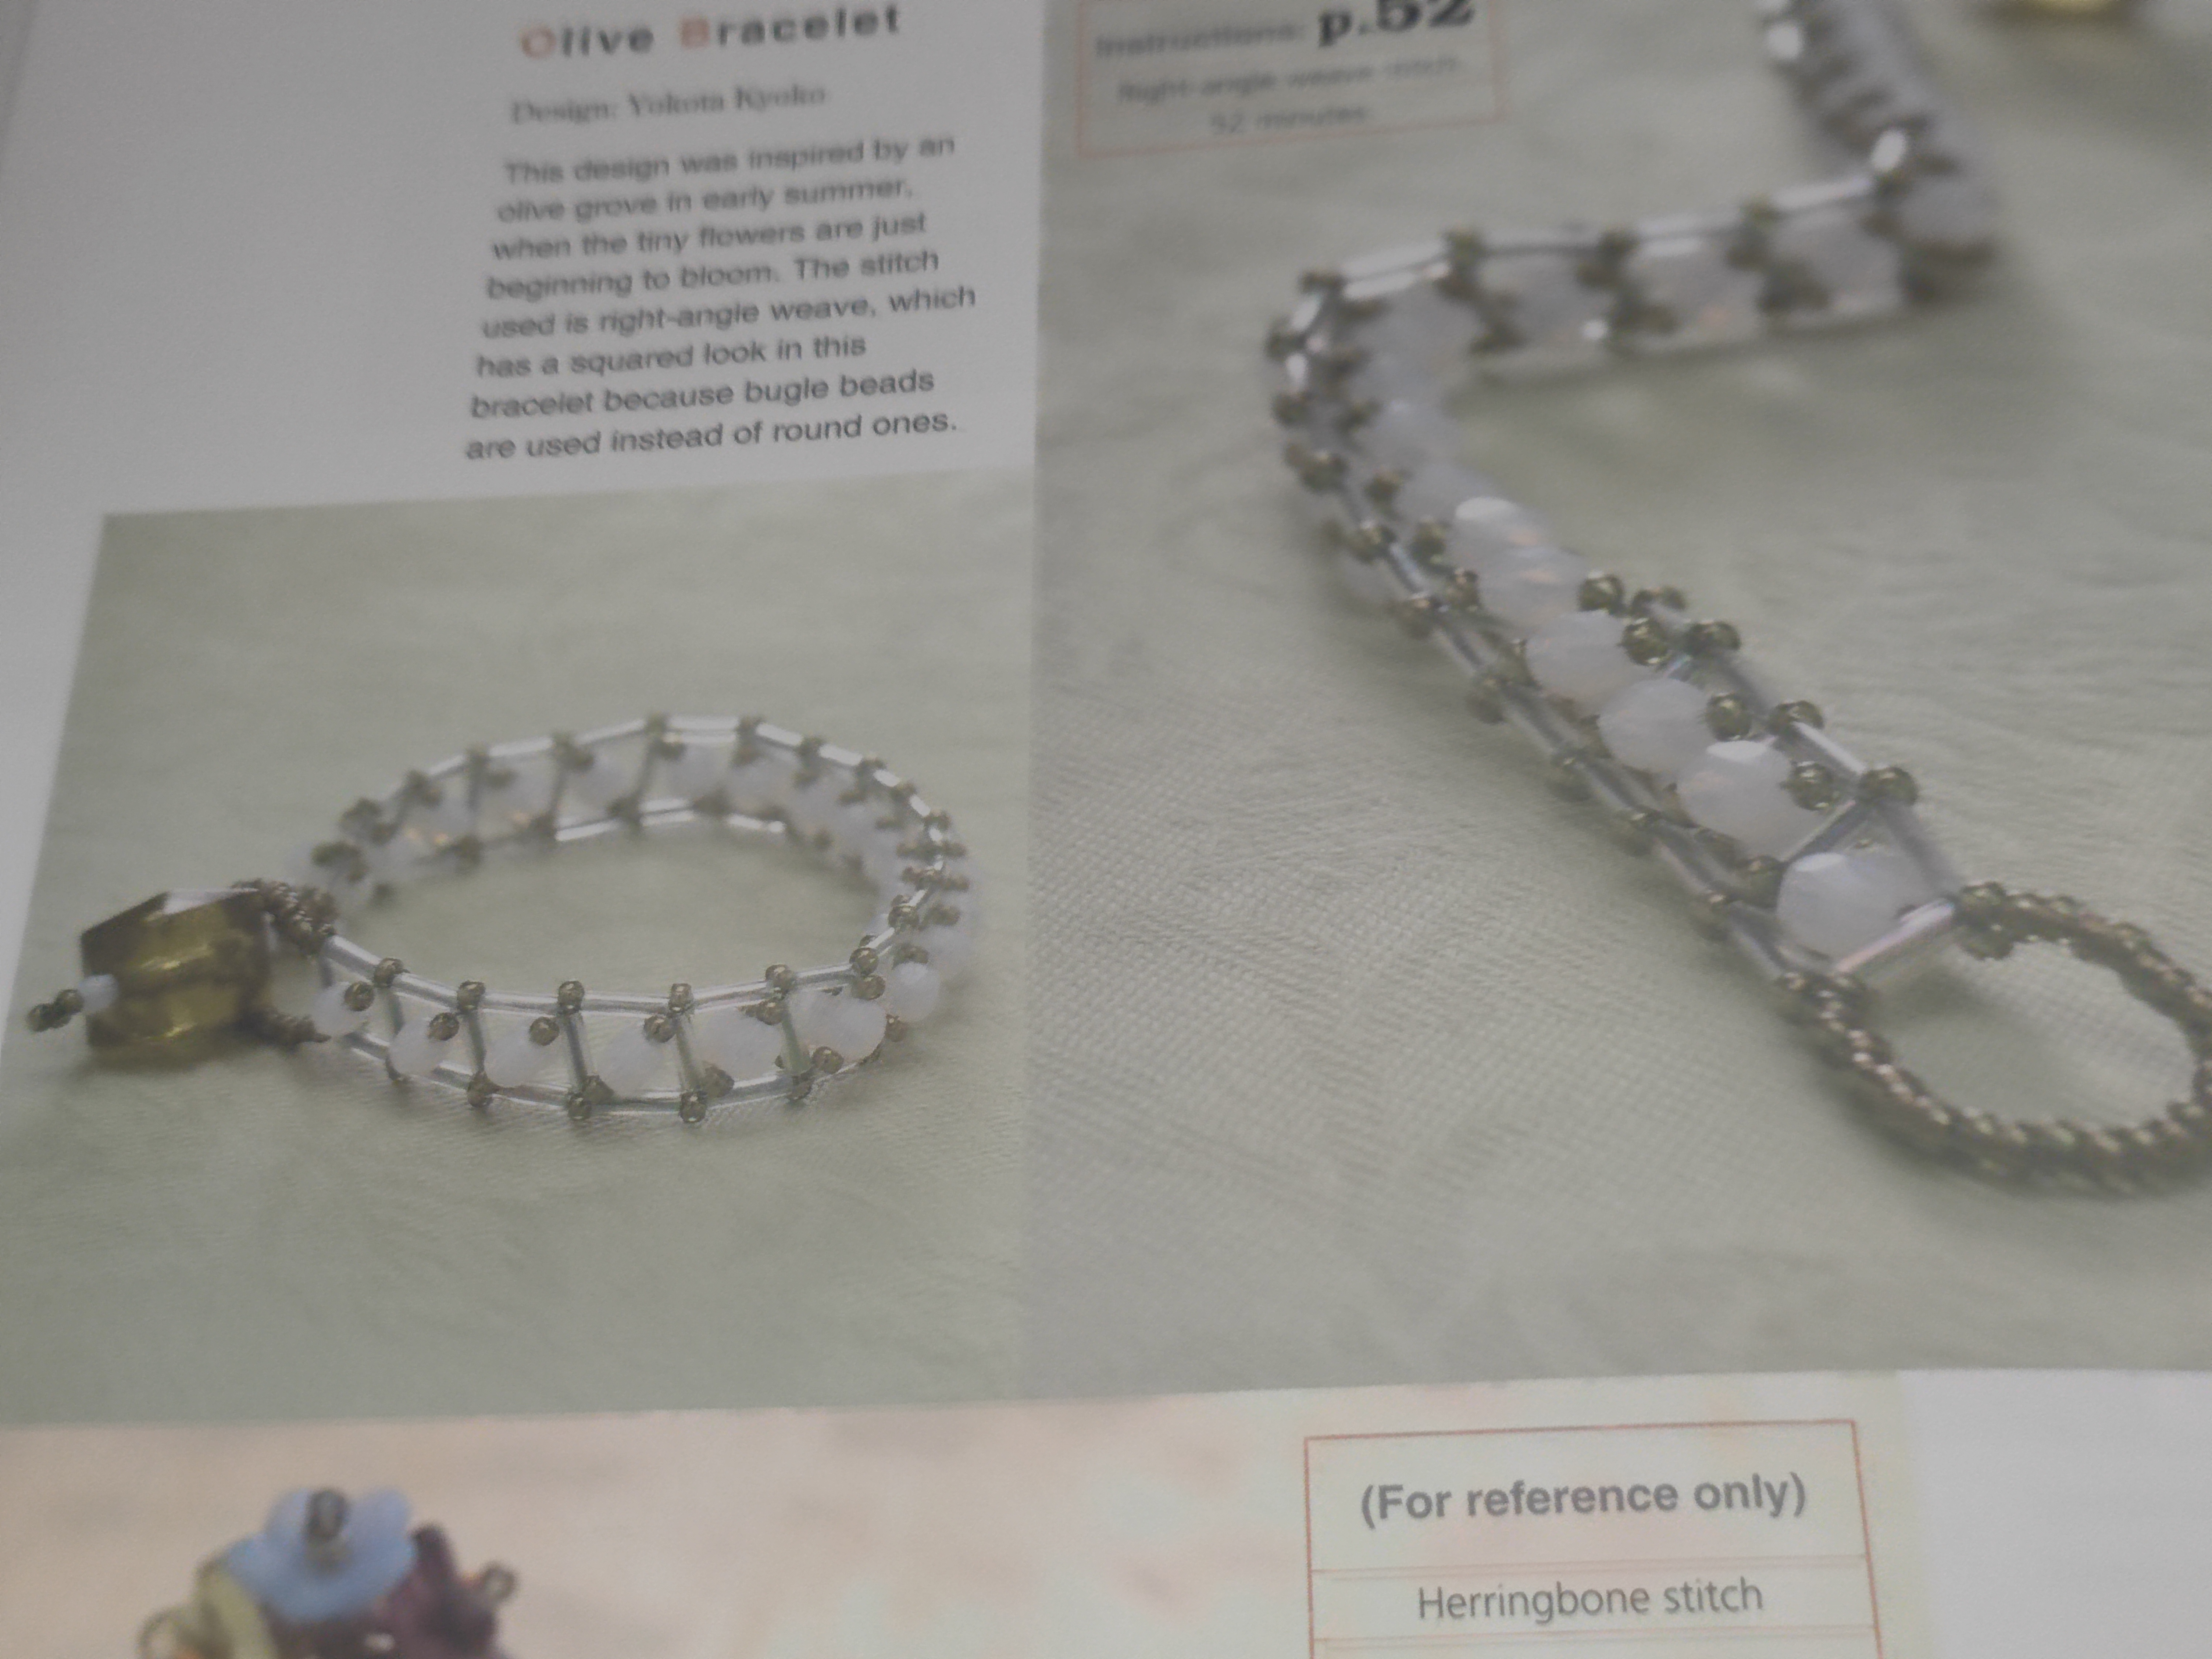
So as is usual fare with me, the beads I used are never the same sizes as what is recommended. I own a lot of different things, but never the exact thing that I need! The pictured project used 6mm bugle beads, however I only had 10mm twisted bugle beads. There were a shiny black colour, so I really wanted to make this work. Right-angle weave stitch is very modular as you just have to run the beading thread through groups of four bugle beads to secure everything in place. It might not look perfectly square but with enough runs of the beading thread up and down the bracelet, it will correct itself later.
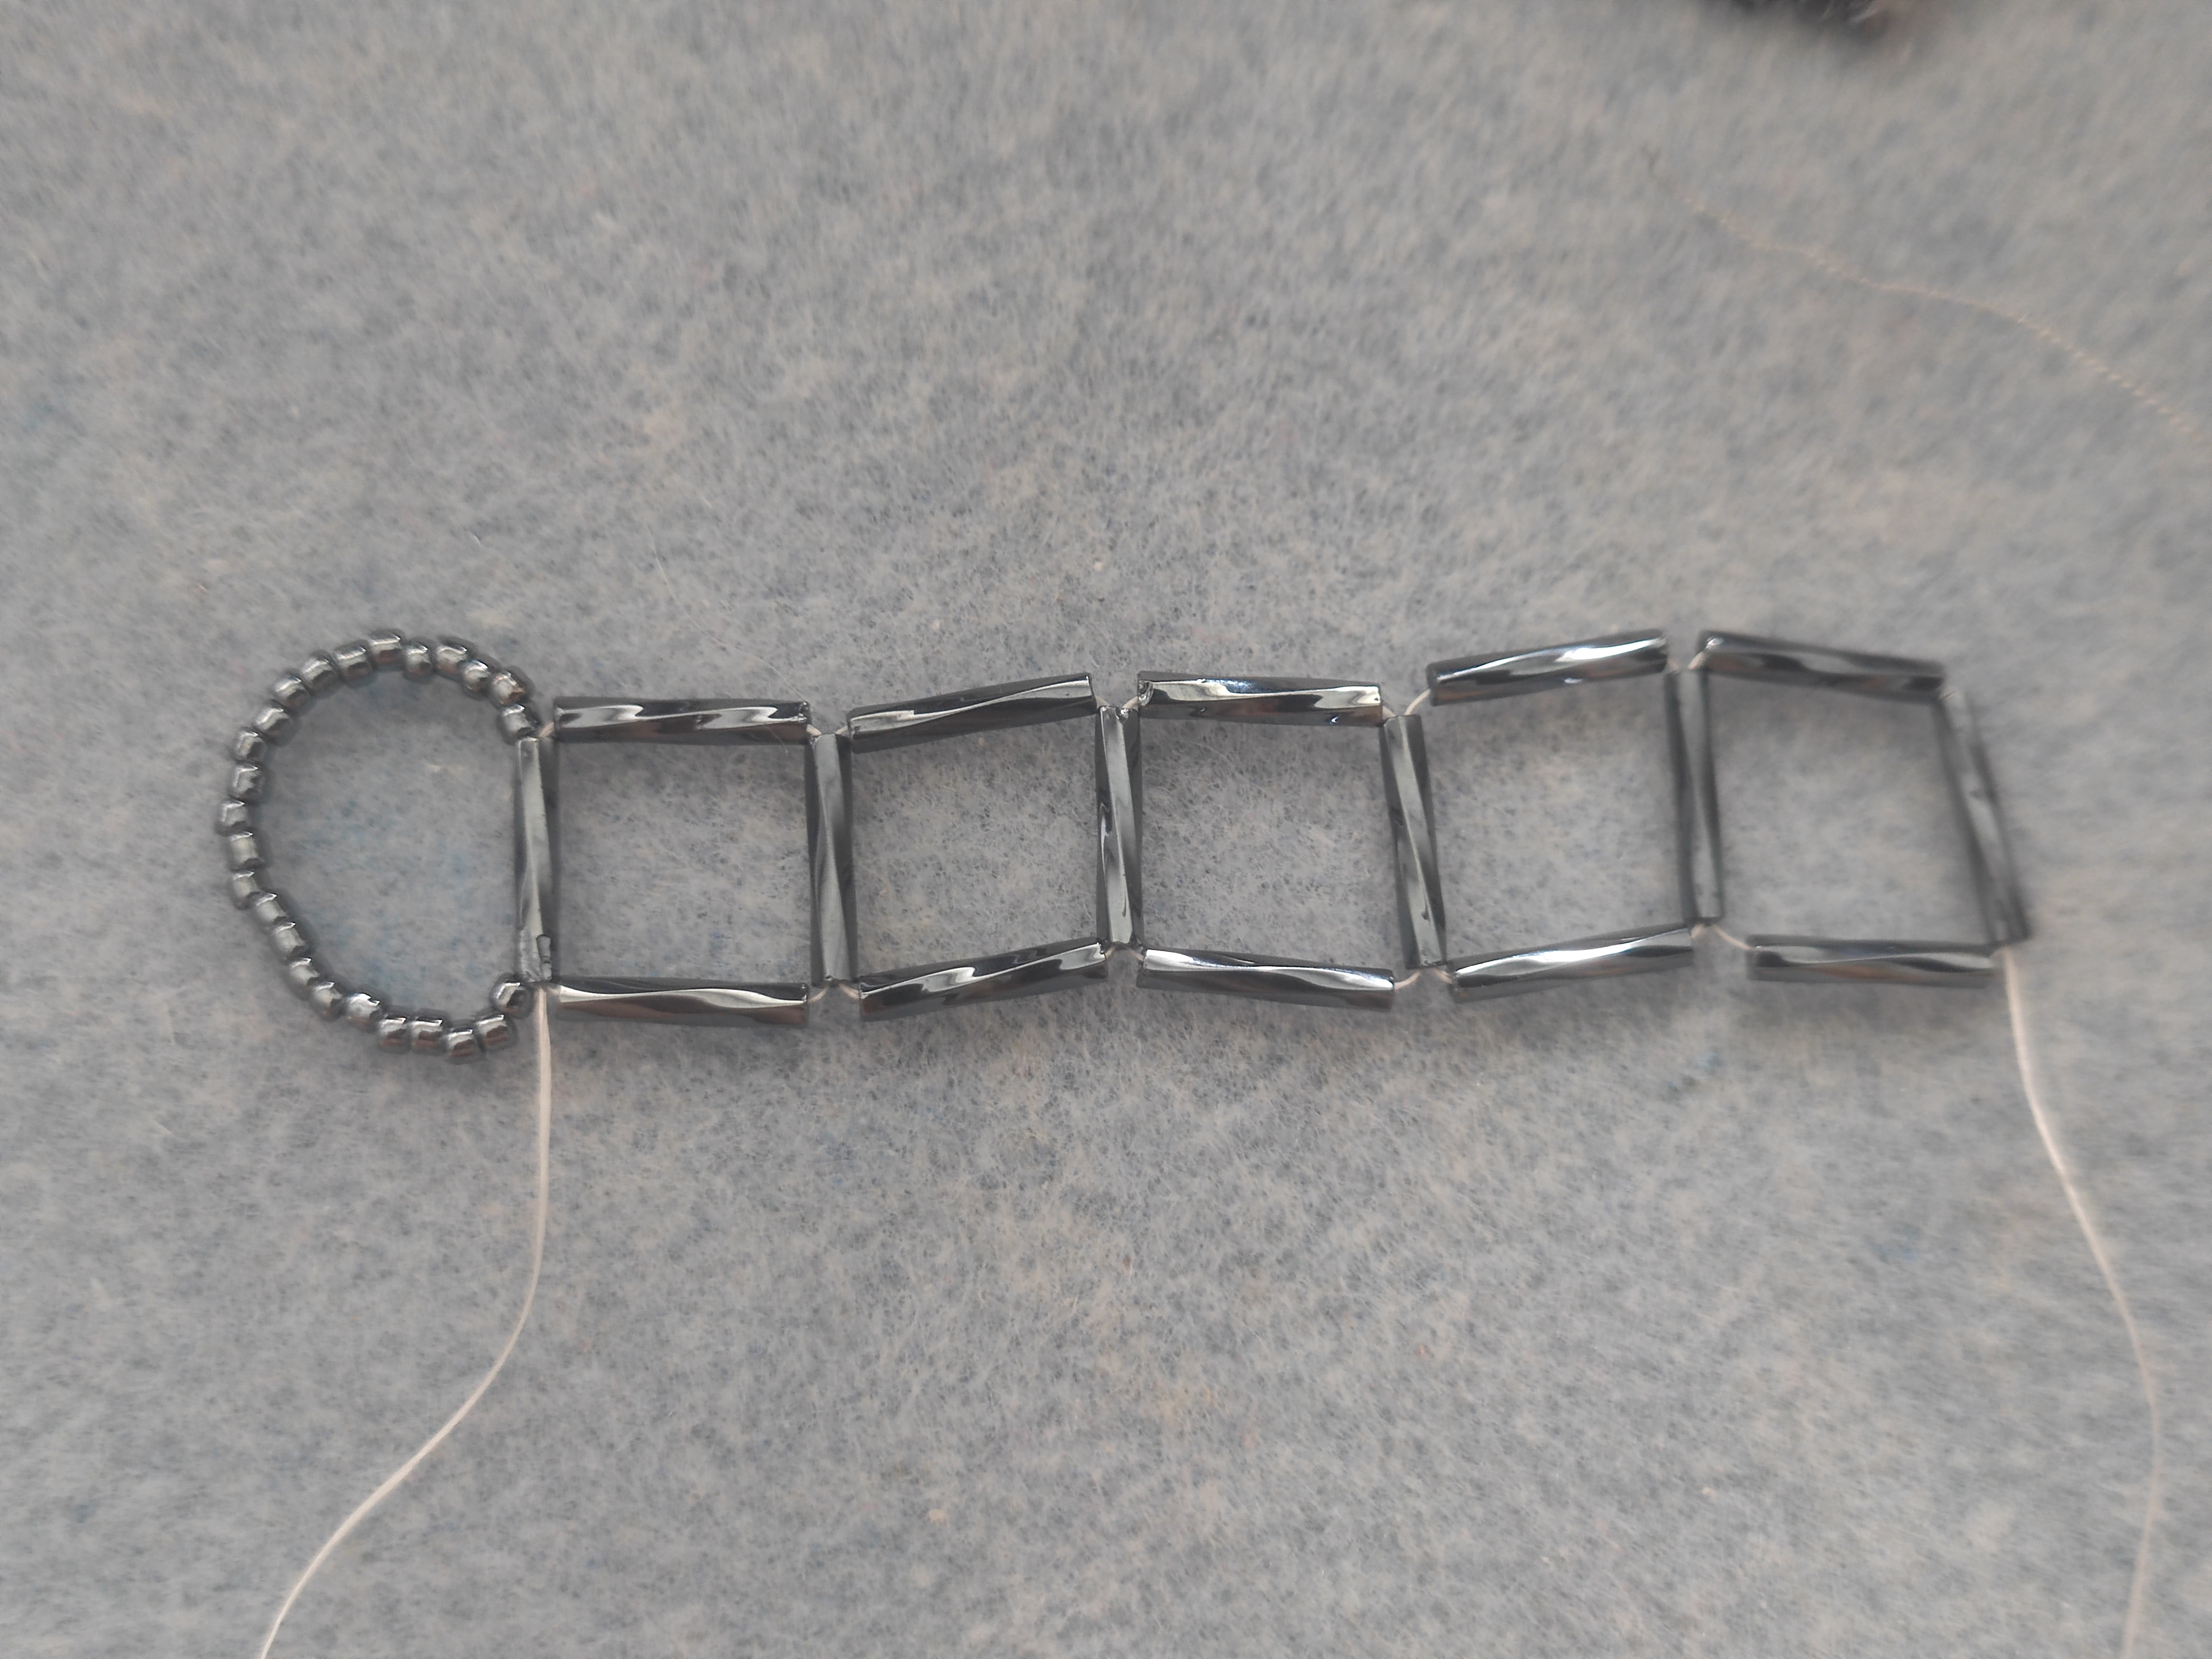
When you make it all the way to the end of the bracelet, you can use a large pretty bead to close the gap. I had this large faceted crystal bead that had a light black colour to it – I paired it with smaller pink fire-polished beads for colour contrast.

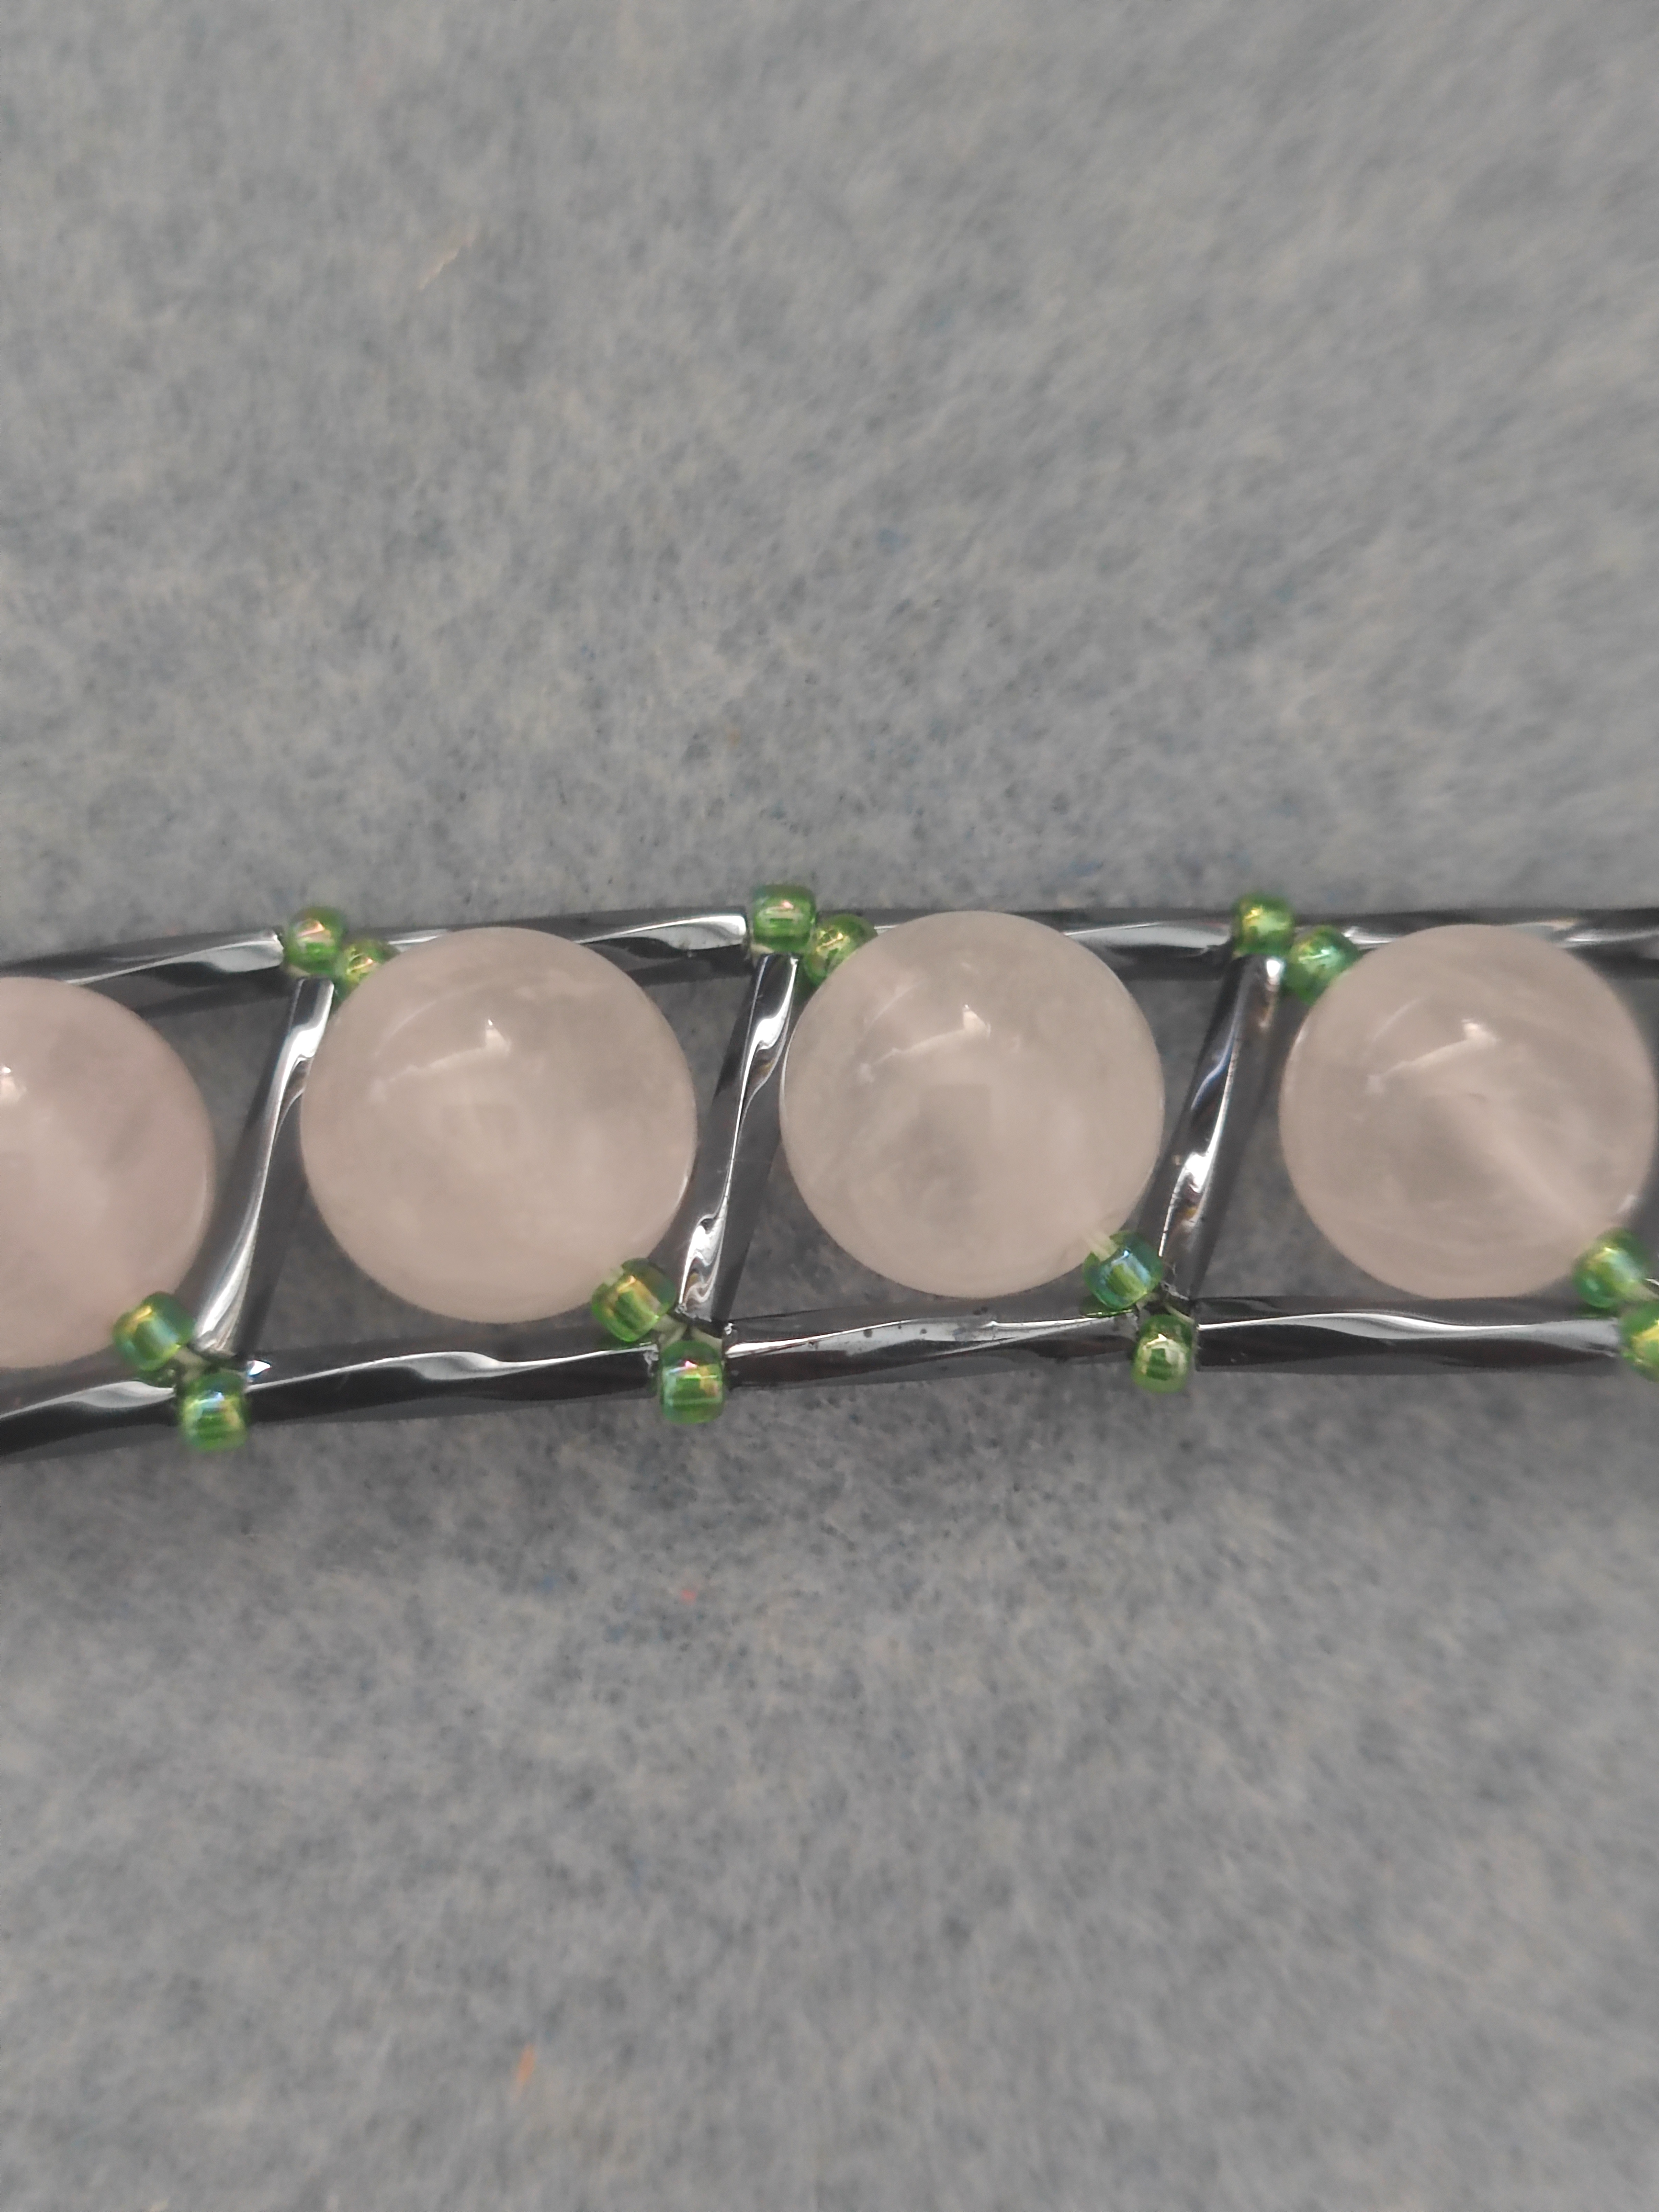
Next step was to run back down the bracelet and add beads to the squares. Because of my larger bugle beads, my plan to use my 6mm pink faceted beads for the centres of the squares didn’t pan out. The only pink bead I could use was this set of 8mm round rose quartz beads – the colour was not quite what I wanted as it was very light compared to the bugle beads (and I wanted something similar to hot pink), but it sort of worked at the same time because there are some light pink flowers on the dress.
Then I run back down the bracelet again to secure the beads and to add more bead accents. I used AB light green seed beads to match the green in my dress, and because I had a lot of them to use.

After securing the thread ends, the bracelet is done! On my first attempt of this bracelet, I made it one square too short and it was far too tight on my wrist, but it was quite easy to redo once you learn the pattern! The overall look is an unusual colour scheme but it matches the dress well.

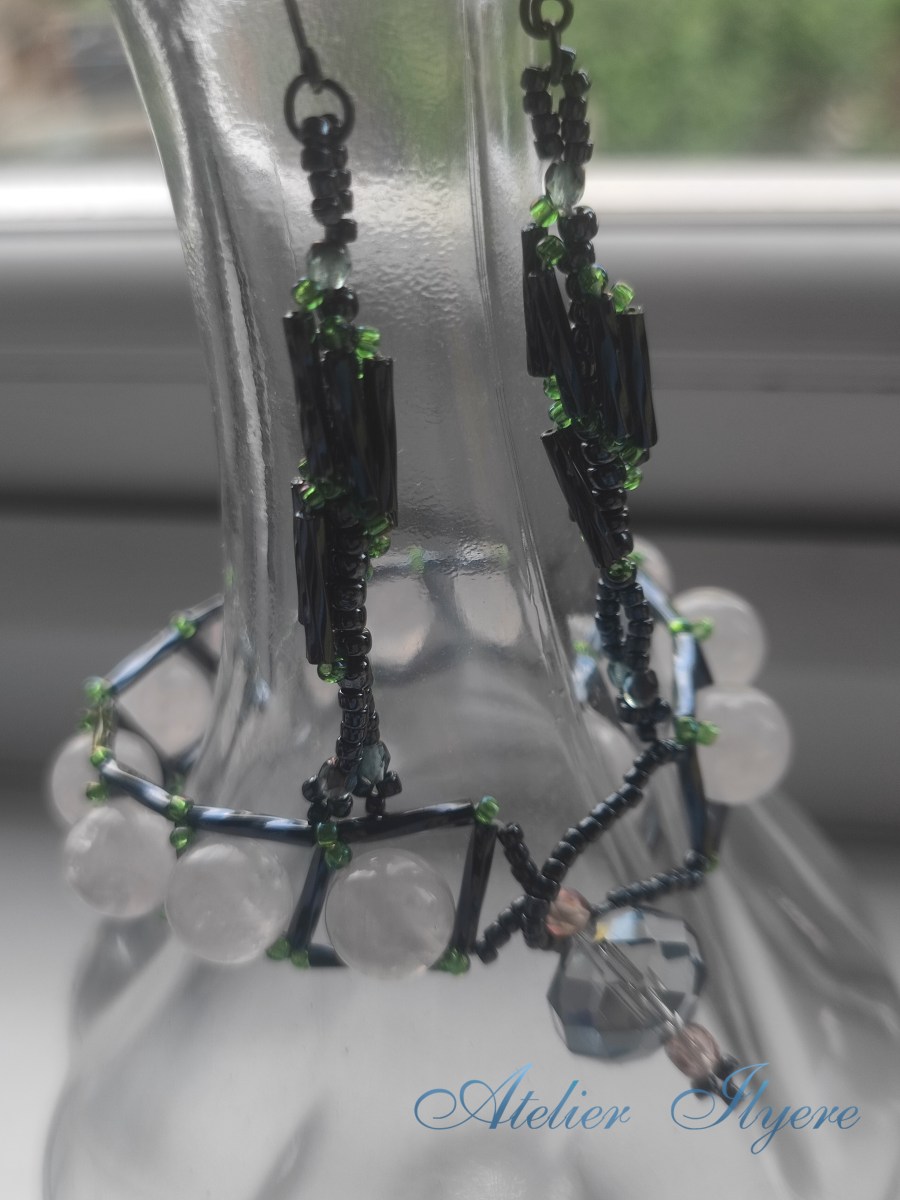
Now what is a matching bracelet set without a pair of earrings too? The book that I mentioned earlier doesn’t show how to make earrings, but I adapted one from the project below, which is for a strap and showcases the spiral rope stitch.

It’s quite easy to do this stitch, I have used this stitch before to make a spiral rope necklace! But that only used seed beads, whereas I could use my bugle beads here again! I also had matching 3mm seed beads.
To make the spiral rope stitch work, you add a number of central beads, and then add a number of beads of a similar length. For me, I wanted the outside pattern to be one 10mm bugle bead and two 2mm seed beads, so I would add it with every six 3mm centre seed beads.

I continued the stitch enough times to make it to the other side as I did not want to make it too long, then I added some little bead tails at the end. I also had some light black fire-polished beads to go with it!
Tying off the thread ends was surprisingly quite complicated with this stitch so make sure you start this off with more thread than you actually need!

It doesn’t take long to make earrings that are about 4cm in length. I made some earring hooks out of gunmetal pins and attached them to a seed bead loop at the top.
These earrings didn’t have any pink in them, so I could probably wear these earrings for everyday wear too!

I already think I’ve said enough about my jewellery set and I haven’t even mentioned the hair piece yet! But since it does not strictly match the beaded jewellery, I think I will save it for another blog post.

Materials used:
– 10mm twisted metallic hematite bugle beads
– 2mm and 3mm metallic hematite seed beads
– 2mm rainbow peridot seed beads
– 8mm rose quartz beads (for the bracelet)
– 4mm fire-polished pink beads (for the bracelet)
– 4mm fire-polished transparent black beads (for the earrings)
– 10mm large faceted transparent black bead (for the bracelet)
– beading thread
– gunmetal wire (for the earrings)
Tools used:
– beading needle
– scissors
– jewellery pliers
– wire cutters
